Introduction
Are you looking to enhance the performance and capabilities of your 3D printer? Updating the Marlin firmware can unlock a myriad of new features and improvements, allowing you to take full advantage of your machine’s potential. Whether you’re a seasoned 3D printing enthusiast or a beginner exploring the firmware world, this guide will walk you through the process of updating Marlin on your 3D printer.
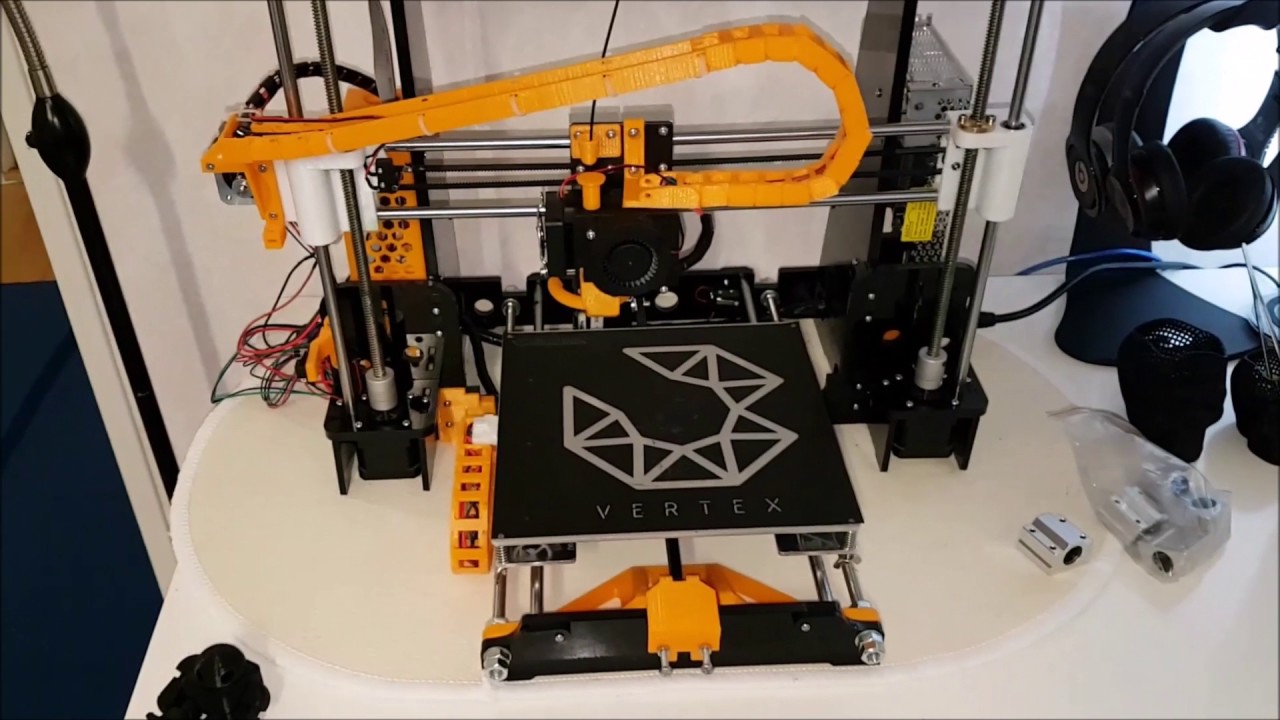
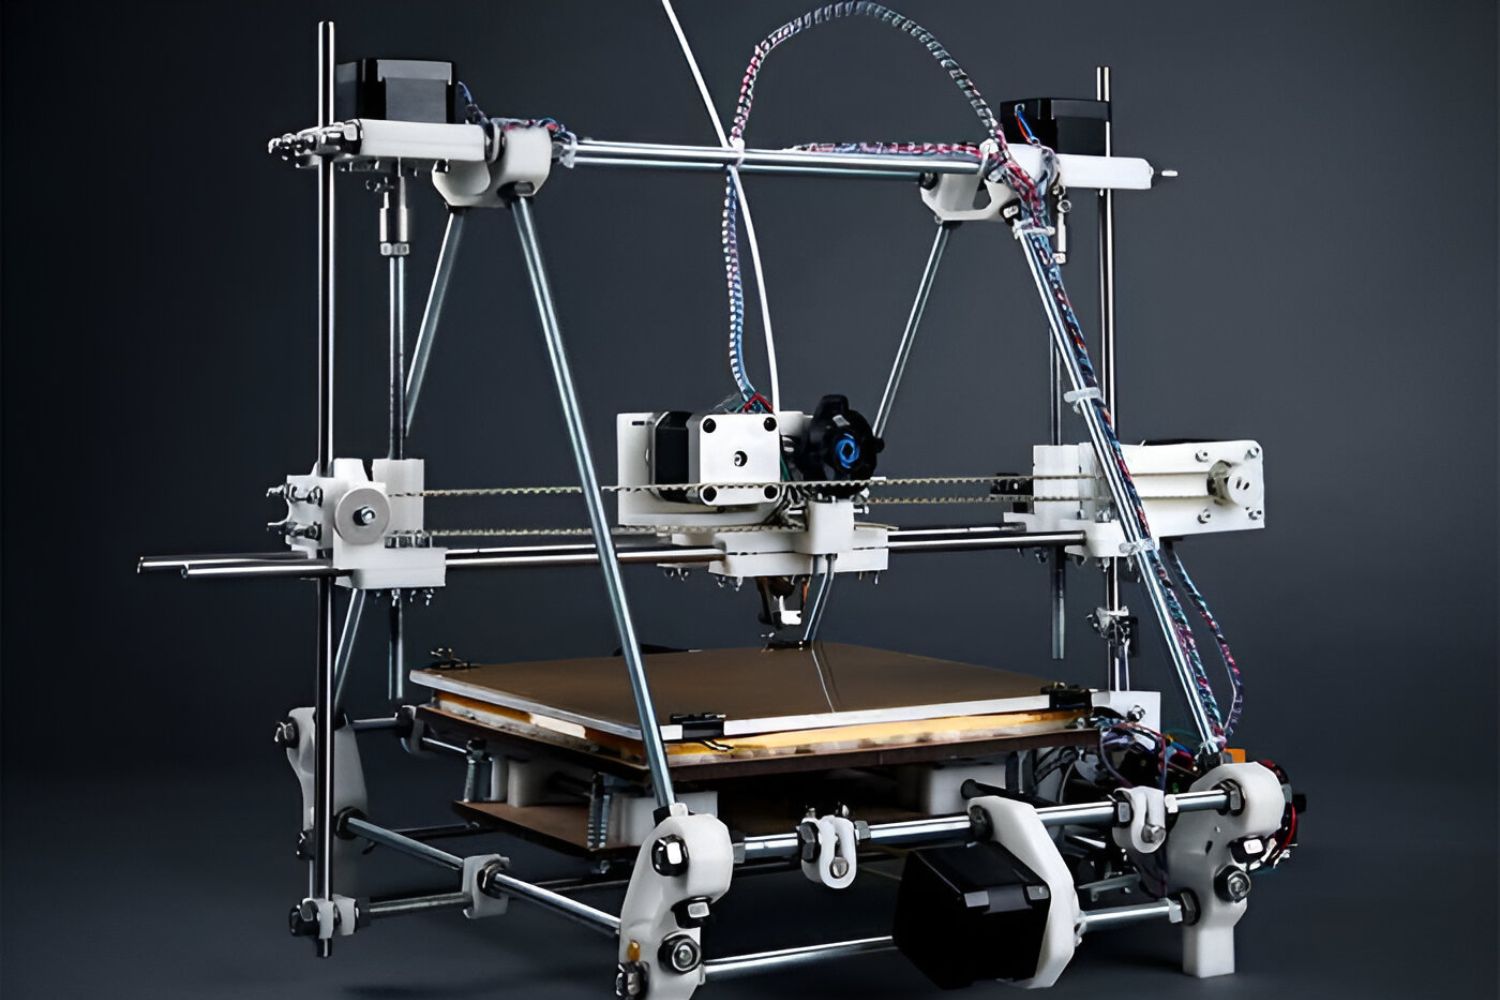
Marlin is an open-source firmware that powers the majority of consumer-grade 3D printers. It controls the printer’s movements, extruder, temperature management, and other vital functions. Regularly updating Marlin ensures that your printer remains up-to-date with the latest features, bug fixes, and advancements in the 3D printing community.
During this update, we will download the latest version of Marlin, make a backup of your existing firmware, install the necessary software and tools, configure the Marlin firmware for your specific printer, and upload the updated firmware to your 3D printer. We will also cover troubleshooting tips to help address any issues that may arise during the update process.
Before embarking on this firmware update journey, it is crucial to familiarize yourself with the specific model of your 3D printer and the current Marlin version installed. This information will ensure that you download the correct version and follow the appropriate steps for your printer’s compatibility. Furthermore, it’s always recommended to take precautions like backing up your settings and configurations, as well as ensuring a stable power source during the update process.
So, grab your favorite cup of coffee, get your 3D printer and computer ready, and let’s dive into the exciting world of updating Marlin firmware to unleash the full potential of your 3D printer!
Preparing for the Update
Before diving into the firmware update process, it’s important to take a few necessary steps to ensure a smooth and hassle-free experience. Here are some key preparations to make before updating the Marlin firmware on your 3D printer:
- Research: Begin by researching the specific Marlin version compatible with your 3D printer model. Check the manufacturer’s website, online forums, or user communities to gather the necessary information about firmware updates.
- Backup: It’s crucial to back up your existing firmware settings and configurations before proceeding with the update. This will allow you to revert to your previous configuration in case anything goes wrong during the process. Consult your printer’s documentation or online resources to learn how to create a backup.
- Power Supply: Ensure that your 3D printer is connected to a stable power source during the firmware update. Sudden power outages or fluctuations can disrupt the update process and potentially damage your printer.
- External Storage: If your printer’s firmware supports external storage, consider having an SD card or USB drive handy to store firmware files during the update. This will enable you to easily transfer and access the necessary files from your computer to the printer.
- Clear Workspace: Create a clutter-free workspace around your 3D printer and computer. Remove any obstructions or objects that may interfere with the update process. This will ensure that you have a clean and organized environment to work in.
By following these preparatory steps, you’ll be well-equipped to proceed with the Marlin firmware update on your 3D printer. Taking the time to research, back up your settings, and ensure a stable power supply will minimize any potential risks and maximize the chances of a successful update.
Downloading the Latest Version of Marlin
Now that you have prepared for the update, it’s time to download the latest version of the Marlin firmware. The Marlin firmware is open-source and can be found on the official Marlin GitHub repository. Here’s how to download the latest version:
- Visit the Marlin GitHub repository: Open your web browser and navigate to the Marlin GitHub repository, which can be found at https://github.com/MarlinFirmware/Marlin.
- Select the appropriate version: The repository contains multiple branches and releases. Look for the release that is compatible with your 3D printer model. If you are unsure, check the manufacturer’s website or consult the 3D printing community for guidance.
- Download the firmware: Once you have identified the appropriate version, click on the “Code” button and select “Download ZIP. This will download a compressed file containing the Marlin firmware to your computer.
- Extract the firmware: Navigate to the downloaded ZIP file on your computer and extract its contents to a location of your choice. This will create a folder with the Marlin firmware files.
Congratulations! You have successfully downloaded the latest version of the Marlin firmware for your 3D printer. The downloaded files will be used in the subsequent steps to update the firmware. Remember to keep the extracted firmware folder in an easily accessible location on your computer.
Making a Backup of the Existing Firmware
Before proceeding with the Marlin firmware update, it is crucial to create a backup of your existing firmware settings and configurations. This backup will serve as a safety net, allowing you to revert to your previous firmware in case any issues arise during the update process. Here’s how to make a backup of your existing firmware:
- Locate the firmware configuration files: Depending on your 3D printer model, the firmware configuration files are typically stored on the printer’s SD card or within the printer’s memory. Consult your printer’s documentation to locate the firmware files.
- Copy the firmware files: Once you have located the firmware files, create a new folder on your computer to store the backup. Copy all the firmware files from your 3D printer to this new folder. Ensure that you copy all the necessary files, as missing files may result in an incomplete backup.
- Document your settings: In addition to the firmware files, it is essential to document your current firmware settings and configurations. This includes parameters such as print bed dimensions, temperature settings, acceleration values, and any other customized settings you have applied. Take screenshots or write down these settings in a separate document.
With the firmware files and documented settings safely stored in a backup folder, you can proceed with confidence knowing that you can restore your previous configuration if needed. Make sure to keep this backup folder in a secure location on your computer or external storage device for easy access.
Installing the Necessary Software and Tools
To successfully update the Marlin firmware on your 3D printer, you will need to install a few software programs and tools. These tools will enable you to compile and upload the new firmware to your printer. Here’s what you need to do:
- Arduino IDE: Start by downloading and installing the Arduino Integrated Development Environment (IDE) from the official Arduino website. The Arduino IDE is used to compile and upload the Marlin firmware to your 3D printer. Ensure that you download the correct version compatible with your operating system.
- USB Drivers: If your 3D printer connects to your computer via USB, you may need to install the appropriate USB drivers. Check the manufacturer’s website or user manual to determine the required drivers for your specific printer model.
- Marlin Configuration Files: Navigate to the folder where you extracted the Marlin firmware files (from the previous step). Inside this folder, look for a file named
Configuration.h(or similar). Open this file using a text editor, such as Notepad++, to configure the options specific to your 3D printer model (e.g., steps per unit, thermistor type, etc.). Make the necessary changes and save the file. - Library Dependencies: Marlin firmware may have additional library dependencies that need to be installed. These libraries provide additional functionality and support for specific features. Check the Marlin documentation or the instructions provided with the firmware to identify any necessary libraries. Install these libraries using the Arduino Library Manager or by manually placing them in the Arduino libraries folder.
Once you have installed the required software and tools, and made the necessary configuration changes in the Marlin firmware files, you are now ready to proceed to the next steps of compiling and uploading the updated firmware to your 3D printer. This set of tools and software will enable you to customize and optimize the Marlin firmware for your specific printer and enjoy the enhanced features and performance it brings.
Connecting the 3D Printer to the Computer
Before you can update the Marlin firmware on your 3D printer, you need to establish a connection between your computer and the printer. This connection allows you to upload the new firmware and send commands to the printer. Here’s how to connect your 3D printer to your computer:
- USB Connection: If your 3D printer has a USB port, use a USB cable to connect it directly to your computer. Ensure the USB cable is securely plugged into both the printer and the computer.
- Power on the Printer: Turn on your 3D printer and allow it to fully power up. Ensure that it is connected to a stable power source.
- Check the Connection: Open the device manager on your computer and verify that the printer is recognized and listed. Look for any warning signs or exclamation marks next to the printer name, which may indicate a driver issue.
- Install USB Drivers: If your computer does not recognize the printer or if you encounter any driver-related issues, ensure that you have installed the appropriate USB drivers for your specific printer model. Refer to the manufacturer’s website or user manual for the correct drivers.
- Select the Correct Port: In the Arduino IDE, go to the “Tools” menu and select the correct COM port for your connected printer. This information can typically be found in the device manager or the printer’s documentation.
Once the 3D printer is successfully connected to your computer, you are ready to proceed with the firmware update process. The established connection will allow you to communicate with the printer and transfer the updated Marlin firmware for installation. Make sure the connection remains stable throughout the update process to avoid any interruptions.
Configuring the Marlin Firmware
Configuring the Marlin firmware is a crucial step in the update process, as it ensures that the firmware is properly optimized for your specific 3D printer model. By making the necessary configuration changes, you can customize the firmware to adapt to your printer’s hardware and desired functionalities. Here’s how to configure the Marlin firmware:
- Open the Configuration Files: Locate the Marlin firmware folder on your computer, which contains the extracted firmware files. Within this folder, find the
Configuration.hfile and open it with a text editor like Notepad++. - Update Printer-Specific Settings: Within the
Configuration.hfile, you will find various settings that need to be tailored to your 3D printer model. These settings include parameters such as steps per unit, thermistor type, maximum acceleration, and many others. Refer to your printer’s documentation or consult online resources to determine the correct values for these settings. - Enable or Disable Features: The Marlin firmware offers a wide range of features and functionalities that can be enabled or disabled to suit your specific requirements. In the
Configuration.hfile, you will find options to toggle features such as bed leveling, filament runout sensor, LCD display support, and more. Enable or disable these features by uncommenting or commenting out the corresponding lines of code. - Save and Close the Configuration Files: After making the necessary configuration changes, save the
Configuration.hfile and close it. Make sure that the changes are saved with the proper file name and extension.
Configuring the Marlin firmware allows you to optimize your printer’s performance and enable specific features that cater to your individual needs. It’s important to double-check the configuration changes and ensure their accuracy before proceeding to the next steps. Any incorrect or incompatible settings in the firmware configuration can cause issues during the update process or affect the printer’s functionality.
Compiling the Firmware
Once you have configured the Marlin firmware to suit your 3D printer’s specifications, the next step is to compile the firmware. Compiling involves converting the source code into a binary file that can be understood by your 3D printer’s controller board. Here’s how to compile the Marlin firmware:
- Launch the Arduino IDE: Open the Arduino IDE on your computer, which you previously installed during the software setup.
- Open the Marlin Firmware: In the Arduino IDE, click on “File” and then select “Open”. Navigate to the folder where you extracted the Marlin firmware files and select the main firmware file (usually named “Marlin.ino” or “Marlin.cpp”). This will open the firmware code in the Arduino IDE.
- Select the Board and Processor: In the Arduino IDE, go to the “Tools” menu, select “Board” and choose the appropriate board for your 3D printer’s controller. Additionally, select the correct processor from the “Processor” option, which is typically based on the chip type used in your printer’s controller board.
- Verify and Compile: Click on the “Verify” button (checkmark icon) to check the syntax and verify that there are no errors in the firmware code. If no errors are found, proceed to compile the firmware by clicking on the “Upload” button (right arrow icon). The Arduino IDE will begin compiling the firmware.
- Monitor the Compilation Process: During the compilation process, you might see various messages and status updates in the Arduino IDE’s bottom console. Pay attention to any error messages or warnings that may occur. If any issues arise, refer to online resources, forums, or the Marlin documentation to troubleshoot and resolve the compilation errors.
Once the compilation process is completed without any errors, you have successfully compiled the Marlin firmware for your 3D printer. This compiled firmware file will be used in the next step to upload the updated firmware to your printer. It’s vital to ensure that the firmware is compiled correctly to avoid any issues or malfunctions during the upload process.
Uploading the New Firmware to the Printer
With the Marlin firmware successfully compiled, the next step is to upload the updated firmware to your 3D printer. Uploading the firmware will replace the existing firmware on the printer’s controller board with the new version that you have customized. Follow these steps to upload the new firmware:
- Prepare the Printer: Ensure that your 3D printer is powered on and connected to your computer via USB. Double-check the USB connection and ensure it is securely plugged in on both ends.
- Select the Correct Port: In the Arduino IDE, navigate to the “Tools” menu and select the appropriate COM port for your printer from the list of available ports. The correct port can usually be identified based on the printer’s name or the previous steps you followed to connect your printer.
- Select Upload Type: Verify that the selected upload type is “Upload” in the Arduino IDE. This ensures that the new firmware will be uploaded to the printer’s controller board.
- Start the Upload: Click on the “Upload” button (right arrow icon) in the Arduino IDE to begin the firmware upload process. The Arduino IDE will compile the code again (if necessary) and start transferring the firmware to the printer.
- Monitor the Upload Process: During the upload process, you may see some progress messages and status updates in the Arduino IDE’s console. It is essential to monitor this process and ensure that the upload completes without any errors.
- Completion and Verification: Once the firmware upload is complete, the Arduino IDE will display a “Done uploading” message. At this point, the new Marlin firmware has been successfully uploaded to your 3D printer. You can now disconnect the USB cable from the printer.
After successfully uploading the new firmware, it’s always a good idea to power cycle your 3D printer by turning it off and on again. This ensures that the updated firmware is properly loaded and ready to use. Take this opportunity to verify that the printer’s functionality is as expected and that any customized settings or features are functioning correctly.
Testing the Updated Marlin Firmware
Now that you have successfully uploaded the updated Marlin firmware to your 3D printer, it’s time to test the new firmware to ensure its functionality. Testing allows you to verify that the firmware is working correctly and that any customizations or optimizations you made are functioning as intended. Here’s how to test the updated Marlin firmware:
- Power On the Printer: Start by powering on your 3D printer and allowing it to boot up. Ensure that the printer is connected to a stable power source and that all necessary cables are properly connected.
- Basic Functionality: Test the basic functionality of the printer by performing tasks such as homing the printer, moving the printer’s axes, and heating the extruder and print bed to the desired temperatures. Ensure that the printer responses accurately to these commands.
- Specific Features: If you enabled or customized specific features in the Marlin firmware, test them to ensure their proper functioning. For example, if you enabled auto-bed leveling, run the bed leveling process and observe its accuracy. If you added a filament runout sensor, verify that the printer properly detects filament presence or absence. Test any other features or optimizations you implemented to ensure they are working as expected.
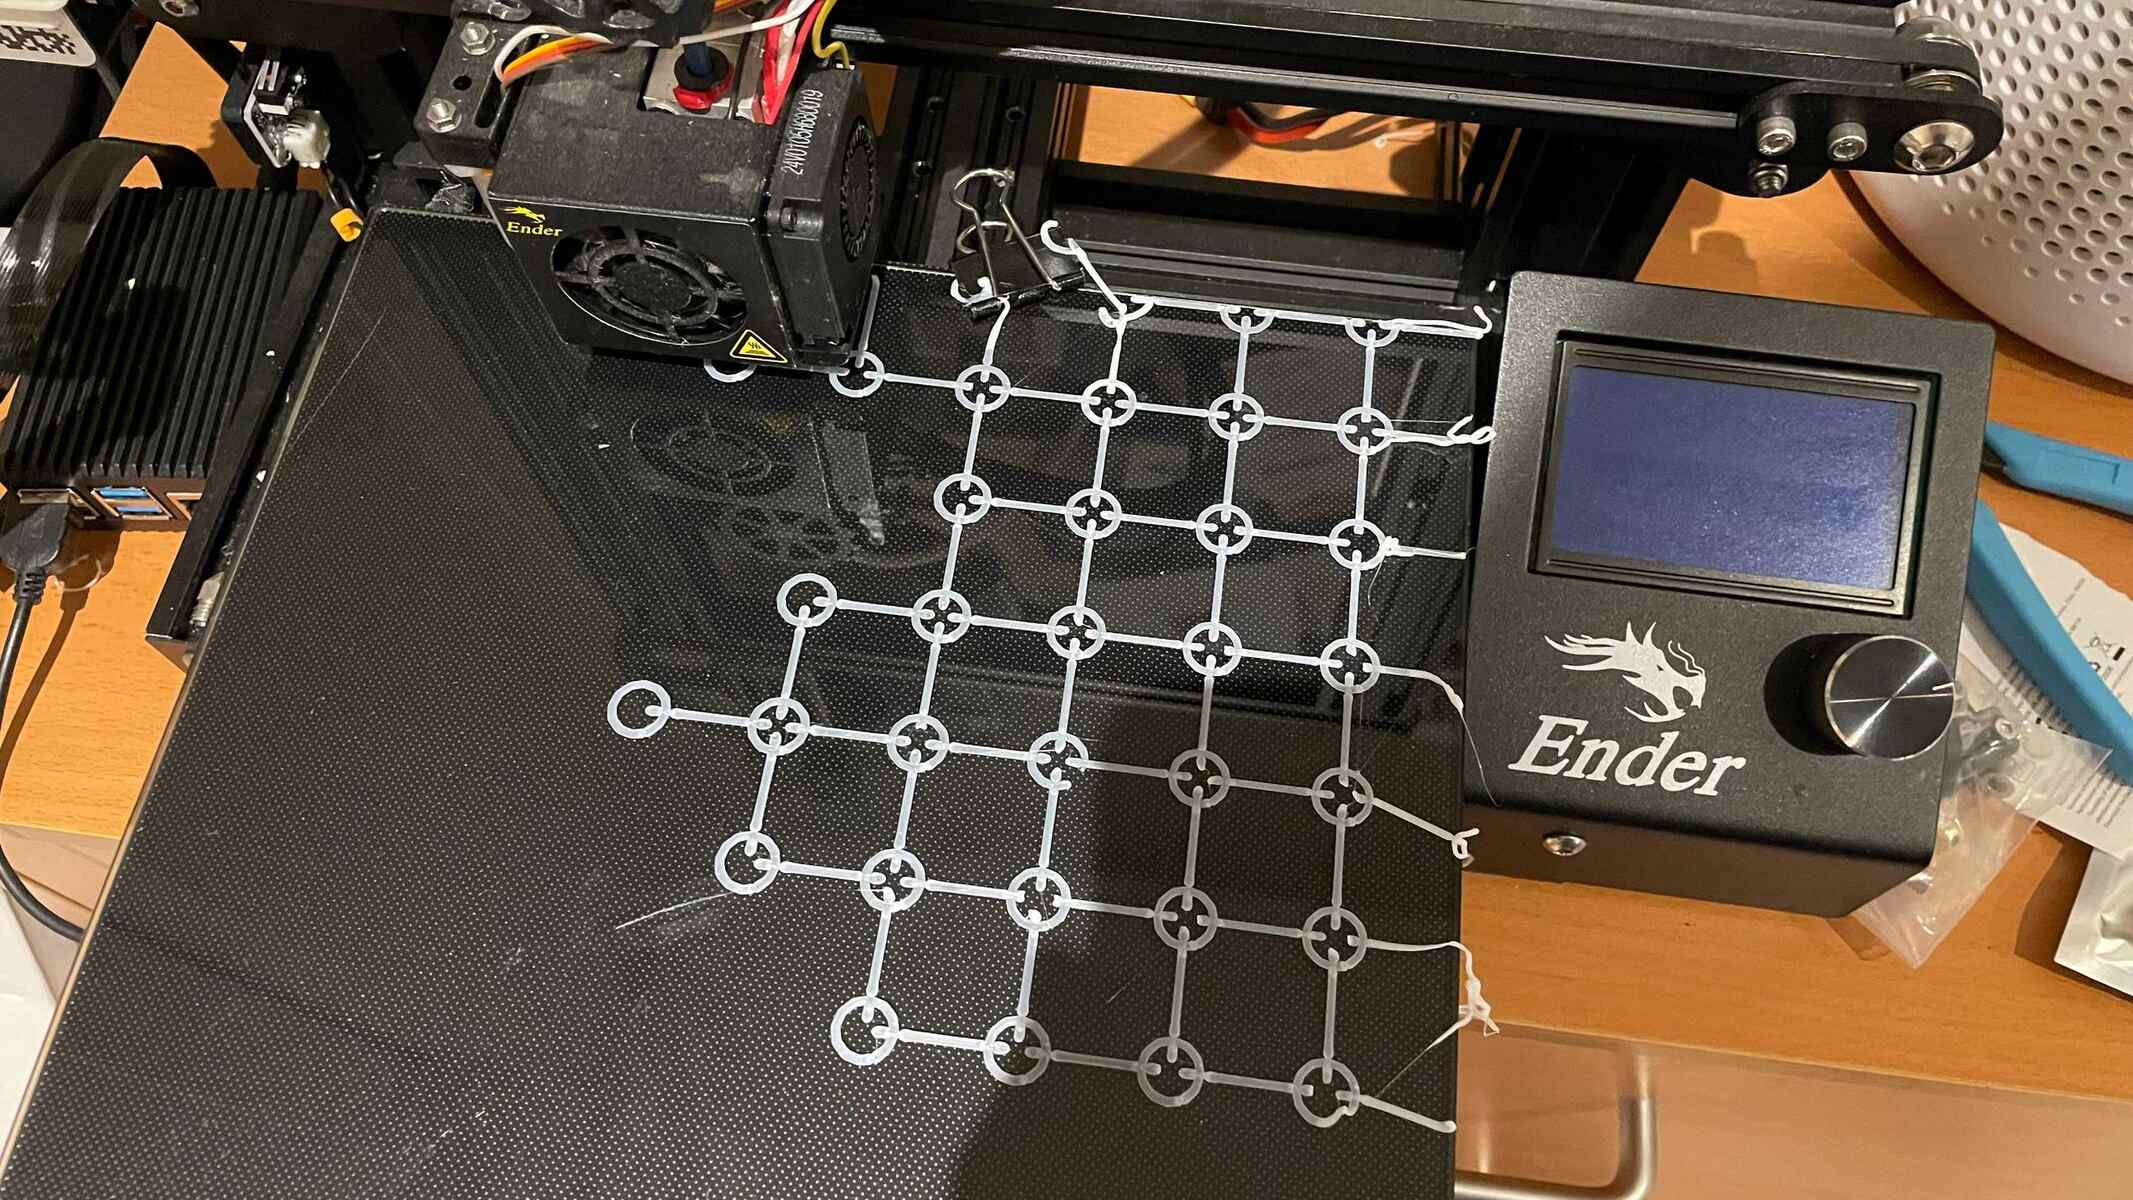
- Print a Test Object: To further test the firmware, print a test object using your preferred slicer software. Pay attention to the print quality, accuracy, and any improvements over previous prints. If you notice any issues or unexpected behavior, review your firmware configurations and consult available resources for troubleshooting.
- Monitor Performance: During the initial prints using the updated Marlin firmware, monitor the printer’s performance closely. Look for any inconsistencies, unusual noises, or errors that may indicate potential issues. Keep note of any observed problems to help address them later if necessary.
Testing the updated Marlin firmware ensures that your printer is operating with the desired functionalities and optimal performance. If any issues arise during the testing phase, refer to the firmware documentation, online forums, or manufacturer support for troubleshooting guidance. By thoroughly testing the firmware, you can make any necessary adjustments or configurations to achieve the best results with your 3D printer.
Troubleshooting Common Issues
When updating the Marlin firmware on your 3D printer, you may encounter some common issues that can impact the update process or the functionality of your printer. Here are a few troubleshooting steps to help you address these issues:
- Compilation Errors: If you encounter compilation errors during the firmware update, carefully review the error messages displayed in the Arduino IDE. These messages often provide clues about the specific issue. Common causes of compilation errors include missing or incorrect library installations, syntax errors in the firmware configuration, or conflicting settings. Double-check your firmware configurations, library installations, and syntax to resolve these errors.
- Connectivity Issues: If you are having trouble establishing a connection between your computer and the 3D printer, check the USB connections and ensure they are securely plugged in. If the printer is still not recognized, try connecting it to a different USB port on your computer. In some cases, updating or reinstalling the USB drivers for your specific printer model may also help resolve connectivity issues.
- Compatibility Problems: When updating the firmware, ensure that you are using the correct version of Marlin that is compatible with your 3D printer model. Consult the manufacturer’s website, user manual, or online resources to verify the appropriate firmware version for your printer. Using an incompatible firmware version can lead to unexpected behavior or issues with printer functionality.
- Functionality Testing: If you notice any unexpected behavior or issues with specific features after updating the firmware, review your configuration settings to ensure they are correctly enabled or configured. Check for any conflicting settings that may be causing unintended consequences. Consult the Marlin documentation, online forums, or user communities for troubleshooting guidance specific to the feature in question.
- Reverting to the Previous Firmware: If you encounter major issues or are unhappy with the updated firmware, you can revert to your previous firmware version. This is where the backup of your original firmware comes in handy. Simply restore the original firmware files and configurations to revert back to your previous setup. Follow the manufacturer’s instructions or online resources for reverting firmware on your specific 3D printer model.
Remember that troubleshooting can vary depending on your specific printer model, firmware version, and hardware setup. If you are unable to resolve the issues through basic troubleshooting steps, reach out to the firmware developers, manufacturer support, or the vibrant 3D printing community for further assistance. With patience and persistence, most common issues can be resolved, allowing you to fully enjoy the benefits of the updated Marlin firmware on your 3D printer.
Conclusion
Updating the Marlin firmware on your 3D printer can bring a multitude of benefits, such as improved performance, enhanced features, and bug fixes. By following the steps outlined in this guide, you can successfully update the firmware and unlock the full potential of your 3D printer. Remember to conduct thorough research, make backups of your existing firmware, install the necessary software and tools, and carefully configure the Marlin firmware for your specific printer model.
During the update process, it is essential to troubleshoot any issues that may arise, such as compilation errors or connectivity problems. Through careful testing and attention to detail, you can ensure the functionality and reliability of your printer after the firmware update.
As you become more comfortable with updating firmware, you may explore advanced configurations and efforts to further optimize performance or unlock additional features. The open-source nature of Marlin firmware allows for endless possibilities and customization options, catering to the needs and preferences of every 3D printing enthusiast.
Remember that firmware updates are not a one-time event. As new versions of the Marlin firmware are released, it is important to stay up-to-date with the latest updates and enhancements. Regularly checking for firmware updates and keeping your printer’s software current will ensure that you continue to benefit from the latest advancements in the 3D printing community.
By taking the time and effort to update the Marlin firmware, you are investing in the long-term success of your 3D printing journey. Enjoy exploring the new features, improving the performance of your 3D printer, and creating remarkable prints with the updated Marlin firmware.