Introduction
Disney+ has quickly become one of the most popular streaming platforms, offering a vast library of beloved movies and TV shows. Whether you’re watching an action-packed superhero flick or a heartwarming animated classic, having subtitles can greatly enhance your viewing experience. Subtitles allow you to follow the dialogue, catch nuances in the plot, and fully immerse yourself in the content.
In this article, we will guide you through the process of turning on subtitles on Disney+. Whether you’re watching on your computer, phone, or TV, enabling subtitles is a straightforward process. We’ll also cover various customization options, troubleshooting tips, and provide helpful insights for different devices.
So, whether you’re watching a movie with a heavy accent or trying to catch every word in a fast-paced dialogue, subtitles will come to your rescue. With just a few simple steps, you can enjoy your favorite Disney+ content with subtitles in your preferred language.
Now, let’s dive into the details of how to turn on subtitles on Disney+ and make your streaming experience even better.
How to Open Disney+ App
To begin, you’ll need to open the Disney+ app on your device. Here’s a step-by-step guide to help you get started:
- Locate the Disney+ app icon on your device’s home screen or app drawer.
- Tap on the app icon to launch the Disney+ app.
- In case you don’t have the app installed, you can download it from the App Store (for iOS devices) or Google Play Store (for Android devices).
- If you’re watching on a smart TV, game console, or streaming stick, make sure the device is connected to the internet and navigate to the Disney+ app.
- If you’re accessing Disney+ through a web browser on your computer, open your preferred web browser and type in “www.disneyplus.com” in the address bar.
- Once the Disney+ app is launched or the website is loaded, you will be prompted to sign in with your Disney+ account credentials. If you haven’t created an account yet, you can sign up for a subscription and create a new account.
- Enter your email address and password associated with your Disney+ account to sign in.
- After successfully signing in, you will be directed to the Disney+ homepage, where you can browse through the vast collection of movies and TV shows available.
Now that you’ve successfully opened the Disney+ app, you’re ready to proceed to the next step of enabling subtitles.
Accessing the Account Settings
In order to turn on subtitles on Disney+, you need to access the account settings. The exact location of the account settings may vary slightly depending on the device or platform you’re using. Here are the general steps to access the account settings:
- Once you’re on the Disney+ homepage, look for the profile icon or your account name. It’s usually located in the top right corner of the screen. Click or tap on it.
- A dropdown menu will appear with various options. Look for the “Account” or “Settings” option and click or tap on it.
- On the account settings page, you’ll find a list of different settings and preferences you can customize.
- Scroll down the page until you find the “Subtitle” or “Caption” settings. These options may vary depending on the device or platform you’re using.
- Click or tap on the “Subtitle” or “Caption” settings to access the subtitle customization options.
Once you’ve accessed the account settings and found the subtitle settings, you’re ready to proceed to the next step of selecting your preferred subtitle language.
Navigating to the Device & Settings Option
To ensure a seamless viewing experience with subtitles on Disney+, you may need to navigate to the device settings on certain platforms or devices. Here’s how you can do it:
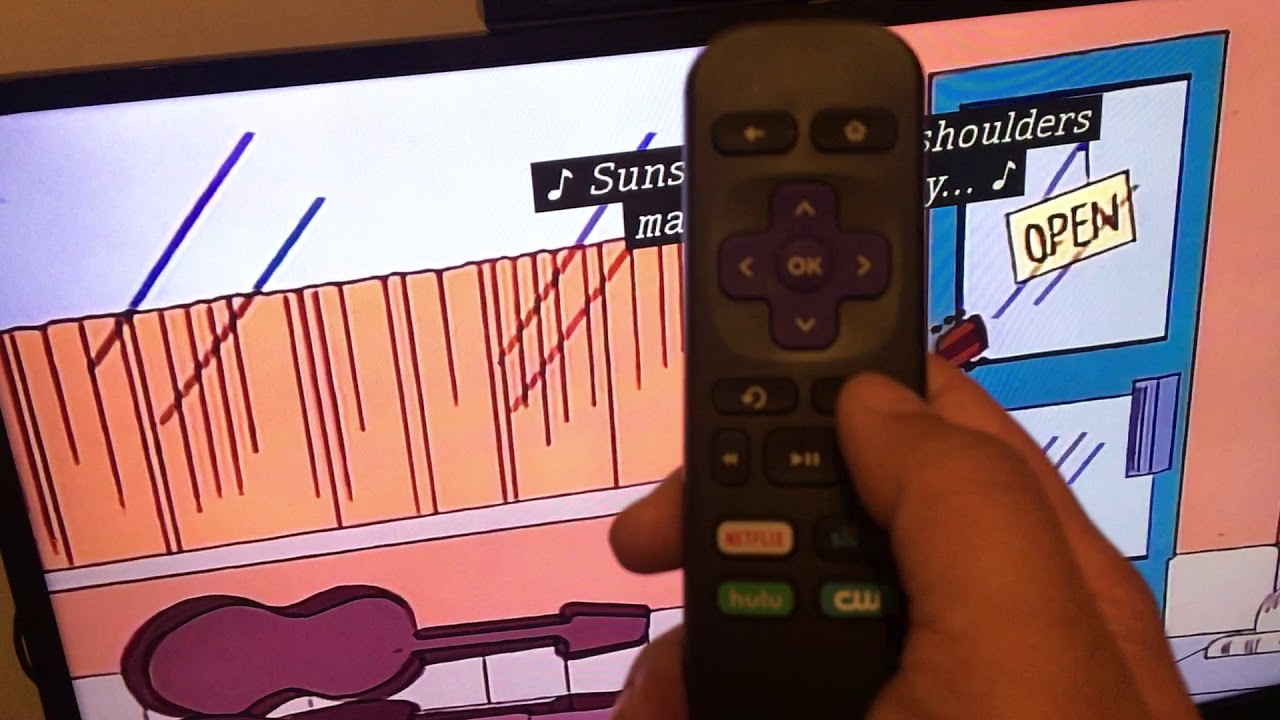
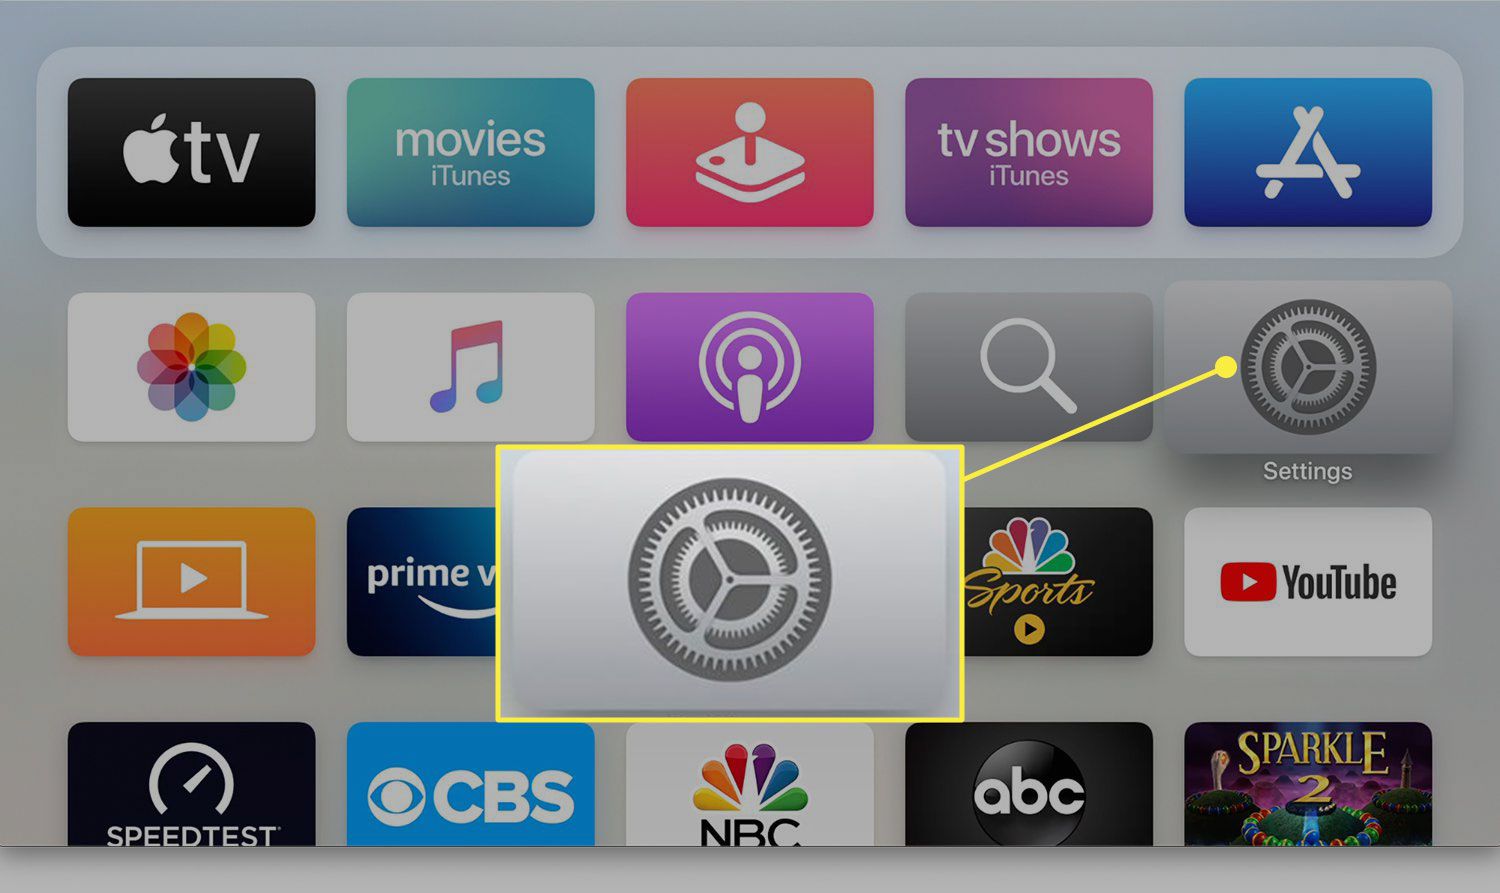
- If you’re using a smart TV, streaming stick, or game console, locate and select the “Settings” or “Gear” icon on your device’s home screen or remote control.
- In the settings menu, look for the “Device” or “System” option and click or tap on it.
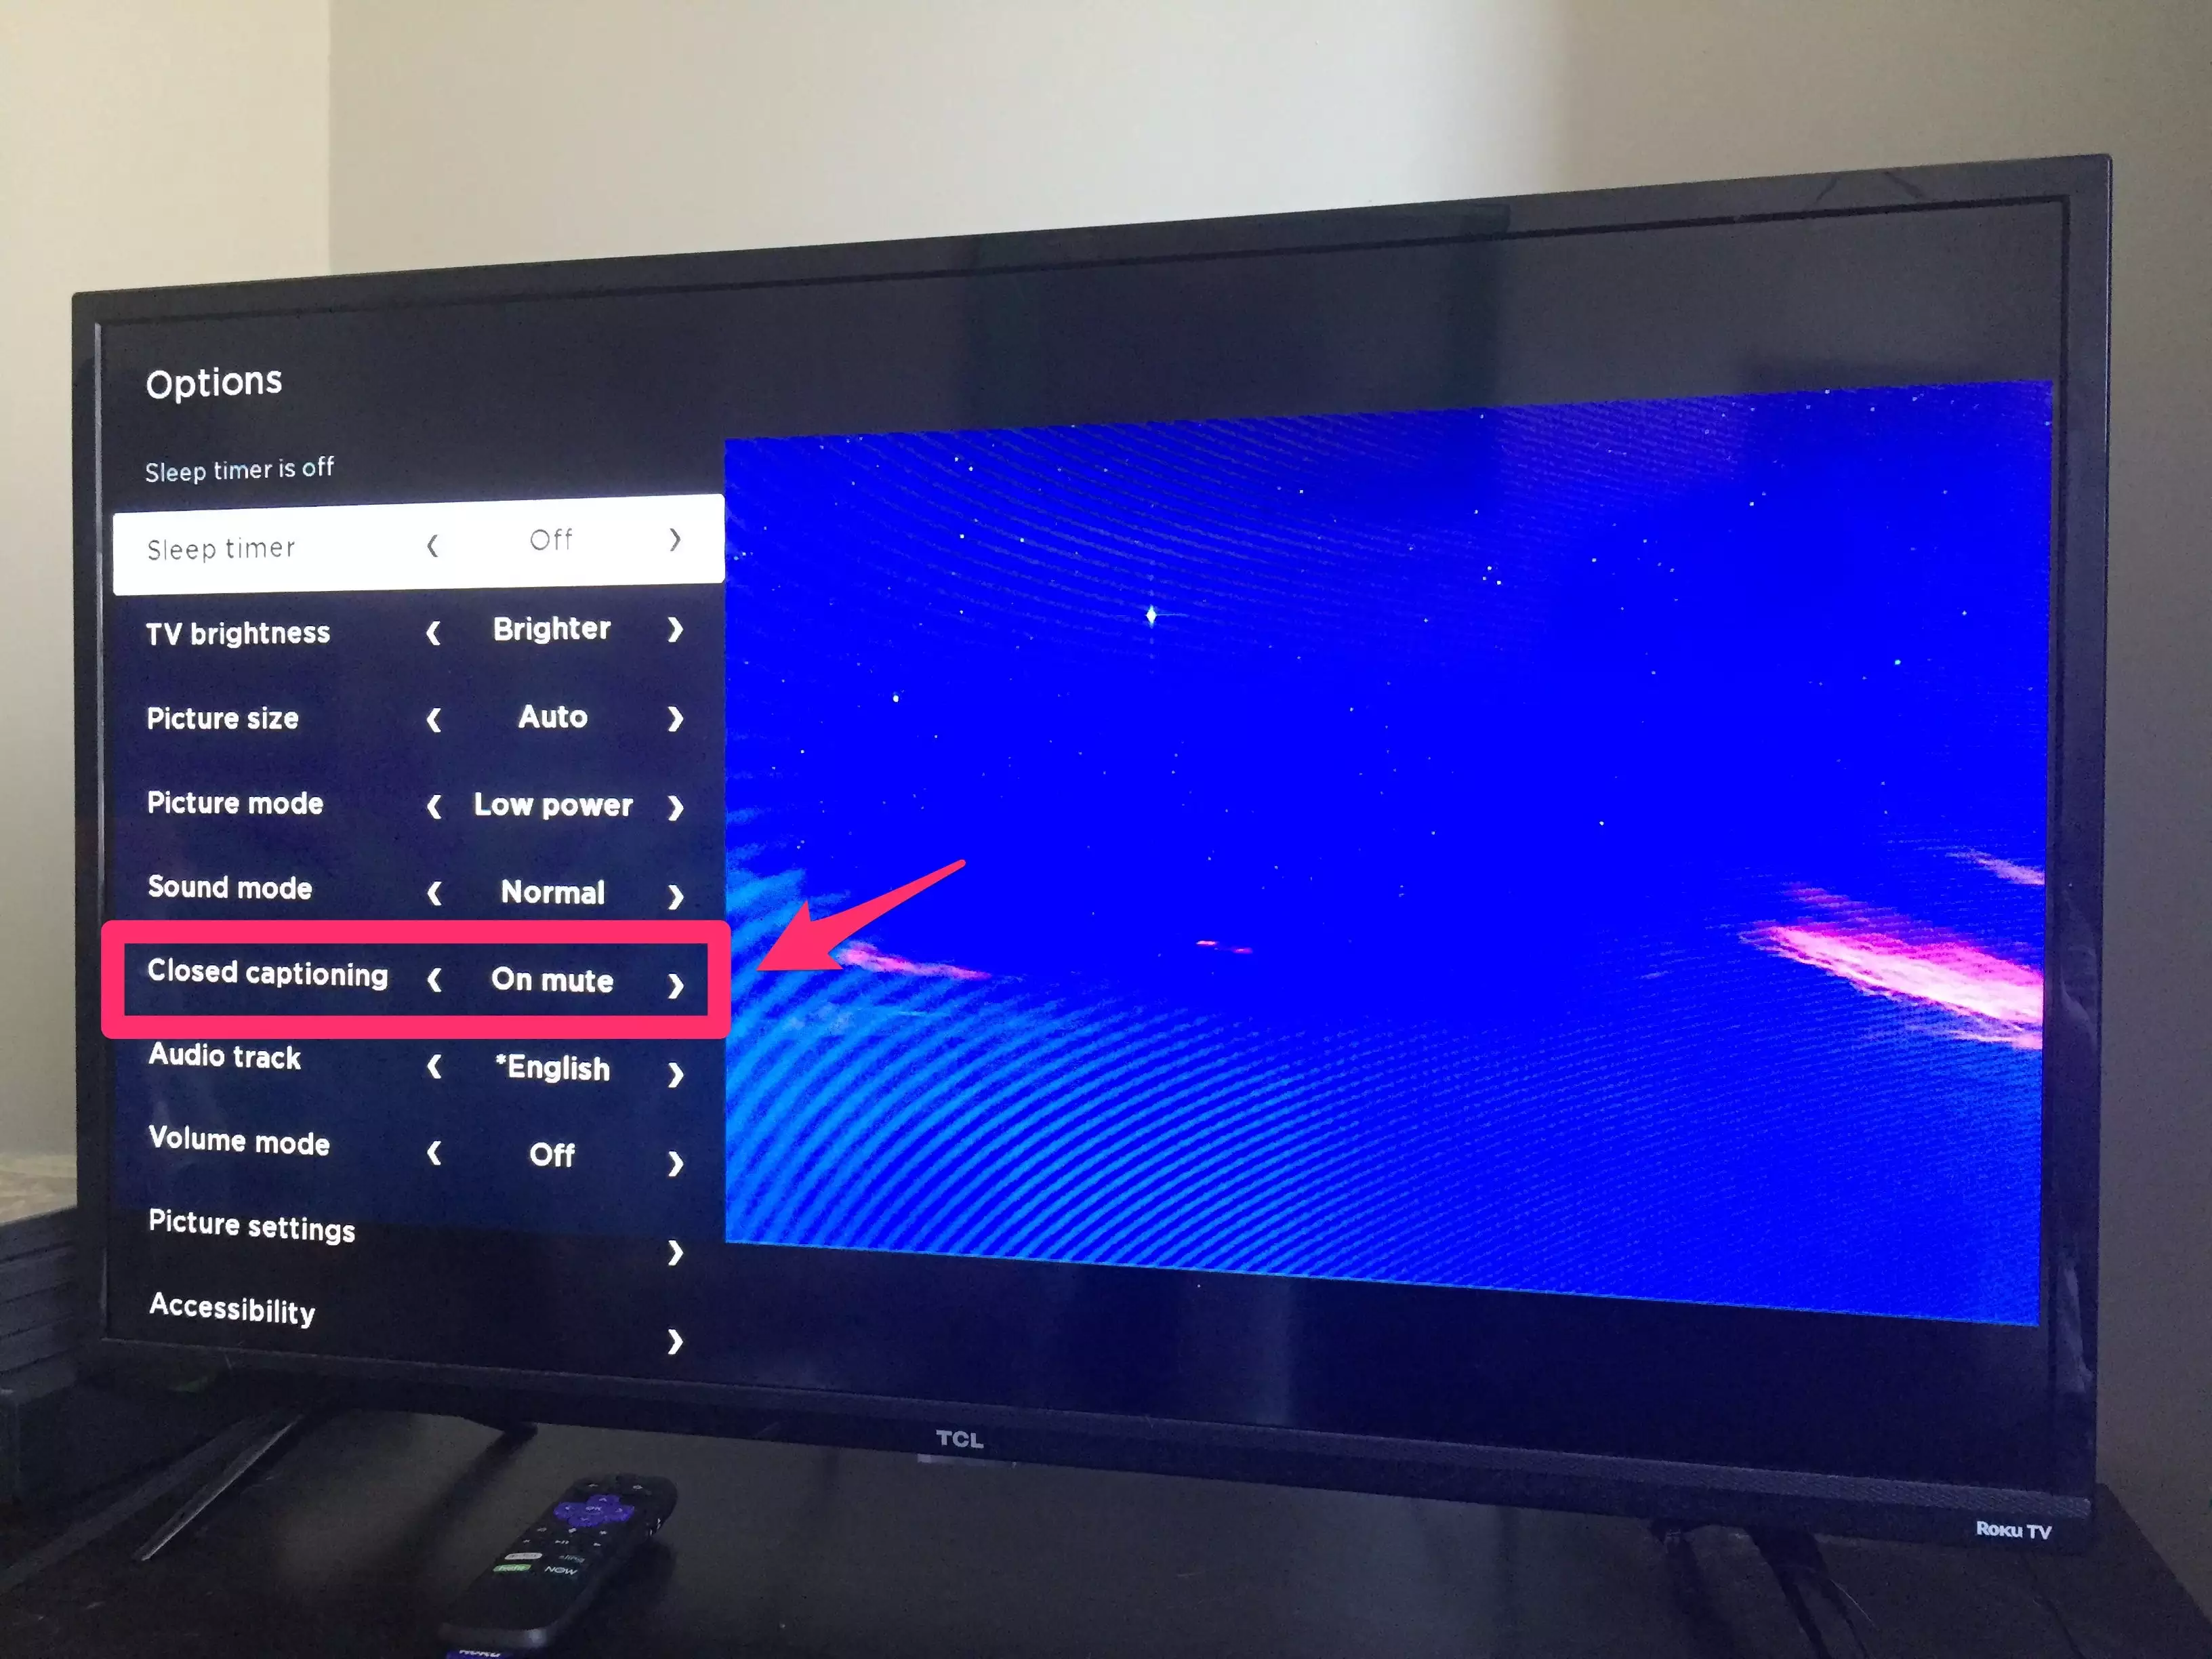
- Within the device settings, you might find a “Display” or “Accessibility” option. Select it to access further settings.
- Look for the “Subtitle” or “Closed Captioning” options within the display or accessibility settings. Click or tap on it to proceed.
- On some devices, the subtitle settings might be listed under “Language & Subtitles” or “Audio & Subtitles” options. Find and select it.
- After selecting the subtitle settings, you’ll be redirected to a page where you can customize the subtitle language and appearance.
If you’re watching Disney+ on a web browser, you won’t need to access the device settings. Instead, you can follow the previous section’s instructions to access the account settings directly from the Disney+ website.
Once you’ve successfully navigated to the device settings and accessed the subtitle settings, you’re ready to move on to the next step of selecting your preferred subtitle language and customizing the appearance.
Selecting the Subtitle Settings
After accessing the subtitle settings, it’s time to choose the settings that suit your preferences. The options available may vary depending on the device or platform you’re using. Here’s how you can select the subtitle settings:
- Look for the “Subtitle Language” or “Caption Language” option. This will allow you to choose your preferred language for the subtitles.
- Click or tap on the language dropdown menu and select the language you want the subtitles to appear in.
- If multiple language options are available, you may choose to have subtitles in multiple languages or select your preferred primary language.
- Some platforms also offer options for audio descriptions, which provide additional information for visually impaired viewers. You can enable or disable this feature based on your preference.
- Once you’ve selected the desired language and any additional options, navigate to the “Save” or “Apply” button to confirm your settings.
Remember to choose a language that you can understand well and feel comfortable with. Subtitles are designed to enhance your viewing experience, so make sure to select the language that allows you to fully immerse yourself in the content.
Now that you’ve selected the subtitle settings, it’s time to move on to the next step of customizing the appearance of the subtitles.
Choosing Subtitle Language
Choosing the subtitle language is an essential step to ensure that you can understand the dialogue while enjoying your favorite content on Disney+. Follow these steps to select your desired subtitle language:
- Once you have accessed the subtitle settings, look for the “Subtitle Language” or “Caption Language” option.
- Click or tap on the language dropdown menu to view the available subtitle language options.
- Scroll through the list and select the language you prefer for the subtitles.
- If you want to have subtitles in multiple languages, some platforms offer the option to enable multiple subtitle languages simultaneously.
- Alternatively, you can choose your primary subtitle language and switch to a different language if needed.
- Once you have selected your preferred subtitle language, navigate to the “Save” or “Apply” button to save your settings.
Choosing the right subtitle language is crucial for a fulfilling viewing experience. Ensure that you select a language you are comfortable with and can easily understand. By doing so, you can fully engage with the content and enjoy your favorite movies and shows on Disney+.
Now that you have selected the desired subtitle language, it’s time to move on to the next step of customizing the appearance of the subtitles to suit your preferences.
Customizing Subtitle Appearance
To ensure optimal readability and visual experience, Disney+ allows you to customize the appearance of the subtitles. Here’s how you can personalize the subtitle appearance according to your preferences:
- Within the subtitle settings, look for the “Subtitle Appearance” or “Caption Style” option.
- Click or tap on this option to access the customization settings.
- Depending on the platform or device, you’ll find a range of customization options such as font style, font size, font color, and background color.
- Explore the available options and choose a font style that is easy to read and suits your taste.
- Adjust the font size to ensure that the subtitles are legible and easy to follow without being distracting.
- Consider choosing a font color that contrasts well with the background and enhances the readability of the subtitles.
- Additionally, you may have the option to change the background color of the subtitles if available.
- Experiment with different combinations until you find the ideal subtitle appearance that is comfortable for you to read.
- Once you are satisfied with your customizations, navigate to the “Save” or “Apply” button to save your changes.
Customizing the subtitle appearance ensures that the subtitles are displayed in a way that enhances your viewing experience. By adjusting the font style, size, color, and background, you can create a visually pleasing and comfortable subtitle display on Disney+.
Now that you have customized the appearance of the subtitles, it’s time to move on to adjusting the subtitle size and style.
Adjusting Subtitle Size and Style
Disney+ provides the flexibility to adjust the size and style of the subtitles according to your preference. Follow these steps to make the necessary adjustments:
- Within the subtitle settings, look for the “Subtitle Size” or “Caption Size” option.
- Click or tap on this option to access the available size adjustments.
- You may find preset size options or a slider that allows you to increase or decrease the subtitle size.
- Slide the size adjustment bar or select the appropriate size option to increase or decrease the subtitle size based on your visual preference.
- Ensure that the subtitle size is large enough to read comfortably without obstructing the screen or becoming overwhelming.
- Next, explore the subtitle style options if available. You might find options for bold, italic, or underline style.
- Select the preferred style option that suits your preference and aligns with your viewing experience.
- Once you have adjusted the size and style of the subtitles to your liking, navigate to the “Save” or “Apply” button to save your changes.
By adjusting the subtitle size and style, you can personalize the viewing experience on Disney+ and ensure that the subtitles are legible and visually appealing. Finding the right combination of size and style will enhance your enjoyment of movies and shows.
Now that you have adjusted the subtitle size and style, let’s move on to changing the subtitle background and color if available.
Changing Subtitle Background and Color
In addition to customizing the size and style of the subtitles, Disney+ also allows you to change the background and color of the subtitles. Here’s how you can do it:
- Within the subtitle settings, look for the “Subtitle Background” or “Caption Background” option.
- Click or tap on this option to access the available background customization settings.
- You may have the option to choose different background colors or transparency levels for the subtitles.
- Experiment with different background options to find the one that provides optimal contrast and readability.
- Similarly, look for the “Subtitle Color” or “Caption Color” option to customize the color of the subtitles.
- Choose a color that stands out from the background and ensures maximum legibility.
- Consider the overall visual experience and make adjustments until you are satisfied with the combination of background and color.
- After making the desired changes, navigate to the “Save” or “Apply” button to save the changes to your settings.
Changing the subtitle background and color allows you to tailor the appearance of the subtitles to your liking. By selecting contrasting colors and backgrounds, you can ensure that the subtitles are easily readable and enhance your enjoyment of the content.
Now that you have personalized the subtitle background and color, let’s proceed to enabling subtitles on different devices.
Enabling Subtitles on Different Devices
Enabling subtitles on various devices ensures a seamless viewing experience regardless of the platform you’re using. Here’s how you can enable subtitles on different devices when streaming Disney+:
Smart TVs, Game Consoles, and Streaming Sticks:
- Using your device’s remote control, navigate to the settings or menu options.
- Find the “Subtitle” or “Caption” settings within the display or accessibility options.
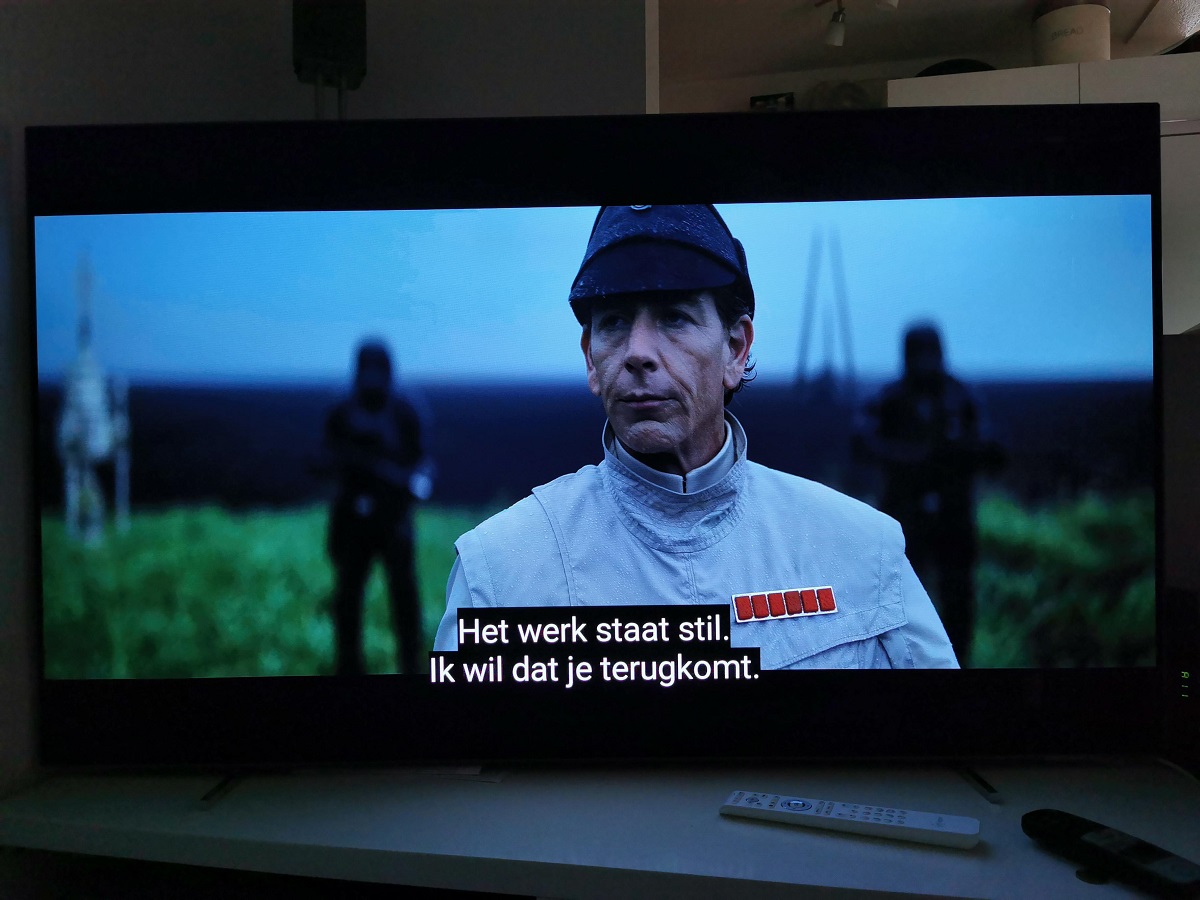
- Select the subtitle language, customize the appearance if available, and enable subtitles.
- Save your settings and exit the menu.
Computer (Web Browser):
- While streaming Disney+ on your web browser, locate the account settings.
- Access the subtitle settings and select the desired language.
- Customize the appearance if available according to your preference.
- Save the settings and continue enjoying Disney+ with subtitles.
Mobile Devices (Phones and Tablets):
- Launch the Disney+ app on your mobile device.
- Access the account settings within the app.
- Find the subtitle settings and choose your preferred language.
- Customize the appearance if available to suit your viewing experience.
- Save the settings and start streaming Disney+ with subtitles.
Enabling subtitles on different devices ensures that you can enjoy your favorite movies and shows on Disney+ with enhanced accessibility. By following the specific steps for each device, you can easily enable subtitles and customize the settings as per your preferences.
Now that you know how to enable subtitles on various devices, let’s address some common subtitle issues and how to troubleshoot them.
Troubleshooting Common Subtitle Issues
While enabling subtitles on Disney+ is usually a straightforward process, you may encounter some common issues. Here are a few troubleshooting tips to help you resolve them:
1. Subtitles Not Appearing:
If the subtitles are not appearing while streaming Disney+, try the following:
- Check if the subtitle option is enabled in the settings of the device or platform you’re using.
- Ensure that you have selected the correct subtitle language.
- Refresh the page or restart the app to see if the subtitles appear.
2. Incorrect Subtitle Language:
If you’re seeing subtitles in a different language than your chosen preference, try these steps:
- Double-check the subtitle language setting and make sure you’ve selected the desired language.
- If multiple subtitle languages are enabled, try disabling the undesired languages.
- Refresh the page or restart the app to see if the correct subtitle language is displayed.
3. Subtitle Syncing Issues:
If the subtitles are out of sync with the audio, you can try the following:
- Pause the video and resume play to see if the subtitles sync correctly.
- If the issue persists, refresh the page or restart the app and resume playback.
- If the syncing issue continues, you may need to reach out to Disney+ customer support for assistance.
4. Subtitles Cut Off or Partially Visible:
If the subtitles are cut off or only partially visible, try these solutions:
- Check the subtitle size and adjust it to a smaller size if the subtitles are cut off.
- Ensure that the video player’s aspect ratio is set correctly and not causing any cropping issues.
- Consider customizing the subtitle appearance to provide better visibility and avoid any overlapping with other on-screen elements.
If you’re still experiencing subtitle issues after attempting these troubleshooting steps, it’s recommended to contact Disney+ customer support for further assistance. They will be able to provide specific guidance to resolve the issue.
Now that you’re equipped with troubleshooting tips, you can enjoy uninterrupted viewing with accurate subtitles on Disney+.
Conclusion
Enabling subtitles on Disney+ is a simple and important step to enhance your viewing experience. Whether you’re watching on a smart TV, computer, or mobile device, following the steps outlined in this guide will allow you to enjoy your favorite movies and TV shows with subtitles.
From accessing the account settings and navigating to the subtitle settings, to selecting your preferred subtitle language and customizing the appearance, Disney+ offers various options to personalize your subtitle experience. Adjusting the subtitle size, style, background, and color can further improve readability and visual appeal.
If you encounter any issues with subtitles, such as subtitles not appearing, incorrect language, syncing problems, or cut-off text, you can refer to the troubleshooting tips provided and seek assistance from Disney+ customer support if needed.
By enabling subtitles, you can fully immerse yourself in the content, catch every line of dialogue, and enhance your understanding of the plot. Subtitles make it easier to enjoy movies and TV shows in different languages or with challenging accents. They also cater to individuals with hearing impairments or those who prefer reading along with the dialogue.
Now that you have the knowledge and tools to turn on subtitles on Disney+, go ahead and explore the vast collection of content, knowing that you can enjoy it with clear and accurate subtitles tailored to your preferences.