Introduction
Windows Defender Antivirus is a built-in security feature in Windows that helps protect your system from malware, viruses, and other malicious threats. While it is recommended to keep Windows Defender enabled for optimal protection, there may be scenarios where you need to temporarily or permanently disable it. This could be due to using a third-party antivirus software or troubleshooting compatibility issues.
In this article, we will explore various methods to turn off Windows Defender Antivirus in Windows 10. We will cover both temporary and permanent disabling options, depending on your specific requirements. However, it’s important to note that disabling Windows Defender Antivirus leaves your system more vulnerable to potential threats, so proceed with caution and ensure you have an alternative security solution in place.
We will outline four different methods to disable Windows Defender Antivirus. The first method involves using the Windows Security app, while the second method utilizes the Group Policy Editor. The third method requires using the Registry Editor, and the fourth method offers a temporary disable option when needed. Follow the instructions carefully to ensure the proper functioning and security of your system.
Whether you are a tech-savvy user or a novice, rest assured that these methods are straightforward and user-friendly. Now, let’s dive into each method and learn how to disable Windows Defender Antivirus on your Windows 10 system.
Method 1: Disabling Windows Defender Antivirus through the Windows Security App
To disable Windows Defender Antivirus using the Windows Security app, you can follow these steps:
- Click on the “Start” menu and open the “Settings” app.
- In the Settings app, click on “Update & Security.”
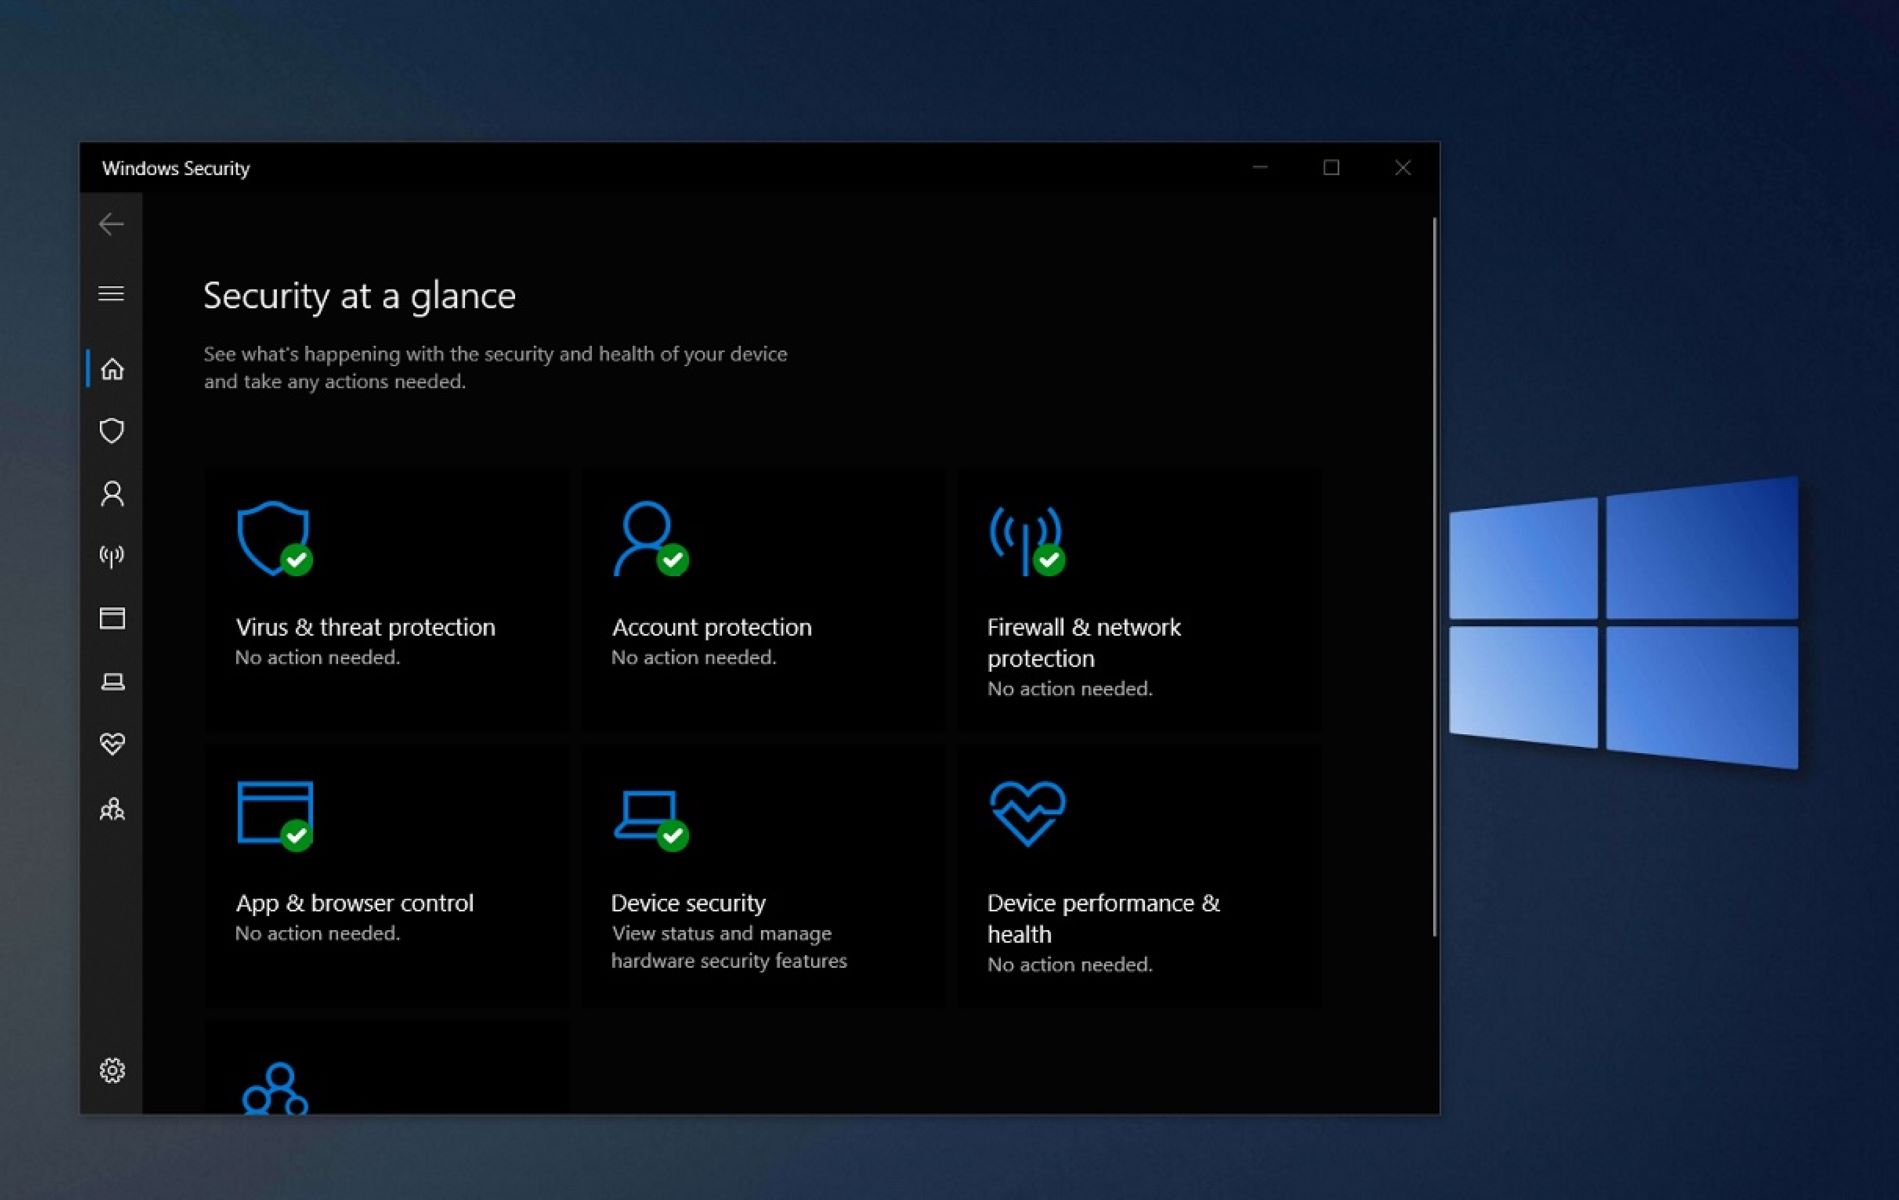
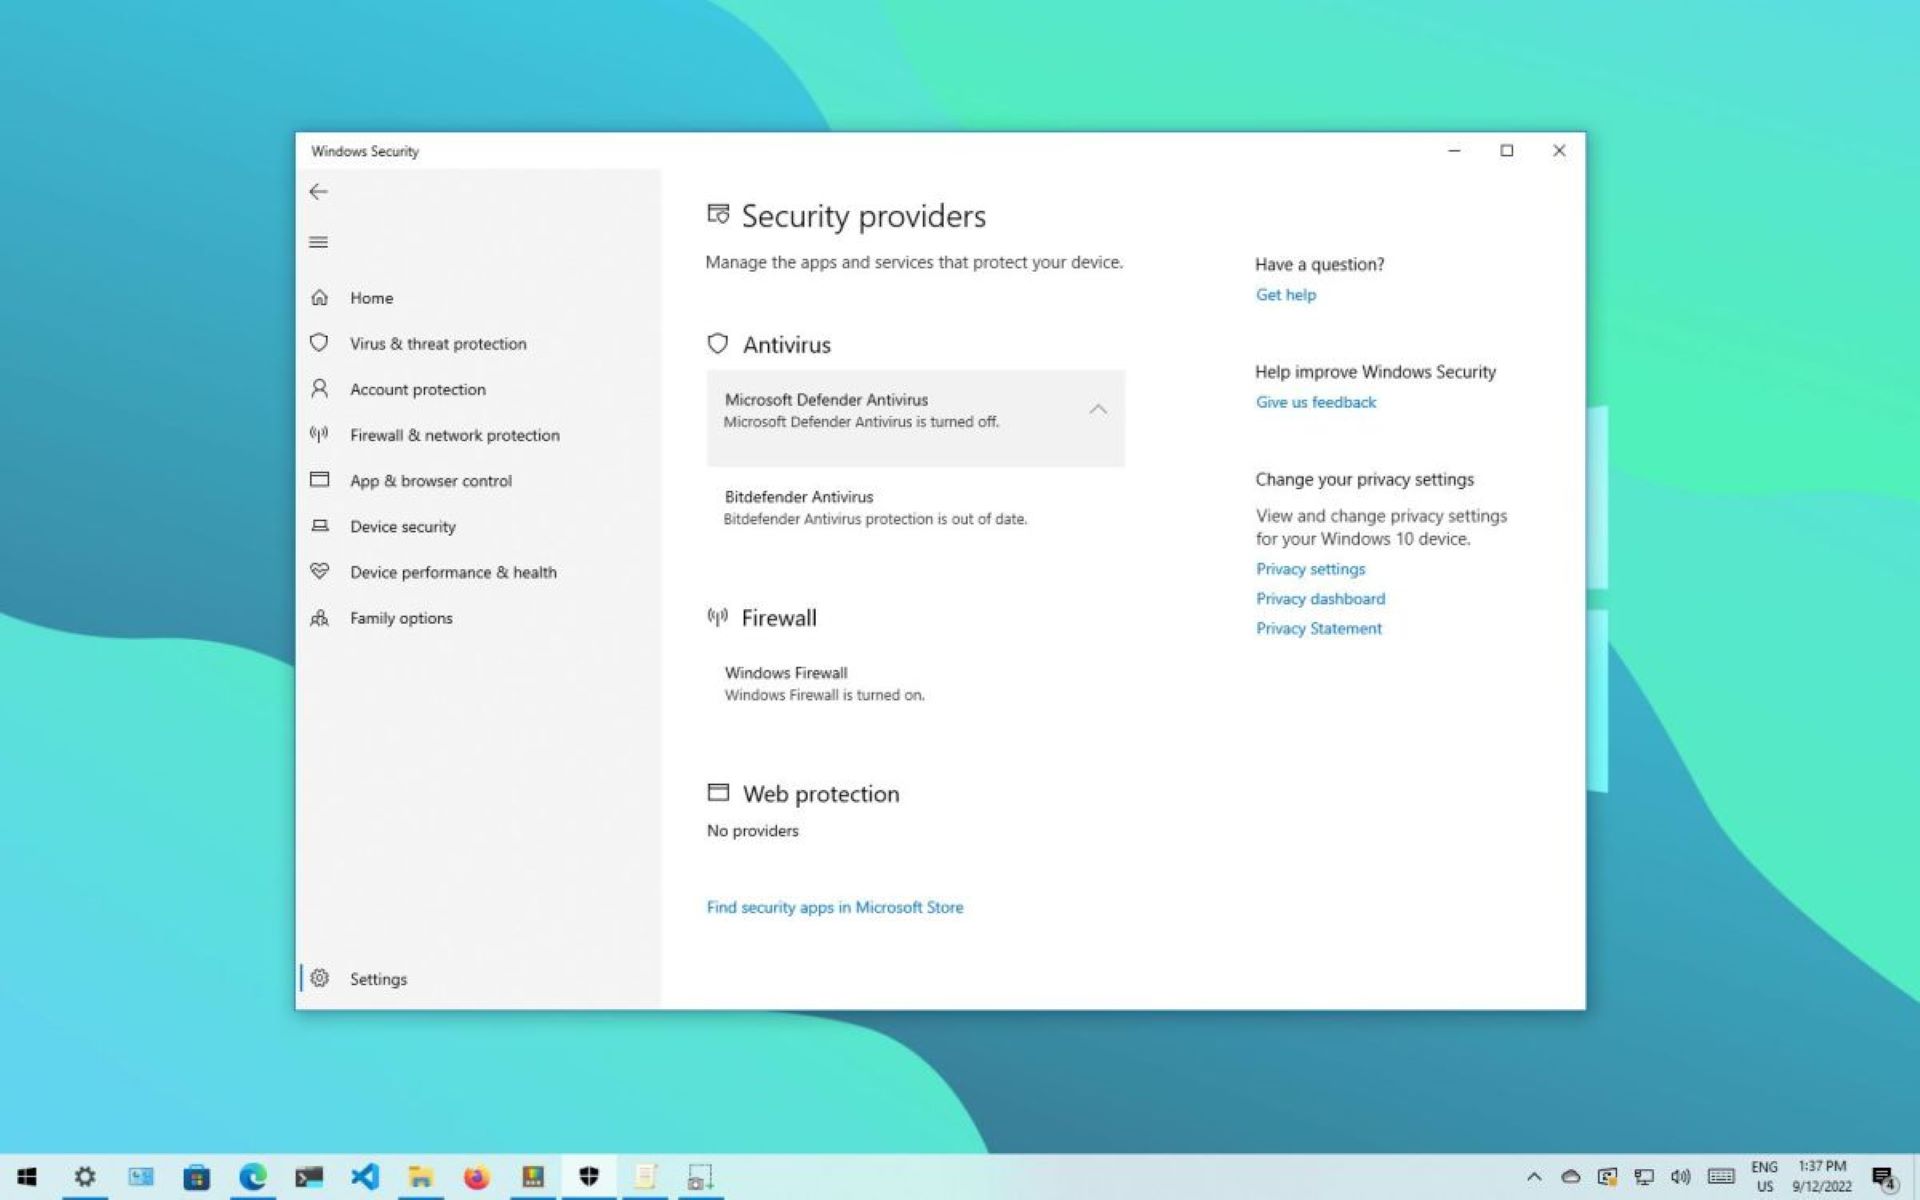
- Select “Windows Security” from the left-hand sidebar.
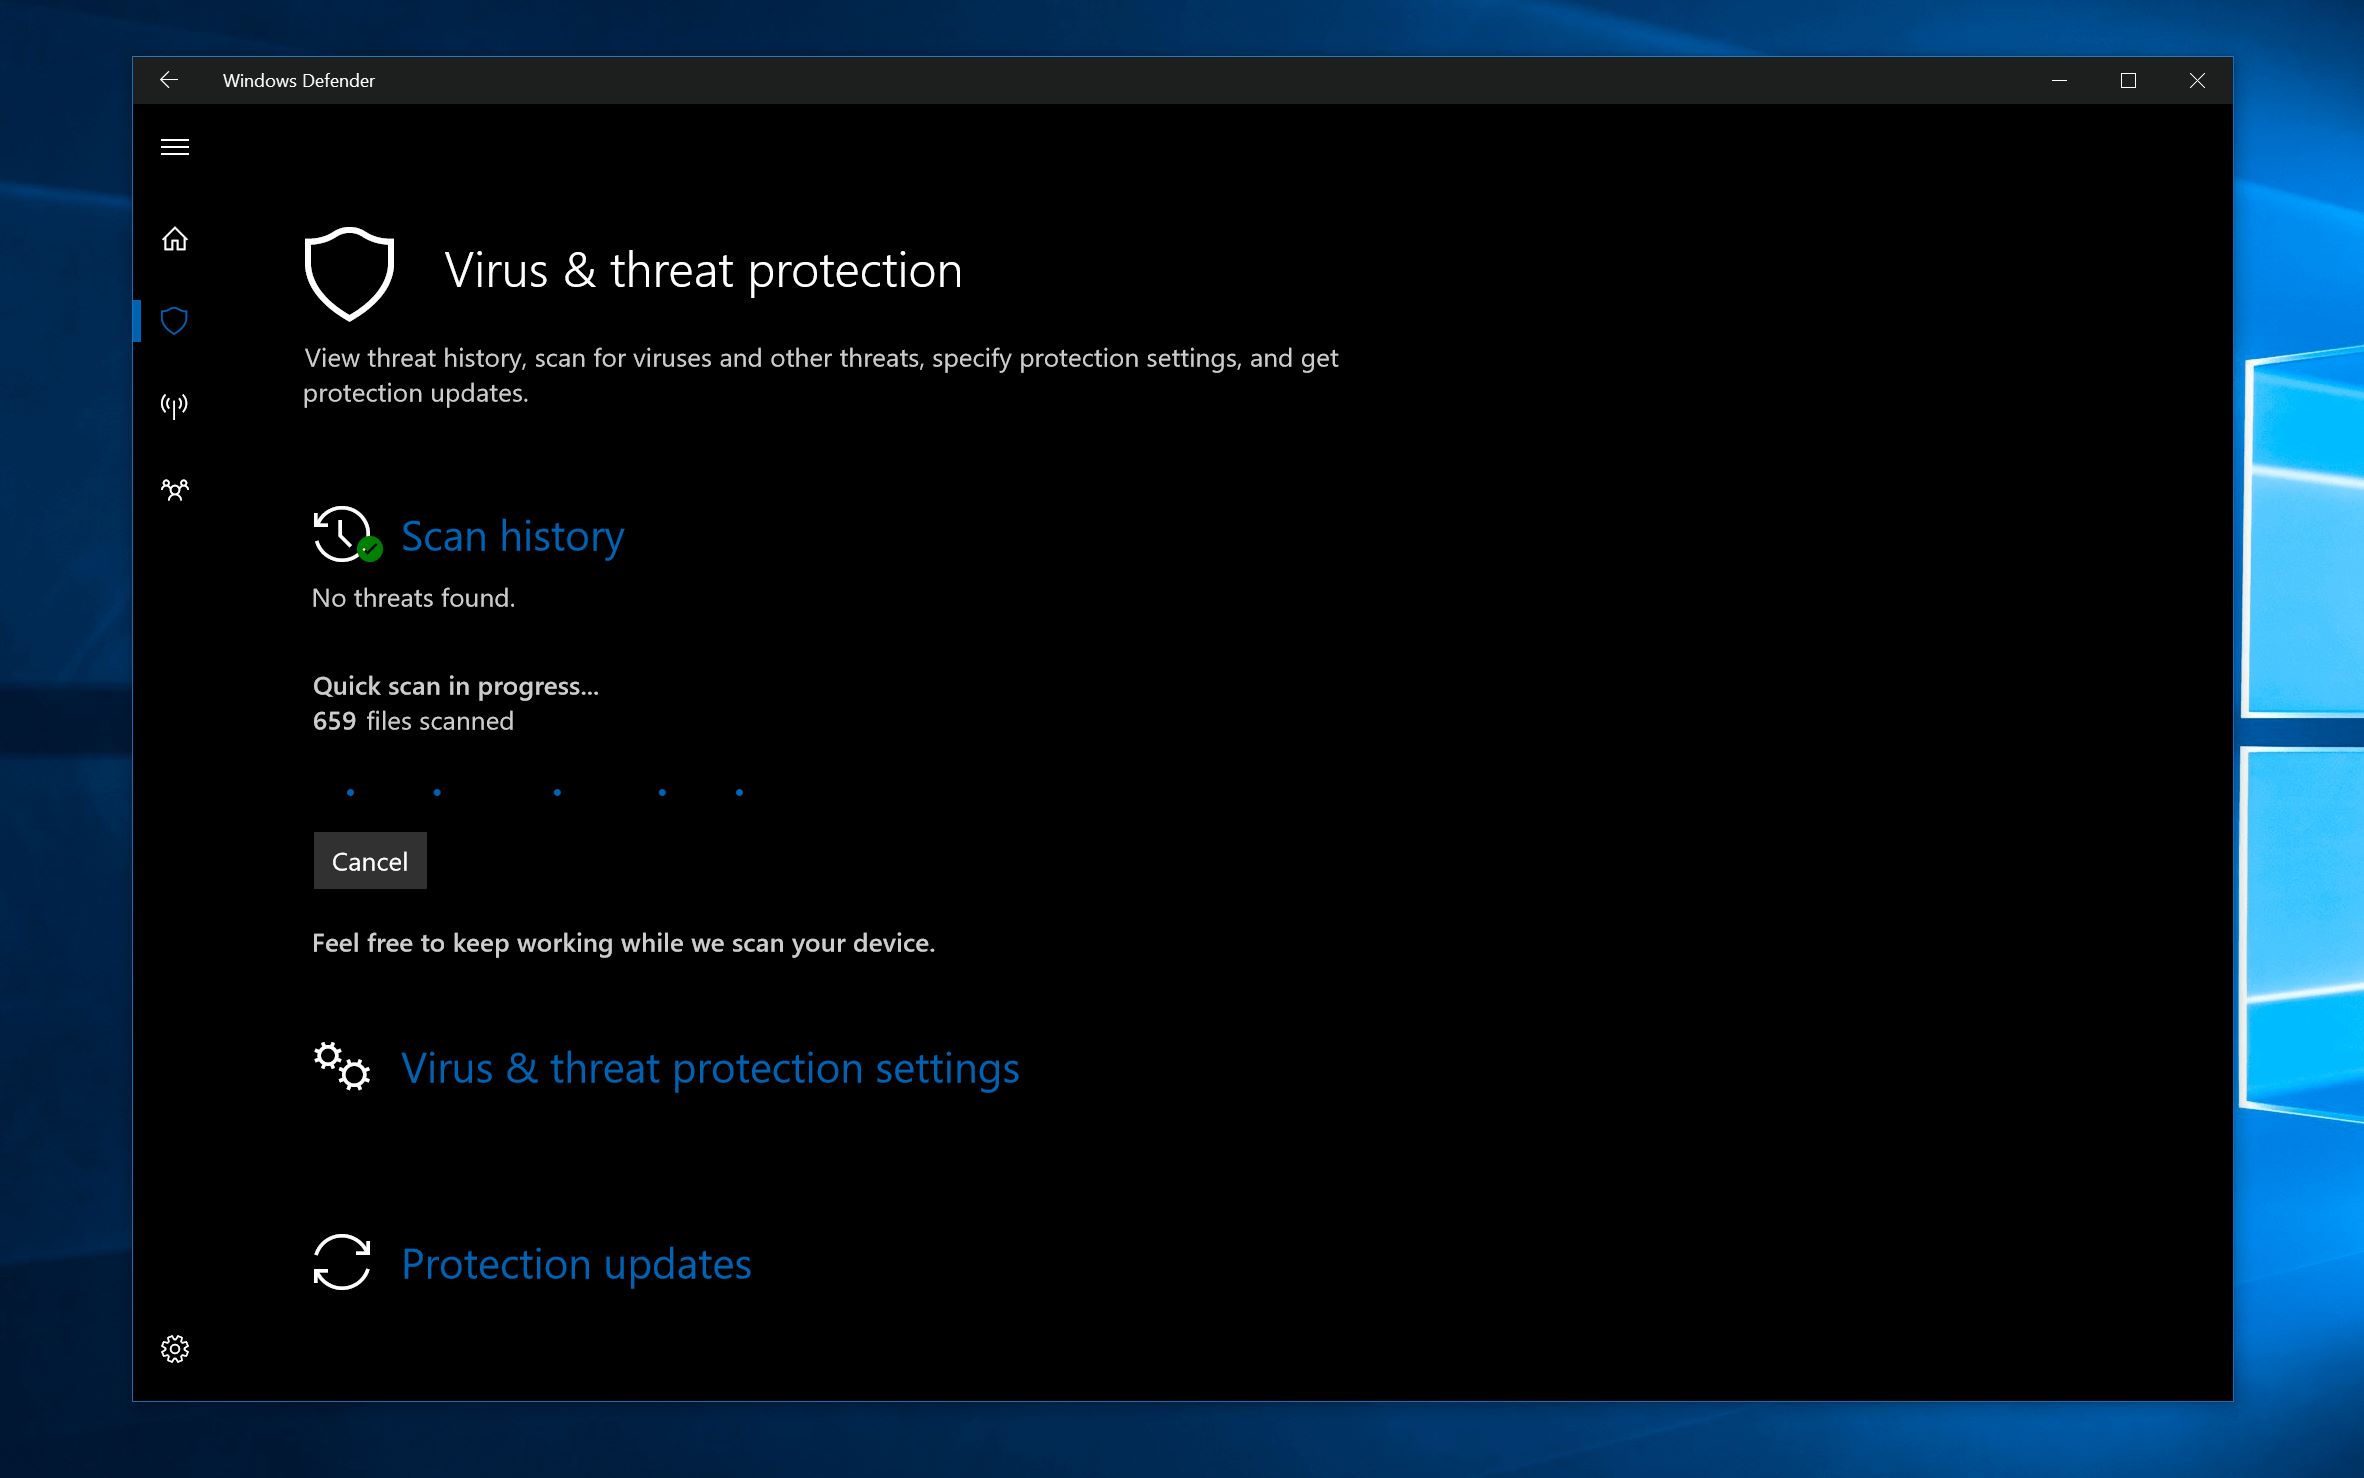
- In the Windows Security app, click on “Virus & threat protection.”
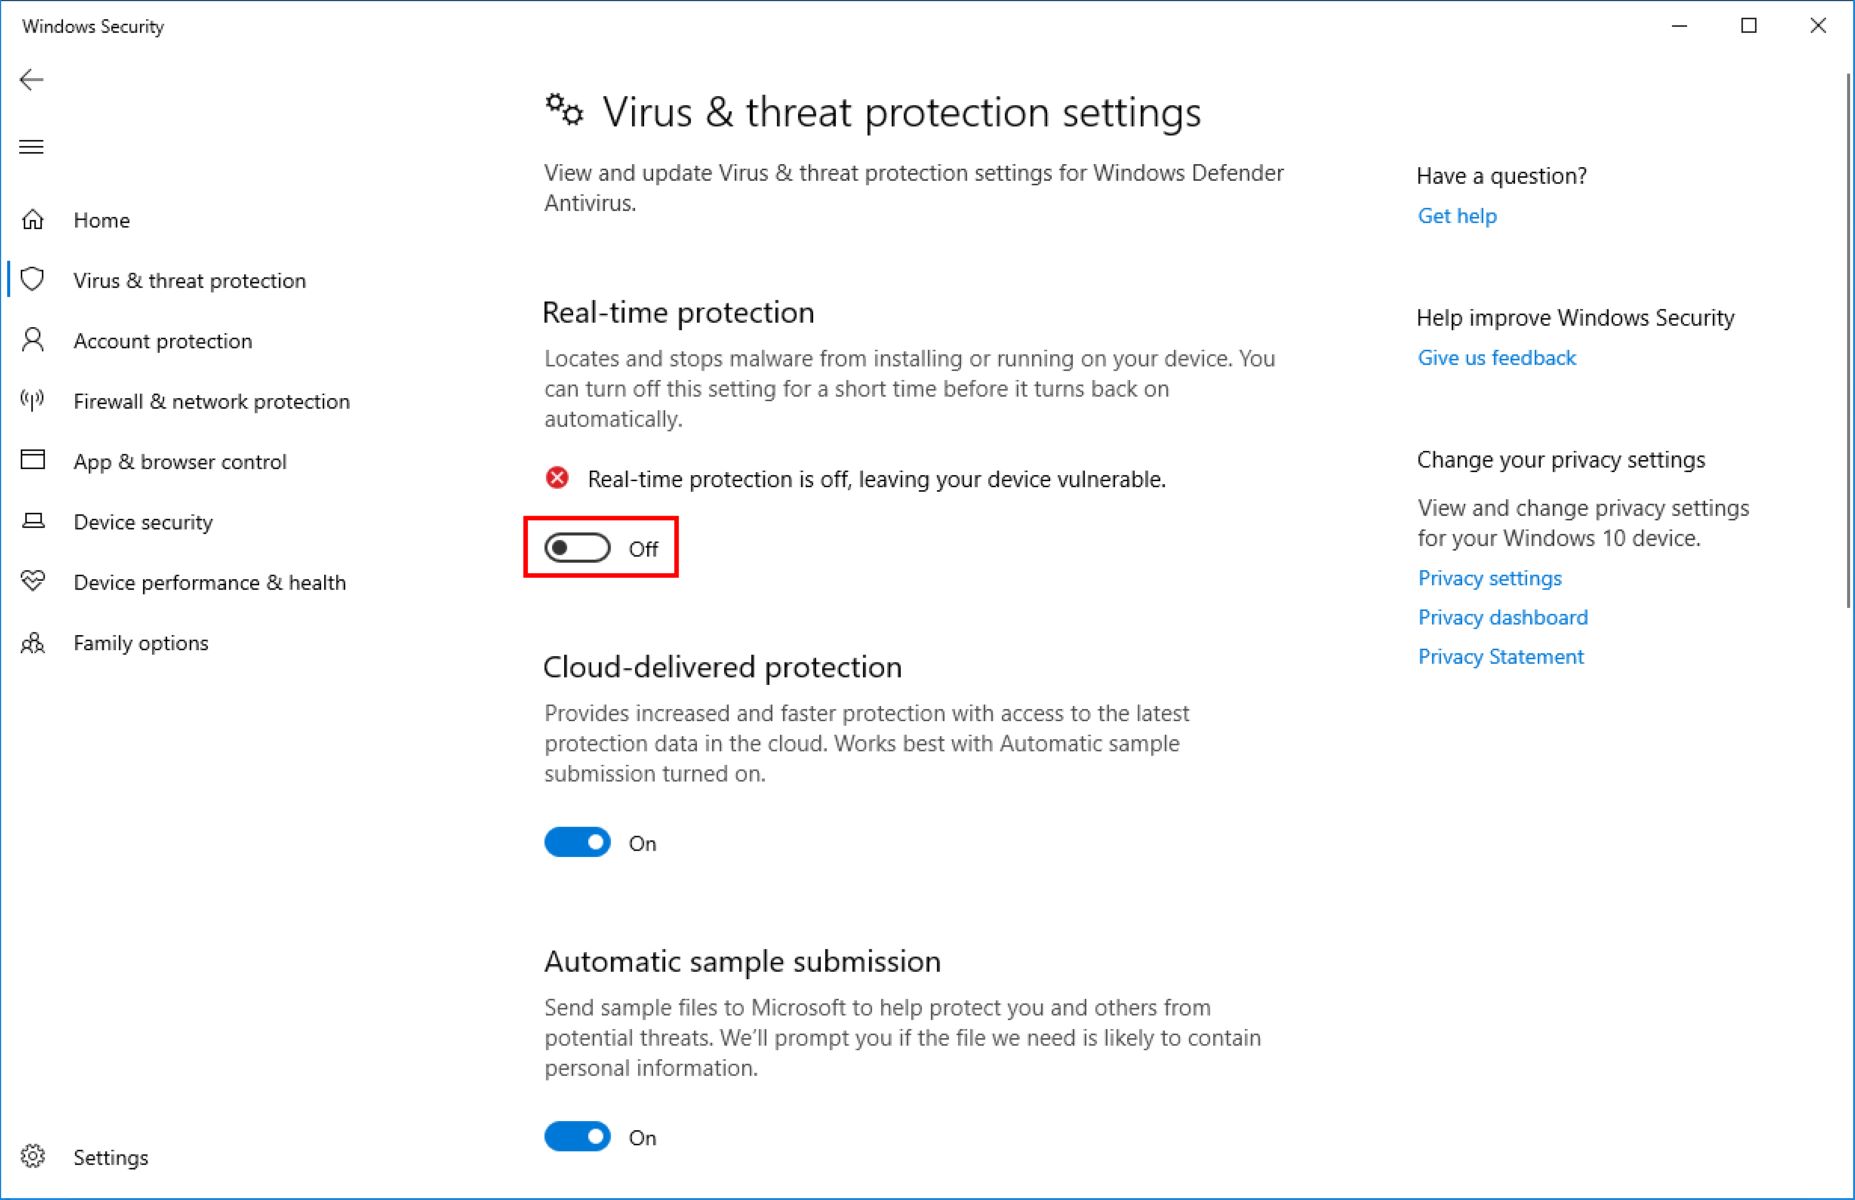
- Under the Virus & threat protection settings, click on “Manage settings.”
- Toggle off the switch next to “Real-time protection” to disable Windows Defender Antivirus temporarily.
- If you want to disable Windows Defender Antivirus permanently, toggle off the switch next to “Tamper protection” as well.
Once you have completed these steps, Windows Defender Antivirus will be disabled on your system. Keep in mind that these settings may vary slightly depending on the version of Windows 10 you are using.
Please note that disabling Windows Defender Antivirus with this method only turns off the real-time protection temporarily or permanently. It doesn’t turn off other security features provided by Windows Defender, such as firewall protection or SmartScreen. If you want to completely disable all features of Windows Defender, you can proceed to the next methods.
It is essential to remember that disabling Windows Defender Antivirus will leave your system vulnerable to potential threats. Make sure to have an alternative antivirus solution installed and updated regularly to maintain the security of your system.
In the next method, we will explore how to disable Windows Defender Antivirus using the Group Policy Editor. This method is suitable for users who have Windows 10 Pro, Enterprise, or Education editions, as the Group Policy Editor is not available in the Windows 10 Home edition.
Method 2: Disabling Windows Defender Antivirus through Group Policy Editor
If you have Windows 10 Pro, Enterprise, or Education edition, you can use the Group Policy Editor to disable Windows Defender Antivirus. Here’s how:
- Press the Windows key + R on your keyboard to open the Run dialog box.
- Type in “gpedit.msc” and hit Enter to open the Group Policy Editor.
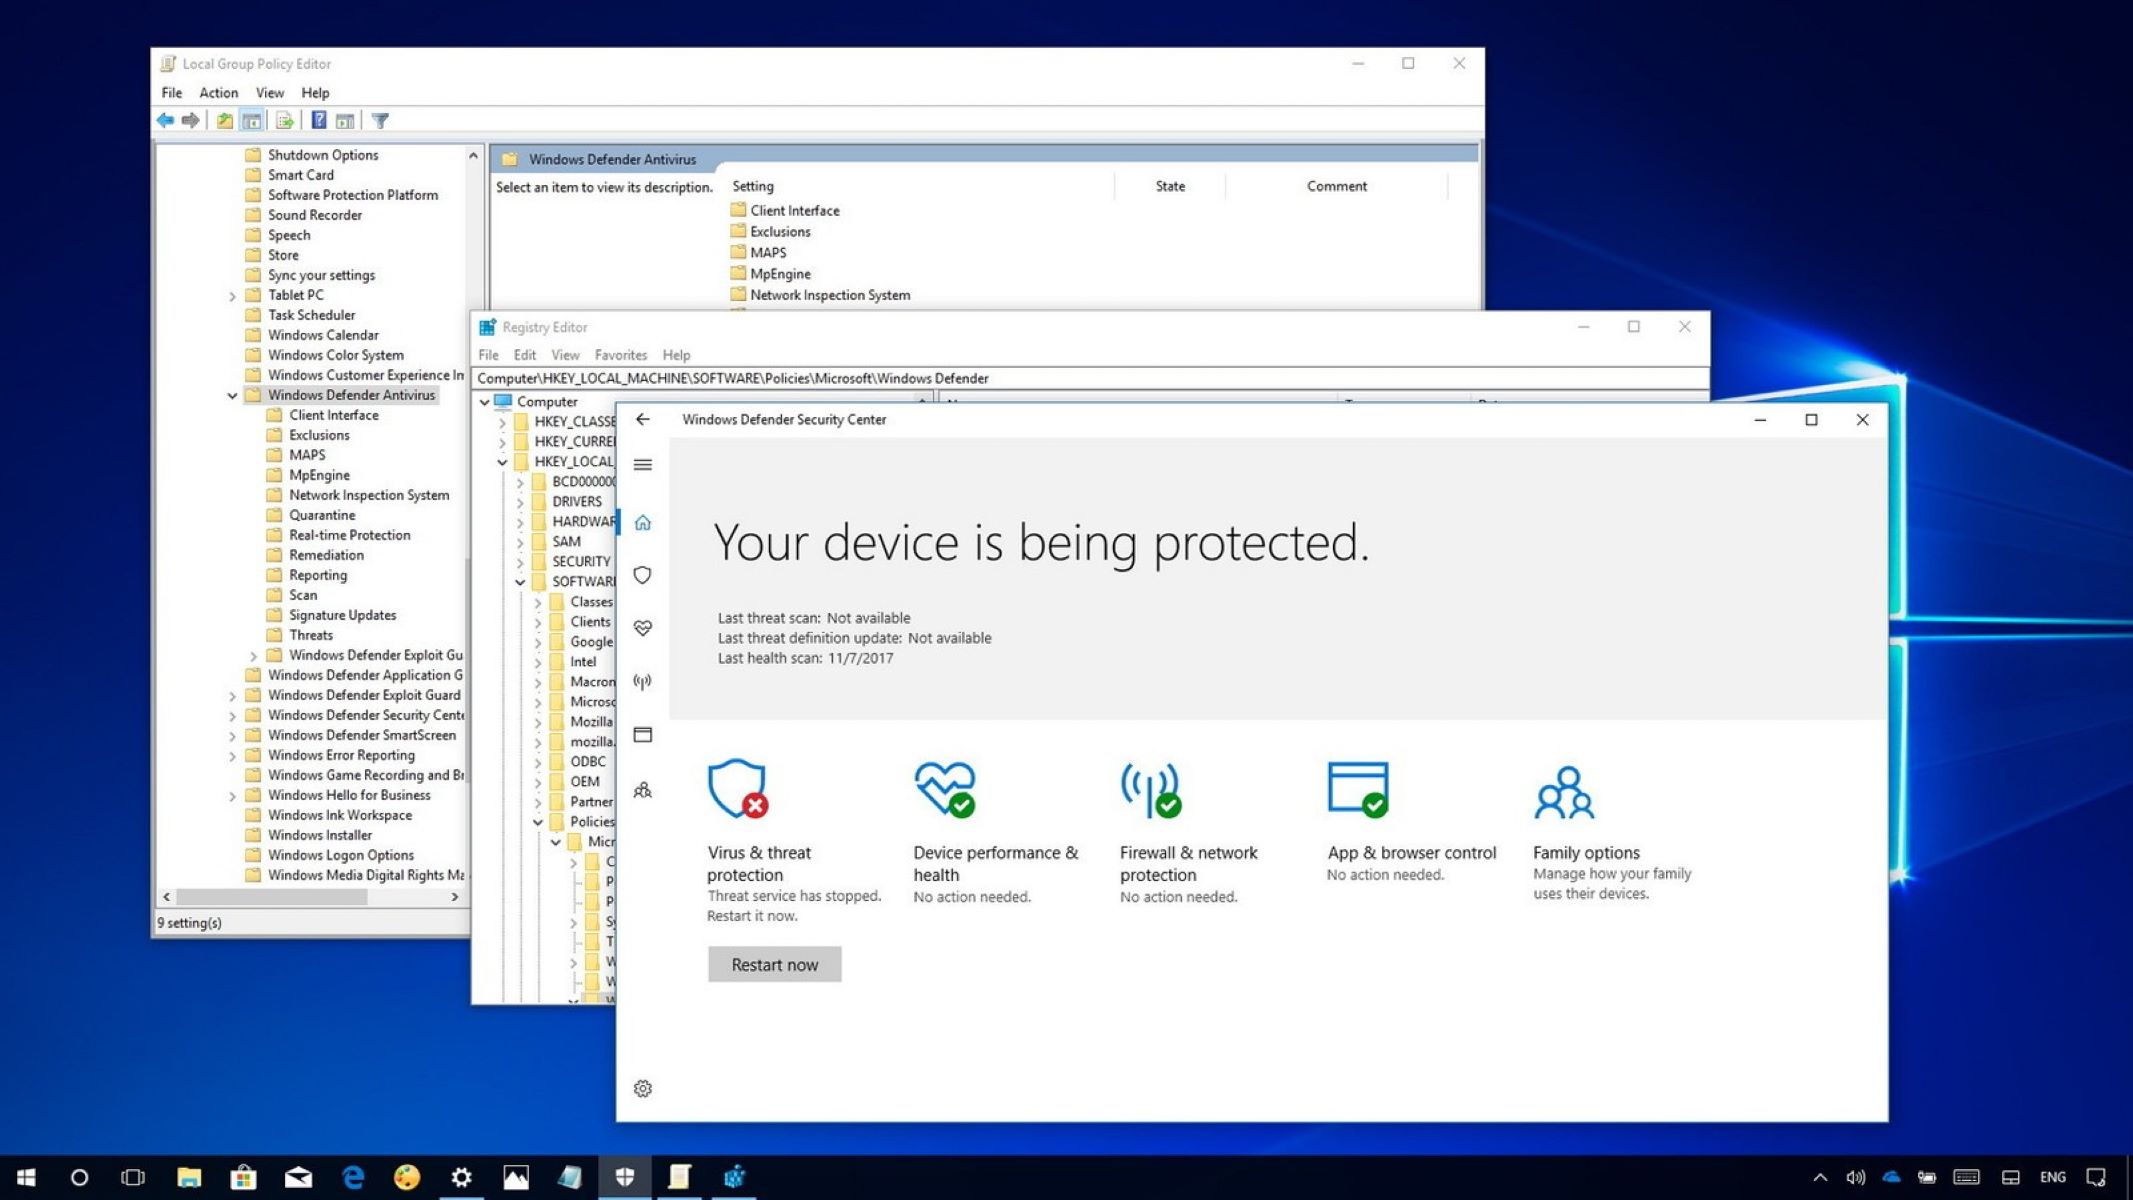
- In the Group Policy Editor window, navigate to “Computer Configuration” > “Administrative Templates” > “Windows Components” > “Windows Defender Antivirus.”
- Double-click on the “Turn off Windows Defender Antivirus” policy setting.
- Select the “Enabled” option to disable Windows Defender Antivirus.
- Click on “Apply” and then “OK” to save the changes.
After following these steps, Windows Defender Antivirus will be disabled on your system. However, keep in mind that disabling Windows Defender using the Group Policy Editor is a permanent action. If you wish to re-enable it in the future, you can follow the same steps and select the “Not configured” or “Disabled” option in the policy setting.
It is important to note that the Group Policy Editor is not available in the Windows 10 Home edition. If you are using the Home edition, you can try using the Registry Editor method mentioned in the next section.
While disabling Windows Defender Antivirus may be necessary in certain situations, it is highly recommended to have an alternative antivirus solution installed and kept up to date. This will ensure that your system remains protected against potential threats.
In the next section, we will explore how to disable Windows Defender Antivirus using the Registry Editor method.
Method 3: Disabling Windows Defender Antivirus using Registry Editor
If you are using the Windows 10 Home edition or prefer to use the Registry Editor, you can disable Windows Defender Antivirus by following these steps:
- Press the Windows key + R on your keyboard to open the Run dialog box.
- Type in “regedit” and hit Enter to open the Registry Editor.
- In the Registry Editor window, navigate to the following location:
- If the “Windows Defender” key does not exist, right-click on the “Microsoft” key, select “New,” and then click on “Key.” Name the new key as “Windows Defender.”
- With the “Windows Defender” key selected, right-click on an empty space in the right-hand pane, select “New,” and then click on “DWORD (32-bit) Value.”
- Name the new value as “DisableAntiSpyware” and leave its value data as 0.
- If you want to disable Windows Defender’s real-time protection, double-click on the “DisableAntiSpyware” value and change its value data to 1.
- Click on “OK” to save the changes.
HKEY_LOCAL_MACHINE\SOFTWARE\Policies\Microsoft\Windows Defender
After making these modifications in the Registry Editor, Windows Defender Antivirus will be disabled on your system. If you ever want to re-enable it, you can follow the same steps and change the value data of “DisableAntiSpyware” to 0.
It is crucial to exercise caution when using the Registry Editor, as incorrect changes can cause system instability. Make sure to follow the instructions carefully and back up your computer’s registry before making any modifications.
While disabling Windows Defender Antivirus may be necessary in certain situations, it is strongly recommended to have an alternative antivirus solution installed and kept up to date to ensure the security of your system.
Next, we will explore a method for temporarily turning off Windows Defender Antivirus.
Method 4: Temporarily turning off Windows Defender Antivirus
If you need to temporarily disable Windows Defender Antivirus for a specific task or troubleshooting purposes, you can use the Windows Security app. Here’s how:
- Click on the “Start” menu and open the “Settings” app.
- In the Settings app, click on “Update & Security.”
- Select “Windows Security” from the left-hand sidebar.
- In the Windows Security app, click on “Virus & threat protection.”
- Under the Virus & threat protection settings, click on “Manage settings.”
- Toggle off the switch next to “Real-time protection” to temporarily turn off Windows Defender Antivirus.
By following these steps, you will disable the real-time protection feature of Windows Defender Antivirus temporarily. This allows you to perform the specific task requiring the temporary disablement of the antivirus. Once you’re done, it is recommended to re-enable the real-time protection to ensure the continued security of your system.
It is essential to note that this method only disables the real-time protection of Windows Defender Antivirus. Other security features, such as firewall protection and SmartScreen, will remain active. If you need to completely disable Windows Defender Antivirus, you can use one of the earlier methods mentioned in this article.
Remember, temporarily turning off Windows Defender Antivirus leaves your system more vulnerable to potential threats. It is crucial to exercise caution and only disable it when necessary. Having an alternative antivirus solution installed and regularly updated is recommended to maintain the overall security of your system.
In the next section, we will wrap up with a summary of the methods discussed.
Conclusion
Windows Defender Antivirus is a built-in security feature in Windows 10 that helps protect your system against malware and other malicious threats. However, there may be situations where you need to disable it temporarily or permanently, such as using a third-party antivirus software or troubleshooting compatibility issues.
In this article, we explored four different methods to turn off Windows Defender Antivirus. These methods included disabling it through the Windows Security app, using the Group Policy Editor, modifying the Registry Editor, and temporarily turning it off when needed. Each method offers different levels of disablement, ranging from temporarily disabling real-time protection to permanently disabling the entire antivirus feature.
It is important to note that while disabling Windows Defender Antivirus may be necessary in certain situations, it is crucial to have an alternative antivirus solution installed and regularly updated. This ensures the ongoing security of your system, as disabling Windows Defender Antivirus leaves your system more vulnerable to potential threats.
When disabling Windows Defender Antivirus, it is recommended to follow the instructions carefully and exercise caution, especially when using the Registry Editor. Making incorrect changes can lead to system instability.
In summary, Windows Defender Antivirus can be disabled through various methods depending on your specific requirements. However, it is always advisable to have a reliable antivirus solution in place to keep your system protected. If you encounter any issues or concerns, it is recommended to seek professional assistance or consult the official Microsoft support channels.
We hope that this article has provided you with valuable insights on how to disable Windows Defender Antivirus. Remember to prioritize the security of your system and stay vigilant against potential threats.