Introduction
Avast Antivirus is a popular security software that protects your computer from various threats, including malware, viruses, and spyware. It constantly scans your system in real-time to ensure the safety of your files and sensitive information. However, there may be instances where you need to temporarily disable Avast Antivirus or completely turn it off.
Disabling Avast Antivirus can be necessary in a few situations. For example, you might need to install a certain application or game that is being blocked by Avast. Or you might encounter compatibility issues with other software or hardware on your computer. Additionally, some users prefer to disable Avast temporarily to perform certain tasks without interruption.
In this article, we will explore different methods to disable Avast Antivirus, whether temporarily or permanently. We will cover various scenarios and guide you through the steps to ensure a smooth disabling process. Please note that disabling Avast Antivirus should only be done when absolutely necessary, and it’s crucial to reactivate it as soon as you’re done with the task.
It’s important to understand that disabling Avast Antivirus leaves your computer vulnerable to potential threats. Therefore, it’s recommended to utilize these methods only when you have a clear understanding of the risks involved and take the necessary precautions to protect your system.
Now, let’s dive into the different methods you can use to disable Avast Antivirus and regain control over your computer.
Method 1: Temporarily Disabling Avast Antivirus
If you need to temporarily disable Avast Antivirus to perform a specific task on your computer, such as installing software or troubleshooting an issue, follow these simple steps:
- Locate the Avast Antivirus icon in your system tray, which is typically found in the bottom-right corner of your screen. It looks like a blue “A”.
- Right-click on the Avast icon to open a context menu.
- In the context menu, hover over the “Avast shields control” option. A sub-menu will appear with different options.
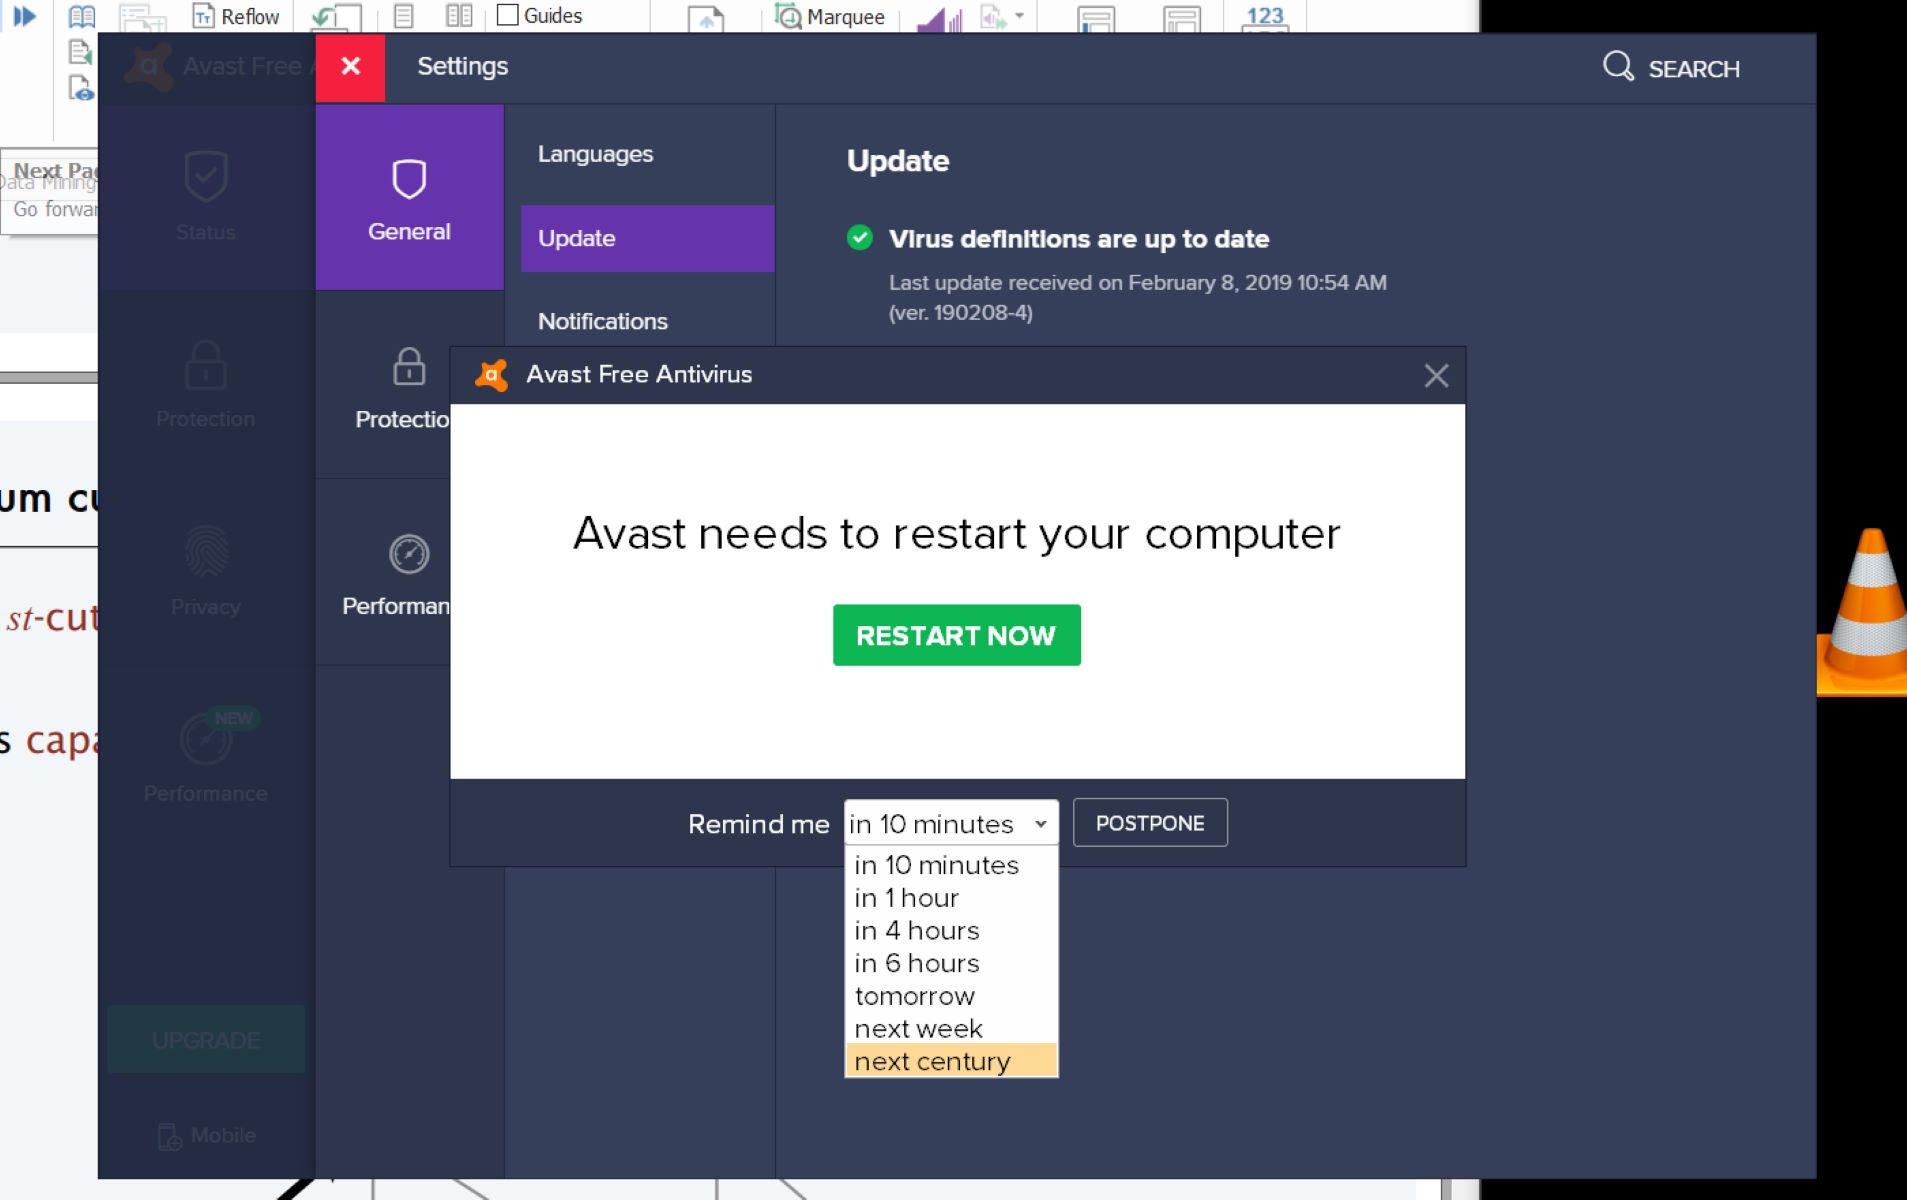
- Select the desired duration for which you want to disable Avast. You can choose to disable it for 10 minutes, 1 hour, or until you restart your computer.
- Once you have selected the desired duration, Avast Antivirus will be temporarily disabled, allowing you to perform your task without any interference.
It’s important to note that Avast Antivirus will automatically reactivate after the selected duration expires. However, if you want to manually enable it before the timer runs out, you can follow the same steps and select the “Enable all shields” option in the context menu.
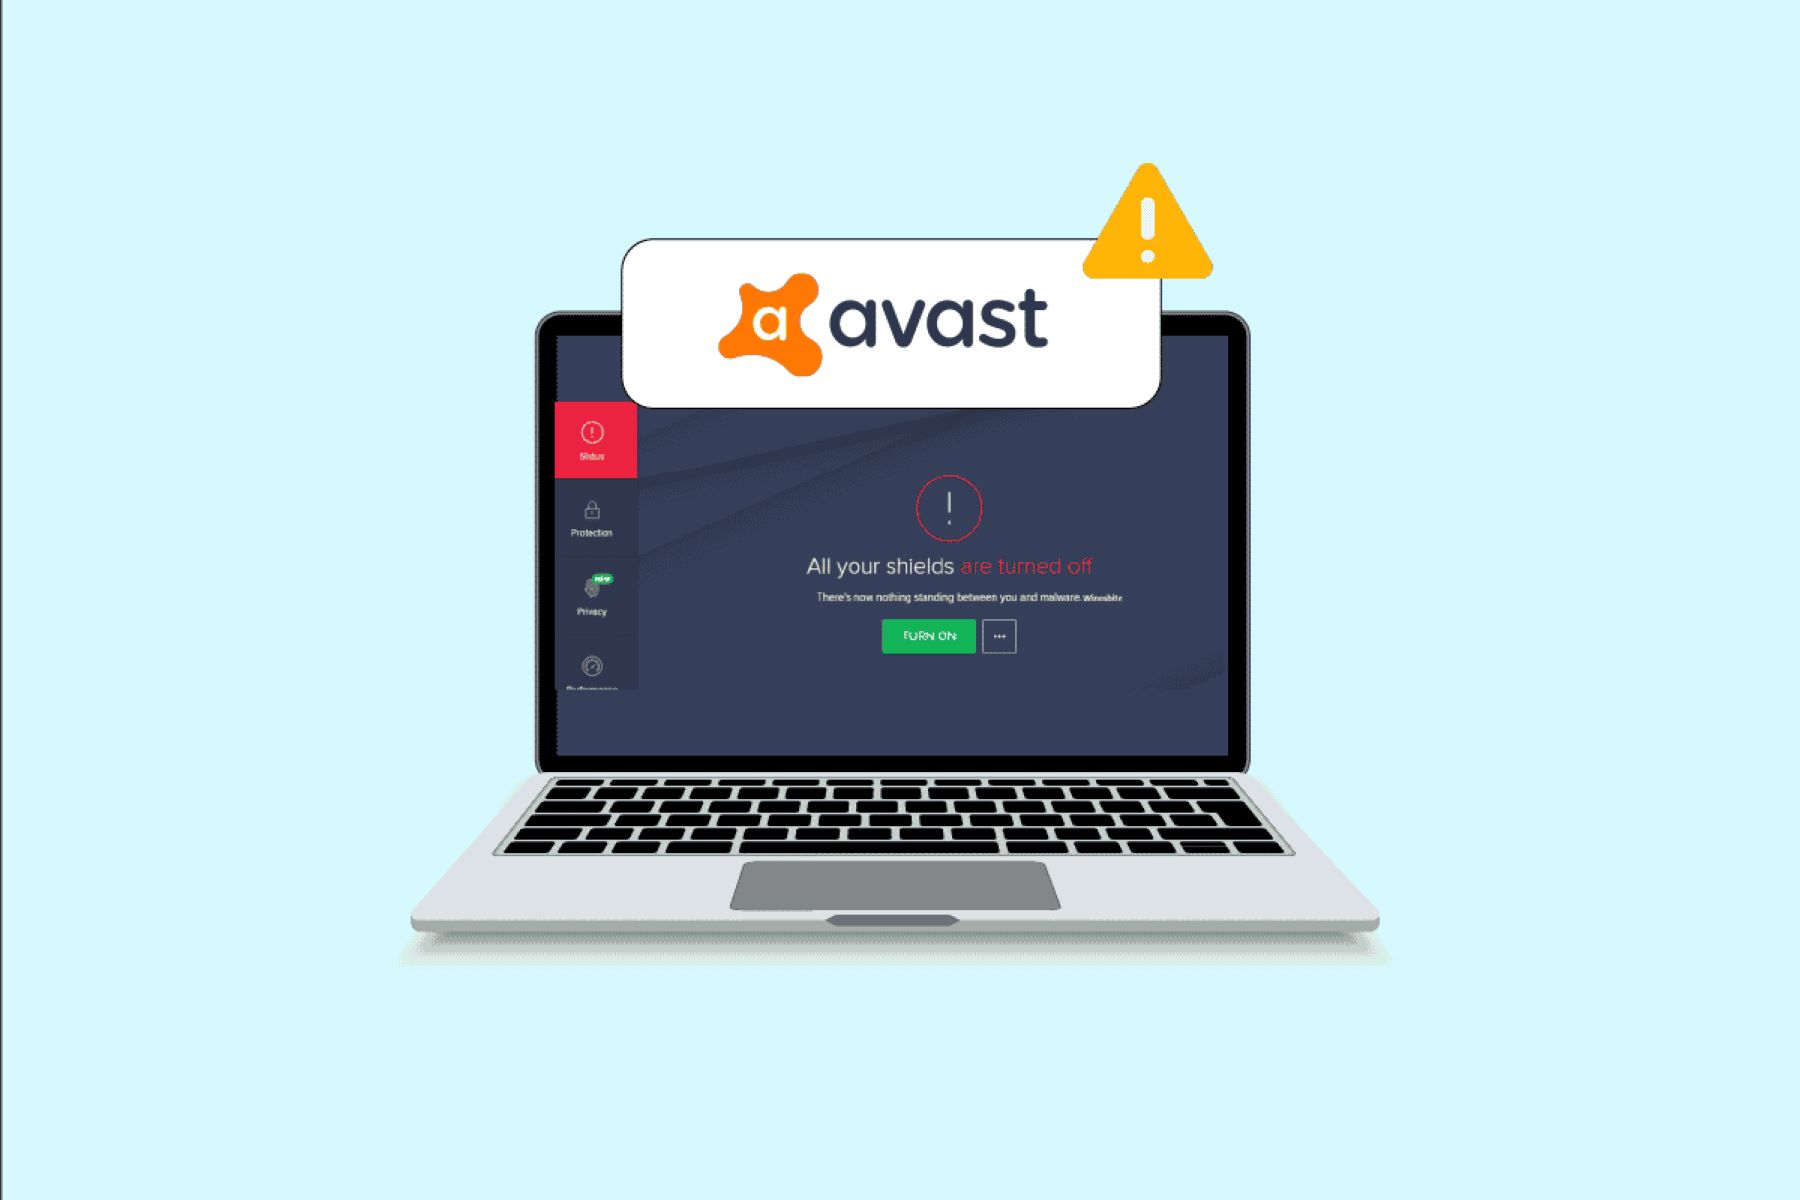
Keep in mind that while Avast Antivirus is temporarily disabled, your computer may be vulnerable to threats. Therefore, it is essential to re-enable Avast as soon as you’ve finished the task at hand to ensure continuous protection.
Now that you know how to temporarily disable Avast Antivirus, let’s move on to the next method, which involves disabling Avast via the system tray icon.
Method 2: Disabling Avast Antivirus via the System Tray Icon
If you prefer to disable Avast Antivirus through the system tray icon rather than using the context menu, follow these steps:
- Locate the Avast Antivirus icon in your system tray, typically located in the bottom-right corner of your screen. It looks like a blue “A”.
- Right-click on the Avast icon to open the context menu.
- In the context menu, you will see various options related to Avast’s shields and features. Hover your cursor over “Avast shields control” to expand the sub-menu.
- Click on the “Avast shields control” option to open the sub-menu.
- A list of shields will appear in the sub-menu. To disable Avast temporarily, click on “Disable for…”
- You will be presented with different duration options, such as 10 minutes, 1 hour, or until you restart your computer. Choose the desired duration.
- After selecting the duration, Avast Antivirus will be disabled for the specified period.
Remember that Avast Antivirus will automatically enable itself again once the selected duration expires. However, if you wish to manually re-enable it earlier, follow the same steps and select “Enable all shields” in the context menu.
It’s important to note that when Avast Antivirus is disabled, your computer is vulnerable to potential threats. Therefore, make sure to re-enable Avast as soon as you’ve completed your task.
Now that you know how to disable Avast Antivirus via the system tray icon, let’s move on to the next method, which involves disabling Avast through the settings menu.
Method 3: Disabling Avast Antivirus through the Settings Menu
If you prefer to disable Avast Antivirus using the settings menu, you can follow these steps:
- Open the Avast Antivirus application on your computer. You can usually do this by double-clicking on the Avast icon on your desktop or searching for Avast in your Start menu.
- Once the Avast interface is open, locate the “Menu” button, usually represented by three horizontal lines, and click on it.
- In the menu that appears, select “Settings” to access the Avast settings.
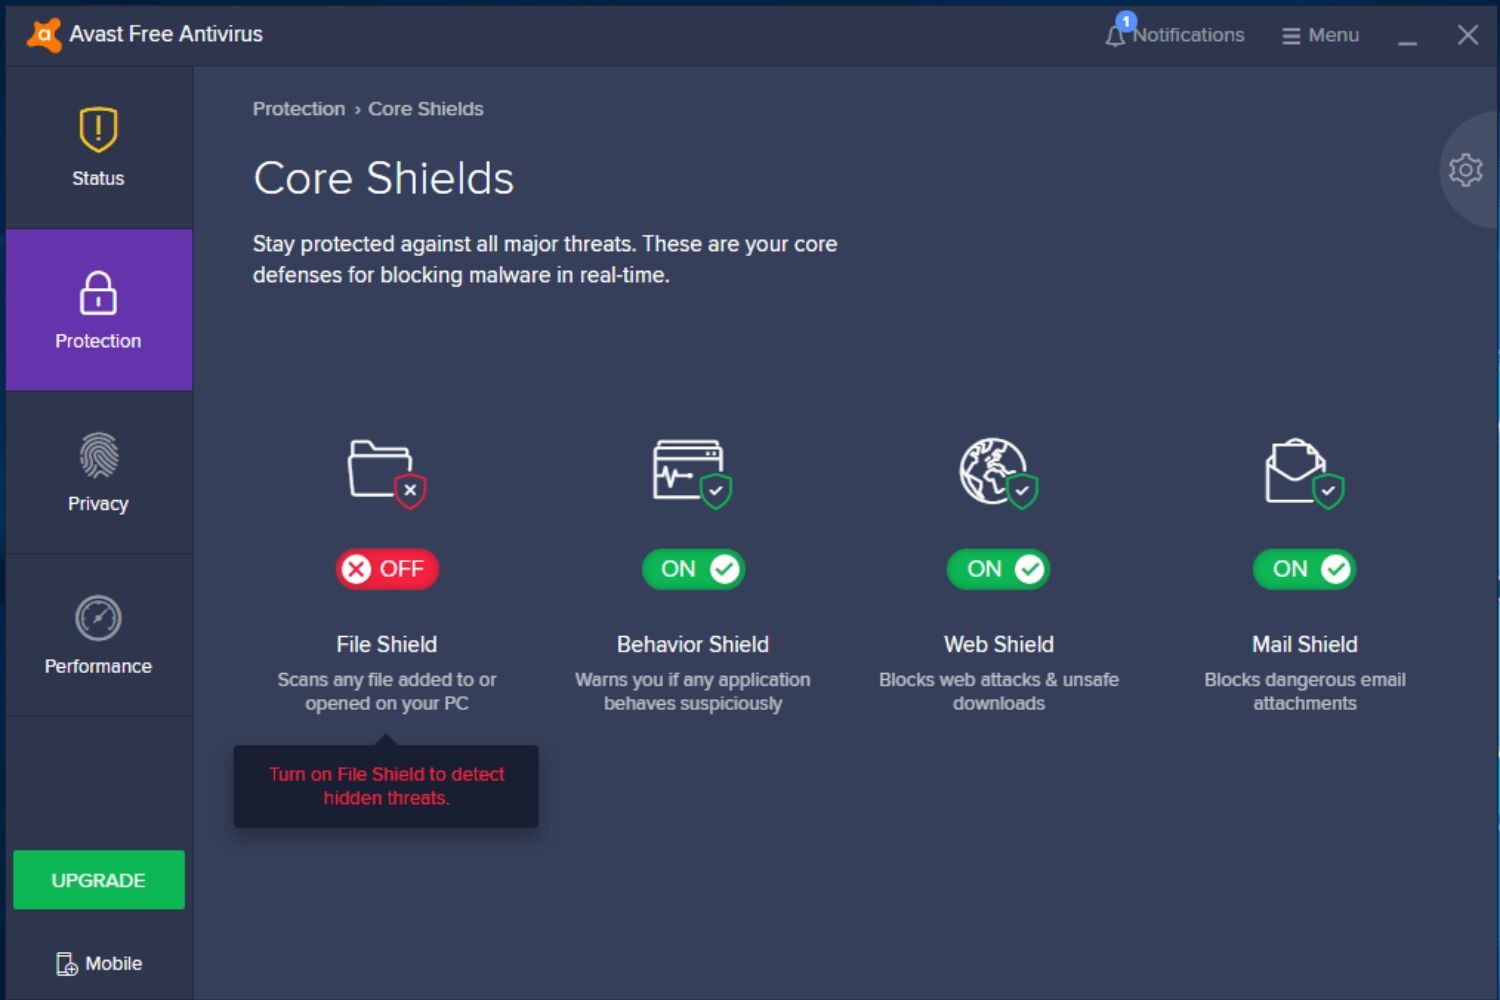
- Within the settings menu, navigate to the “Protection” tab. Here, you will find various options related to Avast’s protection features.
- Click on the “Core Shields” option. This will open a submenu with the main shields of Avast Antivirus.
- Uncheck the boxes next to the shields you wish to disable. For example, you can uncheck “File Shield” or “Web Shield”.
- Once you have unchecked the desired shields, click on the “OK” button to save the changes.
After following these steps, Avast Antivirus will be disabled based on the shields you have unchecked. This method allows for more granular control over the specific components of Avast that you want to disable.
Remember to re-enable the shields through the same settings menu once you have finished your task to ensure continuous protection for your computer.
Now that you know how to disable Avast Antivirus through the settings menu, let’s move on to the next method, which involves using the Avast Antivirus Uninstall Utility.
Method 4: Using the Avast Antivirus Uninstall Utility
If you want to completely disable Avast Antivirus and remove it from your computer, you can use the Avast Antivirus Uninstall Utility. Here’s how:
- Visit the official Avast website to download the Avast Antivirus Uninstall Utility. Make sure to download the correct version that matches your operating system.
- Once the utility is downloaded, locate the file on your computer and run it.
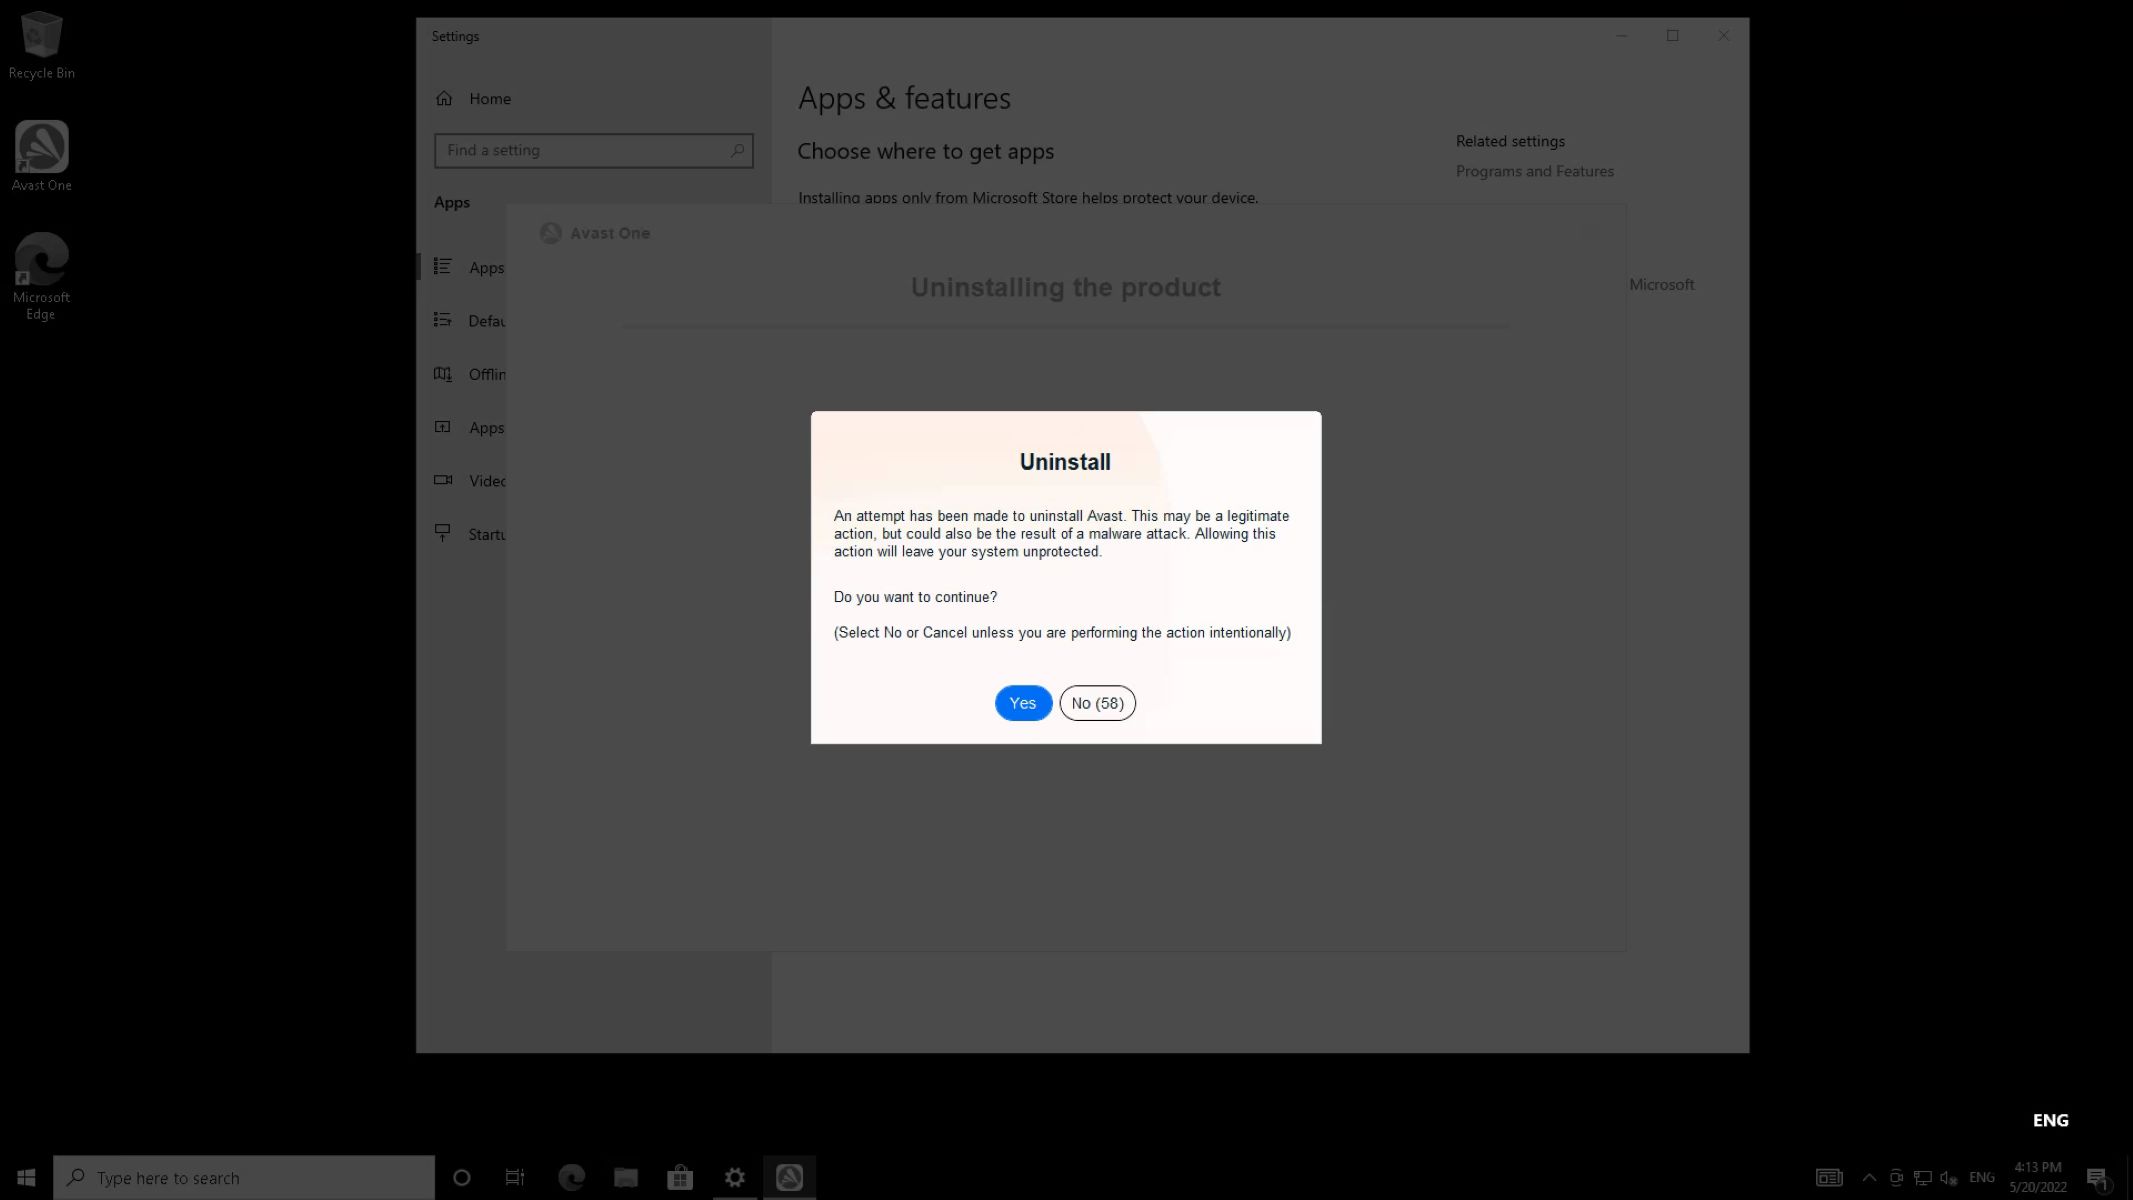
- You may be prompted by the User Account Control (UAC) to allow the utility to make changes to your system. Click “Yes” to proceed.
- The Avast Antivirus Uninstall Utility will launch, displaying a warning that it will remove all Avast Antivirus files and settings from your computer. Review the information and click “Yes” or “OK” to continue.
- The utility will begin the uninstallation process, which may take a few moments. Follow any on-screen instructions provided by the utility.
- Once the uninstallation is complete, you will be prompted to restart your computer. Click “Yes” or “OK” to reboot.
After restarting your computer, Avast Antivirus will be completely removed. This method is useful if you no longer want to use Avast or if you are experiencing persistent issues that require a fresh installation of the software.
Keep in mind that by uninstalling Avast Antivirus, you will lose the protection it provides. If you decide to remove Avast permanently, make sure to install an alternative antivirus solution to maintain the security of your computer.
Now that you know how to use the Avast Antivirus Uninstall Utility, you have full control over the complete removal of Avast Antivirus from your system.
Conclusion
Disabling Avast Antivirus can be necessary in certain situations, whether you need to temporarily disable it for a specific task or permanently remove it from your computer. In this article, we explored four different methods to disable Avast Antivirus based on your needs.
Method 1 involved temporarily disabling Avast through the system tray icon, giving you control over the duration of the disabling period. Method 2 described how to disable Avast Antivirus via the system tray icon’s context menu, providing another quick and easy option.
Method 3 offered the option to disable Avast through the settings menu, allowing for more granular control over which specific shields you want to disable. Finally, Method 4 explained how to use the Avast Antivirus Uninstall Utility to completely remove Avast Antivirus from your computer.
When disabling Avast Antivirus, it’s important to remember that your computer may be vulnerable to potential threats. It is crucial to reactivate Avast as soon as you’ve completed the task at hand or have an alternative antivirus solution in place to ensure continuous protection.
By understanding these methods and their respective steps, you have the knowledge to disable Avast Antivirus effectively whenever the need arises. However, it’s recommended to exercise caution and only disable Avast when absolutely necessary.
Remember to re-enable Avast or install another antivirus solution to maintain the security of your computer. If you encounter any issues or difficulties, you can refer to the official Avast support documentation or seek assistance from their customer support team.
We hope this guide has been helpful in enabling you to disable Avast Antivirus when needed. Stay safe and protect your computer from threats with the right measures in place!