Introduction
Wireless earbuds have become increasingly popular, and the Apple Airpods are leading the pack with their seamless integration, impressive sound quality, and advanced features. One such feature is the tracking functionality, which allows users to locate their Airpods using the Find My app. While this can be incredibly useful in certain situations, there may be times when you prefer not to have your Airpods trackable. Whether you’re concerned about privacy or simply don’t need the feature, turning off tracking on your Airpods is a straightforward process.
In this article, we’ll explore the ins and outs of tracking on Airpods, discuss why you might want to turn it off, and provide a step-by-step guide to disabling it. We’ll also explore alternative methods that can be used to disable tracking and share how you can verify if tracking has indeed been successfully turned off.
So, if you’re ready to take control over the tracking functionality on your Airpods, keep reading to learn how you can disable it and enjoy a sense of privacy and freedom.
Understanding Tracking on Airpods
Before we delve into how to turn off tracking on Airpods, let’s first understand what tracking actually means in this context. Airpods, like many other smart devices, are equipped with a built-in feature that allows them to be tracked using the Find My app on your iPhone, iPad, or Mac.
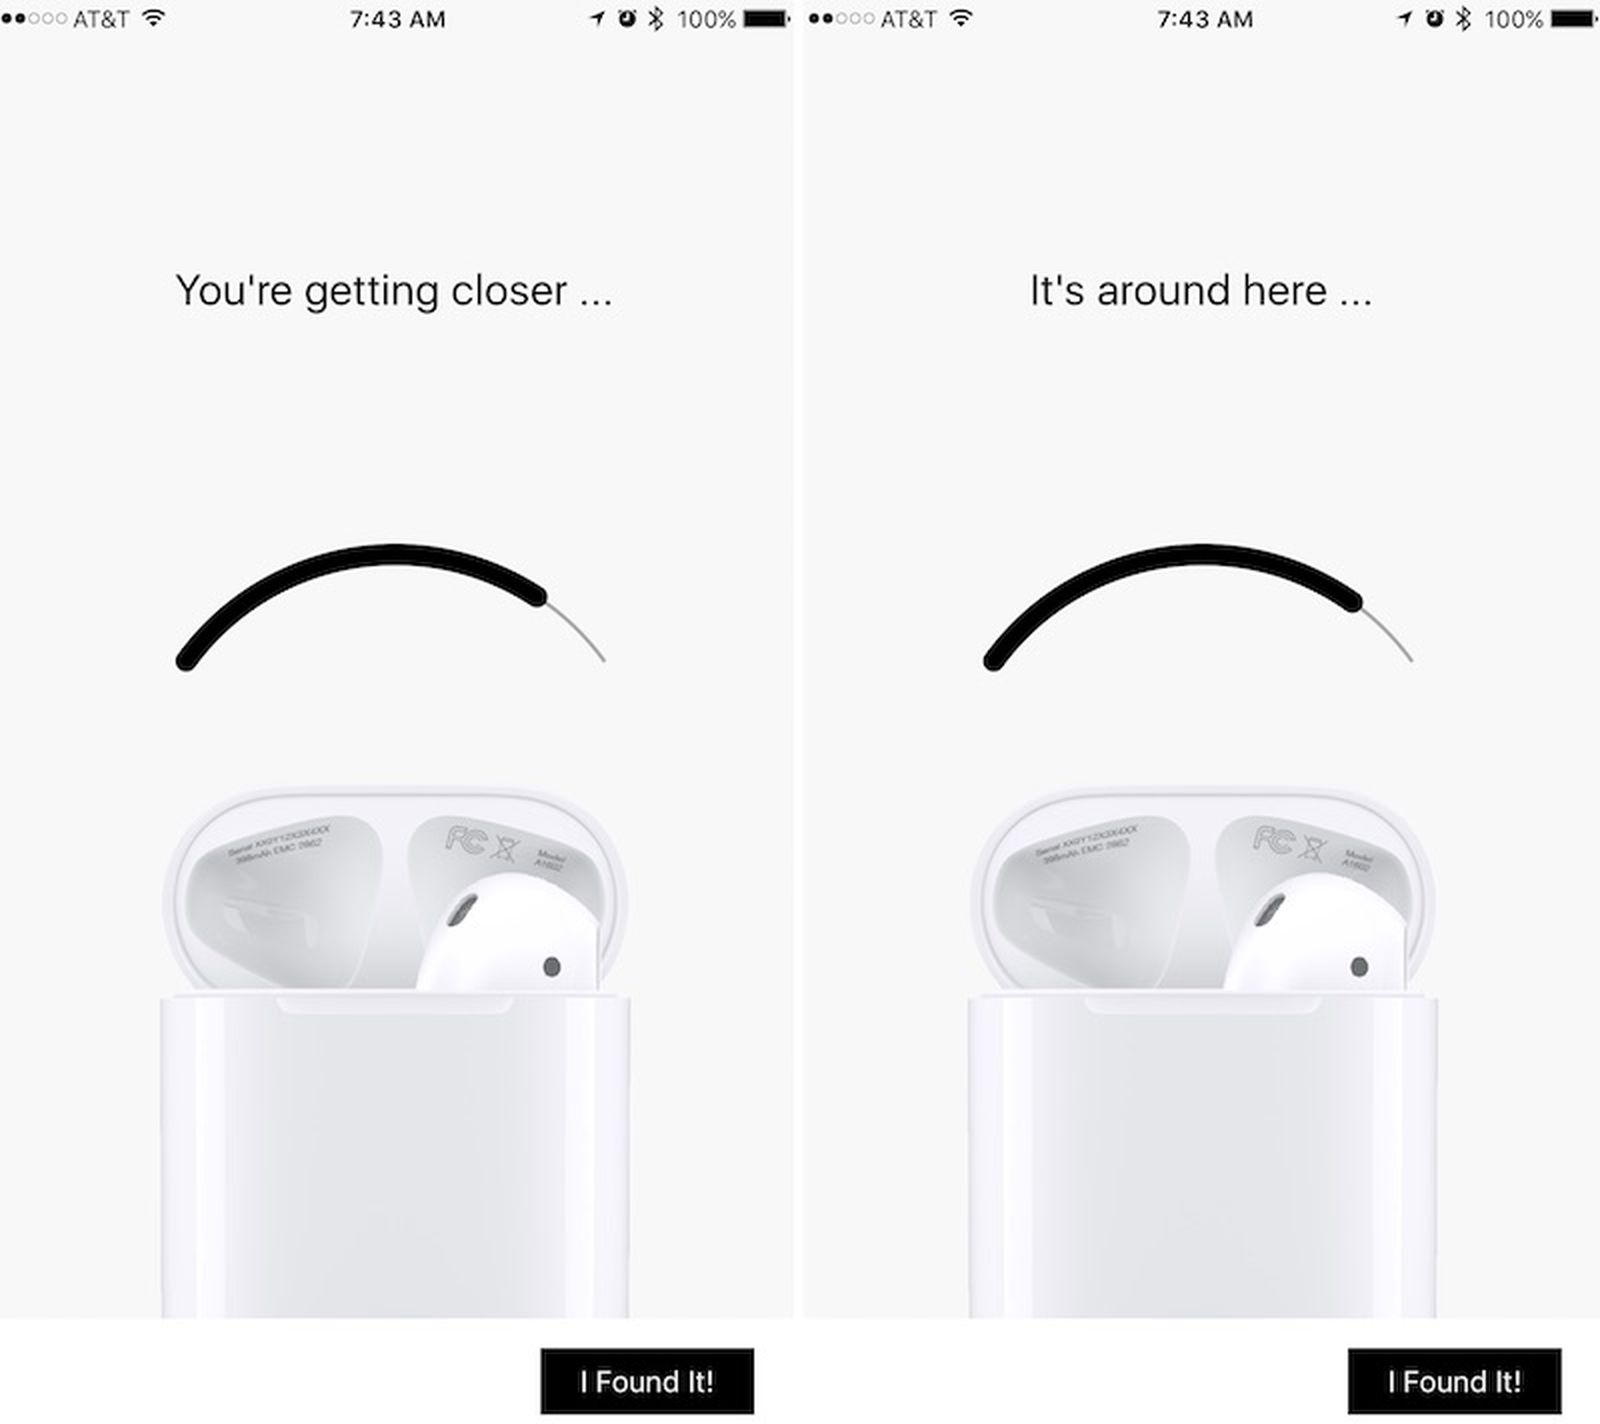
When tracking is enabled, your Airpods continuously communicate with your device, sending location data that can be used to pinpoint their whereabouts. This can be incredibly handy if you happen to misplace your Airpods or if they get lost. You can simply access the Find My app and see the last known location of your Airpods on a map.
However, it’s important to note that tracking on Airpods is only possible when your Airpods are within Bluetooth range of your device. If they are out of range or turned off, tracking will not be possible.
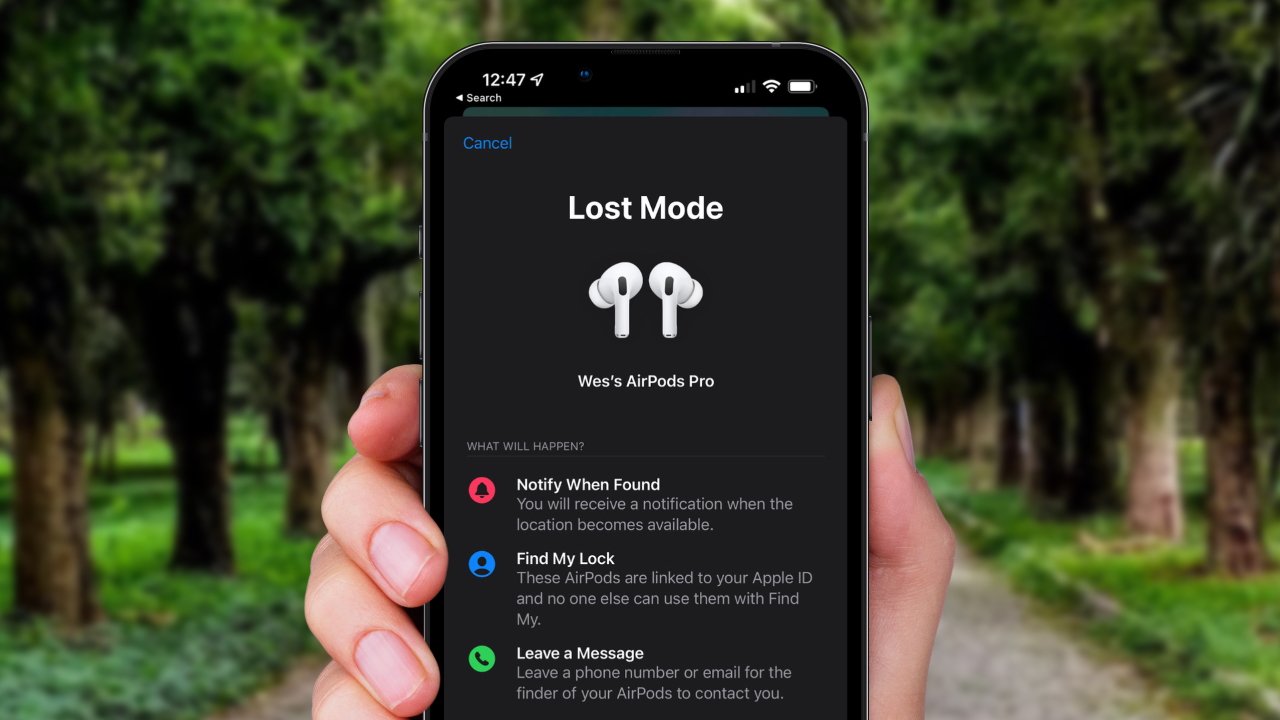
It’s also worth mentioning that tracking your Airpods uses a combination of Bluetooth and the Find My network. This means that if your Airpods are lost or stolen and connected to the internet via any registered Apple device, their location can still be tracked even if they’re not in Bluetooth range of your device.
While tracking can be incredibly useful in certain situations, such as retrieving lost or misplaced Airpods, there may be times when you prefer not to have this feature enabled. Whether you’re concerned about privacy, want to conserve battery life, or simply have no need for tracking, turning it off is a viable option.
In the next section, we’ll explore the importance of turning off tracking on your Airpods and discuss the situations where disabling this feature might be beneficial.
The Importance of Turning Off Tracking
While tracking on Airpods can be a helpful feature, there are several reasons why you might want to turn it off in certain situations. Let’s explore the importance of disabling tracking on your Airpods:
- Privacy: One of the main reasons to disable tracking on your Airpods is to maintain your privacy. Some users may feel uncomfortable with the idea that their location can be continuously tracked, even if it’s just for their Airpods. By turning off tracking, you can have peace of mind knowing that your location information is not being transmitted to your device or any other registered devices.
- Battery Life: Another advantage of disabling tracking on your Airpods is the potential for improved battery life. Tracking requires a constant connection and communication between your Airpods and your device, which can use up valuable battery power. If you rarely use the tracking feature or simply want to conserve battery life, turning it off can be a smart move.
- No Need for Tracking: Not everyone finds tracking on Airpods necessary or useful. If you always keep close tabs on your Airpods and are confident in your ability to keep them safe, the tracking feature may be redundant for you. In such cases, disabling it can streamline your Airpods’ functionality and remove any unnecessary processes.
- Avoiding False Alarms: Occasionally, tracking on Airpods can result in false alarms. For example, if you leave your Airpods in a different room or lend them to a friend temporarily, they may be detected as being “lost” by the Find My app. By disabling tracking, you can avoid these false alarms and the confusion that may come with them.
By understanding the importance of turning off tracking on your Airpods, you can make an informed decision about whether or not to disable this feature. If you’ve decided that turning off tracking is the right choice for you, the next section will provide you with a step-by-step guide on how to do it.
Step-by-Step Guide to Turn Off Tracking on Airpods
Disabling tracking on your Airpods is a simple process that can be completed within the settings of your Apple device. Follow these step-by-step instructions to turn off tracking:
- Ensure Airpods are Connected: Make sure your Airpods are connected to your iPhone, iPad, or Mac. You can do this by opening the lid of the Airpods case and placing them near your device.
- Open Settings: On your Apple device, locate and open the Settings app. This is the gear-shaped icon that can usually be found on your home screen.
- Select Bluetooth: In the Settings app, scroll down and tap on “Bluetooth”. This will open the Bluetooth settings where you can manage your connected devices.
- Locate Airpods: Under the “My Devices” section, you should see your Airpods listed. Tap on the “i” icon next to your Airpods to access the device details.
- Disable Find My: On the device details screen, you will find an option labeled “Find My”. Toggle the switch next to it to disable the tracking functionality for your Airpods.
- Confirm the Action: A pop-up message will appear, asking you to confirm the action. Tap on “Disable” to proceed. Note that disabling tracking will also remove your Airpods from the Find My app.
- Check Confirmation: Once you’ve disabled tracking, the toggle switch next to “Find My” should be turned off. This confirms that tracking has been successfully disabled for your Airpods.
Following these steps will ensure that the tracking feature is turned off on your Airpods, giving you control over your privacy and conserving battery life. However, if you want to track your Airpods again in the future, you can simply follow the same steps and toggle the switch back on.
In the next section, we’ll explore alternative methods that can be used to disable tracking on Airpods, providing you with more options to suit your preferences.
Alternative Methods to Disable Tracking on Airpods
In addition to the step-by-step guide mentioned earlier, there are alternative methods you can use to disable tracking on your Airpods. These methods offer flexibility and convenience, allowing you to choose the approach that best fits your needs. Here are a few alternatives:
- Disable Find My App: Another way to disable tracking on your Airpods is by turning off the Find My app entirely on your Apple device. This can be done by going into your device’s settings, tapping on your Apple ID, selecting “Find My”, and toggling off the “Find My iPhone” or “Find My” option. While this method will disable tracking for all of your devices, it will also disable it for your Airpods.
- Use Airplane Mode: If you prefer a quick and temporary solution, you can enable Airplane Mode on your iPhone, iPad, or Mac. Activating Airplane Mode disables all wireless connections, including Bluetooth. This effectively disconnects your Airpods from your device and prevents them from being tracked. Keep in mind that this method will also disable other wireless features, such as Wi-Fi and cellular data.
- Turn Off Bluetooth: Similarly, you can turn off Bluetooth on your device to disconnect your Airpods and disable tracking. This can be done through the Control Center on iOS devices or through the Bluetooth settings on Mac. However, disabling Bluetooth will also disable any other Bluetooth devices connected to your device.
By employing these alternative methods, you have more control over the tracking functionality of your Airpods. Whether you want to disable tracking temporarily or prefer to turn it off completely by disabling the Find My app, these options offer flexibility to suit your preferences.
Now that you’ve learned about different methods to disable tracking on your Airpods, let’s explore how you can verify if tracking has been successfully disabled in the next section.
How to Verify if Tracking is Successfully Disabled
Once you have disabled tracking on your Airpods using the methods mentioned earlier, you may want to ensure that the feature has been successfully turned off. Here’s how you can verify if tracking is disabled:
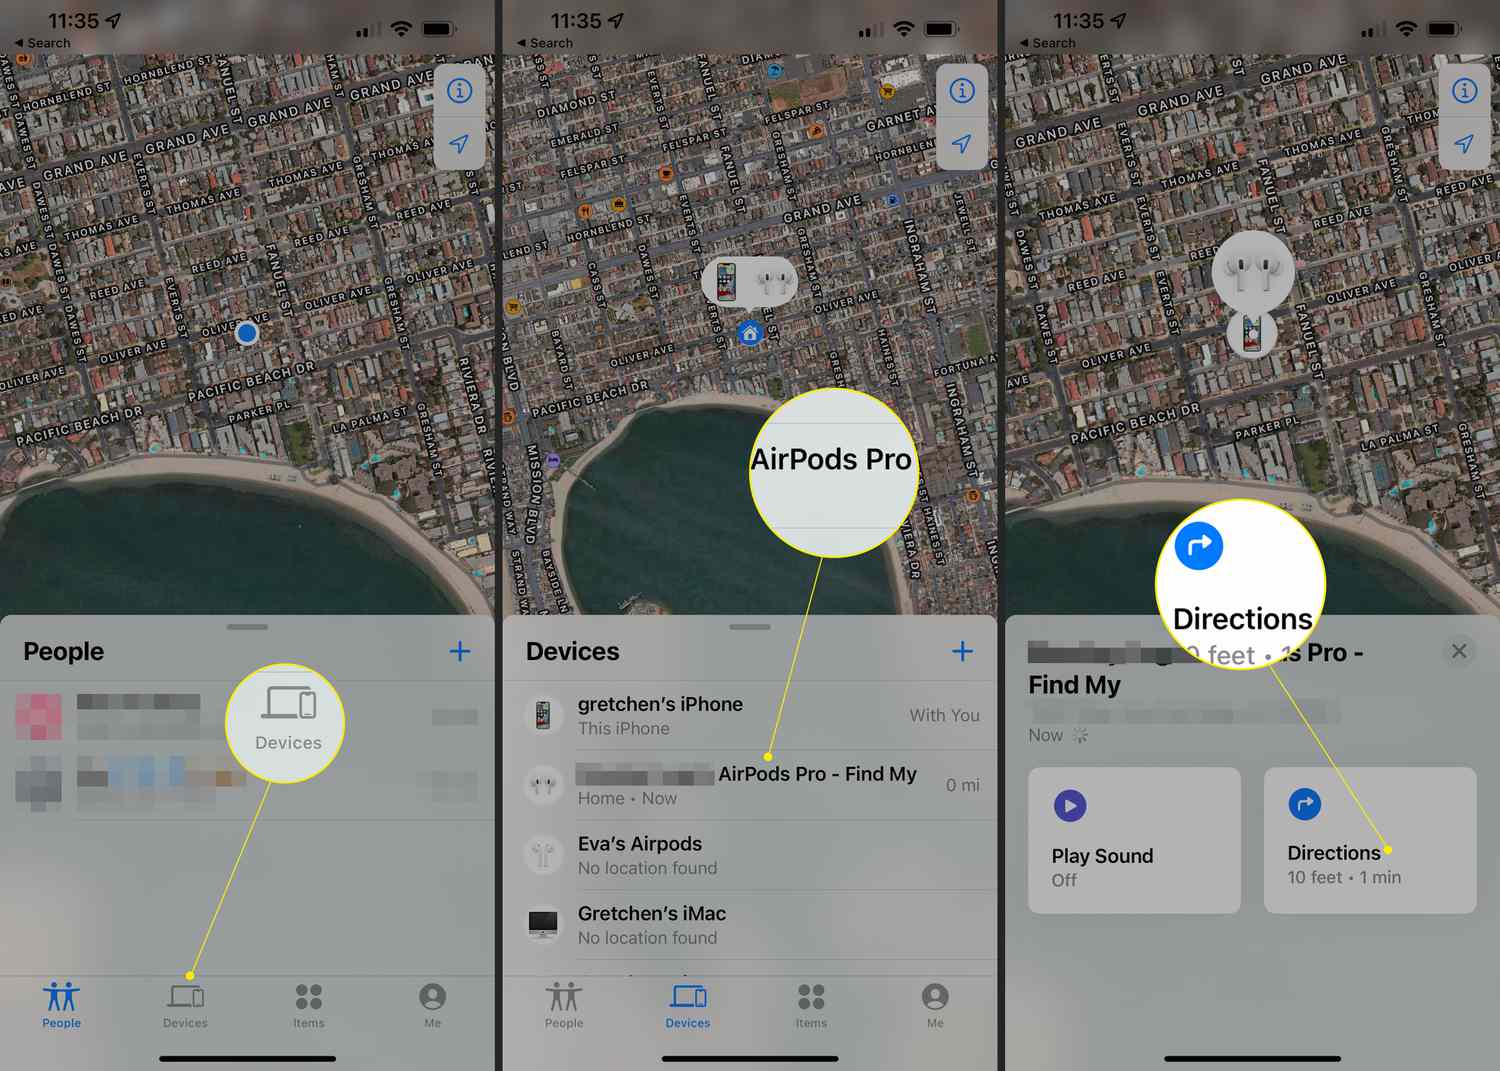
- Open Find My App: On your iPhone, iPad, or Mac, open the Find My app. This app allows you to track the location of your devices and Airpods.
- Check Airpods Status: Inside the Find My app, you should see a list of your devices, including your Airpods. Look for the Airpods in the list and see if they are displayed as “Offline” or “No location available”.
- Location History: If your Airpods were previously tracked and located in the Find My app, you can check the location history for any recent activity. If you see no recent activity or location updates, it indicates that tracking is not functioning or has been successfully disabled.
- Test Connection: To further ensure that tracking has been disabled, you can test the Bluetooth connection between your Airpods and your device. With Bluetooth enabled on your device, try connecting to your Airpods. If you are unable to connect or see the Airpods in the Bluetooth settings, it confirms that tracking has been turned off.
By following these verification steps, you can confirm that tracking on your Airpods has been successfully disabled. It’s always a good idea to check and make sure that the changes you made have taken effect, giving you peace of mind that your Airpods are no longer being tracked.
Now that you have a better understanding of how to disable tracking, verify the status, and use alternative methods, you can control the tracking functionality of your Airpods according to your preferences and needs.
Conclusion
In conclusion, turning off tracking on your Airpods can offer you greater control over your privacy, conserve battery life, and eliminate any unnecessary processes. Whether you’re concerned about your location being continuously tracked or simply don’t find the tracking feature necessary, disabling it is a straightforward process.
In this article, we explored the concept of tracking on Airpods and discussed the importance of turning it off in certain situations. We provided a step-by-step guide to disable tracking through the settings of your Apple device, as well as alternative methods such as disabling the Find My app, using Airplane Mode, and turning off Bluetooth.
Furthermore, we explained how you can verify if tracking has been successfully disabled by checking the status of your Airpods in the Find My app and testing the Bluetooth connection.
By following the instructions and considering the alternatives mentioned, you can take control over the tracking functionality of your Airpods and tailor it to your specific needs and preferences.
Remember, if there comes a time when you feel the need to track your Airpods again, the same steps can be followed to enable tracking and enjoy the benefits it provides.
So go ahead and make an informed decision about whether to disable tracking on your Airpods, and enjoy a sense of privacy and freedom while using your wireless earbuds.