Introduction
Notifications are an integral part of our daily lives, keeping us informed and connected. However, sometimes the constant buzzing and beeping of our devices can become overwhelming, especially when it comes to our Apple Watch. Whether you’re in a meeting, enjoying some quality time with loved ones, or simply need a break from the digital world, knowing how to turn off notifications on your Apple Watch can be a game-changer.
In this article, we will explore five different methods to help you regain control over your Apple Watch notifications. These methods will allow you to personalize your notifications experience and tailor it to your specific needs and preferences. So, let’s dive in and discover how you can reclaim your peace of mind with a few simple steps.
Before we proceed to the methods, it’s essential to note that the steps may slightly vary depending on the version of Apple WatchOS and iOS you are using. Ensure that your Apple Watch is updated to the latest software for a seamless experience.
Now that we have set the stage, let’s explore each method in detail:
Method 1: Changing Notification Settings on iPhone
One of the simplest ways to manage notifications on your Apple Watch is by adjusting the notification settings on your paired iPhone. By customizing your iPhone’s notification settings, you can control which notifications are mirrored to your Apple Watch.
To do this, follow these steps:
- Open the Settings app on your iPhone.
- Scroll down and tap on “Notifications”.
- Here, you will see a list of all the apps installed on your iPhone.
- Tap on the app for which you want to modify the notification settings.
- You will now see an option called “Allow Notifications”. Toggle this option off to disable notifications for that specific app on both your iPhone and Apple Watch.
- If you still want to receive notifications on your iPhone but not on your Apple Watch, you can leave the “Allow Notifications” option enabled and disable the “Mirror iPhone” option instead.
- Repeat these steps for any other apps that you wish to modify the notification settings for.
By taking control of your iPhone’s notification settings, you can effectively filter out irrelevant or excessive notifications that would otherwise appear on your Apple Watch. This allows you to only receive the notifications that are most important to you, helping you stay focused and reduce distractions.
It’s important to note that any changes you make to the notification settings on your iPhone will automatically sync with your Apple Watch. This means that the modifications you make on your iPhone will reflect on your Apple Watch, ensuring a consistent and streamlined notifications experience across both devices.
Now that you know how to manage notifications on your Apple Watch through your iPhone, let’s move on to the next method.
Method 2: Adjusting Notification Settings on Apple Watch
If you prefer to directly manage the notification settings on your Apple Watch, you can do so through the device itself. This method allows you to have more granular control over which notifications appear on your Apple Watch.
Follow these steps to adjust the notification settings on your Apple Watch:
- On your Apple Watch, navigate to the home screen by pressing the digital crown.
- Tap on the “Settings” app icon.
- Scroll down and tap on “Notifications”.
- Here, you will find various options to customize your notification settings.
- Scroll through the list of apps and select the one for which you want to modify the notification settings.
- Toggle the switches on or off to enable or disable notifications for that specific app on your Apple Watch.
- You can also customize how notifications are displayed by adjusting options such as “Show Alerts”, “Sound”, and “Haptic Alerts”.
- Repeat these steps for any other apps that you want to customize the notification settings for.
By adjusting the notification settings on your Apple Watch, you can fine-tune the notifications experience to your liking. You have the flexibility to choose which apps can send notifications to your Apple Watch and control how those notifications are presented.
In addition to app-specific settings, you can also adjust the overall notification behavior on your Apple Watch. For example, you can enable or disable the “Do Not Disturb” mode, which temporarily suppresses all notifications during specific time periods or when the watch is on your wrist. This feature can be useful when you need uninterrupted time or when you don’t want to be disturbed by notifications.
Now that you know how to adjust the notification settings on your Apple Watch, let’s move on to the next method.
Method 3: Using Do Not Disturb Mode
If you want to temporarily disable all notifications on your Apple Watch, using the “Do Not Disturb” mode is a convenient option. This mode allows you to silence notifications and alerts for a specific period or until you manually turn it off.
Here’s how you can enable “Do Not Disturb” mode on your Apple Watch:
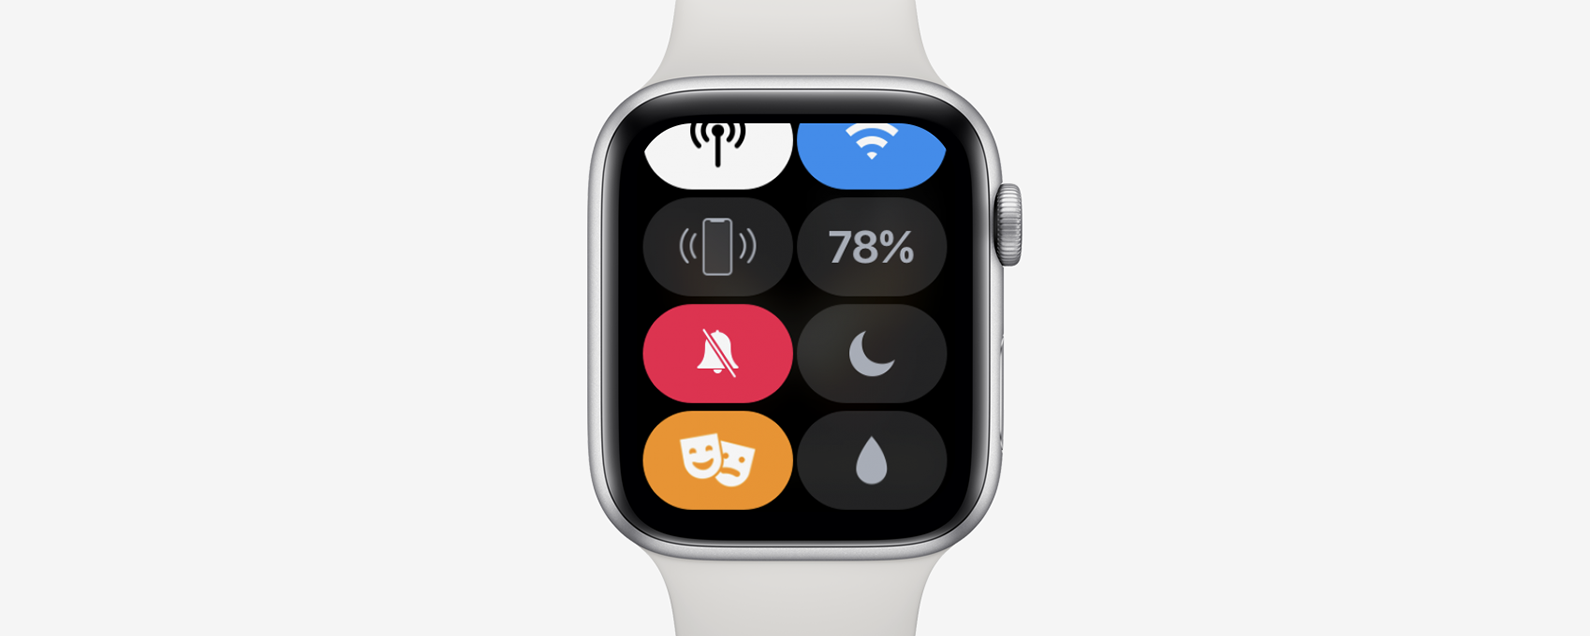
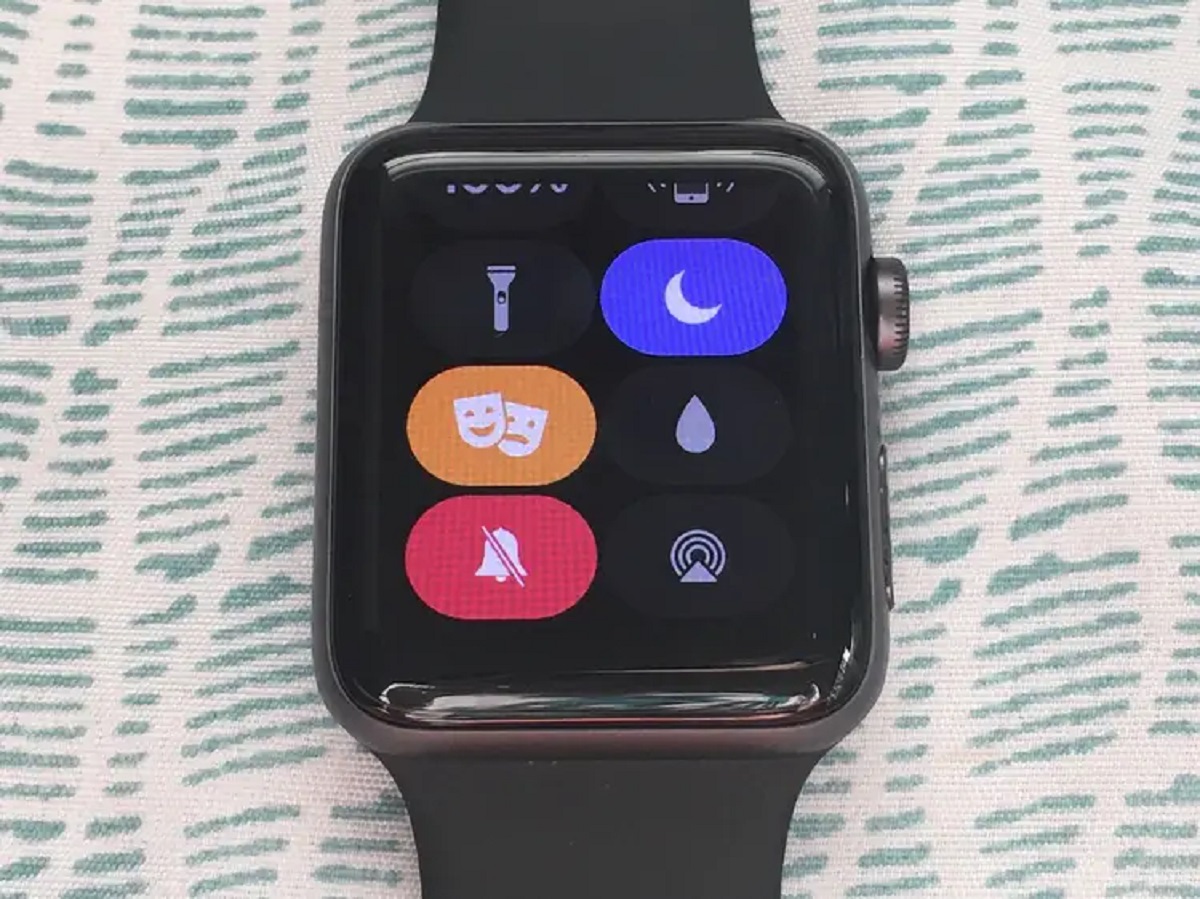
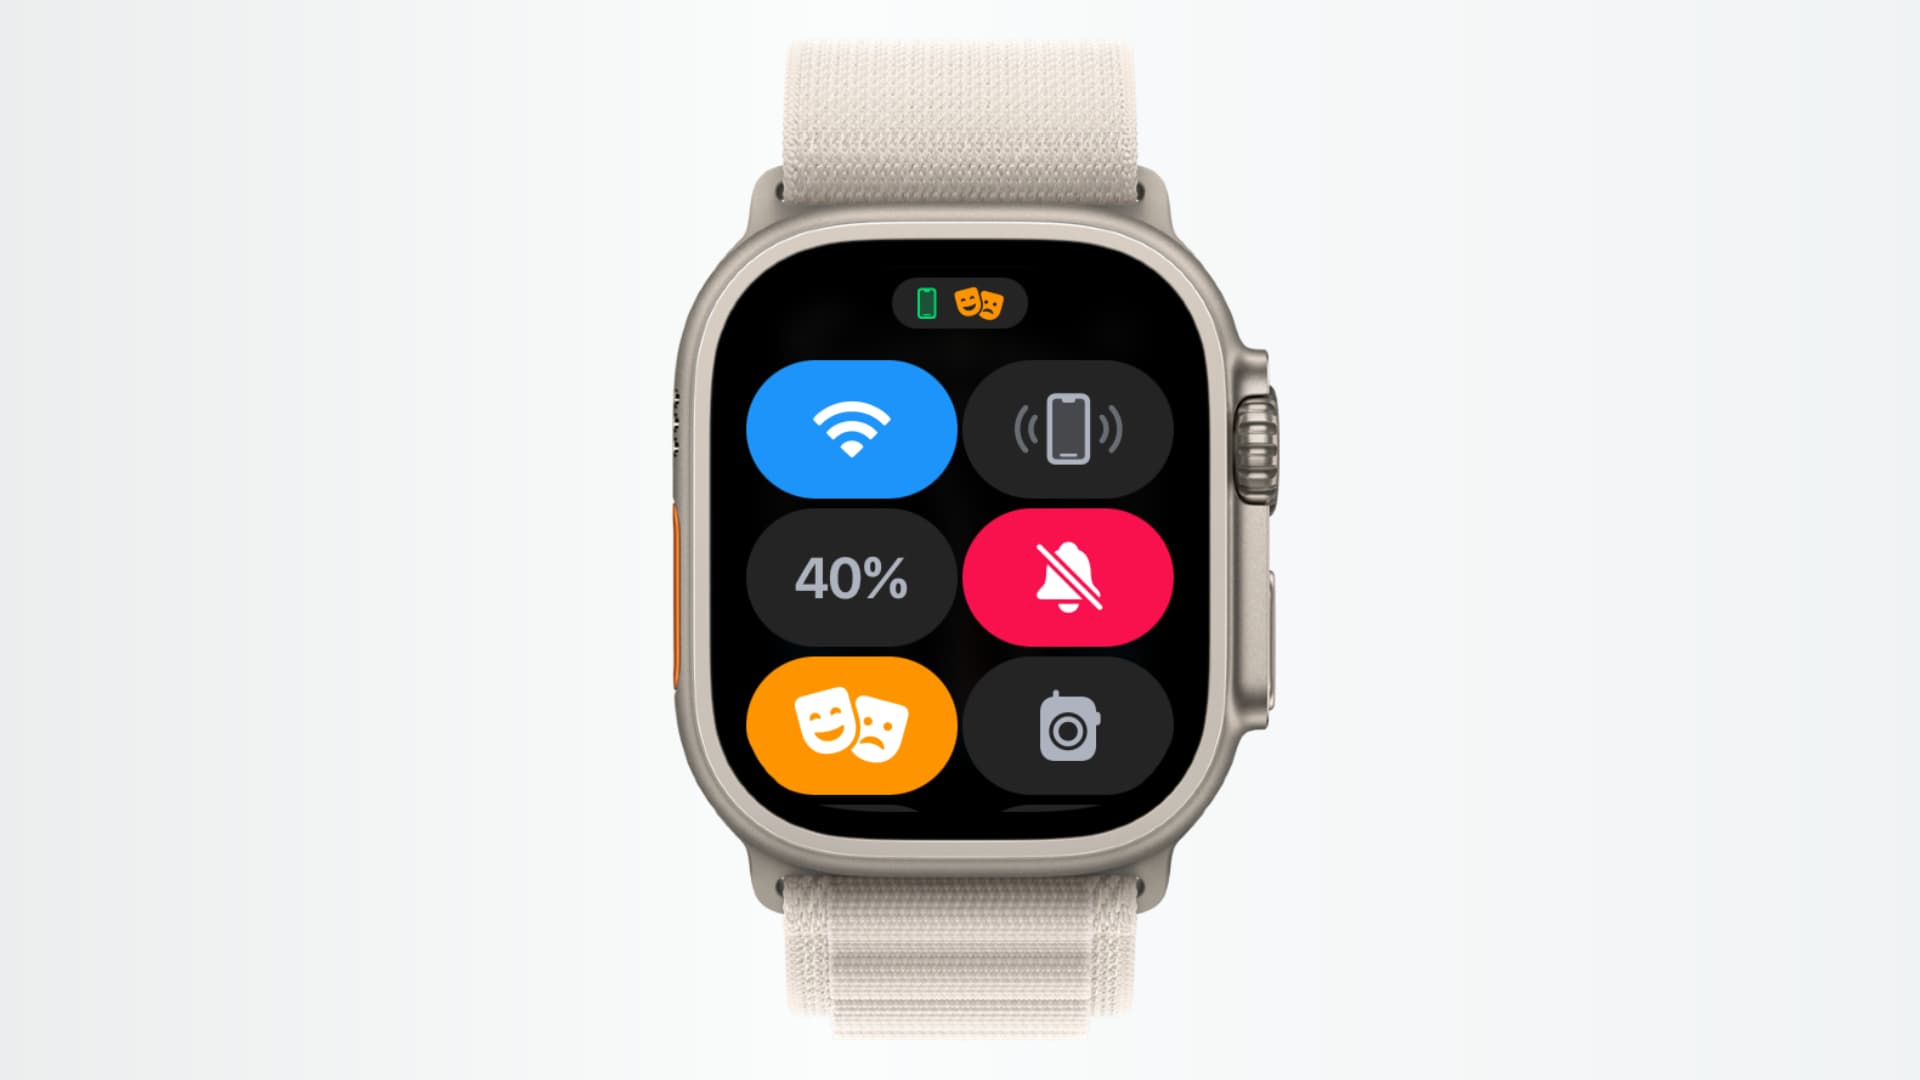
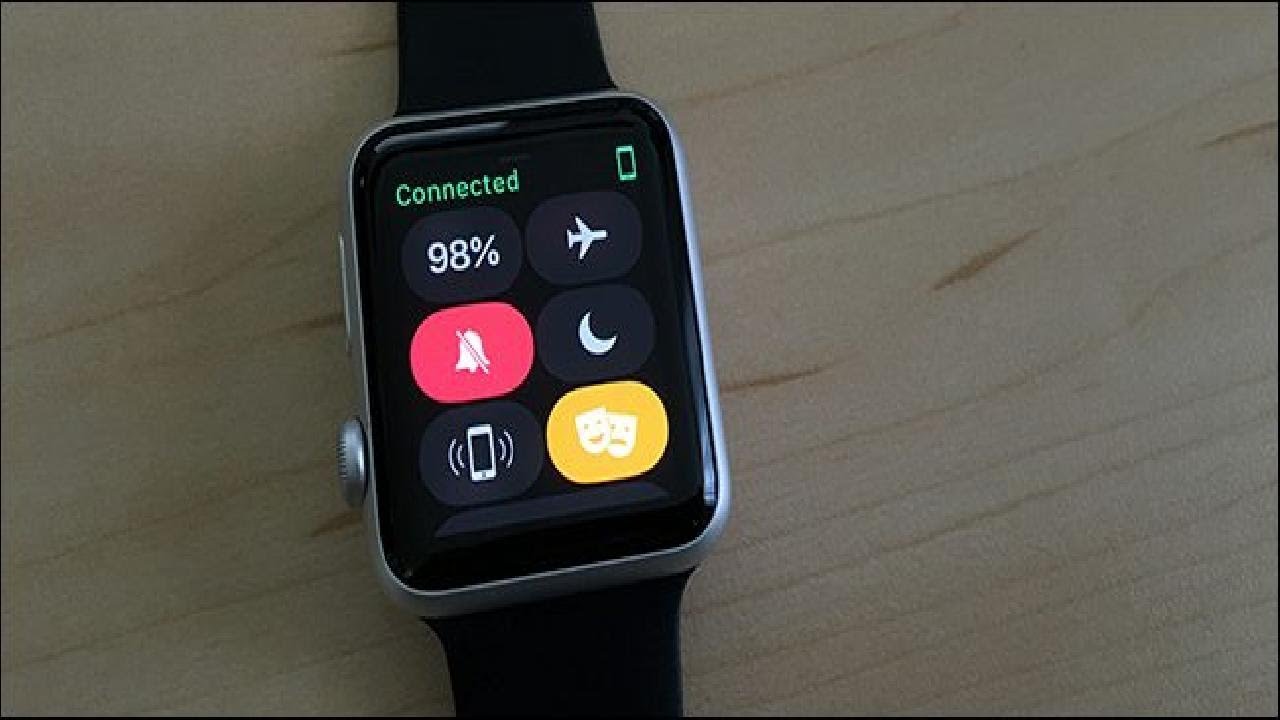
- On your Apple Watch, swipe up from the bottom of the screen to access the Control Center.
- Tap on the crescent moon icon, which represents “Do Not Disturb” mode.
- When enabled, the icon will turn purple, indicating that “Do Not Disturb” mode is active.
While in “Do Not Disturb” mode, your Apple Watch will not receive any notifications or alerts, providing you with uninterrupted time and peace of mind. However, keep in mind that important notifications, such as emergency calls, will still come through.
If you wish to automate the activation of “Do Not Disturb” mode on your Apple Watch, you can easily do so through the settings:
- On your Apple Watch, open the Settings app.
- Scroll down and tap on “Do Not Disturb”.
- Here, you can choose to enable options like “Silent Mode” or “Mirror iPhone”, which allow you to synchronize “Do Not Disturb” mode with your iPhone’s settings.
- You can also schedule specific times for “Do Not Disturb” mode to automatically activate and deactivate, ensuring that you won’t be disturbed during specific periods.
Using “Do Not Disturb” mode can be a handy solution when you need some uninterrupted time or when you want to minimize distractions during meetings, workouts, or sleep.
Now that you know how to use “Do Not Disturb” mode on your Apple Watch, let’s move on to the next method.
Method 4: Disabling Individual App Notifications
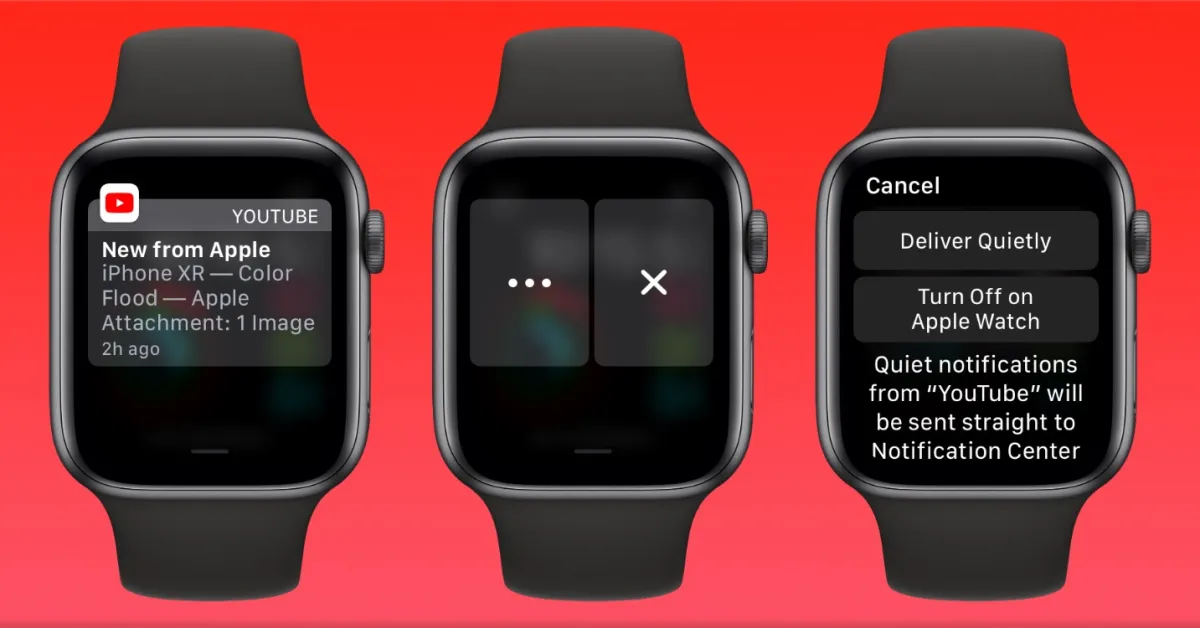
If you find that specific apps on your Apple Watch are sending too many notifications or are simply not relevant to your needs, you can disable their notifications individually. This allows you to maintain a clutter-free notifications experience by only receiving notifications from apps that truly matter to you.
Follow these steps to disable notifications for individual apps on your Apple Watch:
- On your Apple Watch, swipe up from the bottom of the screen to access the Control Center.
- Tap on the “Settings” icon, resembling a gear.
- Scroll down and tap on “Notifications”.
- Here, you will see a list of all the apps installed on your Apple Watch.
- Scroll through the list and find the app for which you want to disable notifications.
- Tap on the app’s name.
- Toggle the switch next to “Allow Notifications” to turn off notifications for that particular app on your Apple Watch.
- Repeat these steps for any other apps that you want to disable notifications for.
By disabling notifications for individual apps, you can tailor your Apple Watch experience to focus only on the important notifications. This helps you minimize distractions and only receive alerts from the apps that are truly significant to you.
Remember that disabling notifications for an app on your Apple Watch does not affect the notification settings on your iPhone. Therefore, the app’s notifications will still appear on your iPhone if they are enabled. This allows you to have separate control over notifications on each device.
Now that you know how to disable notifications for individual apps on your Apple Watch, let’s move on to the final method.
Method 5: Disabling Activity Notifications
Your Apple Watch comes with a range of activity tracking features, including notifications related to your fitness goals and achievements. While these notifications can be motivational and helpful for many users, some may prefer to disable them to reduce clutter or avoid constant reminders.
If you wish to turn off activity notifications on your Apple Watch, follow these steps:
- On your Apple Watch, open the Activity app by tapping on the icon resembling three concentric circles.
- Scroll down and tap on “Notifications”.
- Here, you will find various options related to activity notifications.
- Toggle the switches next to the notifications you want to disable, such as “Stand Reminders”, “Goal Completions”, or “Achievements”.
- You can also adjust the notification style by tapping on “Notification Style” and selecting your preference.
By disabling activity notifications, you can tailor your Apple Watch experience to focus on other aspects without being constantly reminded about your fitness goals. However, keep in mind that these notifications can be beneficial for staying motivated and tracking your progress towards a healthier lifestyle.
If you wish to disable activity notifications only temporarily, you can enable “Workout Do Not Disturb” mode. This mode silences activity-related notifications while you are engaged in a workout session, providing you with uninterrupted focus.
Now that you know how to disable activity notifications on your Apple Watch, you have full control over the types of alerts and reminders you receive related to your fitness activities. Let’s wrap up our methods and discuss the highlights of managing notifications on your Apple Watch.
Conclusion
Managing notifications on your Apple Watch is essential to create a personalized and distraction-free experience. With the five methods discussed in this article, you now have the tools to regain control over your notifications and tailor them to your specific needs.
By changing the notification settings on your iPhone, you can control which notifications are mirrored to your Apple Watch, ensuring you only receive the most relevant alerts. Adjusting the notification settings directly on your Apple Watch allows for more granular control, allowing you to customize notifications on an app-by-app basis.
Using the “Do Not Disturb” mode on your Apple Watch is an effective way to temporarily silence notifications and enjoy uninterrupted time. Disabling notifications for individual apps and activity-related notifications allows you to minimize distractions and focus on what truly matters to you.
Remember, each method offers different levels of customization, so choose the one that best suits your preferences. It’s important to find a balance between staying informed and avoiding constant interruptions from your Apple Watch.
Now armed with this knowledge, go ahead and take charge of your Apple Watch notifications. Use these methods to enhance your productivity, reduce distractions, and enjoy a more personalized and seamless experience with your Apple Watch.


