Introduction
Welcome to our guide on how to troubleshoot a solid state drive (SSD). As technology continues to advance, SSDs have become the go-to choice for storage in many devices such as laptops, desktops, and gaming consoles. With their faster speeds, greater durability, and smaller form factor, SSDs have revolutionized the way we store and access data.
However, like any other piece of technology, SSDs are not immune to issues. It can be frustrating when your SSD starts acting up, causing performance slowdowns or even complete failure. Fortunately, there are several steps you can take to troubleshoot and resolve these issues, allowing you to get your SSD back up and running smoothly.
In this guide, we will walk you through the common problems you may encounter with your SSD and provide step-by-step instructions for troubleshooting and resolving them. Whether you are a tech-savvy enthusiast or a beginner, this guide aims to offer practical solutions for your SSD-related woes.
It is important to note that while SSDs are generally reliable, troubleshooting and fixing these drives may require some technical knowledge. If you are uncomfortable performing any of the steps outlined in this guide, we recommend seeking assistance from a professional or reaching out to the SSD manufacturer’s support team.
Now, let’s dive into the world of troubleshooting SSDs and learn how to diagnose and resolve some common issues. By following the steps provided in this guide, you will be equipped with the knowledge to tackle SSD problems head-on and get your drive back in optimal working condition.
Understanding Solid State Drives (SSDs)
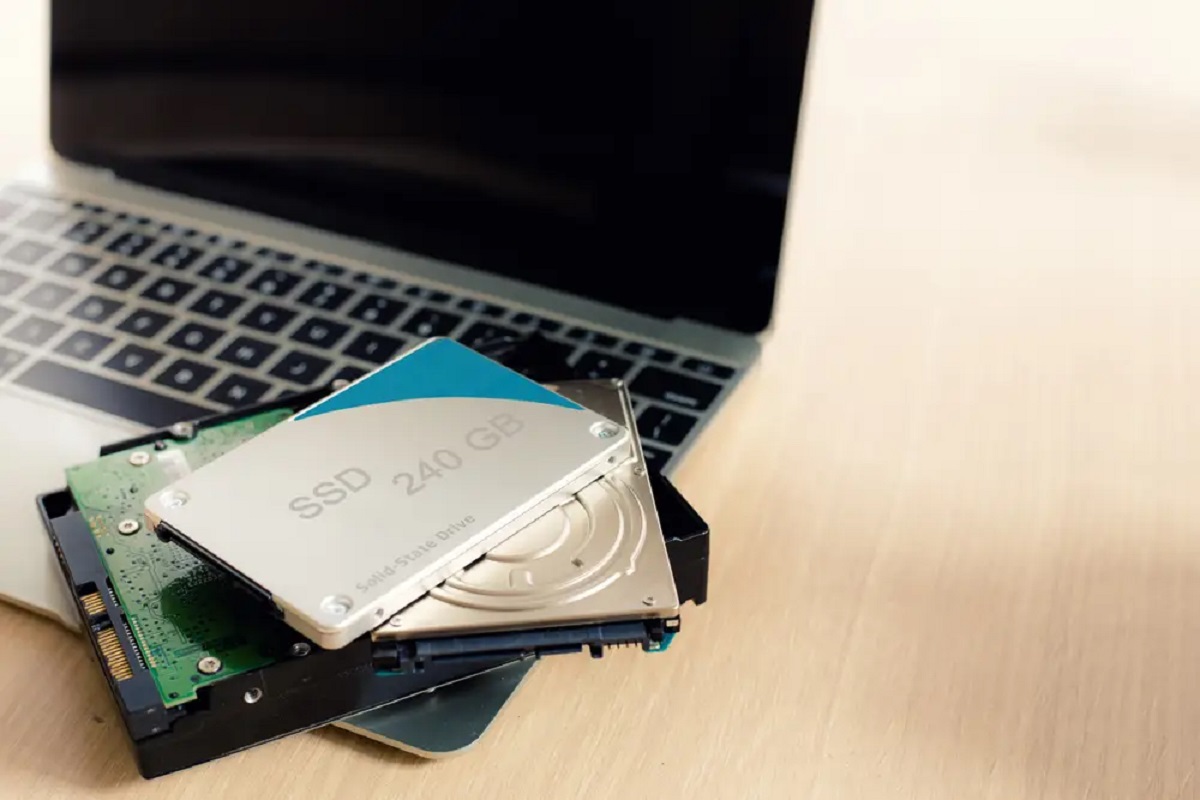
Before delving into troubleshooting, it is important to have a basic understanding of what a solid state drive (SSD) is and how it differs from traditional hard disk drives (HDDs). Unlike HDDs, which rely on spinning disks and mechanical components, SSDs use flash memory to store and retrieve data.
One of the major advantages of SSDs is their speed. Since there are no moving parts involved, access times are significantly faster compared to HDDs. This means that your computer will boot up quicker, applications will launch faster, and file transfers will be more efficient.
Another notable feature of SSDs is their durability. Without the mechanical components found in HDDs, SSDs are less prone to physical damage caused by bumps, drops, or vibrations. This makes them a popular choice for portable devices such as laptops, where durability is crucial.
SSDs also offer a smaller form factor, which allows for more flexibility when it comes to installation. With their slim design, SSDs can be easily integrated into various devices, including ultrabooks and mini PCs, without sacrificing storage capacity.
While SSDs have many benefits, it is important to be aware of their limitations. One primary consideration is their lifespan. SSDs have a limited number of write cycles, meaning that they can only be overwritten a certain number of times before they start to degrade. However, modern SSDs have built-in wear-leveling algorithms that distribute data evenly across the drive, mitigating this issue to a certain extent.
It is also crucial to note that unlike HDDs, which may give some early warning signs before failure, SSDs can fail suddenly and without warning. This emphasizes the importance of regular backups to prevent data loss in the event of SSD failure.
Now that we have a basic understanding of SSDs, we can move on to troubleshooting the common issues that may arise with these drives. Understanding the underlying technology will help us to diagnose and resolve these problems effectively.
Common Issues with SSDs
While solid state drives (SSDs) are known for their reliability and fast performance, they are not completely immune to issues. Understanding the common problems that can occur with SSDs will help you identify and troubleshoot them effectively.
One common issue is slow performance. Over time, an SSD may become slower due to factors such as fragmented data, insufficient free space, or outdated firmware. This can result in longer boot times, application launch delays, and overall sluggishness. Fortunately, there are steps you can take to optimize performance and restore the SSD’s speed.
Another issue that users may encounter is the inability to detect or recognize the SSD. This can be caused by loose connections, outdated drivers, or compatibility issues. When your computer fails to detect the SSD, you may not be able to boot up or access your data. Troubleshooting this problem involves checking physical connections and updating relevant drivers or firmware.
Data corruption is another issue that can occur with SSDs. While SSDs are generally more reliable than traditional hard drives, there is still a possibility of data corruption due to factors such as power outages, improper shutdowns, or sudden system crashes. If you encounter file system errors or experience data loss, there are methods to recover the lost data and repair any corrupt files.
Wear leveling is a technique used in SSDs to evenly distribute data writes across the drive’s memory cells. However, over time, wear leveling may result in the accumulation of bad sectors. Bad sectors can lead to read or write errors, reduced performance, and potential data loss. Identifying and repairing these bad sectors is essential for maintaining the health of your SSD.
Finally, firmware bugs or outdated firmware can also cause issues with SSDs. Manufacturers regularly release firmware updates to improve performance, stability, and compatibility. Keeping your SSD’s firmware up to date is vital to ensure optimal functionality and address any known bugs or issues.
Understanding these common issues with SSDs will help you troubleshoot and resolve problems effectively. In the following sections, we will guide you through step-by-step troubleshooting processes to address these issues and get your SSD back in optimal working condition.
Basic Troubleshooting Steps
When encountering issues with your solid state drive (SSD), it’s important to follow a systematic approach to troubleshooting. By starting with the basic steps, you can often resolve common problems without the need for extensive technical knowledge or specialized tools.
Here are some basic troubleshooting steps to help you address SSD issues:
- Restart your computer: Sometimes, a simple restart can resolve minor glitches or temporary issues with the operating system or drivers. Restarting your computer can refresh system processes and clear any temporary errors.
- Check all cables and connections: Ensure that all cables connecting the SSD to your computer are securely plugged in. Loose connections can lead to the SSD not being detected or unresponsive. Consider reseating the cables or trying different ports if necessary.
- Power cycle the SSD: Power cycling involves disconnecting the power source from the SSD, waiting for a few minutes, and then reconnecting it. This can help reset the SSD and resolve issues caused by power surges or incorrect power management.
- Free up disk space: Insufficient free space on the SSD can lead to performance degradation. Delete unnecessary files or move them to an external storage device to free up space. You can use built-in disk cleanup tools in your operating system or third-party software to remove temporary files and other unnecessary data.
- Update your firmware and drivers: Manufacturers often release firmware updates to address known issues and improve compatibility and performance. Visit the manufacturer’s website to check if there are any firmware updates available for your SSD. Additionally, ensure that you have the latest drivers installed for your SSD and other relevant hardware components.
- Scan for malware and viruses: Malware and viruses can affect the performance and stability of your SSD. Run a full system scan using reputable antivirus software to detect and remove any malicious threats. Additionally, regularly update your antivirus software to ensure it can detect the latest threats.
- Disable power-saving modes: Some power-saving features in your operating system may cause issues with SSD performance. Disable power-saving modes such as “Sleep” or “Hibernate” and set the power profile to “High Performance.” This can help ensure that your SSD operates at its full potential at all times.
By following these basic troubleshooting steps, you can often resolve common SSD issues. If the problem persists, further investigation and advanced troubleshooting may be required, which we will cover in the following sections.
Checking Physical Connections
When troubleshooting issues with your solid state drive (SSD), one of the first steps you should take is to ensure that all physical connections are secure and properly connected. Loose or faulty connections can lead to a variety of problems, including the SSD not being detected by your computer.
Perform the following steps to check the physical connections:
- Power off your computer: Shut down your computer and disconnect the power cable to ensure that there is no power running through the system.
- Open your computer case: Depending on your computer model, you may need to remove screws or slide panels to access the internal components. Refer to your computer’s user manual for instructions on how to open the case.
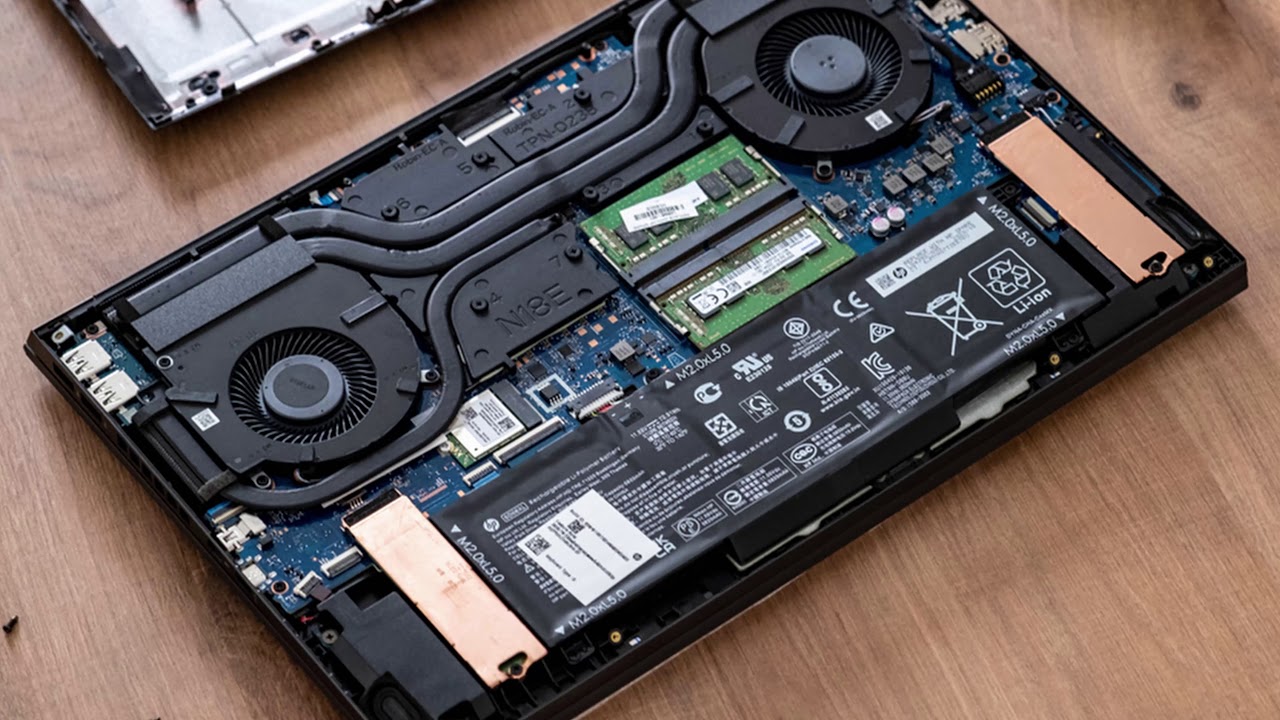
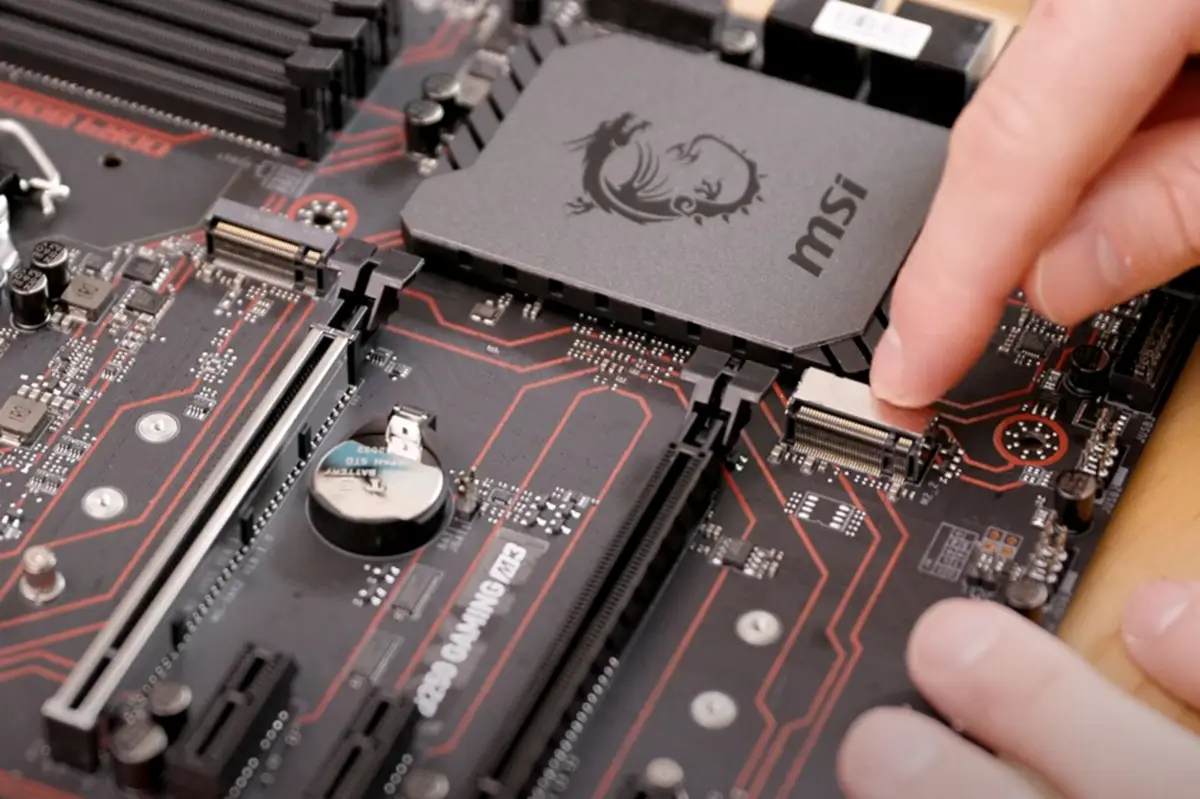
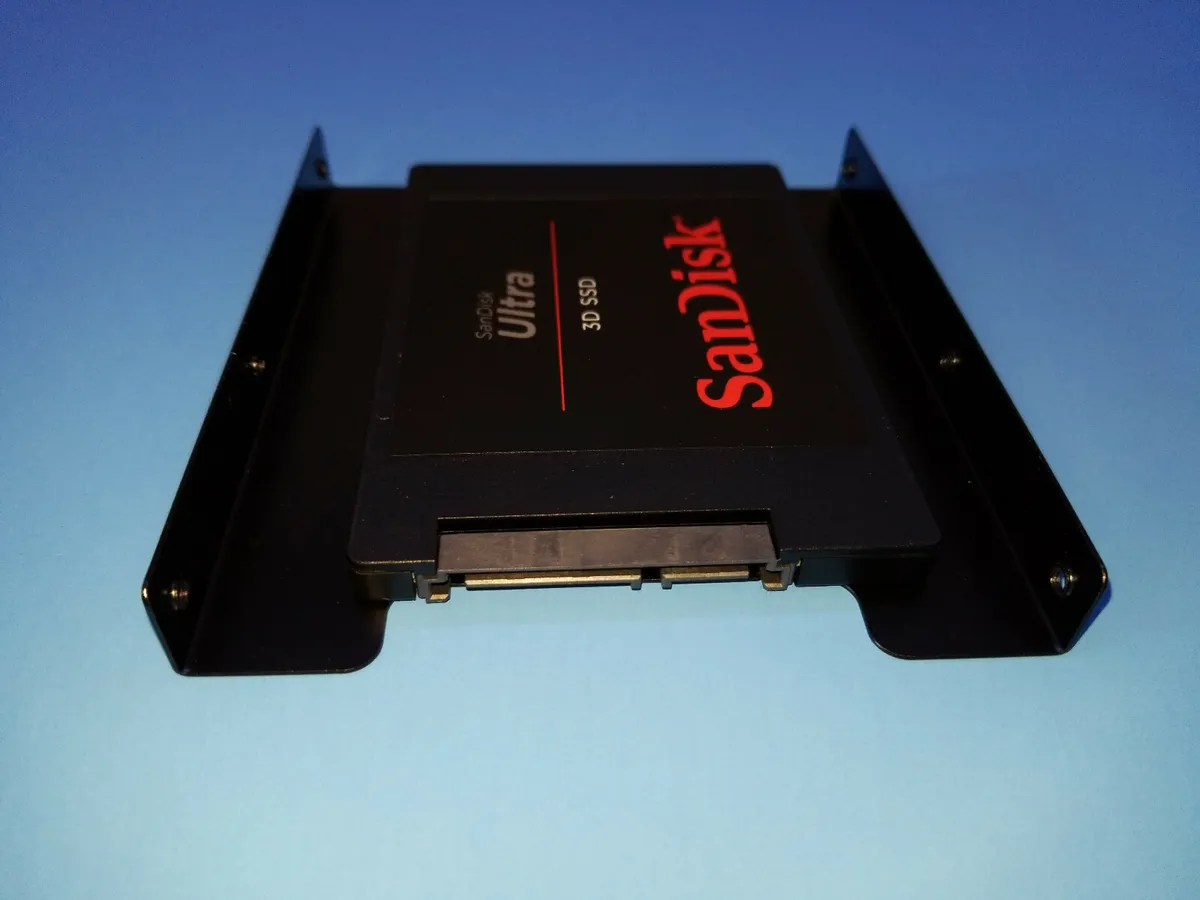
- Locate the SSD: Identify the SSD inside your computer. It is usually connected to the motherboard via a SATA or M.2 connector. Note the cables and connections involved.
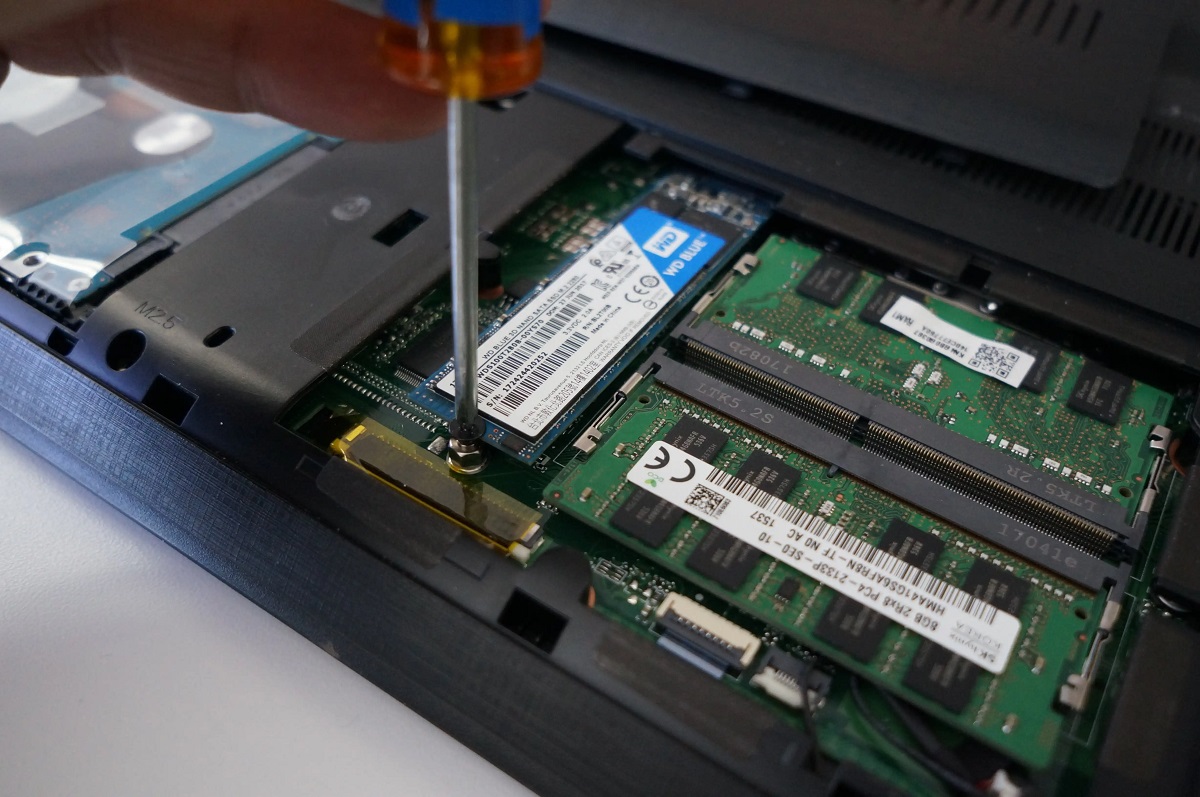
- Reconnect the cables: Carefully remove and reconnect the SATA or M.2 cables connecting the SSD to the motherboard. Ensure that they are firmly plugged in. If there are any visible signs of damage or wear, consider replacing the cables.
- Check the power cable: Ensure that the power cable connected to the SSD is securely plugged into the power supply unit (PSU). Verify that the cable is not damaged or frayed.
- Examine the motherboard connections: Inspect the SATA or M.2 connectors on the motherboard for any signs of damage, debris, or bent pins. Gently clean the connectors if necessary, using compressed air or a small brush.
- Close the computer case: Once you have ensured that all connections are secure and properly seated, close the computer case and reattach any screws or panels that were removed.
- Power on your computer: Reconnect the power cable and turn on your computer. Check if the SSD is now detected by your system. Access the BIOS or UEFI settings to verify the SSD’s presence and ensure that it is set as the boot device if needed.
By checking the physical connections between the SSD and the motherboard, you can eliminate any issues caused by loose or faulty connections. If the SSD is still not recognized or if the problem persists, proceed to the next troubleshooting steps.
Updating Firmware and Drivers
Updating the firmware and drivers of your solid state drive (SSD) is an important step in troubleshooting and optimizing its performance. Firmware updates often include bug fixes, stability improvements, and enhanced compatibility with different systems and software. Similarly, updating the drivers ensures that your operating system can communicate effectively with the SSD.
Here’s how you can update the firmware and drivers of your SSD:
- Identify your SSD model: Find out the exact model of your SSD. You can usually find this information on the SSD label, packaging, or manufacturer’s website.
- Visit the manufacturer’s website: Go to the manufacturer’s official website and navigate to the support or downloads section. Look for firmware updates specifically designed for your SSD model.
- Download the firmware update: Locate the latest firmware update for your SSD and download it to your computer. Ensure that you download the correct firmware version for your specific SSD model.
- Create a backup: Before proceeding with the firmware update, it is strongly recommended to create a backup of your important data. While the chances of data loss during the update are low, it’s best to be prepared.
- Follow the manufacturer’s instructions: Each manufacturer may have slightly different methods for updating firmware. Read the instructions provided by the manufacturer carefully, as they will guide you through the update process step by step.
- Perform the firmware update: Typically, the firmware update involves running an executable file or using specialized software provided by the manufacturer. Follow the on-screen instructions to complete the update process. It is crucial to keep your computer powered on and avoid interrupting the update process.
- Update SSD drivers: While updating the firmware, it is also a good idea to update the drivers for your SSD. Visit your computer manufacturer’s website or the website of the SSD manufacturer to locate the latest drivers. Download and install the drivers following the provided instructions.
- Verify the update: Once the firmware and drivers have been updated, restart your computer and check if the SSD is functioning properly. Verify that the firmware version has been updated to the latest release.
Regularly checking for firmware and driver updates will ensure that your SSD remains compatible with the latest hardware and software, and may even resolve any issues you may be experiencing. Remember to follow the manufacturer’s instructions carefully and exercise caution during the update process.
Checking Device Manager
When troubleshooting issues with your solid state drive (SSD), checking the Device Manager in your operating system can provide valuable information about its status and any potential problems. The Device Manager allows you to view and manage the hardware devices connected to your computer, including the SSD.
Follow these steps to check the Device Manager for SSD-related issues:
- Open the Device Manager: In Windows, you can open the Device Manager by right-clicking on the Start button and selecting “Device Manager” from the context menu. On a Mac, click the Apple menu, then go to “About This Mac” and click “System Report” to open the System Information, where you can find the list of connected devices.
- Expand the “Disk drives” category: In the Device Manager, expand the “Disk drives” category to see the list of disk drives connected to your computer.
- Locate your SSD: Look for the entry that represents your SSD. It is usually labeled with the brand and model of the SSD. If you have multiple drives, make sure to identify the correct one.
- Check the status: Check the status of your SSD. If the device is working properly, you should see “This device is working properly” or a similar message. If there are any issues, such as a yellow exclamation mark or a red cross, it indicates a problem with the SSD.
- Update or reinstall drivers: If there are issues with the SSD, you can try updating or reinstalling the drivers. Right-click on the SSD entry and select “Update driver” or “Uninstall device.” Follow the on-screen instructions to complete the process.
- Scan for hardware changes: After updating or reinstalling the drivers, click on the “Action” menu in the Device Manager and select “Scan for hardware changes.” This will refresh the device list and detect any changes or newly connected devices.
- Restart your computer: After making any changes or updates, it’s recommended to restart your computer to ensure that the changes take effect.
Checking the Device Manager can provide insights into the current status of your SSD and help diagnose any issues that may be affecting its functionality. If the problem persists or if the SSD is not detected at all, further troubleshooting steps may be required.
Running Diagnostic Tools
When troubleshooting issues with your solid state drive (SSD), running diagnostic tools can provide a deeper analysis of its health and identify potential problems. These tools are designed to test various aspects of the SSD, including its performance, integrity, and overall functionality.
Here are some common diagnostic tools you can use to test your SSD:
- Manufacturer’s Diagnostic Tool: Many SSD manufacturers provide their own diagnostic software. Visit the manufacturer’s website and look for the SSD diagnostic tool specific to your SSD model. These tools can perform comprehensive tests, including SMART (Self-Monitoring, Analysis, and Reporting Technology) checks, drive health analysis, and firmware updates.
- CrystalDiskInfo: CrystalDiskInfo is a free and lightweight utility that displays detailed information about your SSD. It can monitor the SSD’s health status, temperature, and SMART attributes. It also provides insight into the drive’s overall performance and any potential issues.
- CrystalDiskMark: CrystalDiskMark is a benchmarking tool that measures the read and write speeds of your SSD. It can help you evaluate the performance of your SSD by running sequential and random read/write tests.
- SSD Life: SSD Life is a tool that provides information about your SSD’s health, estimated lifespan, and other useful details. It can also alert you if the SSD’s health deteriorates or if any issues arise.
- HD Tune: HD Tune is a powerful and comprehensive tool that can test the performance, scan for errors, and check the health of your SSD. It provides a detailed report on various aspects, including transfer rate, access time, error rate, and more.
Before running any diagnostic tool, it’s important to close all other programs and ensure that no critical data is being accessed on the SSD. This will allow the tool to perform accurate tests without interference.
Use the diagnostic tools recommended by the SSD manufacturer or trusted third-party software to ensure reliable results. Follow the instructions provided by the tools and carefully analyze the test reports to identify any issues or areas of concern. If the diagnostic tool detects any problems, refer to the manufacturer’s support documentation or contact their customer support for further guidance and assistance.
Running diagnostic tools on your SSD can help you identify underlying issues, assess its health, and take appropriate measures to resolve any problems that may arise.
Repairing Bad Sectors
Bad sectors on a solid state drive (SSD) can lead to data corruption, slow performance, and potential system crashes. Repairing these bad sectors is important to maintain the overall health and functionality of the SSD. Although SSDs have built-in mechanisms to handle bad sectors, it’s a good practice to address them as soon as possible.
Here’s how you can repair bad sectors on your SSD:
- Backup your data: Before attempting any repairs, it’s crucial to back up your important data. This will protect your files in case of any unforeseen issues during the repair process.
- Use built-in repair tools: Some operating systems, such as Windows, have built-in tools to repair bad sectors on SSDs. For Windows users, you can use the “chkdsk” (Check Disk) utility to scan for and repair disk errors. Open a command prompt with administrative privileges and use the “chkdsk” command, followed by the drive letter of your SSD.
- Third-party repair software: There are several third-party software applications available that specialize in repairing bad sectors on SSDs. These tools can perform more advanced scans and repairs than the built-in operating system tools. Look for reputable software options, ensure they are compatible with your SSD, and follow the instructions provided by the software vendor.
- Trim command: The Trim command is a built-in feature in SSDs that helps maintain the performance and longevity of the drive. It can also help identify and repair bad sectors. You can enable Trim in your operating system settings or by using third-party software designed for SSD optimization.
- Manufacturer-specific tools: Some SSD manufacturers provide their own diagnostic and repair tools that can handle bad sectors. Visit the manufacturer’s website and look for any specific tools or software designed for your SSD model.
- Consider professional assistance: If the above methods do not resolve the issue, or if you are uncertain about performing repairs yourself, it’s advisable to seek professional assistance. Contact the manufacturer’s support team or consult a professional technician who specializes in SSD repair and data recovery.
Repairing bad sectors on an SSD is crucial for maintaining data integrity and optimizing the drive’s performance. Regularly scanning for and addressing bad sectors can help prolong the lifespan of your SSD and ensure it functions at its best.
Recovering Lost Data
Experiencing data loss on a solid state drive (SSD) can be a distressing situation, but there are methods available to recover lost data. Whether it’s due to accidental deletion, formatting, or other issues, it is possible to retrieve your valuable files with the right approach.
Here are some steps you can take to recover lost data from your SSD:
- Stop using the SSD: When you realize that data has been lost, it’s important to immediately stop using the SSD. Continued use may overwrite the deleted data, making recovery more difficult or even impossible.
- Use data recovery software: There are numerous data recovery software options available that specialize in retrieving lost files from SSDs. These tools scan the drive, searching for recoverable files, and give you the option to restore them. It’s important to choose reputable software from trusted sources and follow the provided instructions carefully.
- Consult a professional data recovery service: If the data recovery software is unable to retrieve your lost files or if the data is highly critical, it might be necessary to seek the assistance of professional data recovery services. These experts have specialized tools and techniques to recover data from SSDs in more complex scenarios.
- Restore from backups: If you have regular backups of your SSD, restoring the lost data becomes much simpler. Check your backup devices or cloud storage for the most recent backup and restore the files accordingly.
- Prevent future data loss: To avoid future data loss on your SSD, consider implementing a robust backup strategy. Regularly back up important files to external storage devices or cloud services to ensure that you have an additional copy of your data in case of any future issues.
It’s important to note that data recovery is not always guaranteed, especially in cases of physical damage to the SSD or extensive data corruption. Therefore, it’s essential to act quickly and seek professional assistance if necessary.
To minimize the risk of data loss, maintaining regular backups is the best approach. Make it a habit to back up your important files to multiple locations to ensure that you can easily recover them in the event of data loss on your SSD.
Considerations for Warranty and Replacement
If you have exhausted all troubleshooting measures and your solid state drive (SSD) is still experiencing persistent issues, it may be time to consider warranty coverage and potential replacement options. SSD manufacturers generally provide warranties to protect against defects and malfunctions, giving you recourse in the event of hardware failure.
Here are some key considerations when it comes to warranty and replacement of your SSD:
- Check your warranty: Review the warranty terms and conditions provided by the manufacturer. Note the duration of the warranty and what types of issues are covered. Some manufacturers offer warranties ranging from a few years to several years, depending on the SSD model.
- Contact the manufacturer’s support: If your SSD is still under warranty and experiencing ongoing issues, contact the manufacturer’s support team. They will guide you through the warranty claim process and provide instructions on how to proceed with the replacement or repair.
- Follow the manufacturer’s instructions: When pursuing a warranty claim, it’s crucial to follow the manufacturer’s instructions carefully. This may involve providing proof of purchase, completing warranty registration forms, or taking other required steps to initiate the replacement or repair process.
- Consider extended warranty options: Some manufacturers and retailers offer extended warranty options for an additional cost. These warranties provide extended coverage beyond the standard warranty period, giving you added protection and peace of mind.
- Backup your data: Before sending your SSD for replacement or repair, ensure that you have backed up your important data. The warranty process may involve returning the SSD to the manufacturer, and there is a possibility that your data may not be recoverable once the SSD is sent in.
- Explore replacement options: If your SSD is no longer under warranty, it may be time to consider purchasing a new SSD. Research and compare different options, taking into account factors such as capacity, performance, and reliability. Consult online reviews and consider your specific needs before making a decision.
- Properly dispose of the old SSD: If you are replacing your SSD, ensure that you properly dispose of the old drive. SSDs can contain sensitive data, so it’s important to securely erase the data or physically destroy the drive to prevent any potential data breaches.
Warranty coverage and replacement options can help provide peace of mind and protect your investment in your SSD. Be sure to understand the terms of your warranty and follow the appropriate steps to address any issues you are experiencing with your SSD.
Remember, proper handling and care of your SSD can help extend its lifespan and prevent issues. Regularly updating firmware, maintaining backups, and following best practices for SSD usage and maintenance will ensure optimal performance and reliability.
Conclusion
Troubleshooting issues with a solid state drive (SSD) can be a challenging task, but by following the appropriate steps, you can effectively diagnose and resolve common problems. Understanding the technology behind SSDs and being aware of the common issues that can arise are essential for efficient troubleshooting.
In this guide, we discussed the basics of SSDs, including their advantages in terms of speed, durability, and form factor. We explored common issues such as slow performance, connection problems, data corruption, bad sectors, and firmware bugs. Furthermore, we provided step-by-step instructions on basic troubleshooting, checking physical connections, updating firmware and drivers, checking the Device Manager, running diagnostic tools, repairing bad sectors, and recovering lost data.
In situations where troubleshooting proves unsuccessful, it’s important to consider the warranty coverage and potential replacement options provided by the manufacturer. Warranty claims, extended warranty options, and careful handling of warranty procedures can help you address hardware failures effectively.
Remember to regularly back up your data, use reliable diagnostic tools, and keep your SSD’s firmware up to date to prevent issues and optimize performance. Additionally, following best practices for SSD usage, such as proper shutdown procedures and avoiding exposure to extreme temperatures, can help prolong the lifespan of your SSD.
By following the steps outlined in this guide and staying proactive with SSD maintenance and troubleshooting, you can ensure that your SSD operates smoothly and efficiently throughout its lifespan. If you encounter more complex issues or need further assistance, consulting professional support or seeking advice from SSD manufacturers can provide additional guidance and resources.