Introduction
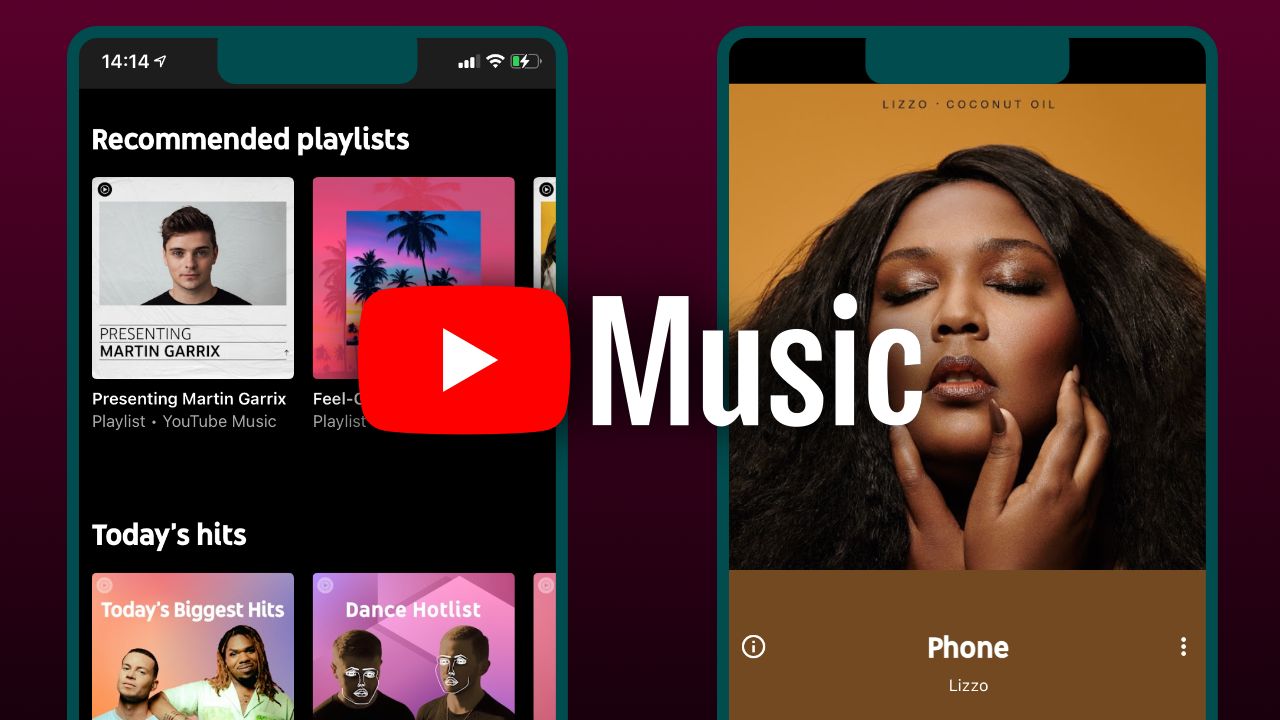
Welcome to the world of music streaming! Music lovers are often subscribed to multiple music platforms to access their favorite tracks. However, managing playlists and libraries across different platforms can be time-consuming. If you’re a fan of both Youtube Music and Amazon Music, you might find it convenient to transfer your Youtube Music playlist to Amazon Music.
In this article, we will guide you through the process of transferring your Youtube Music files to Amazon Music, enabling you to enjoy all your favorite tunes in one place. By following a few simple steps, you can seamlessly carry over your curated playlist and have it readily available on Amazon Music.
Whether you want to consolidate your music collection or simply explore the features and benefits of Amazon Music, this guide will help you accomplish your goal. So, let’s dive in and learn how to transfer Youtube Music to Amazon Music efficiently.
Please note that this guide assumes you already have a subscription to both Youtube Music and Amazon Music. If you don’t have a subscription, make sure to sign up for these services before proceeding. Now, without further ado, let’s get started on transferring your beloved music files!
It’s time to extract your playlist from Youtube Music and convert it into a compatible format for Amazon Music.
Step 1: Obtain the Youtube Music Files
The first step in transferring your Youtube Music playlist to Amazon Music is to obtain the actual music files. Follow the steps below to extract the files from Youtube Music:
- Login to your Youtube Music account and navigate to the playlist you want to transfer.
- Open each song within the playlist and make note of the song titles and artists.
- Now, head to a trusted Youtube to MP3 converter website. There are various websites available, so choose one that suits your preferences.
- Paste the URL of each song into the converter website and select the desired audio format (usually MP3).
- Click on the “Convert” button to start the conversion process. This may take a few moments depending on the length of the song.
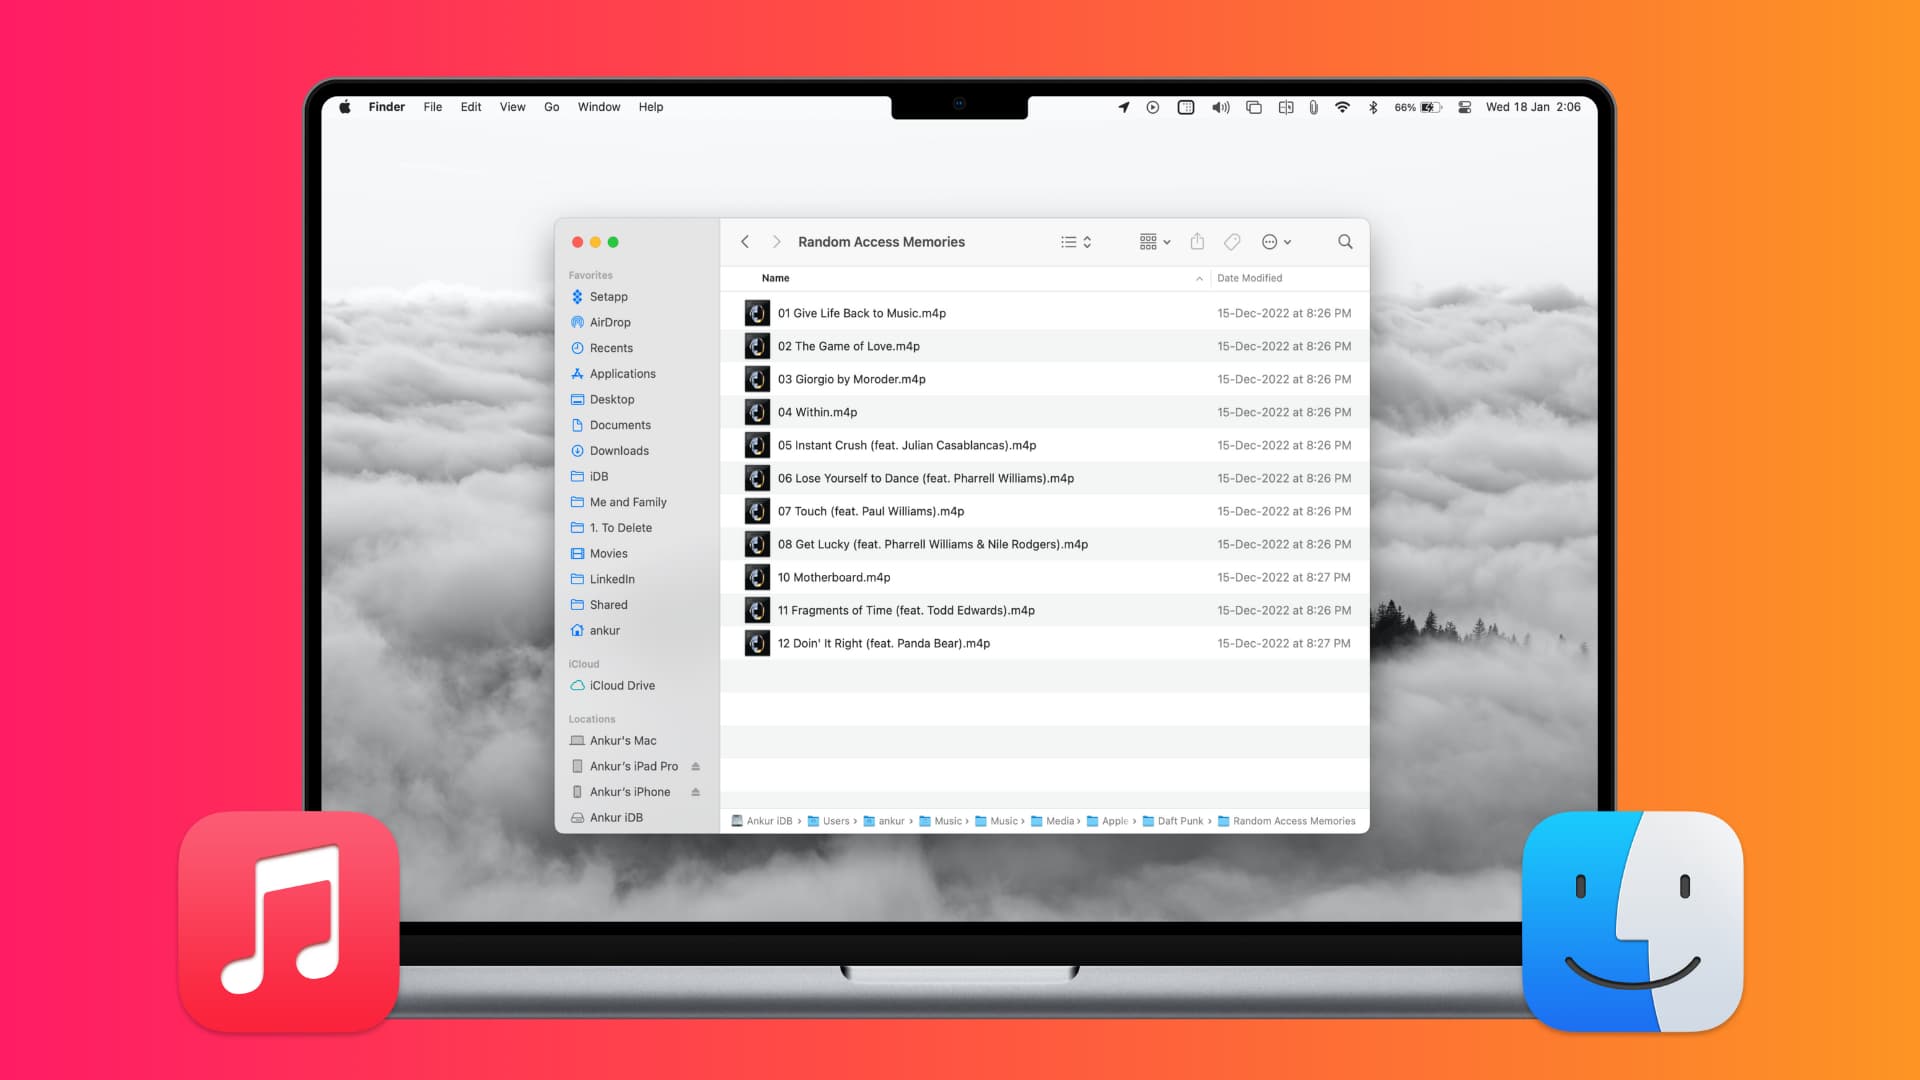
- Once the conversion is complete, download the MP3 files to your computer. Create a separate folder to organize the files for easier access.
By following these steps, you can successfully obtain the Youtube Music files that you want to transfer to Amazon Music. Remember to keep track of the song titles and artists to ensure you have the correct files later on.
Now that you have the Youtube Music files converted and ready to go, let’s move on to the next step: converting the files to a compatible format for Amazon Music.
Step 2: Convert Youtube Music Files to a Compatible Format
Now that you have obtained the Youtube Music files, the next step is to convert them to a compatible format for Amazon Music. Follow the instructions below:
- Launch a reliable media converter software on your computer. There are numerous options available, some of which are free and others that require a purchase.
- Import the downloaded Youtube Music files into the media converter software. Most converters have a simple drag-and-drop interface, making it easy to add files.
- Select the output format that is compatible with Amazon Music. MP3 is usually a safe bet, as it is widely supported.
- Configure any additional settings, such as bitrate or quality, according to your preferences. You can refer to the software’s documentation or user guide for more information on these settings.
- Initiate the conversion process by clicking the “Convert” or “Start” button. The time it takes to convert the files will depend on the number and duration of the songs.
- Once the conversion is complete, verify that the files have been converted successfully. You can listen to a few samples to ensure the quality is satisfactory.
With the files now transformed into a compatible format, you are one step closer to transferring your Youtube Music playlist to Amazon Music. The converted files are ready to be imported into your Amazon Music library.
In the next step, we will guide you through the process of importing the converted files and creating a brand new playlist in Amazon Music. Let’s proceed to step 3 for the next set of instructions.
Step 3: Import Converted Files to Amazon Music
Now that you have your Youtube Music files converted to a compatible format, it’s time to import them into Amazon Music. Follow the steps below to complete this process:
- Open the Amazon Music app or go to the Amazon Music website and log in to your account. Make sure you are signed in with the same account that you used for the subscription.
- Navigate to the “My Music” or “Library” section, where you can manage your music collection.
- Look for the option to import or upload music files. It might be labeled as “Import Your Music” or “Upload your files”. Click on it.
- Choose the folder where you stored the converted Youtube Music files. You can select multiple files or the entire folder, depending on your preference.
- Start the import process by clicking on the “Import” or “Upload” button. Amazon Music will now start uploading and processing your files. The time it takes will depend on the number and size of the files you are importing.
- Once the import is complete, you will see your converted Youtube Music files in your Amazon Music library. They will be available alongside your existing music collection.
- If you want to organize the imported songs into a dedicated playlist, create a new playlist in Amazon Music and add the songs to it. This will allow you to easily access and enjoy your transferred Youtube Music playlist.
By following these steps, you have successfully imported your converted Youtube Music files into Amazon Music. You can now listen to your favorite tracks, create playlists, and enjoy a seamless music experience with all your music in one place.
Before we wrap up, let’s move on to the final step: syncing your Amazon Music library to your device so you can enjoy your transferred playlist on the go.
Step 4: Sync Amazon Music to Your Device
Now that you have successfully imported your converted Youtube Music files into Amazon Music, it’s time to sync your music library to your device. By doing so, you can enjoy your transferred playlist wherever you go. Follow the steps below to complete this process:
- Make sure you have the Amazon Music app installed on your device. It is available for both Android and iOS platforms and can be downloaded from the respective app stores.
- Open the Amazon Music app on your device and sign in using the same account you used to import the files.
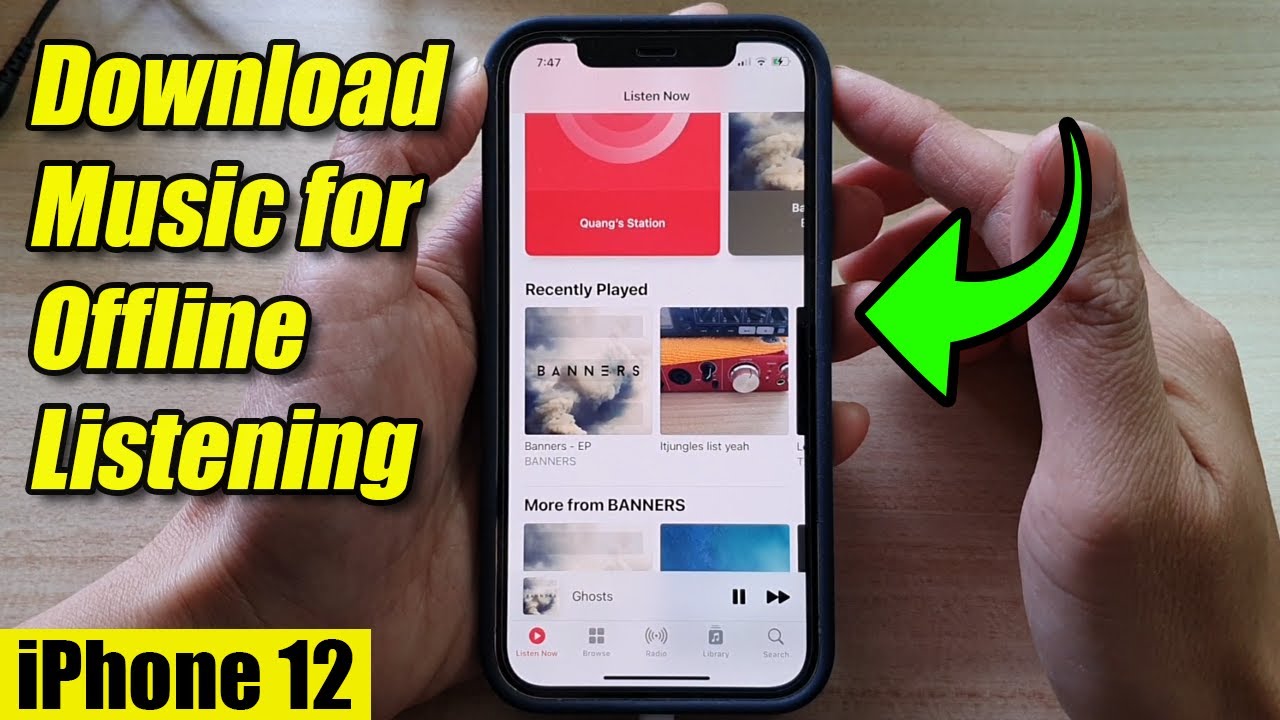
- Navigate to the settings or preferences section of the app. Look for an option that allows you to sync your library or download music for offline listening.
- Select the option to sync your library or download your music. This will initiate the process of transferring your music files from the cloud to your device.
- Depending on the size of your library and your internet connection speed, the syncing process may take some time. It is recommended to connect to a stable Wi-Fi network to ensure a smooth and uninterrupted process.
- Once the syncing is complete, you will have access to your transferred Youtube Music playlist on your device. You can now listen to your favorite tracks on the go, even without an internet connection.
With your Amazon Music library synced to your device, you can enjoy your transferred playlist anytime and anywhere. Whether you’re commuting, working out, or simply relaxing at home, your favorite tunes will be readily available.
Congratulations! You have successfully transferred your Youtube Music playlist to Amazon Music and synced it to your device. Now you can bask in the joy of having all your favorite songs in one place.
Remember to keep your Amazon Music library updated by regularly adding new songs or albums. This will ensure you always have a diverse and exciting music collection to enjoy.
Thank you for following this guide, and we hope you find immense pleasure in your consolidated music library. Happy listening!
Conclusion
Transferring your Youtube Music playlist to Amazon Music can greatly enhance your music streaming experience. With all your favorite songs in one place, you can easily access and enjoy your curated playlist whenever and wherever you want. Throughout this guide, we walked you through the step-by-step process of transferring your Youtube Music files to Amazon Music, from obtaining the files to syncing them to your device.
By following these steps, you have successfully consolidated your music collection and created a seamless music experience. Now, you can enjoy the benefits and features of Amazon Music while still having access to your beloved Youtube Music playlist.
Remember to stay organized and keep your music library up to date by regularly adding new songs and albums to your collection. This will ensure that your music experience remains fresh and exciting.
We hope this guide has been helpful in guiding you through the process of transferring your Youtube Music playlist to Amazon Music. If you have any further questions or need additional assistance, don’t hesitate to consult the support resources provided by both platforms.
Thank you for reading, and we wish you many hours of joyful music listening with your newly transferred playlist. Happy streaming!


