Introduction
Transferring software to an external hard drive can offer a range of benefits, from freeing up valuable storage space on your computer to enabling portability and easier access. Whether you are a professional needing to transfer large software applications or an average user wanting to backup important programs, this guide is here to help you through the process.
Nowadays, computers are packed with numerous software applications, from productivity tools to multimedia software. As these applications grow in size and complexity, they can quickly consume significant amounts of space on your internal hard drive. This can lead to sluggish performance and limited storage capacity. However, by transferring these software applications to an external hard drive, you can alleviate these issues and ensure smooth and efficient operation of your computer.
Besides addressing storage concerns, transferring software to an external hard drive also provides you with the flexibility of accessing your applications on different computers without having to reinstall them. If you frequently work across various devices or need to bring your software with you on the go, this method allows you to have your programs readily available wherever you go.
Another advantage of transferring software to an external hard drive is the added layer of security it offers. If your computer experiences a hardware failure or data loss, having your software stored on an external hard drive ensures that your valuable applications are protected and easily recoverable.
Now that you understand the benefits of transferring software to an external hard drive, it’s time to delve into the step-by-step process. From assessing your software needs to configuring software settings, this guide will provide you with the necessary information to successfully transfer your software applications and optimize your computer’s performance.
Why Transfer Software to an External Hard Drive?
There are several compelling reasons to transfer software to an external hard drive. Let’s explore some of the key benefits:
1. Free up Internal Storage Space: As software applications continue to grow in size, they can quickly consume valuable storage space on your computer’s internal hard drive. By transferring software to an external hard drive, you can free up space and ensure your computer functions optimally. This is especially useful for users with limited storage capacity or those who work with resource-intensive programs.
2. Improve Performance: When your computer’s internal hard drive is overloaded with software applications, it can lead to slower performance and longer startup times. By offloading some of the software to an external hard drive, you can reduce the burden on your internal storage and experience faster and more efficient operation.
3. Increase Portability: Transferring software to an external hard drive enables you to take your applications with you wherever you go. This is particularly beneficial for professionals who frequently work across different computers or individuals who need access to their software while traveling. Simply connect the external hard drive to any computer, and you can easily access your applications without the need for installation.
4. Backup and Data Security: Storing your software applications on an external hard drive provides an additional layer of protection. In the event of a computer crash, hardware failure, or data loss, your software will be safely stored on the external drive, allowing for easy recovery and minimizing potential downtime. It is always recommended to have a backup of your software to prevent any potential loss of important files or programs.
5. Flexibility for Multiple Devices: If you use multiple computers or devices, transferring software to an external hard drive allows you to easily switch between them without the need for additional installations. This saves time and effort, particularly for complex applications that require customization and setup.
6. Easy Software Updates: When you transfer software to an external hard drive, you can easily update and manage the applications. You can install updates or new versions directly on the external drive, eliminating the need to update each individual computer. This simplifies the update process and ensures consistency across all devices.
By transferring software to an external hard drive, you can optimize your computer’s performance, increase storage capacity, enhance portability, and improve data security. Throughout this guide, we will provide you with the step-by-step instructions to successfully transfer your software applications and maximize the benefits of using an external hard drive.
Step 1: Assess Your Software Needs
The first step in transferring software to an external hard drive is to assess your software needs. This involves evaluating the software applications you want to transfer and determining their importance and usage frequency. Here’s how to assess your software needs:
1. Identify Essential Software: Start by identifying the software applications that are essential for your daily work or personal use. These may include productivity tools, creative software, or specialized programs. Make a list of the applications that you absolutely need to transfer to the external hard drive.
2. Consider Software Size: Take into account the size of each software application. Some programs, such as video editing software or graphic design applications, can be quite large in size. Evaluate whether the size of these applications is manageable on your internal hard drive or if it would be beneficial to transfer them to an external hard drive to free up space.
3. Evaluate Usage Frequency: Consider how frequently you use each software application. If there are programs that you rarely use or only need occasionally, transferring them to an external hard drive can help declutter your computer’s internal storage and improve performance. Focus on transferring the software that you use on a regular basis.
4. Take Compatibility into Account: Ensure that the software you plan to transfer is compatible with being run from an external hard drive. While most applications can be transferred without issues, some software may have specific requirements or limitations. Check the software documentation or consult the software provider to confirm compatibility.
5. Check Licensing and Activation: Consider the licensing and activation requirements for your software applications. Some software licenses may be tied to specific hardware or may have limitations regarding the number of devices on which they can be installed. Check the software licenses and ensure that transferring the software to an external hard drive does not violate any license terms.
6. Take Note of Dependencies: Keep in mind any dependencies or interdependencies between your software applications. Some programs may rely on specific files or libraries located on your internal hard drive. Ensure that you transfer all necessary components to the external hard drive and maintain the relative file paths to avoid any compatibility issues.
By assessing your software needs, you can determine which applications are suitable for transfer to an external hard drive. This evaluation will set the foundation for the subsequent steps in the transfer process, ensuring that you optimize your computer’s storage and performance while maintaining seamless access to your software applications.
Step 2: Backup Your Software
Before proceeding with the transfer of software to an external hard drive, it is crucial to create a backup of your software applications. This ensures that you have a copy of all your important files and settings in case anything goes wrong during the transfer process. Here’s how to backup your software:
1. Identify Software Files: Locate the files and folders associated with the software applications you plan to transfer. These files are typically stored in the installation directory of the software, and they may include executable files, configuration files, resources, and any additional files specific to the software.
2. Decide on Storage Method: Determine how you want to backup your software files. You can choose to create a compressed archive file (.zip or .tar) containing all the necessary files, or you can manually copy and paste the files to a backup folder on your computer.
3. Copy Installation Files: If you have the installation files or discs for your software, make a copy of them as well. These installation files are useful in case you need to reinstall the software in the future or perform a clean installation on another computer.
4. Save Software Settings: In addition to saving the software files, it is important to backup any customized settings or preferences you have made in the software. Look for configuration files, preference files, or registry entries related to the application and ensure they are included in your backup.
5. Verify Backup Integrity: Once you have copied all the necessary files and settings, double-check that the backup is complete and accurate. You can do this by comparing the size and content of the backup files to the original software files to ensure that nothing is missing.
6. Store Backup Safely: It is essential to store your software backup in a secure location, whether it’s on an external storage device, cloud storage, or an offline backup medium. This protects your backup from accidental deletion, hardware failure, or data loss events.
By creating a backup of your software applications, you can rest assured that your files and settings are safely stored and can be easily restored if any issues arise during the transfer process. This step provides an extra layer of protection and ensures that you can recover your software quickly and efficiently.
Step 3: Choose the Right External Hard Drive
Choosing the right external hard drive is an important step in transferring your software. The external hard drive you select should meet your storage requirements, compatibility needs, and reliability expectations. Consider the following factors when choosing the right external hard drive:
1. Storage Capacity: Determine the amount of storage space you need for your software applications. Calculate the total size of the software files you plan to transfer and choose an external hard drive that offers sufficient capacity to accommodate your needs. It is advisable to select a drive with more storage space than you currently require to account for future expansion.
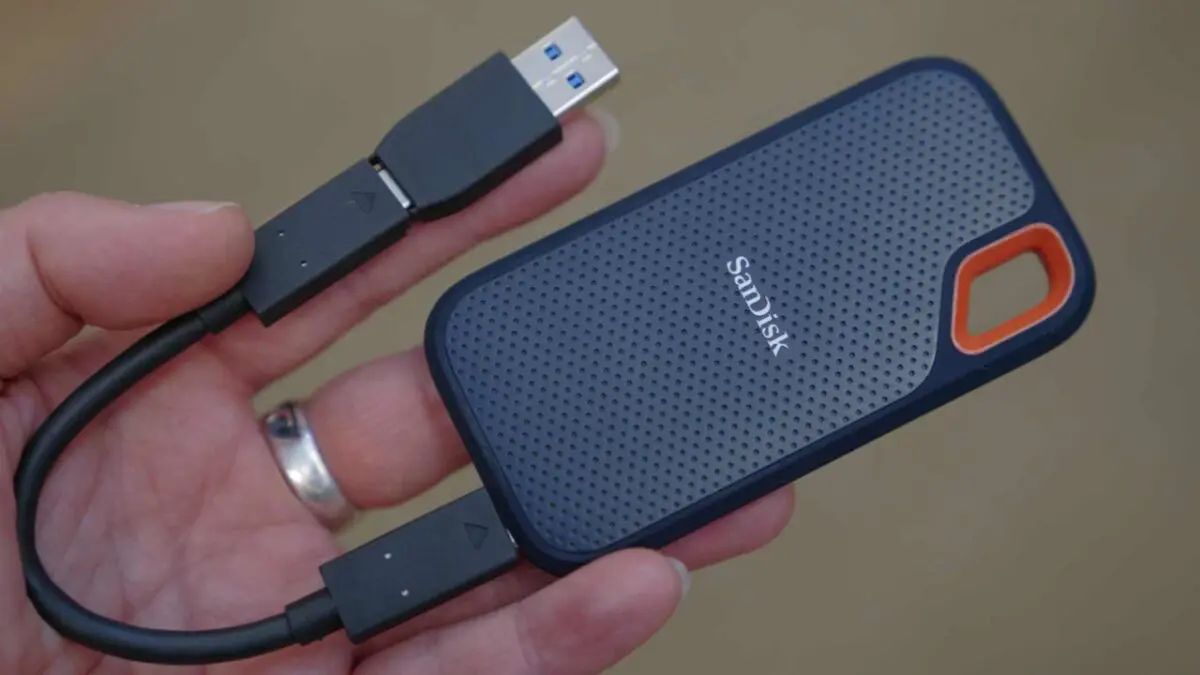
2. Connectivity: Consider the connectivity options available on your computer and select an external hard drive with a compatible interface. Common connectivity options include USB 3.0, USB-C, Thunderbolt, and eSATA. USB 3.0 is widely supported and offers fast transfer speeds, making it a popular choice for most users.
3. Transfer Speed: Look for an external hard drive that has high transfer speeds to ensure efficient and quick transfer of your software files. Solid-state drives (SSD) generally provide faster data transfer rates compared to traditional hard disk drives (HDD). However, keep in mind that SSDs are typically more expensive than HDDs.
4. Portability: If you need to carry your external hard drive with you, consider the size and weight of the device. Portable external hard drives are lightweight, slim, and designed for easy transportation. They are ideal for users who require mobility and want to take their software applications with them wherever they go.
5. Reliability and Durability: Look for an external hard drive that is known for its reliability and durability. Read reviews and consider brands with a good reputation for producing high-quality storage devices. It is essential to choose a reliable drive to ensure the safety of your software applications and minimize the risk of data loss.
6. Backup Features: Some external hard drives come with built-in backup software or features that can help streamline the backup and transfer process. These features may include automatic backup, scheduled backup, or one-click backup options. Evaluate your backup needs and choose an external hard drive with the appropriate backup capabilities if desired.
7. Price: Consider your budget when selecting an external hard drive. Compare prices from different manufacturers and choose a drive that offers the best combination of features, performance, and affordability. Additionally, take into account any warranties or customer support offered by the manufacturer to ensure peace of mind.
By carefully selecting the right external hard drive, you can ensure that you have sufficient storage capacity, seamless connectivity, and reliable performance for transferring and storing your software applications. This step sets the foundation for a successful and efficient software transfer process.
Step 4: Format the External Hard Drive
Before transferring your software files to the external hard drive, it is essential to format it to ensure compatibility with your computer’s operating system and optimize its performance. Follow these steps to format your external hard drive:
1. Backup Existing Data: If there is any data on the external hard drive that you wish to keep, make sure to create a backup before proceeding with the formatting process. Formatting erases all existing data on the drive.
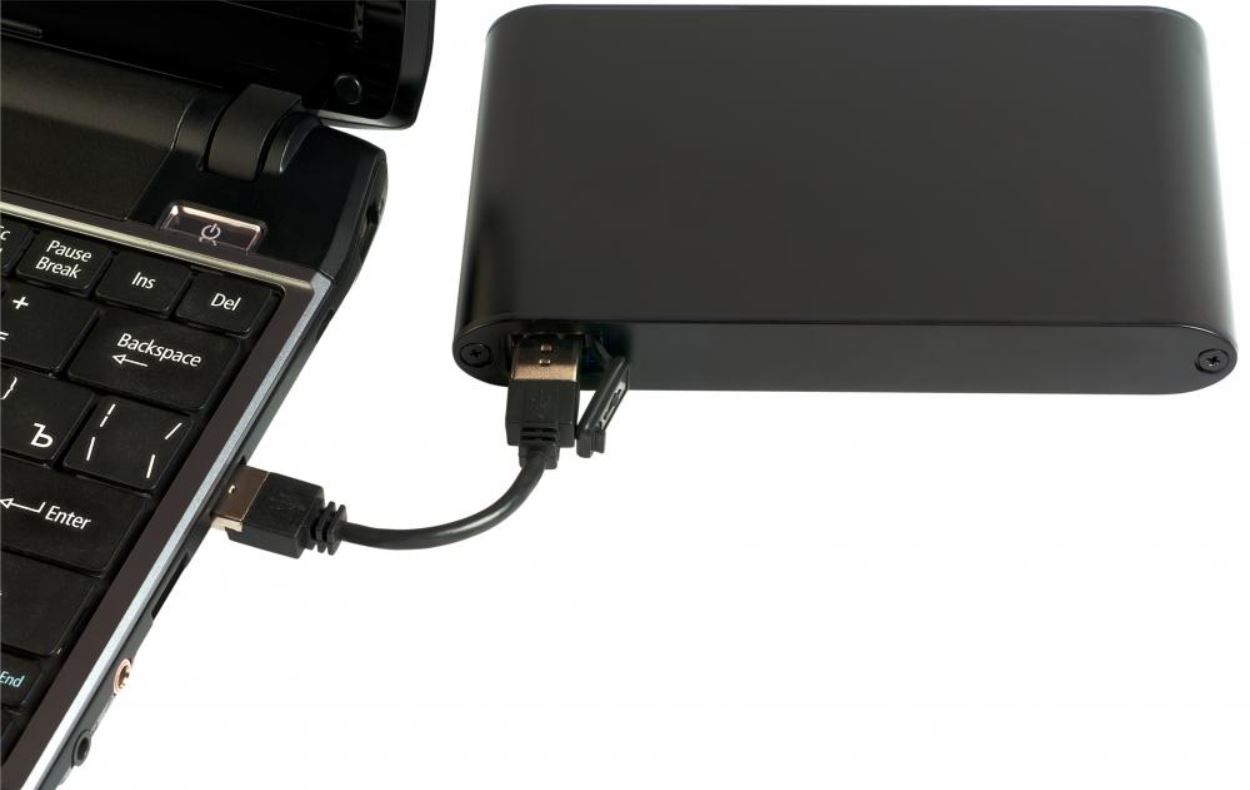
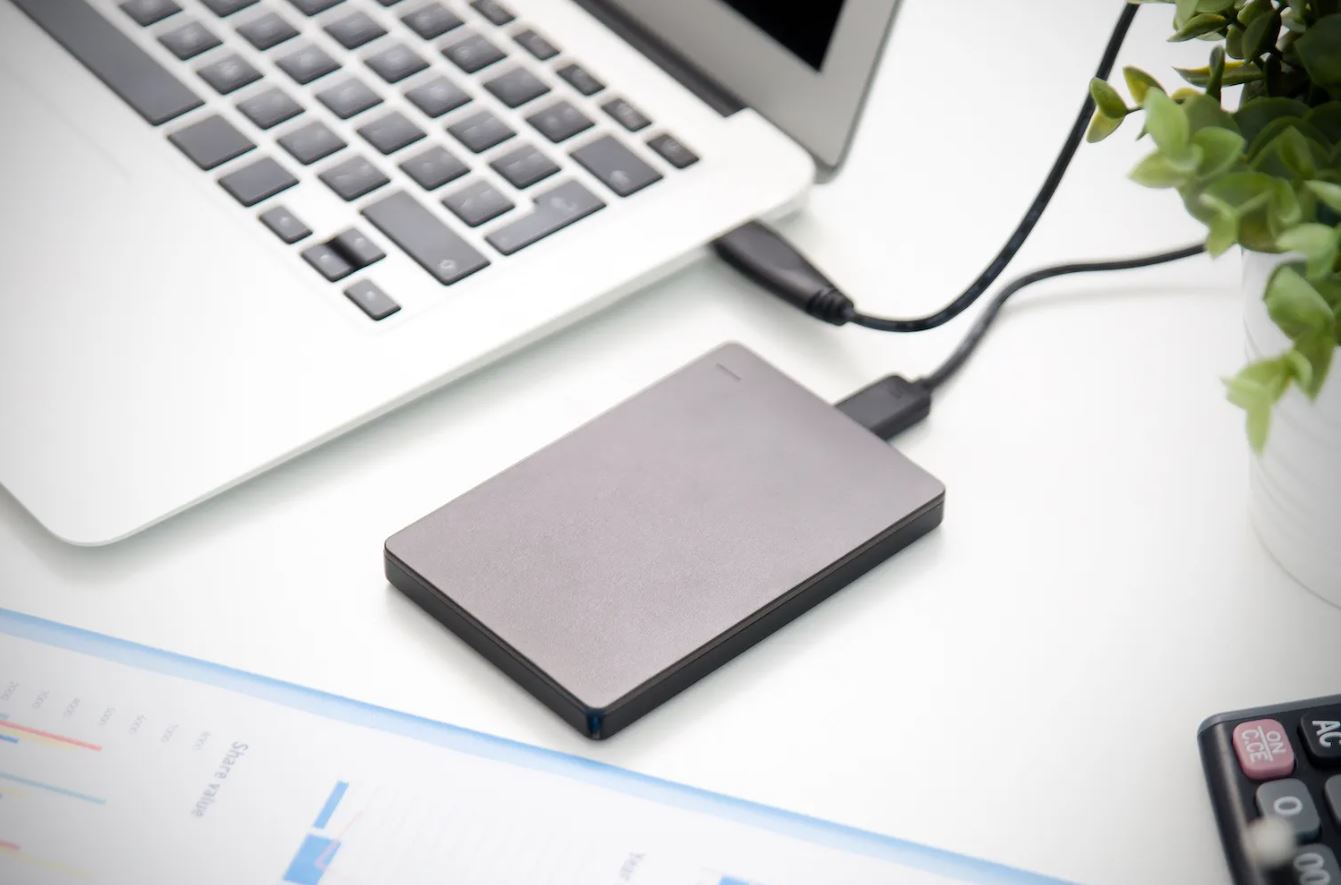
2. Connect the External Hard Drive: Connect the external hard drive to your computer using the appropriate cable or connection method. Ensure that the drive is properly recognized by your operating system.
3. Open Disk Management (Windows) or Disk Utility (Mac): On Windows, right-click the Start button and select “Disk Management.” On Mac, go to Applications > Utilities > Disk Utility.
4. Select the External Hard Drive: In Disk Management or Disk Utility, locate the external hard drive from the list of available drives. Be careful not to select the wrong drive as formatting will erase all data on the selected drive.
5. Start the Formatting Process: Right-click on the external hard drive (Windows) or click on the “Erase” tab (Mac) to access the formatting options. Choose a file system format that is compatible with your operating system, such as NTFS for Windows or macOS Extended (Journaled) for Mac. Give the drive a new name if desired.
6. Configure Formatting Options: In addition to selecting the file system format, you can also choose other formatting options such as allocation unit size (Windows) or partition scheme (Mac). Unless you have specific requirements, the default options should suffice.
7. Start the Formatting Process: Confirm your formatting selections and click on the “Format” button (Windows) or the “Erase” button (Mac) to initiate the formatting process. Be patient, as the formatting process may take several minutes or longer depending on the size of your external hard drive.
8. Verify Successful Formatting: Once the formatting process is complete, confirm that the external hard drive is successfully formatted by checking the status or information displayed in Disk Management (Windows) or Disk Utility (Mac).
By formatting the external hard drive, you ensure that it is properly configured for your operating system and ready to receive your software applications. The formatting process provides a clean slate for transferring your software and enables optimal performance and compatibility on the external drive.
Step 5: Transfer Software Files
Now that you have prepared the external hard drive, it’s time to transfer your software files from your computer to the external drive. Follow these steps to successfully transfer your software:
1. Locate Software Files: Locate the software files that you backed up in the earlier steps. These are the files and folders associated with the software applications you want to transfer. It is essential to have these files readily accessible during the transfer process.
2. Connect the External Hard Drive: Connect the formatted external hard drive to your computer using the appropriate cable or connection method. Make sure that the drive is recognized and accessible by your operating system.
3. Create a Software Folder: On the external hard drive, create a dedicated folder to store all the software files. This will help keep everything organized and easily accessible. You can name the folder based on your preference or the specific software applications being transferred.
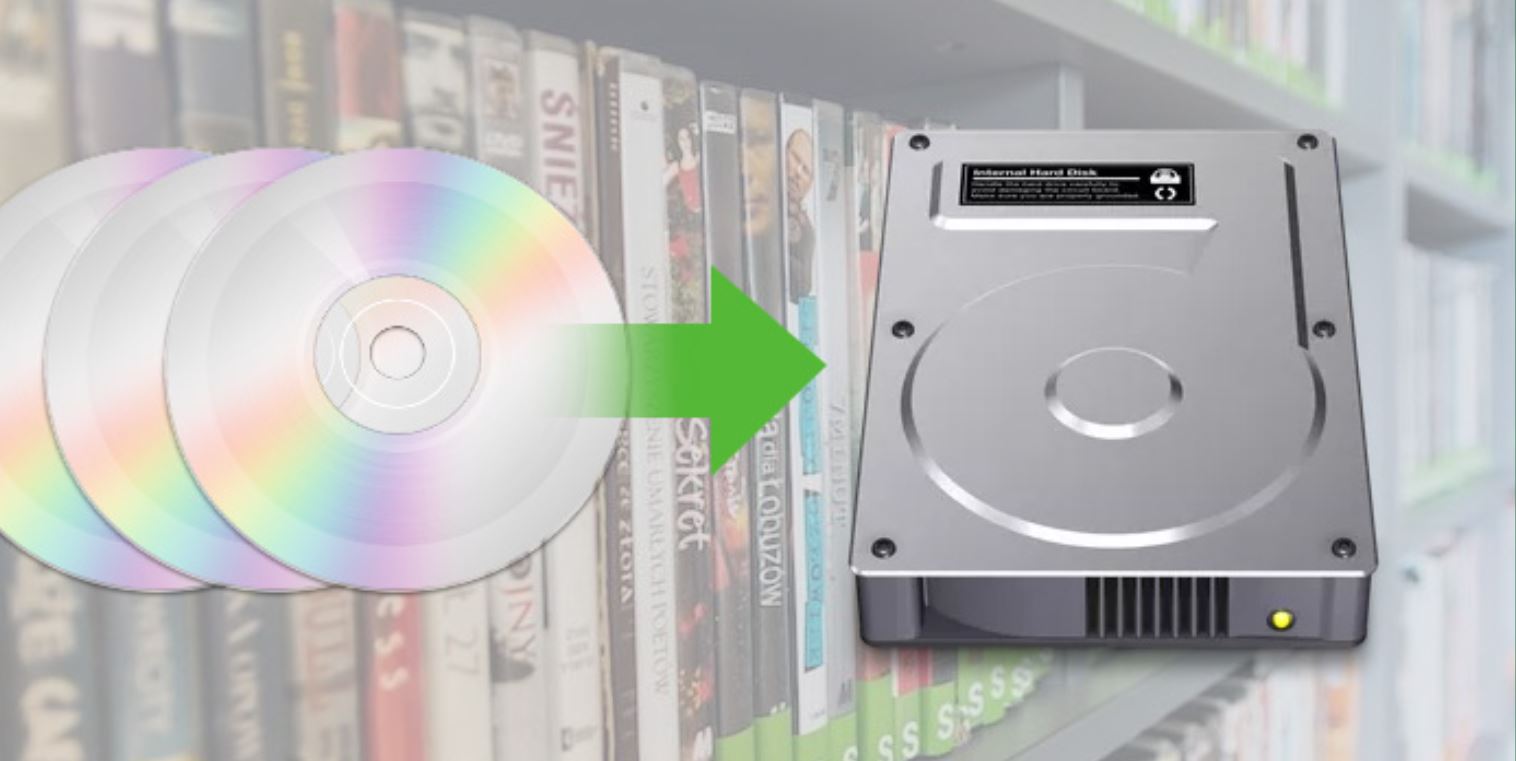
4. Copy Software Files: Select the software files from your computer’s backup location and copy them to the newly created software folder on the external hard drive. You can do this by dragging and dropping the files or by using the copy-paste function.
5. Monitor the Transfer Process: Depending on the size and number of software files being transferred, the process may take some time. Keep an eye on the progress indicator or file transfer dialog to ensure that the files are transferring successfully without any errors or interruptions.
6. Verify File Integrity: Once the transfer is complete, double-check the files on the external hard drive to ensure that all the software files have been successfully copied over. Compare the file sizes and content to the original backup files to ensure nothing is missing or corrupted.
7. Organize and Sort Software: Within the software folder on the external hard drive, you can further organize and sort the software files. You can create subfolders based on software categories or specific applications to make it easier to locate and access them when needed.
8. Remove Temporary Files: After the successful transfer, you can remove any temporary or unnecessary files left over from the backup process on your computer. This will help free up space and keep your computer organized.
By following these steps, you can transfer your software files from your computer to the external hard drive, ensuring that all the necessary files are safely and securely stored in an easily accessible location. This transfer process sets the stage for utilizing the software directly from the external hard drive.
Step 6: Configure Software Settings
After transferring your software files to the external hard drive, it is important to configure the software settings to ensure seamless functionality. Here are the steps to configure the software settings:
1. Launch the Software: Open the software application directly from the external hard drive. Depending on the software, you may need to run the executable file or use a specific launcher. Follow the software’s documentation or guidelines to launch it properly.
2. Verify File Paths: Once the software is launched, verify that it is accessing the necessary files from the external hard drive. Some software applications may store file paths or references to specific files on the computer’s internal storage. Modify these file paths in the software settings to point to the corresponding files on the external hard drive.
3. Update Software Settings: Customize the software settings according to your preferences and requirements. This may include configuring options related to appearance, functionality, default locations, plugins, or specific features. Adjust the settings to match your desired setup and workflow.
4. Save Changes: After making any necessary changes to the software settings, save the configurations. Confirm that the software is saving the settings on the external hard drive rather than the computer’s internal storage.
5. Test Software Functionality: To ensure that the software is functioning correctly, test its functionality. Perform common tasks or use specific features to verify that everything is working as expected. This step allows you to identify and address any compatibility issues or errors.
6. Troubleshoot Compatibility: If you encounter any compatibility issues while using the software from the external hard drive, refer to the software’s documentation or the provider’s support resources for troubleshooting steps. It may be necessary to modify settings, update software versions, or verify the compatibility of plugins or dependencies.
7. Set Default Save Locations: If the software allows, set the default save locations to folders on the external hard drive. This ensures that any new files or projects created within the software are automatically saved to the external storage, maintaining a centralized location for your data.
8. Backup Software Settings: After configuring the software settings to your satisfaction, consider creating a backup of the software configurations. This can be done by exporting the settings or creating a copy of the configuration files. A backup of the software settings will come in handy if you need to reinstall the software or migrate to a different computer.
By configuring the software settings on the external hard drive, you ensure that the software operates efficiently and according to your preferences. This step allows you to fully utilize the software’s features while maintaining the convenience and portability of accessing your applications from the external storage.
Step 7: Test the Software on the External Hard Drive
Once you have configured the software settings on the external hard drive, it is crucial to test the functionality and performance of the software. Follow these steps to ensure that the software runs smoothly:
1. Run the Software: Launch the software directly from the external hard drive. Make sure that all necessary files and dependencies are being accessed from the external drive and that no errors or warnings occur during startup.
2. Perform Basic Operations: Test the software’s basic operations and functionality. This includes performing common tasks, navigating the interface, and accessing essential features. Pay attention to any abnormalities, glitches, or lag in performance.
3. Test Advanced Features: If the software offers advanced features or specialized functionality, thoroughly test these features on the external hard drive. This will help identify any compatibility issues or limitations that may arise due to the software being run from an external storage medium.
4. Open and Edit Files: Open files created with the software or files that are compatible with its supported formats. Make sure that files open without any errors and that you can easily edit, save, and export them as required. Verify that the software references the correct file locations on the external hard drive.
5. Monitor Performance: Keep an eye on the software’s performance while running it from the external hard drive. Note the response time, loading times, and any significant changes in processing speed compared to running the software from the internal hard drive. Evaluate if the performance meets your expectations.
6. Check for File Accessibility: Ensure that all files and resources necessary for the software’s operation are accessible from the external hard drive. Create, save, and open new files to verify that the software is interacting seamlessly with the external storage and that all save actions are correctly directed to the external drive.
7. Address any Performance Issues: If you encounter any performance issues, errors, or unexpected behavior while testing the software on the external hard drive, refer to the software’s documentation or seek support from the software provider. They may offer specific recommendations or troubleshooting steps to address any compatibility or performance-related concerns.
8. Reconfigure or Optimize as Needed: Based on the results of your testing, you may need to reconfigure some software settings or optimize certain aspects to achieve better performance on the external hard drive. Adjust settings, update software versions, or modify resource allocations as necessary to ensure optimal performance.
By thoroughly testing the software on the external hard drive, you can identify and address any compatibility issues or performance concerns. This step enables you to use the software with confidence, knowing that it operates as intended and delivers the expected functionality, even when running from an external storage device.
Step 8: Update and Manage the Software on the External Hard Drive
Once the software is successfully running on the external hard drive, it is important to stay updated with the latest software versions and manage the applications effectively. Follow these steps to update and manage the software:
1. Stay Informed: Keep yourself updated about new software releases, updates, and patches. Visit the software provider’s website, subscribe to their newsletters or follow their social media channels to stay informed about any new updates or enhancements for the software.
2. Check Compatibility: Before updating the software, ensure that the new version is compatible with running from an external hard drive. Some updates may have specific requirements or may not function properly when operated from an external storage device. Review the software documentation or contact the provider for guidance if needed.
3. Backup Software Files: Before performing any software updates, create a backup of your software files on the external hard drive. This ensures that you have a secure copy of your data in case any issues arise during the update process.
4. Update the Software: Follow the software provider’s recommended update process to install the latest version of the software on the external hard drive. Typically, this involves downloading the update from the provider’s website and running the installer. During installation, ensure that you select the external hard drive as the installation location.
5. Configure Updated Settings: After updating the software, review your previous configuration settings. In some cases, software updates may reset your preferences, so take the time to reconfigure the settings according to your needs. Verify that the updated software is still referencing the correct file paths on the external hard drive.
6. Manage Software Versions: If you want to keep previous versions of the software on the external hard drive, consider creating separate folders for each version to maintain organization. This allows you to access and use older versions if needed, while still having the latest version readily available.
7. Uninstall Outdated Versions: If you decide to remove outdated versions of the software from the external hard drive, make sure to uninstall them properly. Follow the software provider’s instructions for uninstallation to remove any associated files or components. This helps declutter the external hard drive and save storage space.
8. Maintain Regular Backups: Establish a schedule for regular backups of your software files on the external hard drive. This ensures that you have up-to-date copies of your data in case of any unexpected events or data loss. Invest in a reliable backup solution or use cloud storage to automate the backup process if desired.
By staying updated with the latest software versions and effectively managing the applications on the external hard drive, you can benefit from enhanced features, improved performance, and a streamlined experience. Regular updates and effective management ensure that your software is always up-to-date and optimized for use on the external storage device.
Conclusion
Transferring software to an external hard drive offers numerous advantages, such as freeing up precious storage space on your computer, increasing portability, and providing an extra layer of security. By following the step-by-step process outlined in this guide, you can successfully transfer your software applications to an external hard drive and optimize their performance.
It all begins with assessing your software needs and identifying the applications that are essential to transfer. Creating a backup of the software files ensures that you have a copy in case of any issues during the transfer process. Choosing the right external hard drive with adequate storage capacity, connectivity options, and reliability is crucial for a smooth transfer experience.
Formatting the external hard drive prepares it for compatibility with your operating system, and then you can proceed with transferring the software files. Configuring the software settings on the external drive helps ensure seamless functionality, and testing the software thoroughly verifies its performance and identifies any potential issues that need to be addressed.
Keeping the software updated and effectively managing it on the external hard drive allows you to take advantage of the latest features and improvements while maintaining a well-organized system. Regular backups of your software files on the external drive help safeguard your data and ensure easy recovery in case of any unforeseen events.
By following these steps, you can transfer and manage your software applications on an external hard drive, optimizing your computer’s performance and storage capacity. Whether you’re a professional needing to transfer resource-intensive applications or an average user looking for more flexibility and security, this guide equips you with the knowledge to successfully transfer software to an external hard drive.
Embrace the convenience and benefits of portable software, and enjoy a clutter-free computer experience while having your essential applications readily available at your fingertips.


