Introduction
Electric pressure cookers have revolutionized the way we cook, allowing us to prepare delicious meals quickly and efficiently. These intelligent kitchen appliances use a combination of heat and pressure to cook food, resulting in shorter cooking times and delicious meals that retain their flavor and nutrients. However, to ensure that your electric pressure cooker is functioning optimally and cooking your meals to perfection, it’s essential to regularly test the pressure it generates.
Testing the pressure in an electric pressure cooker is crucial because it guarantees the safety and reliability of the device. A properly functioning pressure cooker will regulate pressure levels accurately, ensuring that food is cooked at the recommended temperatures and times. By testing the pressure regularly, you can identify any issues or fluctuations in pressure before they affect the quality of your meals or, more importantly, compromise your safety.
Understanding how to test pressure in an electric pressure cooker can seem daunting for beginners, but with the right tools and guidance, it is a simple process. In this guide, we will walk you through the steps, providing expert tips and insights along the way. By following these instructions, you’ll be able to confidently assess the pressure in your electric pressure cooker and make any necessary adjustments for consistent and delicious results.
Before we dive into the specific steps, let’s take a moment to discuss the importance of testing pressure in an electric pressure cooker and why it should be a regular part of your cooking routine.
The Importance of Testing Pressure in an Electric Pressure Cooker
Regularly testing the pressure in your electric pressure cooker is paramount for several reasons. Let’s delve into the importance of this practice:
1. Safety: The safety of you and your family should always be a top priority. Electric pressure cookers operate by building up pressure inside the sealed pot, which increases the temperature and accelerates the cooking process. Testing the pressure ensures that the cooker is maintaining a safe level of pressure, preventing any potential accidents or malfunctions.
2. Consistent Cooking Results: Obtaining consistent cooking results is crucial when preparing various dishes. Testing the pressure allows you to determine if your electric pressure cooker is operating at the desired pressure levels consistently. This ensures that your meals are cooked evenly and thoroughly, preserving their taste and texture.
3. Preservation of Nutrients: One of the key advantages of using an electric pressure cooker is that it helps retain the nutritional value of your food. The high pressure and shorter cooking times prevent the loss of essential vitamins and minerals. By regularly testing the pressure, you can confirm that your electric pressure cooker is maintaining the optimum conditions to retain the nutritional content of the ingredients you’re cooking.
4. Prevent Overcooking or Undercooking: Incorrect pressure levels can lead to overcooking or undercooking of your food. By testing the pressure, you can make any necessary adjustments to ensure your dishes are cooked to perfection. This is especially important for delicate ingredients that require precise cooking times.
5. Prolonged Lifespan of the Cooker: Consistently operating an electric pressure cooker at improper pressure levels can put strain on the appliance and potentially shorten its lifespan. By regularly testing and maintaining the correct pressure, you can ensure that your cooker remains functional for a longer period of time.
Considering these factors, it is clear that testing the pressure in your electric pressure cooker is not only crucial for safety but also for achieving consistent cooking results, preserving nutrients, and prolonging the lifespan of your appliance. Now that we understand its importance, let’s move on to the tools you will need to perform the pressure test successfully.
What You Will Need
Before you can begin testing the pressure in your electric pressure cooker, it’s important to gather the necessary tools and equipment. Here’s what you’ll need:
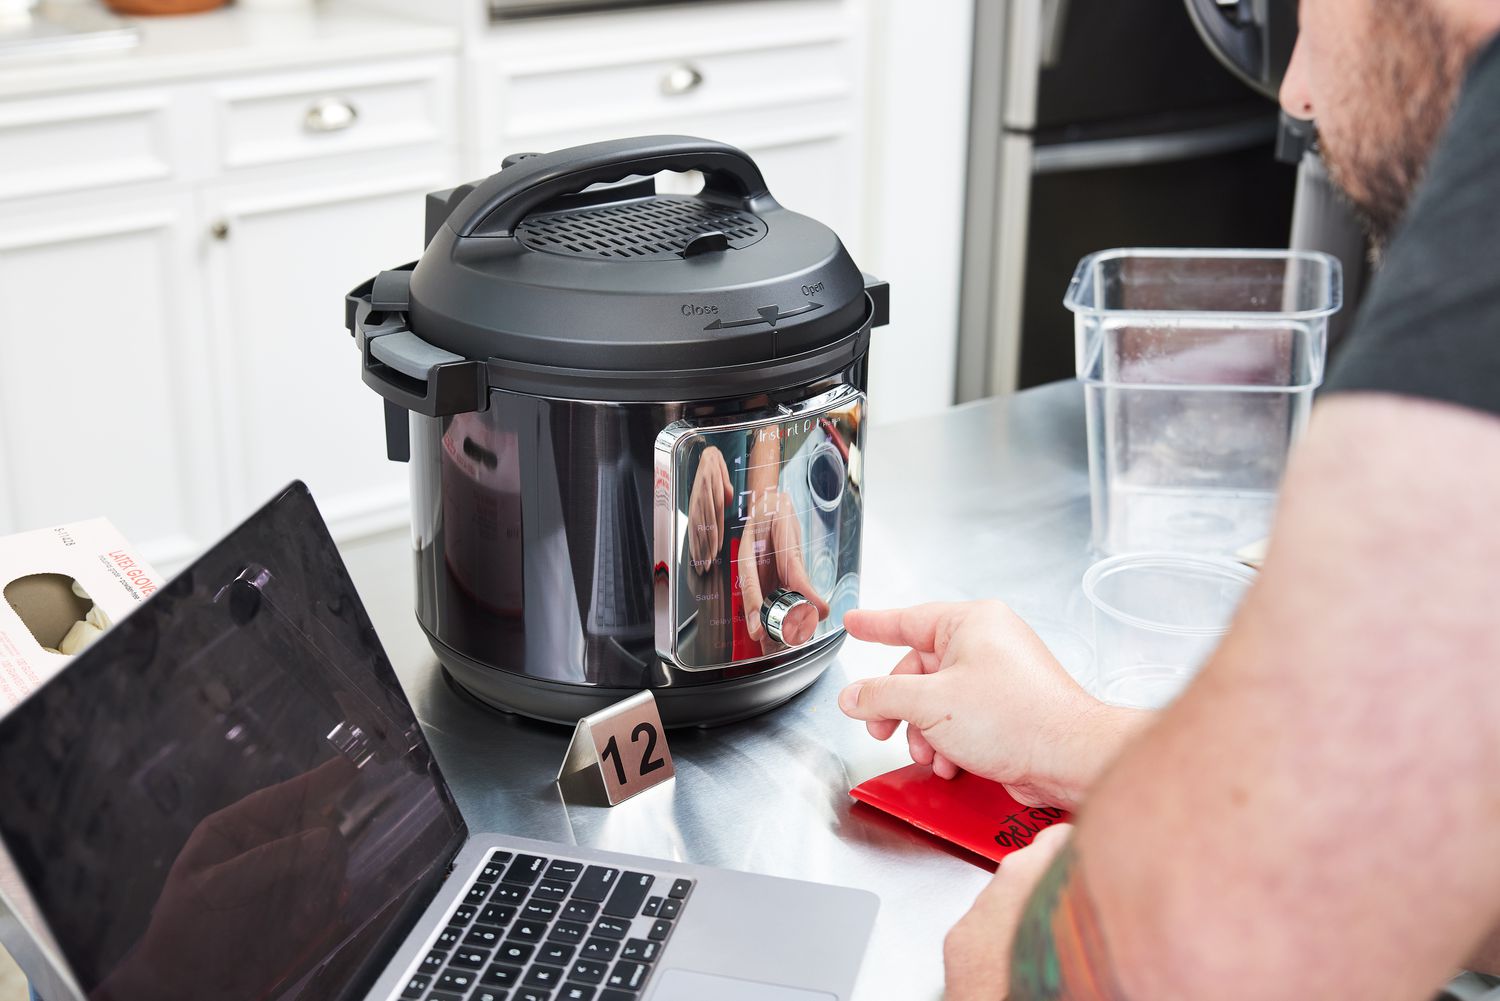
1. Electric Pressure Cooker: Ensure that you have a functioning electric pressure cooker that is clean and in good working condition. It’s important to read the manufacturer’s instructions and familiarize yourself with the specific features and settings of your particular model.
2. Pressure Cooker Recipe: Choose a pressure cooker recipe to test the pressure. This can be a simple recipe that you are familiar with, as long as it requires pressure cooking. Having a recipe will help you track the cooking time and make any necessary adjustments based on your pressure test results.
3. Measuring Cup: A measuring cup with liquid measurements is essential for accurately measuring the liquid you’ll be using in your recipe. This will help you maintain the correct liquid-to-food ratio required for pressure cooking.
4. Water: You’ll need water to create the necessary steam and pressure in your electric pressure cooker. Make sure to have enough clean water available for the test.
5. Pressure Cooker Valve: The pressure cooker valve is a crucial component of the cooker, as it helps regulate and release the pressure. Ensure that the valve is clean, in good working condition, and properly installed before conducting the pressure test.
6. Kitchen Timer: A kitchen timer or any other timer device will be helpful to track the cooking time accurately during the pressure test. This will allow you to make precise observations and adjustments as needed.
7. Pen and Paper: Keep a pen and paper handy to jot down any observations, measurements, or adjustments you make during the pressure test. This will help you track your progress and note any changes you need to make for future cooking endeavors.
By having these tools and equipment ready, you’ll be well-prepared to test the pressure in your electric pressure cooker and ensure optimal cooking results. Now that you have everything you need, let’s move on to the step-by-step guide on how to test the pressure in an electric pressure cooker.
Step-by-Step Guide on How to Test Pressure in an Electric Pressure Cooker
Testing the pressure in an electric pressure cooker is a straightforward process that can be done by following these step-by-step instructions:
Step 1: Preparation
Ensure that your electric pressure cooker is clean and in good working condition. Familiarize yourself with the manufacturer’s instructions and safety guidelines specific to your cooker. This will help you understand the settings and features of your device.
Step 2: Add Water
Pour a specific amount of water into the cooking pot of your pressure cooker, following the recipe you’ve chosen for the pressure test. The amount of water required may vary depending on the recipe, so refer to the instructions provided.
Step 3: Close the Lid
Securely close the lid of your electric pressure cooker, ensuring that it is properly sealed. Double-check that the sealing ring is in place and that there are no obstructions preventing a tight seal. This will help maintain the pressure inside the cooker during the test.
Step 4: Select Pressure Setting
Choose the desired pressure setting on your electric pressure cooker. Most pressure cookers offer multiple pressure levels, such as high pressure or low pressure. For the pressure test, select the pressure level specified in your recipe.
Step 5: Turn on the Cooker
Switch on your electric pressure cooker and set it to the appropriate cooking mode (e.g., manual or pressure cook). Adjust the cooking time according to the recipe’s instructions.
Step 6: Monitor Pressure Build-up
As your pressure cooker heats up, the pressure inside will begin to build. Keep an eye on the pressure indicator on your cooker and observe how it rises. This will give you insight into how quickly and accurately your cooker reaches the desired pressure level.
Step 7: Maintain Pressure
Once the pressure reaches the desired level, allow the cooker to maintain pressure for the recommended cooking time specified in your recipe. Use a kitchen timer or any other timer device to track the cooking time accurately.
Step 8: Release Pressure
When the cooking time is complete, carefully release the pressure by following the recommended method for your electric pressure cooker. This can include a natural release, quick release, or a combination of both. Refer to your cooker’s instructions for the appropriate pressure release method.
Step 9: Check Food Texture
Open the lid of your pressure cooker and check the texture and doneness of the food. It should be cooked to your desired level of tenderness and flavor. Take note of any variations in cooking results or any adjustments you may need to make for future recipes.
Step 10: Clean and Store
After completing the pressure test, clean your electric pressure cooker according to the manufacturer’s instructions. This will ensure the longevity and proper functioning of your cooker for future use.
By following these step-by-step instructions, you can effectively test the pressure in your electric pressure cooker and achieve consistent and delicious results. Remember to always refer to your cooker’s specific instructions and safety guidelines for the best cooking experience.
Conclusion
Testing the pressure in an electric pressure cooker is an essential practice that ensures the safety, consistency, and optimal performance of your appliance. By following the step-by-step guide provided in this article, you can confidently assess the pressure levels in your cooker and make any necessary adjustments for better cooking results.
Regularly testing the pressure in your electric pressure cooker guarantees the safety of you and your family by ensuring that the cooker is maintaining a safe level of pressure during operation. It also helps you achieve consistent cooking results, as the right pressure level ensures even cooking and preserves the taste and texture of your meals.
Furthermore, by testing the pressure, you can preserve the nutritional value of your food, prevent overcooking or undercooking, and prolong the lifespan of your electric pressure cooker. These benefits make pressure testing an integral part of your cooking routine.
Remember to gather the necessary tools and equipment, such as a measuring cup, water, a pressure cooker valve, a kitchen timer, and pen and paper, before conducting the pressure test. Familiarize yourself with your specific cooker’s instructions and safety guidelines to ensure a smooth and successful testing process.
By regularly testing the pressure in your electric pressure cooker, you can cook with confidence, knowing that your appliance is functioning optimally and delivering delicious and safe meals. So, go ahead and put your newfound knowledge into practice to enjoy the full potential of your electric pressure cooker!


