Introduction
When it comes to setting up a network, one of the essential tasks is terminating Ethernet cables. Whether you’re connecting devices at home or establishing a wired network in your office, knowing how to terminate Ethernet cables is a valuable skill. By terminating cables yourself, you can customize the length of the cable to fit your specific needs and save money by avoiding the purchase of pre-terminated cables.
In this guide, we will walk you through the step-by-step process of terminating Ethernet cables. We will cover everything you need to know, from measuring and cutting the cable to properly crimping the connectors for a secure connection. By the end of this tutorial, you will have the confidence and knowledge to terminate Ethernet cables like a pro.
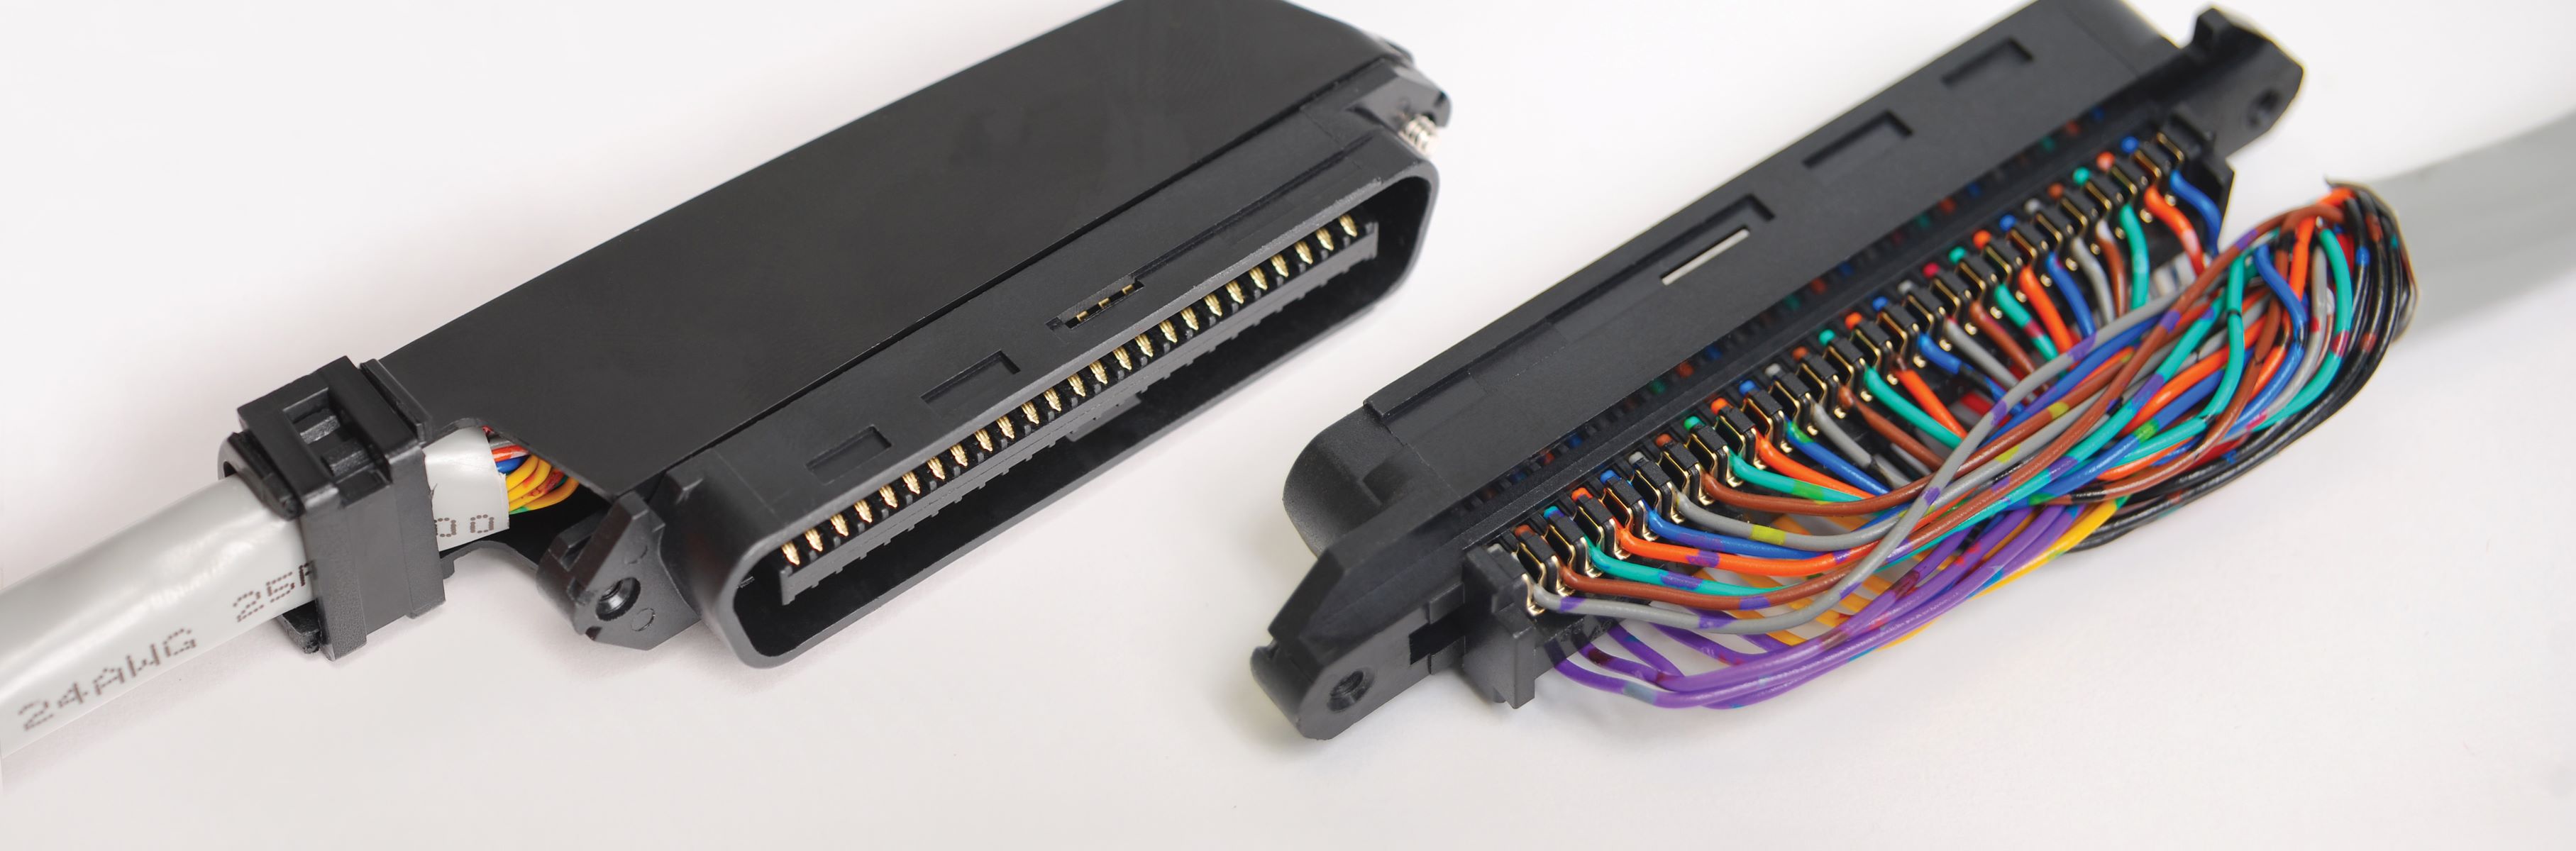
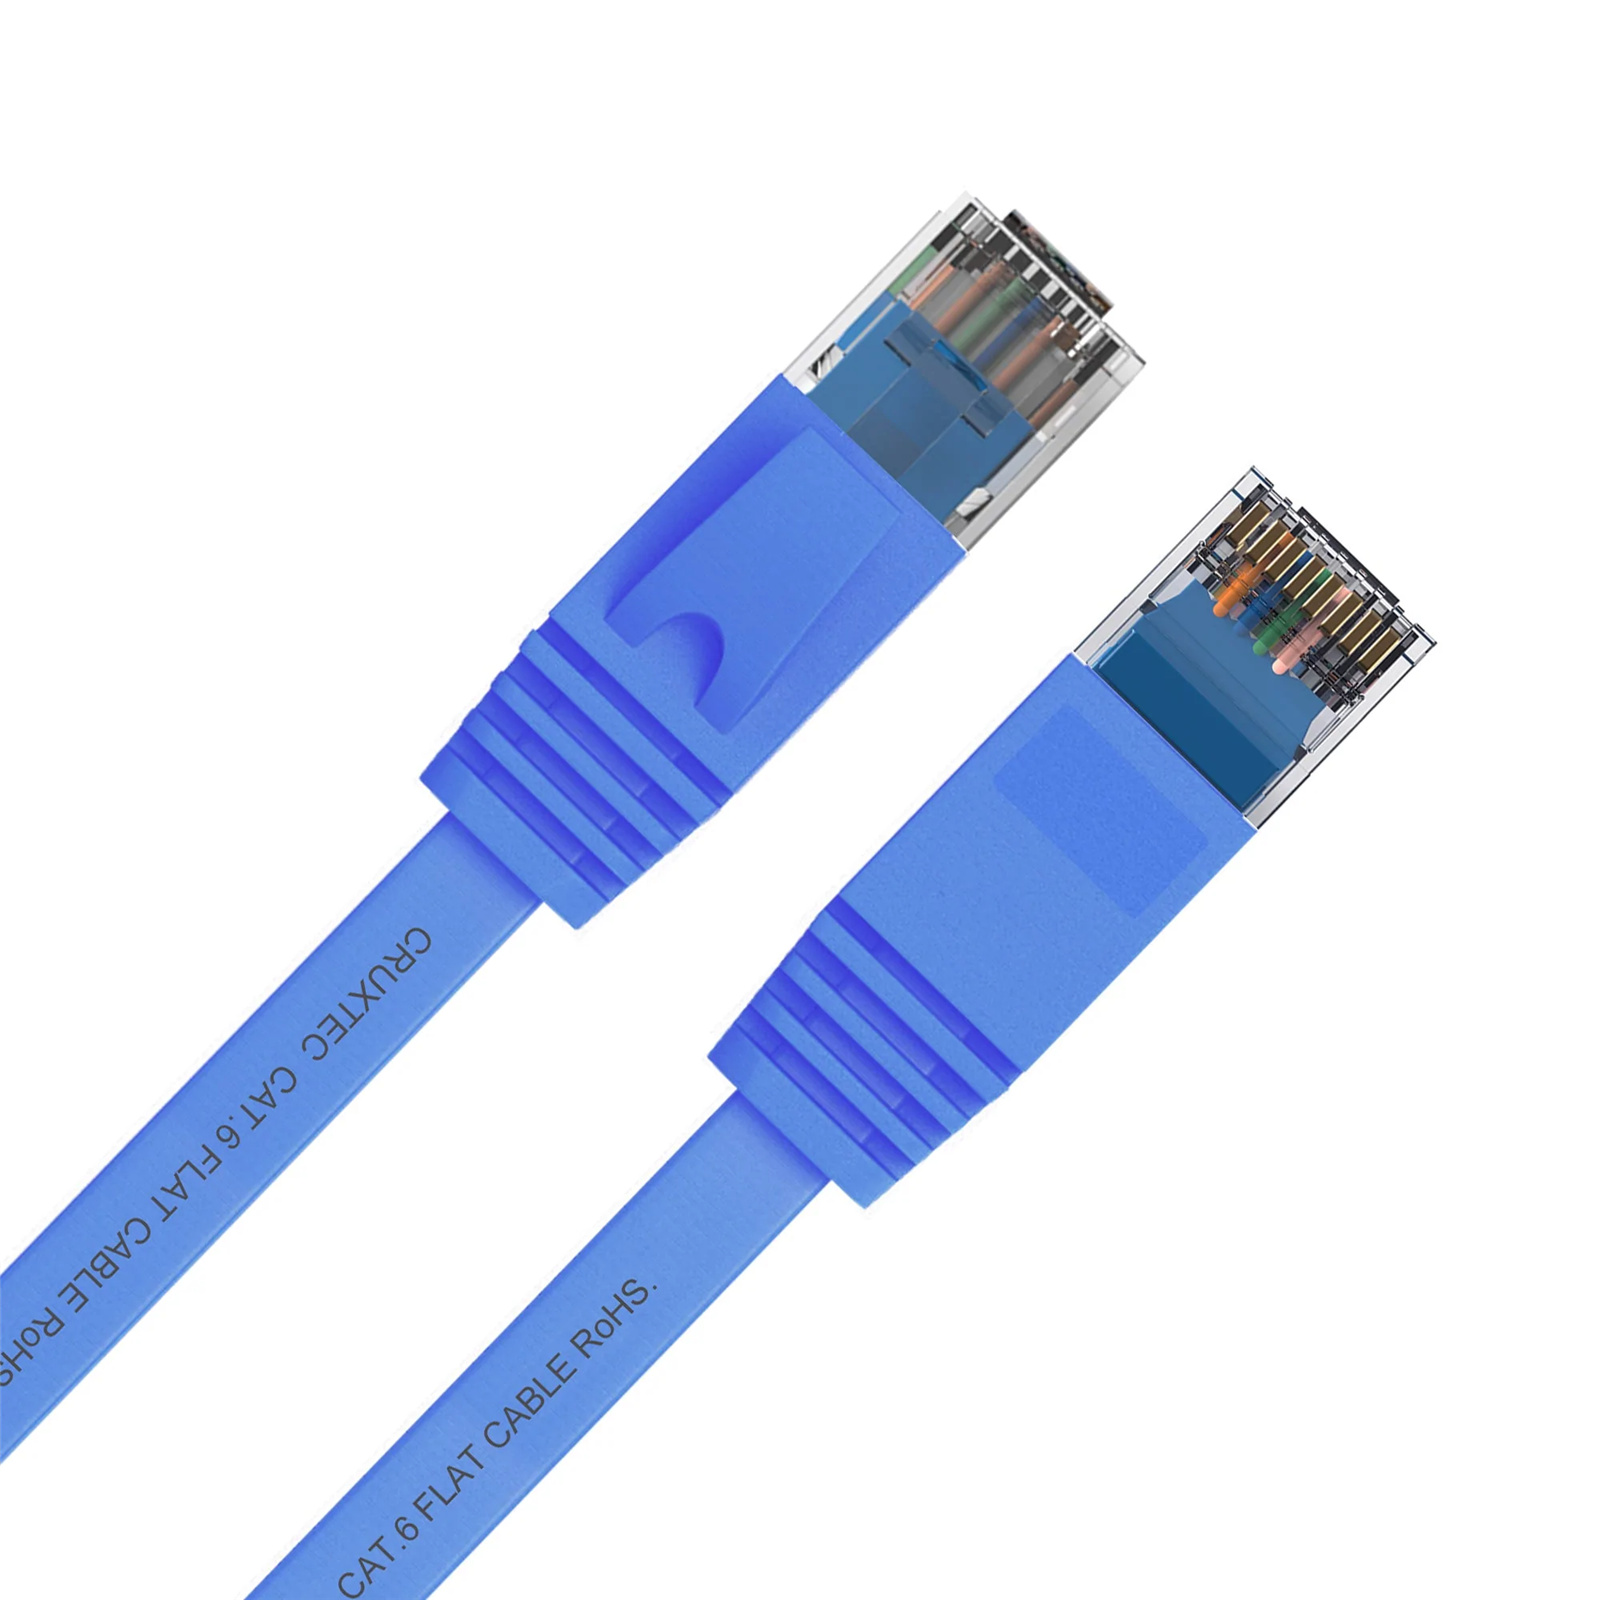
Terminating Ethernet cables involves properly connecting the wires inside the cable to an RJ-45 connector. An RJ-45 connector is the most common type used for Ethernet connections, and it allows for reliable data transmission between devices. When terminating the cable, it’s crucial to ensure that the wires are correctly arranged and fully inserted into the connector before crimping it to create a secure connection.
Before we dive into the steps of terminating Ethernet cables, let’s take a look at the materials and tools you’ll need to complete this project efficiently and effectively.
Materials and Tools Needed
Before you begin terminating Ethernet cables, make sure you have the following materials and tools ready:
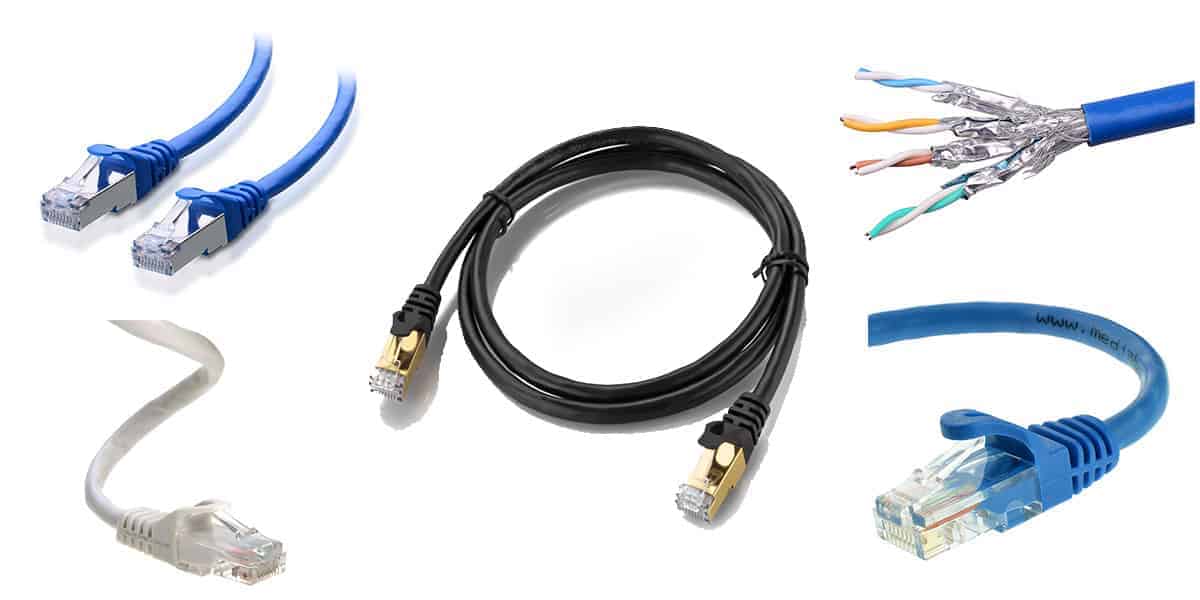
- Ethernet cable: Get a high-quality Ethernet cable of the desired length. Make sure it meets the appropriate category for your network, such as Cat5e or Cat6.
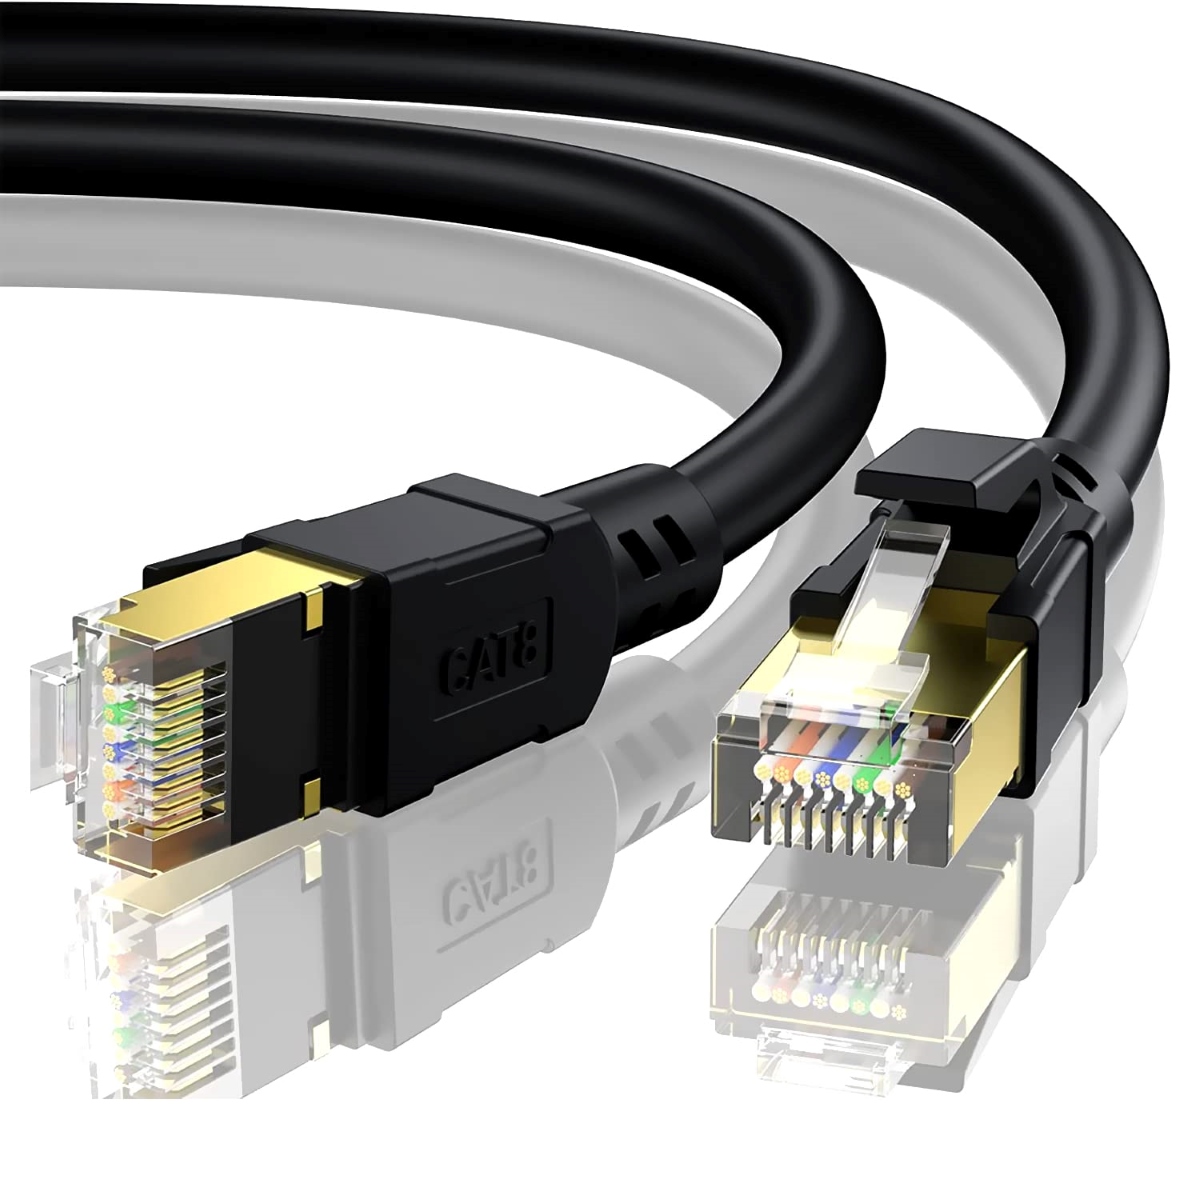
- RJ-45 connectors: Use crimpable RJ-45 connectors that are compatible with your Ethernet cable. It’s recommended to have extra connectors in case of mistakes or accidents.
- Crimping tool: Invest in a reliable crimping tool designed specifically for terminating Ethernet cables. A good crimping tool will ensure a secure and durable connection.
- Cable cutter or scissors: Use a cable cutter or scissors to accurately cut the Ethernet cable to the desired length. Ensure clean and precise cuts to facilitate easier termination.
- Wire stripper: A wire stripper will help you remove the outer insulation of the Ethernet cable without damaging the inner wires. Look for a wire stripper that supports stripping the various gauges used in Ethernet cables.
- Wire cutter: A wire cutter is essential for trimming the individual wires to the correct length before inserting them into the RJ-45 connector.
- Optional: Cable tester: A cable tester can be handy for verifying the integrity of your terminated Ethernet cable. While not necessary, it can save time troubleshooting connectivity issues down the line.
Having these materials and tools readily available will ensure a smooth and efficient termination process. Now that you have everything you need, let’s move on to the steps involved in terminating an Ethernet cable.
Step 1: Measure and Cut the Cable
The first step in terminating an Ethernet cable is to measure and cut it to the desired length. Take into account the distance between the two devices you are connecting and any additional length allowance you may need for flexibility.
Here’s how to measure and cut the cable:
- Using a cable cutter or scissors, carefully cut the Ethernet cable to the desired length. Ensure that the cut is clean and straight, without any frayed edges.
- Remember to leave a little extra length to allow for any potential re-cuts or adjustments later on.
- A good practice is to add an inch or two to your measured length, especially if you are new to terminating Ethernet cables.
- Double-check your measurements and make sure the cable is the correct length before proceeding to the next step.
By taking the time to accurately measure and cut the cable, you’ll ensure that the terminated Ethernet cable fits perfectly between the devices you need to connect. It’s crucial to have the right length for a neat and organized network setup.
Once you have measured and cut the cable, it’s time to move on to the next step: stripping the cable’s outer insulation.
Step 2: Strip the Cable
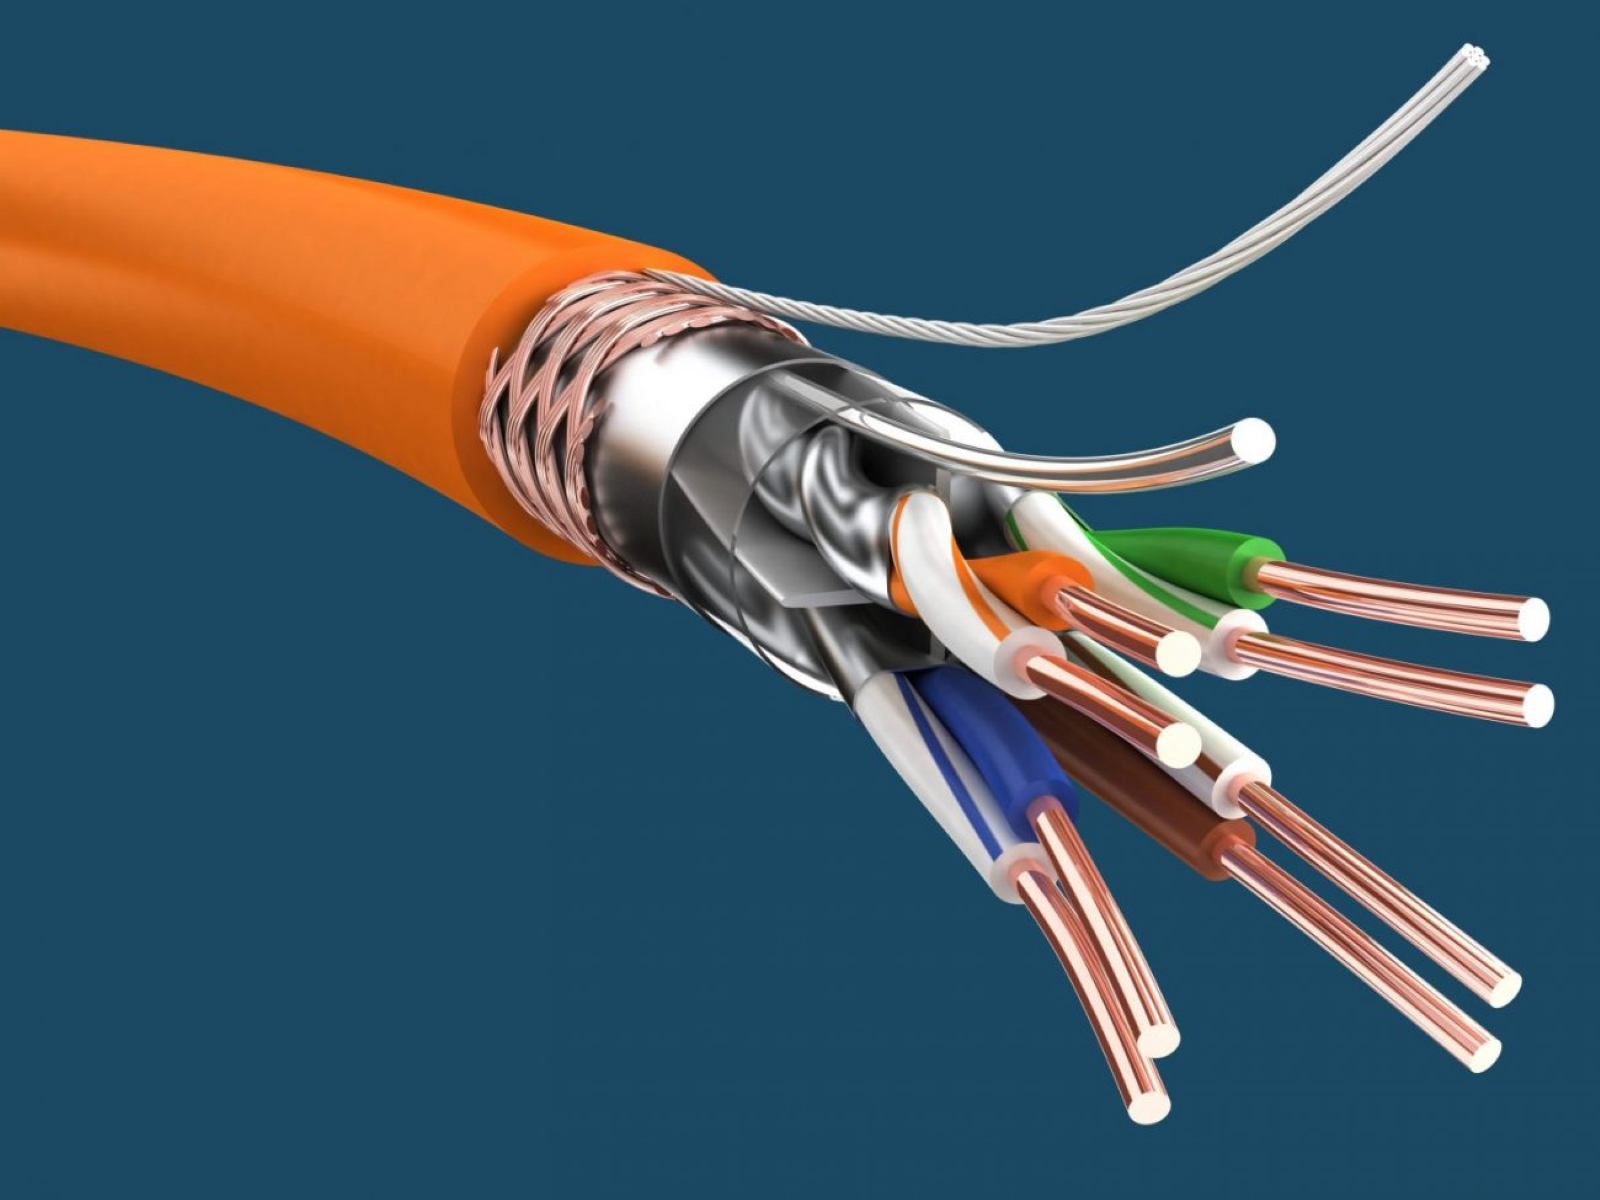
After measuring and cutting the Ethernet cable to the desired length, the next step is to strip off the outer insulation. Stripping the cable correctly will expose the inner wires, allowing you to properly arrange and insert them into the RJ-45 connector.
Follow these steps to strip the cable:
- Using a wire stripper, locate the end of the cable that you cut and gently insert it into the stripper’s cutting blade.
- Apply slight pressure and rotate the stripper around the cable, making sure not to cut too deeply to avoid damaging the inner wires.
- Once you have rotated the stripper around the cable, the outer insulation should start to loosen.
- Hold onto the cable firmly and pull the loosened insulation away from the cut end, exposing the inner wires.
- Be careful not to strip off too much of the insulation, as it should only be removed enough to expose the wires.
When stripping the cable, it’s important to be gentle and precise to avoid accidentally damaging any of the wires inside. Take your time and ensure that you strip off just enough insulation to expose the wires without cutting into them.
Once you have successfully stripped the cable, you are ready to proceed to the next step: untwisting and arranging the wires.
Step 3: Untwist and Arrange the Wires
With the outer insulation stripped, it’s time to untwist and arrange the individual wires inside the Ethernet cable. Properly untwisting and arranging the wires is crucial for establishing a reliable and efficient connection.
Follow these steps to untwist and arrange the wires:
- Hold the cable firmly near the end with one hand, and with your other hand, carefully untwist the pairs of wires.
- Separate the four pairs of wires gently to prevent them from tangling or overlapping.
- Once untwisted, straighten each wire individually to make it easier to insert them into the appropriate slots of the RJ-45 connector.
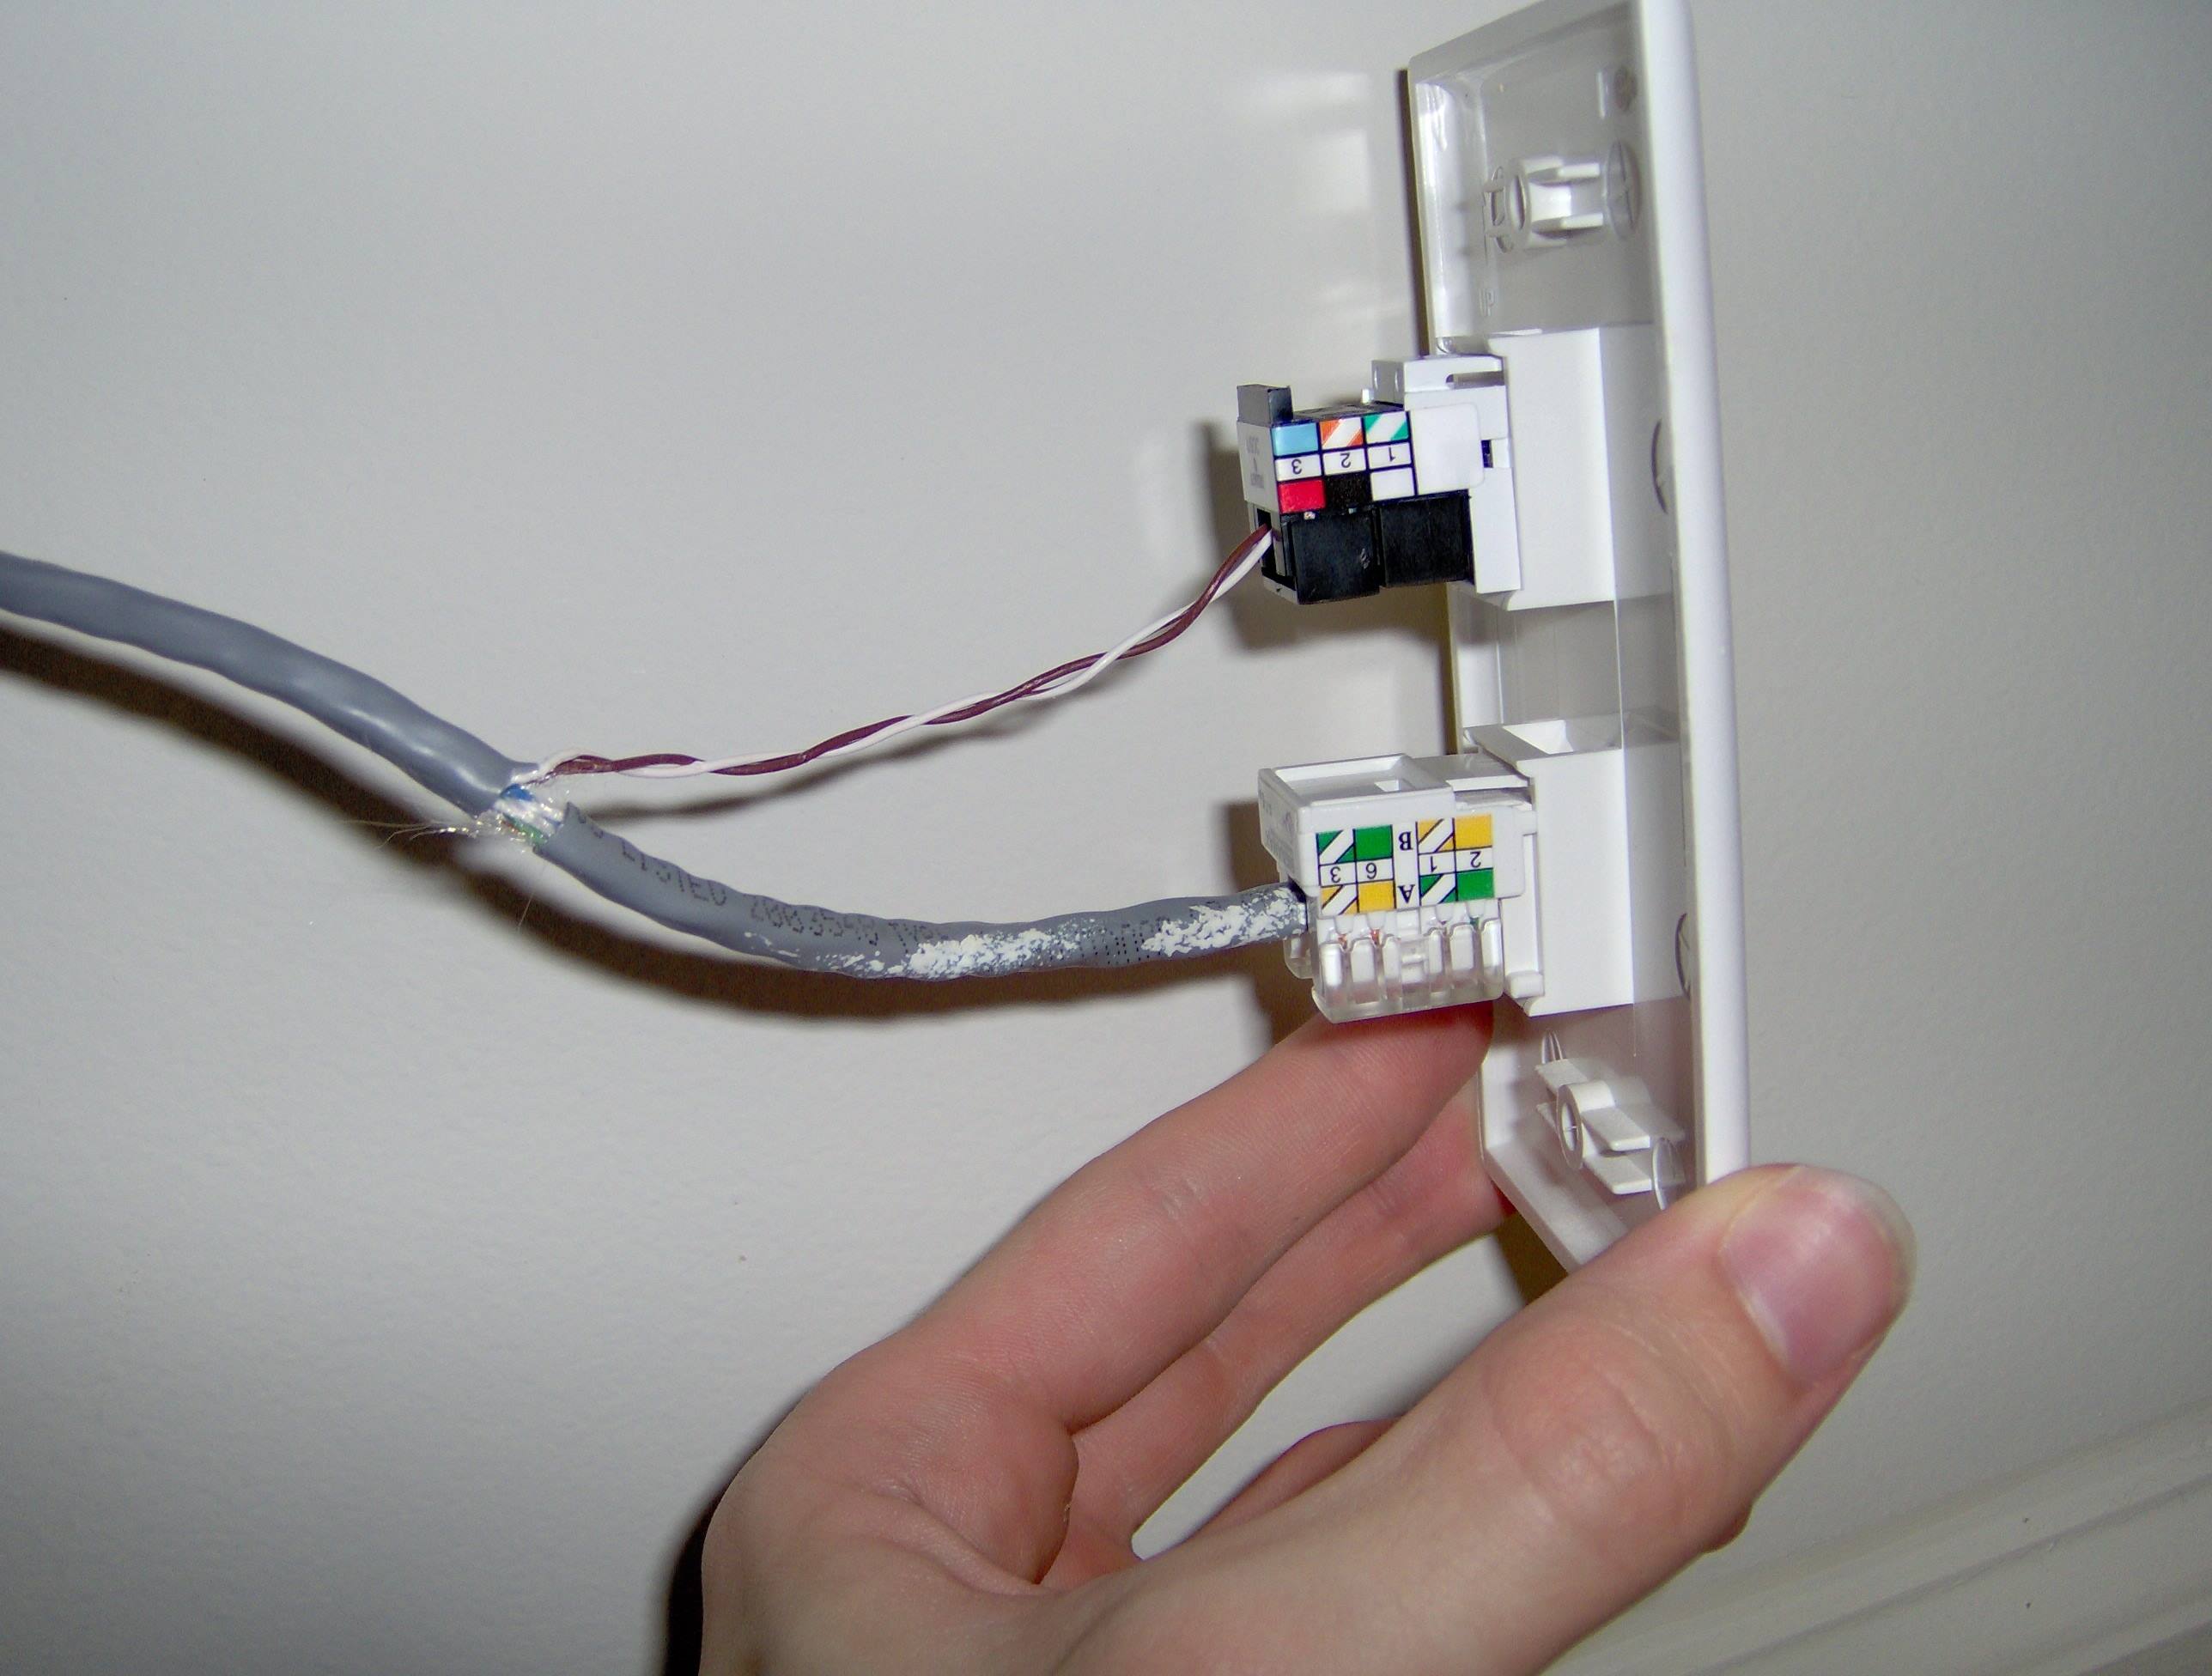
- Refer to the color-coding scheme of the type of Ethernet cable you are terminating to ensure you arrange the wires correctly.
- The standard color-coding scheme for Ethernet cables is: orange/white, orange, green/white, blue, blue/white, green, brown/white, brown.
- Arrange the wires in the order specified by the color-coding scheme, ensuring that they lie flat and are in the correct sequence.
- Use your fingers or a wire cutter to trim any excess wire length, leaving only enough to fit inside the RJ-45 connector.
Remember to take your time while untwisting and arranging the wires to avoid any twisting or crossing. Properly arranged and untwisted wires will ensure a solid connection and better performance for your Ethernet cable.
Now that the wires are untwisted and arranged, it’s time to move on to the next step: inserting the wires into the connector.
Step 4: Insert the Wires into the Connector
With the wires untwisted and arranged in the correct order, it’s time to insert them into the RJ-45 connector. Properly inserting the wires will ensure a secure and effective connection.
Follow these steps to insert the wires into the connector:
- Hold the RJ-45 connector with the metal pins facing upward and the tab facing away from you.
- Gently push the wires into the connector, making sure that each wire goes into the appropriate slot.
- Ensure that the wires are fully inserted into the connector and are flush against the front of the connector.
- Check that the wires are still in the correct order and properly aligned with the slots.
- Double-check that no wires have slipped out of the slots or crossed over each other.
- Hold the connector and wires securely, ensuring that they don’t move while you proceed to the next step.
It’s important to be careful and gentle when inserting the wires into the connector to avoid damaging or bending any of the wires. Take your time and ensure that each wire goes into the proper slot, following the color-coding scheme.
Once you have successfully inserted the wires into the connector, you’re ready to move on to the next step: crimping the connector to secure the connection.
Step 5: Crimp the Connector
After inserting the wires into the RJ-45 connector, the next step is to crimp the connector. Crimping the connector will securely hold the wires in place and ensure a stable connection between the cable and the device.
Here’s how to crimp the connector:
- Hold the connector and wires securely with one hand, making sure they are aligned and in the correct order.
- Use a crimping tool specifically designed for terminating Ethernet cables.
- Place the connector into the crimping tool, aligning it with the blades in the tool.
- Squeeze the handles of the crimping tool firmly to crimp the connector.
- Apply enough pressure to ensure a secure connection, but avoid squeezing too tight to avoid damaging the connector or the wires.
- Release the crimping tool and double-check that the connector is securely crimped.
- Gently tug on the cable to ensure the connection is stable and the wires are held securely in place.
It’s crucial to use a proper crimping tool to ensure a successful crimping process. A quality crimping tool will create a reliable and long-lasting connection for your Ethernet cable.
With the connector crimped, you have completed the termination process. However, there is one more step to ensure the integrity of your terminated Ethernet cable: testing the connection.
Step 6: Test the Connection
After terminating an Ethernet cable, it’s important to test the connection to ensure it is functioning properly. Testing the connection will help identify any connectivity issues or wiring errors that may need to be corrected.
Follow these steps to test the connection:
- Use a cable tester, if available, to verify the continuity and integrity of the terminated Ethernet cable.
- Plug one end of the cable into the appropriate port on the cable tester.
- Plug the other end of the cable into the corresponding port on the cable tester.
- Let the cable tester run its diagnostic process to check for any potential issues.
- If the cable tester indicates a successful connection, you can have confidence that the termination was done correctly.
- If the cable tester shows any errors or issues, carefully inspect the termination for any wiring errors or damage.
- Correct any wiring errors or re-terminate the cable if necessary, ensuring proper alignment of the wires and crimping of the connector.
- Once you have resolved any issues, retest the connection to verify that it is now functioning properly.
Testing the connection is essential for ensuring reliable network connectivity. It allows you to identify and address any problems before fully deploying and using the terminated Ethernet cable.
Now that you have successfully terminated the Ethernet cable and tested the connection, you can confidently use it for your networking needs.
Conclusion
Terminating Ethernet cables may seem like a daunting task, but with the right knowledge and tools, it becomes a manageable and rewarding process. By following the steps outlined in this guide, you can confidently terminate Ethernet cables to fit your specific networking needs.
Throughout this tutorial, we covered the essential steps involved in terminating Ethernet cables, including measuring and cutting the cable, stripping the outer insulation, untwisting and arranging the wires, inserting them into the connector, crimping the connector, and testing the connection.
By properly terminating Ethernet cables, you gain the flexibility to customize cable lengths, save costs on pre-terminated cables, and ensure a reliable and efficient network connection. It’s crucial to pay attention to detail and follow the color-coding schemes to arrange the wires correctly, as any errors can lead to connectivity issues.
Remember to use high-quality materials, such as a good Ethernet cable, crimpable RJ-45 connectors, and a reliable crimping tool. Investing in the right tools will result in a secure and long-lasting termination.
Lastly, testing the connection is crucial to verify the integrity of the terminated Ethernet cable. By using a cable tester or performing a manual check, you can identify and address any wiring errors or issues before putting the cable into active use.
Now that you have mastered the art of terminating Ethernet cables, you can confidently set up your network with customized cable lengths and enjoy the benefits of a reliable and efficient connection.