Introduction
3D printing has revolutionized various industries, allowing for the creation of intricate and complex objects. At the heart of every 3D printer is the nozzle, a critical component responsible for extruding filament and shaping the final print. Over time, the constant use and friction can cause wear and tear on the nozzle, affecting the quality of your prints.
It is important for 3D printing enthusiasts and professionals to be aware of the signs that indicate a worn nozzle. By identifying these signs early on, you can take the necessary steps to prevent further issues and maintain the overall performance of your 3D printer.
In this article, we will explore the various signs of a worn 3D printer nozzle and provide you with valuable insights on how to check and replace a worn nozzle. Whether you are a beginner or an experienced 3D printer user, understanding these indicators will help you produce high-quality prints consistently.
It is worth noting that different 3D printers may exhibit slightly different symptoms when the nozzle is worn. Therefore, it is essential to refer to your printer’s user manual for specific guidance. However, the signs discussed in this article are generally applicable and will give you a good starting point for troubleshooting nozzle issues.
Signs of a Worn 3D Printer Nozzle
A worn 3D printer nozzle can negatively impact the quality and consistency of your prints. Identifying the signs of a worn nozzle is crucial for maintaining optimal performance. Here are five common indicators that your 3D printer nozzle may be worn:
- Poor print quality: One of the most noticeable signs of a worn nozzle is a decline in print quality. You may start to see imperfections, such as stringing, layer gaps, or rough surfaces on your prints. If your prints were previously smooth and detailed but now appear distorted or fuzzy, a worn nozzle could be the culprit.
- Difficulty in extrusion: Another sign of a worn nozzle is difficulty in extrusion. You may experience inconsistent or insufficient filament flow during printing. The extruder might struggle to push filament through the nozzle, resulting in incomplete layers or incomplete prints.
- Filament clogs and jams: A worn nozzle can contribute to frequent filament clogs and jams. As the nozzle wears down, it becomes more prone to accumulating debris or filament remnants, leading to blockages. If you frequently encounter filament clogs or have to clear jams, it’s likely time to check the condition of your nozzle.
- Uneven and inconsistent filament flow: As the nozzle wears, the extrusion of filament becomes uneven and inconsistent. You may observe variations in filament thickness throughout your print or notice uneven extrusion on different parts of the object. This can result in a lack of structural integrity and compromised print quality.
- Filament leaks or oozes during printing: A worn nozzle can cause filament to leak or ooze during printing, especially during travel moves. You may notice small blobs or strings of filament appearing in areas where they shouldn’t be. This can lead to a messy print and interfere with the accuracy of your final model.
Remember, these signs are not exclusive to a worn nozzle and could be caused by other factors as well. It is important to eliminate other possible issues before concluding that the nozzle is worn. However, if you experience multiple or persistent symptoms from the above list, it is a strong indication that your 3D printer nozzle requires attention.
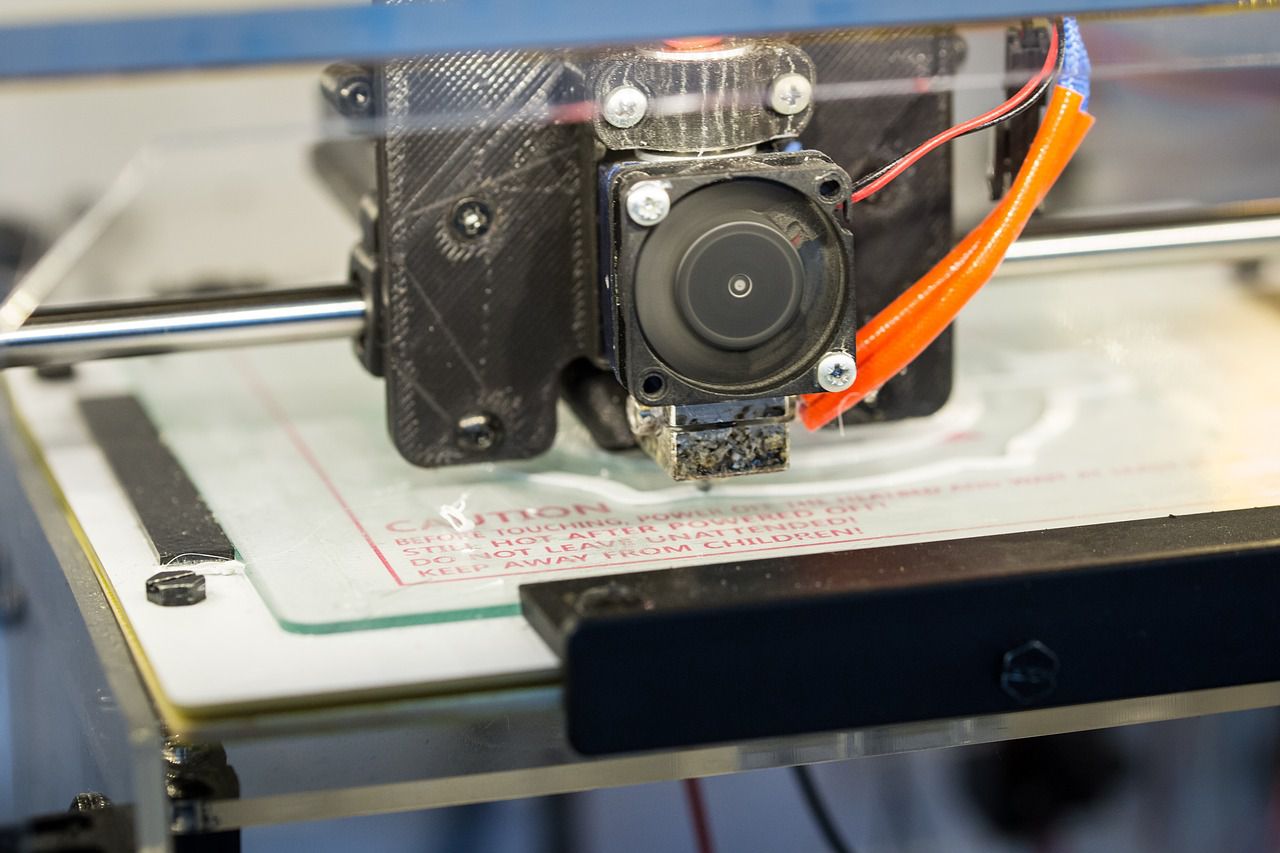
Poor Print Quality
Poor print quality is one of the most obvious indicators of a worn 3D printer nozzle. When the nozzle becomes worn or damaged, it loses its ability to extrude filament properly, resulting in prints that lack the desired level of detail and precision.
You may notice several issues that contribute to poor print quality when your nozzle is worn:
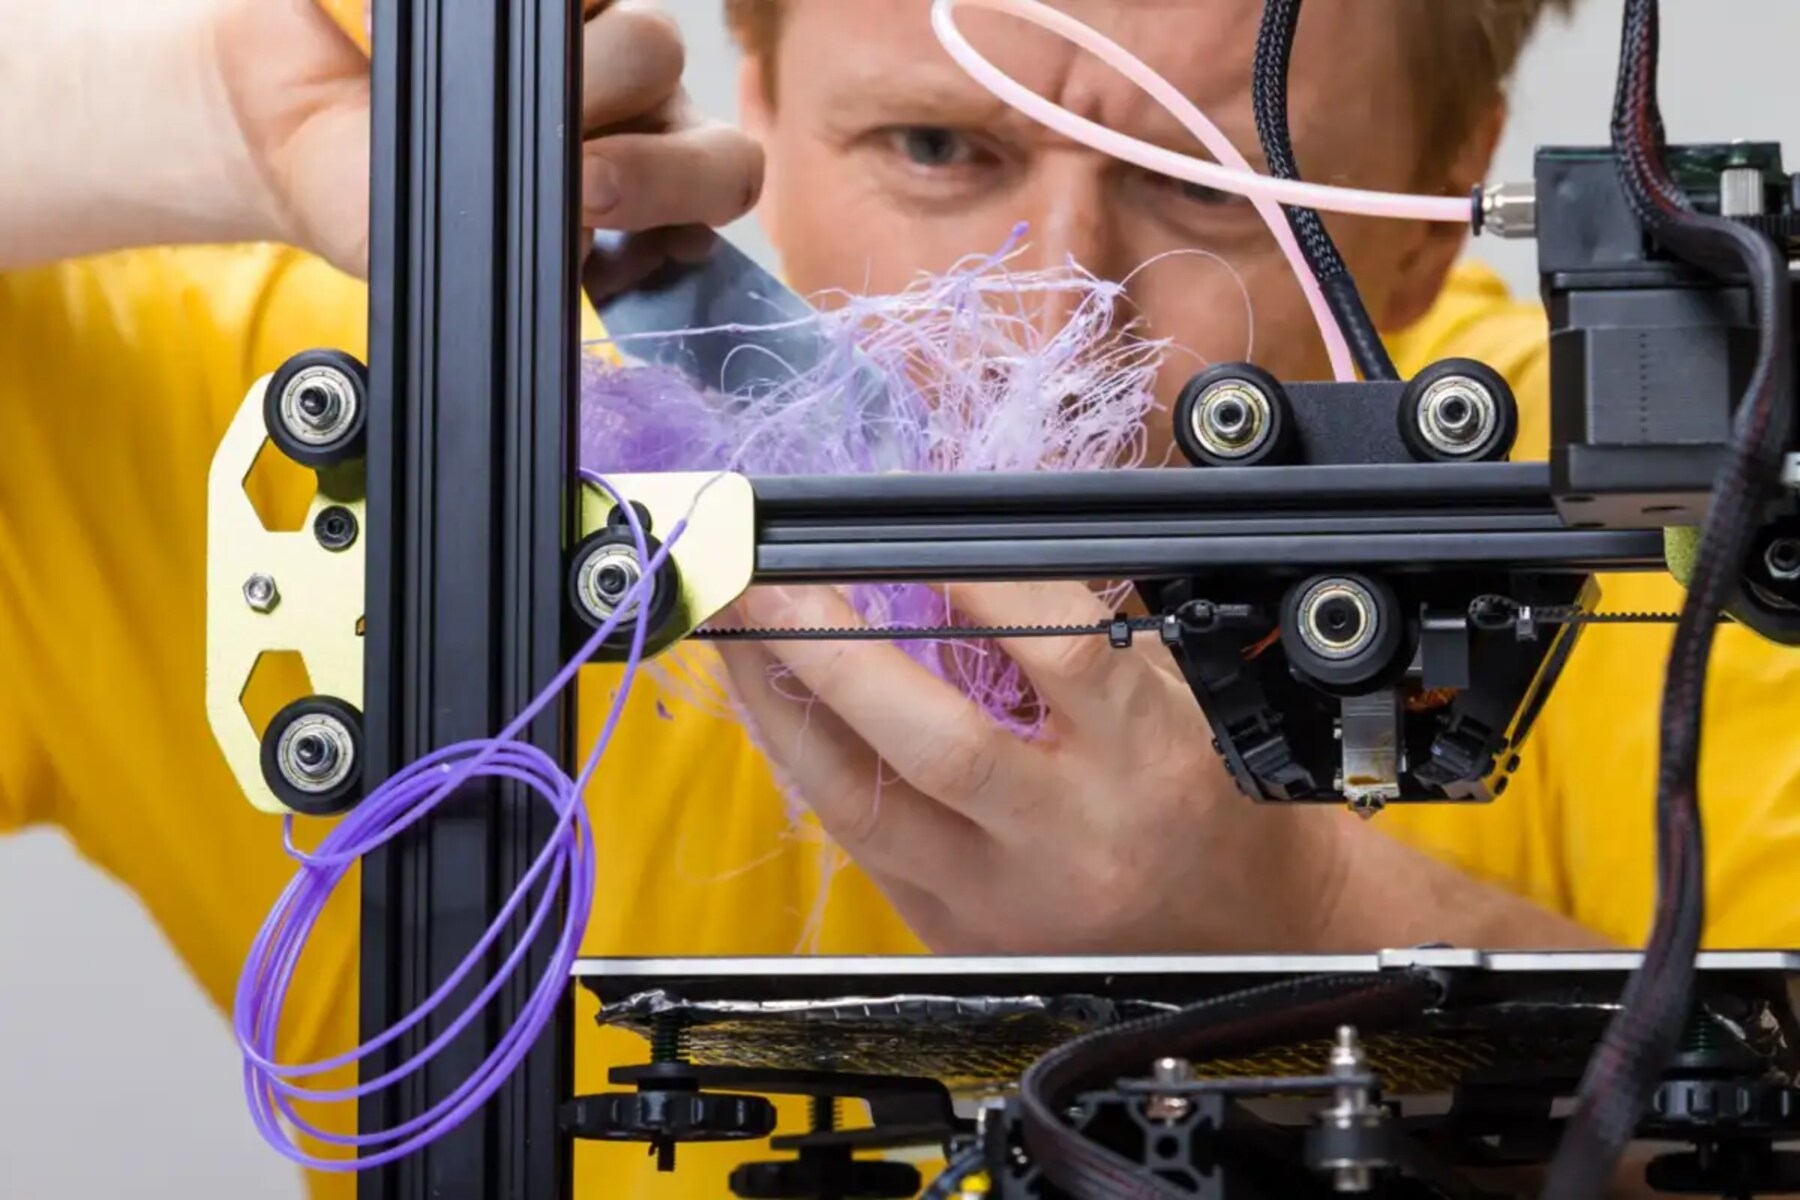
- Stringing and oozing: A worn nozzle can cause filament to ooze or string across your print, leaving behind unwanted strands of plastic. This can make the surface of your print appear rough and messy.
- Infill gaps: As the nozzle wears down, it may struggle to properly deposit filament for infill sections in your print. This can result in gaps or thin areas within the infill, leading to a less structurally sound object.
- Layer separation: Worn nozzles may have difficulty properly adhering each layer of the print to the previous one. This can result in visible gaps or weak spots between layers, compromising the overall strength and stability of the print.
- Misshapen or distorted features: When the nozzle is worn, it may not be able to accurately reproduce intricate or detailed features in your print. This can lead to misshapen or distorted parts, making the final print less visually appealing and potentially affecting the functionality of the object.
If you notice any of these issues in your prints, it’s crucial to examine your nozzle as a possible cause. However, it’s worth noting that poor print quality can also stem from other factors such as incorrect print settings, filament quality, or issues with bed leveling. To rule out these factors, it’s important to troubleshoot and eliminate other potential causes before concluding that the nozzle is worn.
Regularly monitoring the quality of your prints and taking proactive measures to maintain and replace your nozzle when necessary will help ensure consistent and high-quality results from your 3D printer.
Difficulty in Extrusion
A worn 3D printer nozzle can lead to difficulties in extrusion, affecting the flow and consistency of filament during the printing process. If you find that your printer is struggling to extrude filament properly, it may be a sign that the nozzle is worn and needs attention.
Here are some common issues related to extrusion difficulty caused by a worn nozzle:
- Inconsistent filament flow: A worn nozzle may result in variations in filament flow. You may notice that the filament is not consistently and evenly extruded, leading to uneven layers and compromised print quality.
- Under-extrusion: As the nozzle wears down, it can create blockages or gaps that restrict the smooth flow of filament. This can manifest as under-extrusion, where the printer struggles to push out enough filament to create solid and well-formed layers.
- Excessive pressure build-up: On the other hand, a worn nozzle can also lead to excessive pressure build-up within the extruder. This can cause filament to be forcefully pushed out, resulting in unexpected blobs or excessive material being deposited on the print.
- Difficulty in loading filament: A worn nozzle can make it challenging to load filament into the extruder properly. You may find that the filament gets stuck or does not feed smoothly into the printer, causing frustrations and potential feeding issues.
If you encounter any of these difficulties during extrusion, it is advisable to inspect the condition of your nozzle. Check for signs of wear or damage, such as a visibly eroded or widened opening. Additionally, ensure that the nozzle is clean and free from debris that could further hinder filament flow.
Remember to consider other factors that may contribute to extrusion difficulties, such as incorrect temperature settings, inadequate filament tension, or feeding mechanism issues. By systematically troubleshooting and ruling out other causes, you can accurately identify and address nozzle-related extrusion difficulties.
Regular maintenance and timely replacement of a worn nozzle will help ensure smooth and consistent extrusion, ultimately improving the overall performance and reliability of your 3D printer.
Filament Clogs and Jams
One of the telltale signs of a worn 3D printer nozzle is frequent filament clogs and jams. These frustrating occurrences can disrupt your printing process and lead to failed prints. If you find yourself regularly dealing with clogs and jams, it may be time to investigate the condition of your nozzle.
Here are some common issues related to filament clogs and jams caused by a worn nozzle:
- Debris accumulation: As the nozzle wears down, it becomes more prone to accumulating debris and filament remnants. This build-up can obstruct the smooth flow of filament through the nozzle, leading to clogs and jams.
- Blockages in the nozzle: A worn nozzle can develop small cracks, scratches, or irregularities on its inner surface. These imperfections can catch and trap filament, resulting in blockages that prevent proper extrusion.
- Partial or complete filament obstructions: Filament that fails to pass through the nozzle due to a clog or jam can cause printing issues. This can result in incomplete prints, uneven layers, or even complete printer shutdown if the filament becomes completely stuck.
- Extruder clicking or skipping: A worn nozzle can lead to extruder clicking or skipping, where the extrusion stepper motor struggles or slips due to the increased resistance caused by a clog. This repetitive clicking sound is an indication that something is obstructing the filament flow.
If you frequently encounter filament clogs and jams, start by examining the condition of your nozzle. Check for any visible signs of wear, such as rough surfaces or deformations on the nozzle’s opening. Additionally, ensure that the nozzle is properly cleaned and clear of any accumulated debris.
It’s essential to remember that clogs and jams can also be caused by other factors, including improper filament storage, incorrect print settings, or issues with the extruder assembly. By systematically troubleshooting and ruling out these factors, you can determine if the nozzle is the primary cause of the problem.
Regular nozzle maintenance, including cleaning and inspection, coupled with timely nozzle replacements, will help mitigate the risk of filament clogs and jams, ensuring smoother and uninterrupted 3D printing sessions.
Uneven and Inconsistent Filament Flow
A worn 3D printer nozzle can result in uneven and inconsistent filament flow during the printing process. This can have a significant impact on the quality and structural integrity of your prints. If you notice variations in filament thickness or irregular extrusion, it may be an indication that your nozzle requires attention.
Here are some common issues related to uneven and inconsistent filament flow caused by a worn nozzle:
- Variations in filament thickness: As the nozzle wears down, the size and shape of the extrusion opening can become irregular. This can cause fluctuations in filament flow, resulting in variations in filament thickness throughout the print.
- Unstable extrusion: A worn nozzle may struggle to maintain a consistent and stable extrusion of filament. This can lead to inconsistent layers, as the printer may struggle to deposit the desired amount of filament for each layer, compromising print quality and structural integrity.
- Poor interlayer adhesion: Uneven filament flow can result in poor interlayer adhesion, making the printed object prone to delamination or weak spots. This can compromise the strength and durability of the final print.
- Lack of fine detail reproduction: Filament flow irregularities caused by a worn nozzle can impact the printer’s ability to accurately reproduce fine details in the print. You may observe a loss of intricate features or a lack of sharpness in small details.
If you notice any signs of uneven and inconsistent filament flow, it is important to inspect your nozzle for wear or damage. Pay attention to any visible erosion or widening of the nozzle opening, which can contribute to these flow irregularities.
While a worn nozzle is a common cause of uneven filament flow, other factors such as incorrect print settings, filament quality, or extruder calibration can also contribute to these issues. Therefore, it is important to systematically troubleshoot and eliminate other potential causes before concluding that the nozzle is worn.
Regular maintenance and timely replacement of a worn nozzle will help ensure consistent and uniform filament flow, resulting in high-quality prints with consistent layers and improved overall print performance.
Filament Leaks or Oozes During Printing
An indication of a worn 3D printer nozzle is the occurrence of filament leaks or oozing during the printing process. When your nozzle is worn, it may struggle to properly seal the extrusion pathway, causing filament to leak or ooze from unintended areas. If you notice filament leakage during printing, it’s a clear sign that your nozzle needs attention.
Here are some common issues related to filament leaks or oozes caused by a worn nozzle:
- Leaking during travel moves: As the nozzle wears down, it might not be able to maintain a tight seal, especially during rapid travel movements between print areas. This can result in filament leakage or small blobs appearing along the travel paths, making the print surface less clean and smooth.
- Excessive filament oozing: A worn nozzle can cause filament to ooze uncontrollably while the extruder is idle or during pauses in the print job. This can lead to unwanted blobs or strings of filament appearing on the print, negatively affecting the print quality and overall aesthetics of the object.
- Inconsistent retraction: The ability to retract filament properly is essential to prevent filament leakage and stringing. A worn nozzle may hinder the retraction process, causing inconsistent retraction and resulting in filament leaks or oozing between extrusion moves.
- Unwanted material buildup: Filament leaks or oozing can cause unwanted material buildup around the nozzle, hot end, or other parts of the printer. This can lead to difficulties in maintenance, increased risk of nozzle clogs, and potential interference with the print process.
If you observe any of these issues during your printing job, inspect your nozzle for signs of wear or damage. Look for visible erosion around the nozzle’s opening or any irregularities that may compromise its sealing ability. Additionally, make sure that the nozzle is clean and free from debris that might contribute to the leakage.
While filament leaks and oozing are commonly associated with a worn nozzle, other factors such as incorrect retraction settings, temperature fluctuations, or extrusion rate inconsistencies can also contribute to these issues. Therefore, it is crucial to thoroughly troubleshoot and rule out other potential causes before concluding that the nozzle is worn.
Regular maintenance and timely replacement of a worn nozzle will help maintain proper extrusion and prevent filament leaks or oozing, resulting in cleaner and more precise prints.
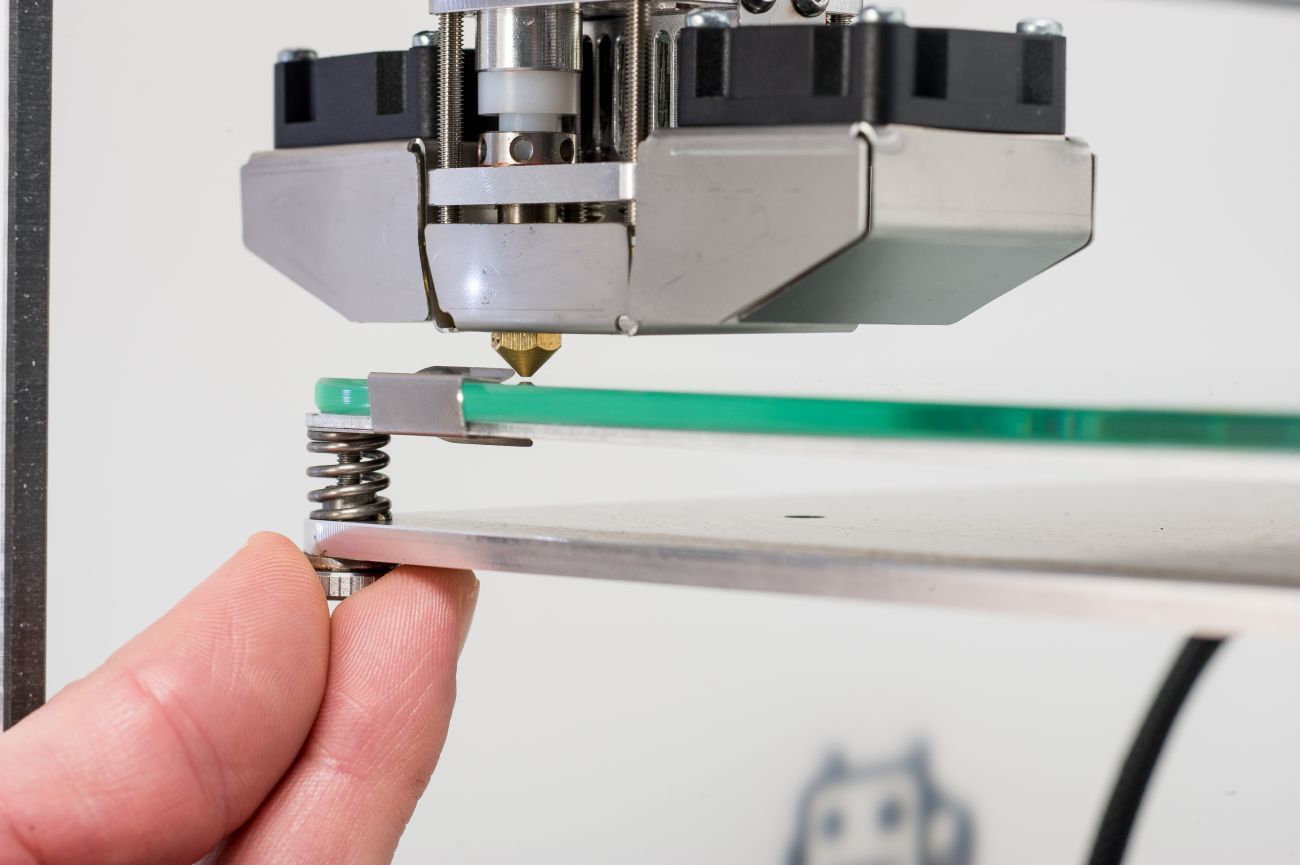
How to Check If the Nozzle Is Worn
Checking the condition of your 3D printer nozzle is essential to identify if it is worn and in need of replacement. Here are three methods you can use to check the condition of the nozzle:
- Visual inspection: Start by visually inspecting the nozzle for signs of wear or damage. Look for any visible erosion, scratches, or deformations on the nozzle’s opening. A worn nozzle may have a visibly widened or irregular-shaped opening. If you notice any of these indications, it is likely that your nozzle is worn and should be replaced.
- Filament drag test: Perform a filament drag test to evaluate the condition of your nozzle. Preheat your 3D printer to the appropriate nozzle temperature for the filament you are using. Then, carefully insert the filament into the nozzle and manually push it through. Pay attention to the resistance and smoothness of filament movement. If you encounter excessive resistance or the filament does not glide smoothly, it could be a sign of a worn nozzle.
- Filament diameter measurement: Measure the diameter of filament that has passed through the nozzle to assess its condition. Use a caliper or filament gauge to measure the diameter of the filament immediately after it passes through the nozzle. Compare the measured diameter to the intended filament diameter. If there is a noticeable increase in diameter or inconsistencies in filament thickness, it may indicate wear or blockages in the nozzle.
Remember to consult your 3D printer’s user manual for specific guidelines and recommendations on checking the nozzle condition. Additionally, proper maintenance, including regular cleaning and clearing of debris, can help prolong the lifespan of your nozzle and prevent wear.
If you determine that your nozzle is worn, it is crucial to replace it promptly. Most 3D printers have replaceable nozzles that can be easily swapped out for a new one. Consult your printer’s manual or manufacturer’s instructions for guidance on how to replace the nozzle properly.
By regularly checking and replacing worn nozzles, you can ensure optimal print quality and avoid potential issues caused by nozzle degradation.
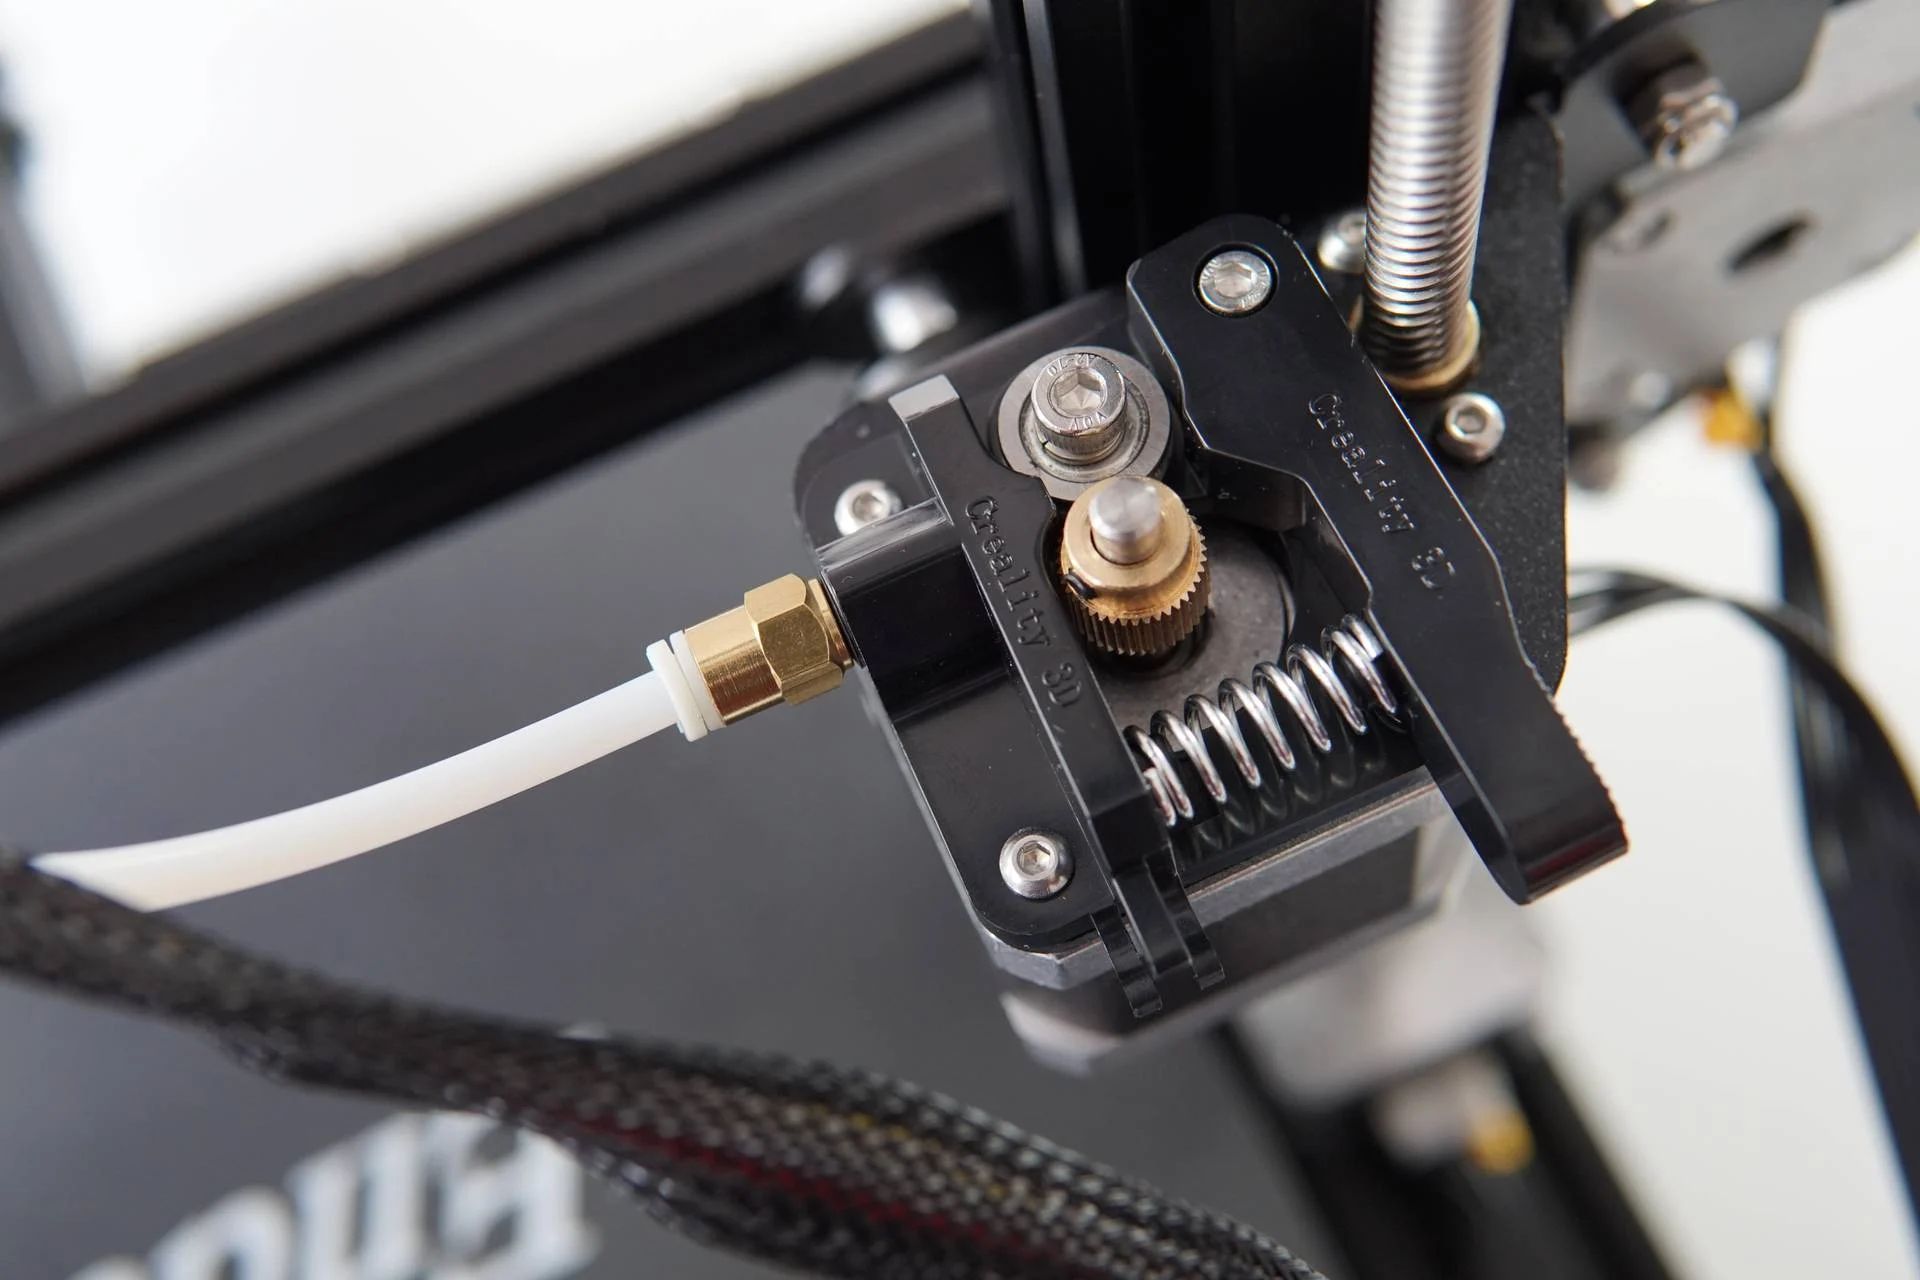
Visual Inspection
A visual inspection is a simple yet effective method to check the condition of your 3D printer nozzle. By visually examining the nozzle, you can identify visible signs of wear or damage that may indicate the need for replacement.
To perform a visual inspection of your nozzle, follow these steps:
- Heat up the nozzle: Before inspecting the nozzle, make sure your 3D printer is powered on and the nozzle is heated to the appropriate temperature for your filament type. Refer to the manufacturer’s guidelines or your printer’s manual for recommended temperatures.
- Examine the nozzle: Once the nozzle is heated, observe the nozzle closely. Look for any signs of wear, erosion, or deformations on the nozzle’s opening. Pay particular attention to the inside and outside edges of the nozzle where filament flows through. Worn nozzles often display visible erosion, widening of the nozzle opening, or a rough and uneven surface.
- Check for scratches or deformations: Inspect the nozzle for any scratches or deformations. Scratches can affect the smooth flow of filament, while deformations may indicate damage that could impact print quality. If you notice any of these imperfections, it is likely that your nozzle is worn and needs to be replaced.
- Compare with a new nozzle: If you have access to a new, unused nozzle of the same type, compare it to the one you are inspecting. This will help you identify any noticeable differences in shape, size, or surface condition. Comparing a worn nozzle with a new one can provide a clear visual reference and facilitate the evaluation process.
Regular visual inspections of your nozzle should be part of your routine maintenance. By catching signs of wear early, you can address nozzle issues promptly and avoid print quality problems in your 3D prints.
It’s important to note that visual inspection alone may not always identify underlying issues with the nozzle, especially when wear is minimal or internal. Therefore, it is recommended to combine visual inspection with other testing methods to obtain a comprehensive assessment of the nozzle’s condition.
If you find that your nozzle is worn or damaged during the visual inspection, refer to your printer’s manual or manufacturer’s instructions for guidance on how to replace the nozzle properly. Replacing a worn nozzle will help maintain excellent print quality and ensure the overall performance of your 3D printer.
Filament Drag Test
The filament drag test is a practical method to assess the condition of your 3D printer nozzle by evaluating the resistance and smoothness of filament movement through the nozzle. By performing this test, you can detect any excessive wear or blockages that may be hindering proper filament flow.
Follow these steps to conduct a filament drag test:
- Preheat your 3D printer: Begin by powering on your 3D printer and heating the nozzle to the appropriate temperature for your filament type. Refer to your printer’s manual or filament manufacturer’s recommendations for the ideal temperature.
- Insert the filament: Once the nozzle is heated, carefully insert the filament into the extruder and feed it into the nozzle until it reaches the heated zone. Ensure that the filament is properly inserted, and there are no obstructions or resistance.
- Manually push the filament: With the filament inserted, gently exert pressure on the filament by manually pushing it through the extruder. Observe the resistance and smoothness of filament movement. It should glide smoothly without any excessive resistance or interruptions.
- Check for regular filament flow: As you manually push the filament, keep an eye on the extrusion. Verify that the filament extrudes consistently in a continuous and steady stream. Any inconsistent or irregular extrusion may suggest a worn out or partially obstructed nozzle.
During the filament drag test, you should pay close attention to any unusual resistance, grinding sounds, or jerky movements. These signs may indicate a worn nozzle that needs to be replaced.
It’s important to note that the filament drag test is a basic assessment and should be used in conjunction with other testing methods for a more comprehensive evaluation of your nozzle’s condition. If you experience difficulties or inconsistencies during the test, it is recommended to proceed with additional checks such as a visual inspection or filament diameter measurement to confirm the nozzle’s state.
If the filament drag test reveals noticeable resistance or rough filament movement, it is likely that your nozzle is worn or obstructed. In such cases, refer to your printer’s manual or manufacturer’s instructions to replace the nozzle properly. Regularly checking and replacing worn nozzles will help ensure smooth filament flow and maintain the overall performance of your 3D printer.
Filament Diameter Measurement
Measuring the diameter of the filament that has passed through the nozzle is an effective method to evaluate the condition of your 3D printer nozzle. By comparing the measured filament diameter with the intended diameter, you can identify any irregularities that may indicate nozzle wear or blockages.
Follow these steps to perform a filament diameter measurement:
- Heat up the nozzle: Power on your 3D printer and heat the nozzle to the recommended temperature for your filament material. This ensures that the filament is in a molten state, allowing for accurate diameter measurement.
- Prepare the filament: Cut a length of filament that has passed through the nozzle, ensuring that it is free from any deformations or inconsistencies. It is recommended to use a section of filament that has not been previously used in any print jobs.
- Measure the filament diameter: Using a caliper or filament gauge, carefully measure the diameter of the filament sample. Take multiple measurements along different points of the filament to ensure accuracy. Record the average diameter of the filament.
- Compare with the intended diameter: Compare the measured filament diameter with the intended diameter specified by the filament manufacturer. If the measured diameter deviates significantly from the intended value, it may indicate nozzle wear or blockages affecting the extrusion process.
When a nozzle is worn or damaged, it can affect how filament flows through the nozzle, resulting in inconsistent filament diameter. If the measured filament diameter is larger or smaller than the intended size, this discrepancy may impact the quality and reliability of your 3D prints.
Keep in mind that filament diameter measurement is a complementary method and should be utilized in conjunction with other testing techniques, such as visual inspection or filament drag test, for a comprehensive evaluation of the nozzle’s condition.
If the filament diameter measurement reveals significant deviations from the intended diameter and you have ruled out other potential causes, it is likely that your nozzle is worn or partially obstructed. In such cases, refer to your printer’s manual or manufacturer’s instructions for guidance on properly replacing the nozzle.
Regularly checking and replacing worn nozzles will help ensure consistent filament flow and maintain the overall performance and print quality of your 3D printer.
How to Replace a Worn 3D Printer Nozzle
Replacing a worn 3D printer nozzle is a straightforward process that can help improve print quality and restore optimal performance. Here are the general steps to successfully replace a worn nozzle:
- Gather the necessary tools: Before starting the replacement process, ensure you have the appropriate tools on hand. This may include a wrench or socket wrench, pliers, and a new replacement nozzle compatible with your 3D printer model.
- Preheat the printer nozzle: Power on your 3D printer and preheat the nozzle to the recommended temperature for removing a nozzle. Check your printer’s manual or manufacturer’s guidelines for the specific preheating temperature.
- Secure the hot end: Carefully grasp the hot end of the 3D printer with pliers or use heat-resistant gloves to secure it. Exercise caution to avoid burns or injury during this step.
- Remove the old nozzle: Using a wrench or socket wrench, carefully loosen and unscrew the old nozzle from the hot end. Rotate it counterclockwise until it is fully detached. Take care not to damage the surrounding components or wires.
- Clean the hot end: Once the old nozzle is removed, use a soft brush or cleaning filament to brush away any residue or filament remnants from the hot end. Ensure that the nozzle opening and surrounding areas are clear of debris.
- Install the new nozzle: Take your new replacement nozzle and screw it into the hot end. Rotate it clockwise to tighten it securely. Be cautious not to overtighten, as this could damage the nozzle or hot end.
- Reheat the nozzle: After installing the new nozzle, reheat the nozzle to the appropriate temperature for your filament type. This will allow the nozzle and hot end to reach the desired operating temperature for your 3D printing needs.
- Perform a test print: Once the nozzle has reached the desired temperature, perform a test print to ensure that the new nozzle is properly installed and functioning correctly. Monitor the print quality and examine the extrusion to verify consistent filament flow.
It is important to consult your printer’s manual or manufacturer’s guidelines for specific instructions on replacing the nozzle. Different 3D printer models may have slight variations in the replacement process.
Additionally, it is advisable to perform regular maintenance on your 3D printer, such as cleaning the nozzle and hot end, to prevent future nozzle wear and optimize print performance.
By following these steps and maintaining a well-functioning nozzle, you can produce high-quality prints and extend the longevity of your 3D printer.
Conclusion
Understanding how to identify and address a worn 3D printer nozzle is crucial for maintaining optimal print quality and overall 3D printing performance. By recognizing the signs of a worn nozzle, such as poor print quality, difficulty in extrusion, filament clogs and jams, uneven filament flow, and filament leaks or oozing, you can take proactive measures to resolve these issues.
Through visual inspection, filament drag tests, and filament diameter measurements, you can assess the condition of your nozzle and determine if it needs to be replaced. Regular maintenance and timely nozzle replacements are essential for achieving consistent and high-quality 3D prints.
When replacing a worn nozzle, it is important to follow the recommended procedures outlined in your printer’s manual or manufacturer’s instructions. Taking precautions and using the correct tools ensure a smooth and trouble-free replacement process.
Remember that nozzle wear can be influenced by various factors, including usage frequency, print materials, and printing parameters. Regular monitoring of your nozzle’s condition, along with proper nozzle cleaning and maintenance, can help prevent excessive wear and extend its lifespan.
By staying informed about the signs of a worn nozzle and implementing the necessary steps to check and replace it when needed, you can achieve consistent, high-quality 3D prints and maximize the potential of your 3D printer.