Introduction
When it comes to connecting your devices to a display, HDMI ports have become the go-to standard. Whether it’s your gaming console, Blu-ray player, or laptop, a functioning HDMI port is vital for a seamless multimedia experience. But what happens when you start experiencing issues with your HDMI connection? One possibility is that your HDMI port may be faulty or, in a worst-case scenario, completely bad.
Identifying a bad HDMI port can save you time, frustration, and potentially money. However, it’s important to note that other factors, such as a faulty cable or incompatible device, can also lead to connection problems. In this article, we will explore the common signs of a bad HDMI port and discuss steps you can take to troubleshoot the issue.
Familiarizing yourself with these signs can help you determine whether your HDMI port is truly the culprit, allowing you to take appropriate action to resolve the problem. It’s worth noting that while some issues can be fixed at home, others may require professional assistance.
In the following sections, we will delve into the specific signs to look out for, as well as the steps you can take to confirm if your HDMI port is indeed the problem. By the end of this article, you will have a better understanding of how to identify and address issues with a bad HDMI port.
Common signs of a bad HDMI port
Identifying the common signs of a bad HDMI port can help you pinpoint the source of your connectivity issues. Here are some indications that your HDMI port may be faulty:
- No signal or intermittent signal: One of the most obvious signs of a bad HDMI port is the absence of a signal or a sporadic display. If you’re unable to see any image on your screen or frequently experience signal dropouts while using an HDMI connection, it’s a clear indication of a port problem.
- Poor picture quality: Another sign to watch out for is reduced or distorted picture quality. You may notice pixelation, flickering, or color distortion on your screen. These issues can be caused by a faulty HDMI port that fails to transmit the signal effectively.
- No sound or distorted audio: A bad HDMI port can also affect the audio output. If you’re unable to hear sound from your connected device or experience audio glitches, it could indicate a problem with the port’s ability to transmit audio data properly.
- Display resolution issues: In some cases, an HDMI port problem can manifest as incorrect display resolutions. You may notice that the video output on your screen is not set to the desired resolution or is unable to adjust to the optimal settings. This can result in a blurry or stretched image.
- Screen freezing or blackouts: A bad HDMI port can cause your screen to freeze or go black unexpectedly. These interruptions can be frustrating and disruptive, particularly during important tasks or while enjoying your favorite media content.
If you’re experiencing any of these signs, it’s important to determine whether the issue lies with the HDMI port itself or with other factors, such as the cable or the connected device. The following sections will outline steps you can take to further troubleshoot and diagnose the specific cause of your HDMI connection problems.
Checking for physical damage
One of the first steps in troubleshooting a bad HDMI port is to inspect it for any physical damage. Sometimes, a simple visual examination can reveal obvious issues that may be hindering the proper functioning of the port. Here’s what you can do:
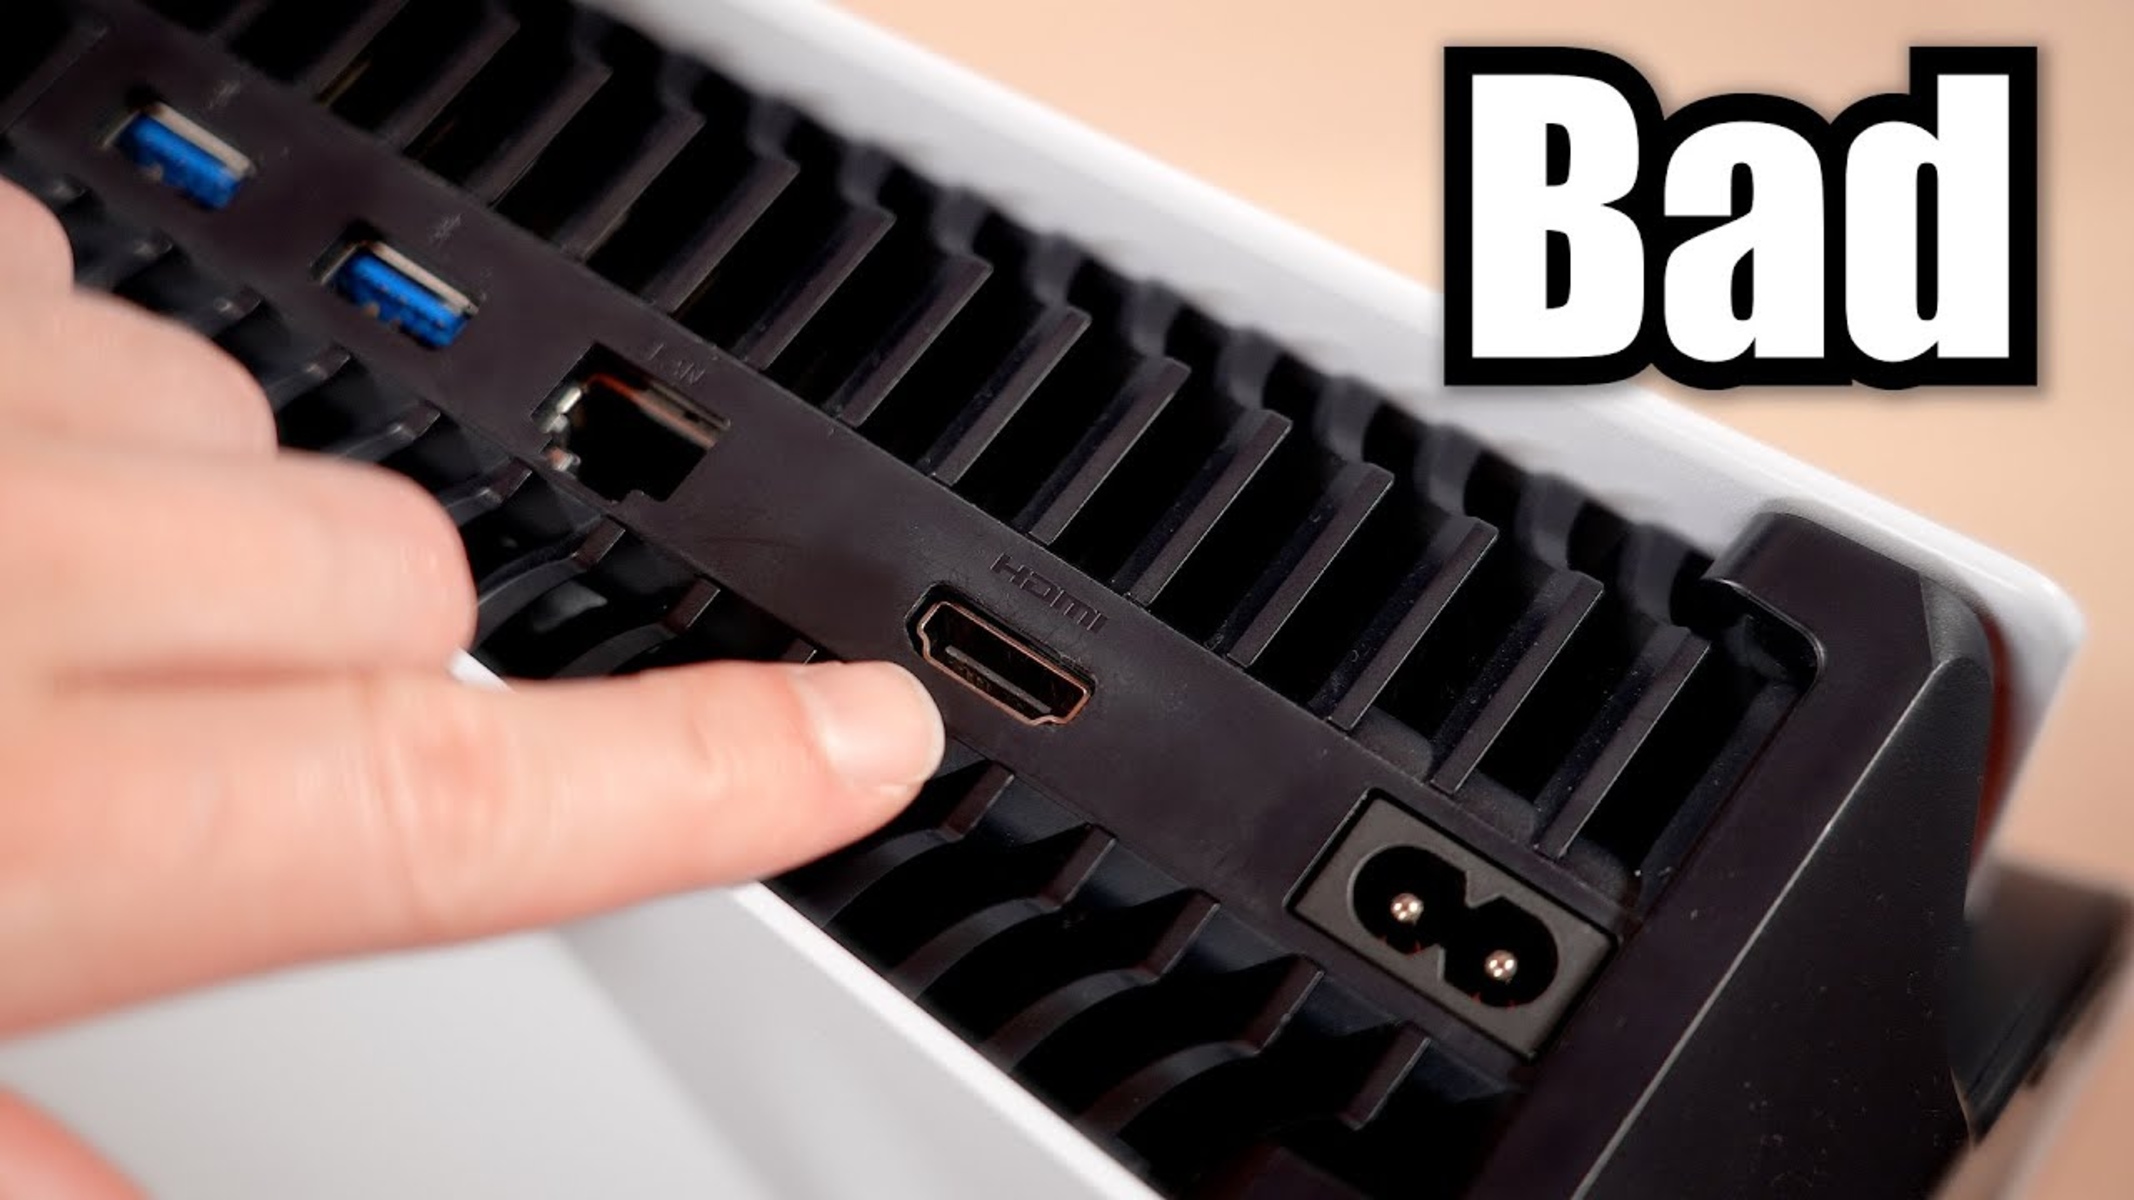
- Inspect the HDMI port: Carefully examine the HDMI port on your device, such as your TV, monitor, or laptop, for any noticeable damage. Look for bent, broken, or missing pins or any signs of debris or obstruction inside the port. Even a small amount of debris can prevent a secure connection.
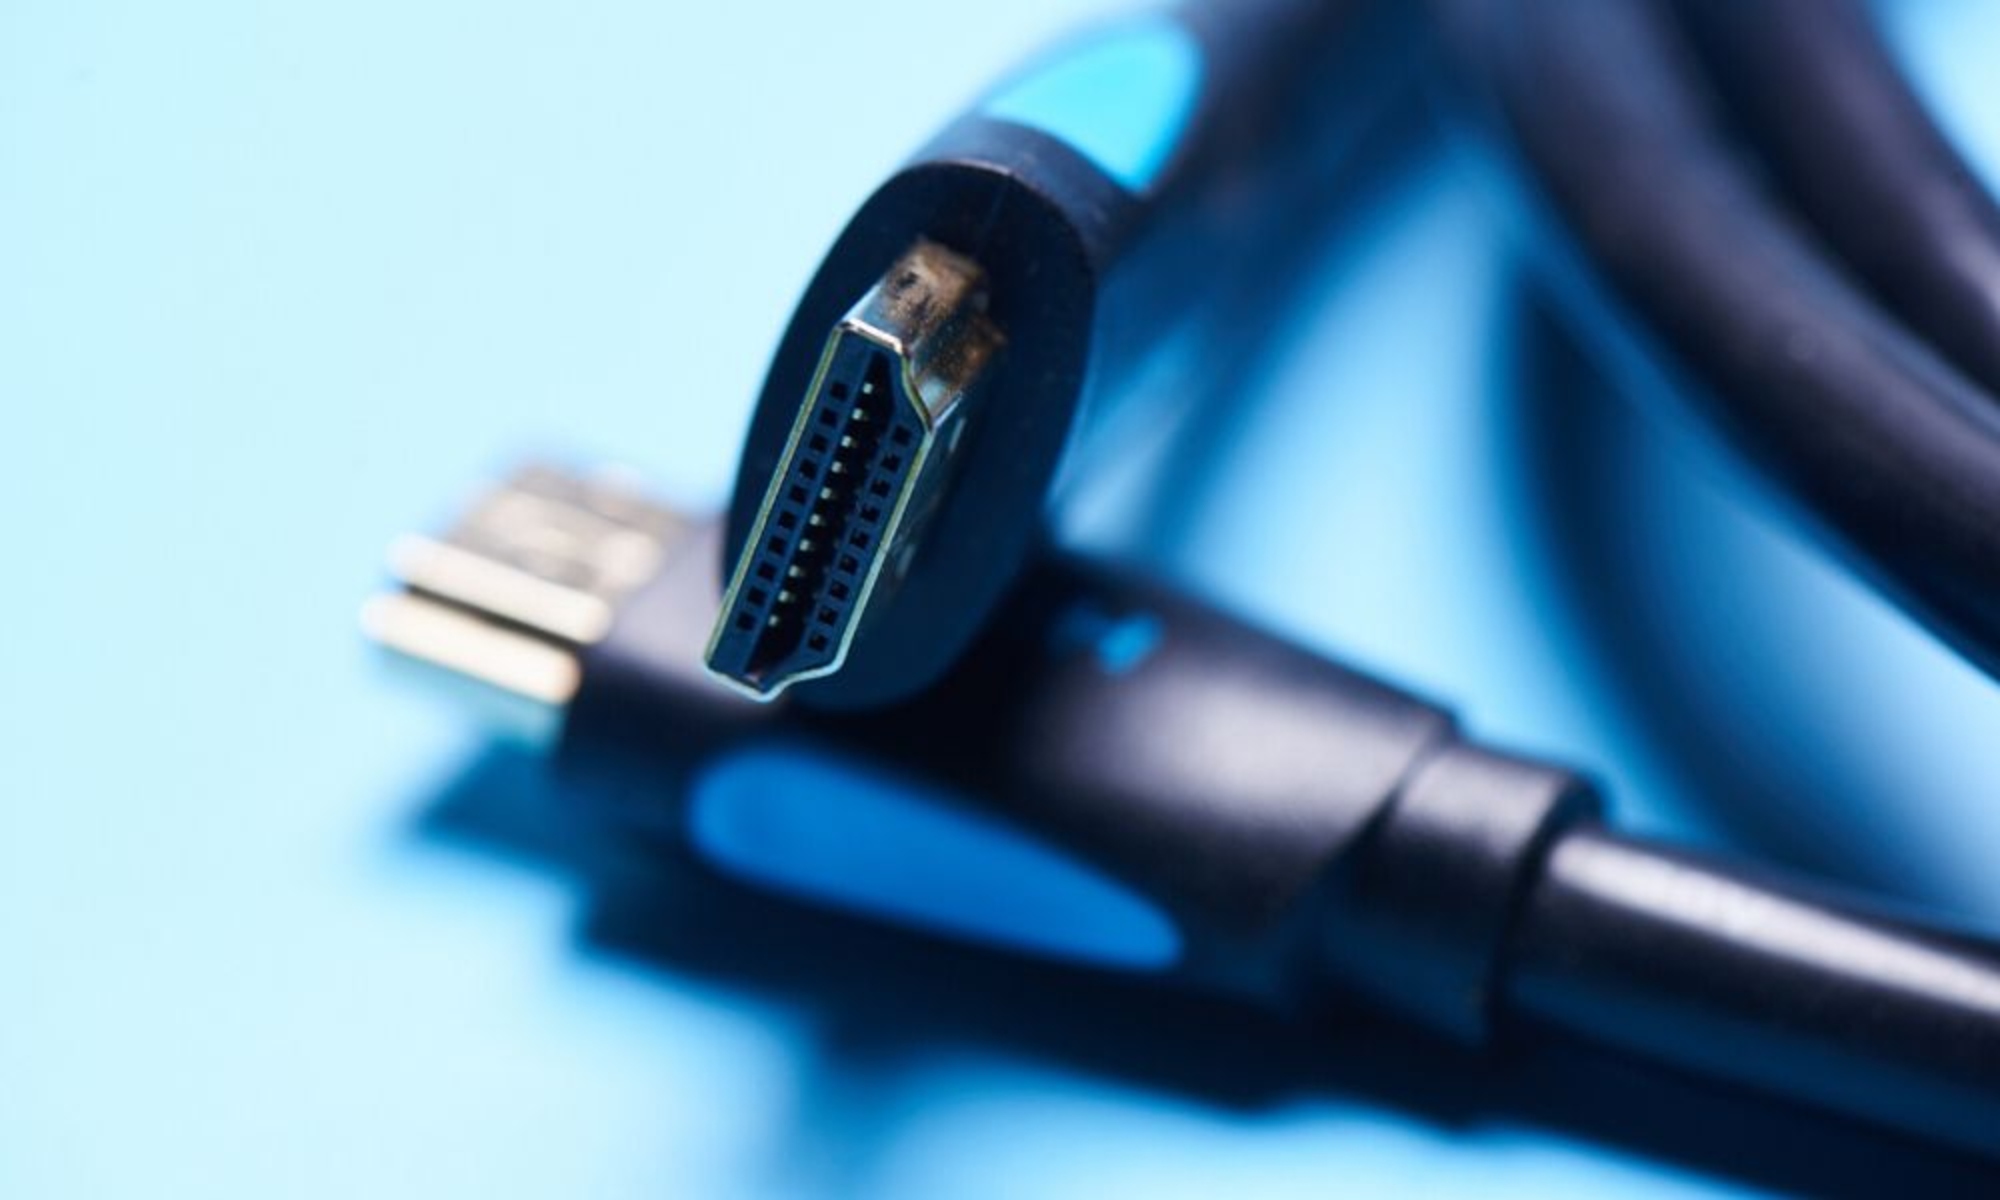
- Check the HDMI cable: Inspect both ends of the HDMI cable for any damage. Look for frayed or exposed wires, bent connectors, or loose connections. Ensure that the cable is inserted securely into both the HDMI port on the device and the HDMI port on the source device.
- Try a different HDMI cable: If you suspect that the cable may be the issue, try using a different HDMI cable to connect your devices. This helps eliminate the possibility of a faulty cable causing the problem. If the new cable works without any issues, it indicates that the original cable was indeed the culprit.
- Test with a different device: To further narrow down the cause of the problem, connect a different device, such as a gaming console or DVD player, to the HDMI port. If the new device works properly, it suggests that the original device’s HDMI port may be responsible for the connectivity issues.
- Consider cleaning the port: If you notice any dust or debris inside the HDMI port, carefully clean it using compressed air or a soft, lint-free cloth. Avoid using excessive force or liquids that could damage the port further. Be sure to power off the device and unplug it before attempting to clean the port.
Checking for physical damage is an essential step in troubleshooting a bad HDMI port. If you identify any visible issues like bent pins, damaged cables, or obstructions, you may be able to resolve the problem by fixing or replacing the faulty components. However, if there are no apparent physical issues, it’s important to explore other potential causes, which we will discuss in the following sections.
Testing with different devices
If you’ve determined that the physical condition of your HDMI port and cable is not the cause of the problem, the next step is to test the HDMI port with different devices. This can help identify whether the issue lies with the port itself or with the specific device you were originally trying to connect. Here’s how you can proceed:
- Connect a different device: Use a device that you know functions properly, such as a Blu-ray player or gaming console, and connect it to the HDMI port in question. Ensure that you use a known working HDMI cable as well. If the new device works without any issues, it suggests that the original device you were trying to connect may be the problem. You may need to check the compatibility of the original device with the specific HDMI port or troubleshoot the device separately.
- Test the original device with a different HDMI port: If you have multiple HDMI ports on your TV, monitor, or other device, try connecting the original device to a different HDMI port. This helps determine whether the issue is specific to the problematic HDMI port or if there is a broader problem with the entire device. If the original device works with a different HDMI port, it indicates that the initial HDMI port is likely faulty and needs to be addressed.
- Verify HDMI settings on the device: Some devices have specific HDMI settings that need to be configured correctly for proper connectivity. Refer to the user manual or online documentation of the device to ensure that the HDMI settings are configured appropriately. Incorrect settings can sometimes result in connection problems that appear to be related to a bad HDMI port.
- Consider firmware or driver updates: In some cases, outdated firmware or drivers can cause compatibility issues with HDMI ports. Check the manufacturer’s website for any available firmware or driver updates for your TV, monitor, or other devices. Updating the firmware or drivers can potentially solve HDMI-related problems.
- Consult professional help: If you have tried the above steps and are still unable to resolve the issue, it may be time to seek professional assistance. Technicians with expertise in electronics and HDMI troubleshooting can diagnose and repair the problem efficiently.
Testing the HDMI port with different devices can help you determine whether the issue lies with the port itself or with the specific device you were originally trying to connect. This information is crucial in guiding your next steps towards resolving the HDMI connectivity problem.
Checking for loose connections
Loose connections can often cause problems with HDMI connectivity. Even a slight disconnection or improper connection can lead to signal loss or other issues. To ensure that all connections are secure and properly established, follow these steps:
- Check the HDMI cable: Verify that the HDMI cable is firmly connected to both the device and the display. Make sure it is inserted fully into the HDMI ports, without any excessive force or wiggling. If the cable feels loose, remove it and reconnect it firmly to establish a secure connection.
- Secure the cable: If the HDMI cable appears to be loose, you can use cable ties or adhesive clips to secure it in place. This will prevent any accidental movement or disconnection, ensuring a stable connection between your devices.
- Inspect the HDMI port: Examine the HDMI port on both the device and the display for any loose or damaged connectors. Gently wiggle the cables while observing the port to check for any movement or instability. Check for any bent pins or debris that may be interfering with the connection. If you find any issues, contact a professional for further assistance or consider replacing the HDMI port if necessary.
- Try a different HDMI port: If you have multiple HDMI ports available on your device, try connecting the HDMI cable to a different port to see if the issue persists. This helps determine if the problem is specific to a particular port or if it is a broader issue with the device or the cable.
- Consider using HDMI lock devices: If you frequently encounter loose connections or accidental disconnections, you may want to invest in HDMI lock devices. These devices help secure the HDMI cable to the port more effectively, reducing the chances of a loose connection. They are particularly useful for situations where the devices are moved around or subjected to vibrations.
Checking for loose connections is a vital step in troubleshooting HDMI connectivity problems. By ensuring all connections are secure, you can eliminate any issues related to loose cables or ports. If the problem persists even after checking for loose connections, continue troubleshooting using the steps outlined in the subsequent sections of this article.
Updating drivers and firmware
Outdated drivers or firmware can sometimes cause compatibility issues with HDMI ports. To address this potential problem, follow these steps to update the drivers and firmware on your devices:
- Identify the manufacturer: Determine the manufacturers of the devices involved, such as your TV, monitor, or laptop. Visit their official websites or support pages to find the latest drivers and firmware updates available for your specific device model.
- Download the updates: Look for the appropriate section on the manufacturer’s website that provides software, driver, or firmware updates. Locate the specific update for your device model and download it to your computer.
- Follow the installation instructions: Once the download is complete, carefully follow the provided instructions to install the updates. This typically involves running an installer file or using a firmware update tool provided by the manufacturer. Make sure to read and understand the instructions to avoid any potential issues or data loss during the update process.
- Restart your devices: After successfully installing the driver or firmware updates, it’s recommended to restart your devices. This helps ensure that the updates are fully applied and can take effect properly.
- Reconnect and test: After the restart, reconnect your devices using the HDMI port and cable. Check if the HDMI connectivity issues have been resolved. If the problems persist, continue troubleshooting using other methods mentioned in this article.
Updating the drivers and firmware of your devices can provide improved compatibility and stability, which may help resolve HDMI connectivity problems. It’s important to regularly check for updates to ensure that your devices are running the latest software versions provided by the manufacturers. However, if the HDMI issues persist even after updating, proceed to the following sections for additional troubleshooting steps.
Using a different cable
A faulty HDMI cable can often be the cause of connectivity issues. To rule out any problems with the cable itself, try using a different HDMI cable and follow these steps:
- Obtain a known working HDMI cable: Borrow or acquire a different HDMI cable that you know works properly. It’s important to use a cable that is compatible with the devices you are connecting and supports the required HDMI version (e.g., HDMI 2.0, HDMI 2.1).
- Disconnect the current cable: Remove the existing HDMI cable from both the device and the display. Ensure that both ends are fully disconnected.
- Connect the new cable: Take the known working HDMI cable and securely connect it to the HDMI ports on both the device and the display. Make sure it is inserted fully and correctly, without applying excessive force.
- Test the connection: Power on the devices and check if the new cable establishes a stable HDMI connection. Monitor the display to ensure there are no signal dropouts, flickering, or other issues that previously occurred with the old cable.
- Observe any improvements: If the new cable resolves the HDMI connectivity issues and provides a reliable signal, it indicates that the original cable was faulty. In this case, it’s advisable to replace the old cable with a new one to ensure long-term stability.
Using a different HDMI cable is a simple yet effective way to determine if the cable itself was the cause of the connectivity issues. If the problems persist even with a new cable, proceed to explore other troubleshooting methods outlined in this article.
Testing on a different TV or monitor
If you’re still experiencing HDMI connectivity issues even after trying different cables and devices, the problem may lie with your TV or monitor. To confirm this, you can test your original device on a different TV or monitor. Here’s how:
- Identify a different display: Find another TV or monitor that is known to be in good working condition. It should have an available HDMI input that you can use for testing purposes.
- Disconnect the original display: Power off the original display and disconnect it from your device, removing the HDMI cable.
- Connect to the different display: Take the HDMI cable and connect it to the HDMI input on the alternate TV or monitor. Ensure that the cable is securely inserted into both the display and your device.
- Power on the devices: Power on both your device and the different display. Allow them to boot up fully.
- Check for HDMI connectivity: Once both devices are powered on, check if the HDMI connection works without any issues on the different display. Monitor the screen for a stable signal, proper resolution, and clear audio.
- Observe any improvements: If your original device functions properly on the different display, it indicates that the issue lies with your original TV or monitor. You may need to further investigate or seek professional assistance to address the problem with the display.
Testing your device on a different TV or monitor helps narrow down the root cause of the HDMI connectivity issues. If the problems persist even on a different display, it’s recommended to explore other troubleshooting methods or consider seeking professional help to resolve the issue.
Consider getting professional help
If you’ve exhausted all the troubleshooting steps mentioned earlier and are still unable to resolve the HDMI connectivity issues, it may be time to consider seeking professional help. Professional technicians who specialize in electronics and audiovisual systems can provide valuable expertise and assistance. Here are a few reasons why it may be beneficial to consult a professional:
- Specialized knowledge and experience: Professional technicians have the necessary knowledge and experience to diagnose and repair complex HDMI port and connectivity issues. They are trained to identify the specific problem and provide appropriate solutions to ensure optimal performance.
- Access to specialized tools and equipment: Professionals have access to specialized tools and equipment that may be required for in-depth troubleshooting and repairs. These tools can accurately diagnose the problem and help fix any hardware or software-related issues.
- Manufacturer support and warranty: In certain cases, seeking professional help may be necessary to maintain the warranty and support of your devices. If your devices are still under warranty, professional assistance can ensure that any repairs or replacements are done according to the manufacturer’s guidelines.
- Save time and effort: Troubleshooting complex HDMI issues can be time-consuming and frustrating, especially if you lack experience or technical knowledge. By consulting a professional, you can save time and effort, as they can quickly identify and resolve the problem, ensuring a smooth and reliable HDMI connection.
- Tailored solutions for your specific setup: Professional technicians can provide customized solutions based on your specific devices, setup, and requirements. They can take into account factors such as signal quality, device compatibility, and audiovisual settings to optimize your HDMI connectivity.
If you decide to seek professional help, research reputable service providers or reach out to the manufacturer’s customer support for recommendations. Explain your issue in detail, providing information about the devices, connections, and troubleshooting steps you have already taken. This will help the technician understand your situation and provide appropriate assistance.
Remember, while seeking professional help may involve additional costs, it can often be a worthwhile investment to ensure a reliable and optimal HDMI connection for your devices and entertainment system.
Conclusion
HDMI connectivity issues can be frustrating, but identifying a bad HDMI port can help you find the root cause of the problem and take the necessary steps to resolve it. Through careful examination, testing, and troubleshooting, you can determine if your HDMI port is indeed faulty or if the issue lies with other factors like cables, devices, or settings.
In this article, we discussed the common signs of a bad HDMI port, such as no signal, poor picture quality, and audio problems. We explored various troubleshooting methods, including checking for physical damage, testing with different devices, checking for loose connections, updating drivers and firmware, using a different cable, and testing on a different TV or monitor. These steps can help narrow down the source of the problem and guide you towards a solution.
If you’ve exhausted all the troubleshooting steps and are still unable to resolve the issue, it may be time to consider seeking professional help. Professional technicians can provide specialized knowledge, access to tools, and tailored solutions to resolve complex HDMI connectivity issues. They can ensure that your devices are functioning optimally and provide assistance within the warranty guidelines, if applicable.
Remember, HDMI problems can sometimes be resolved by taking simple steps like securely connecting cables or updating drivers, while in other cases, it may require more in-depth troubleshooting or professional assistance. By following the steps outlined in this article, you can diagnose and address common HDMI port issues and enjoy a seamless multimedia experience with your devices.


