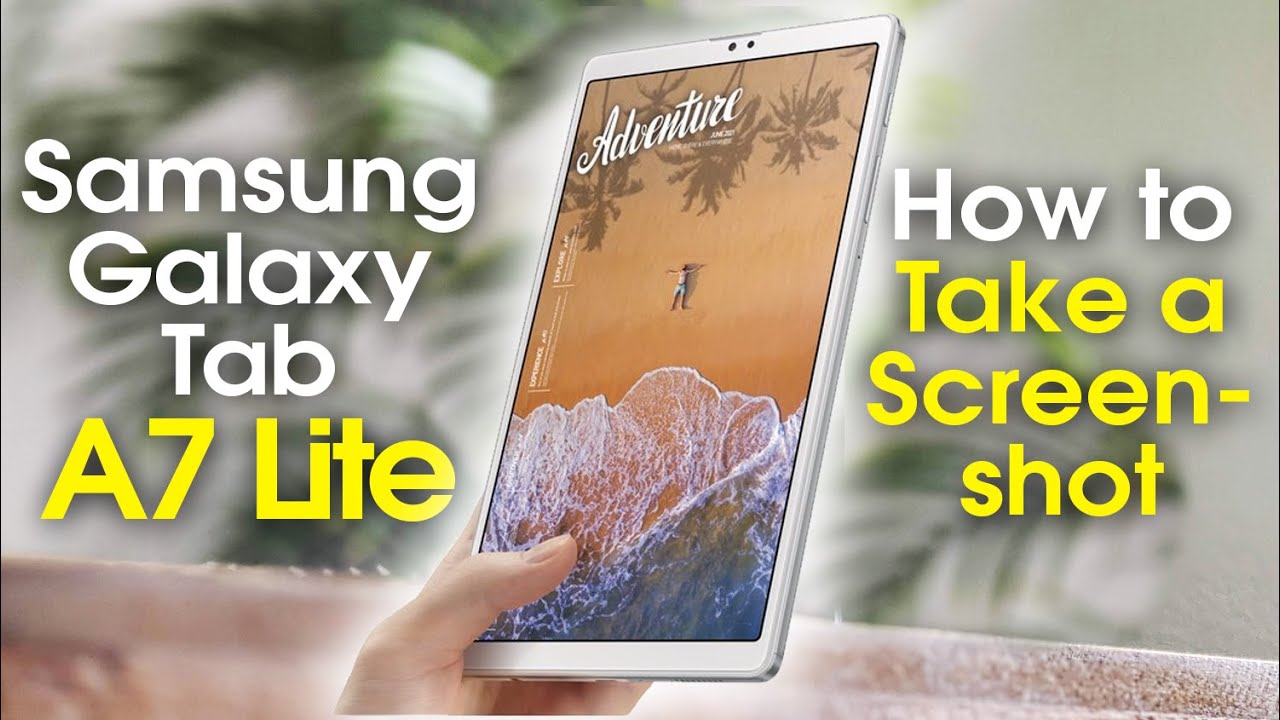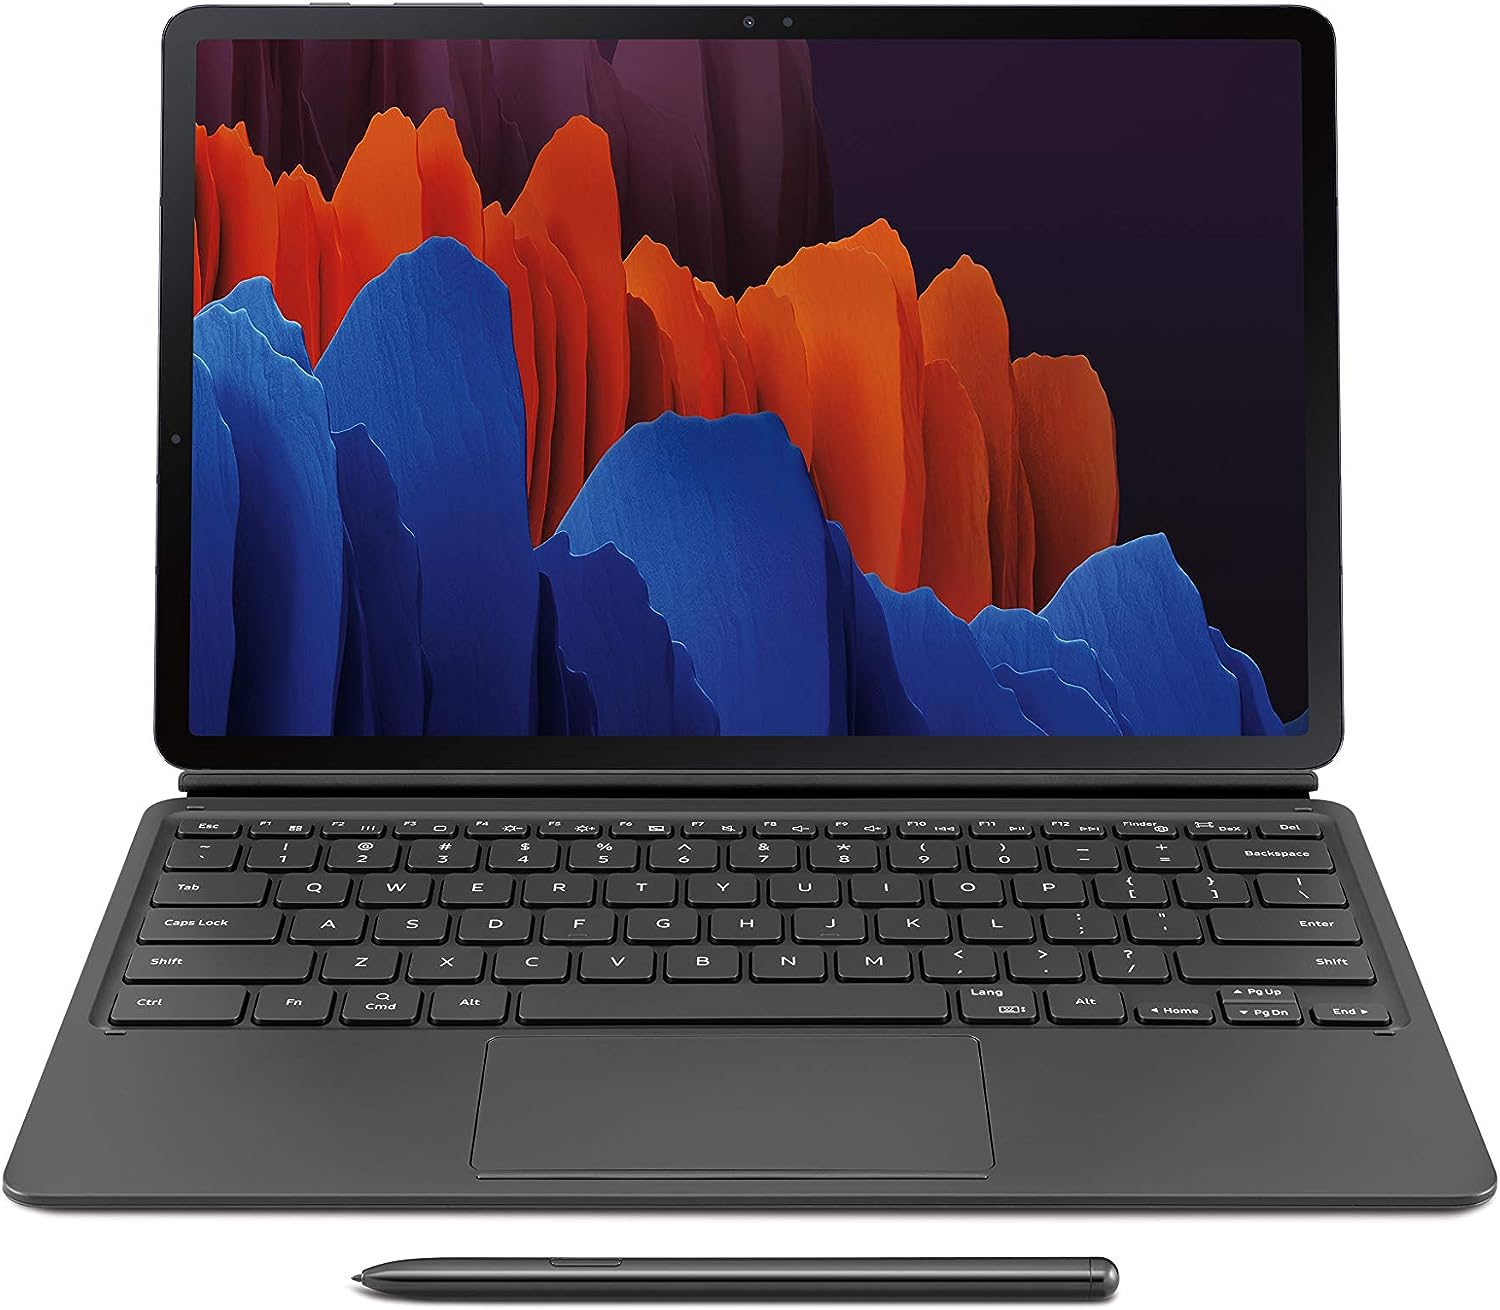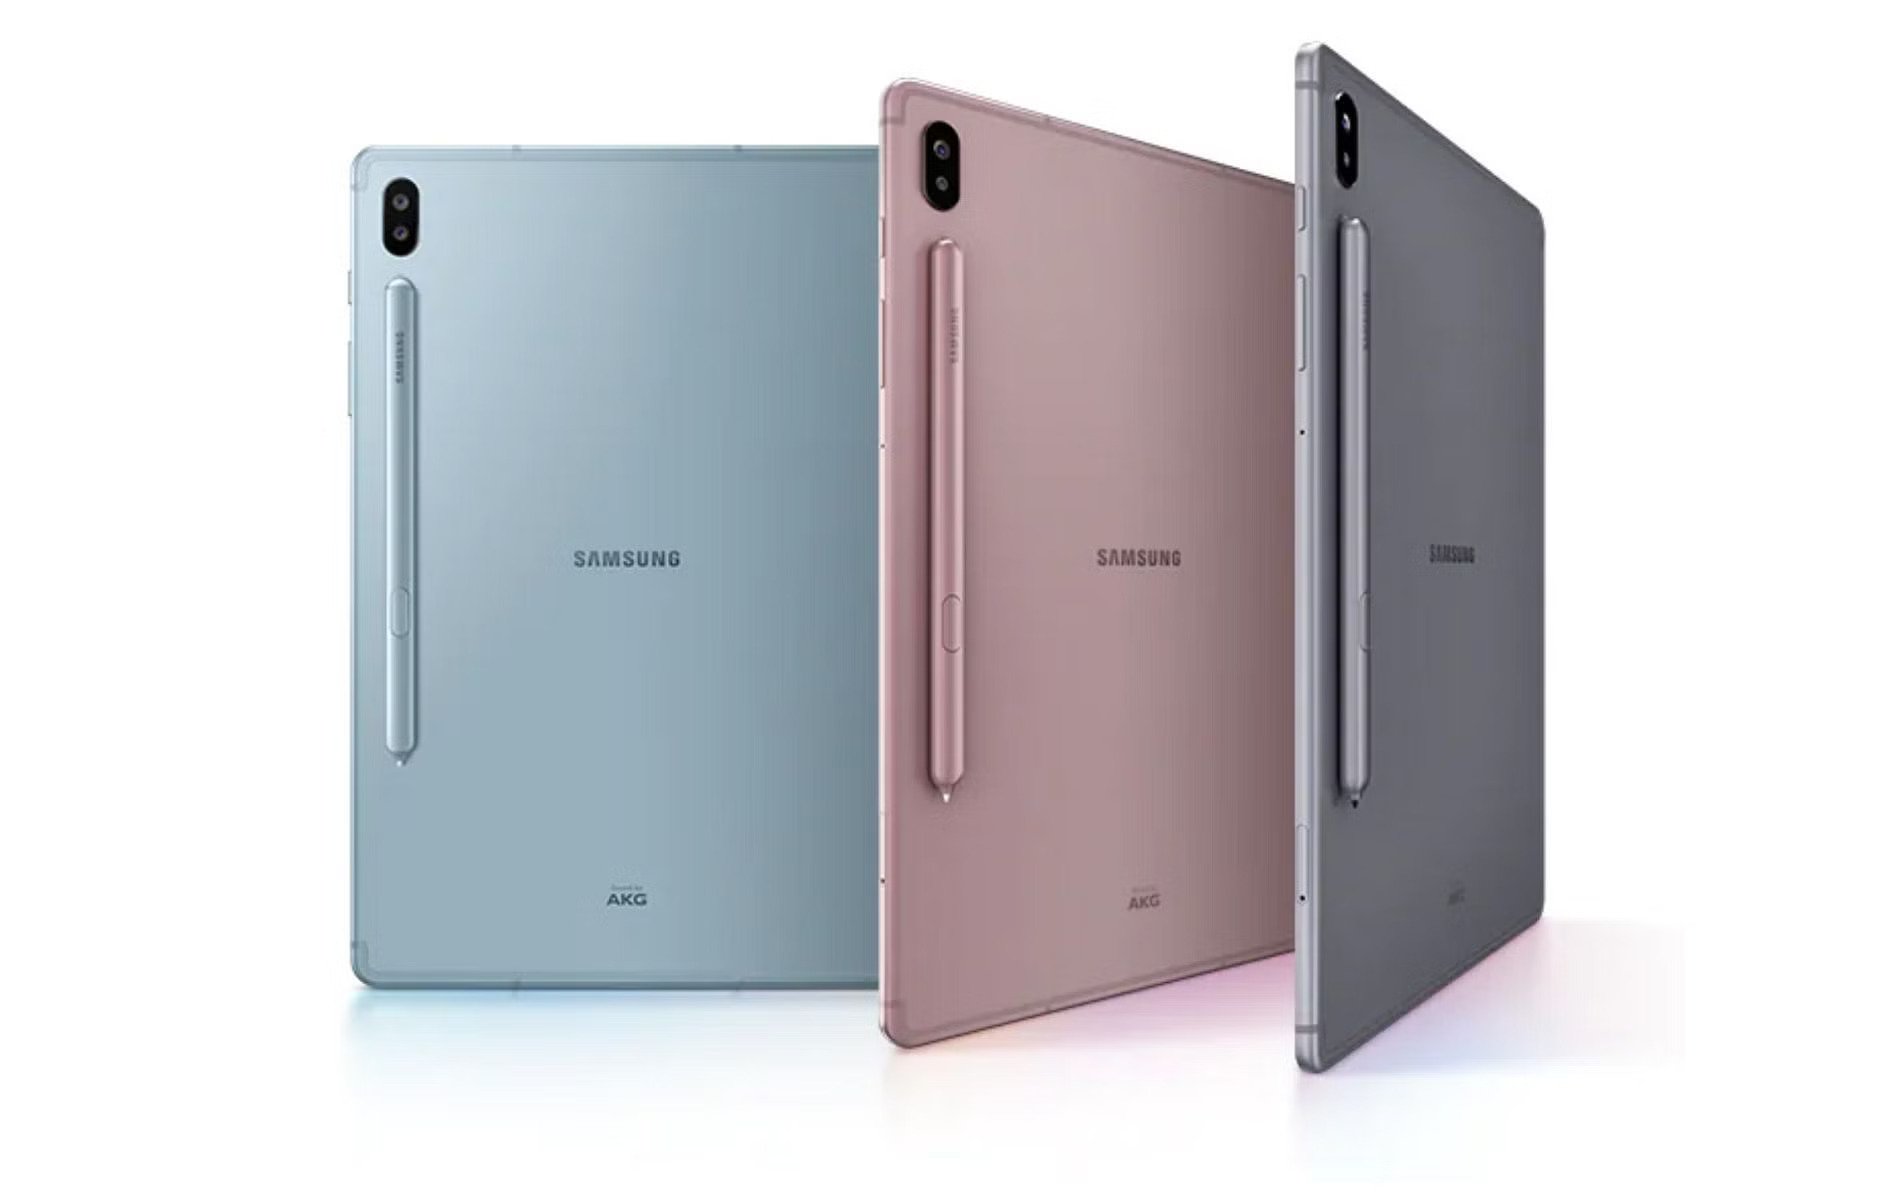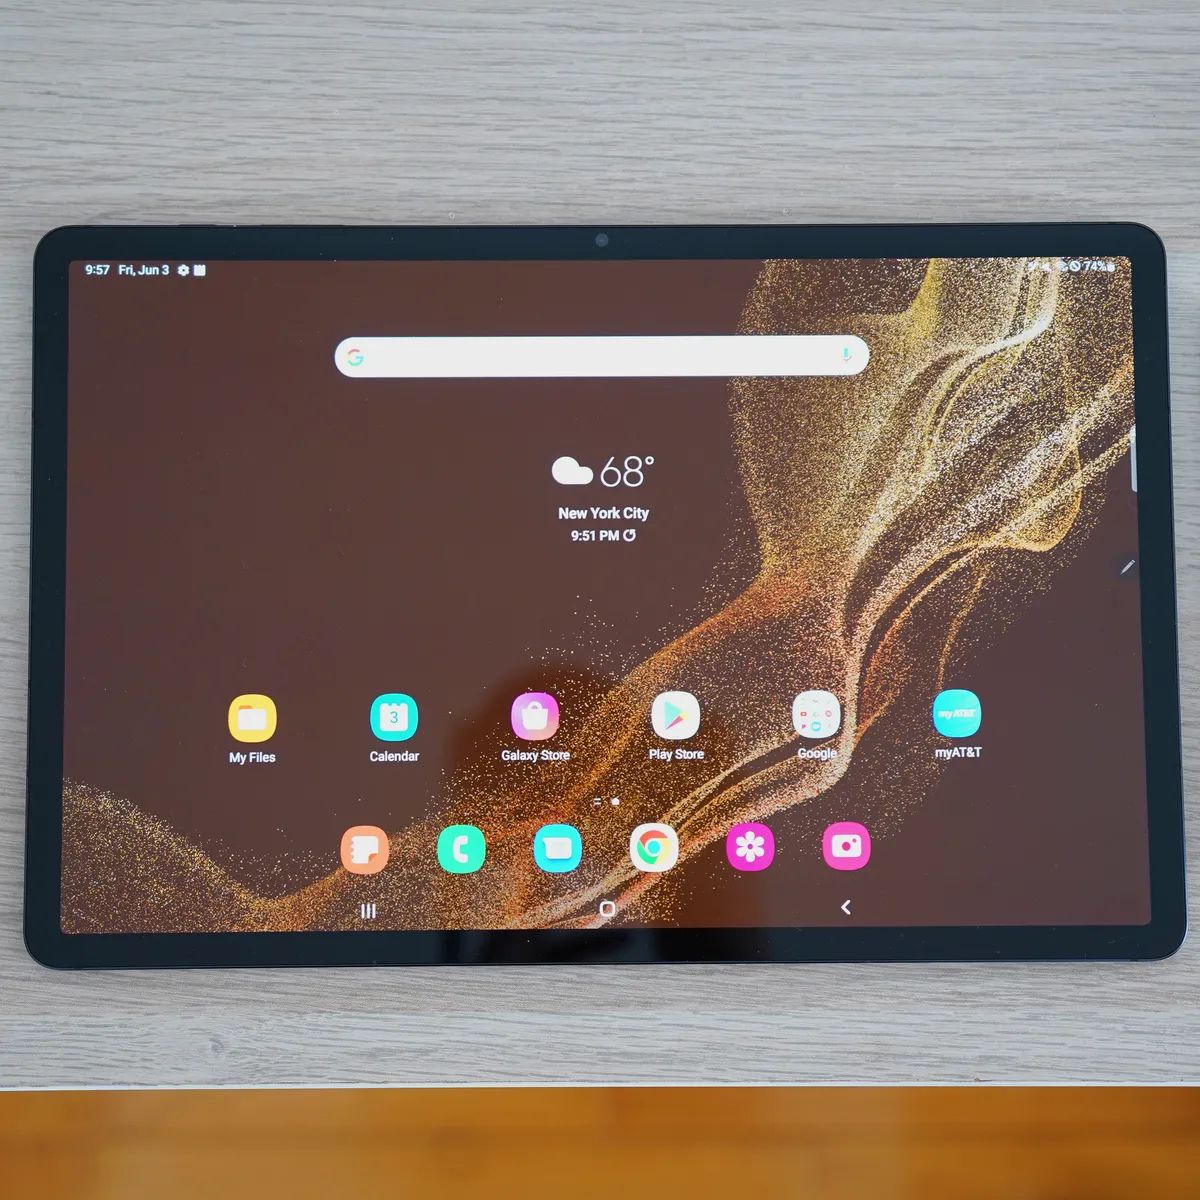
Introduction
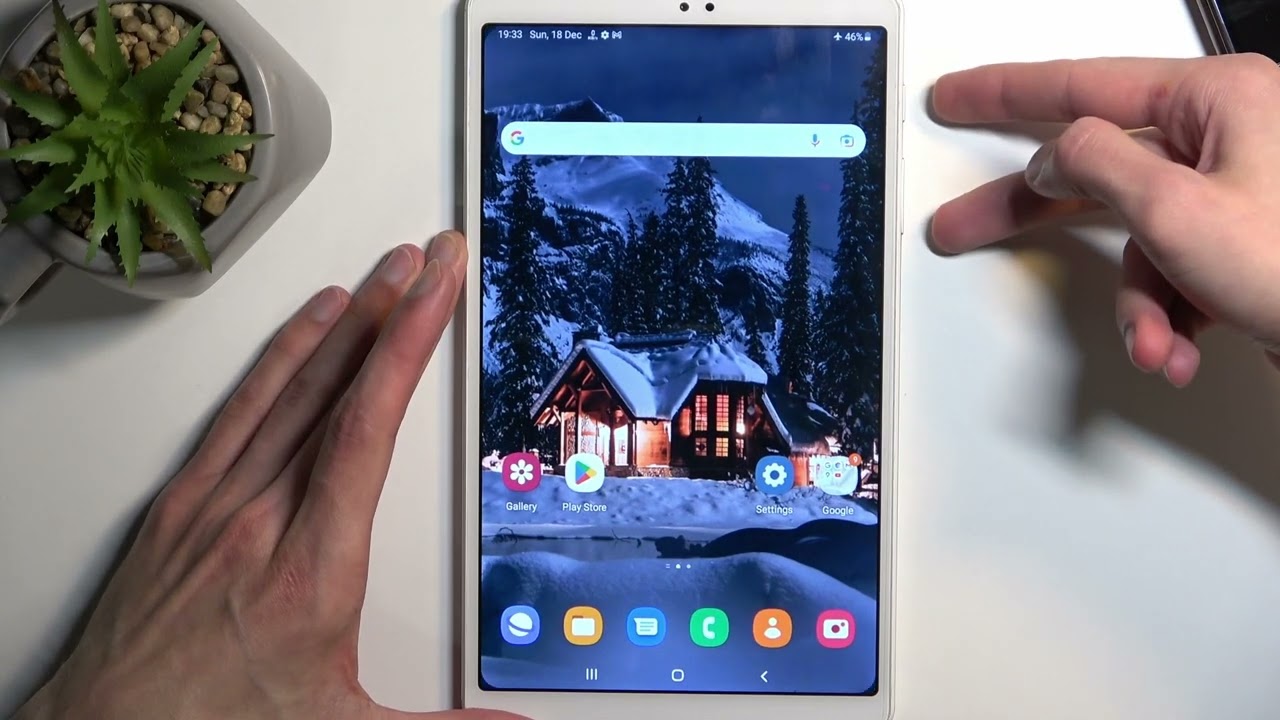
Taking screenshots on your Samsung Tablet A7 can be incredibly useful for a variety of reasons. Whether you want to capture a memorable moment from a video, save a recipe for later, or share an interesting article with friends, having the ability to capture and save what’s on your tablet’s screen can be a game-changer.
Fortunately, Samsung has provided several easy-to-use methods to take screenshots on the Tablet A7. In this article, we’ll explore four different options to help you capture screenshots quickly and effortlessly. Whether you prefer using hardware buttons, the Quick Settings panel, the Palm Swipe gesture, or the S Pen, we’ve got you covered.
By the end of this article, you’ll become an expert at capturing screenshots on your Samsung Tablet A7, and you’ll have the ability to save and share important information with just a few simple steps. Say goodbye to the hassle of typing or describing what’s on your screen and let’s dive into the different methods available to take a screenshot on your Samsung Tablet A7.
Option 1: Using the hardware buttons
One of the simplest and most common methods to take a screenshot on the Samsung Tablet A7 is by using the hardware buttons. Follow these steps to capture a screenshot:
- Locate the Power button and the Volume Down button on your tablet. The Power button is generally located on the right side, while the Volume Down button is usually on the left side.
- Navigate to the screen you want to capture, ensuring that it’s displaying the content you want to save.
- Press and hold the Power button and the Volume Down button simultaneously. Make sure to press both buttons at the same time and hold them for a couple of seconds.
- You’ll notice a brief animation or hear a shutter sound, indicating that the screenshot has been successfully captured.
- To access the captured screenshot, you can swipe down from the top of the screen to open the Notification panel, then tap on the screenshot preview to view it.
Using the hardware buttons is an efficient and reliable method to take a screenshot on your Samsung Tablet A7. It’s convenient because it doesn’t require any additional settings or gestures. Whether you’re capturing a funny meme, an important message, or a beautiful image, this method ensures a smooth and hassle-free experience.
Remember that the specific button combinations might vary slightly depending on the tablet’s model or Android version. In case the above method doesn’t work for you, don’t worry. Samsung has provided alternative methods that we’ll explore in the following sections. Let’s move on to the next option!
Option 2: Using the Quick Settings panel
If you prefer a more convenient and quick way to take screenshots on your Samsung Tablet A7, you can utilize the Quick Settings panel. Here’s how to do it:
- Navigate to the screen you want to capture, ensuring that it’s displaying the content you wish to save.
- Swipe down from the top of the screen to open the Notification panel.
- Swipe down again to reveal the full Quick Settings panel.
- Look for the “Screenshot” icon, which resembles a square with folded corners.
- Tap on the “Screenshot” icon.
Once you tap on the “Screenshot” icon, your Samsung Tablet A7 will capture the current screen and save it as an image. You can find the screenshot in your tablet’s gallery or by using a file explorer.
Using the Quick Settings panel is an efficient method, especially if you frequently need to take screenshots on your tablet. It eliminates the need to press any physical buttons or remember complex gestures. The Screenshot icon in the Quick Settings panel provides a straightforward and accessible way to capture and save important information with just a few taps.
Remember that the availability and order of icons in your Quick Settings panel may vary depending on your tablet’s software version and any customizations made by the manufacturer. If you can’t find the “Screenshot” icon, you can customize the Quick Settings panel to include it. Simply tap on the edit or pencil icon in the panel to rearrange or add new icons.
Now that you know how to take a screenshot using the Quick Settings panel, we’re ready to explore another method that is both unique and fun. Let’s move on to Option 3!
Option 3: Using the Palm Swipe gesture
For those who enjoy a touch of style and flair, the Samsung Tablet A7 offers a unique method to take screenshots – the Palm Swipe gesture. By simply swiping your palm across the screen, you can capture the content you want effortlessly. Here’s how to use this gesture:
- Navigate to the screen you want to capture, ensuring that it’s displaying the desired content.
- Extend your palm, making sure your fingers are relaxed and slightly curved.
- Place the side of your hand on one side of the screen, with your palm touching the display.
- Swipe your hand across the screen from one side to the other, while maintaining contact with the display.
- You’ll see a brief animation or hear a shutter sound, indicating that the screenshot has been successfully captured.
Using the Palm Swipe gesture adds a touch of elegance to the process of capturing screenshots. It’s a fantastic option for those who prefer a more intuitive and natural approach. By following the steps above, you can effortlessly capture your screen without the need to press any buttons or access additional settings.
If the Palm Swipe gesture doesn’t seem to work for you, make sure it’s enabled in the settings. To check and enable the Palm Swipe gesture feature, follow these steps:
- Go to the “Settings” app on your tablet.
- Scroll down and tap on “Advanced features.”
- Select “Motions and Gestures.”
- Toggle on the “Palm swipe to capture” option, if it’s not already enabled.
Enabling this feature will allow you to use the Palm Swipe gesture to capture screenshots on your Samsung Tablet A7 successfully.
Now that you have learned about the Palm Swipe gesture, it’s time to explore another excellent option for capturing screenshots – the S Pen. Let’s move on to the next section!
Option 4: Using the S Pen
If you’re an owner of the Samsung Tablet A7 and make use of the S Pen, you can leverage this handy accessory to take screenshots with precision and ease. Using the S Pen offers an additional level of control and accuracy when capturing screenshots. Here’s how you can utilize the S Pen for this purpose:
- Remove the S Pen from its slot on your tablet.
- Navigate to the screen you want to capture, ensuring that it’s displaying the content you wish to save.
- Hold the S Pen like you would hold a pen or pencil.
- Position the S Pen on the screen near the area you want to capture.
- Press the button on the S Pen once to activate the Air Command menu.
- Tap on “Screen Write” or “Smart Select” from the options available in the Air Command menu.
- If you choose “Screen Write,” the screen will be captured, and you can find the screenshot in your tablet’s gallery or by using a file explorer.
- If you choose “Smart Select,” you can select a specific area or shape on the screen to capture.
- Follow the prompts or on-screen instructions to save the captured screenshot.
Using the S Pen to take screenshots offers a great deal of precision and flexibility. Its button and features make it easy to capture either a full screen or a specific portion with precision and accuracy. Whether you’re annotating an image, highlighting important text, or simply capturing a specific section, the S Pen provides a seamless experience for capturing and editing screenshots on your Samsung Tablet A7.
If you encounter any issues with using the S Pen or do not see the Air Command menu options mentioned, please ensure that your tablet’s S Pen settings are configured correctly. You can access the S Pen settings by going to the “Settings” app, selecting “S Pen,” and customizing the options to suit your preference.
Now that you have explored the various options available, you’re equipped with multiple methods to take screenshots on your Samsung Tablet A7. Whether you prefer using the hardware buttons, the Quick Settings panel, the Palm Swipe gesture, or the S Pen, you have the flexibility to choose the method that suits your needs and personal preference.
Conclusion
Congratulations! You’ve learned four different methods to take screenshots on your Samsung Tablet A7. Whether you prefer using the hardware buttons, the Quick Settings panel, the Palm Swipe gesture, or the S Pen, you now have a variety of options to capture and save important information on your tablet’s screen.
Using the hardware buttons is a straightforward and reliable method that doesn’t require any additional settings or gestures. The Quick Settings panel provides a convenient and accessible way to take screenshots with just a few taps. The Palm Swipe gesture adds a touch of elegance and intuitive control to the process. And if you’re an S Pen user, you can take advantage of its precision and functionality to capture screenshots with ease.
Remember, each method has its own advantages and may be more suitable for different scenarios. Whether you want a quick snapshot, precise annotation, or efficient capture, choose the method that best fits your needs.
Now that you’re familiar with these methods, go ahead and start capturing screenshots on your Samsung Tablet A7. Whether you’re saving a funny meme, capturing a beautiful image, or archiving important information, screenshots provide a convenient way to document and share what’s on your screen.
We hope this guide has been helpful in expanding your knowledge and enhancing your experience with your Samsung Tablet A7. So, don’t hesitate to take advantage of these screenshot methods and make the most out of your device. Happy screenshotting!