Introduction
Spotify is a popular streaming service that allows users to create and curate their own music playlists. One of the great features of Spotify is the ability to share your playlists with others. Whether you want to share your favorite songs with your friends or collaborate with others on a playlist, Spotify makes it easy to spread the joy of music.
Sharing your Spotify playlist can be a great way to discover new songs, connect with others who have similar music tastes, and even promote your own music if you’re an artist. In this article, we will guide you through the process of sharing your Spotify playlist, from creating your playlist to sharing it with friends and on social media.
With just a few simple steps, you’ll be able to share your favorite music with others, create collaborative playlists, and connect with a wider audience who shares your love for music. So, let’s dive in and learn how to share your Spotify playlist!
Step 1: Creating a Spotify Playlist
The first step in sharing your Spotify playlist is to create the playlist itself. Follow these simple steps to create a playlist:
- Open the Spotify app on your device or visit the Spotify website.
- Log in to your Spotify account or sign up for a new account if you don’t have one already.
- Once you’re logged in, click on the “Your Library” tab. This is where all your playlists will be stored.
- Click on the “Create Playlist” button near the top-right corner of the screen.
- Give your playlist a catchy and descriptive name. This will help others understand what the playlist is about.
- Optional: Add a playlist description to provide more context and information about the playlist.
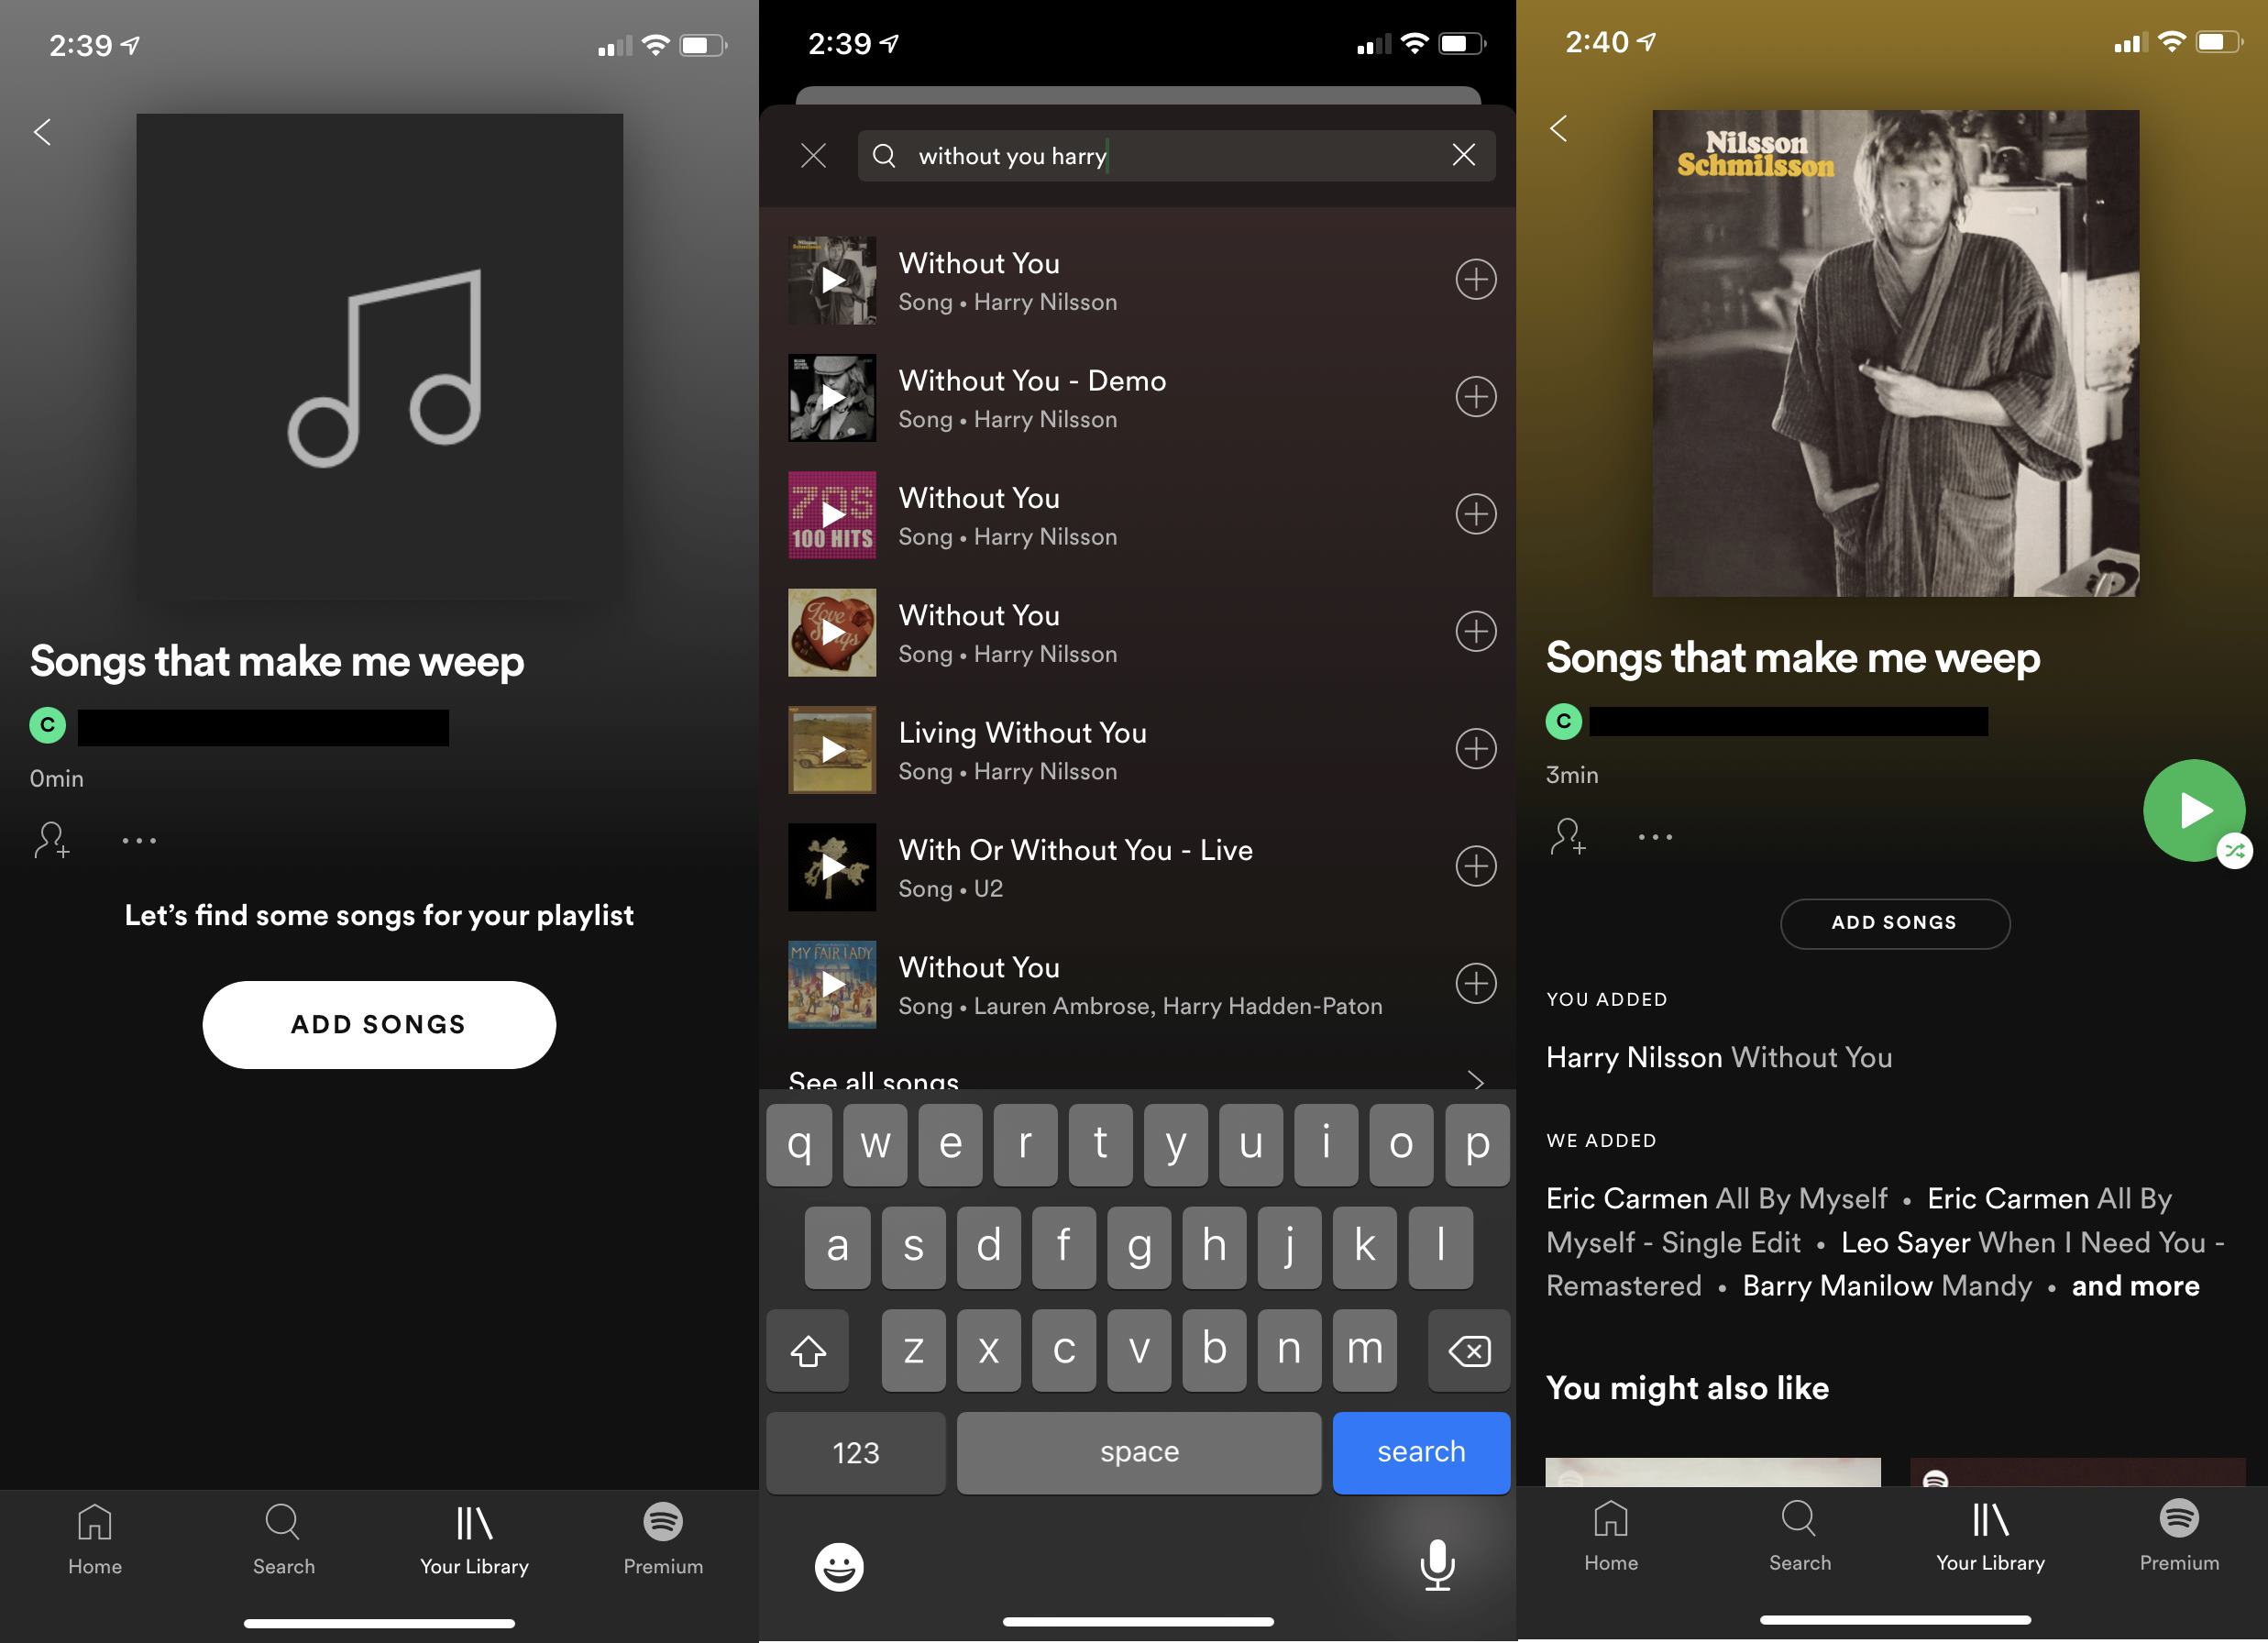
- Start adding songs to your playlist by searching for them in the Spotify library. You can search by song title, artist, album, or genre.
- Click on the “+” icon next to the song to add it to your playlist.
- Continue adding songs until your playlist is complete.
- Click on the “Save” button to save your playlist.
Creating a Spotify playlist is as simple as that! Once you have your playlist ready, you can move on to the next step of making it public, so you can start sharing it with others.
Step 2: Making Your Playlist Public
After you have created your Spotify playlist, the next step is to make it public so that others can discover and enjoy your curated collection of songs. Here’s how you can make your playlist public:
- Go to the Spotify app or website and log in to your account.
- Find the playlist you want to make public in your library.
- Click on the three dots (…) next to the playlist’s name.
- A dropdown menu will appear. Select “Make Public” to change the playlist’s visibility settings.
- Once you’ve made your playlist public, it will be visible to all Spotify users.
Making your playlist public is an important step if you want others to be able to find and enjoy your curated music collection. By making it public, your playlist has the potential to reach a wider audience and attract more listeners.
However, if you prefer to keep your playlist private and only share it with specific people, you can choose the “Make Secret” option from the dropdown menu. This way, only those with whom you directly share the playlist link will be able to access it.
Now that your playlist is public, it’s time to move on to the next step – sharing your playlist link with others.
Step 3: Sharing Your Playlist Link
Once you have made your Spotify playlist public, the next step is to share the playlist link so that others can easily access it. Follow these steps to share your playlist link:
- Open the Spotify app or website and log in to your account.
- Navigate to your playlist in the “Your Library” section.
- Click on the three dots (…) next to the playlist’s name.
- From the dropdown menu, select “Share” to access various sharing options.
- Click on the preferred sharing platform of your choice, such as Facebook, Twitter, or WhatsApp.
- A new window or tab will open with the selected social media platform, where you can compose a post or message containing your playlist link.
- Alternatively, you can click on “Copy Playlist Link” to copy the link to your clipboard and manually share it via email, messaging apps, or any other platform of your choice.
By sharing your playlist link, you enable others to directly access and listen to your curated songs on Spotify. This makes it incredibly convenient for friends, family, or even strangers who stumble upon your playlist to enjoy the music you love.
Furthermore, when sharing your playlist on platforms like Facebook or Twitter, your followers can easily click on the link and listen to your playlist without even leaving the social media platform.
Now that you know how to share your playlist link, let’s move on to the next step – sharing your playlist on social media.
Step 4: Sharing on Social Media
Sharing your Spotify playlist on social media is an excellent way to reach a wider audience and connect with your friends, followers, and music enthusiasts. Here’s how you can share your playlist on popular social media platforms:
- Open the Spotify app or website and log in to your account.
- Navigate to your playlist in the “Your Library” section.
- Click on the three dots (…) next to the playlist’s name.
- From the dropdown menu, select “Share” to access various sharing options.
- Choose the social media platform you want to share your playlist on, such as Facebook, Twitter, Instagram, or LinkedIn.
- A new window or tab will open with the selected social media platform, where you can customize your post, add captions or hashtags, and share the playlist link.
- Click on the “Share” or “Post” button to share your playlist with your social media followers.
Sharing your playlist on social media can generate more visibility and engagement for your curated songs. Your friends and followers can easily access your playlist by clicking on the shared link, listen to the songs, and even follow the playlist.
Don’t forget to leverage the power of hashtags and captions on social media to increase the discoverability of your playlist. Use relevant music-related hashtags, tag artists or bands featured in your playlist, and include catchy captions that entice your followers to give your playlist a listen.
Now that you know how to share your playlist on social media, let’s move on to the next step – collaborating on a playlist.
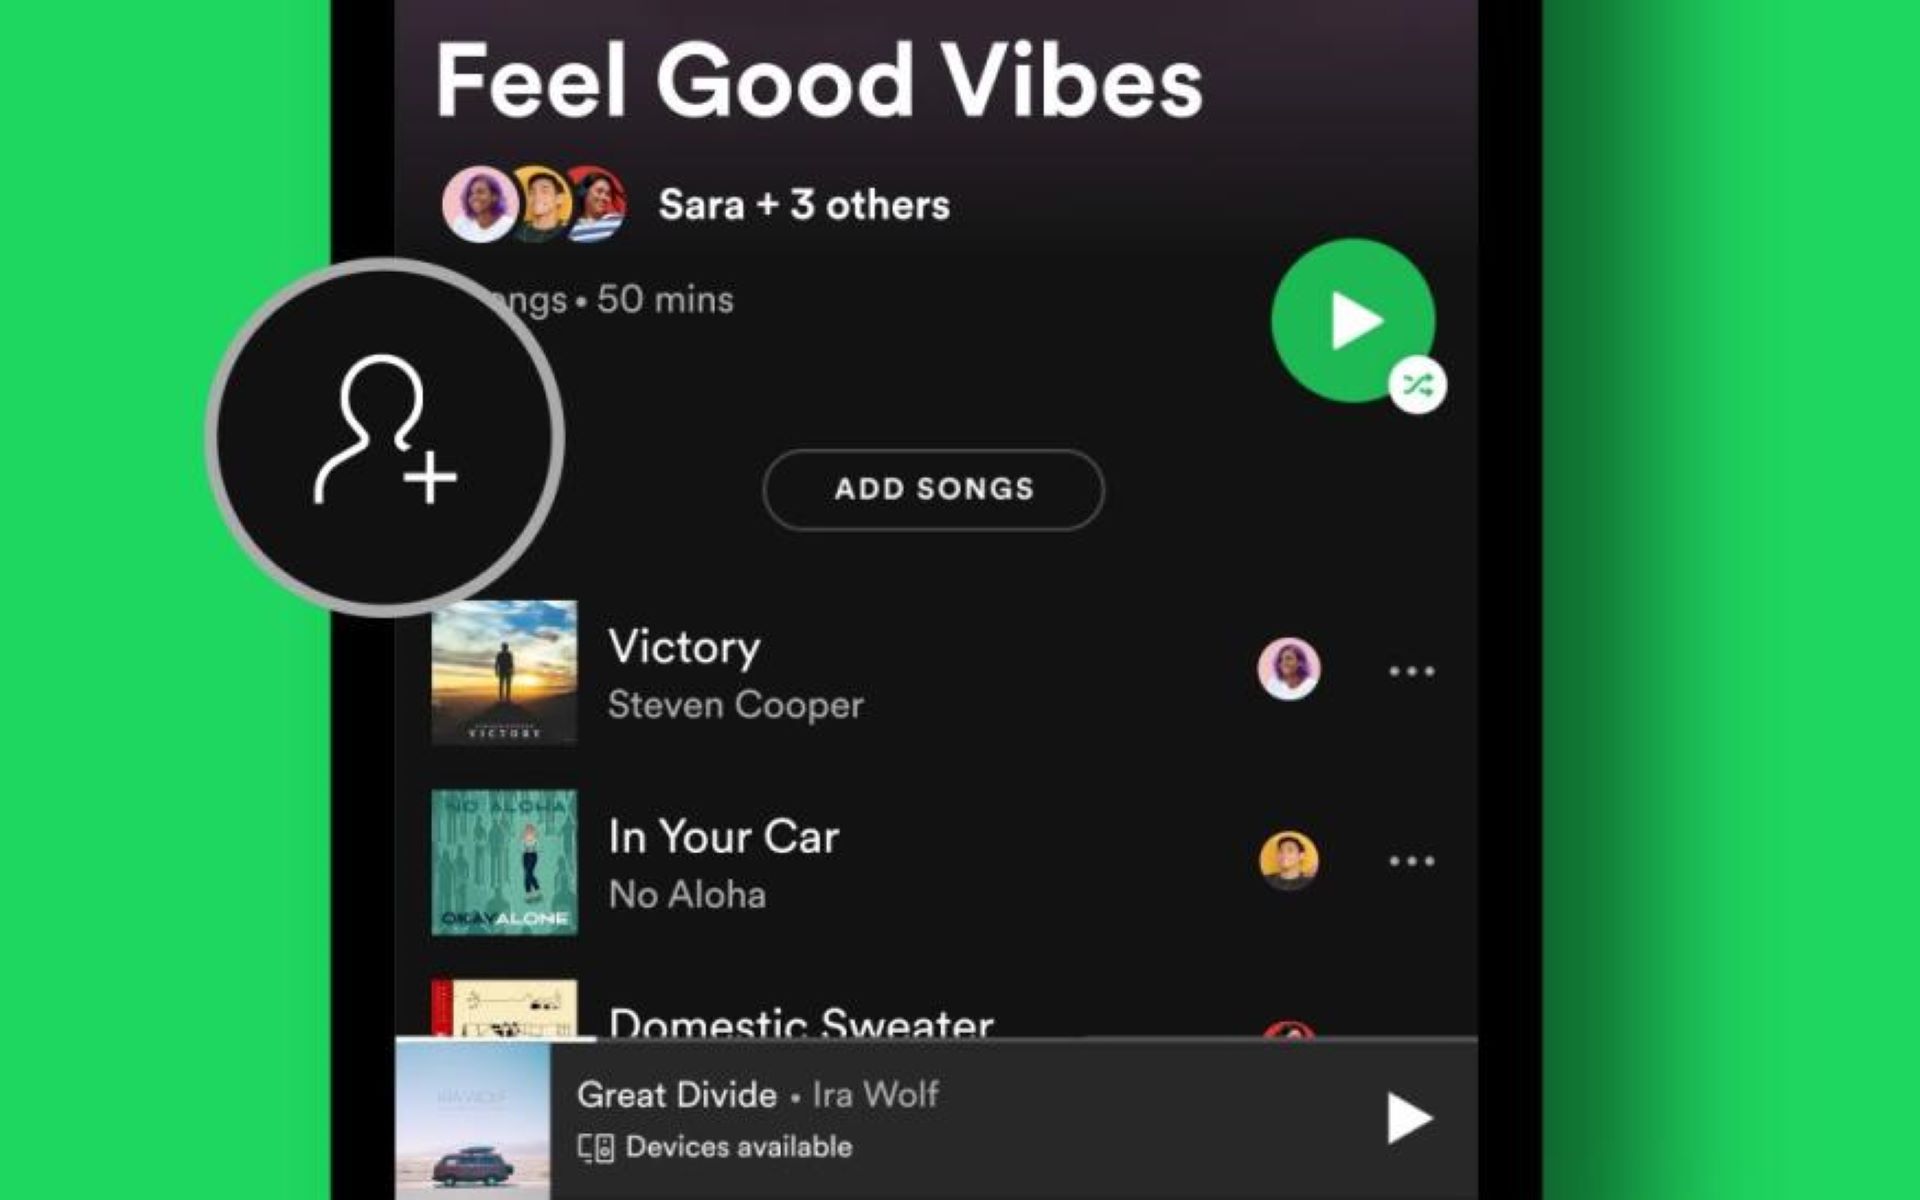
Step 5: Collaborating on a Playlist
Collaborating on a Spotify playlist can be a fun and exciting way to engage with others and discover new music together. Whether you want to create a playlist for a group event or collaborate with friends who share similar music tastes, Spotify makes it easy to create collaborative playlists. Here’s how:
- Open the Spotify app or website and log in to your account.
- Create a new playlist or select an existing playlist that you want to collaborate on.
- Click on the three dots (…) next to the playlist’s name.
- From the dropdown menu, select “Collaborative Playlist” to enable collaboration on the playlist.
- Share the playlist’s unique link with your friends or collaborators.
- Collaborators can now add or remove songs from the playlist, making it a shared effort.
Collaborating on a playlist opens up new possibilities for discovering music and creating a collective listening experience. Each collaborator can contribute their favorite songs, explore new genres, and continuously update the playlist with fresh tracks.
Additionally, Spotify allows you to see the profile pictures and names of contributors to the collaborative playlist, making it easy to know who added which songs.
Collaborative playlists are excellent for group projects, parties, road trips, or simply sharing a musical journey with friends. Take advantage of this feature to connect with others and create something special together.
Now that you know how to collaborate on a playlist, let’s move on to the final step – sharing a playlist with specific users.
Step 6: Sharing a Playlist with Specific Users
If you prefer to share your Spotify playlist with specific individuals rather than making it public or collaborative, Spotify offers options to share your playlist with specific users. This ensures that only those you want to share the playlist with have access to it. Here’s how you can share your playlist with specific users:
- Open the Spotify app or website and log in to your account.
- Navigate to your playlist in the “Your Library” section.
- Click on the three dots (…) next to the playlist’s name.
- From the dropdown menu, select “Share” to access various sharing options.
- Click on the “Copy Playlist Link” option to copy the link to your clipboard.
- Send the playlist link directly to the users you want to share it with via email, messaging apps, or any other preferred communication method.
By sharing the playlist link directly with specific users, you have complete control over who can access and listen to your playlist. This is particularly useful when you want to share your playlist with a select group of friends, family members, or colleagues.
Be sure to communicate with the recipients of the playlist link and let them know that it is intended exclusively for them. They can simply click on the link to open the playlist in their Spotify app or website and enjoy the songs you have curated for them.
Sharing a playlist with specific users allows for a more personalized and intimate experience, enabling you to connect with individuals on a deeper level through music.
Now that you know how to share your playlist with specific users, you have completed all the steps necessary to share your Spotify playlist with others. Enjoy the process of discovering and sharing music with your friends, collaborators, and the wider Spotify community!
Conclusion
Sharing your Spotify playlist is a fantastic way to spread the joy of music, connect with others who share your taste, and even promote your own music. With the help of Spotify’s user-friendly features, you can easily create, make public, and share your playlists with just a few simple steps.
By following the step-by-step guide outlined in this article, you have learned how to create a Spotify playlist, make it public, share the playlist link, collaborate with others, and share the playlist with specific users. These steps empower you to curate, distribute, and enjoy music in a truly personalized and interactive way.
Whether you’re sharing your playlist on social media, collaborating with friends, or sending it directly to specific individuals, the possibilities for sharing and discovering music are endless. You have the ability to connect with a wider audience, expand your musical horizons, and create memorable experiences through the power of music.
So, what are you waiting for? Start creating your Spotify playlists, sharing them with others, and spreading the joy of music today. Embrace the power of music to bring people together, express yourself, and explore the vast and ever-changing world of melodies, beats, and lyrics.
Jump into the world of Spotify, create your own musical journey, and let your playlist be the soundtrack to countless moments of joy, reflection, and connection. Happy playlist sharing!