Introduction
Welcome to our step-by-step guide on how to set up your Vizio Smart TV! Vizio Smart TVs are known for their cutting-edge features and user-friendly interface, making them a popular choice among consumers. Whether you’re a tech enthusiast or a casual TV viewer, this guide will walk you through the process of unboxing, connecting, and configuring your new Vizio Smart TV.
Setting up a Vizio Smart TV is a breeze, thanks to its intuitive setup wizard and hassle-free connectivity options. In just a few simple steps, you’ll be able to access a wide range of streaming services, customize your home screen, and enjoy high-quality picture and sound.
In this guide, we’ll cover everything from unboxing your Vizio Smart TV to troubleshooting common issues. By the end of the process, you’ll have a fully functioning and personalized entertainment hub that caters to your preferences and needs.
Whether you’re upgrading from a traditional TV or transitioning from another smart TV platform, you’ll find this guide helpful in getting the most out of your Vizio Smart TV experience. So, let’s get started!
Step 1: Unboxing and Setting Up Your Vizio Smart TV
The first step to enjoying your Vizio Smart TV is unboxing and setting it up. Follow these simple instructions to get your TV up and running:
- Unbox the TV: Carefully remove the TV from its packaging, making sure to keep it upright and avoid any damage.
- Find a suitable location: Choose a well-ventilated area near a power outlet and ensure that there’s enough space for the TV to be mounted or placed on a stand.
- Attach the stand or mount the TV: Depending on your preferences, either attach the stand to the TV according to the provided instructions or mount the TV on the wall using the appropriate mounting hardware.
- Connect the power cord: Plug one end of the power cord into the back of the TV and the other end into a functioning power outlet.
- Turn on the TV: Locate the power button on the TV or the remote control, press it, and the TV will start powering up. Follow the on-screen instructions to proceed with the setup process.
- Select the language: Choose your preferred language from the available options using the remote control’s navigation buttons.
- Connect external devices: If you have any external devices such as a cable box, gaming console, or soundbar, connect them to the appropriate HDMI ports on the TV. Use high-quality HDMI cables for optimal performance.
- Perform a channel scan: If you use an antenna to receive over-the-air broadcast channels, perform a channel scan to locate and save the available channels.
- Configure network settings: Connect your Vizio Smart TV to your home Wi-Fi network by selecting your network name from the list of available networks and entering your Wi-Fi password when prompted. If you prefer a wired connection, use an Ethernet cable to connect the TV to your router.
Once you’ve completed these steps, your Vizio Smart TV will be set up and ready to use. In the next step, we’ll explore how to connect your TV to Wi-Fi.
Step 2: Connecting the TV to Wi-Fi
Connecting your Vizio Smart TV to Wi-Fi is essential for accessing online streaming services and other internet-enabled features. Follow these steps to connect your TV to Wi-Fi:
- Access the Network Settings: On your Vizio Smart TV, press the Menu button on the remote control, and navigate to the Network or Settings option. Select it to access the network settings.
- Choose the Wi-Fi option: In the network settings menu, select the Wi-Fi option to begin the Wi-Fi setup process.
- Select your Wi-Fi network: A list of available Wi-Fi networks will appear on the screen. Choose your home network from the list.
- Enter your Wi-Fi password: If your home network is secured, you will be prompted to enter your Wi-Fi password. Use the remote control’s on-screen keyboard to enter the password accurately.
- Connect to Wi-Fi: After entering the correct Wi-Fi password, select the Connect or Join button to establish a connection between your Vizio Smart TV and your home Wi-Fi network.
- Test the connection: Once connected to Wi-Fi, your Vizio Smart TV will perform a connection test to ensure a stable and reliable network connection.
- Customize advanced network settings: If desired, you can customize advanced network settings such as IP settings, DNS settings, or proxy settings. These settings are typically only necessary for specific network configurations.
Once your Vizio Smart TV is successfully connected to Wi-Fi, you will have access to a wide range of online streaming services, apps, and other internet-based features. Make sure to have a stable and fast internet connection to enjoy seamless streaming and online content.
In the next step, we’ll dive into configuring the initial settings of your Vizio Smart TV to personalize your viewing experience.
Step 3: Configuring the Initial Settings
After connecting your Vizio Smart TV to Wi-Fi, it’s time to configure the initial settings to customize your TV’s functionality. Follow these steps to set up your Vizio Smart TV according to your preferences:
- Select your TV type: On the initial setup screen, you’ll be asked to choose your TV type. Select the appropriate option, such as Home Use or Store Demo, based on your intended usage.
- Agree to the terms and conditions: Read the terms and conditions carefully, and if you agree, select the Accept or Agree button to proceed.
- Set the time and date: Enter the current time and date to ensure accurate scheduling of programs and other time-related features.
- Enable or disable automatic updates: Decide whether you want your Vizio Smart TV to automatically download and install firmware updates. Enabling this feature ensures that you receive the latest enhancements and security patches for your TV.
- Choose your preferred picture mode: Select the picture mode that best suits your viewing preferences, such as Standard, Vivid, Cinema, or Custom. You can adjust these settings later based on your individual taste.
- Configure audio settings: Set up your TV’s audio settings, including the audio mode, volume level, and balance. Adjust these settings according to your desired audio experience.
- Set parental controls: If you have children or want to restrict certain content, set up parental controls to block inappropriate programs and limit access to specific channels or apps.
- Enable Smart Interactivity: Smart Interactivity allows Vizio to collect data about your usage patterns to improve features and suggestions. Choose whether to enable or disable this feature based on your privacy preferences.
- Complete the setup: Once you’ve configured the initial settings, follow the on-screen instructions to complete the setup process.
Configuring the initial settings of your Vizio Smart TV allows you to personalize your viewing experience and optimize your TV’s performance. By customizing the picture, audio, and privacy settings, you can tailor your TV to meet your specific preferences and needs.
In the next step, we’ll cover how to update the firmware of your Vizio Smart TV to ensure you have the latest features and improvements.
Step 4: Updating the TV’s Firmware
Keeping your Vizio Smart TV’s firmware up to date is crucial for ensuring optimal performance, security, and access to the latest features. Follow these steps to update the firmware on your Vizio Smart TV:
- Check for available updates: On your Vizio Smart TV, press the Menu button on the remote control and navigate to the Settings or System option. Look for the option that allows you to check for firmware updates.
- Select the firmware update option: Once you locate the firmware update option, select it to initiate the update process.
- Connect to the internet (if needed): If your Vizio Smart TV is not already connected to the internet, you may be prompted to establish a connection before proceeding with the firmware update.
- Start the update: Once you are connected to the internet, the TV will begin searching for available firmware updates. If an update is found, follow the on-screen instructions to start the update process.
- Do not turn off the TV: During the firmware update, it’s crucial to keep the TV turned on and avoid unplugging it. Interrupting the update process may cause issues with the TV’s functionality.
- Wait for the update to complete: The firmware update may take several minutes to complete. Be patient and avoid using the TV or pressing any buttons until the update is finished.
- Restart the TV (if needed): After the update is complete, your Vizio Smart TV may automatically restart. If it doesn’t, turn off the TV and then turn it back on to ensure the updated firmware is fully applied.
Regularly updating your Vizio Smart TV’s firmware ensures that you have access to the latest features, bug fixes, and security patches. It’s recommended to check for firmware updates periodically to keep your TV operating at its best.
In the next step, we’ll explore how to add apps and customize the home screen of your Vizio Smart TV to create a personalized entertainment experience.
Step 5: Adding Apps and Customizing the Home Screen
Adding your favorite apps and customizing the home screen of your Vizio Smart TV allows you to easily access your preferred content and personalize your TV experience. Follow these steps to add apps and customize the home screen:
- Access the Vizio SmartCast Store: On your Vizio Smart TV, navigate to the app store by pressing the SmartCast button on your remote control.
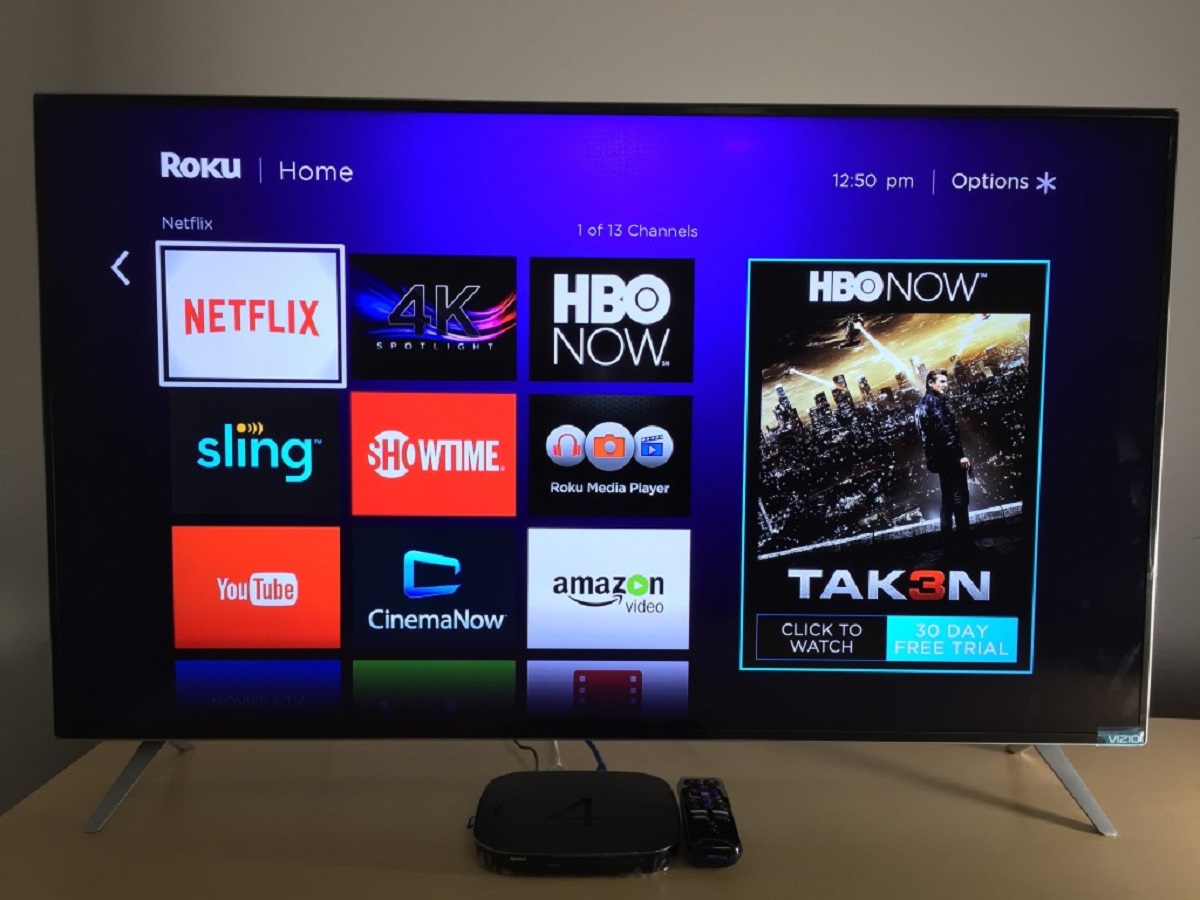
- Browse or search for apps: In the app store, you can browse through various categories or use the search function to find specific apps. Look for popular streaming apps like Netflix, Hulu, Amazon Prime Video, and more.
- Select and install apps: Once you find an app you want to install, select it, and choose the Install or Download option. Wait for the app to download and install on your Vizio Smart TV.
- Organize apps on the home screen: After installing apps, you can arrange them on the home screen for easy access. Press and hold on an app icon, then drag it to the desired location. You can also create folders to group similar apps together.
- Remove unwanted apps: If there are apps that you no longer use, you can remove them from the home screen. Select the app, press and hold the OK button on your remote control, and choose the Remove option.
- Change the home screen layout: Customize the appearance of the home screen by changing the layout. In the settings menu, look for the option to change the Home Screen Layout, and select the desired layout style.
- Set a screensaver: Personalize your TV even further by setting a screensaver. Browse through the available screensaver options in the settings menu and select the one that suits your taste.
- Adjust the quick access bar: The quick access bar at the bottom of the home screen allows you to quickly access frequently used apps. Customize this bar by adding your preferred apps to it for easy and quick access.
By adding apps and customizing the home screen of your Vizio Smart TV, you can create a tailored entertainment hub that reflects your preferences and provides easy access to your favorite content. Take some time to explore the available apps and optimize your home screen layout to enhance your TV viewing experience.
In the next step, we’ll explain how to pair and use the smart remote that comes with your Vizio Smart TV.
Step 6: Pairing and Using the Smart Remote
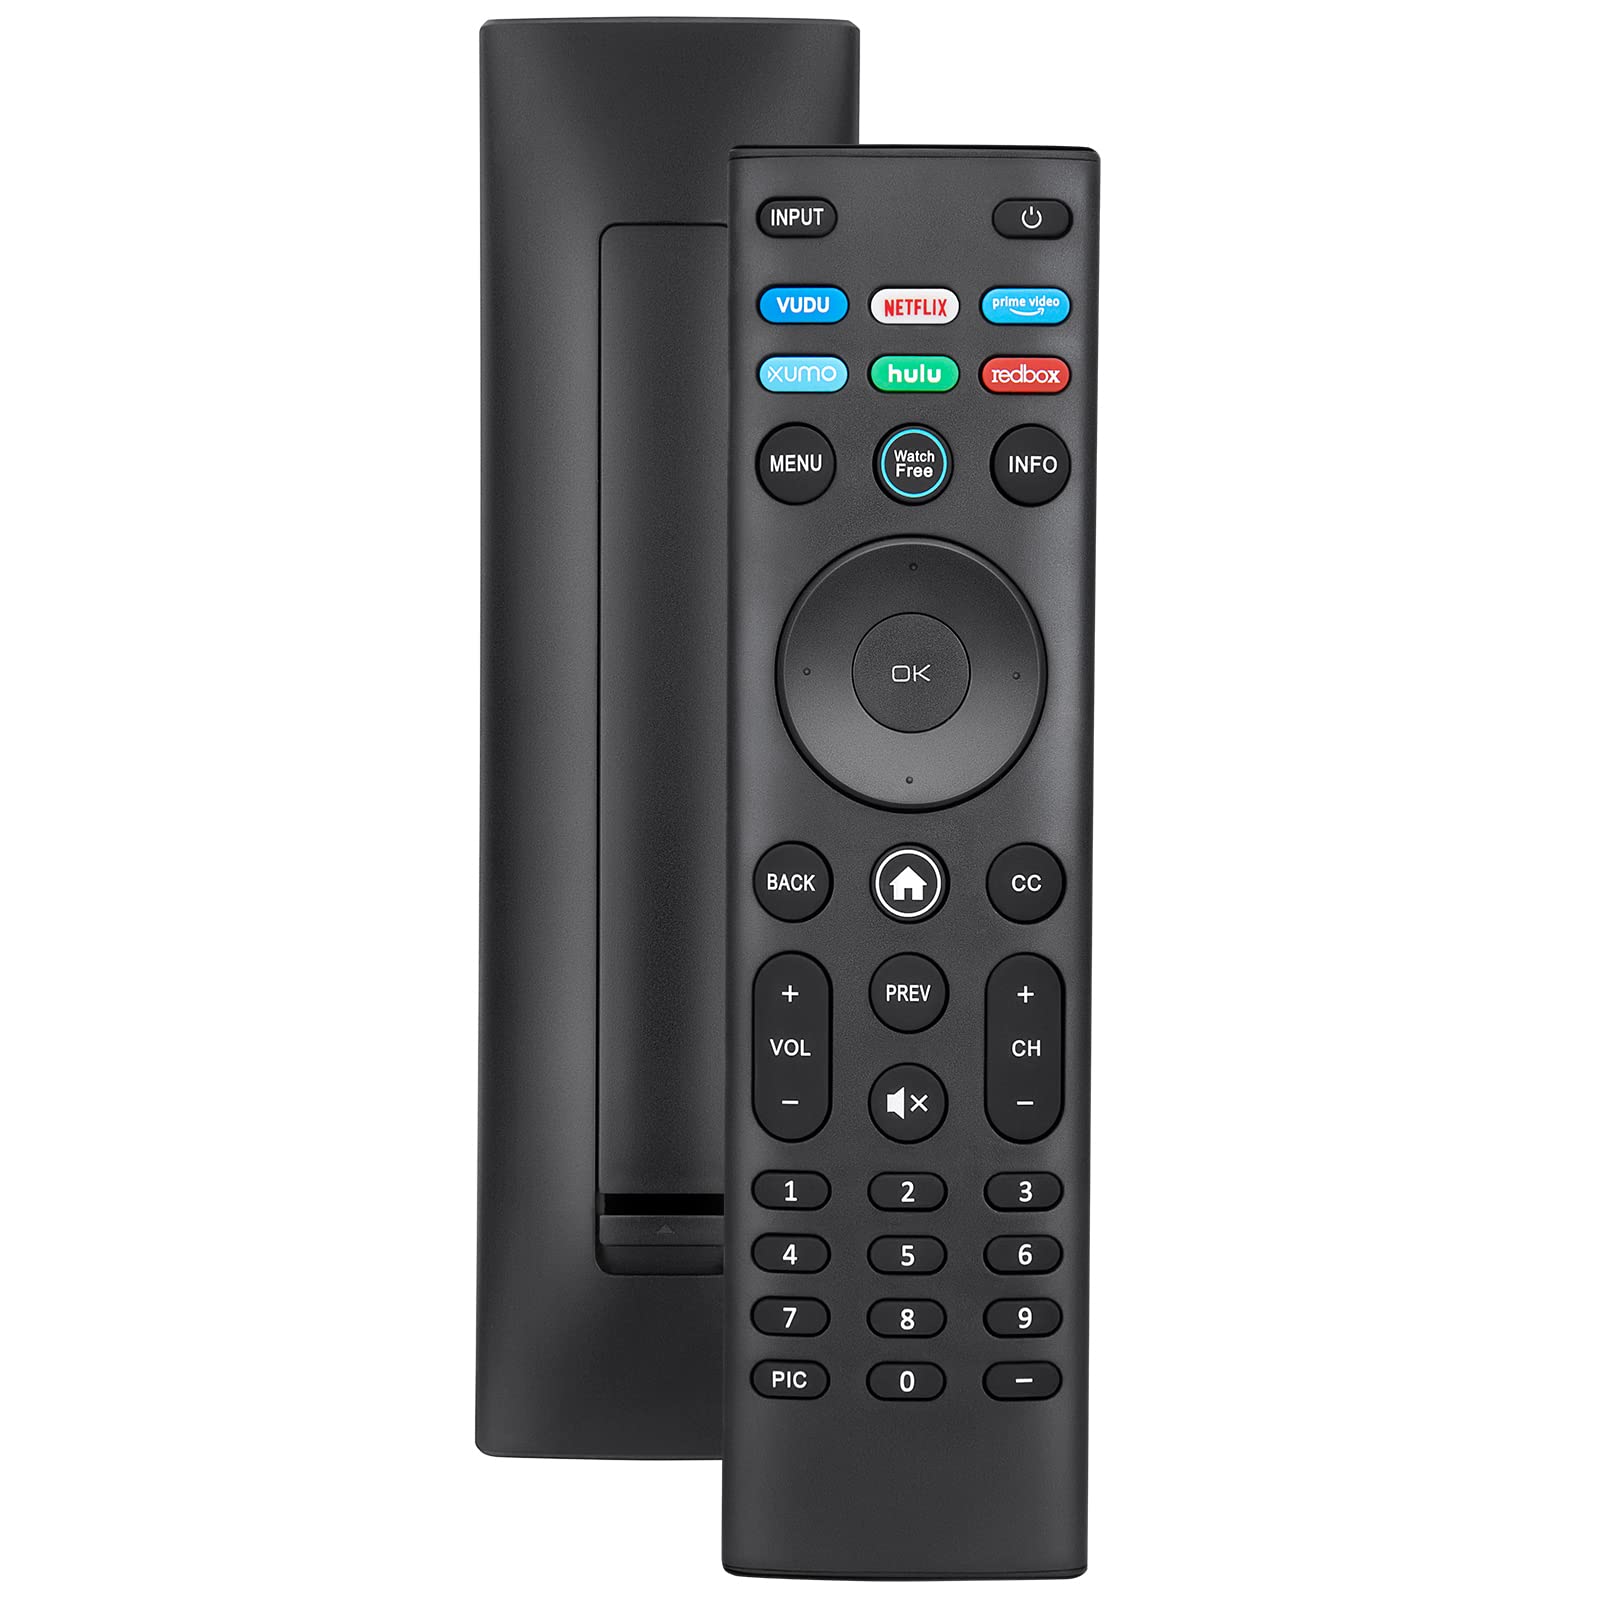
The smart remote that comes with your Vizio Smart TV offers convenient control over your TV and its features. Follow these steps to pair and use the smart remote:
- Insert batteries: Open the battery compartment on the back of the remote and insert the provided batteries, making sure they are placed correctly.
- Turn on the TV: Ensure that your Vizio Smart TV is turned on.
- Pair the remote: Press and hold the pairing button located near the battery compartment on the remote. Simultaneously, press and hold the pairing button on the back of the TV. Release both buttons when the LED light on the remote blinks rapidly to indicate successful pairing.
- Test the remote: Once paired, you can test the remote by pressing various buttons to ensure they function correctly. If needed, refer to the user manual for specific instructions on using the remote’s features.
- Access the navigation menu: Use the navigation buttons on the remote to navigate through the different menus and options on your Vizio Smart TV.
- Control the volume and audio: Adjust the volume by using the volume-up and volume-down buttons on the remote. You can also mute the sound by pressing the mute button.
- Access the smart features: The smart remote allows you to access various smart features of your TV. Use the dedicated smart buttons on the remote to open streaming apps, access the home screen, or perform other smart functions.
- Use voice control (if available): If your smart remote supports voice control, press the voice control button and speak your commands to control your TV. You can search for content, change channels, adjust settings, and more using voice commands.
- Replace the batteries: When the batteries in the remote run out, replace them with new ones to continue using the remote.
The smart remote provides an intuitive and user-friendly way to control your Vizio Smart TV. By following these steps, you can pair the remote with your TV and enjoy hassle-free navigation and control over the TV’s features.
In the next step, we’ll explore how to adjust the picture and sound settings on your Vizio Smart TV for an immersive viewing experience.
Step 7: Adjusting Picture and Sound Settings
To enhance your viewing and listening experience on your Vizio Smart TV, it’s important to adjust the picture and sound settings according to your preferences. Follow these steps to fine-tune the picture and sound on your TV:
- Access the picture settings: On your Vizio Smart TV, navigate to the Picture or Display settings using the remote control’s navigation buttons.
- Adjust the brightness and contrast: Increase or decrease the brightness and contrast settings to achieve the desired picture quality. Experiment with different settings until you find the optimal balance.
- Modify the color and saturation: Fine-tune the color and saturation settings to enhance the richness and vibrancy of the colors on your TV screen.
- Enable motion smoothing (optional): If you prefer smoother motion in fast-paced scenes, enable the motion smoothing feature. However, keep in mind that this feature may introduce some artifacts and may not be suitable for all content.
- Adjust the sound settings: Navigate to the Sound or Audio settings on your Vizio Smart TV to access the audio customization options.
- Set the audio mode: Choose the audio mode that suits your preference, such as Standard, Music, Movie, or Custom. Each mode may emphasize different aspects of the audio.
- Tweak the equalizer settings (if available): If your TV has an equalizer, you can fine-tune the audio frequencies to achieve the desired sound balance. Adjust bass, treble, and other settings according to your preference.
- Enable surround sound (if available): If you have external speakers or a soundbar connected to your Vizio Smart TV, make sure to enable the surround sound or audio enhancement options for an immersive audio experience.
- Test the settings: After adjusting the picture and sound settings, play different types of content to test the changes and make further adjustments if needed.
By adjusting the picture and sound settings on your Vizio Smart TV, you can ensure that your viewing experience matches your preferences. Fine-tuning these settings will result in a more enjoyable and immersive TV experience.
In the next step, we’ll cover some common issues you may encounter with your Vizio Smart TV and how to troubleshoot them.
Step 8: Troubleshooting Common Issues
While setting up and using your Vizio Smart TV, you may encounter some common issues. Here are some troubleshooting steps you can follow to resolve these issues:
- No power: If your TV doesn’t power on, ensure that it’s plugged into a working power outlet and that the power cord is securely connected. Check if the remote control batteries need replacement.
- No internet connection: If your Vizio Smart TV is not connecting to Wi-Fi, double-check your Wi-Fi network name and password. Restart your router and TV, and ensure that they are within range of each other.
- No sound: If you have no audio, make sure the volume is not muted and that the TV is not in headphone mode. Check the audio cables, if applicable, and ensure they are securely connected.
- No picture: If the screen is blank, verify that the TV is turned on and that the input source is correct. Check the HDMI or other video cables for secure connections and try resetting the TV to factory settings if necessary.
- App issues: If a specific app is not working properly, ensure that the app is up to date. Try force closing the app and reopening it, or uninstalling and reinstalling it. If the issue persists, contact the app developer for support.
- Remote control problems: If your remote control is not responding, try replacing the batteries and ensure that it’s paired correctly with the TV. If necessary, reset the remote control and re-pair it with the TV.
- Software or firmware update issues: If you encounter problems during a software or firmware update, restart your TV and try the update again. Ensure that you have a stable internet connection and sufficient storage space for the update.
- Resetting the TV: If other troubleshooting steps don’t resolve the issue, you can try performing a factory reset on your Vizio Smart TV. Keep in mind that this will erase all settings and personal data, so consider this as a last resort.
If you still experience issues with your Vizio Smart TV after trying these troubleshooting steps, it may be helpful to consult the user manual or contact Vizio’s customer support for further assistance.
Congratulations! You have successfully set up and optimized your Vizio Smart TV. Enjoy your personalized, feature-rich entertainment experience!
Conclusion
Setting up and configuring your Vizio Smart TV doesn’t have to be complicated. By following the step-by-step guide provided in this article, you can unbox and set up your TV, connect it to Wi-Fi, configure the initial settings, update the firmware, add apps, customize the home screen, pair and use the smart remote, adjust picture and sound settings, troubleshoot common issues, and ultimately enjoy an immersive and personalized viewing experience.
Your Vizio Smart TV brings a world of entertainment to your fingertips, from streaming services and apps to customizable settings that cater to your preferences. Take the time to explore the various features and options available on your TV, and don’t hesitate to experiment with different settings to find the combination that suits you best.
If you encounter any challenges, refer back to this guide or consult the user manual provided with your TV. Vizio’s customer support is also available to assist you with any specific issues or concerns you may have.
Now that you have successfully set up your Vizio Smart TV, it’s time to sit back, relax, and enjoy your favorite shows, movies, and content on the big screen. Experience the convenience, versatility, and high-quality performance that Vizio Smart TVs offer, and make your entertainment time truly remarkable.