Introduction
Welcome to this comprehensive guide on how to set up your Logitech headset for your PC! Whether you’re a gamer, a voice chat enthusiast, or someone who enjoys high-quality audio, having a Logitech headset can greatly enhance your experience. In this article, we will take you through the step-by-step process of unboxing your headset, connecting it to your PC, configuring the audio settings, installing the necessary Logitech software, and customizing the headset settings to suit your preferences.
Logitech is well-known for its exceptional audio devices, and their headsets are no exception. Offering superior sound quality, comfort, and durability, Logitech headsets deliver an immersive audio experience for various applications, from gaming to multimedia consumption. With the right setup, you can enjoy crystal-clear audio, seamless communication, and personalized control over your headset’s features.
Setting up your Logitech headset for your PC may sound intimidating, but fear not! We will break down the process into easy-to-follow steps, providing detailed instructions along the way. Whether you’re a tech-savvy individual or a beginner, this guide will ensure that you can fully utilize your Logitech headset with your PC.
Before we dive into the setup process, make sure you have your Logitech headset and all the necessary cables and accessories at hand. Additionally, ensure that your PC meets the system requirements for the Logitech software, as this will be crucial for customizing your headset settings. Now, let’s get started with unboxing your Logitech headset!
Step 1: Unboxing the Logitech Headset
The first step to setting up your Logitech headset for your PC is unboxing the headset itself. Logitech packages their headsets securely to ensure the product arrives in pristine condition. Here’s a guide on how to unbox your Logitech headset:
- Locate the packaging of your Logitech headset. Gently remove any seals or tapes to access the box.
- Open the box carefully, avoiding any sharp objects that could damage the contents.
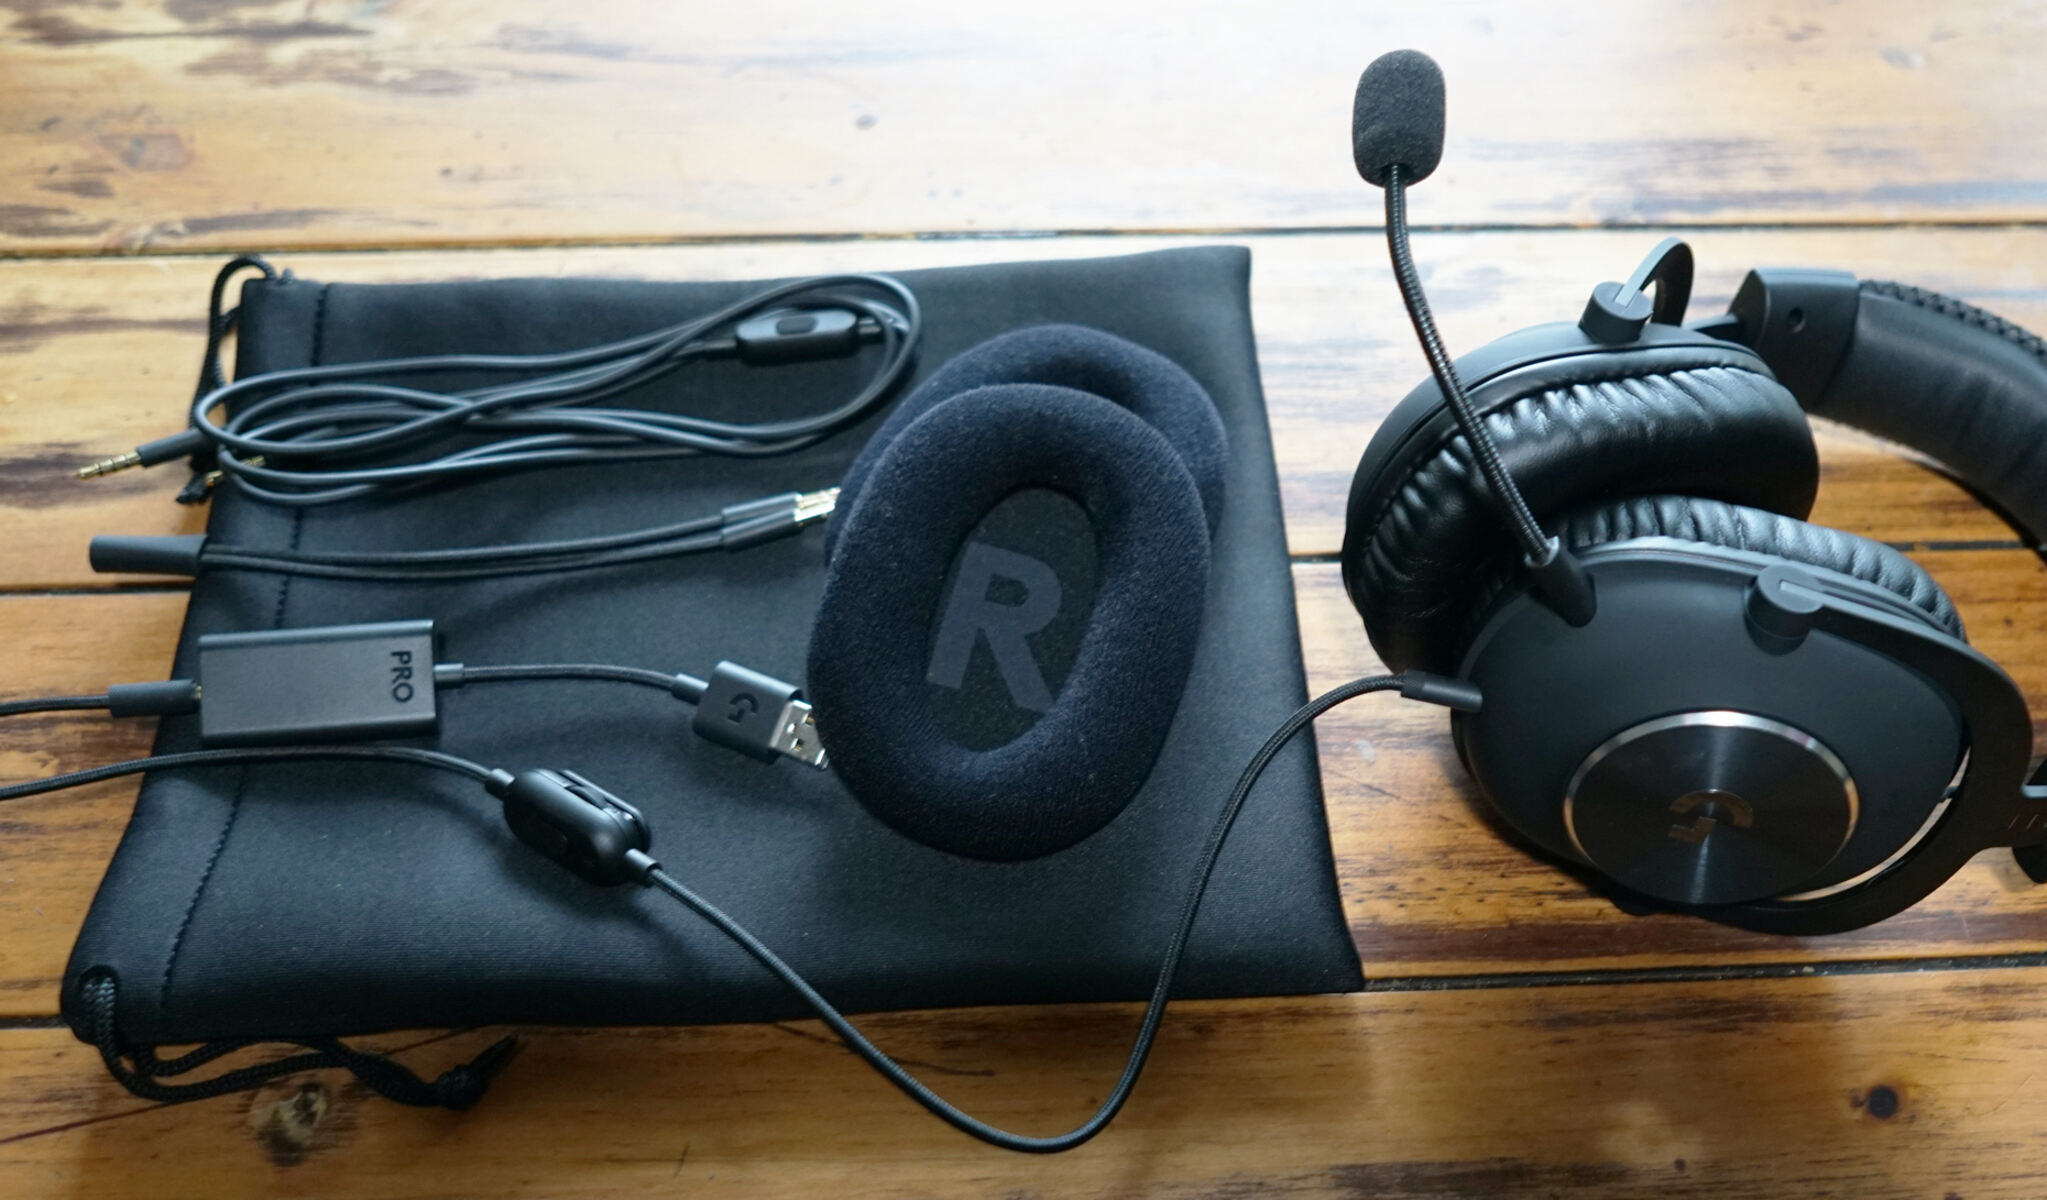
- Inside the box, you will find your Logitech headset, along with any additional accessories such as cables, detachable microphones, or user manuals. Take them out.
- Inspect the headset and accessories for any visible damage that may have occurred during shipping. If you notice any issues, contact Logitech’s customer support for assistance.
- Take a moment to familiarize yourself with the different components of your Logitech headset. You may find buttons for volume control, an on/off switch, or a mute button.
- If your Logitech headset comes with detachable cables or microphones, ensure they are securely attached to the headset.
- Keep the packaging and any documentation in a safe place, as you may need them for warranty purposes or future reference.
- Now that you have successfully unboxed your Logitech headset, you are ready to proceed to the next step of connecting it to your PC.
Unboxing your Logitech headset is an exciting first step towards enjoying an immersive audio experience. Take your time to ensure everything is in order before moving on to the connection process. In the next step, we will guide you through connecting your Logitech headset to your PC.
Step 2: Connecting the Headset to Your PC
Now that you have unboxed your Logitech headset, it’s time to connect it to your PC. Properly connecting your headset ensures that you can enjoy high-quality audio and seamless communication during your gaming or multimedia sessions. Follow these steps to connect your Logitech headset to your PC:
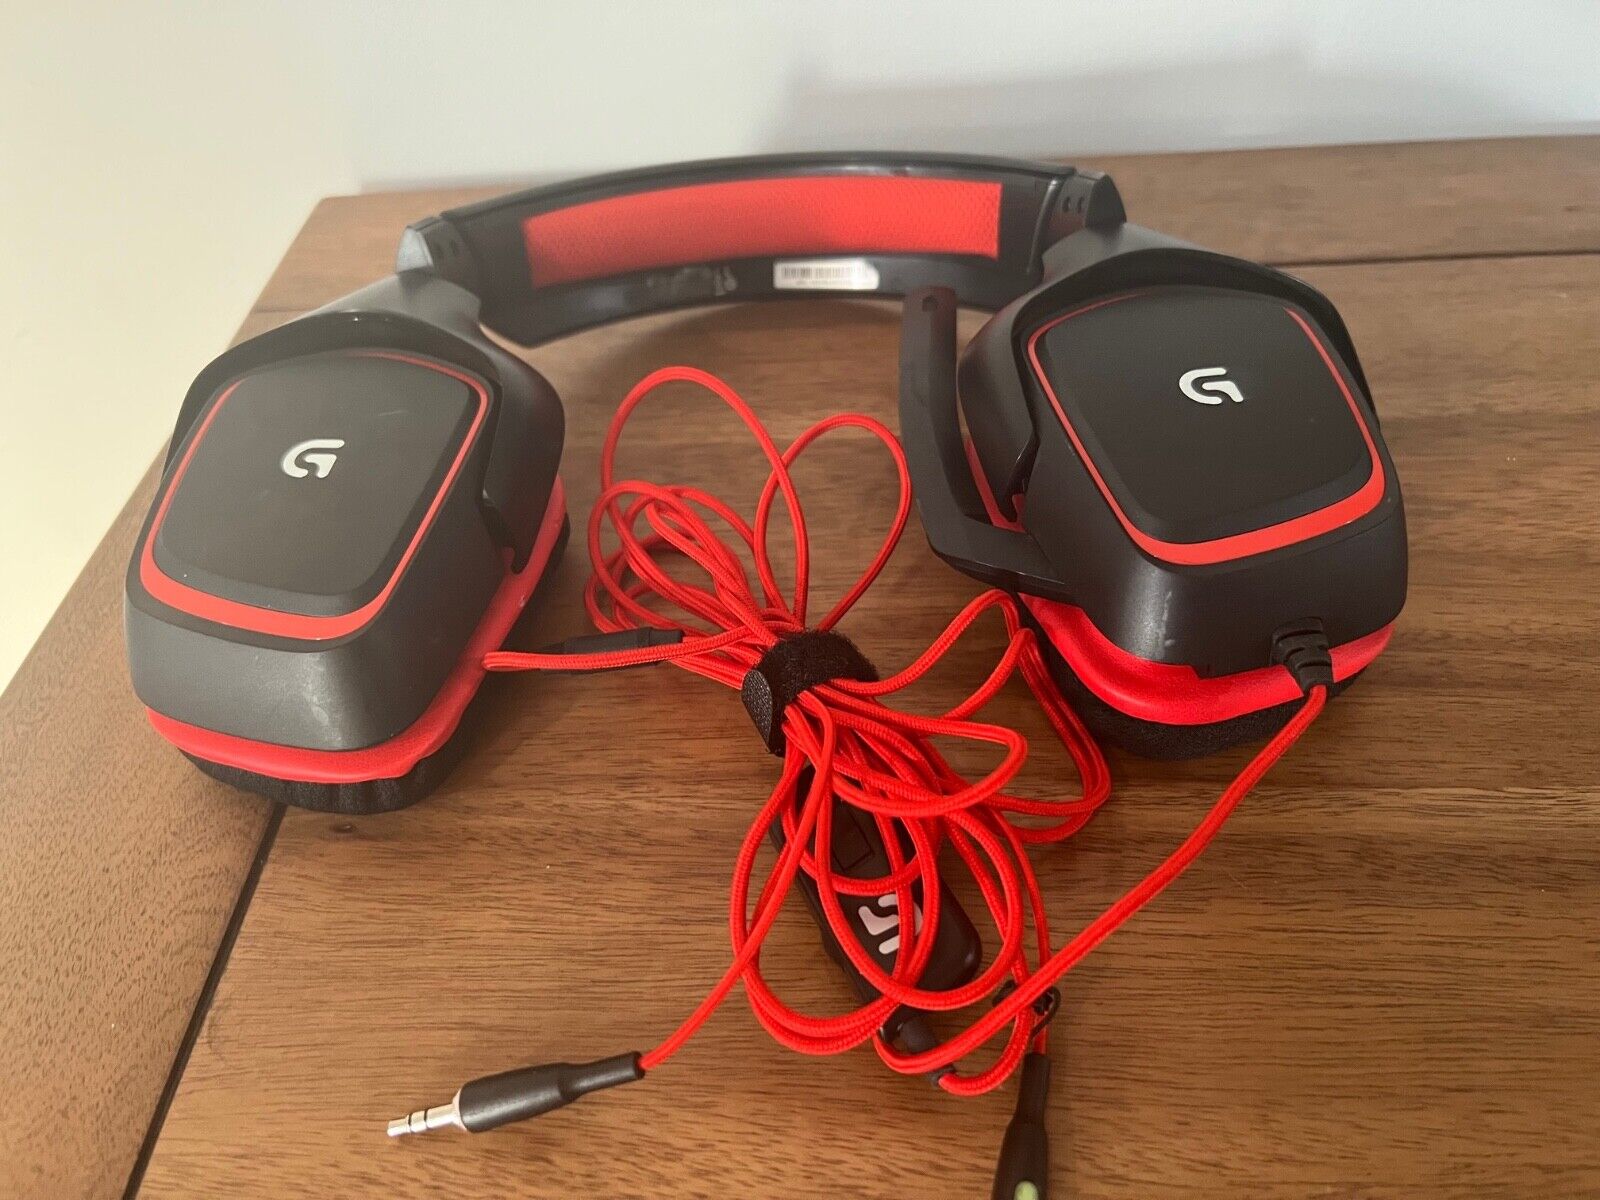
- Locate the audio cable that came with your Logitech headset. This cable is typically designed with a 3.5mm audio jack, which is compatible with most PC audio ports.
- Identify the audio input/output ports on your PC. The audio output port is usually colored green, while the audio input port is typically pink.
- Insert the 3.5mm audio jack into the corresponding audio output port of your PC. This is where the audio will be transmitted from your PC to the headset.
- Ensure that the audio jack is fully inserted into the audio output port. You may hear a click or feel a slight resistance when it is properly connected.
- If your Logitech headset comes with a separate microphone, locate the microphone input port on your PC. It is usually color-coded pink.
- Insert the microphone jack into the microphone input port of your PC. This allows the headset microphone to transmit your voice for voice chats or recordings.
- Just like the audio jack, make sure the microphone jack is securely inserted into the microphone input port.
- Once both the audio and microphone jacks are connected, you have successfully attached your Logitech headset to your PC.
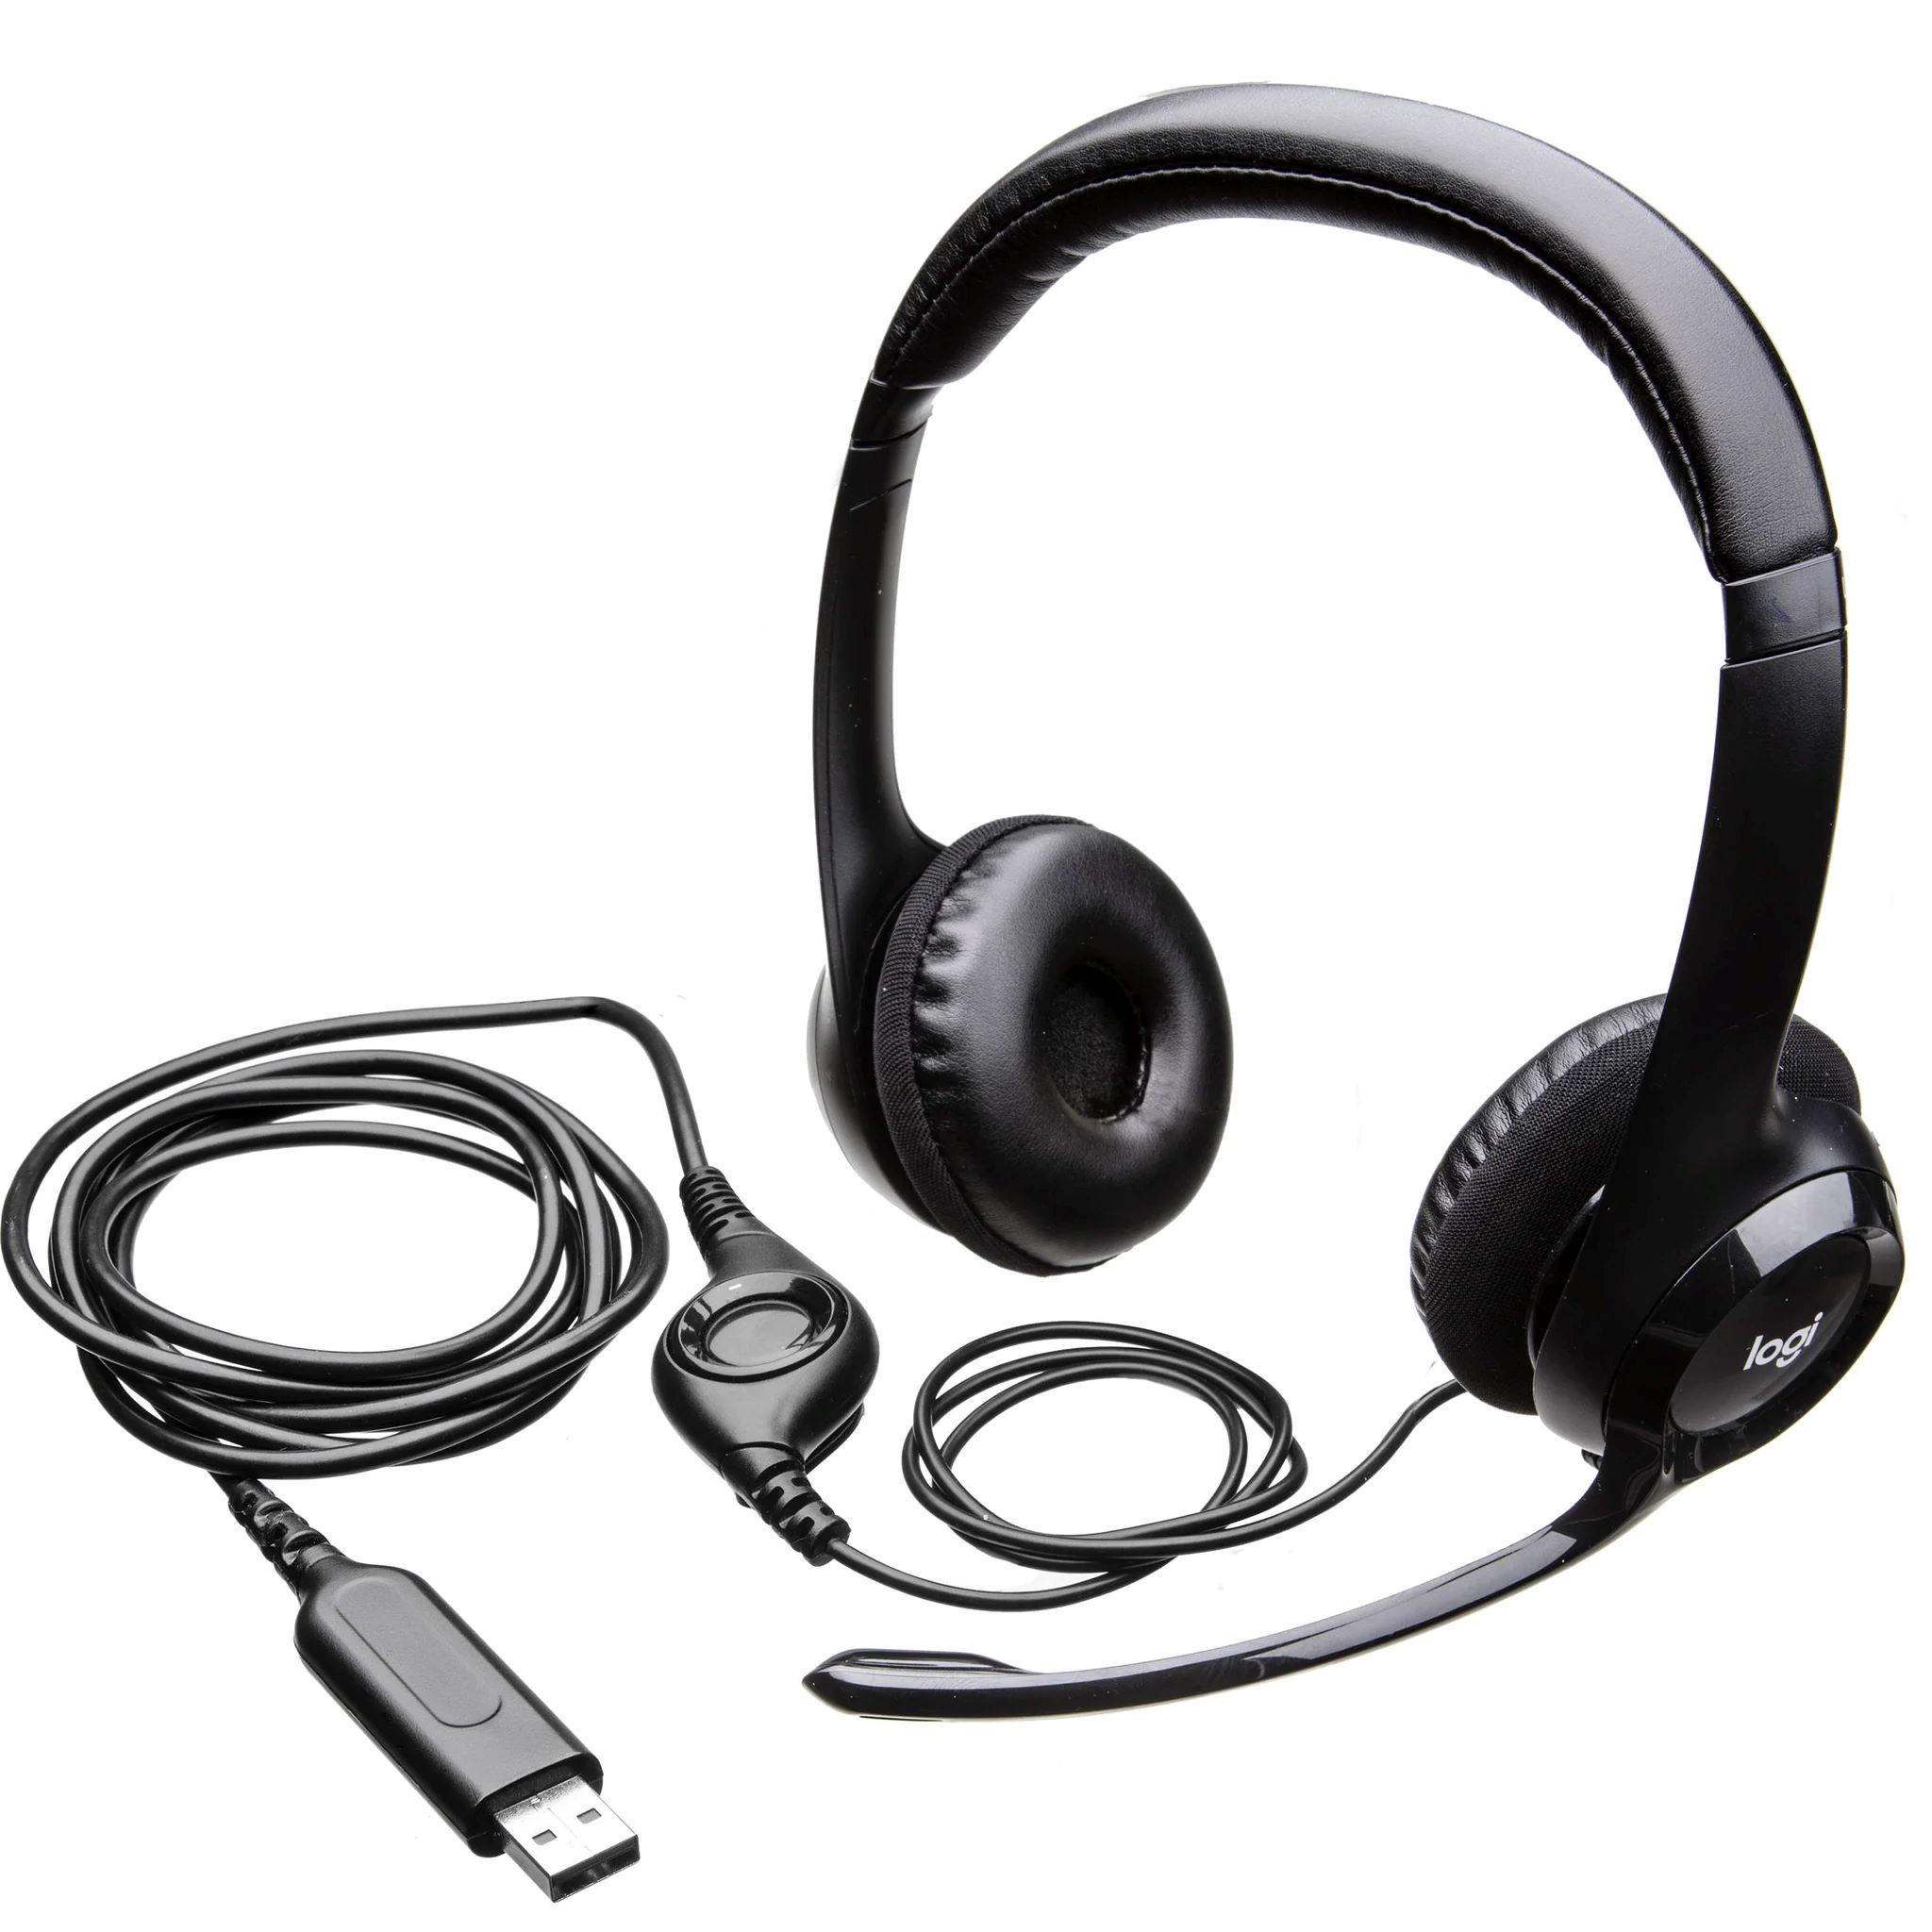
With the headset properly connected to your PC, you are now ready to move on to the next step, which involves configuring the audio settings to ensure optimal performance. Keep in mind that if your Logitech headset uses a USB connection instead of a 3.5mm audio jack, you may need to follow a different set of instructions provided by Logitech or refer to the user manual. Now, let’s proceed to the next step!
Step 3: Configuring the Audio Settings on Your PC
Once you have connected your Logitech headset to your PC, it’s essential to configure the audio settings to ensure optimal performance and enhance your audio experience. The process may vary slightly depending on your operating system, but here are the general steps to follow:
- Right-click on the speaker icon located in the system tray of your desktop taskbar.
- Select “Open Sound settings” or “Playback devices” from the context menu. This will open the sound settings menu on your PC.
- In the sound settings menu, locate your Logitech headset from the list of available playback devices.
- Select the Logitech headset as the default playback device by clicking on it and choosing “Set as Default” or “Set as Default Device.”
- If you have a separate microphone attached to your Logitech headset, locate the microphone settings in the sound settings menu.
- Select the Logitech headset microphone as the default recording device by clicking on it and choosing “Set as Default” or “Set as Default Device.”
- Adjust the volume levels of the Logitech headset and microphone as desired to suit your preferences by sliding the volume sliders.
- Test the audio and microphone by playing a sound or speaking into the microphone. Ensure that the audio is coming through the headset and that the microphone is picking up your voice.
- If needed, you can access additional audio settings within your operating system’s sound settings menu, such as equalizer settings or enhancements.
- Once you have configured the audio settings to your satisfaction, close the sound settings menu.
Configuring the audio settings on your PC is crucial to ensure that your Logitech headset is working correctly and providing the best audio experience possible. Take your time to adjust the volume levels and test the audio and microphone to ensure everything is functioning as expected. In the next step, we will guide you through the process of installing the required Logitech software for additional customization options. Let’s move on!
Step 4: Installing the Required Logitech Software
To unlock the full potential of your Logitech headset and access additional customization options, you will need to install the required Logitech software. This software allows you to fine-tune audio settings, create personalized sound profiles, and take advantage of advanced features specific to your Logitech headset model. Follow these steps to install the Logitech software:
- Visit the official Logitech website (www.logitech.com) and navigate to the support or downloads section.
- Search for the specific model of your Logitech headset. Make sure to select the correct operating system on your PC.
- Download the latest version of the Logitech software compatible with your headset and operating system.
- Once the software is downloaded, locate the installation file in your downloads folder or the designated location.
- Double-click on the installation file to begin the installation process.
- Follow the on-screen prompts and instructions to complete the installation. You may need to accept the software’s terms and conditions.
- Once the installation is complete, restart your PC to ensure that the Logitech software is properly integrated.
- After the restart, launch the Logitech software from your desktop or start menu.
- Depending on your Logitech headset model, the software interface may vary. Explore the software’s features and options to customize your headset settings.
- Take advantage of features such as equalizer settings, microphone enhancements, surround sound, or any other options available in the software.
Installing the required Logitech software is essential to access advanced features and customization options for your headset. By taking the time to install and explore the software, you can tailor your audio experience to fit your preferences and enjoy the full range of capabilities your Logitech headset has to offer. In the next step, we will guide you through customizing the settings of your Logitech headset. Let’s proceed!
Step 5: Customizing the Headset Settings
Now that you have installed the Logitech software, you can customize the settings of your Logitech headset to tailor it to your preferences. The software provides a range of options and features that allow you to fine-tune the audio, adjust microphone settings, and personalize your overall audio experience. Follow these steps to customize your Logitech headset settings:
- Launch the Logitech software on your PC by clicking on the desktop shortcut or locating it in the start menu.
- Navigate to the settings or customization section of the software interface.
- Explore the options and features available based on your Logitech headset model. These may include equalizer settings, microphone enhancements, surround sound options, and more.
- Adjust the equalizer settings to fine-tune the audio output to your liking. You can choose from preset audio profiles or create your own custom profiles.
- Experiment with microphone settings to optimize its performance for voice communication or recordings. You can adjust the sensitivity, noise cancellation, and other relevant settings.
- Consider enabling advanced features such as surround sound or any other unique features offered by your Logitech headset.
- Take some time to test out different settings and profiles to find what works best for your audio preferences.
- Save your customized settings within the Logitech software for future use.
Customizing the settings of your Logitech headset allows you to create a personalized audio experience that suits your preferences. Take advantage of the features and options provided by the Logitech software to enhance your audio quality, optimize microphone performance, and access advanced audio technologies. In the next step, we will cover some common troubleshooting techniques for any issues you may encounter with your Logitech headset. Let’s move forward!
Step 6: Troubleshooting Common Issues
While setting up and customizing your Logitech headset, you may encounter some common issues that can hinder your audio experience. Don’t worry! Troubleshooting these issues can help you resolve them quickly and get back to enjoying your headset. Here are some common problems and their possible solutions:
- No sound: If you’re not getting any sound from your Logitech headset, ensure that it is properly connected to your PC. Check the volume settings in both the software and the operating system and make sure they are not muted or set too low. Additionally, confirm that the headset is selected as the default playback device in the sound settings.
- Microphone not working: If the microphone on your Logitech headset isn’t working, double-check that it is securely connected to your PC. Make sure that the headset microphone is selected as the default recording device in the sound settings. Adjust the microphone volume settings in both the Logitech software and the operating system if necessary.
- Software not detecting headset: If the Logitech software is not recognizing your headset, try reinstalling the software and make sure you have installed the correct version for your headset model and operating system. Additionally, ensure that the headset is properly connected to your PC and that all necessary drivers are up to date.
- Poor audio quality: If you’re experiencing poor audio quality with your Logitech headset, check the equalizer settings in the Logitech software and experiment with different presets or custom profiles to find the best sound for your preference. Ensure that the headset is properly fitted and positioned on your head, as an improper fit can affect sound quality.
- Driver issues: If you’re experiencing any driver-related problems, visit the Logitech website and download the latest drivers for your headset model and operating system. Uninstall any existing drivers and then install the newly downloaded drivers. Restart your PC and check if the issue is resolved.
If you encounter any other issues or if the above troubleshooting steps do not resolve your problem, it’s recommended to visit the Logitech support website or contact their customer support for further assistance. They will be able to provide personalized guidance and address any concerns specific to your Logitech headset model.
By troubleshooting and resolving common issues, you can ensure that your Logitech headset performs at its best and provides you with an exceptional audio experience. Now that you’re equipped with troubleshooting knowledge, you can confidently address any issues that may arise. Before we wrap up, let’s summarize the key steps we covered in this guide.
Conclusion
Congratulations! You have successfully set up your Logitech headset for your PC. By following the step-by-step guide in this article, you have unboxed your headset, connected it to your PC, configured the audio settings, installed the necessary Logitech software, customized the headset settings, and learned how to troubleshoot common issues. Now, you’re ready to fully enjoy the immersive audio experience that your Logitech headset provides.
Remember, the Logitech headset is designed for various applications, from gaming to multimedia consumption, and it offers superior sound quality, comfort, and durability. With the right setup and customization, you can tailor your audio experience to your preferences and optimize the performance of your Logitech headset.
Keep in mind that Logitech provides ongoing support and updates for their headsets. It is recommended to periodically check for firmware updates and driver updates on the Logitech website to ensure your headset stays up to date and continues to perform at its best.
If you ever encounter any issues or have further questions, don’t hesitate to reach out to Logitech’s customer support. They are there to assist you and provide the necessary guidance to resolve any concerns you may have.
Thank you for choosing Logitech for your audio needs. Enjoy your Logitech headset and immerse yourself in a world of exceptional sound quality and enhanced audio experiences!