Introduction
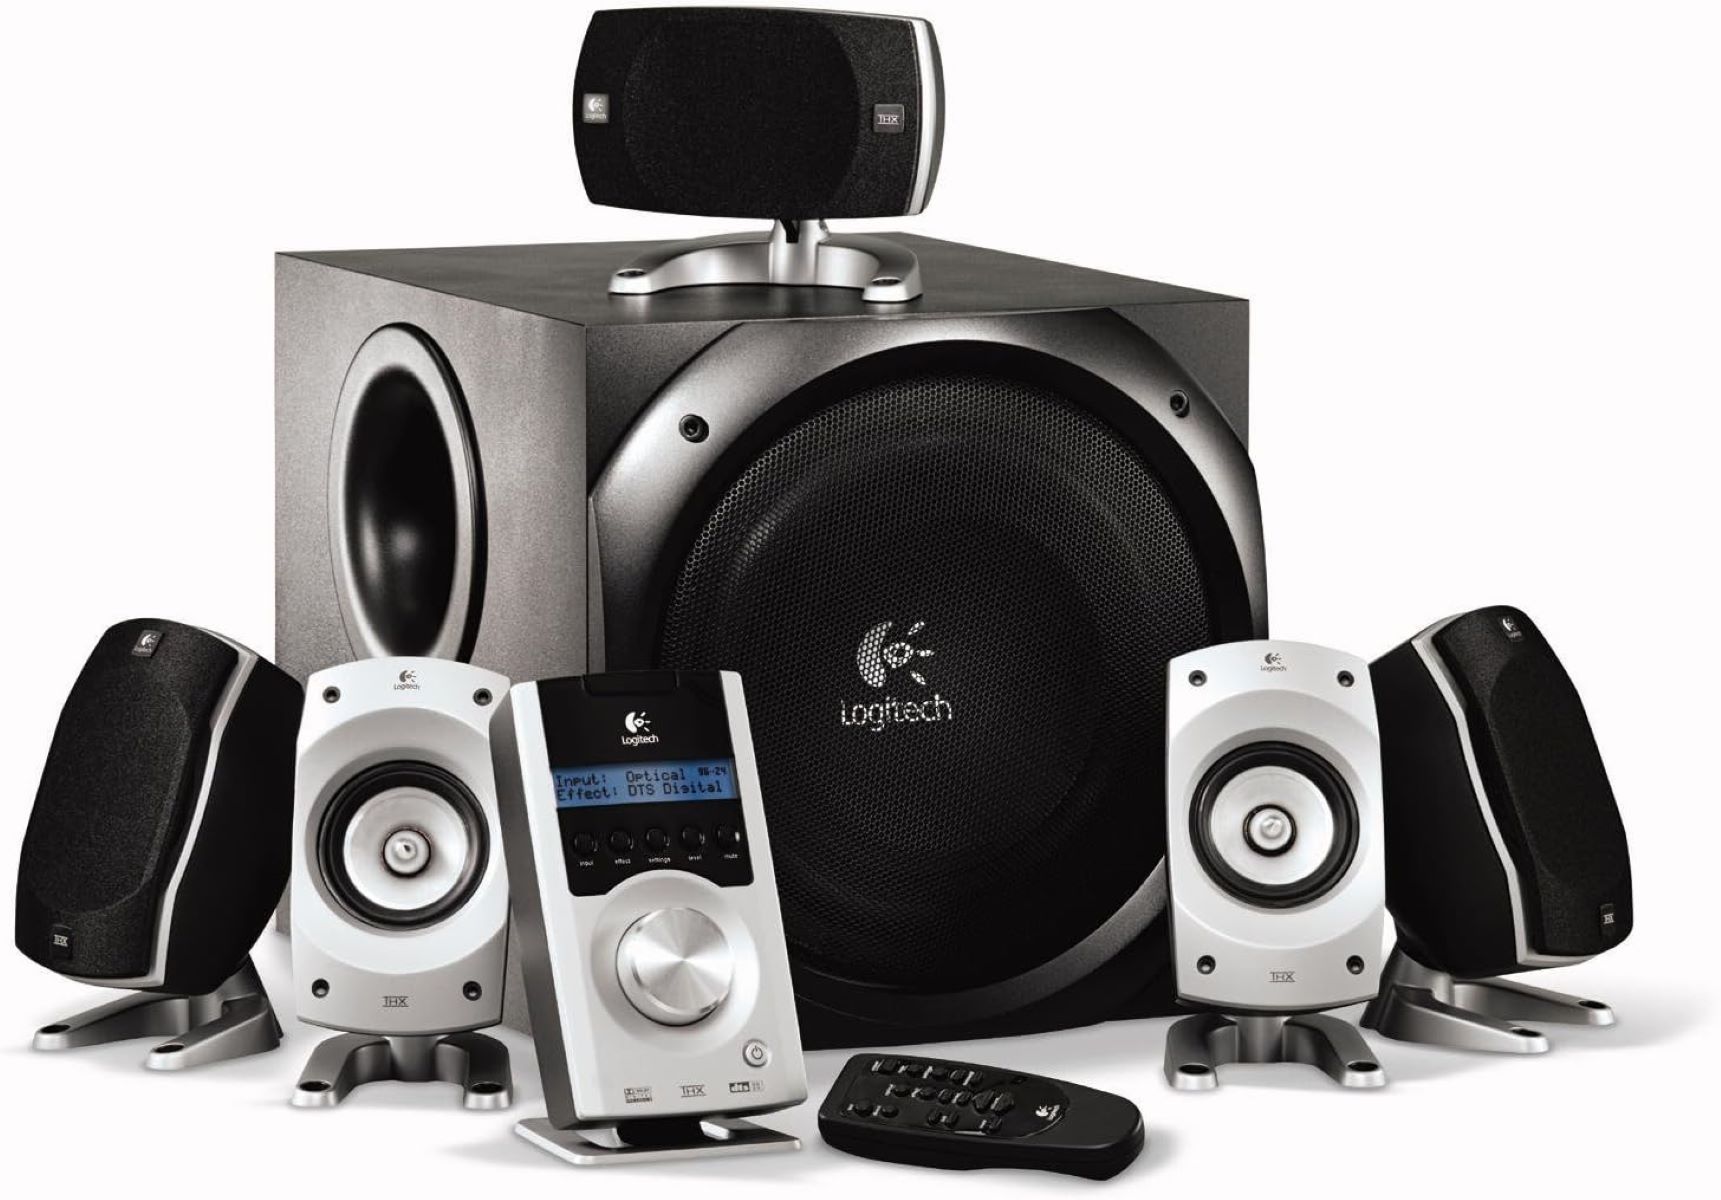
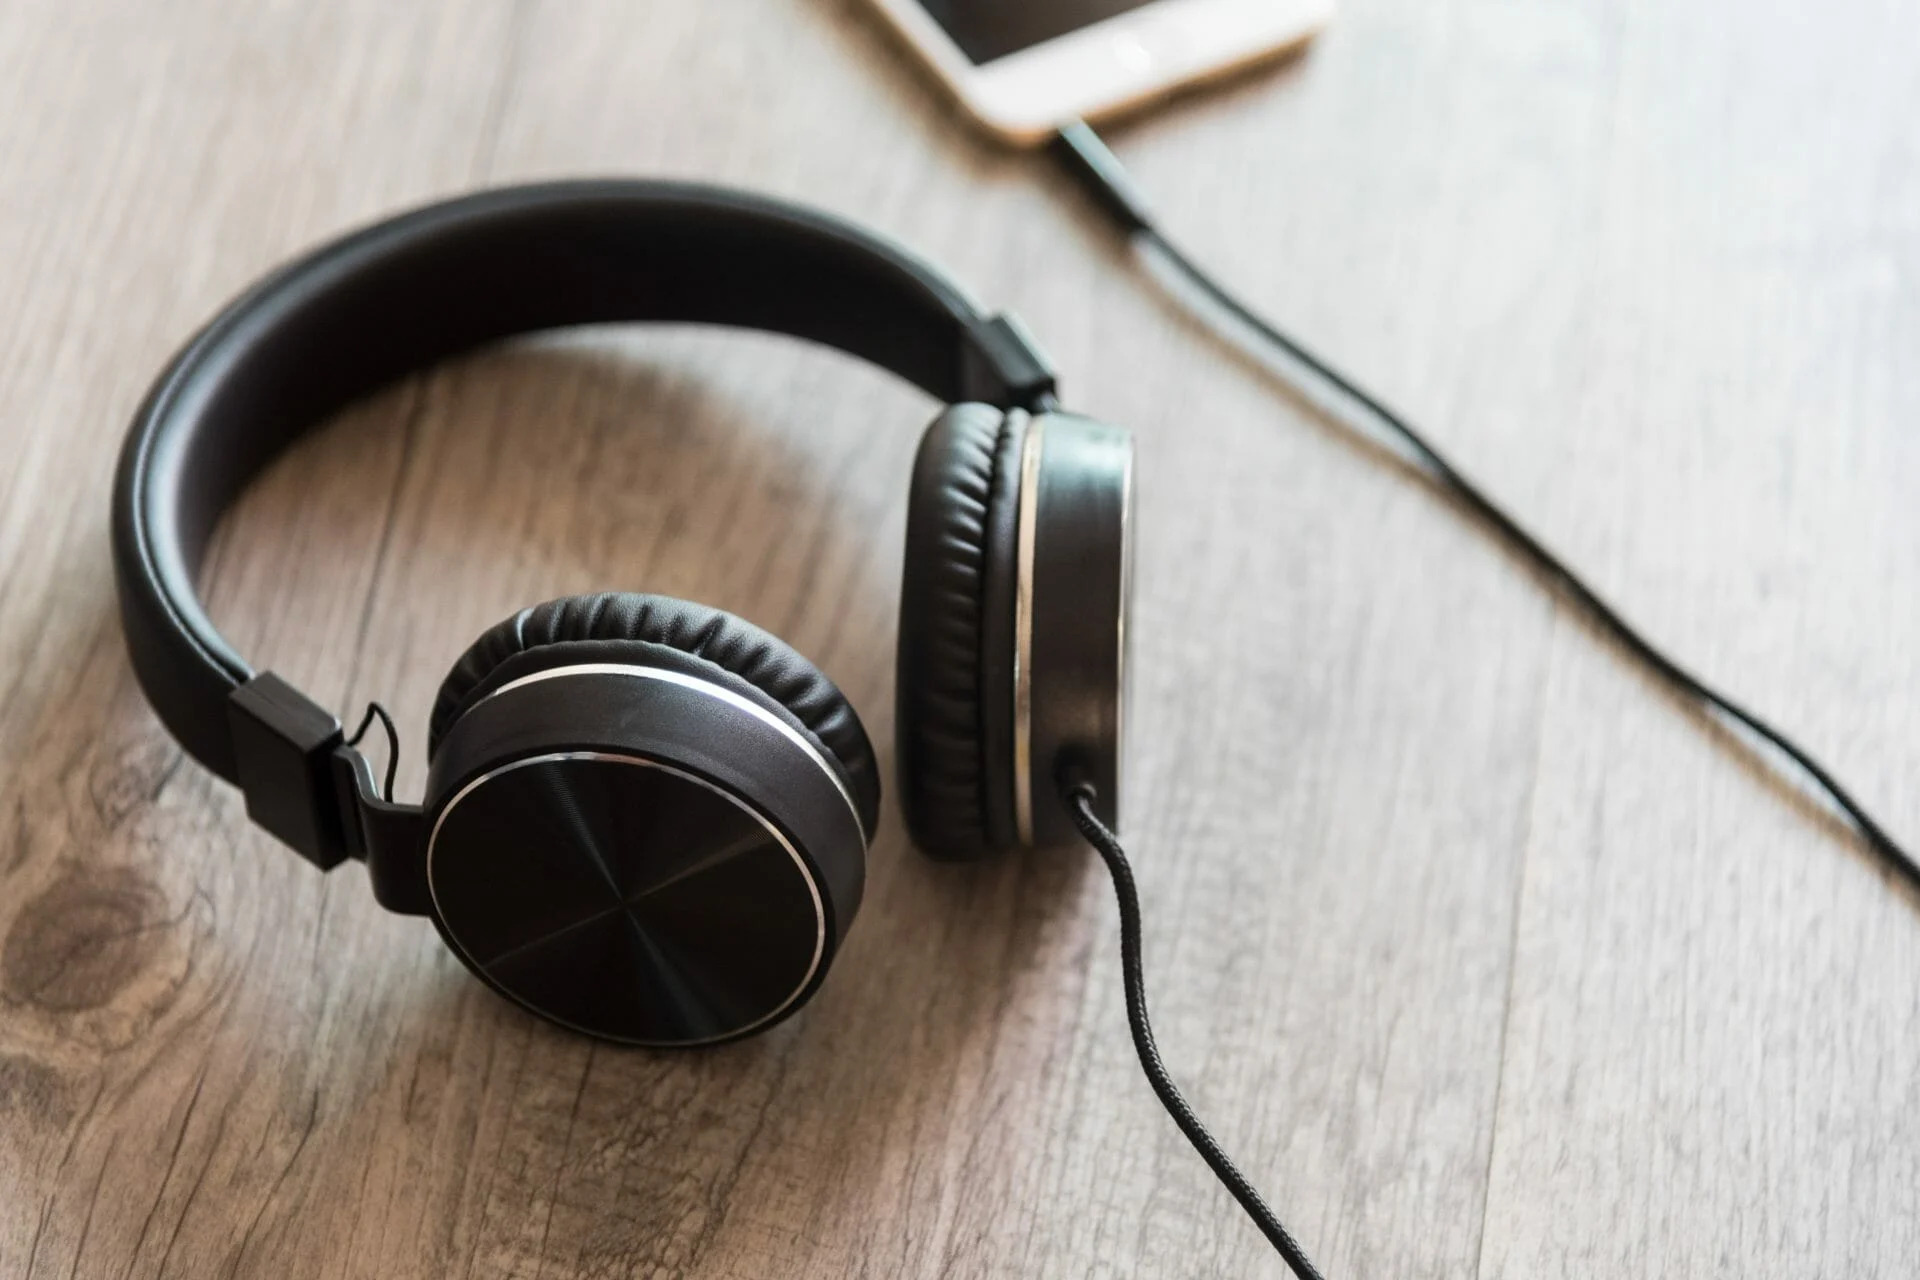
Welcome to the world of Logitech headphones! As an avid music lover or an enthusiastic gamer, you may have chosen Logitech headphones for their superior sound quality and comfortable design. However, like any electronic device, Logitech headphones can sometimes encounter issues that disrupt your audio experience.
In this article, we will explore common problems that users may face with their Logitech headphones and provide troubleshooting steps to help you fix these issues on your own. Whether you’re struggling with a lack of sound, poor audio quality, a malfunctioning microphone, or connection problems, we’ve got you covered.
Our goal is to help you resolve these problems without having to resort to expensive repairs or replacements. By following the troubleshooting steps outlined in this guide, you’ll be able to regain the optimal performance of your Logitech headphones and enjoy an immersive audio experience once again.
Before we dive into the specific issues and solutions, it’s important to note that Logitech offers a wide range of headphone models. The troubleshooting steps may vary slightly depending on the model you own. However, the underlying principles remain the same, and we’ll do our best to provide general guidance that applies to most Logitech headphone models.
Now, let’s get started and tackle those headphone issues head-on!
Common Problems with Logitech Headphones
Logitech headphones are known for their superb audio quality and comfortable fit, but occasionally, you may encounter some issues that can be frustrating. In this section, we will discuss the most common problems that users face with Logitech headphones.
1. No sound from the headphones: This is one of the most common issues users encounter. You may plug in your headphones, but there is no audio output. This problem could be due to a variety of reasons, including incorrect audio settings, faulty audio cables, or outdated drivers.
2. Sound quality issues: If you notice a decrease in audio quality, such as distorted sound, crackling, or muffled audio, it can significantly impact your overall listening experience. Poor sound quality can be the result of damaged cables, software conflicts, or improper audio settings.
3. Microphone not working: Logitech headphones often come equipped with a built-in microphone for gaming or communication purposes. If your microphone is not functioning correctly, it can hinder your ability to communicate with others. This problem may be caused by misplaced audio jacks, incorrect software settings, or driver issues.
4. Bluetooth connection problems: Many Logitech headphones offer Bluetooth connectivity, allowing you to enjoy wireless freedom. However, you may encounter difficulties connecting your headphones to your device or experiencing frequent disconnections. Bluetooth interference, outdated firmware, or device compatibility issues may be to blame.
5. Headphone not charging: For wireless Logitech headphones, a common issue is when they fail to charge. If your headphones are not charging, it could be due to a faulty charging cable, a loose connection, or a drained battery. Resolving this problem ensures uninterrupted music or gaming sessions.
6. Headphone buttons not functioning: Some Logitech headphones feature buttons for controlling volume, playback, and other functions. If these buttons do not respond or work intermittently, it can be inconvenient. This issue may be caused by dirt or debris lodged in the button mechanisms or software conflicts.
Each of these problems can hinder your overall headphone experience, but fear not! In the next section, we will provide troubleshooting steps to help you resolve these issues and restore your Logitech headphones to full functionality.
No sound from the headphones
It can be frustrating when you plug in your Logitech headphones, but there’s no sound coming through. Before assuming the worst, there are several troubleshooting steps you can take to fix this issue.
Check the audio settings: Start by verifying that the audio settings on your device are correctly configured. Ensure that the volume is not muted, and the output device is set to the Logitech headphones.
Ensure proper headset connection: Ensure that your Logitech headphones are securely connected to your device. If you’re using a wired connection, check that the headphone jack is fully inserted into the audio port. If you’re using a wireless connection, make sure that the Bluetooth pairing is successful and remains stable.
Update headphone drivers: Outdated drivers can cause sound issues. Visit the Logitech website and download the latest drivers specific to your headphone model. Install the drivers and restart your device to see if the sound is restored.
Reset the headphones: Sometimes a simple reset can resolve the problem. Refer to your headphone’s user manual for instructions on how to perform a reset. This action can clear any software glitches and restore normal functionality.
Troubleshoot Bluetooth connectivity: If you’re using Bluetooth headphones and experiencing no sound, try disconnecting and then reconnecting the headphones. Additionally, check for any interference from other Bluetooth devices or Wi-Fi routers in the vicinity. Moving closer to your device can also help establish a stable connection.
Verify charging cables and connections: If you have wireless headphones with a charging cable, ensure that the cable is securely connected to both the headphones and the power source. A loose connection can prevent sound from playing through the headphones.
Clean the headphone buttons: If your Logitech headphones have control buttons that have become unresponsive, they may be dirty or have debris lodged inside. Use a soft, lint-free cloth and gently clean the buttons to remove any dirt or grime that may be interfering with their functionality.
By following these troubleshooting steps, you can often identify and resolve the issue of no sound coming from your Logitech headphones. However, if the problem persists, it may be necessary to contact Logitech customer support or seek professional assistance for further troubleshooting or possible repair.
Sound quality issues
When using your Logitech headphones, encountering sound quality issues can be frustrating and diminish your audio experience. If you’re experiencing distorted sound, crackling, or muffled audio, there are several steps you can take to improve the sound quality.
Check the audio source: Start by ensuring that the audio source you are using is not the cause of the sound quality issues. Test your Logitech headphones with different devices or audio sources to see if the problem persists. If the issue only occurs with a specific device, it’s likely that the audio source itself is the source of the problem.
Inspect the audio cables: If you’re using wired Logitech headphones, check the audio cables for any visible damage such as frayed wires or loose connections. Damaged cables can interfere with the audio signal and result in poor sound quality. Consider replacing the cables if necessary.
Adjust audio settings: Ensure that the audio settings on your device are properly configured. Check the equalizer settings or sound enhancements and make adjustments accordingly. Experiment with different presets or manually adjust the bass, treble, and balance settings to find the optimal sound quality.
Update audio drivers: Outdated or incompatible audio drivers can also contribute to sound quality problems. Visit the manufacturer’s website for your device’s sound card or audio chipset and download the latest drivers. Install the drivers and restart your device to see if it improves the sound quality.
Resolve software conflicts: Sometimes, conflicts between different software programs or audio plugins can affect sound quality. Disable any unnecessary audio plugins or reinstall the audio software to troubleshoot any compatibility issues. Additionally, make sure that your operating system is up to date to avoid any potential conflicts.
Consider audio enhancements: If you’re still not satisfied with the sound quality, consider using audio enhancement software or applications that can enhance the audio output of your Logitech headphones. There are various third-party software options available that offer equalizer adjustments, sound effects, and virtual surround sound capabilities.
Inspect and clean the headphone drivers: If you’re comfortable doing so, check the headphone drivers for any physical obstructions or debris that may be affecting sound quality. Using a clean, soft brush or compressed air, carefully clean the drivers to remove any particles that may be interfering with sound reproduction.
By following these steps and troubleshooting sound quality issues, you can often improve the audio experience with your Logitech headphones. However, if the problem persists, it may be necessary to contact Logitech customer support or seek professional assistance for further troubleshooting or possible repair.
Microphone not working
Logitech headphones often come equipped with a built-in microphone, which is essential for gaming, video conferencing, or voice communication. If your microphone is not working, it can be frustrating and hinder your ability to communicate effectively. Here are some troubleshooting steps to help you fix this issue.
Check audio settings: Start by checking the audio settings on your device. Ensure that the microphone is not muted, and the input device is set to your Logitech headphones’ microphone. Adjust the microphone volume level to an appropriate setting.
Verify physical connections: Ensure that your Logitech headphones are properly connected to your device. For wired headphones, check that the headphone and microphone jacks are correctly inserted into the corresponding ports. If using a USB connection, ensure that the cable is securely plugged in.
Test the microphone on another device: To determine if the issue is with the headphones or the device, try connecting your Logitech headphones to another device with a microphone input. If the microphone still doesn’t work on the other device, it suggests a problem with the headphones’ microphone itself.
Check for driver updates: Outdated or incompatible microphone drivers can cause issues. Visit the Logitech website and download the latest drivers specific to your headphone model. Install the drivers and restart your device to see if the microphone starts working.
Adjust microphone settings: Dive into the audio settings of your device and adjust the microphone settings. Check the microphone volume, sensitivity, and noise cancellation options to ensure they are properly calibrated for optimal performance.
Check software settings and applications: Some communication or gaming applications have their own microphone settings. Make sure that the microphone is enabled in the application settings and that the correct input device is selected. Restarting the application or reinstalling it may also help resolve any software-related issues.
Update the operating system: Ensure that your device’s operating system is up to date. Sometimes, microphone issues can be resolved by installing the latest updates, which often include bug fixes and improvements for audio-related components.
If none of the above steps resolve the issue, it’s recommended to contact Logitech customer support for further assistance. They can provide specific troubleshooting steps tailored to your headphone model or suggest any necessary repairs or replacements.
Bluetooth connection problems
Bluetooth connectivity is a convenient feature of many Logitech headphones, allowing you to enjoy wireless freedom and mobility. However, there are instances when you may experience Bluetooth connection problems. Here are some troubleshooting steps to help resolve these issues.
Ensure device compatibility: Confirm that your device supports Bluetooth connectivity and is compatible with your Logitech headphones. Check the device’s specifications or consult the manufacturer’s website to ensure compatibility.
Pairing process: Make sure to follow the correct pairing process for your Logitech headphones. Refer to the user manual for the specific instructions on how to enter pairing mode and connect to your device. Double-check that your device’s Bluetooth is turned on and discoverable.
Clear paired devices: If you’re having trouble connecting to your device, it may be due to conflicting or previously paired devices. Clear the list of paired devices on both your headphones and your device, and then try pairing them again from scratch.
Check for interference: Bluetooth connectivity can be affected by other wireless devices or objects that cause interference. Move away from Wi-Fi routers, cordless phones, or other devices that operate on the same frequency range. Additionally, remove any physical obstructions between your headphones and the connected device.
Update firmware: Check if there are any firmware updates available for your Logitech headphones. Visit the Logitech website or use the manufacturer’s software if provided. Updating the firmware can often address connectivity issues and improve overall Bluetooth performance.
Restart and reset: Sometimes, a simple restart of both your headphones and the device you’re connecting to can resolve connection problems. If the issue persists, try performing a factory reset on your headphones as a last resort. Refer to the user manual for instructions on how to perform a reset.
Reinstall Bluetooth drivers: On your computer, if you’re experiencing Bluetooth connection issues, try reinstalling the Bluetooth drivers. Uninstall the existing drivers, restart your computer, and then install the latest Bluetooth drivers available from the manufacturer’s website.
If you continue to experience Bluetooth connection problems with your Logitech headphones, it may be necessary to contact Logitech customer support for further assistance. They can provide additional troubleshooting steps based on your specific headphone model and assist you in resolving any underlying issues.
Headphone not charging
For wireless Logitech headphones, a common issue that users encounter is when the headphones fail to charge properly. If you’re facing this problem, here are some troubleshooting steps to help you resolve the issue.
Check the charging cable and connections: Begin by examining the charging cable for any visible damage, such as frayed wires or loose connections. Make sure that the charging cable is securely connected to both the headphones and the power source. If necessary, try using a different charging cable to see if that resolves the issue.
Verify the power source: Ensure that the power source you’re using to charge your Logitech headphones is functioning properly. Try plugging the charging cable into a different power outlet or a different USB port on your computer to rule out any issues with the power source.
Check for battery depletion: It’s possible that the battery of your headphones is completely drained. Allow your headphones to charge for at least 30 minutes to an hour and check if the charging indicator lights up or if there are any signs of charging, such as LED indicators or a notification on your device.
Reset the headphones: Performing a reset on your Logitech headphones can sometimes resolve charging issues. Check the user manual for specific instructions on how to perform a reset. After the reset, attempt to charge the headphones again and see if the problem is resolved.
Inspect the charging port: Carefully inspect the charging port on both the headphones and the charging cable for any obstructions, debris, or damage. Use a soft brush or compressed air to clean out any dust or debris that may be preventing a proper connection. If there is physical damage to the charging port, contact Logitech customer support for further assistance.
Allow for extended charging time: In some cases, the battery may be extremely low, and the initial charging process may take longer than usual before any signs of charging are visible. Leave your headphones connected to the charger for an extended period, preferably overnight, to ensure that the battery gains enough power for normal operation.
If none of these troubleshooting steps resolve the issue and your Logitech headphones still do not charge properly, it’s recommended to contact Logitech customer support or consult with a professional for further assistance. They can provide you with more specific guidance based on your headphone model and help determine if any repairs or replacements are necessary.
Headphone buttons not functioning
Some Logitech headphones feature buttons that allow you to control volume, playback, and other functions conveniently. However, if these buttons are not working as expected, it can be frustrating. Here are some troubleshooting steps to help you fix the issue of headphone buttons not functioning.
Clean the buttons: Over time, dirt, grime, or debris can accumulate on the headphone buttons, affecting their responsiveness. Use a soft, lint-free cloth dampened with water or rubbing alcohol to gently clean the buttons. Ensure the headphones are disconnected from any power source before cleaning.
Inspect for physical damage: Carefully examine the buttons for any visible signs of damage, such as cracks or wear. If you notice any physical damage, it’s likely that the buttons are not functioning due to the damage. In such cases, it may be necessary to contact Logitech customer support for further assistance or possible repairs.
Check for software conflicts: Sometimes, conflicts between software programs can affect the functionality of the headphone buttons. Close any background applications or software that might be interfering with the button inputs. Restarting your device can also help resolve any temporary software conflicts.
Update headphone firmware: Check if there is a firmware update available for your Logitech headphones. Visit the Logitech website or use any manufacturer-provided software to check for updates. Installing the latest firmware can sometimes fix button functionality issues.
Reset the headphones: Performing a reset on your Logitech headphones can help resolve any software glitches that may be affecting the button functionality. Check the user manual for specific reset instructions. After performing the reset, check if the buttons are working properly.
Test the headphones on another device: Connect your Logitech headphones to a different device and check if the buttons work. This step helps determine if the issue is specific to your device or if it persists across multiple devices. If the buttons work on another device, it suggests that the problem lies with your original device.
Seek professional assistance: If none of the troubleshooting steps mentioned above resolve the issue, it is recommended to contact Logitech customer support or seek professional assistance. They can provide you with further guidance tailored to your headphone model, help diagnose any underlying issues, and offer potential solutions or repairs.
By following these troubleshooting steps, you can often restore the functionality of the buttons on your Logitech headphones. However, if the issue persists, it is best to reach out to Logitech customer support for more specific assistance.
Troubleshooting Steps
When faced with issues with your Logitech headphones, following the appropriate troubleshooting steps can help you identify and resolve the problem. Here are some general troubleshooting steps that can be applied to various issues:
- Check the user manual: Refer to the user manual that came with your Logitech headphones for specific troubleshooting instructions. The manual often provides valuable information on how to address common problems and offers detailed explanations for your particular headphone model.
- Visit the Logitech website: Logitech maintains a comprehensive support section on their website, providing solutions to a wide range of issues. Visit the Logitech support page and search for your specific headphone model to find troubleshooting guides, FAQs, and possibly software or firmware updates.
- Contact Logitech customer support: If the troubleshooting steps mentioned in the user manual or on the Logitech website do not resolve the issue, it’s advisable to reach out to Logitech customer support directly. They have dedicated personnel who can provide personalized assistance and guide you through the troubleshooting process or offer technical support.
- Consider firmware updates: Periodically check for any available firmware updates for your Logitech headphones. These updates often include bug fixes, performance improvements, and new features. Installing the latest firmware can resolve many software-related issues and ensure optimal functionality.
- Seek professional repair or replacement: If your Logitech headphones are still under warranty and all troubleshooting steps fail to resolve the issue, you may be eligible for repairs or a replacement. Contact Logitech customer support or the place of purchase to inquire about the warranty options and determine the best course of action.
It’s important to note that the specific troubleshooting steps may vary depending on the model and features of your Logitech headphones. Always refer to the user manual or visit the Logitech support page for model-specific instructions.
By following these troubleshooting steps and seeking the necessary support, you should be able to resolve most issues with your Logitech headphones and restore their optimal functionality, allowing you to enjoy your audio experience to the fullest.
Check the audio settings
When encountering issues with your Logitech headphones, the first troubleshooting step is to ensure that the audio settings on your device are correctly configured. Misconfigured audio settings can often cause problems with sound output or mic input. Here’s how you can check and adjust the audio settings:
- Volume levels: Verify that the volume is not set to zero or muted. Adjust the volume slider to an appropriate level and test if you can hear sound through your Logitech headphones.
- Output device selection: Ensure that the correct output device is selected for audio playback. On Windows, right-click the volume icon in the taskbar, select “Playback devices,” and choose your Logitech headphones as the default playback device. On macOS, open System Preferences, go to the “Sound” settings, and select your Logitech headphones as the output device.
- Input device selection: If your Logitech headphones come with a built-in microphone, you may need to select them as the input device for recording or communication. Follow a similar process as above but select your Logitech headphones as the default input device.
- Sound enhancements and equalizer settings: Some devices or audio software offer sound enhancements or equalizer settings. Check if any sound enhancements, such as noise cancellation or surround sound, are disabled or set to your preference. Adjust the equalizer settings to optimize the audio output based on your preferences.
- Device-specific settings: Depending on your device or operating system, there may be additional audio settings to consider. For example, on smartphones or tablets, you may find specific audio settings within the device’s settings app. Explore these options and adjust them according to your requirements.
After adjusting the audio settings, test your Logitech headphones to see if the issue is resolved. If you’re still experiencing problems, continue with the other troubleshooting steps outlined in this article.
It’s worth noting that the exact steps and options for adjusting audio settings may vary based on your device or operating system. Refer to the documentation specific to your device or consult the manufacturer’s website for more detailed instructions.
By ensuring that your audio settings are properly configured, you can troubleshoot and eliminate any potential issues related to sound output or microphone input with your Logitech headphones.
Ensure proper headset connection
When facing issues with your Logitech headphones, it’s important to ensure that you have a proper connection between the headset and your device. A faulty or loose connection can result in audio problems or a non-functioning microphone. To ensure a proper headset connection, follow these steps:
- Wired connections: If you’re using wired Logitech headphones, check that the headphone jack is fully inserted into the audio port of your device. Make sure it is pushed in completely to establish a secure connection. Additionally, check the integrity of the cable itself for any signs of damage or fraying. If the cable is damaged, consider replacing it.
- Wireless connections: For Logitech wireless headphones, ensure the Bluetooth connection is properly established. Activate the Bluetooth feature on your device and put your headphones in pairing mode, following the specific instructions provided in the user manual. Once the pairing is successful, verify that the headphones are connected to your device on the Bluetooth settings page.
- Verify compatibility: Confirm that your Logitech headphones are compatible with the device you’re trying to connect them to. Check for any compatibility requirements mentioned in the user manual or Logitech’s website. Some headphones may have specific compatibility limitations or require certain software or drivers to function correctly.
- Try different ports or devices: If you’re experiencing connection issues, try plugging your wired Logitech headphones into a different audio port on your device. Sometimes, a faulty audio jack can be the cause of the problem. If possible, test your headphones on a different device to determine if the issue lies with the headphones or the original device.
- Clean the headset connectors: Over time, dust or debris can accumulate on the headset connectors, affecting the connection quality. Be sure to power off your Logitech headphones and use a dry, soft cloth or compressed air to gently clean the connectors. Avoid using any liquids or abrasive materials that could cause damage.
After ensuring a proper headset connection, check if the audio and microphone are functioning correctly. If you’re still experiencing issues, proceed to the next troubleshooting steps provided in this article.
Remember that the specific steps for establishing proper headset connections may vary depending on your Logitech headphone model and the type of connection (wired or wireless). Consult the user manual or Logitech’s support resources for more detailed instructions tailored to your specific headphones.
By verifying and ensuring a proper headset connection, you can eliminate connectivity-related problems with your Logitech headphones and enhance your overall audio experience.
Update headphone drivers
Outdated or incompatible headphone drivers can often lead to issues with your Logitech headphones. Updating the drivers can not only fix existing problems but also improve compatibility and performance. Follow these steps to update the headphone drivers:
- Visit the Logitech website: Go to the Logitech website and navigate to the support section. Look for the “Downloads” or “Support” page, where you can find the latest drivers for your specific Logitech headphone model.
- Find the appropriate drivers: On the Logitech support page, enter the model name or number of your Logitech headphones in the search bar. Locate the driver download section related to your headphone model. Make sure you select the driver that corresponds to your operating system (Windows, macOS, etc.).
- Download and install the drivers: Once you’ve found the correct driver download, click on it to start the download. Save the file to a location on your computer where you can easily access it. After the download is complete, run the installer file and follow the on-screen instructions to install the updated drivers.
- Restart your device: After installing the updated drivers, it’s recommended to restart your device. Restarting helps ensure that the changes take effect and that the updated drivers are properly integrated into the system.
- Test the headphones: Once your device has restarted, test your Logitech headphones to see if the driver update resolved the issue. Check if both audio playback and microphone functionality are working as expected. Test the different features of your headphones, such as volume control or playback buttons, to verify that they’re functioning properly.
If you encounter any difficulties during the driver update process or if the problem persists even after updating the drivers, it’s recommended to contact Logitech customer support for further assistance. They can provide personalized guidance and help troubleshoot the issue specific to your Logitech headphone model.
Remember that driver update processes can vary depending on your operating system and Logitech headphone model. If you’re unsure about the update process or need more detailed instructions, consult the Logitech user manual or visit the support resources available on the Logitech website.
By keeping your Logitech headphone drivers up to date, you can ensure compatibility with your operating system and address any known issues, providing a smoother and more reliable audio experience.
Reset the headphones
Performing a reset on your Logitech headphones can sometimes resolve problems that arise due to software glitches or configuration errors. Resetting the headphones restores them to their default settings and can help eliminate any issues that may be hindering their functionality. Follow these steps to reset your Logitech headphones:
- Refer to the user manual: Locate the user manual that came with your Logitech headphones. The manual should contain specific instructions on how to perform a reset. Different models may have different reset methods, so it’s important to refer to the documentation that pertains to your particular headphone model.
- Identify the reset button or combination: Once you have the user manual, look for information about the reset button or the combination of buttons that need to be pressed to initiate the reset. This may involve pressing and holding a specific button or a combination of buttons for a certain period of time.
- Perform the reset procedure: Follow the instructions outlined in the user manual to perform the reset. Typically, this involves pressing and holding the reset button or buttons for a few seconds until you see a confirmation LED light or another indication that the headphones have been reset.
- Power cycle the headphones: After resetting the headphones, power cycle them by turning them off and then on again. This helps ensure that the reset takes effect properly and allows the headphones to reboot with the default settings.
- Reconnect and test the headphones: Once the headphones have powered back up, reconnect them to your device or audio source and test them for functionality. Check if the sound output, microphone, and any additional features on your Logitech headphones are working as expected.
If the reset process doesn’t resolve the issue or if you’re still experiencing problems, consult the Logitech support resources or reach out to their customer support team for further assistance. They can provide specific guidance tailored to your headphone model or recommend any additional troubleshooting steps.
Keep in mind that performing a reset will revert your Logitech headphones back to their factory defaults. This means that any custom settings or configurations you may have applied will be lost. Take note of any personalized settings you want to restore after the reset so that you can easily reapply them if necessary.
By resetting your Logitech headphones, you can often eliminate software-related issues and restore them to their default state, potentially resolving any problems that were affecting their performance.
Troubleshoot Bluetooth connectivity
If you’re experiencing Bluetooth connectivity issues with your Logitech headphones, there are several troubleshooting steps you can take to address the problem. Follow these steps to troubleshoot Bluetooth connectivity:
- Ensure Bluetooth is enabled: Check that Bluetooth is enabled on the device you’re trying to connect to. On most devices, you can find the Bluetooth settings in the system settings or notification panel. Turn Bluetooth on if it’s currently disabled.
- Place the devices close together: Make sure that the Logitech headphones and the device you’re connecting to are in close proximity. Bluetooth has a limited range, and interference can occur if the devices are too far apart. Bringing them closer together can help establish a stronger and more stable connection.
- Clear device pairing history: Remove any previously paired or connected devices from the Bluetooth pairing history on both your Logitech headphones and the device you’re trying to connect to. Clearing the pairing history helps eliminate any potential conflicts or issues with outdated connections.
- Reset Bluetooth settings: If your device has an option to reset the Bluetooth settings, consider performing a reset. This action clears any custom Bluetooth configurations and reverts the settings back to their default state, potentially resolving any underlying Bluetooth connectivity issues.
- Check for firmware updates: Visit the Logitech website or use their provided software to check if there are any firmware updates available for your Logitech headphones. Updating the firmware can often address known Bluetooth connectivity issues and improve the overall performance.
- Restart the devices: Turn off both your Logitech headphones and the device you’re connecting to. After a few seconds, turn them back on. Restarting the devices can refresh their settings and establish a new Bluetooth connection that might resolve any temporary issues.
- Disable power-saving mode: Some devices have power-saving modes that can affect Bluetooth connectivity. Check your device’s settings and ensure that power-saving mode is disabled or adjusted to allow uninterrupted Bluetooth connections.
- Try another Bluetooth device: If possible, attempt to pair your Logitech headphones with another Bluetooth device. This can help determine if the problem lies with the headphones or the original device. If the headphones connect successfully to another device, it suggests a problem with the original device’s Bluetooth capabilities.
If the above troubleshooting steps do not resolve the Bluetooth connectivity issue with your Logitech headphones, contact Logitech customer support for further assistance. They can provide model-specific troubleshooting steps and help diagnose any underlying issues.
Remember that the exact steps for troubleshooting Bluetooth connectivity may vary depending on your specific device and Logitech headphone model. Consult the Logitech documentation or support resources for more detailed instructions tailored to your situation.
By following these troubleshooting steps, you can often resolve Bluetooth connectivity issues and enjoy a seamless wireless connection with your Logitech headphones.
Verify charging cables and connections
If you’re facing issues with charging your Logitech headphones, it’s essential to verify the charging cables and connections to ensure a proper power supply. Here are some troubleshooting steps to help you in this process:
- Examine the charging cable: Inspect the charging cable for any visible damage, such as frayed wires or bent connectors. A damaged cable may not provide a consistent power supply to the headphones. If you notice any damage, consider using a new or replacement charging cable.
- Check the charging cable connection: Ensure that the charging cable is securely connected to both the headphones and the power source. Sometimes, a loose connection can prevent proper charging. Disconnect and reconnect the cable at both ends, ensuring a snug fit.
- Try a different charging cable and adapter: If possible, test your Logitech headphones with a different charging cable and adapter to determine if the issue lies with the original cable or adapter. Using a different set of charging accessories can help identify if the problem is specific to the cable or the headphones themselves.
- Use a different power source: If you’re using a wall adapter to charge your headphones, try using a different power outlet. Sometimes, the power source may be the cause of the problem, such as a faulty outlet or power surge. Additionally, try connecting the charging cable to a different USB port on your computer if applicable.
- Clean the charging port: Over time, debris or dust may accumulate in the charging port, hindering the connection and preventing proper charging. Use a soft, dry brush or compressed air to carefully clean the charging port of any obstructions. Ensure the headphones are powered off before cleaning.
- Check for an LED indicator: Many Logitech headphones have LED indicators that display the charging status. If available, check if the LED lights up or blinks when you connect the charging cable. This can indicate whether the headphones are successfully receiving power or if there’s a potential issue.
If the above troubleshooting steps don’t resolve the charging issue with your Logitech headphones, reach out to Logitech customer support for further assistance. They can provide specific guidance and help troubleshoot any underlying problems.
Keep in mind that charging cables and connection issues can vary depending on the specific Logitech headphone model you own. Refer to the user manual or Logitech’s support documentation for any model-specific instructions.
By verifying the charging cables and connections, you can ensure a reliable power supply to your Logitech headphones, allowing them to charge properly and ensuring prolonged usage.
Clean the headphone buttons
If the buttons on your Logitech headphones are unresponsive or not functioning as expected, it’s possible that dirt, debris, or grime may be interfering with their operation. Cleaning the headphone buttons can often restore their functionality. Follow these steps to clean the buttons effectively:
- Power off the headphones: Before cleaning the buttons, turn off your Logitech headphones to avoid any accidental actions or changes in settings.
- Use a soft, lint-free cloth: Take a soft, lint-free cloth and gently wipe over the buttons. This helps remove surface-level dust or dirt that may be obstructing the button mechanisms.
- Apply mild cleaning solution if necessary: If stubborn dirt or grime remains on the buttons, you can lightly dampen the cloth with water or a mild cleaning solution. Make sure the cloth is not soaking wet to prevent liquid from seeping into the buttons and causing damage.
- Gently clean the buttons: With the moistened cloth, gently clean the buttons by applying slight pressure and using circular or back-and-forth motions. Take care not to press too hard or get excess moisture into the headphone unit.
- Dry the buttons: After cleaning, use a dry portion of the cloth to dry the buttons thoroughly. This helps remove any remaining moisture and prevents potential damage to the headphone unit.
- Allow time for drying: If the buttons are still slightly damp, wait for them to air dry completely before turning on your Logitech headphones. This reduces the risk of any moisture interfering with the internal components.
It’s important to note that not all Logitech headphone models have buttons that are easily accessible for cleaning. Some buttons may be more sensitive or have a protective cover. Refer to the user manual or Logitech’s support resources for model-specific information on how to clean the buttons properly.
Cleaning the headphone buttons periodically can help maintain their responsiveness and ensure a smooth user experience. By removing any dirt or debris, you can ensure that the buttons work as intended, allowing easy control over volume, playback, and other functions of your Logitech headphones.
Conclusion
Logitech headphones are known for their exceptional sound quality and comfort, but like any electronic device, they can occasionally encounter issues. By following the troubleshooting steps provided in this article, you can resolve common problems and restore the optimal performance of your Logitech headphones.
We covered various issues that users may encounter, such as no sound, sound quality issues, microphone problems, Bluetooth connectivity issues, charging problems, unresponsive buttons, and more. For each issue, we provided troubleshooting steps tailored to address the specific problem at hand.
Remember to check your audio settings, ensure proper headset connections, update headphone drivers, reset the headphones, troubleshoot Bluetooth connectivity, verify charging cables and connections, and clean the headphone buttons. These steps can help you resolve most issues and get your Logitech headphones back to working order.
If the troubleshooting steps outlined in this article do not resolve the issue, it is recommended to contact Logitech customer support for further assistance. They have dedicated professionals who can provide personalized guidance and help troubleshoot any specific issues related to your Logitech headphone model.
By following these troubleshooting steps and seeking the necessary support, you can ensure the optimal performance and longevity of your Logitech headphones, allowing you to enjoy an immersive audio experience in your music, gaming, or communication sessions.