Introduction
Setting up your Logitech G933 headset is a crucial step to ensure an immersive gaming or entertainment experience. This powerful wireless headset boasts impressive features such as customizable lighting effects, programmable G-keys, and advanced audio settings. Whether you’re a gaming enthusiast or simply looking to enhance your audio experience, the Logitech G933 delivers exceptional sound quality and versatility.
In this guide, we will walk you through the step-by-step process of setting up your Logitech G933 headset. From unboxing to adjusting audio settings and customizing lighting effects, we’ll cover everything you need to know to get the most out of your headset.
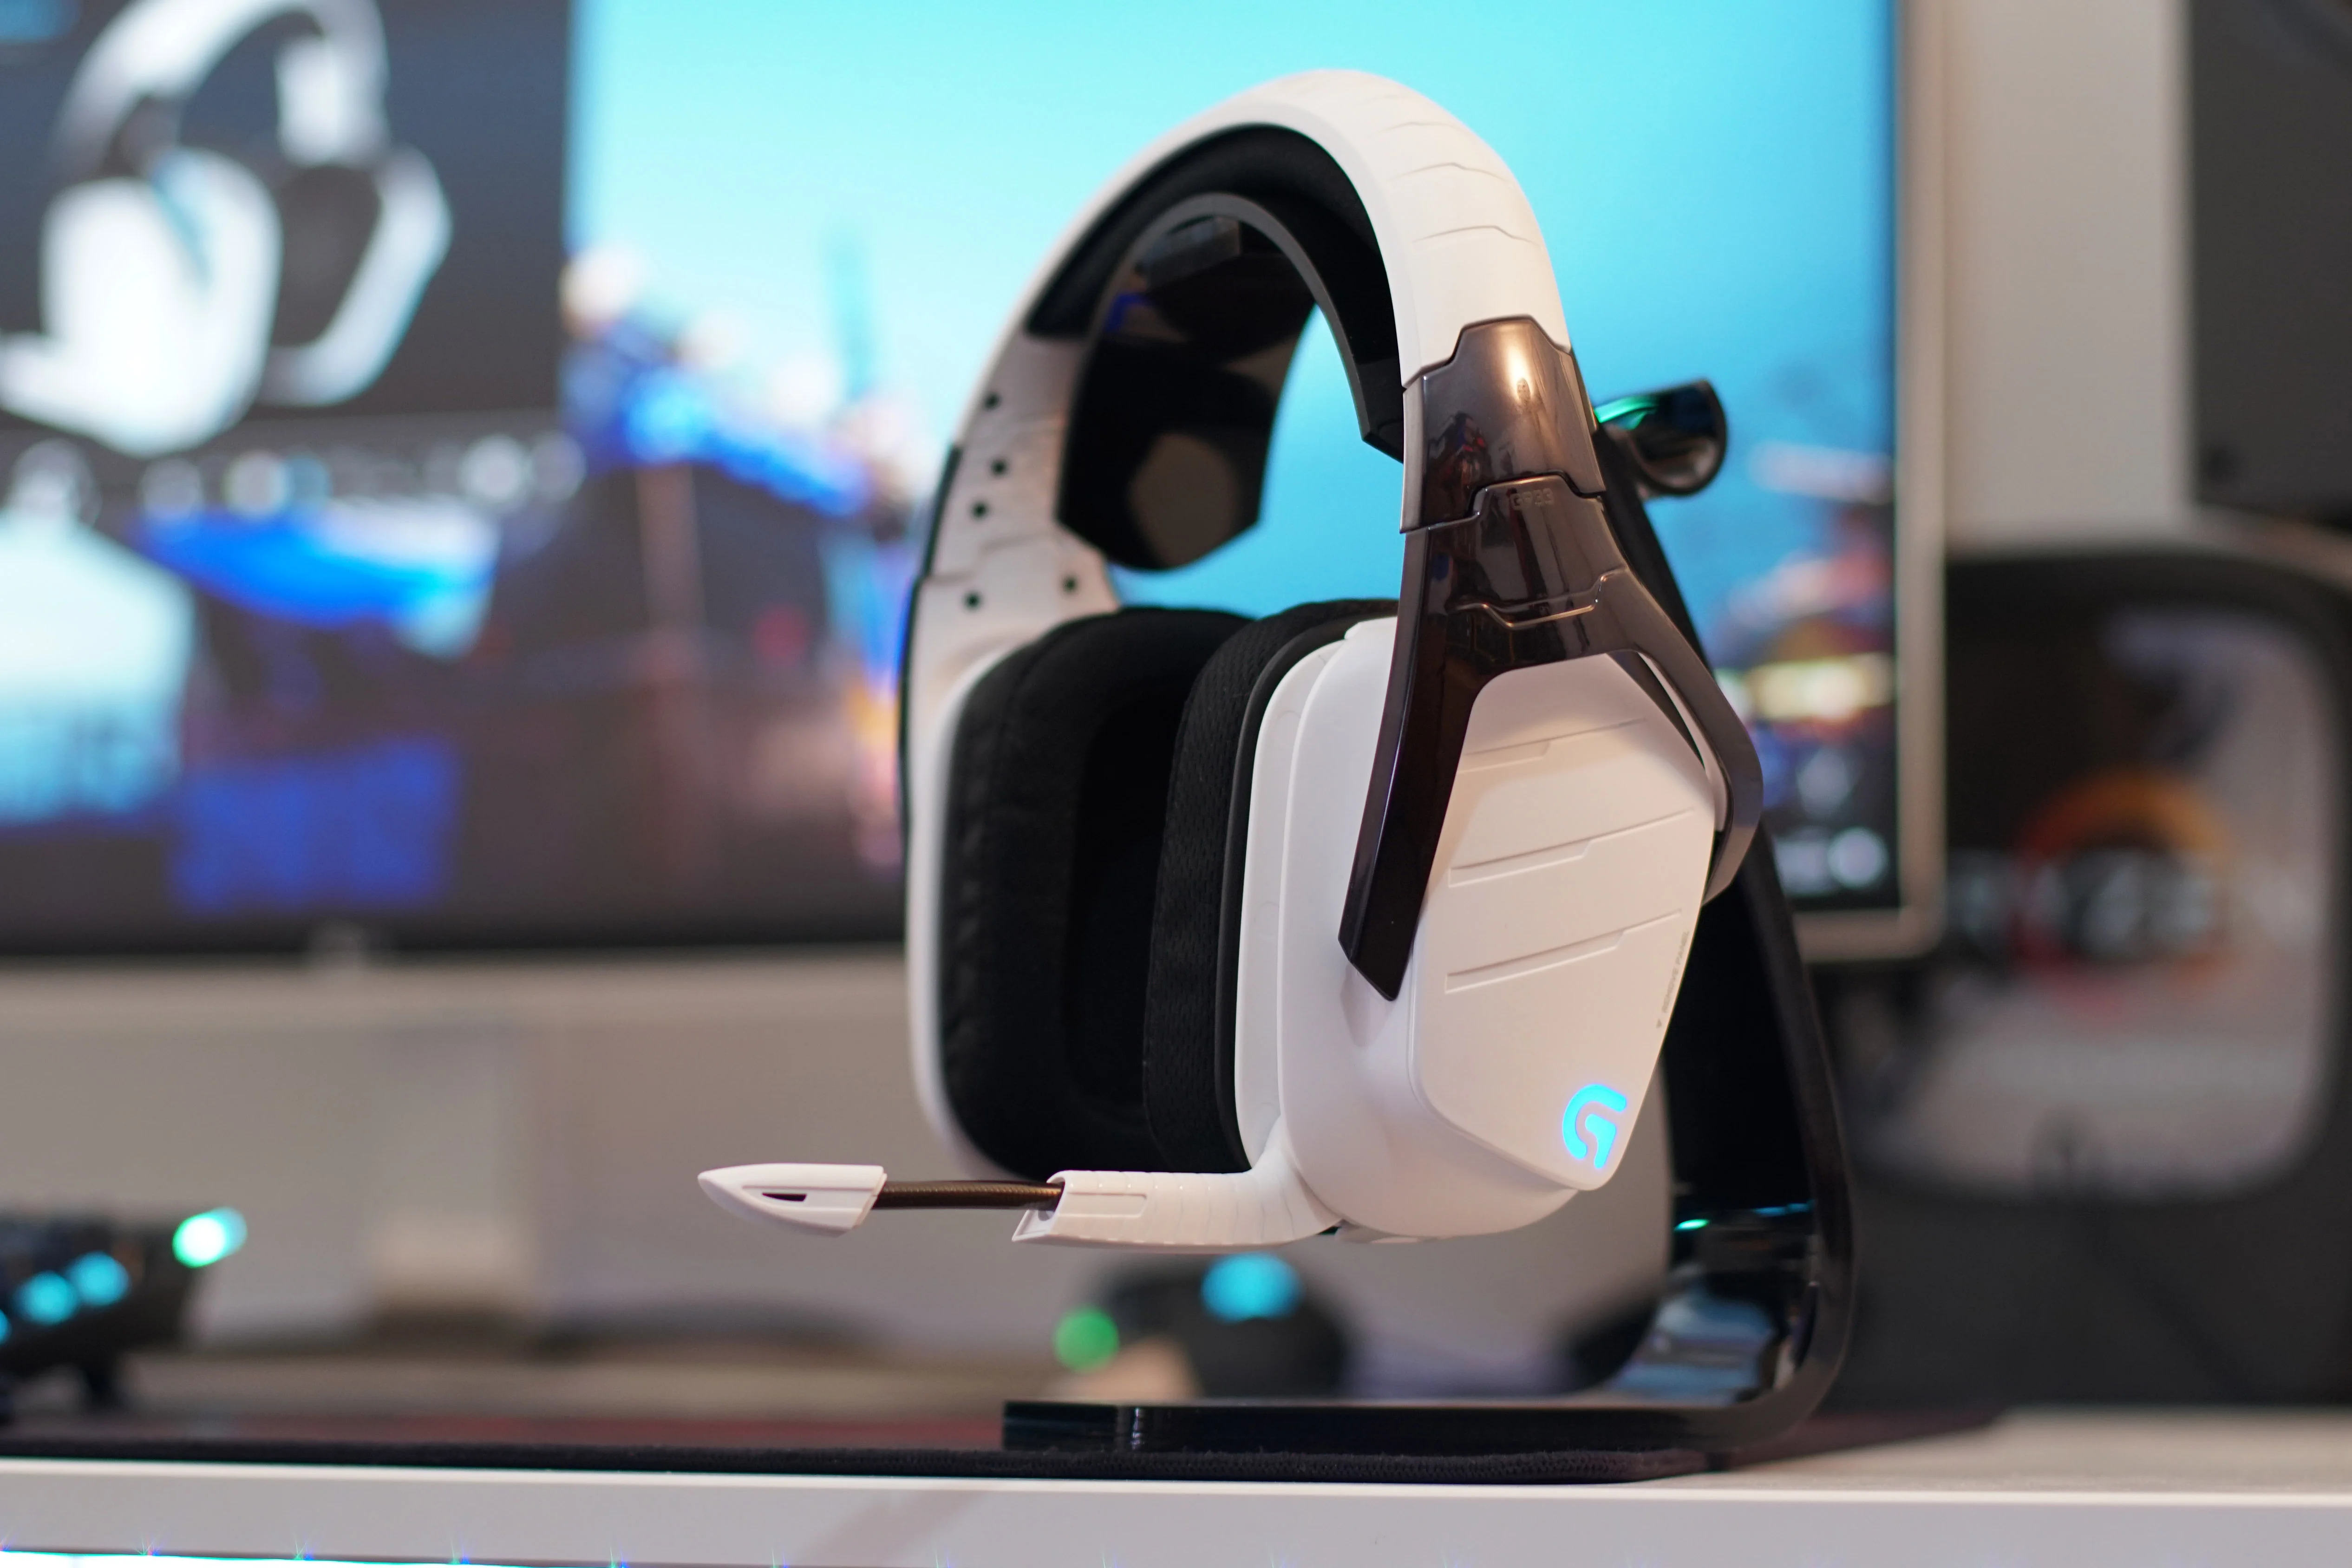
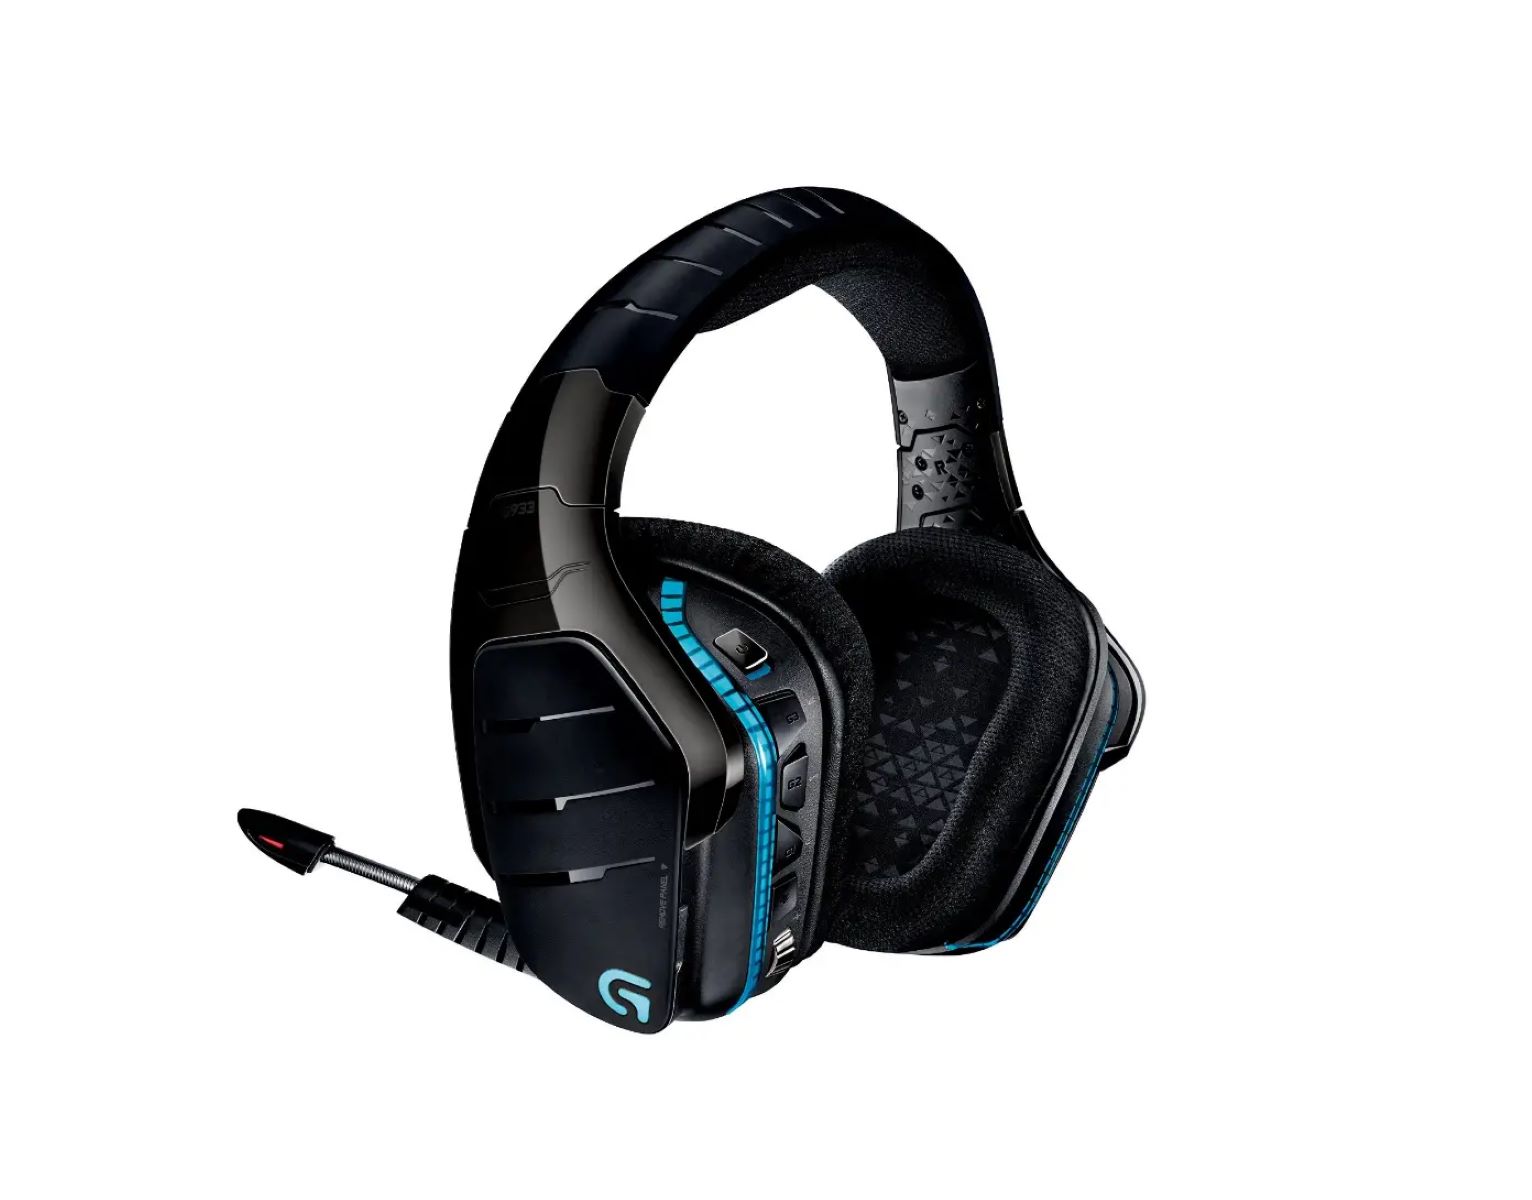
Before we dive into the setup process, let’s take a moment to appreciate the sleek and stylish design of the Logitech G933. The headset features a modern, ergonomic design, with plush ear cups and an adjustable headband for maximum comfort during long gaming sessions. The headset also comes with a detachable microphone, allowing you to communicate clearly with your teammates or friends while gaming.
Now that we’ve covered the basics, let’s get started with the setup process for your Logitech G933 headset.
Unboxing and Contents
When you first receive your Logitech G933 headset, it’s important to unbox it carefully to ensure you have all the necessary components. The packaging is designed to protect the headset during transportation, so take your time and remove the items from the box without rushing.
Inside the box, you will find the following items:
- The Logitech G933 wireless headset
- A USB wireless receiver
- A USB charging cable
- A 3.5mm analog cable
- A detachable microphone
- A user manual
Once you have confirmed that all the components are present, you can proceed with the setup process. Before connecting the headset to your computer, make sure to charge it fully using the USB charging cable. This will ensure that you have sufficient power for extended gaming or entertainment sessions.
The Logitech G933 headset features a durable construction with high-quality materials, ensuring that it will withstand the test of time. The ear cups are cushioned for maximum comfort, and the headband can be adjusted to fit your head size perfectly. The detachable microphone is also a convenient feature, allowing you to remove it when not in use.
Now that you are familiar with the contents of the box and the design of the Logitech G933 headset, let’s move on to the next step: connecting the headset to your computer.
Connecting the Headset to your Computer
Before you can start enjoying the immersive audio experience of the Logitech G933 headset, you need to connect it to your computer. The headset offers both wired and wireless connectivity options, giving you flexibility based on your preferences and setup.
If you prefer a wired connection, you can use the included 3.5mm analog cable to connect the headset to your computer’s audio jack. Simply plug one end of the cable into the headset’s audio port and the other end into your computer’s audio jack. This connection method is quick and straightforward, ensuring that you can start using the headset right away.
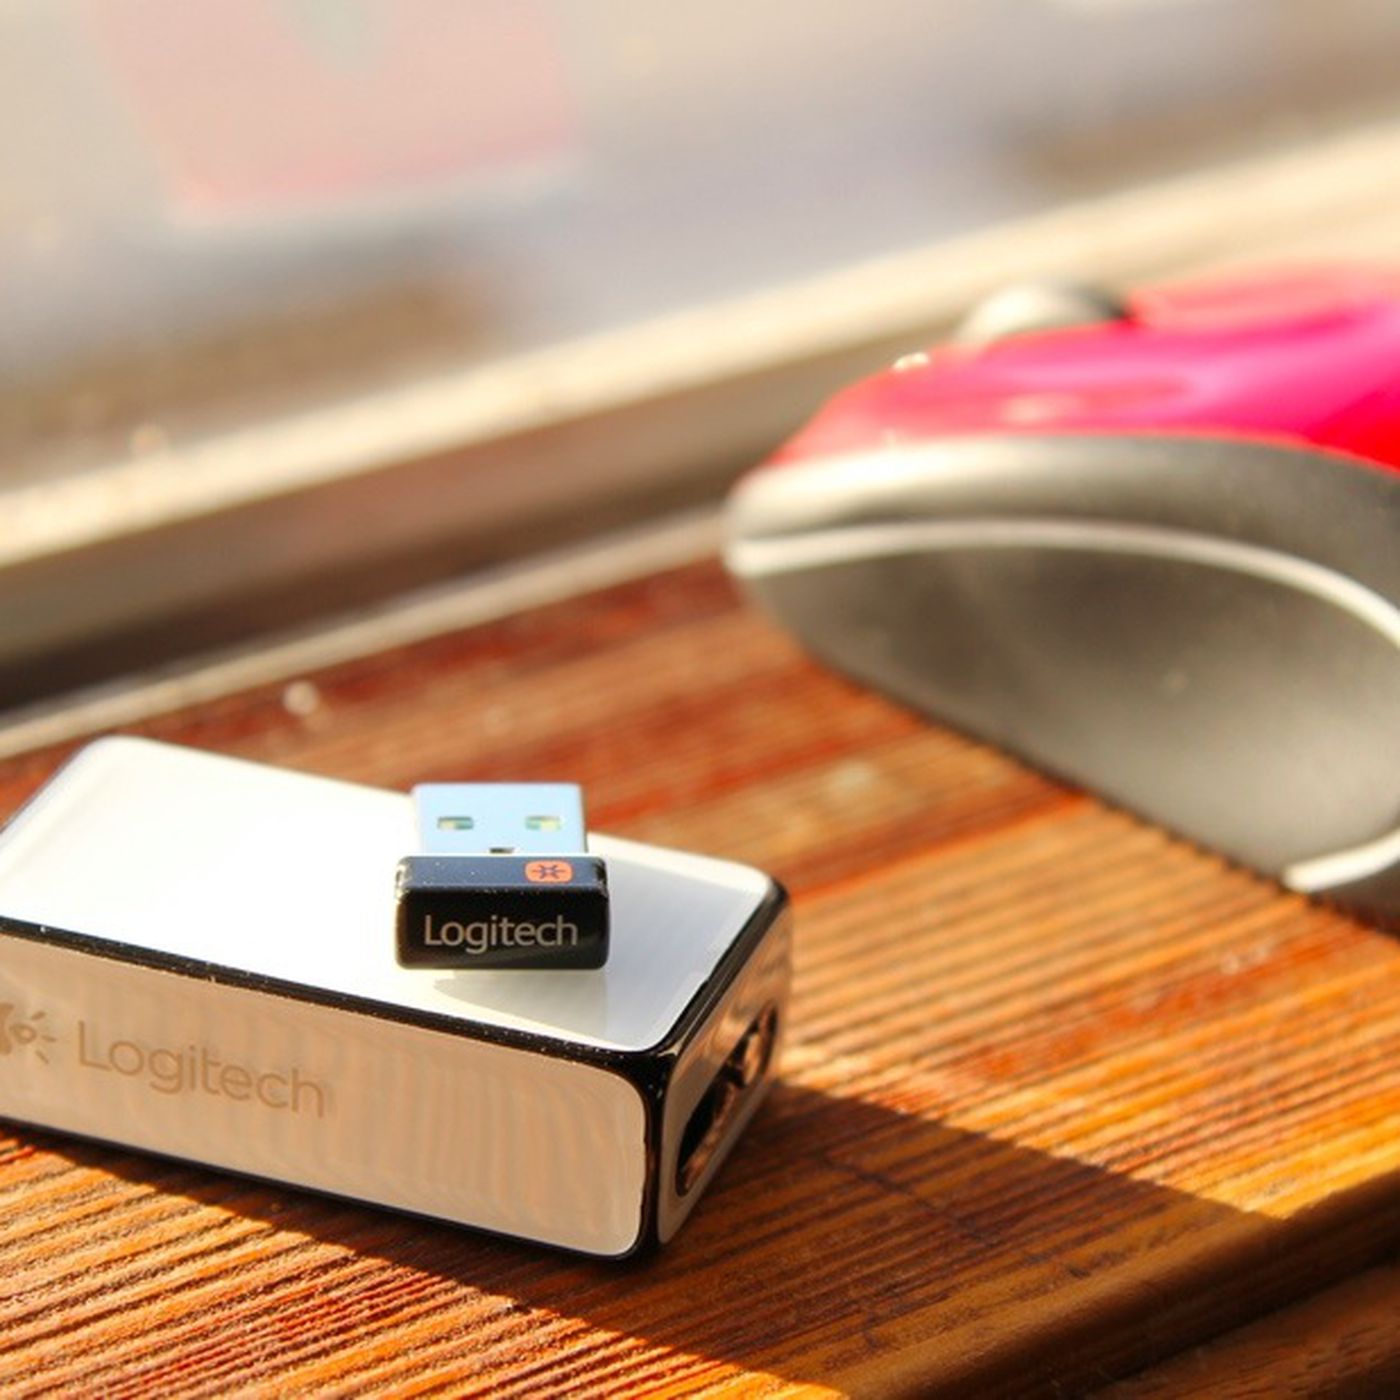
For wireless connectivity, you will need to use the USB wireless receiver that comes with the Logitech G933. Insert the USB receiver into an available USB port on your computer. Make sure the receiver is placed in a location that has a clear line of sight to the headset for optimal wireless performance.
To establish a wireless connection between the headset and the USB receiver, turn on the headset by sliding the power switch to the “On” position. The Power indicator light on the headset will illuminate, indicating that it is powered on. The headset will automatically connect to the USB receiver, and you will hear a notification sound in your headphones confirming the connection.
It’s important to note that the Logitech G933 headset uses a 2.4GHz wireless connection, which provides a stable and reliable signal for uninterrupted audio playback. This wireless technology offers a range of up to 15 meters, allowing you to move around freely while staying connected to your computer.
With the headset successfully connected to your computer, you are now ready to move on to the next step: installing the Logitech software to unlock additional features and customization options for your headset.
Installing the Logitech Software
To fully utilize the potential of your Logitech G933 headset and access its advanced features, it is recommended to install the Logitech software. The software provides a user-friendly interface that allows you to customize various settings and personalize your audio experience.
The first step is to visit the Logitech website and search for the Logitech G933 product page. Once you have found the page, navigate to the “Support” or “Downloads” section. Here, you will find the software download option specific to your operating system.
Click on the download link and follow the on-screen instructions to complete the installation process. Once the software is installed, you can launch it and connect your Logitech G933 headset to your computer if it is not already connected.
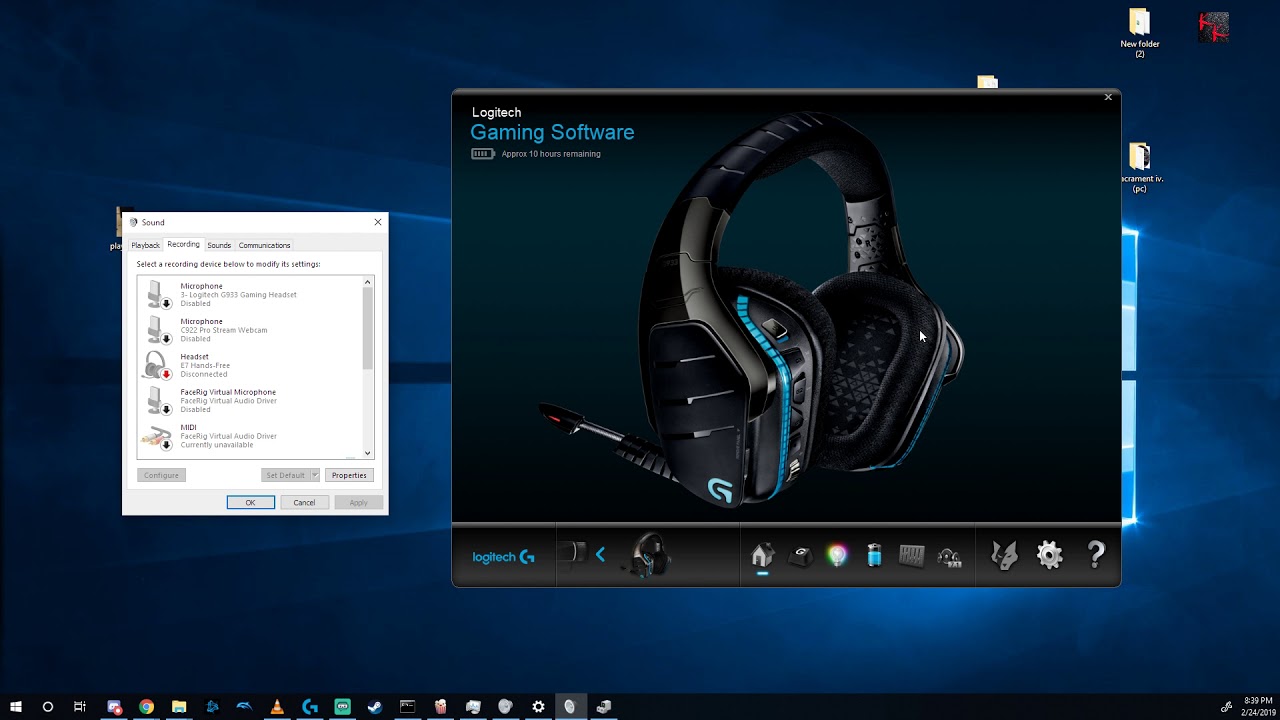
Upon launching the software, you will be greeted with a dashboard that displays various options to customize your headset. These options may include audio EQ settings, surround sound configurations, mic monitoring, and more.
One of the key features of the software is the ability to customize the audio settings to your liking. You can fine-tune the equalizer settings to enhance specific frequencies or choose from pre-defined audio presets for different genres, such as gaming, music, or movies. This level of customization allows you to tailor the audio output to suit your preferences and optimize your gaming or multimedia experience.
Additionally, the Logitech software also provides options to update the firmware of your headset. Regular firmware updates ensure that your headset is up to date with the latest features and bug fixes, improving overall performance and compatibility.
With the Logitech software installed, you now have access to a range of customization options and firmware updates for your Logitech G933 headset. Next, let’s move on to the process of pairing the headset with the USB receiver for seamless wireless connectivity.
Pairing the Headset with the USB Receiver
In order to enjoy wireless connectivity with your Logitech G933 headset, you need to pair it with the USB receiver. Pairing ensures a secure and stable wireless connection, allowing you to experience uninterrupted audio playback.
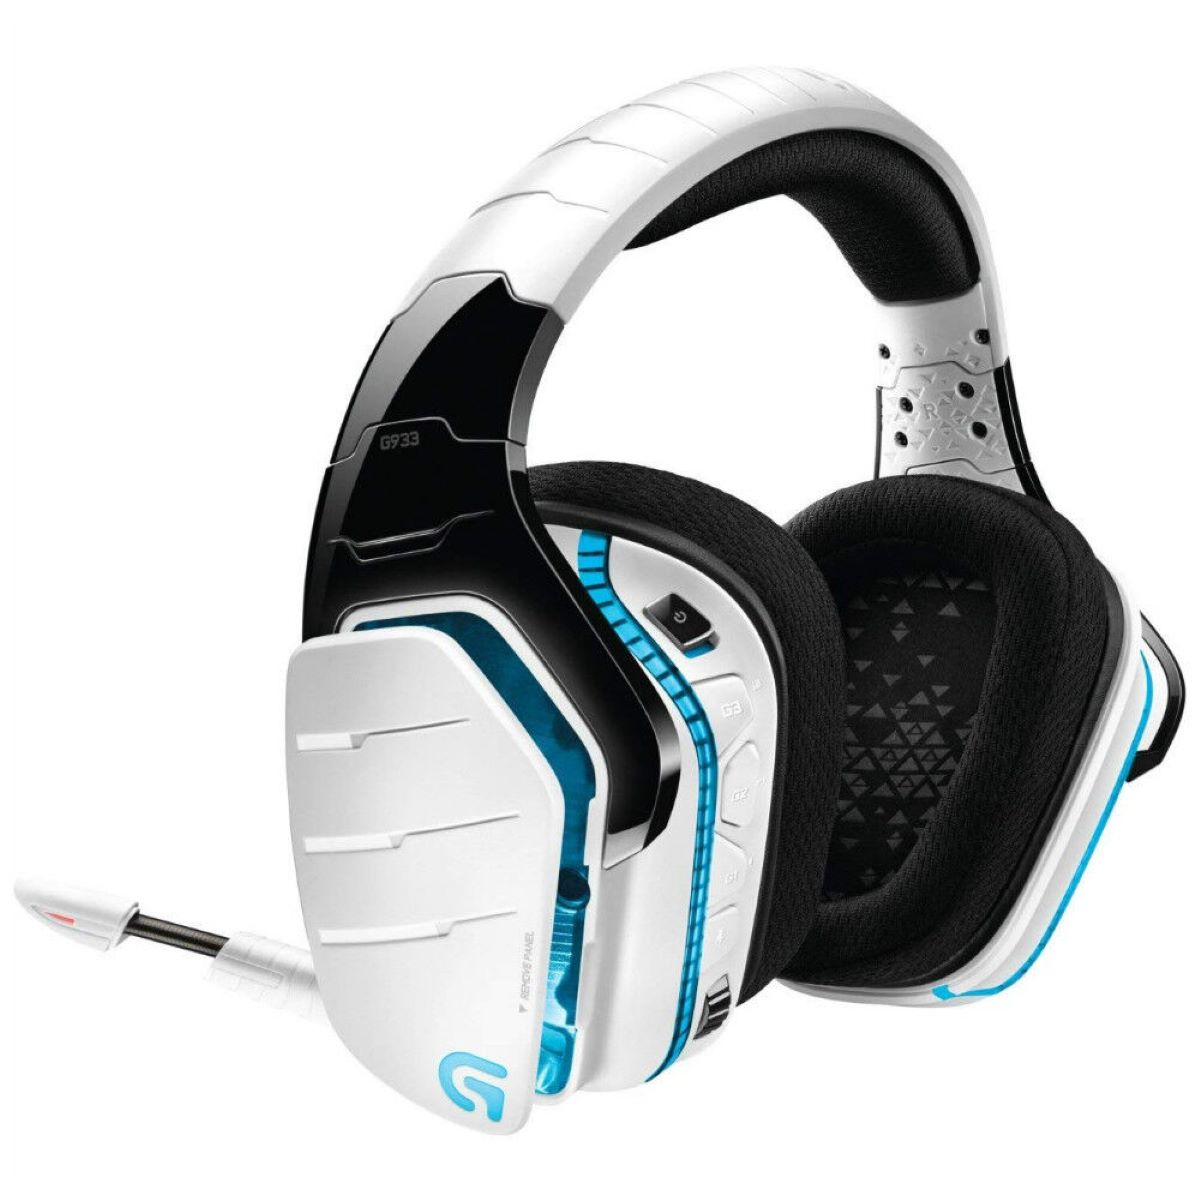
To begin the pairing process, make sure both your headset and the USB receiver are powered on. If the headset is not already turned on, slide the power switch to the “On” position. The Power indicator light on the headset will illuminate, indicating that it is powered on.
Next, locate the pairing button on the USB receiver. It is usually located on the side or bottom of the receiver. Press and hold the pairing button for a few seconds until the LED on the receiver starts blinking. This indicates that the receiver is in pairing mode.
On your Logitech G933 headset, locate the multi-function button on the side of the headset. Press and hold this button for a few seconds until you hear a tone and the LED on the headset starts blinking rapidly. This signifies that the headset is also in pairing mode.
Now, the headset and the USB receiver will attempt to establish a connection. This process may take a few seconds. Once the pairing is successful, you will hear a confirmation tone in your headphones, and the LED on the headset and USB receiver will stop blinking and remain solid.
It’s important to note that the Logitech G933 headset can pair with multiple devices, such as your computer and smartphone, but it can only connect to one device at a time. To switch between devices, you will need to follow the pairing process again.
In the event that the pairing process is not successful, make sure the headset and the USB receiver are within range of each other, with a clear line of sight. Additionally, ensure that the USB receiver is inserted into a USB port on your computer and is not obstructed.
With the headset successfully paired with the USB receiver, you can now enjoy the freedom of wireless audio playback with your Logitech G933 headset. In the next section, we will explore how to adjust the audio settings to enhance your audio experience.
Adjusting the Audio Settings
Once you have successfully set up your Logitech G933 headset and paired it with the USB receiver, it’s time to fine-tune the audio settings to ensure optimal sound quality. The Logitech software provides several options for adjusting the audio settings to your liking.
Open the Logitech software on your computer and navigate to the audio settings section. Here, you will find various options to customize your audio experience. One of the key features is the equalizer, which allows you to adjust the levels of different frequencies to suit your preferences.
Experiment with the equalizer settings by boosting or reducing specific frequencies to enhance the audio output. For example, if you’re a bass enthusiast, you can increase the lower frequencies for a more powerful bass response. Conversely, if you prefer a more balanced sound, you can level out the frequency curve by adjusting the sliders accordingly.
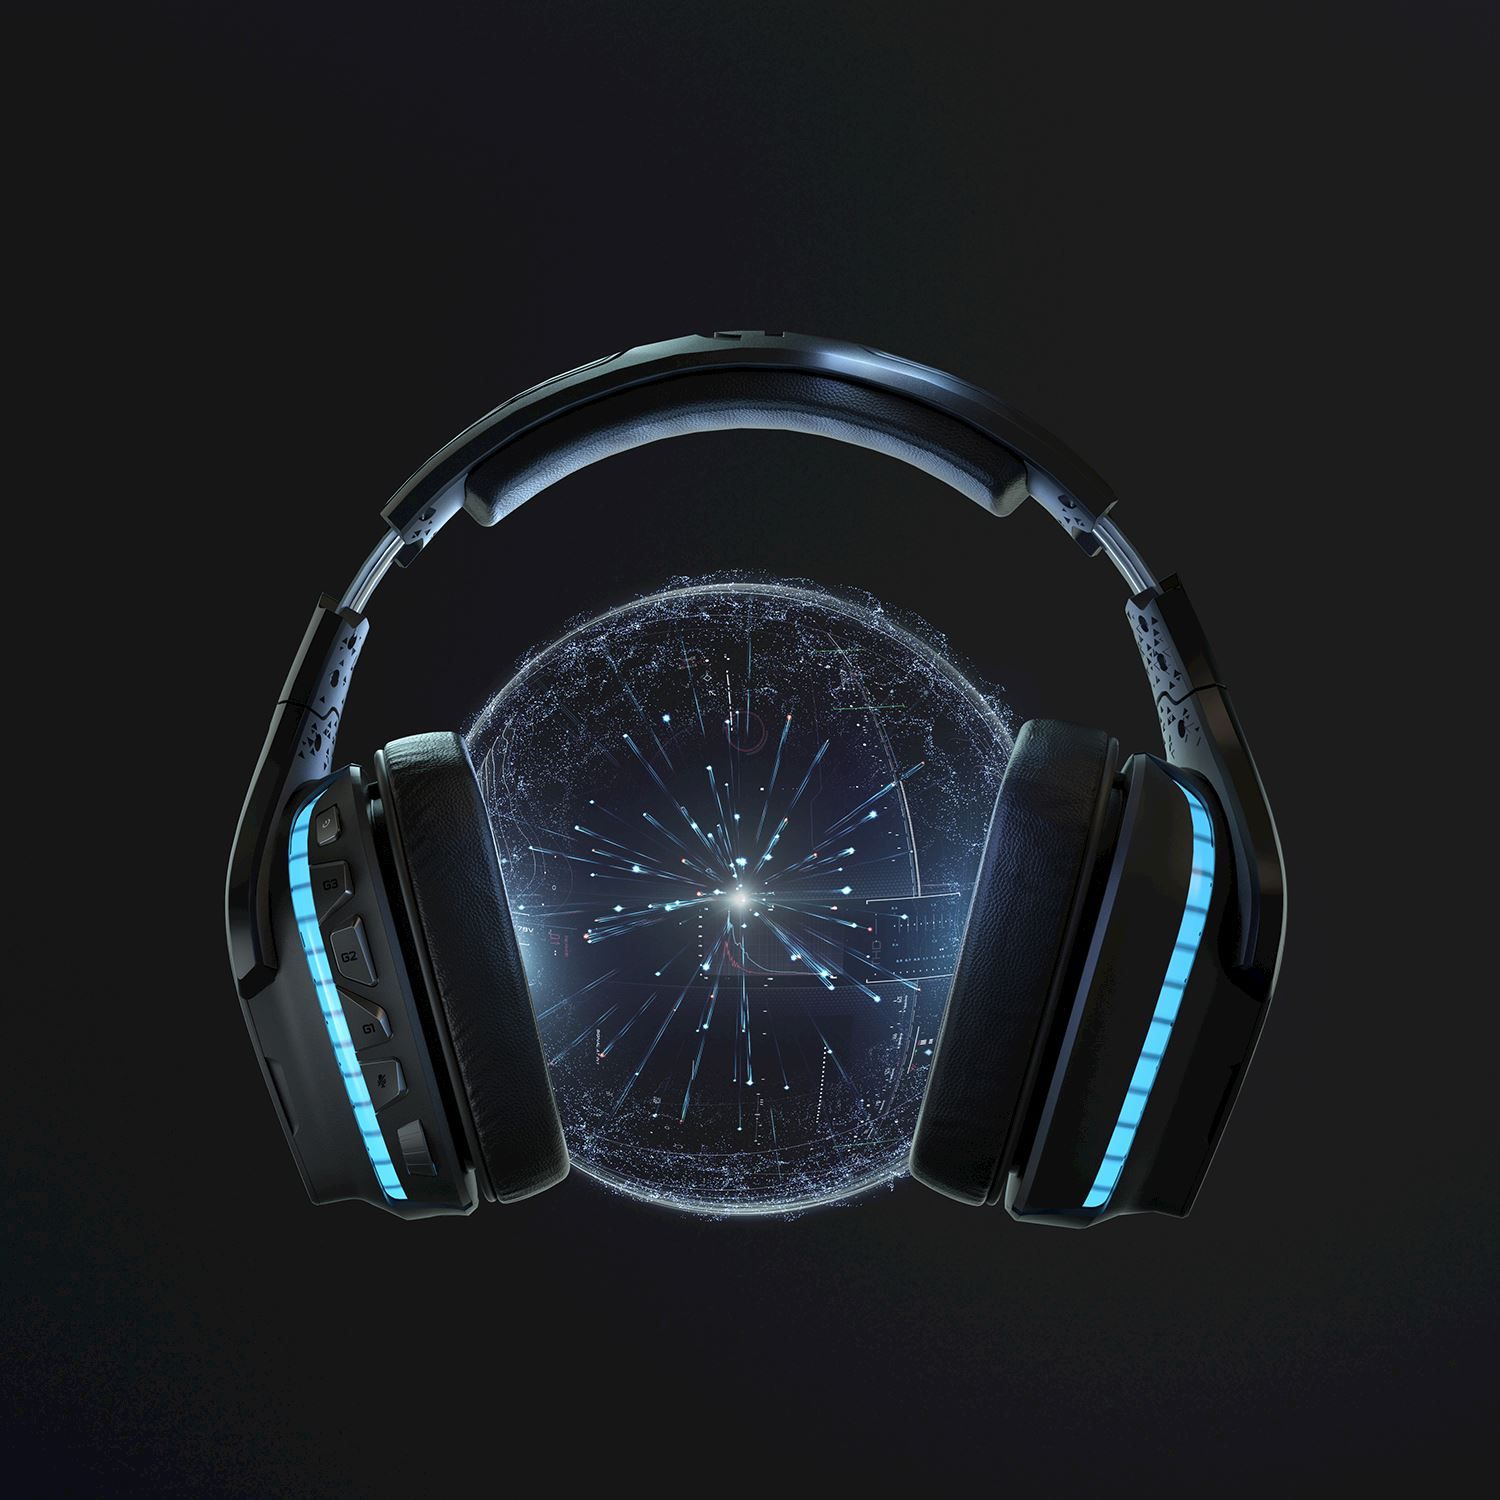
In addition to the equalizer, the software may also offer options for surround sound configurations. Surround sound creates a more immersive audio experience, especially for gaming and movies, by simulating multi-channel audio. You can choose between different surround sound modes, such as 7.1 or stereo, depending on your preferences and the content you’re consuming.
Another important aspect of adjusting the audio settings is mic monitoring. Mic monitoring allows you to hear your own voice in the headphones, giving you better audio feedback during voice chats or recordings. You can adjust the mic monitoring level to your liking, ensuring that you can hear your voice clearly without it being too overpowering.
It’s worth mentioning that the Logitech software may also provide options to create and save audio profiles. This allows you to create different audio settings for specific purposes, such as gaming, listening to music, or watching movies. Switching between these profiles can be done effortlessly within the software, allowing you to customize your audio experience on-the-fly.
Take some time to explore the audio settings in the Logitech software and experiment with different configurations. Fine-tuning the audio settings to your liking will greatly enhance your overall gaming or multimedia experience with the Logitech G933 headset.
In the next section, we will delve into the exciting world of customizing the lighting effects on the headset.
Customizing the Lighting Effects
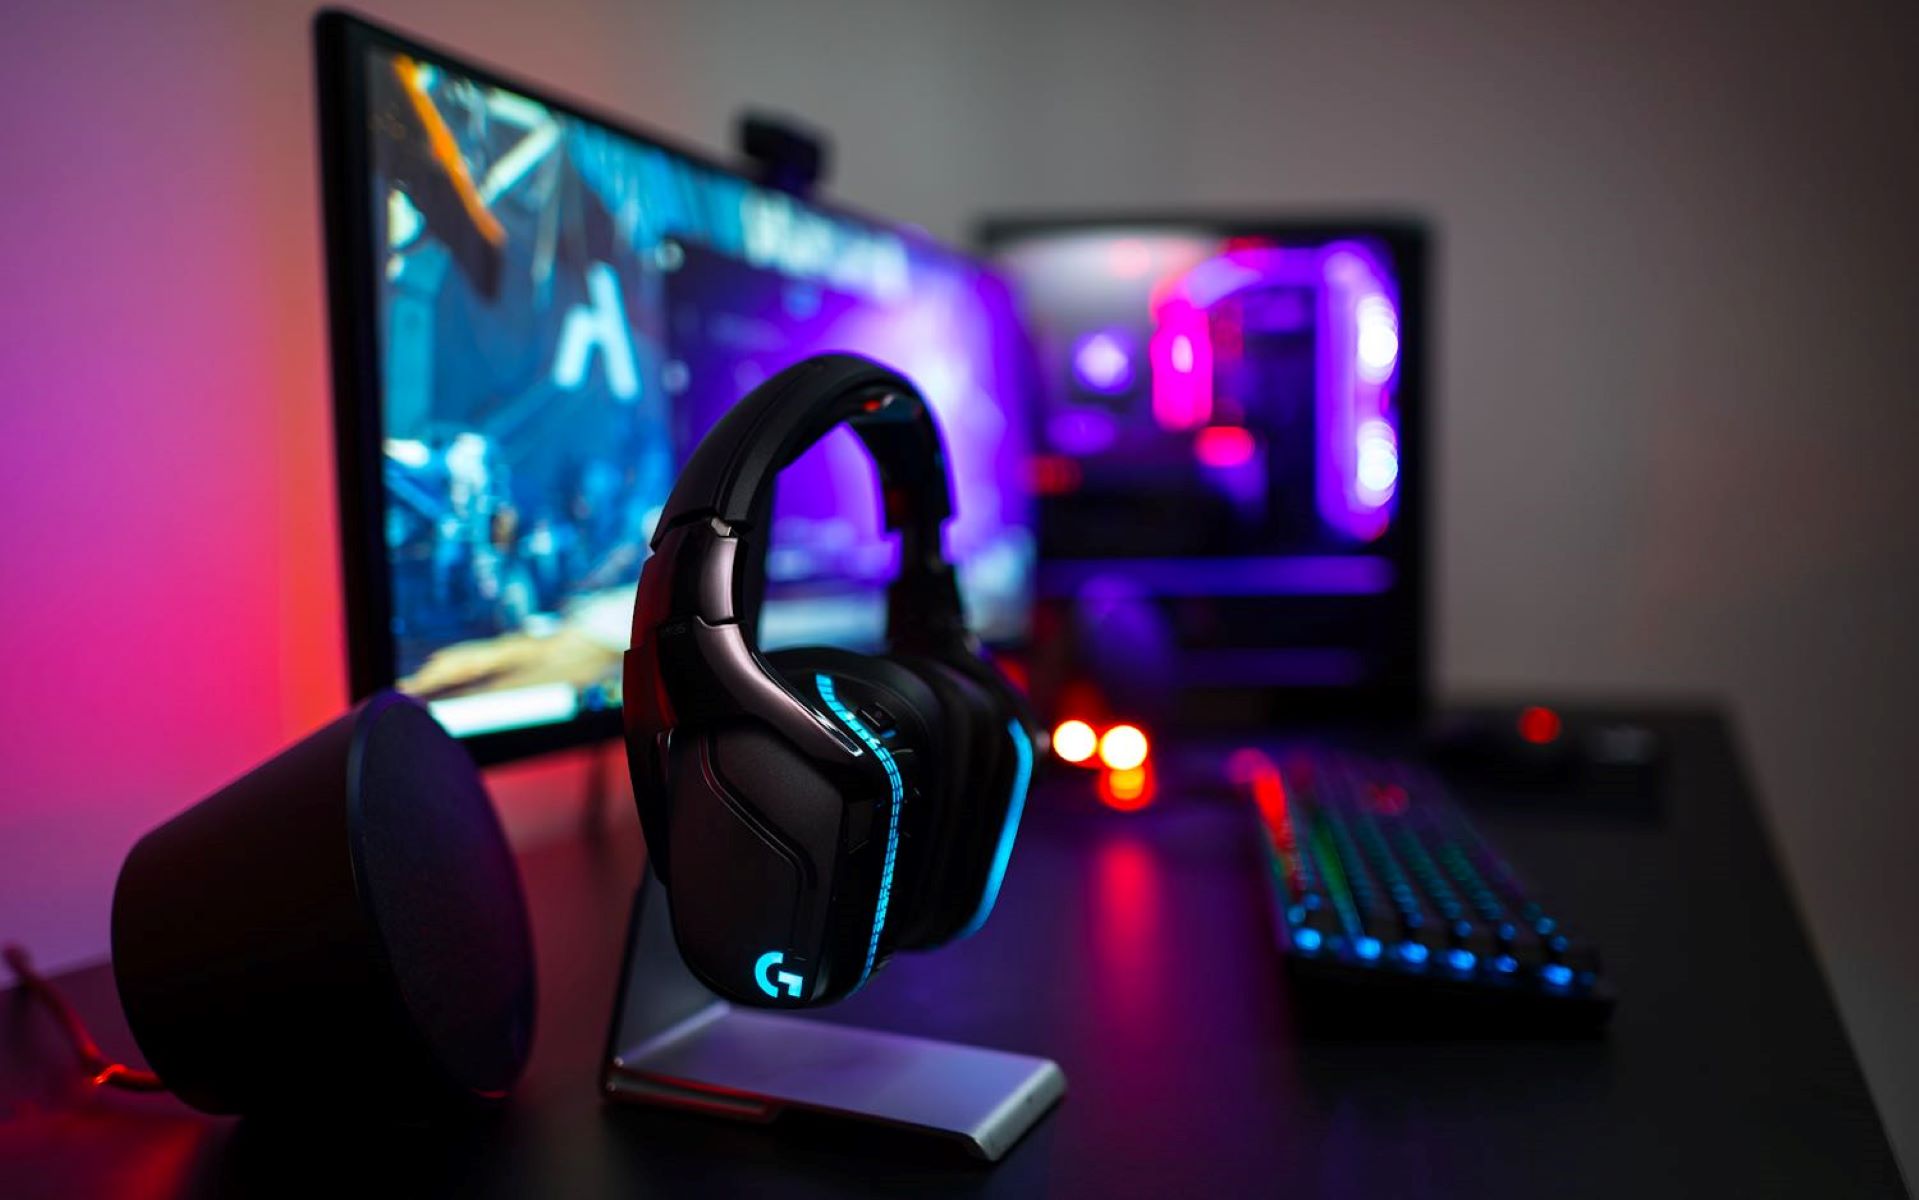
The Logitech G933 headset features customizable lighting effects that add a dynamic and visually appealing element to your gaming or entertainment setup. With the Logitech software, you can personalize the lighting effects to match your style and create a unique gaming atmosphere.
Open the Logitech software on your computer and navigate to the lighting settings section. Here, you will find various options to customize the lighting effects on your Logitech G933 headset.
One of the primary options is the choice of lighting color. You can select from a wide range of vibrant colors to express your personality or match your gaming setup. Pick your favorite color or experiment with different combinations to find the perfect lighting scheme for you.
In addition to static colors, the Logitech software offers various dynamic lighting effects. These effects range from pulsating to breathing patterns, giving your headset a captivating and eye-catching appearance. Experiment with different effects to find the one that creates the right ambiance for your gaming sessions.
Furthermore, you can synchronize the lighting effects with other Logitech devices that support the Logitech G RGB lighting system. This allows you to create a harmonized and cohesive lighting setup across all your peripherals for a truly immersive experience.
The Logitech software also provides the option to customize the lighting effects based on in-game events or audio cues. This reactive lighting feature adds an extra layer of immersion by syncing the headset’s lighting effects with the actions happening in your games or the sound output from your media.
Once you have customized the lighting effects to your liking, you can save your settings as a profile within the Logitech software. This way, you can easily switch between different lighting configurations depending on your mood or the content you’re engaging with.
Remember to regularly check for software updates from Logitech to ensure that you have access to the latest lighting effects and features for your Logitech G933 headset.
Now that you’re familiar with customizing the lighting effects on your Logitech G933, let’s move on to the next section: programming the G-keys for added convenience and functionality.
Programming the G-Keys
One of the standout features of the Logitech G933 headset is the inclusion of programmable G-keys. These dedicated buttons allow you to assign custom functions, macros, or key combinations for quick and convenient access during your gaming or multimedia sessions.
To begin programming the G-keys, open the Logitech software on your computer and navigate to the G-key settings section. Here, you will find options to assign specific functions to each G-key on your Logitech G933 headset.
Once you’ve entered the G-key settings, you’ll be presented with various possibilities. You can assign commonly used commands, such as volume control, playback control, or mute, to the G-keys for easy access without having to navigate through software or use keyboard shortcuts.
Additionally, the G-keys offer the ability to program complex macros. Macros allow you to automate a series of actions or commands with a single button press. This can be particularly useful in games where you frequently use specific combinations of keys or perform repetitive tasks.
For example, in a first-person shooter game, you can program a G-key to perform a quick weapon switch or activate a special ability with a single press. In multimedia applications, you can assign a G-key to launch your preferred music player or control playback functions.
Experiment with different G-key configurations that suit your needs and gaming style. Take advantage of the Logitech software’s intuitive interface to easily configure and modify your G-key settings to optimize your gameplay or productivity.
Don’t forget to save your G-key settings as a profile within the Logitech software. Having multiple profiles allows you to switch between different programming setups depending on the game you’re playing or the application you’re using.
Now that you’re well-acquainted with programming the G-keys on your Logitech G933 headset, let’s move on to the next section: updating the firmware to ensure your headset operates at its best.
Updating the Firmware
Keeping your Logitech G933 headset’s firmware up to date is essential to ensure optimal performance, bug fixes, and access to the latest features. Logitech regularly releases firmware updates for their products, including the G933 headset, to enhance functionality and address any known issues.
To update the firmware of your Logitech G933 headset, start by launching the Logitech software on your computer if it isn’t already open. Navigate to the firmware update section, which is usually located in the settings or support area.
Check for available firmware updates for your specific model of the Logitech G933 headset. If there is a newer version available, follow the on-screen instructions to download and install the update. Make sure to keep your headset connected to the computer during the entire update process.
It is important to note that, during the firmware update, it is crucial not to disconnect or turn off your Logitech G933 headset. Interrupting the firmware update process can lead to potential complications and may render your headset inoperable.
Once the firmware update is complete, you may need to restart your computer or disconnect and reconnect your headset to ensure the changes take effect. It is also recommended to check the Logitech website periodically for any future firmware updates, as the company continues to improve and enhance their products over time.
Updating the firmware of your Logitech G933 headset not only ensures the best performance but also enhances compatibility with the latest software and operating systems. By keeping your firmware up to date, you can enjoy the full potential of your Logitech G933 headset and avoid any potential issues or limitations.
With the firmware updated on your Logitech G933 headset, you are now ready to move on to the next section: adjusting the equalizer settings to fine-tune your audio experience.
Adjusting the Equalizer Settings
One of the key features available on the Logitech G933 headset is the ability to adjust the equalizer settings. The equalizer allows you to fine-tune the audio output by modifying the levels of different frequencies, ensuring a more personalized and immersive listening experience.
To access the equalizer settings, open the Logitech software on your computer and navigate to the audio settings section. Here, you will find the equalizer tab, which displays a graphical representation of the frequency spectrum.
Adjusting the equalizer settings allows you to tailor the sound to your preferences and the content you’re consuming. You can amplify or reduce specific frequencies to enhance or tone down certain aspects of the audio.
For example, if you enjoy deep bass in music or gaming, you can increase the low-frequency sliders to add more punch to the audio. On the other hand, if you prefer a more balanced sound, you can level out the frequency curve by adjusting the sliders accordingly.
The Logitech software may also offer pre-defined audio presets for different genres or specific scenarios. These presets optimize the equalizer settings to match the audio characteristics of gaming, music, or movies, providing an enhanced experience in each category.
Experiment with different equalizer configurations to find the sound profile that suits your preference. Take the time to listen to various types of audio content, such as music genres, game soundtracks, or movie scenes, to ensure the settings you choose work well across different scenarios.
It’s worth noting that the equalizer settings are not restrictive, allowing you to save multiple configurations as separate profiles within the Logitech software. This feature enables you to switch between different equalizer presets easily, depending on your mood, the content you’re engaged with, or the specific requirements of a game or application.
Remember to consider the capabilities of your Logitech G933 headset and the audio characteristics of your content when tweaking the equalizer settings. By finding the perfect balance, you can achieve an immersive and enjoyable audio experience tailored to your liking.
In the final section, we will provide some troubleshooting tips to help you address any common issues you may encounter with your Logitech G933 headset.
Troubleshooting Tips
While the Logitech G933 headset is designed to provide a seamless and immersive audio experience, you may encounter occasional issues that can disrupt your gaming or multimedia sessions. Here are some troubleshooting tips to help you address common problems:
- No sound or distorted audio: Ensure that your Logitech G933 headset is properly connected to your computer, whether it’s via the 3.5mm analog cable or the USB wireless receiver. Check the volume levels on both your headset and the computer and make sure they are not muted or set too low. Try reconnecting the headset or restarting your computer.
- Interference or connectivity problems: If you experience interference or connectivity issues with the wireless connection, check that the USB receiver is placed in an optimal location with a clear line of sight to the headset. Avoid placing the USB receiver near other electronic devices that may cause interference, such as Wi-Fi routers or Bluetooth devices.
- Microphone not working: Make sure that the microphone on your Logitech G933 headset is not muted. Check the microphone level in the Logitech software and adjust it as necessary. If the issue persists, try disconnecting and reconnecting the headset or updating the headset’s firmware through the Logitech software.
- Software or driver issues: If you encounter issues with the Logitech software or drivers, make sure you have the latest version installed. Check the Logitech website for any available updates and install them. If the issue persists, try uninstalling and reinstalling the Logitech software.
- Poor battery life: If you notice that the battery life of your Logitech G933 headset is shorter than expected, make sure it is fully charged using the USB charging cable. Avoid using the headset while it is charging, as this may affect battery performance. If the problem persists, consider replacing the battery if it is user-replaceable, or contact Logitech support for further assistance.
If you continue to experience issues with your Logitech G933 headset, it is recommended to consult the user manual or visit the Logitech support website for more troubleshooting resources and contact information for customer support.
By following these troubleshooting tips, you can resolve common problems and ensure that your Logitech G933 headset delivers a seamless and immersive audio experience.
Conclusion
Setting up and customizing your Logitech G933 headset opens up a world of immersive gaming and entertainment experiences. From unboxing the headset to adjusting the audio settings, customizing lighting effects, programming G-keys, updating firmware, and troubleshooting, this guide has provided you with comprehensive instructions and tips to make the most out of your Logitech G933 headset.
By following the step-by-step process, you can ensure a seamless setup and enjoy the full capabilities of the Logitech G933 headset. Unleash the power of wireless connectivity, customize audio settings to your liking, create captivating lighting effects, and program convenient shortcuts with the G-keys.
Remember to regularly check for firmware updates from Logitech to ensure optimal performance and access to the latest features. Additionally, should you encounter any issues, refer to the troubleshooting tips provided to troubleshoot and resolve common problems.
The Logitech G933 headset offers exceptional audio quality, comfort, and versatility, making it a valuable asset whether you’re a gamer, music enthusiast, or movie lover. Combined with the Logitech software’s intuitive interface, you can personalize your audio experience to match your preferences and create an immersive environment for your chosen activities.
Now that you are familiar with the setup and customization process, it’s time to kick back, put on your Logitech G933 headset, and enjoy a truly remarkable audio experience.