Introduction
So, you've just purchased a brand-new Logitech gaming headset and you're eager to immerse yourself in the world of high-quality audio while gaming on your PC. Congratulations! This guide will walk you through the process of setting up your Logitech gaming headset and getting it ready for an epic gaming experience. Whether you're a seasoned gamer or just starting out, ensuring that your headset is properly installed and configured is crucial for enjoying the full audio experience.
A Logitech gaming headset is designed to deliver immersive sound, crystal-clear communication, and comfortable wear for extended gaming sessions. By following the steps outlined in this guide, you'll be able to unleash the full potential of your headset and elevate your gaming experience to new heights.
In the following steps, we'll cover everything from unboxing your new headset to installing the necessary software and configuring the audio settings on your PC. By the end of this guide, you'll be ready to dive into your favorite games with immersive audio and seamless communication, thanks to your new Logitech gaming headset.
So, grab your new headset, get comfortable, and let's embark on this journey to set up your Logitech gaming headset for an unparalleled gaming experience. Let's get started!
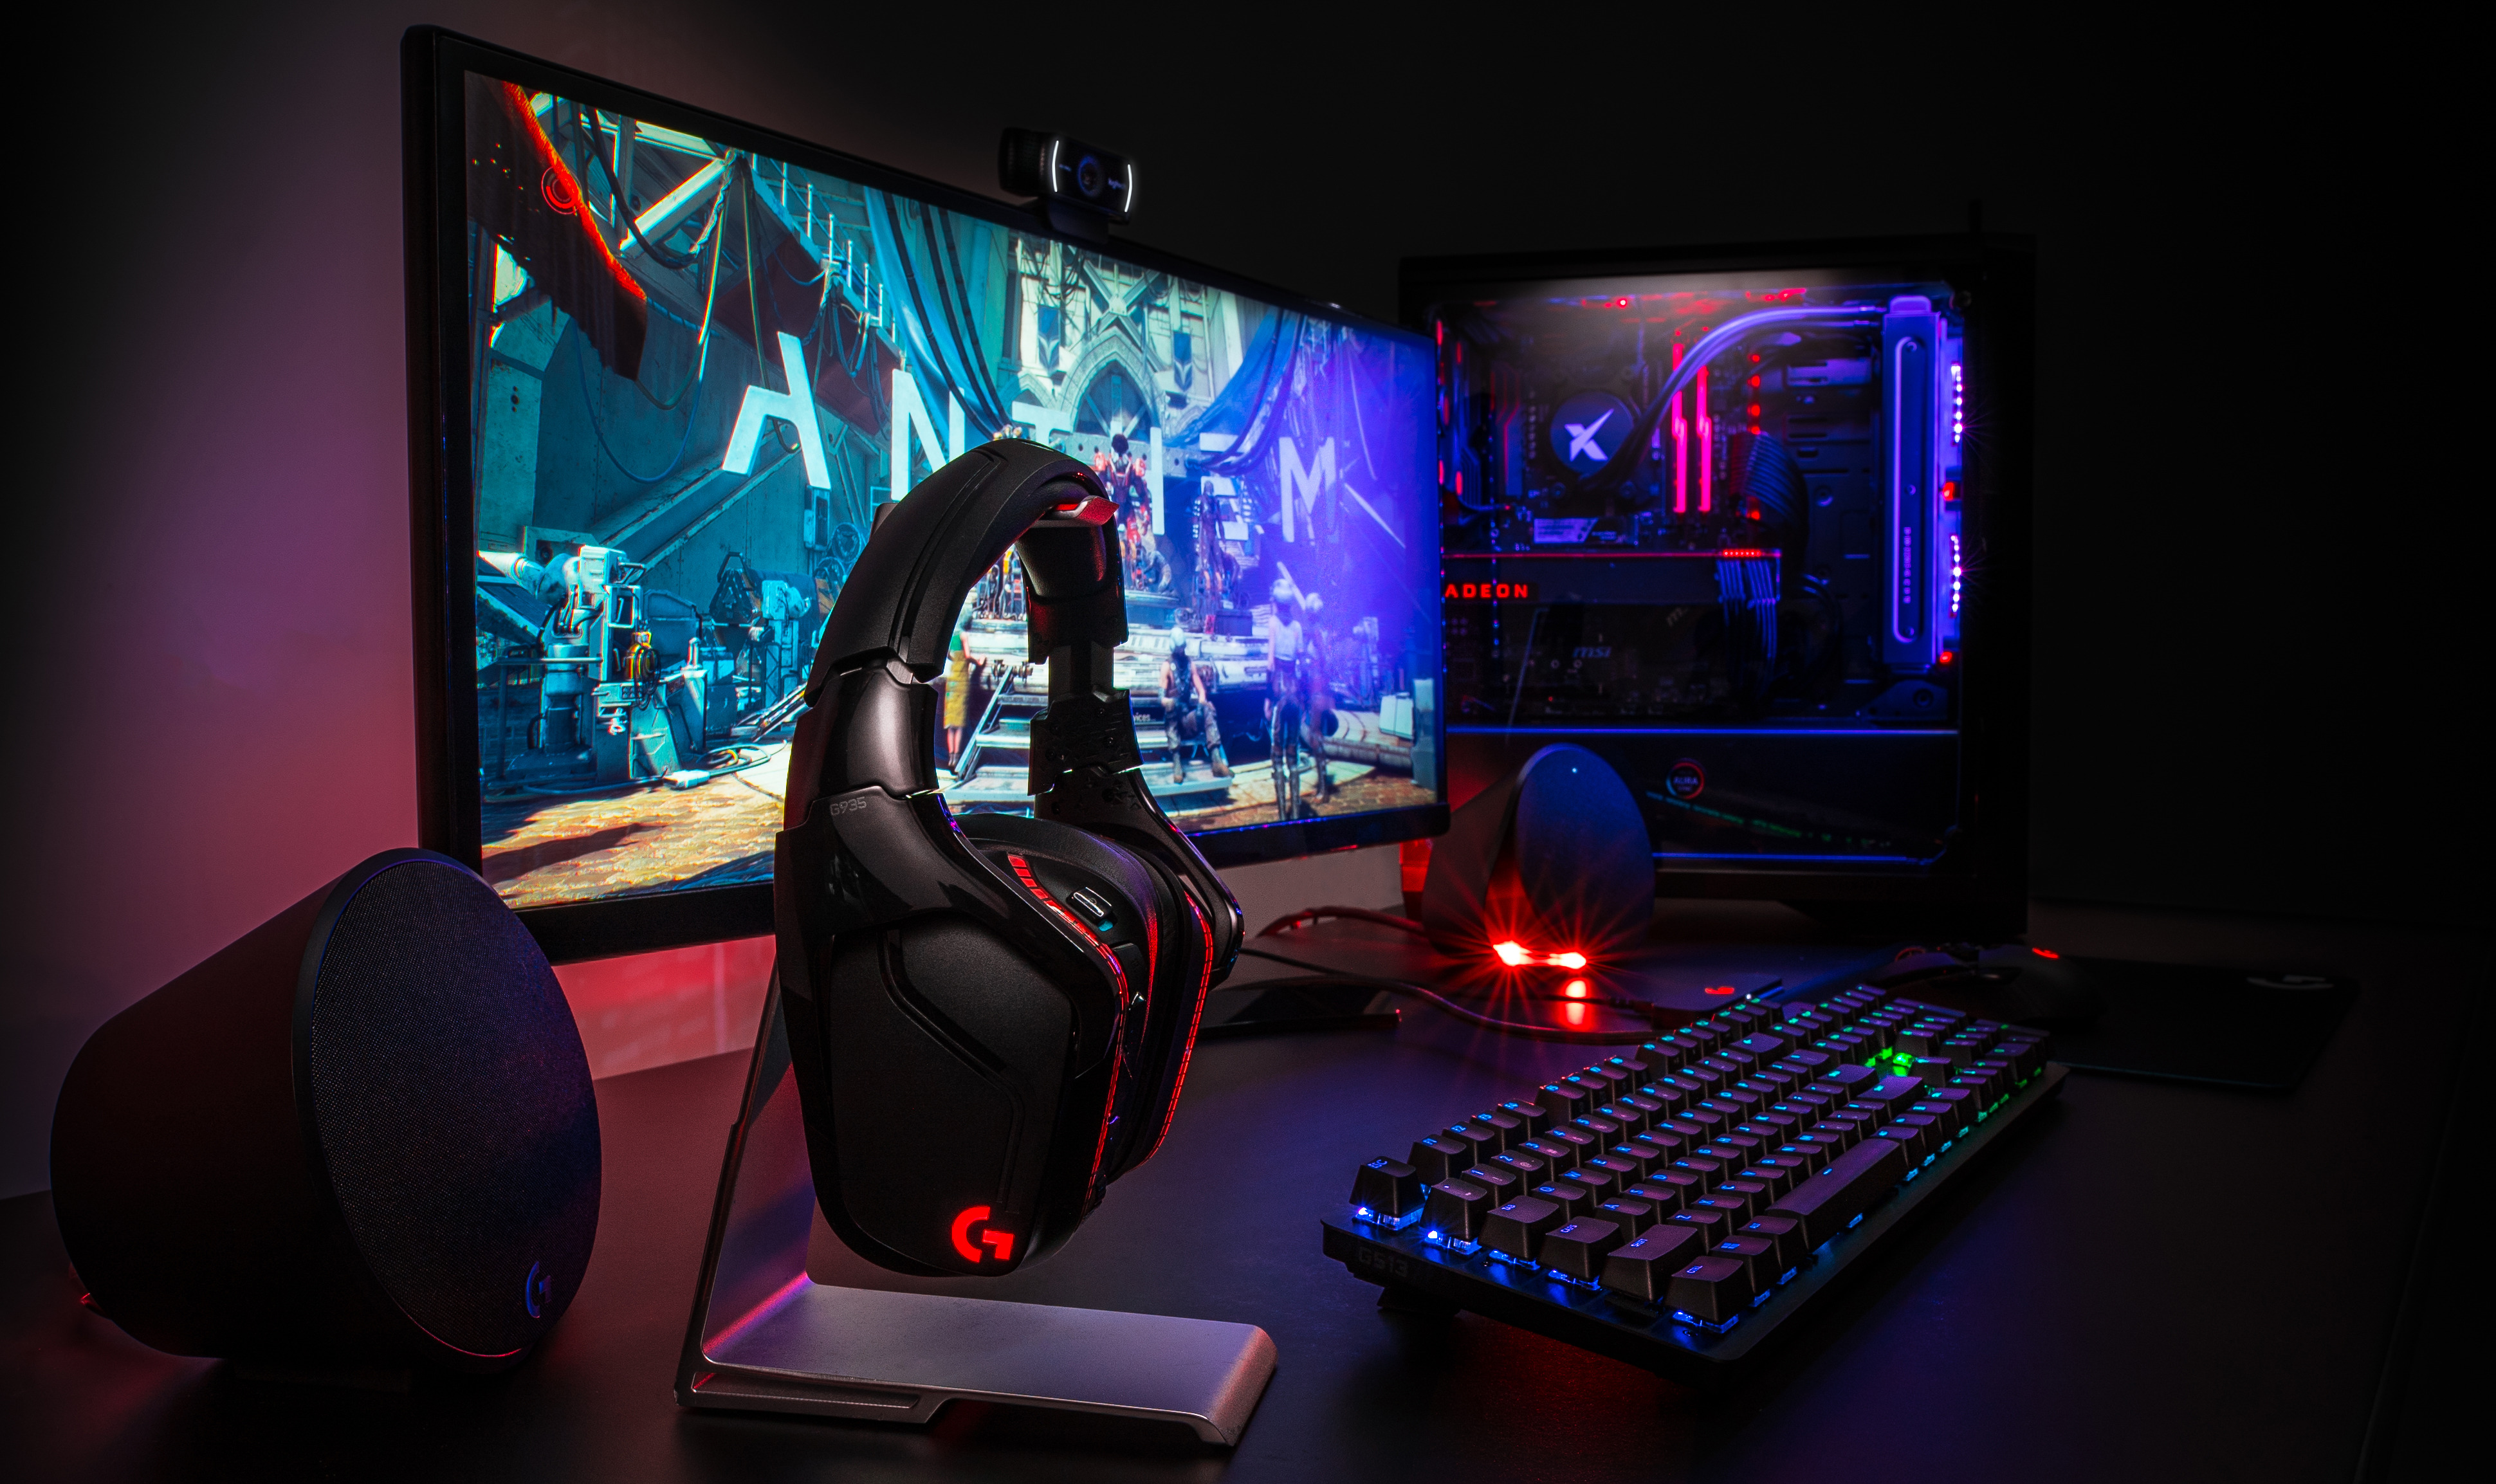
Step 1: Unboxing the Logitech Gaming Headset
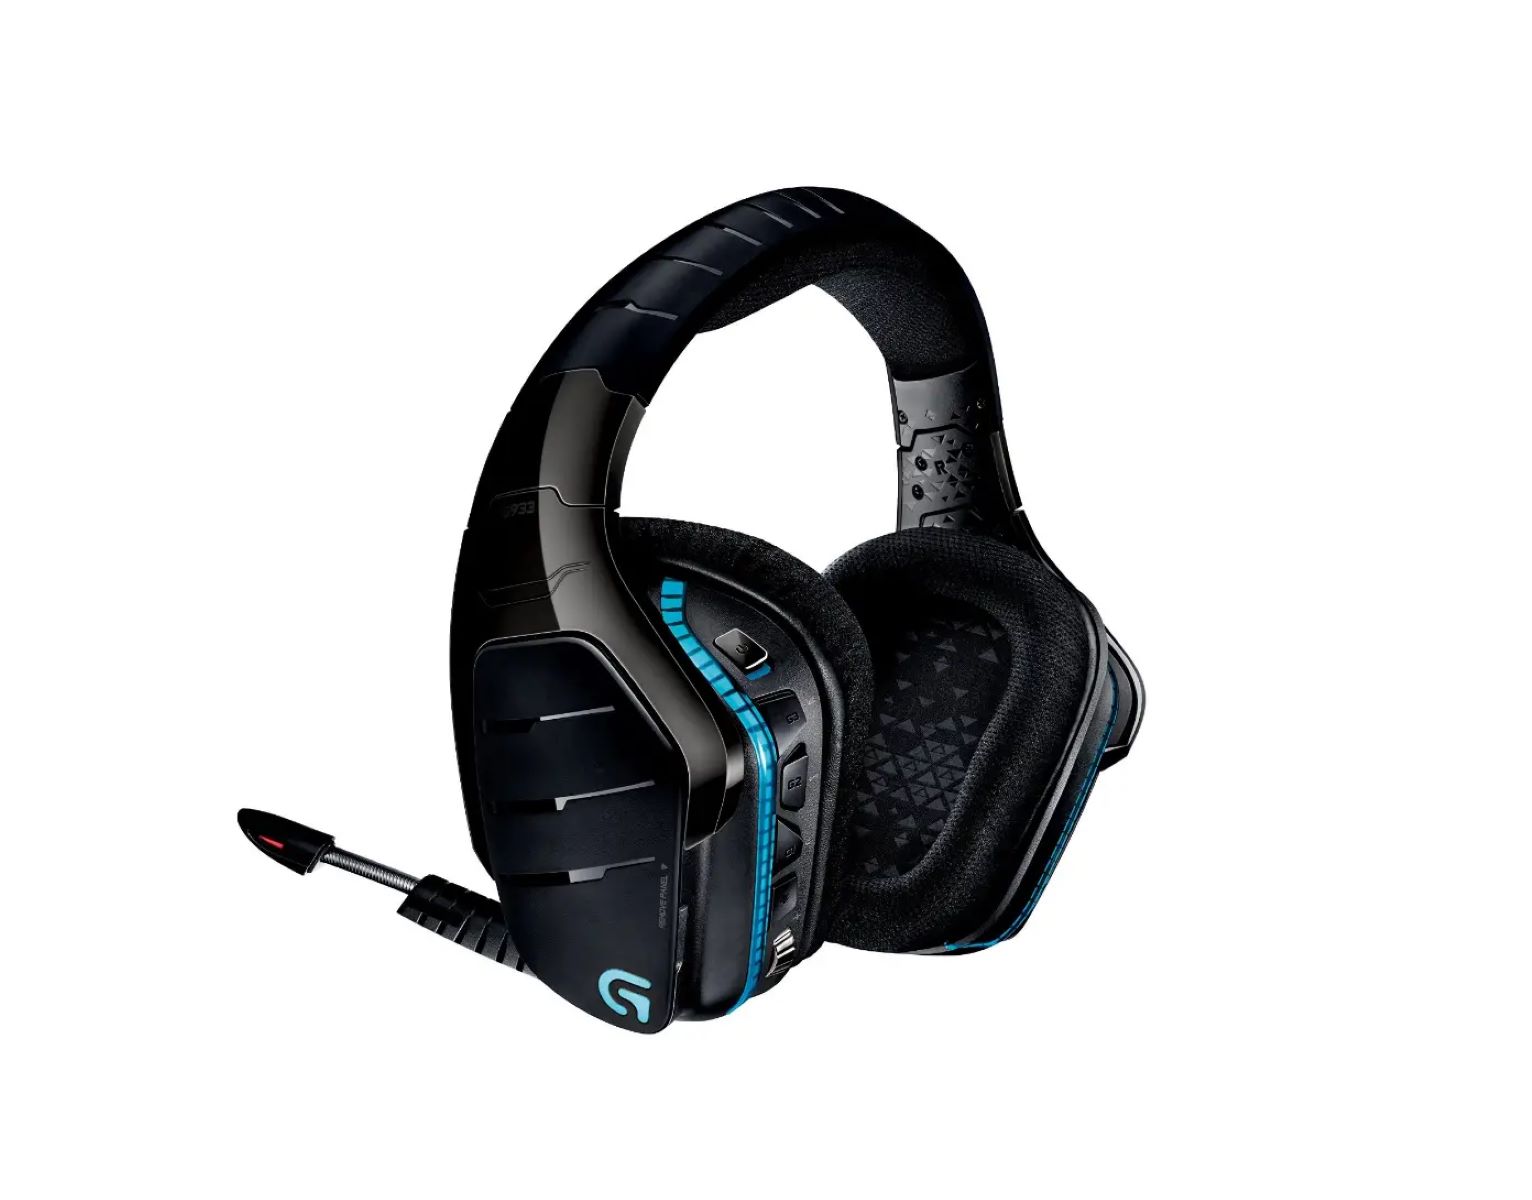
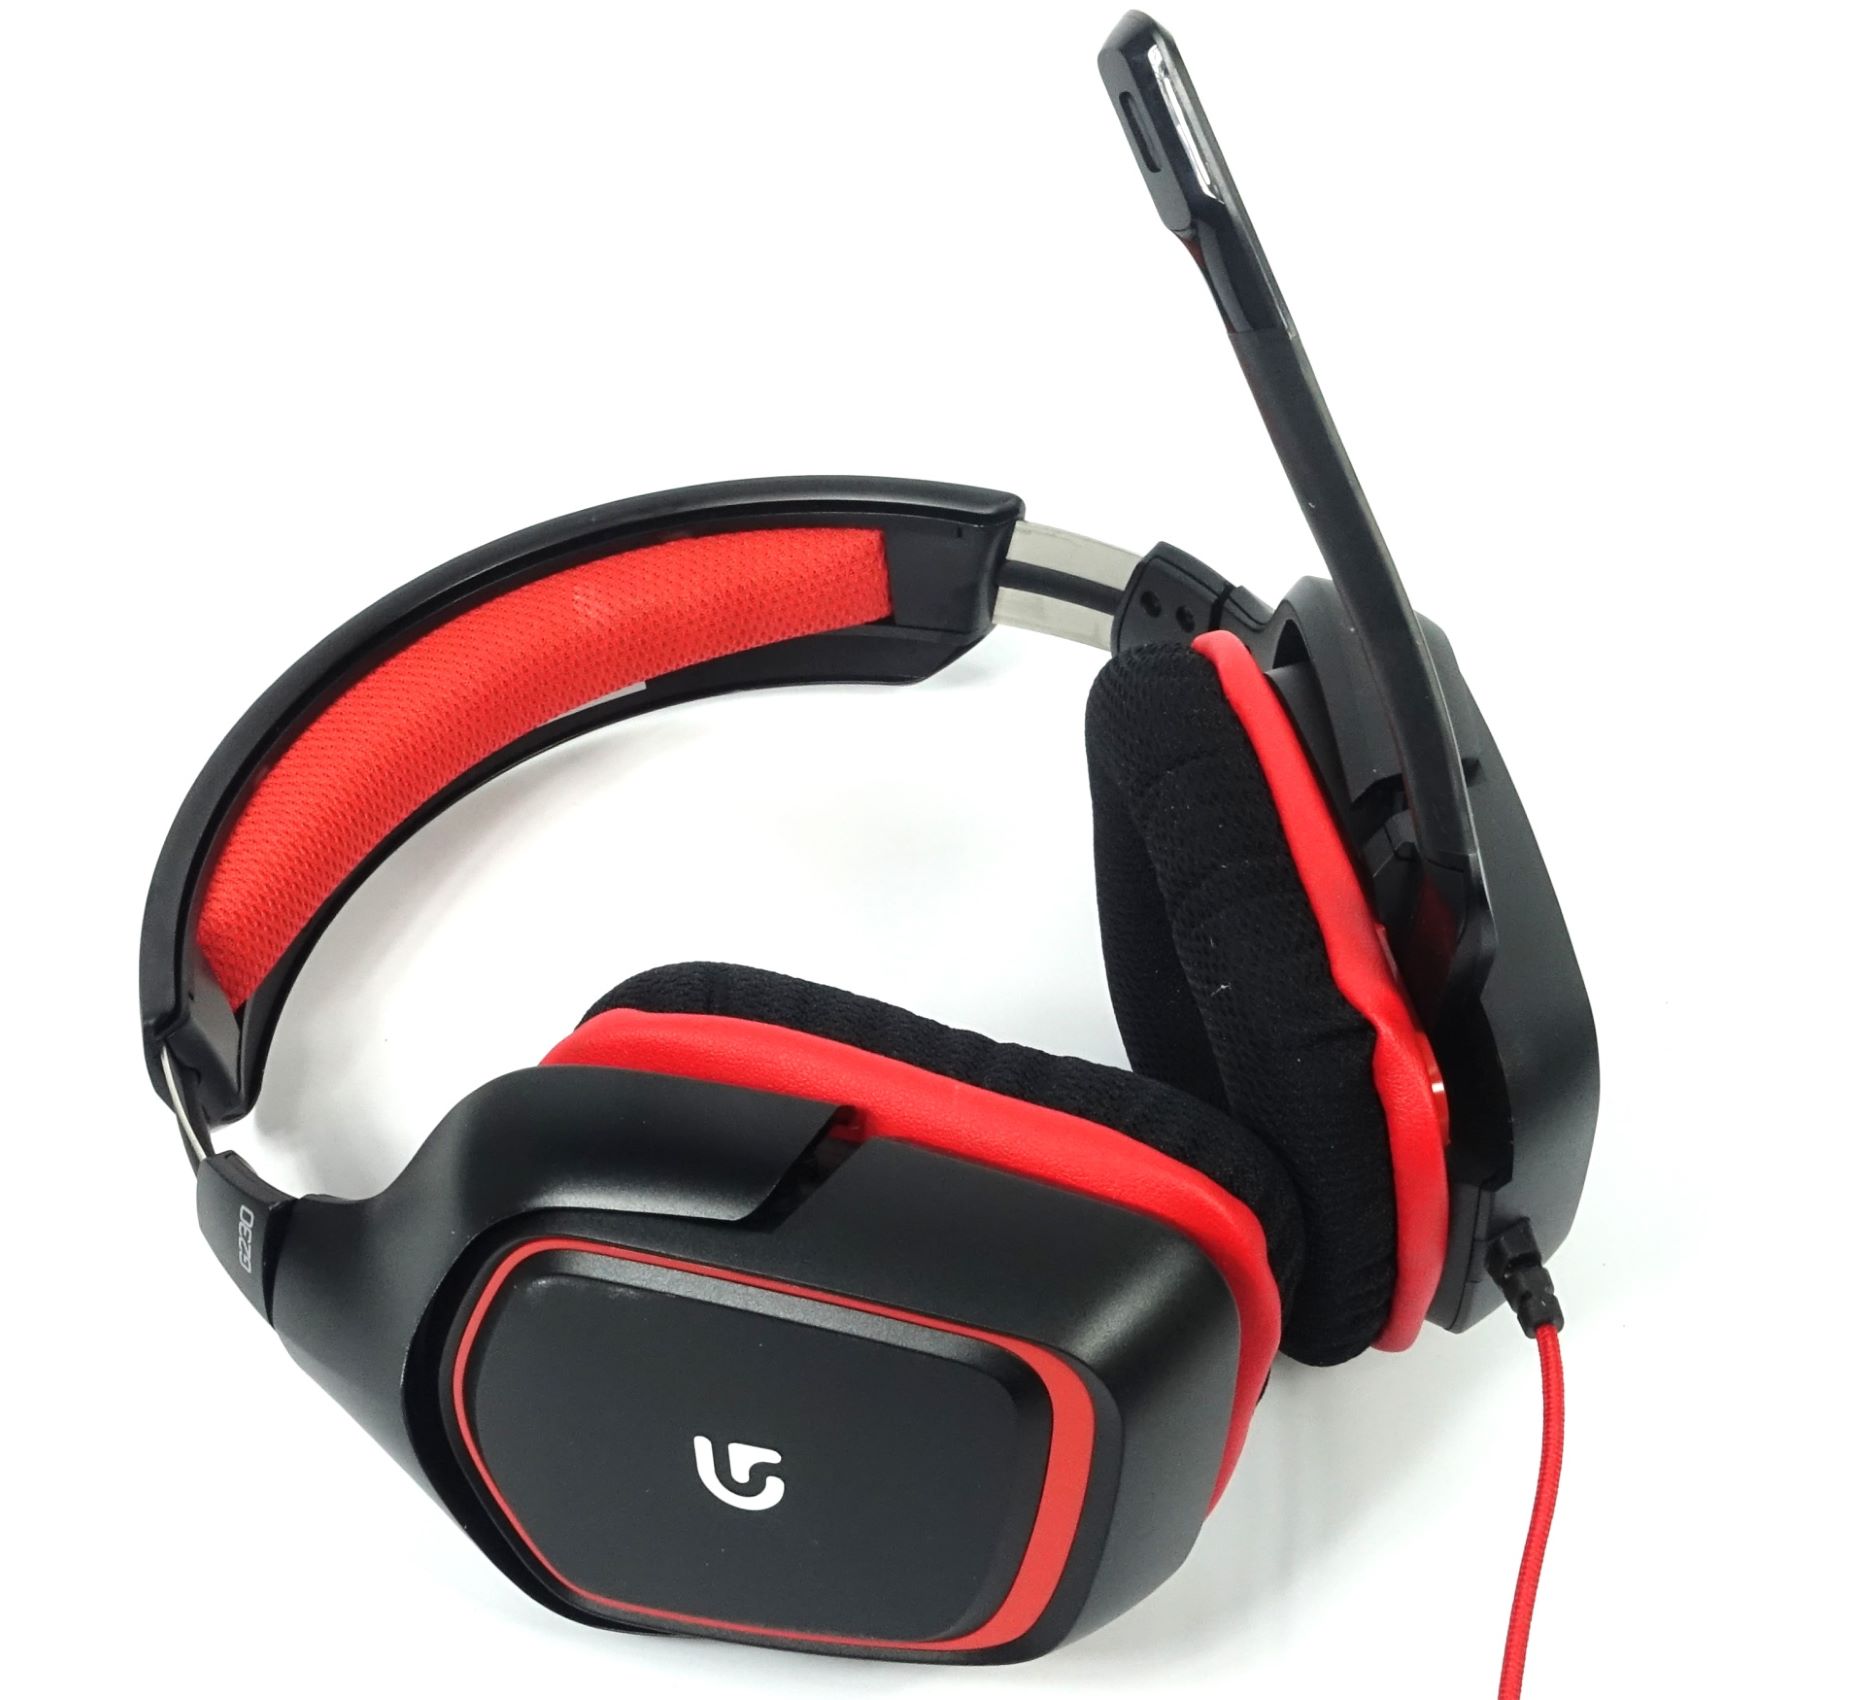
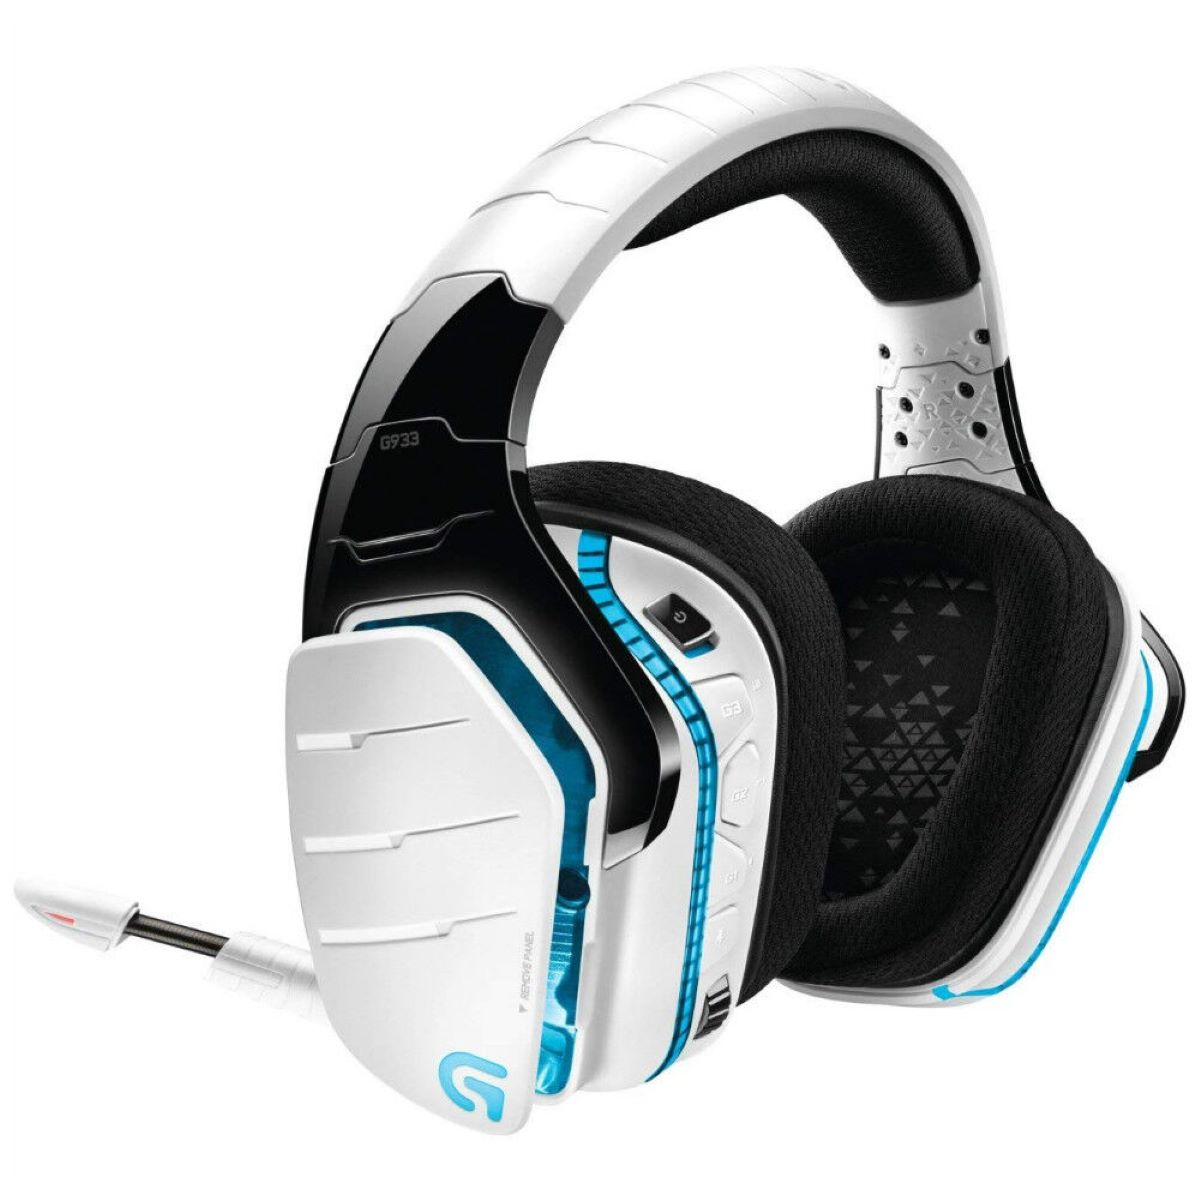
Unboxing a new Logitech gaming headset is an exciting experience that sets the stage for the immersive gaming audio that lies ahead. As you unbox your headset, you’ll discover the carefully crafted components designed to deliver exceptional sound quality and comfort during extended gaming sessions.
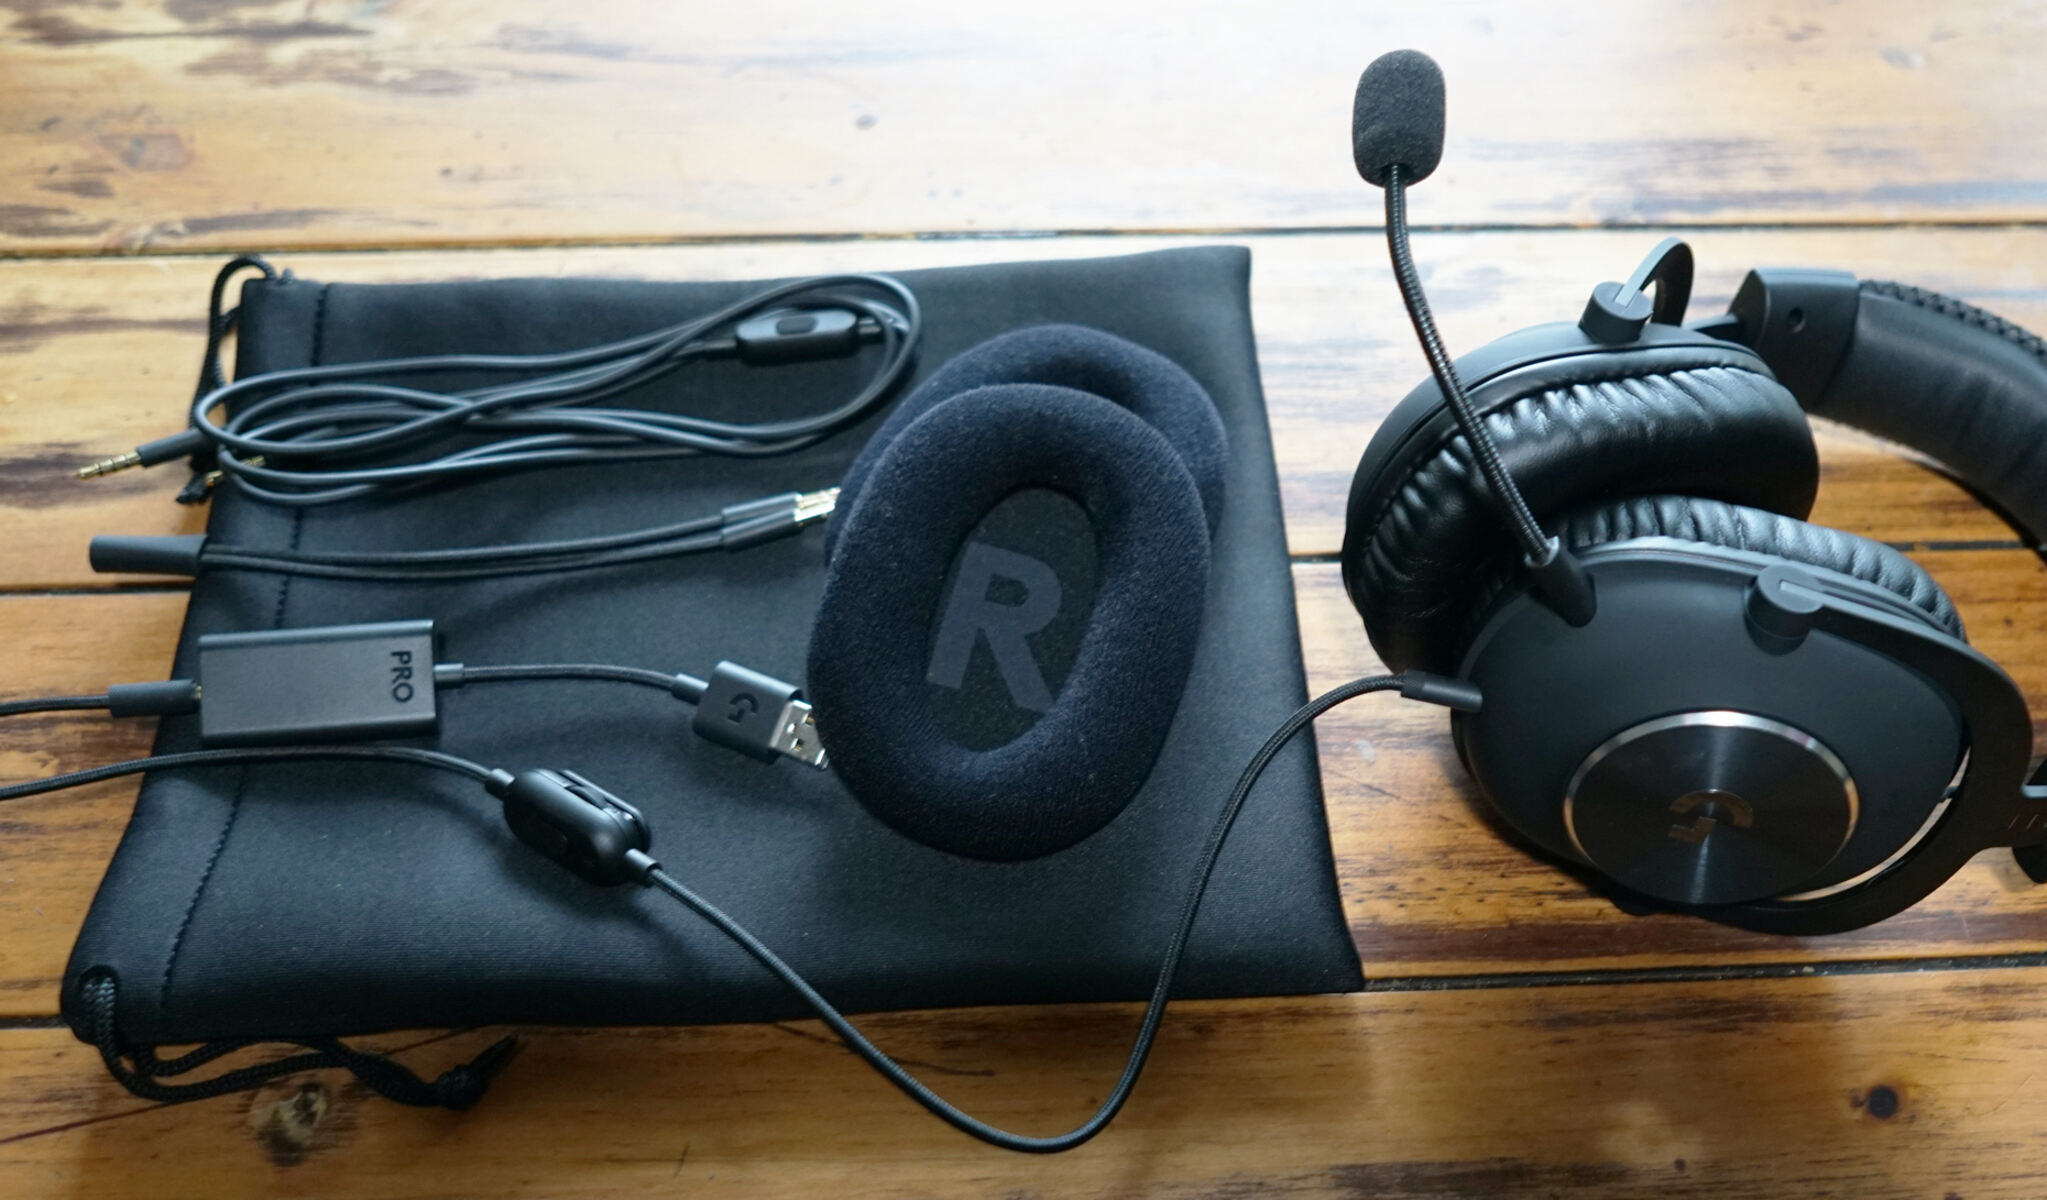
Upon opening the package, you’ll find the Logitech gaming headset securely nestled within protective packaging, ensuring that it arrives in pristine condition. Take a moment to appreciate the sleek design and attention to detail that Logitech is renowned for, from the quality construction of the headset itself to the included accessories.
As you carefully remove the headset from its packaging, you’ll notice the soft, plush ear cups designed to provide comfort during long gaming sessions, as well as the adjustable headband that ensures a customized fit for every user. Additionally, the package may include a detachable microphone for clear communication with your fellow gamers, and possibly an assortment of cables and adapters to ensure compatibility with your PC.
Inspect the contents of the package to ensure that all the components are present and undamaged. Familiarize yourself with the various parts of the headset, such as the volume control, microphone mute button, and any additional features specific to your model. Taking the time to understand the layout and features of your new Logitech gaming headset will set the stage for a smooth and successful setup process.
Now that you’ve unboxed your new Logitech gaming headset and familiarized yourself with its components, you’re ready to move on to the next step: connecting the headset to your PC.
Step 2: Connecting the Headset to the PC
With your Logitech gaming headset unboxed, it’s time to connect it to your PC and prepare for an immersive audio experience. The process of connecting the headset is straightforward and essential for ensuring seamless communication and high-quality sound during your gaming sessions.
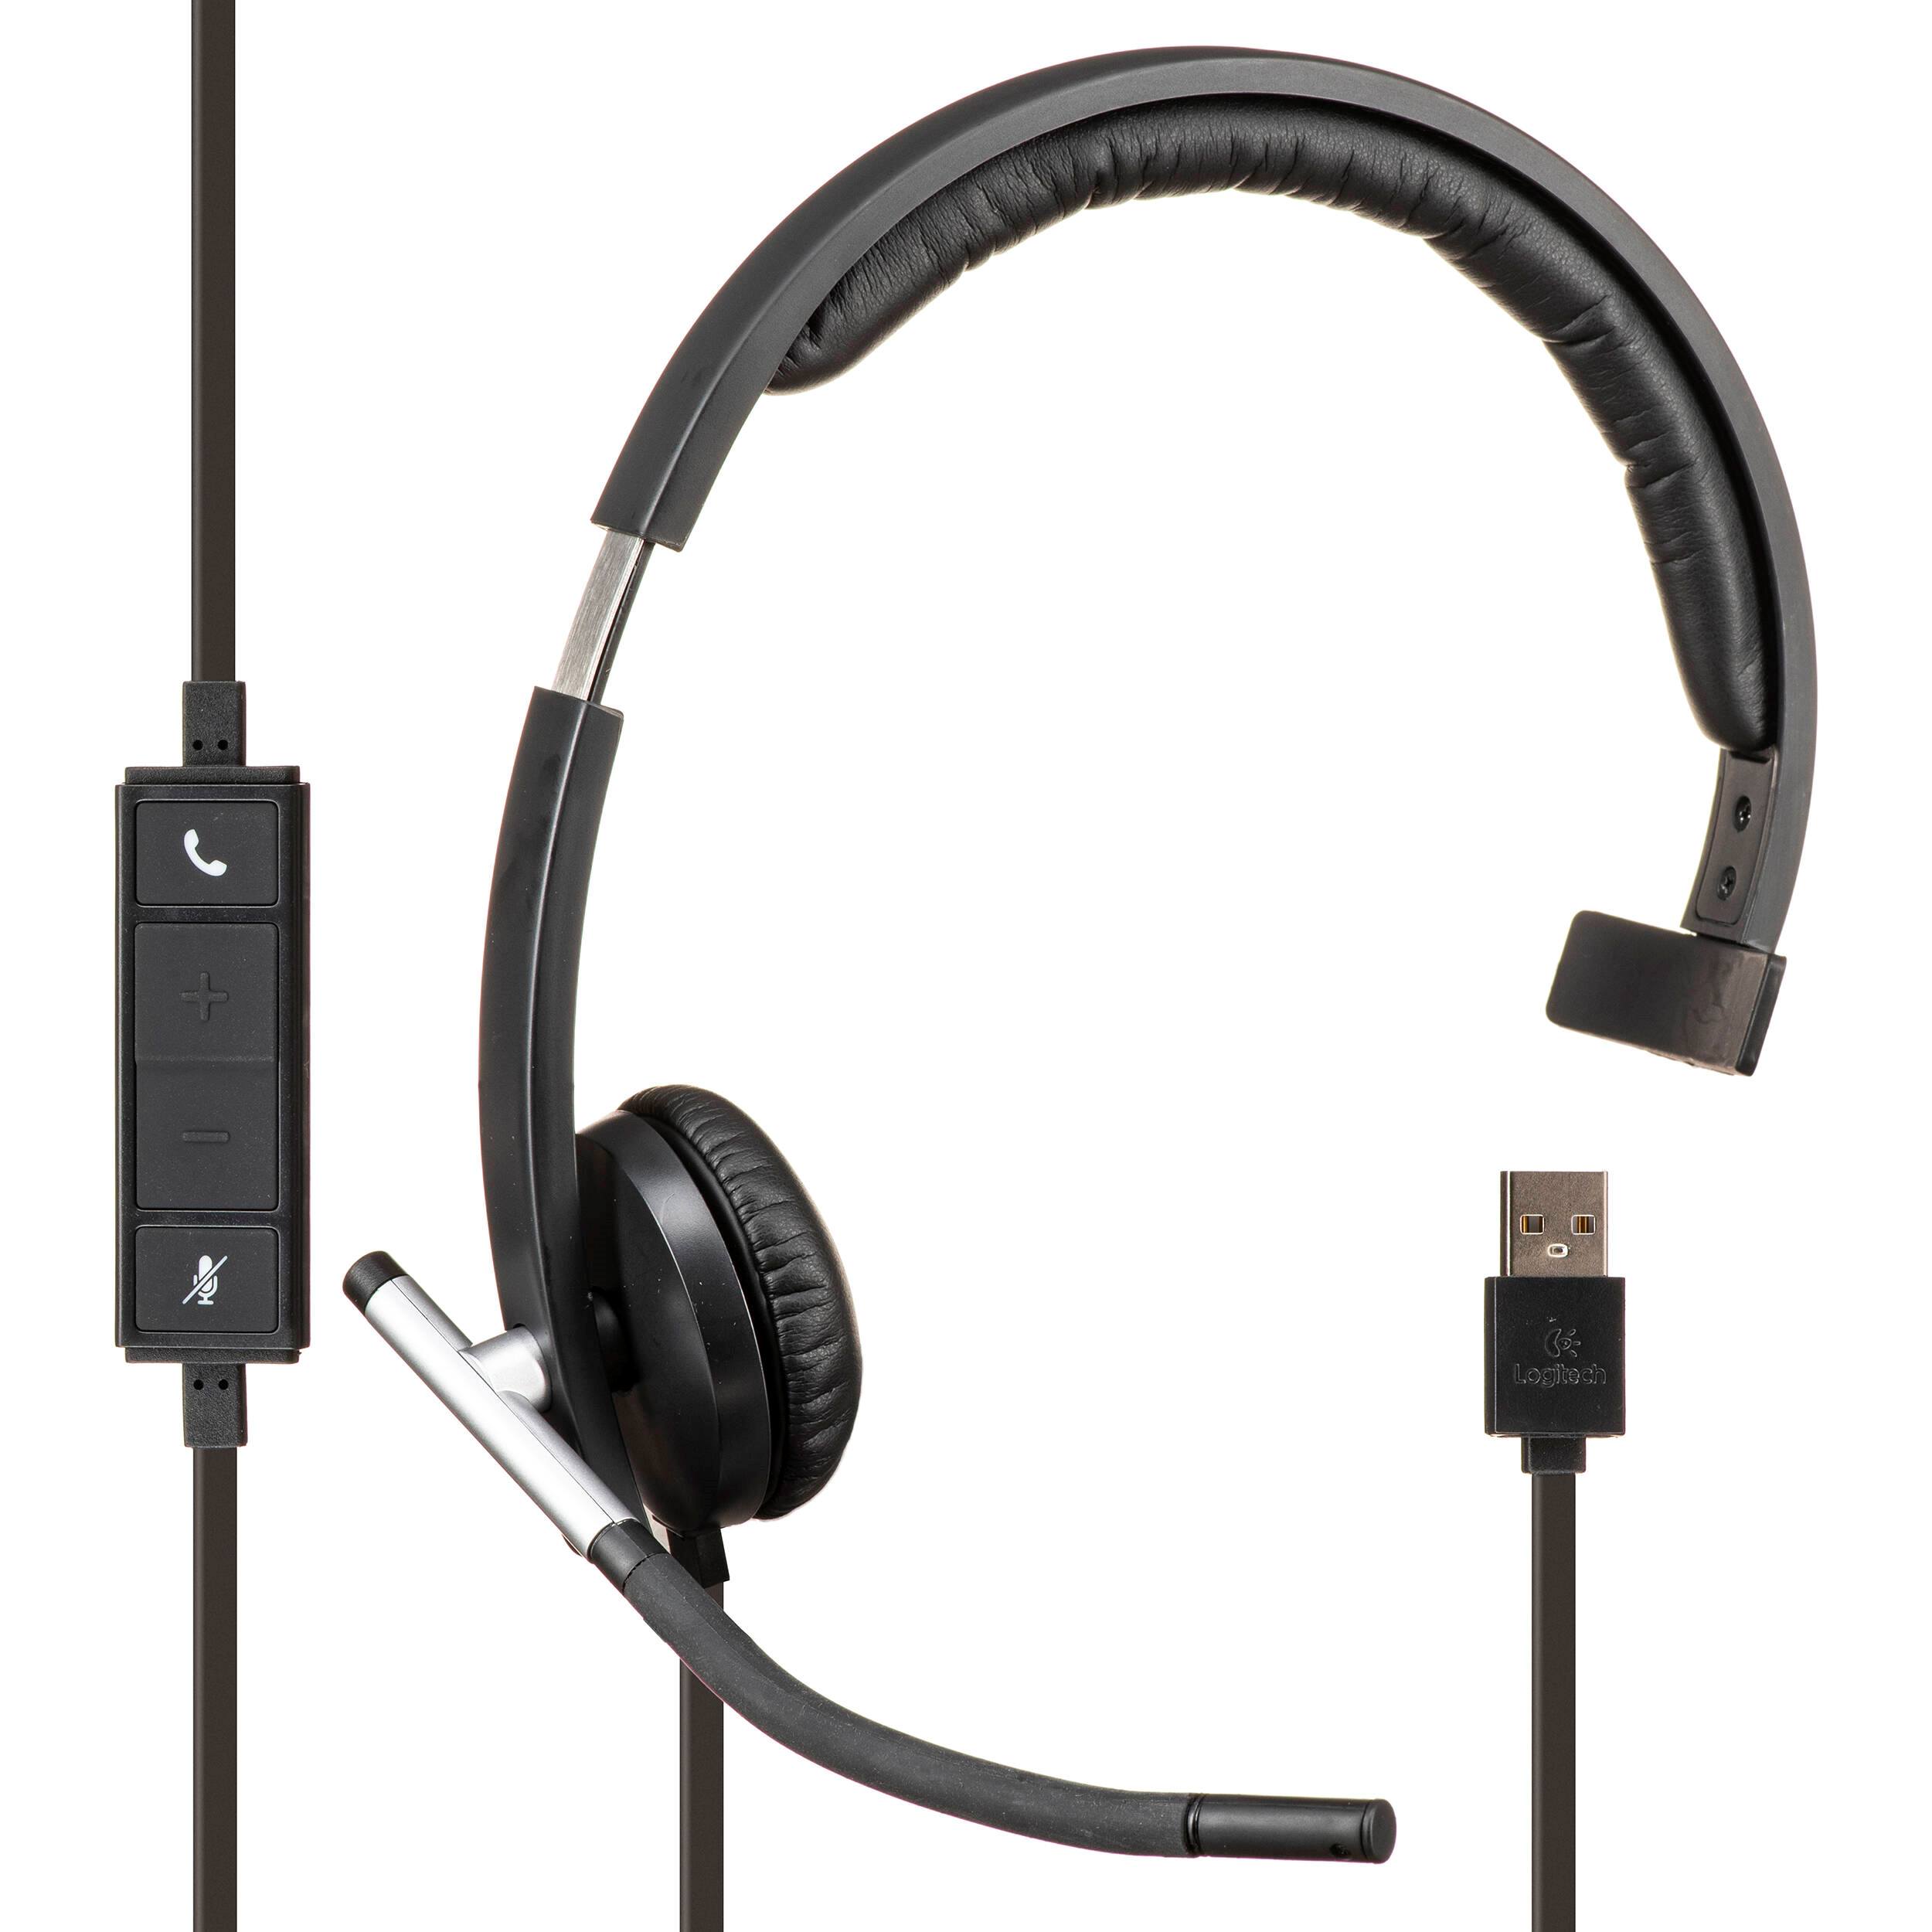
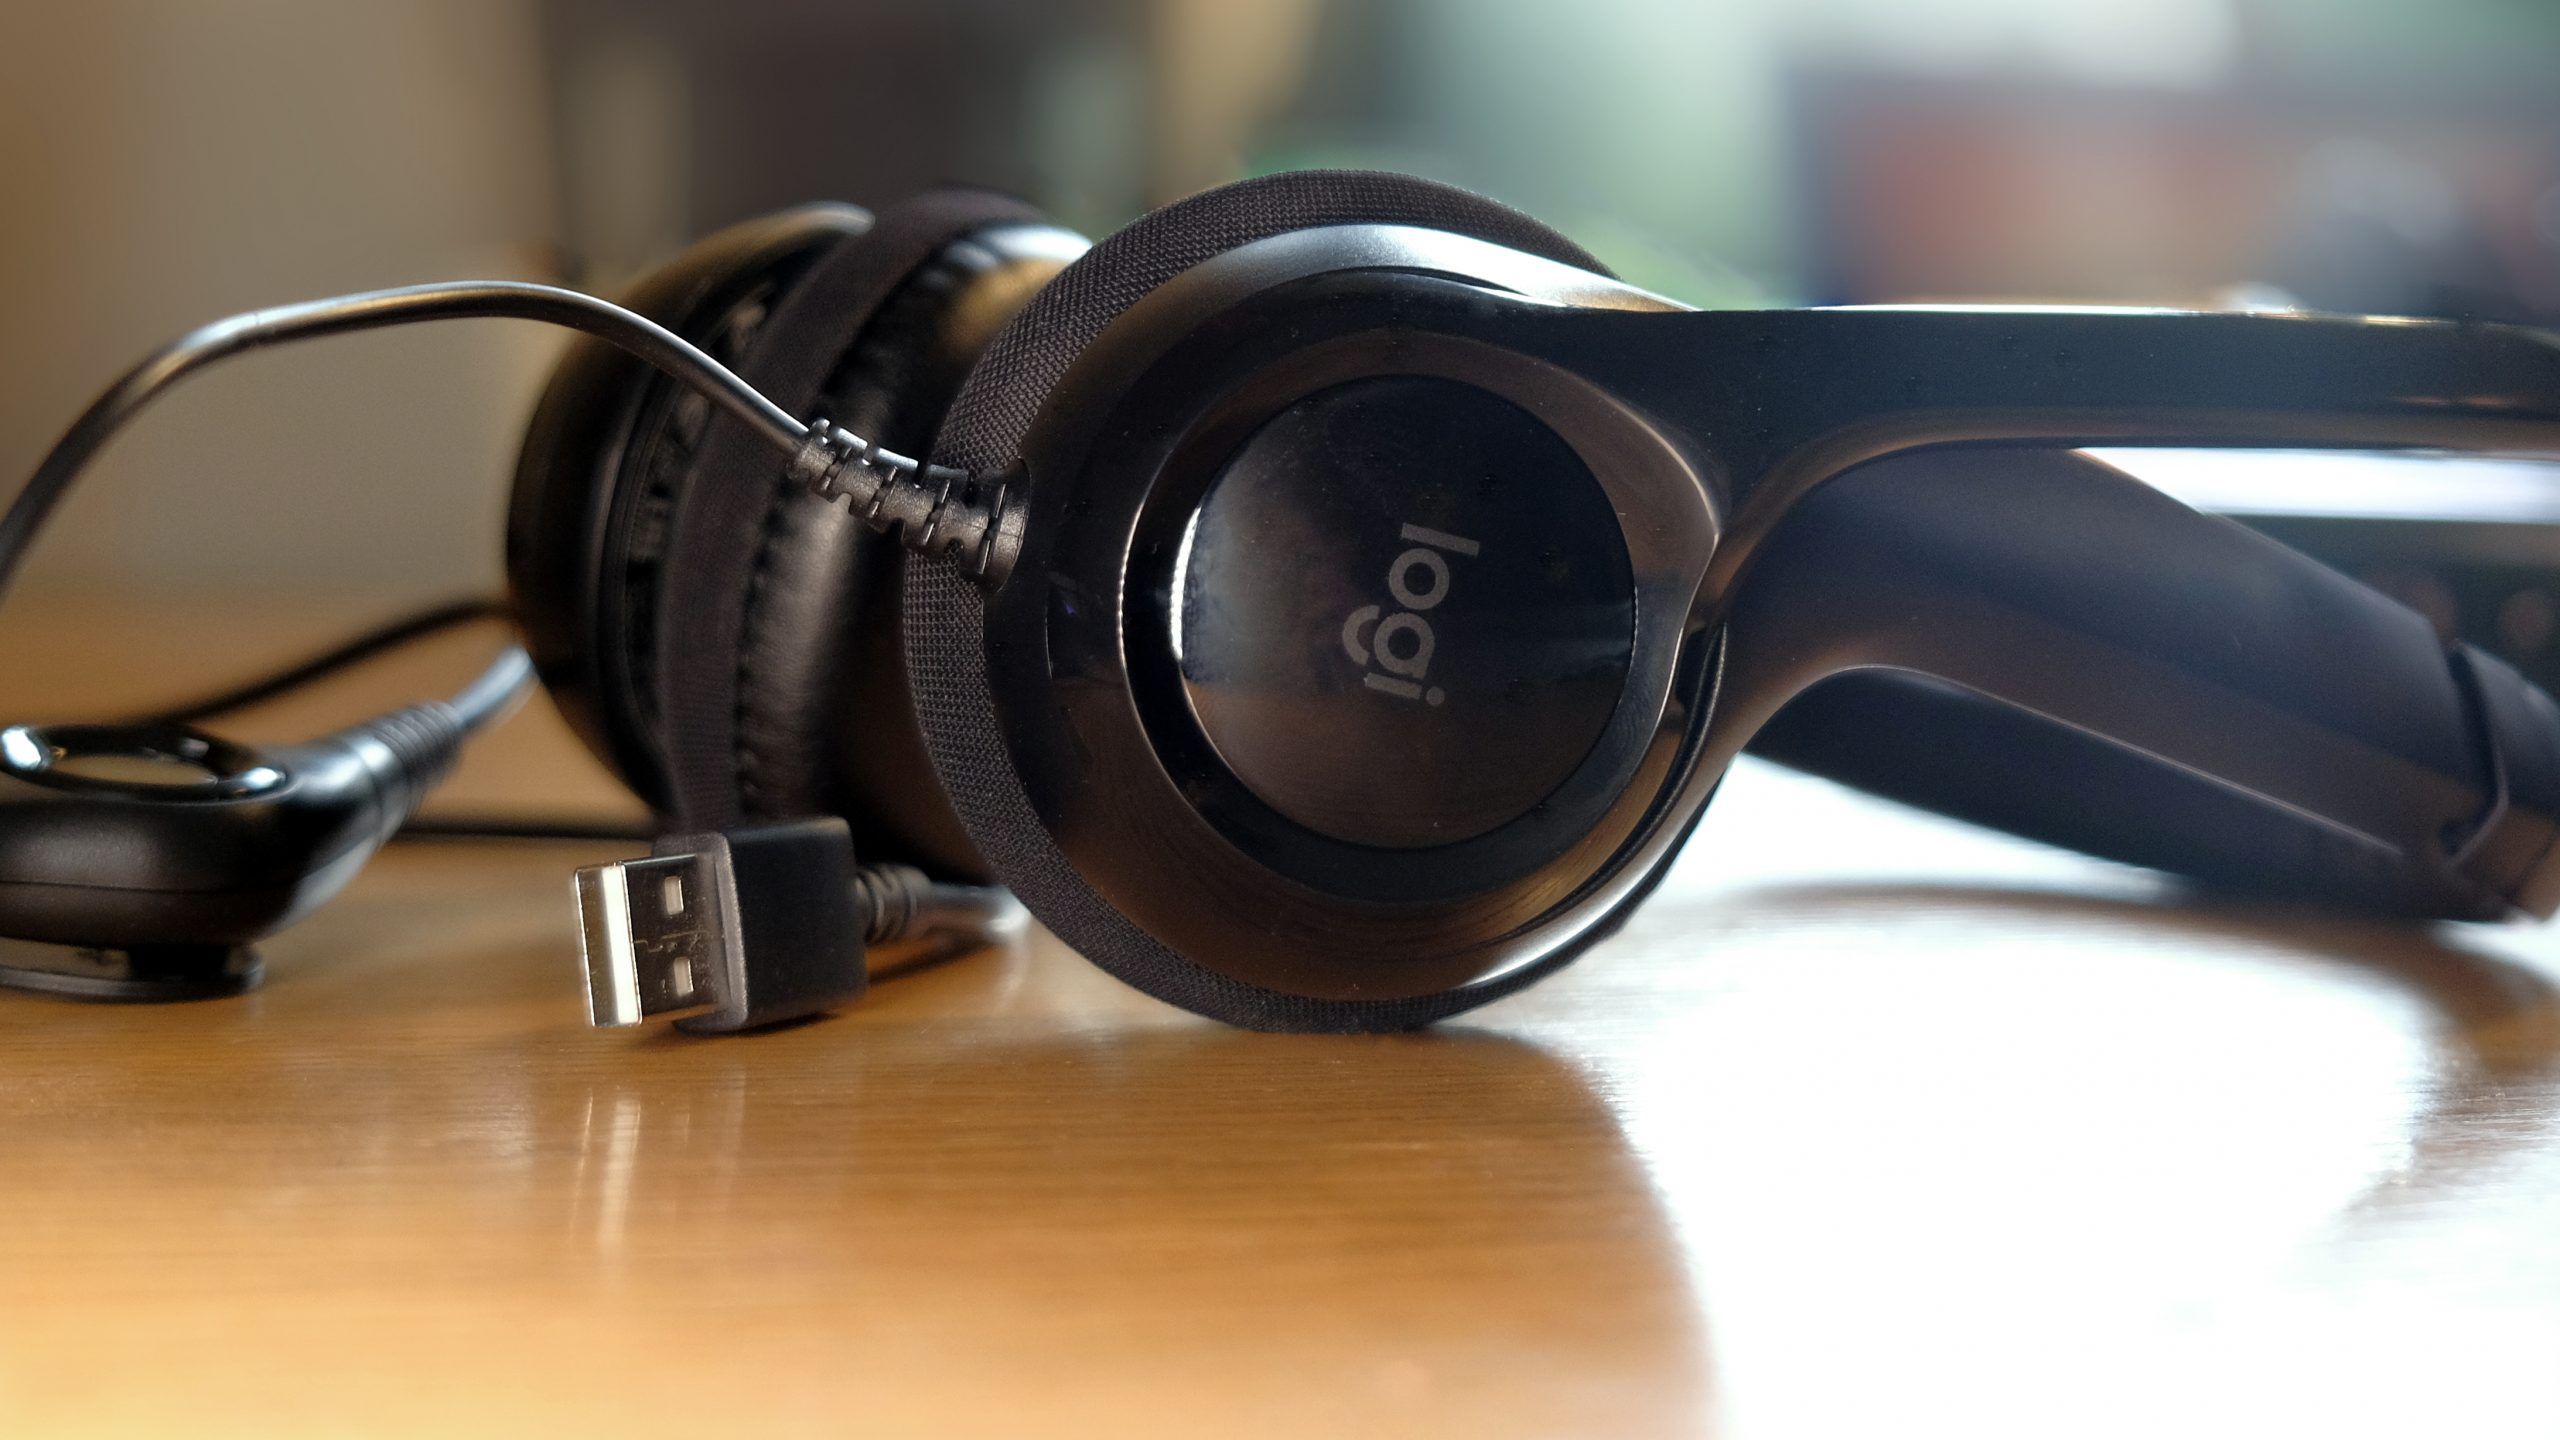
Begin by identifying the type of connection required for your Logitech gaming headset. Depending on the model, it may utilize a USB connection, a 3.5mm audio jack, or a combination of both. If your headset utilizes a USB connection, simply plug the USB connector into an available USB port on your PC. This method often provides plug-and-play functionality, allowing your PC to recognize the headset and configure it automatically.
If your Logitech gaming headset utilizes a 3.5mm audio jack, locate the corresponding audio ports on your PC. Most PCs feature separate ports for audio input and output, often color-coded as pink for the microphone input and green for the audio output. Connect the headset’s audio and microphone jacks to the appropriate ports on your PC, ensuring a secure connection for optimal audio performance.
For headsets that utilize both USB and 3.5mm connections, follow the manufacturer’s instructions to determine the best configuration for your setup. Logitech often provides detailed guidance on the most effective way to connect their gaming headsets to various devices, including PCs.
Once the headset is connected, it’s important to ensure that your PC recognizes it as the primary audio output and input device. Navigate to your PC’s sound settings and select the Logitech gaming headset as the default playback and recording device. This step is crucial for directing all audio output to the headset and enabling the microphone for clear communication with other players.
With the headset successfully connected to your PC and configured as the primary audio device, you’re ready to move on to the next step: installing the Logitech gaming software to unlock additional features and customization options.
Step 3: Installing Logitech Gaming Software
Installing the Logitech gaming software is a crucial step in maximizing the potential of your Logitech gaming headset. This software provides a range of features and customization options that enhance the audio experience, enable advanced microphone settings, and allow for personalized control over the headset’s functionality. By following the steps outlined below, you’ll be able to harness the full capabilities of your headset and tailor it to your specific gaming preferences.
Begin by visiting the official Logitech website or the designated download page for the Logitech gaming software. Locate the software that corresponds to your specific headset model and ensure that it is compatible with your operating system. Logitech provides user-friendly interfaces and clear instructions to guide you through the download and installation process, making it accessible for users of all experience levels.
Once you’ve downloaded the Logitech gaming software, launch the installation wizard and follow the on-screen prompts to install the software on your PC. The installation process typically involves accepting the end-user license agreement, choosing the installation location, and allowing the software to integrate seamlessly with your operating system.
After the installation is complete, launch the Logitech gaming software and familiarize yourself with its interface. The software provides a centralized hub for accessing various settings and features related to your Logitech gaming headset. Depending on your headset model, you may have access to equalizer settings, surround sound options, microphone enhancements, and customizable shortcut keys to streamline your gaming experience.
Explore the software’s features and take the time to adjust settings according to your preferences. Whether you prioritize immersive audio, crystal-clear communication, or personalized control over audio profiles, the Logitech gaming software empowers you to tailor the headset’s performance to align with your gaming style.
By installing the Logitech gaming software, you’ve unlocked a wealth of customization options and features that enhance the performance of your Logitech gaming headset. With the software successfully installed, you’re ready to proceed to the next step: configuring the audio settings to ensure optimal performance during gaming sessions.
Step 4: Configuring Audio Settings
Configuring the audio settings for your Logitech gaming headset is a pivotal step in optimizing the audio experience and ensuring that the headset performs at its best during gaming sessions. By fine-tuning the audio settings, you can tailor the sound output, microphone performance, and overall audio profile to suit your gaming preferences and immerse yourself in a dynamic and captivating audio environment.
Begin by accessing the sound settings on your PC. Navigate to the sound control panel or audio settings, where you can adjust the playback and recording devices. Select the Logitech gaming headset as the default playback device to ensure that all audio output is directed to the headset, delivering immersive sound directly to your ears.
Next, explore the advanced audio settings available through the Logitech gaming software. Depending on your headset model, you may have access to equalizer controls, surround sound options, and customizable audio profiles. Take the time to experiment with these settings and fine-tune the audio output to align with your gaming preferences. Whether you prefer enhanced bass for impactful explosions in action games or balanced sound for precise spatial awareness in competitive gaming, the audio settings allow you to customize the headset’s performance.
If your Logitech gaming headset features a detachable microphone, configure the microphone settings to ensure clear and crisp communication with other players. Adjust the microphone sensitivity, noise cancellation, and voice clarity settings to optimize the microphone’s performance during gaming sessions. Clear and reliable communication is essential for teamwork and coordination in multiplayer games, making it crucial to fine-tune the microphone settings to suit your communication needs.
Consider experimenting with different audio profiles based on the genres of games you play. For example, you may create distinct audio profiles for first-person shooters, role-playing games, or immersive single-player experiences. Tailoring the audio settings to specific game genres can enhance the overall gaming experience and draw you deeper into the virtual worlds you explore.
By configuring the audio settings to align with your gaming preferences, you’re poised to experience the full potential of your Logitech gaming headset. With the audio settings optimized, you’re ready to proceed to the final step: testing the headset to ensure that everything is functioning as intended.
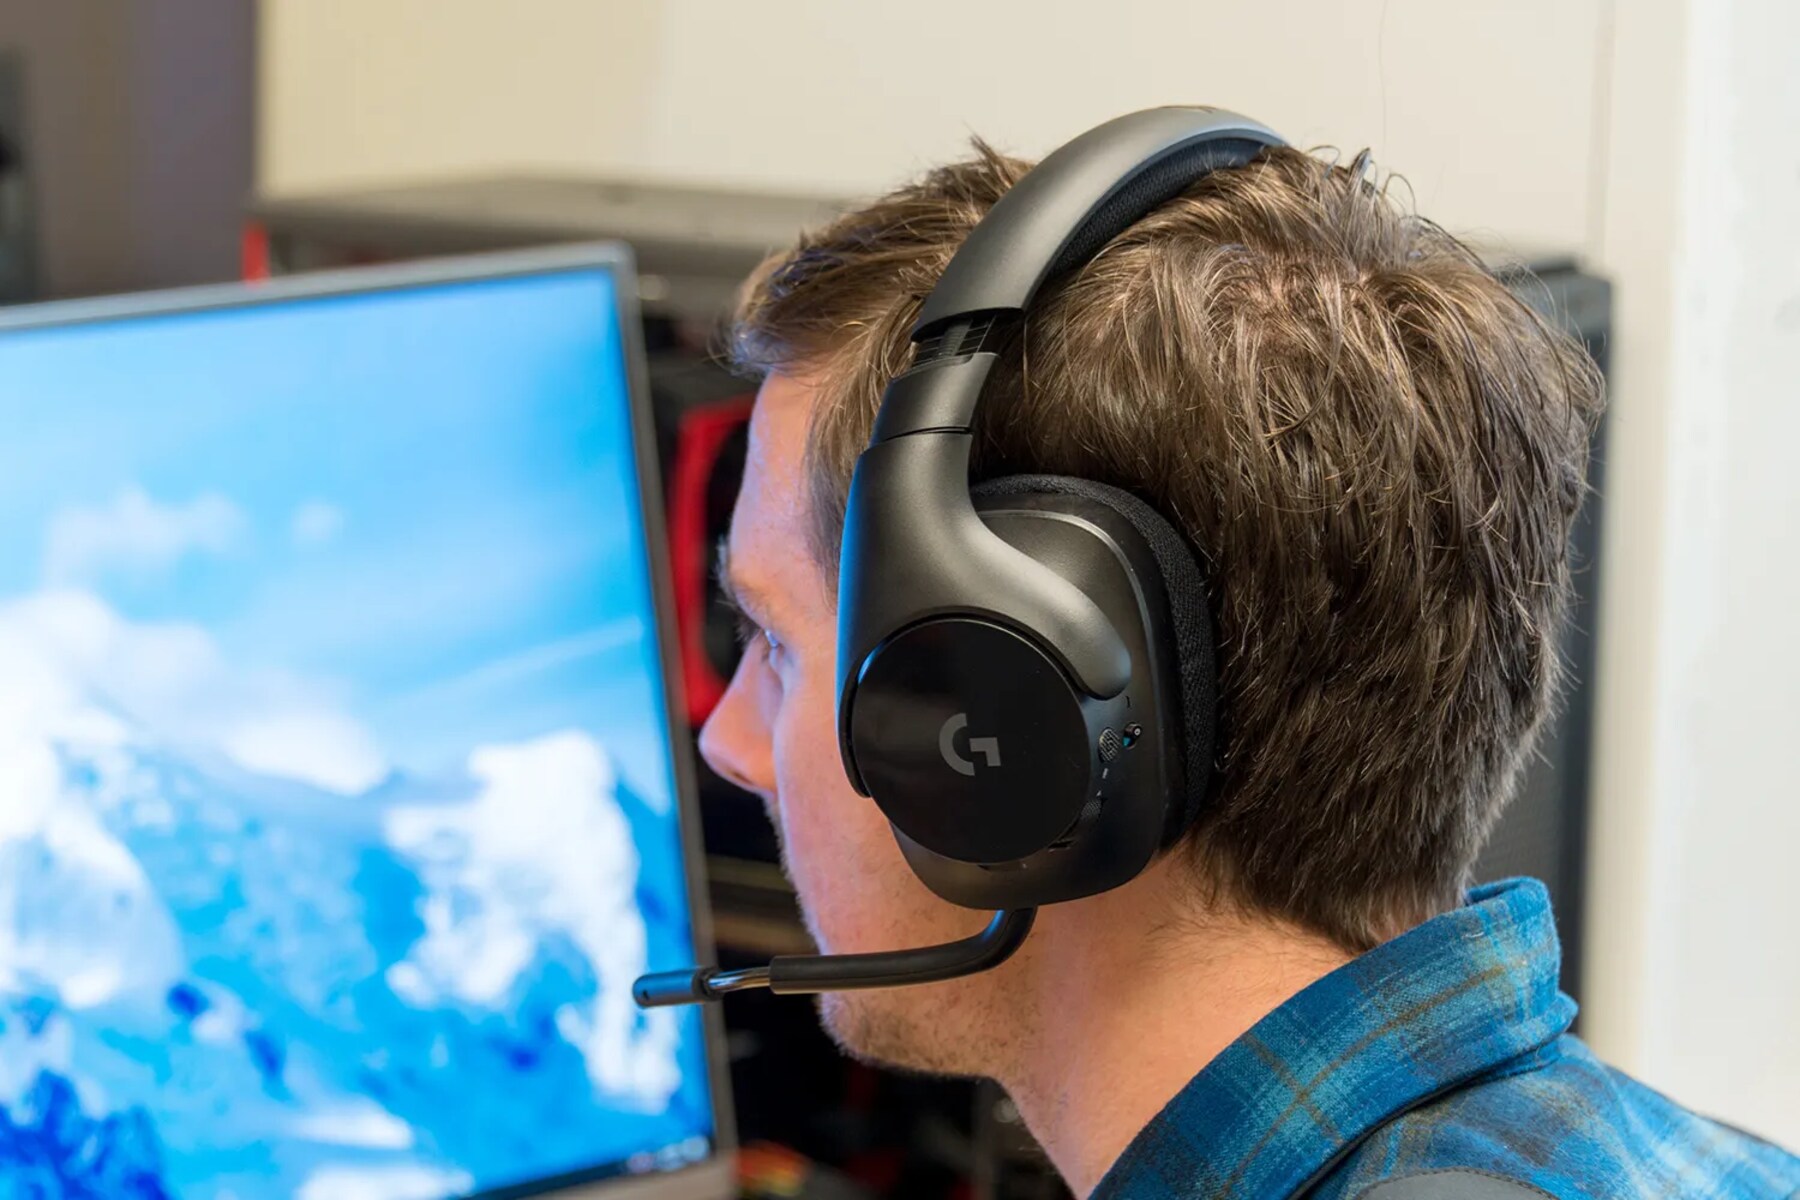
Step 5: Testing the Headset
After unboxing, connecting, installing software, and configuring the audio settings, it’s time to put your Logitech gaming headset to the test. Testing the headset allows you to ensure that all components are functioning as intended, the audio quality meets your expectations, and the microphone delivers clear communication. By conducting a thorough test, you can address any potential issues and fine-tune the settings to achieve an optimal audio experience.
Start by launching your favorite game or multimedia content that showcases a range of audio elements, such as music, dialogue, ambient sound, and in-game effects. As you immerse yourself in the audio experience, pay attention to the clarity, depth, and positional accuracy of the sound. Notice how the headset reproduces subtle details and immerses you in the sonic landscape of the game. This initial test allows you to evaluate the headset’s performance in a real-world gaming environment.
Engage in communication with fellow gamers or friends using the headset’s microphone. Test the microphone’s clarity and noise cancellation by engaging in voice chat or recording test audio. Ensure that your voice comes through clearly without distortion or background noise, allowing for seamless communication during gaming sessions. Clear and reliable communication is essential for coordinating strategies and maintaining teamwork in multiplayer games.
Experiment with different audio profiles and equalizer settings to gauge their impact on the overall audio experience. Adjust the settings to align with the specific demands of different games and genres, noting how the changes influence the immersive qualities of the sound. By fine-tuning the audio profiles during the testing phase, you can tailor the headset’s performance to suit the unique audio characteristics of various games.
Take note of any adjustments or refinements you make during the testing phase, as these insights will inform your ongoing use of the Logitech gaming headset. By actively engaging with the headset during testing, you’ll gain a deeper understanding of its capabilities and the ways in which it can enhance your gaming experience.
Upon completing the testing phase, you’ll have a comprehensive understanding of the Logitech gaming headset’s performance and its ability to deliver immersive audio and reliable communication. With the headset successfully tested and fine-tuned, you’re now ready to embark on your gaming adventures with confidence, knowing that your Logitech gaming headset is primed for an exceptional audio experience.
Conclusion
Congratulations! You’ve successfully navigated through the process of unboxing, connecting, installing software, configuring audio settings, and testing your Logitech gaming headset. By following these steps, you’ve not only set up your headset for optimal performance but also gained valuable insights into its capabilities and customization options.
Unboxing the Logitech gaming headset was the first step in unveiling the exceptional design and features crafted to enhance your gaming experience. The careful handling of the components and familiarization with the headset’s layout set the stage for a smooth setup process.
Connecting the headset to your PC allowed you to establish the essential audio and communication link, ensuring that the headset is ready to deliver immersive sound and reliable microphone performance during gaming sessions.
Installing the Logitech gaming software empowered you to unlock a wealth of features and customization options, providing personalized control over the headset’s audio profile, microphone settings, and additional functionalities tailored to your gaming preferences.
Configuring the audio settings enabled you to fine-tune the headset’s performance, optimizing the sound output, microphone clarity, and audio profiles to align with the unique demands of different games and genres.
Testing the headset provided valuable insights into its audio quality, microphone performance, and the impact of different settings on the overall gaming experience. By actively engaging with the headset during testing, you gained a deeper understanding of its capabilities and the ways in which it can elevate your gaming adventures.
With the Logitech gaming headset successfully set up and tested, you’re now equipped to embark on your gaming journeys with confidence, knowing that your headset is primed to deliver immersive audio, clear communication, and personalized control over the audio environment.
As you venture into the virtual realms of your favorite games, the Logitech gaming headset will serve as your gateway to a world of captivating soundscapes, seamless communication, and unparalleled gaming immersion. Your investment in a high-quality gaming headset has not only enriched your gaming experience but also positioned you to appreciate the intricate audio details and engage in seamless communication with fellow gamers.
Embrace the audio richness, embrace the communication clarity, and embrace the gaming immersion that your Logitech gaming headset offers. Your gaming adventures are about to reach new heights, fueled by the power of exceptional audio and seamless communication. Get ready to experience gaming in a whole new dimension, courtesy of your meticulously set up Logitech gaming headset.