Introduction
Setting up a webcam on Streamlabs OBS is crucial for live streaming or recording your content. Whether you’re a gamer, a content creator, or a professional looking to engage with your audience, having a high-quality webcam can greatly enhance the viewing experience. Streamlabs OBS is a powerful streaming software that allows you to customize your streams with overlays, alerts, and more. By following a few simple steps, you can easily connect and configure your webcam to ensure that your viewers get a clear and professional-looking video.
In this guide, we will walk you through the process of setting up your webcam on Streamlabs OBS. From downloading and installing the software to configuring the webcam settings and customizing the appearance, we will cover everything you need to know to get started. So, let’s dive in and make sure you’re ready to take your streams or recordings to the next level!
Before we begin, make sure you have a compatible webcam and the latest version of Streamlabs OBS installed on your computer. You can download Streamlabs OBS from the official website and check the system requirements to ensure that your computer meets the necessary specifications.
Now that you have everything you need, let’s move on to the first step: downloading and installing Streamlabs OBS.
Step 1: Download and Install Streamlabs OBS
The first step in setting up your webcam on Streamlabs OBS is to download and install the software on your computer. Streamlabs OBS is available for both Windows and Mac platforms and offers a user-friendly interface with powerful customization options. Here’s how you can get started:
1. Visit the official Streamlabs OBS website: Go to the Streamlabs OBS website and navigate to the “Download” section. Make sure to choose the version that is compatible with your operating system.
2. Download Streamlabs OBS: Click on the download button and wait for the installer to be downloaded to your computer. The download process may take a few moments, depending on your internet speed.
3. Run the installer: Once the download is complete, locate the downloaded installer file and double-click to run it. Follow the on-screen instructions to proceed with the installation.
4. Customize installation settings: During the installation process, you will have the option to customize certain settings, such as the installation location and additional features. Feel free to adjust these settings based on your preferences.
5. Complete the installation: After customizing the settings, click on the “Install” button to begin the installation process. Wait for the software to be installed on your computer. Once the installation is complete, you will be notified.
6. Launch Streamlabs OBS: Once Streamlabs OBS is successfully installed, you can launch the application by locating it in your start menu or desktop shortcut. Click on the icon to open Streamlabs OBS.
Now that Streamlabs OBS is installed on your computer, you’re ready to move on to the next step and connect your webcam. Ensure that your webcam is compatible with Streamlabs OBS to avoid any compatibility issues.
In the next step, we will guide you through the process of connecting and installing your webcam on Streamlabs OBS.
Step 2: Connect and Install Your Webcam
Now that you have Streamlabs OBS downloaded and installed on your computer, the next step is to connect and install your webcam. Follow these simple steps to get your webcam up and running:
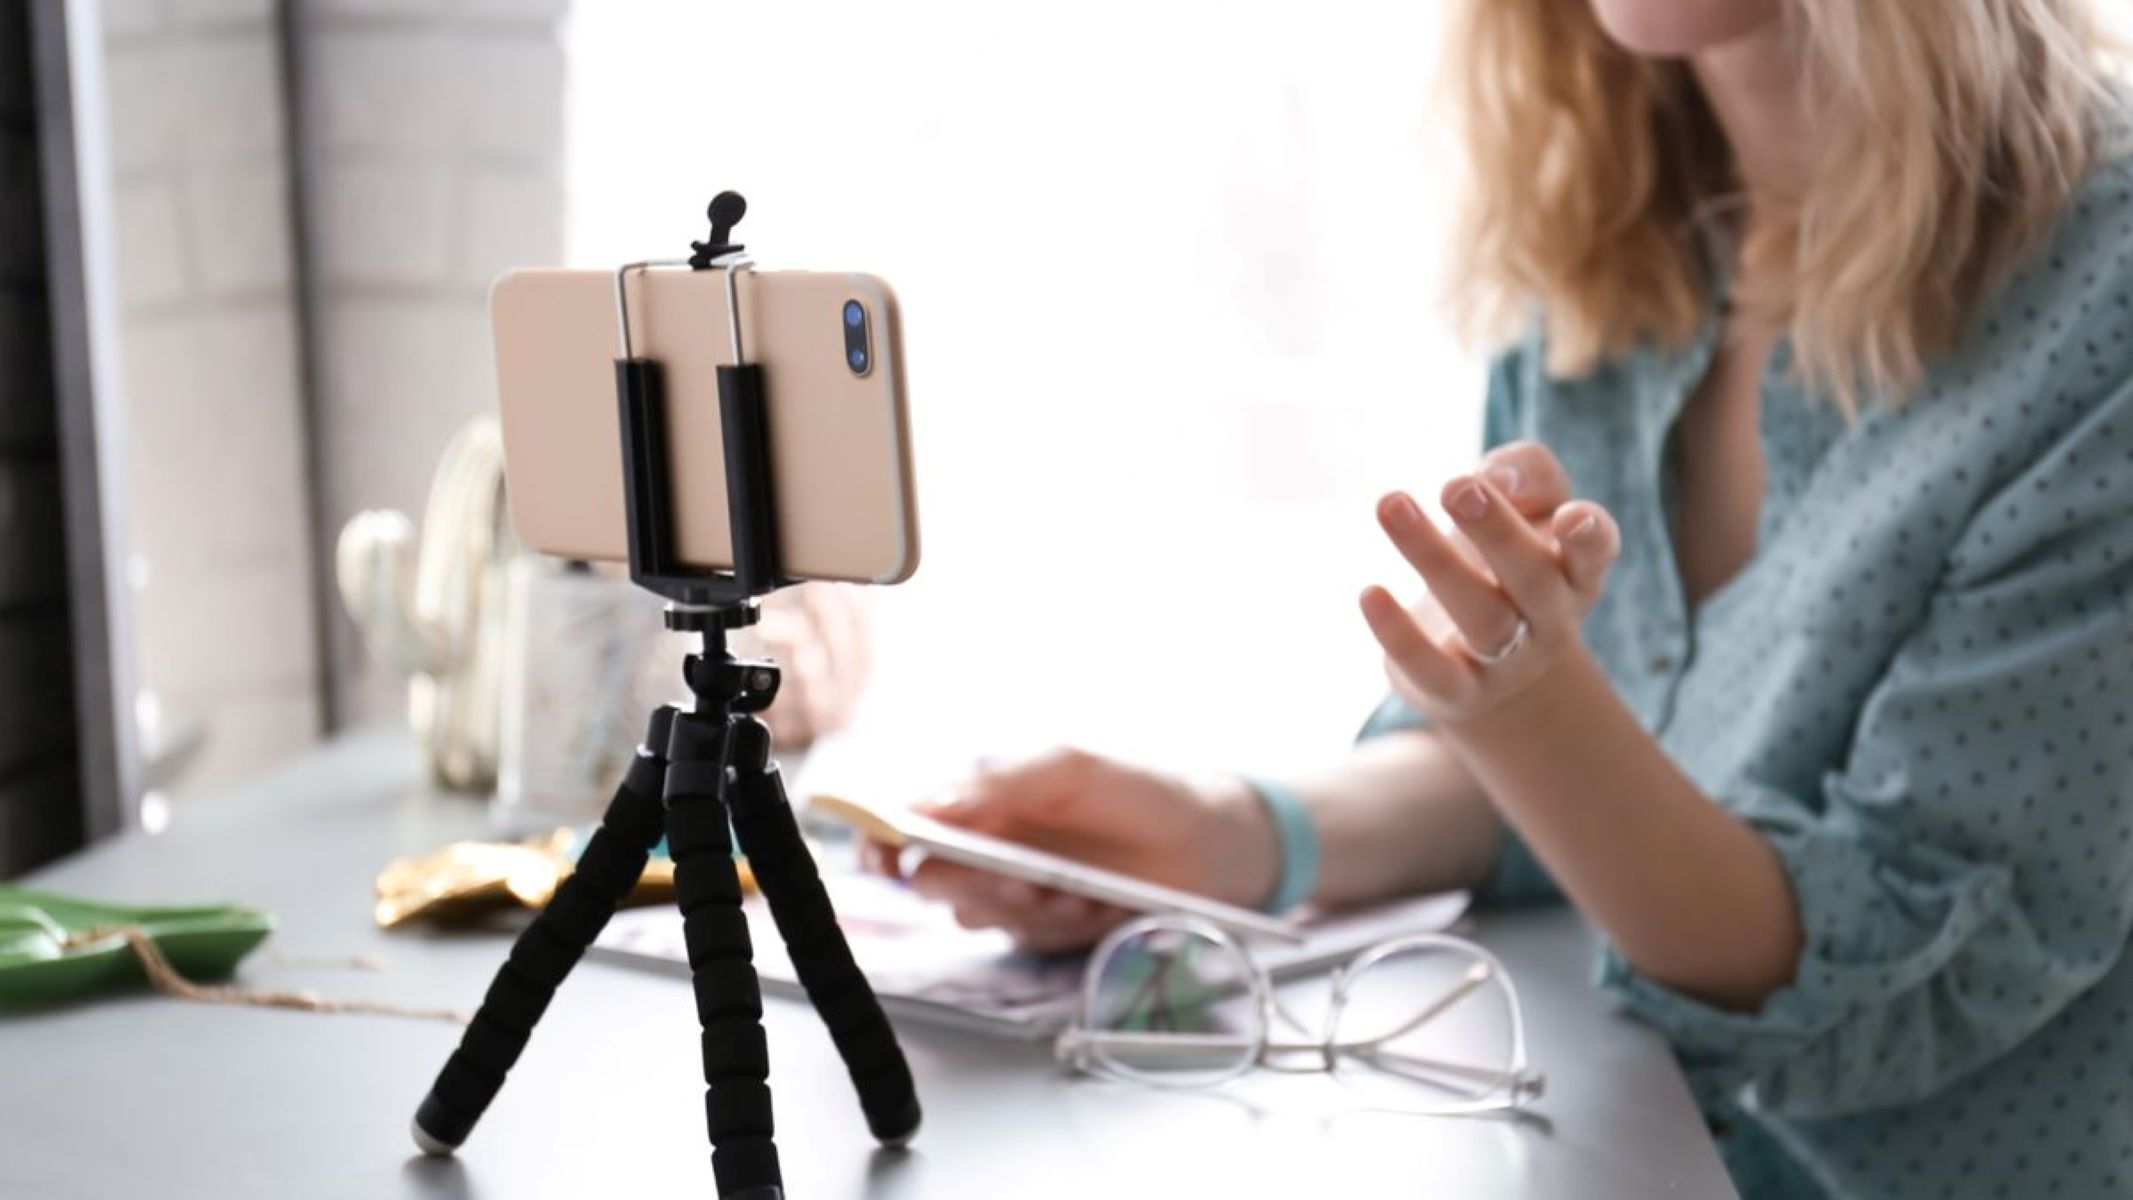
1. Connect your webcam: Use the appropriate cable to connect your webcam to your computer. Most webcams use a USB connection, so simply plug the USB cable into an available USB port on your computer. If your webcam requires additional power, make sure to connect it to a power source as well.
2. Install webcam drivers (if necessary): In most cases, your webcam will be plug-and-play, meaning it will automatically be detected by your computer and the necessary drivers will be installed. However, if your webcam requires specific drivers, you may need to install them manually. Check the manufacturer’s website for any driver downloads or installation instructions.
3. Test your webcam: Once your webcam is connected and any necessary drivers are installed, it’s a good idea to test your webcam to ensure it’s working properly. Open a video conferencing application or use the built-in camera app on your computer to check if the webcam displays a live video feed. Adjust the focus and positioning if needed.
4. Launch Streamlabs OBS: Open Streamlabs OBS on your computer. You can find the application in your start menu or by clicking on the desktop shortcut. Streamlabs OBS will automatically detect the connected webcam and display it in the preview window.
Congratulations! You have successfully connected and installed your webcam on Streamlabs OBS. Now it’s time to move on to the next step and configure the webcam settings to ensure optimal video quality. By customizing the settings, you can make adjustments such as resolution, frame rate, and exposure to suit your streaming or recording needs.
In the following step, we will guide you through the process of configuring the webcam settings on Streamlabs OBS.
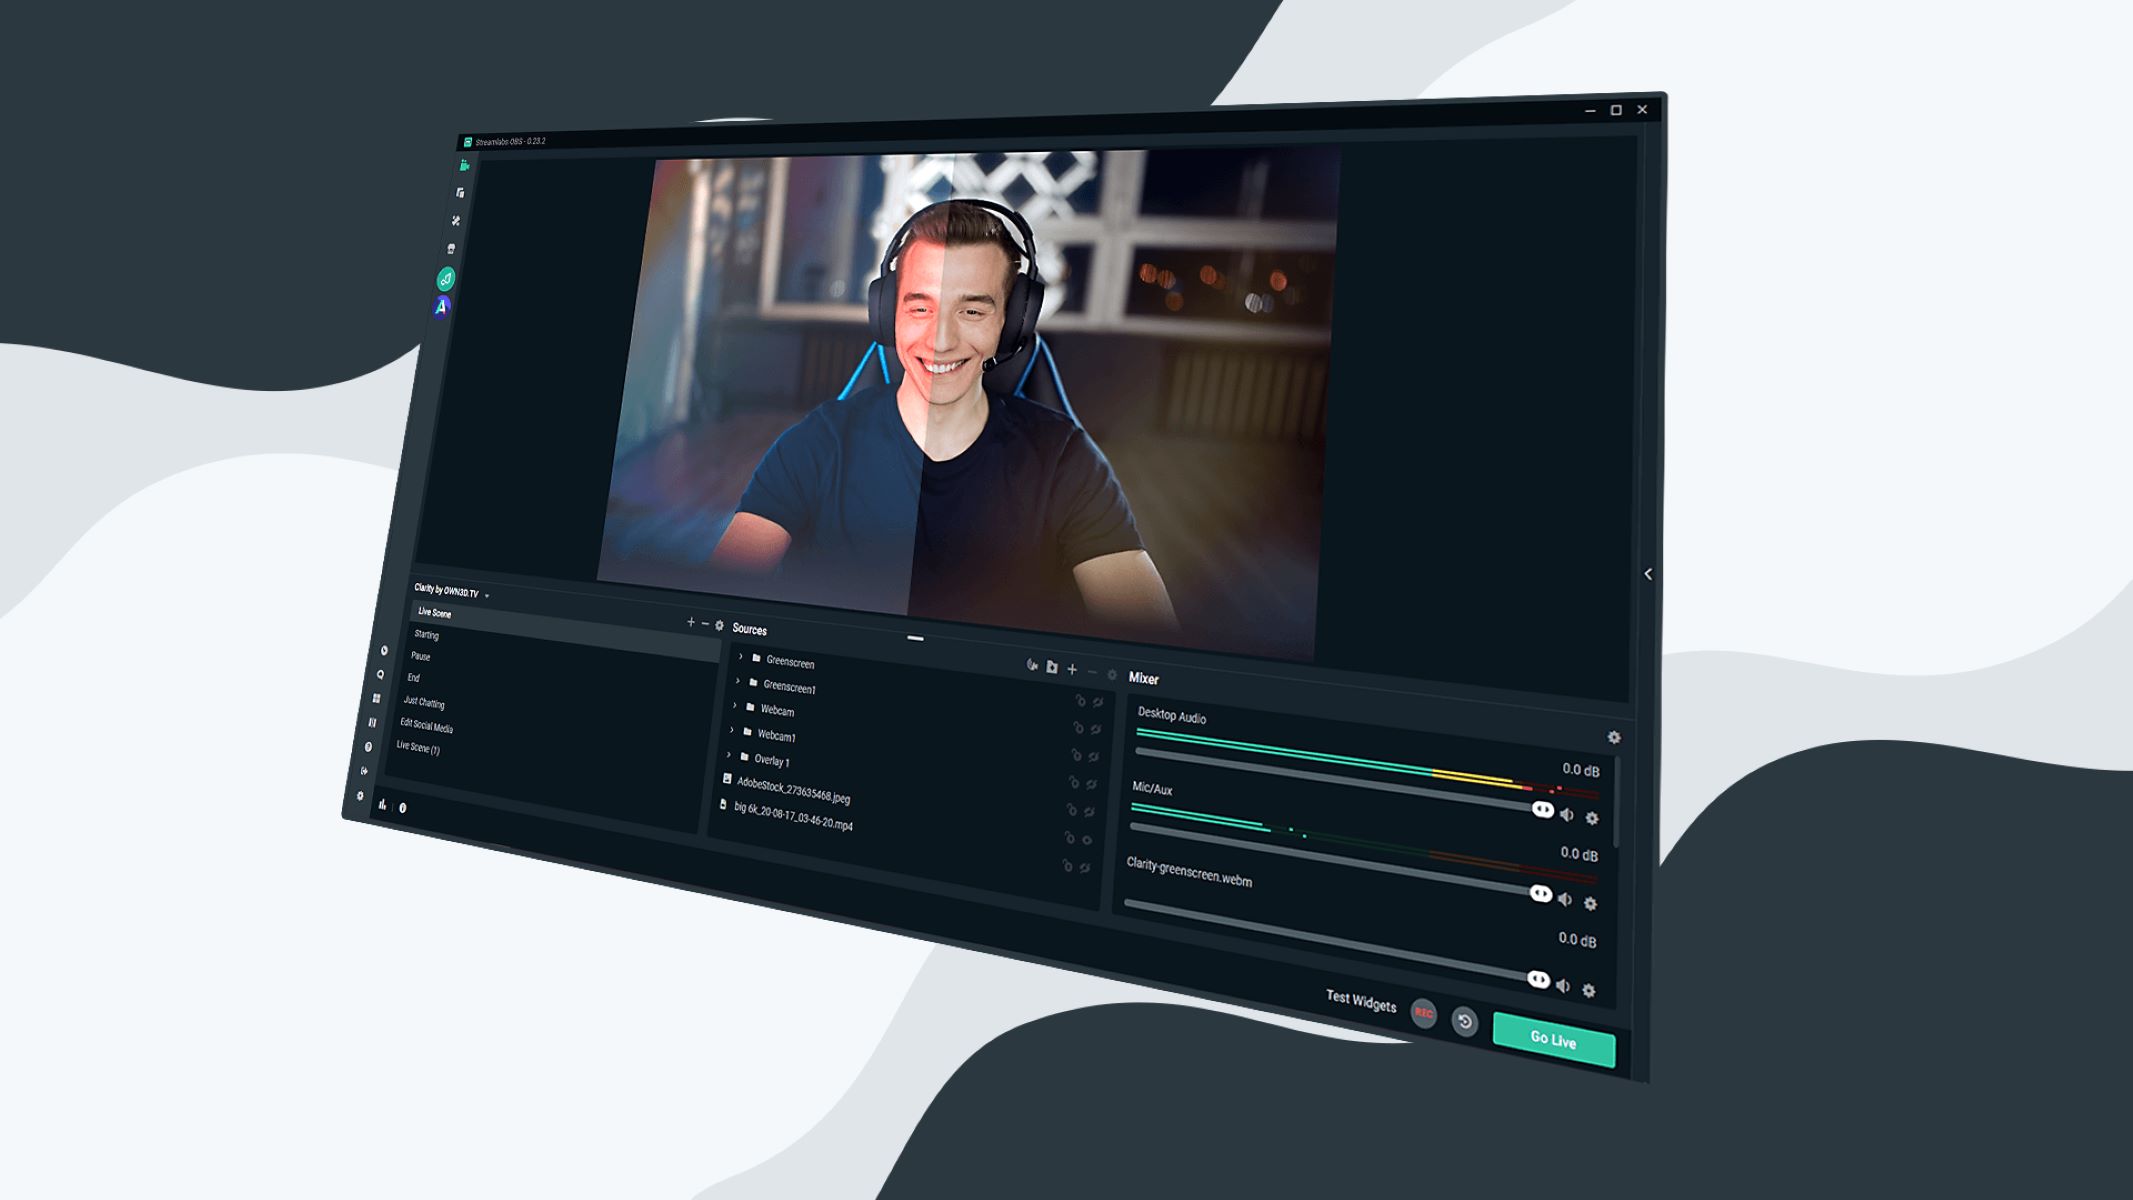
Step 3: Configure Webcam Settings on Streamlabs OBS
Now that your webcam is connected and installed on Streamlabs OBS, it’s time to configure the settings to ensure optimal video quality for your streams or recordings. Follow these steps to customize the webcam settings:
1. Open the settings menu: In Streamlabs OBS, click on the gear icon in the lower-left corner to access the settings menu.
2. Select video settings: In the settings menu, navigate to the “Video” tab. This is where you can make adjustments to your webcam settings.
3. Choose your webcam device: Under the “Video Capture Device” section, select your webcam device from the dropdown menu. If you have multiple webcams connected, make sure to choose the correct one.
4. Adjust resolution and frame rate: You can set the resolution and frame rate for your webcam video feed. It’s recommended to choose a resolution that matches the output resolution of your stream or recording. The frame rate determines the smoothness of the video, so choose a frame rate that works well with your content.
5. Configure exposure and white balance: Streamlabs OBS allows you to adjust the exposure and white balance settings of your webcam. Use the sliders provided to find the optimal balance of brightness and color temperature for your video.
6. Enable/disable autofocus: Depending on your webcam model, you may have the option to enable or disable autofocus. If you’re constantly moving in and out of frame or have objects that might trigger autofocus, you may want to disable it for a more consistent video.
7. Apply settings and preview: Once you’ve made your desired adjustments, click on the “Apply” button to save the changes. You can then preview the webcam feed in the main Streamlabs OBS window to see how the changes affect the video quality.
By configuring the webcam settings on Streamlabs OBS, you can ensure that your streams or recordings have a professional and polished look. Experiment with different settings to find the optimal configuration that suits your content and personal preferences.
In the next step, we will guide you on how to position and resize the camera feed on Streamlabs OBS to provide the best viewing experience for your audience.
Step 4: Position and Resize Camera Feed
After configuring the webcam settings on Streamlabs OBS, it’s important to position and resize the camera feed to ensure that it’s displayed in the desired location and size on your stream or recording. Here’s how you can do it:
1. Select the webcam source: In Streamlabs OBS, click on the “+” button under the “Sources” section in the main window. Choose “Video Capture Device” from the list and select your webcam as the source. Click on “Add Source” to add the webcam feed to your scene.
2. Position the camera feed: Once the webcam source is added, click and drag the source in the main window to reposition it. You can place it in any desired location on your screen. By default, the webcam feed is displayed in the top left corner, but you can move it anywhere you prefer.
3. Resize the camera feed: To adjust the size of the camera feed, click and drag on the corners of the source in the main window. You can make it larger or smaller based on your preference. Ensure that the size is appropriate and doesn’t obstruct any important content on your scene.
4. Crop or mask (optional): If necessary, you can also crop or mask the webcam feed to remove any unwanted areas. Right-click on the webcam source in the main window, choose “Filters”, and select “Crop/Pad” or “Mask/Blend”. Use the provided options to crop or mask the feed as needed.
5. Preview the camera feed: As you position and resize the camera feed, keep an eye on the preview window to see how it looks in real-time. Make adjustments as necessary until you’re satisfied with the placement and size of the webcam feed.
Remember, the position and size of the camera feed should be carefully chosen to ensure that it doesn’t interfere with other important elements on your stream or recording. Take into consideration the overall layout and composition of your scene to create an aesthetically pleasing and well-balanced stream or recording.
In the next step, we will explore the webcam overlay options available in Streamlabs OBS to further customize the appearance of your camera feed and add a personal touch to your content.
Step 5: Webcam Overlay Options
Adding an overlay to your webcam feed can enhance the visual appeal of your streams or recordings and give them a professional and branded look. Streamlabs OBS provides various options to customize and add overlays to your webcam. Let’s explore how you can make use of these overlay options:
1. Choose an overlay design: Streamlabs OBS offers a wide range of webcam overlay designs to choose from. You can select a pre-designed overlay that matches your branding or create a custom overlay using graphics software. Consider your branding elements, such as logos, colors, and fonts, to create a cohesive and visually appealing overlay.
2. Add the overlay as a source: In Streamlabs OBS, click on the “+” button under the “Sources” section in the main window. Choose “Image” (for static overlays) or “Media Source” (for animated overlays) from the list. Browse and select the overlay file from your computer. Click on “Add Source” to add the overlay to your scene.
3. Position and resize the overlay: Similar to positioning and resizing the webcam feed, you can also adjust the position and size of the overlay. Click and drag it in the main window to reposition it, and click and drag on the corners to resize it. Ensure that it complements the webcam feed without obstructing any important elements.
4. Customize the overlay: Depending on the overlay design and type, you may have additional customization options. Right-click on the overlay source in the main window, choose “Filters” or “Transform”, and explore the available options. This allows you to apply effects, adjust transparency, or add animations to the overlay.
5. Preview the webcam overlay: As you add and customize the webcam overlay, keep an eye on the preview window to see how it looks in conjunction with the webcam feed. Make adjustments as needed to achieve the desired visual effect.
Adding a webcam overlay can elevate the visual quality of your streams or recordings and help you create a unique and cohesive brand identity. Experiment with different overlay designs and customization options to find the style that resonates with your content and engages your audience.
In the next step, let’s explore how you can apply filters and effects to your webcam feed to further enhance the visual quality and add creative elements to your videos.
Step 6: Customize Webcam Filters and Effects
Customizing your webcam filters and effects can add a touch of creativity and uniqueness to your streams or recordings. Streamlabs OBS provides a range of filters and effects that you can apply to your webcam feed to enhance its visual quality. Let’s explore how you can customize your webcam using these options:
1. Open the filters menu: In the main Streamlabs OBS window, right-click on the webcam source and select “Filters” from the dropdown menu. This will open the filters menu where you can apply various effects and adjustments to your webcam feed.
2. Adjust brightness, contrast, and saturation: Use the sliders provided to modify the brightness, contrast, and saturation levels of your webcam feed. Experiment with different settings to achieve the desired look and feel for your video.
3. Apply color correction: Streamlabs OBS allows you to apply color correction to your webcam feed. You can adjust the hue, saturation, and brightness individually and fine-tune the color balance of your video.
4. Add a blur effect: If you want to maintain privacy or create a visually appealing background, you can apply a blur effect to your webcam feed. Use the blur slider to control the intensity of the effect.
5. Enable chroma key (green screen): If you have a green screen setup, you can enable the chroma key filter and use it to replace the green background with a custom image or scene. Adjust the similarity and smoothness sliders to achieve the best results.
6. Explore additional filters and effects: Streamlabs OBS offers a variety of other filters that you can experiment with, including sharpen, noise suppression, and white balance. Play around with these options to find the desired effect for your webcam feed.
7. Preview the changes: As you apply and adjust the filters and effects, keep an eye on the preview window to see how they affect your webcam feed in real-time. Make sure to strike a balance and avoid overdoing the adjustments to maintain a natural and visually pleasing appearance.
By customizing the filters and effects on your webcam feed, you can add a personal touch and create a visually appealing video that stands out. Experiment with different settings and combinations to find the look that complements your content and adds a unique flair to your streams or recordings.
Now that you have customized your webcam filters and effects, you are ready to start streaming or recording with Streamlabs OBS. Remember to regularly test and fine-tune the settings based on your preferences and feedback from your viewers or audience.
Conclusion
Congratulations! You have successfully learned how to set up and customize your webcam on Streamlabs OBS. By following the steps outlined in this guide, you can ensure that your streams or recordings have a professional and polished look, enhancing the overall viewer experience.
Throughout this process, we covered various essential steps, including downloading and installing Streamlabs OBS, connecting and installing your webcam, configuring webcam settings, positioning and resizing the camera feed, adding webcam overlays, and customizing filters and effects. By mastering these techniques, you can create engaging and visually appealing content that captures the attention of your audience.
Remember, as you continue to stream or record, it’s important to regularly test and adjust your settings. This allows you to fine-tune your webcam setup and maintain optimal video quality. Pay attention to viewer feedback and make adjustments accordingly to deliver the best possible experience.
Streamlabs OBS offers a wide range of features and customization options beyond webcam settings. Take the time to explore and experiment with overlays, alerts, scenes, and other tools to further enhance your streaming or recording setup.
Now that you have the knowledge and tools to set up your webcam on Streamlabs OBS, it’s time to unleash your creativity and engage with your audience like never before. Whether you’re a gamer, content creator, or professional, a high-quality webcam and a well-configured streaming software will help you elevate your content and stand out in the digital world.
So go ahead, set up your webcam, customize your settings, and get ready to create amazing streaming experiences with Streamlabs OBS! Happy streaming!