Introduction
Welcome to the world of video conferencing, where virtual meetings have become an essential part of our daily lives. As we navigate remote work and online communication, it’s important to create a professional and distraction-free environment during video calls. One way to achieve this is by blurring your webcam background, allowing the focus to be solely on you and your message.
Background blurring has become a popular feature in video conferencing applications, providing users with the ability to eliminate visual clutter and maintain privacy. Whether you are attending a business meeting, participating in an online interview, or connecting with friends and family, blurring your webcam background can make a significant difference in the overall aesthetics and professionalism of your video call.
In this article, we will explore the concept of background blurring and its advantages. We will also provide a detailed guide on how to blur your background using popular video conferencing apps such as Zoom. Additionally, we will share some expert tips for achieving the best background blur and troubleshoot common issues that may arise during the process.
If you are concerned about your surroundings, whether it’s a messy room, confidential documents, or simply wanting to add a touch of elegance to your video calls, continue reading to learn how to blur your webcam background effectively.
What is background blurring?
Background blurring is a feature that allows you to obscure or soften the details of your surroundings during a video call. It creates a shallow depth of field effect, where the focus is primarily on your face or figure while the background appears blurred or out of focus.
This effect is achieved by applying a blur filter to the webcam feed, utilizing the software capabilities of video conferencing applications. The algorithm detects the person in the frame and applies the blur effect to everything behind them.
The purpose of background blurring is to draw attention to the speaker and minimize distractions caused by the environment. By blurring the background, it becomes less noticeable and prevents confidential or personal information from being inadvertently shared during a video call. It also adds a touch of professionalism to your virtual meetings, creating a more polished and visually pleasing experience.
Background blurring is particularly useful in situations where you may not have control over your surroundings. Whether you are working from home, in a public space, or simply have a cluttered environment, blurring your webcam background can help maintain privacy and focus on your message.
It’s important to note that background blurring is not a substitute for a physical green screen setup commonly used in professional video production. A green screen setup allows you to completely replace the background with a virtual one, while blurring the background simply softens the details without replacing it.
Now that we understand what background blurring is and its purpose, let’s delve into why you should consider utilizing this feature during your video calls.
Why should you blur your webcam background?
Blurring your webcam background offers several benefits that can greatly enhance your video conferencing experience. Let’s explore some key reasons why you should consider utilizing this feature:
- Eliminate distractions: By blurring the background, you remove any visually distracting elements, such as clutter, movement, or other people, that may divert attention from the main subject – you. This ensures that the focus remains on your face and your message, allowing for a more effective and engaging conversation.
- Maintain privacy and professionalism: Whether you are working from home or attending a remote meeting from a public space, blurring your webcam background helps to safeguard sensitive information and personal details. It creates a barrier between your private space and the professional world, ensuring that only what you choose to share – your presence and your words – is visible to others.
- Create a polished appearance: Blurring your background adds a touch of visual sophistication and professionalism to your video calls. It gives the impression that you are speaking from a controlled and well-prepared environment, even if that may not be the case. This can help leave a positive and lasting impression on your colleagues, clients, or interviewers.
- Enhance focus and engagement: By eliminating visual distractions, both for yourself and others, blurring the background can improve focus and concentration during video calls. It allows participants to pay closer attention to the speaker and the content being presented, leading to more meaningful discussions and effective communication.
- Add a personal touch: While blurring the background creates a professional setting, you can still showcase elements of your personality through your appearance and presentation. By ensuring that the background remains out of focus, you have the opportunity to curate a backdrop that reflects your personal style, whether it’s through art, bookshelves, or other tasteful touches.
Now that you understand the advantages of blurring your webcam background, let’s dive into a step-by-step guide on how to achieve this on popular video conferencing applications like Zoom.
How to blur background on popular video conferencing apps
Many popular video conferencing applications offer built-in features and settings that allow you to blur your background during video calls. Let’s explore the steps to blur your background on some of these popular apps:
- Zoom: The Zoom video conferencing app offers a background blurring feature that is easy to use. Here’s how to enable it:
- Open the Zoom app and sign in to your account.
- Join or start a meeting.
- Click on the arrow (^) next to the “Stop Video” button.
- Select “Choose Virtual Background” from the dropdown menu.
- On the Virtual Background tab, check the “I have a green screen” option.
- Zoom will automatically detect your background and apply the blur effect.
- If you don’t have a green screen, you can still try using the “Background & Filters” option to adjust the blur level manually.
- Microsoft Teams: To blur your background on Microsoft Teams:
- Open the Microsoft Teams app and join a meeting.
- Before joining the meeting, you’ll see a preview of your video feed.
- Click on the “More Actions” button (three dots) on the meeting toolbar.
- Select “Apply Background Effects” from the dropdown menu.
- In the right pane, under “Background settings,” click on “Blur” to apply the blur effect.
- Google Meet: Google Meet doesn’t have a native blur feature, but you can use third-party tools like ChromaCam or XSplit VCam to achieve the desired effect. These tools allow you to apply a blur filter to your webcam background before joining a Google Meet call.
Remember to check the specific documentation or support pages of each application for any updates or changes in their features. Now that you know how to blur your background on popular video conferencing apps, let’s move on to a step-by-step guide for blurring your background on Zoom.
A step-by-step guide to blurring background on Zoom
Zoom is one of the most widely used video conferencing apps that offers a simple and effective way to blur your background during meetings. Follow these steps to blur your background on Zoom:
- Open the Zoom app on your computer and log in to your account.
- Join or start a meeting by clicking on the appropriate button.
- Once the meeting starts, locate the “Stop Video” button at the bottom left corner of the Zoom window and click on the arrow (^) next to it.
- A dropdown menu will appear, click on “Choose Virtual Background”.
- On the Virtual Background tab, you will find the option to blur your background. Click on the checkbox that says “I have a green screen” to activate the blur feature.
- If you don’t have a green screen, you can still achieve background blurring by adjusting the slider under the “Background & Filters” section. Slide it to the right to increase the blur intensity.
- You can preview the blurring effect in real-time by looking at the preview screen on the right side of the settings panel.
- If you are satisfied with the blur level, close the settings panel. Your background will now appear blurred to other participants in the meeting.
It’s important to note that to achieve the best results, ensure that you have good lighting in the room and avoid wearing clothing that matches the color of your background. This will help the software to differentiate between you and the background more effectively.
Now that you know how to blur your background on Zoom, let’s move on to some tips for achieving the best background blur during your video calls.
Tips for achieving the best background blur
To optimize the background blur effect during your video calls, consider the following tips:
- Choose the right background: Select a background with sufficient visual contrast to differentiate yourself from the surroundings. Solid colors or simple patterns tend to work best for accurate background detection and effective blur.
- Good lighting: Ensure that the room is well-lit to help the software accurately detect and differentiate between you and the background. Natural lighting or well-placed artificial lights can greatly enhance the blur effect.
- Avoid busy or distracting elements: Minimize visual distractions in your background, such as cluttered spaces or vibrant patterns. A clean and simple background will help the software focus on blurring the right areas effectively.
- Don’t blend into the background: Avoid wearing clothes that closely match the color or pattern of your background. This can prevent the software from accurately distinguishing you from the surroundings, leading to suboptimal blur results.
- Use a physical or virtual green screen: If you want more precise control over the background blur, consider using a physical green screen or virtual background. These tools provide a consistent background for optimal background detection and blur application.
- Test and adjust: Before starting an important video call, test the background blur feature in the chosen video conferencing app. Adjust the blur intensity or try different backgrounds to find the perfect balance between blurring and clarity.
- Keep your distance: Maintain a reasonable distance between yourself and the webcam to ensure that the background blur encompasses the desired area. Experiment with different distances to achieve the desired effect.
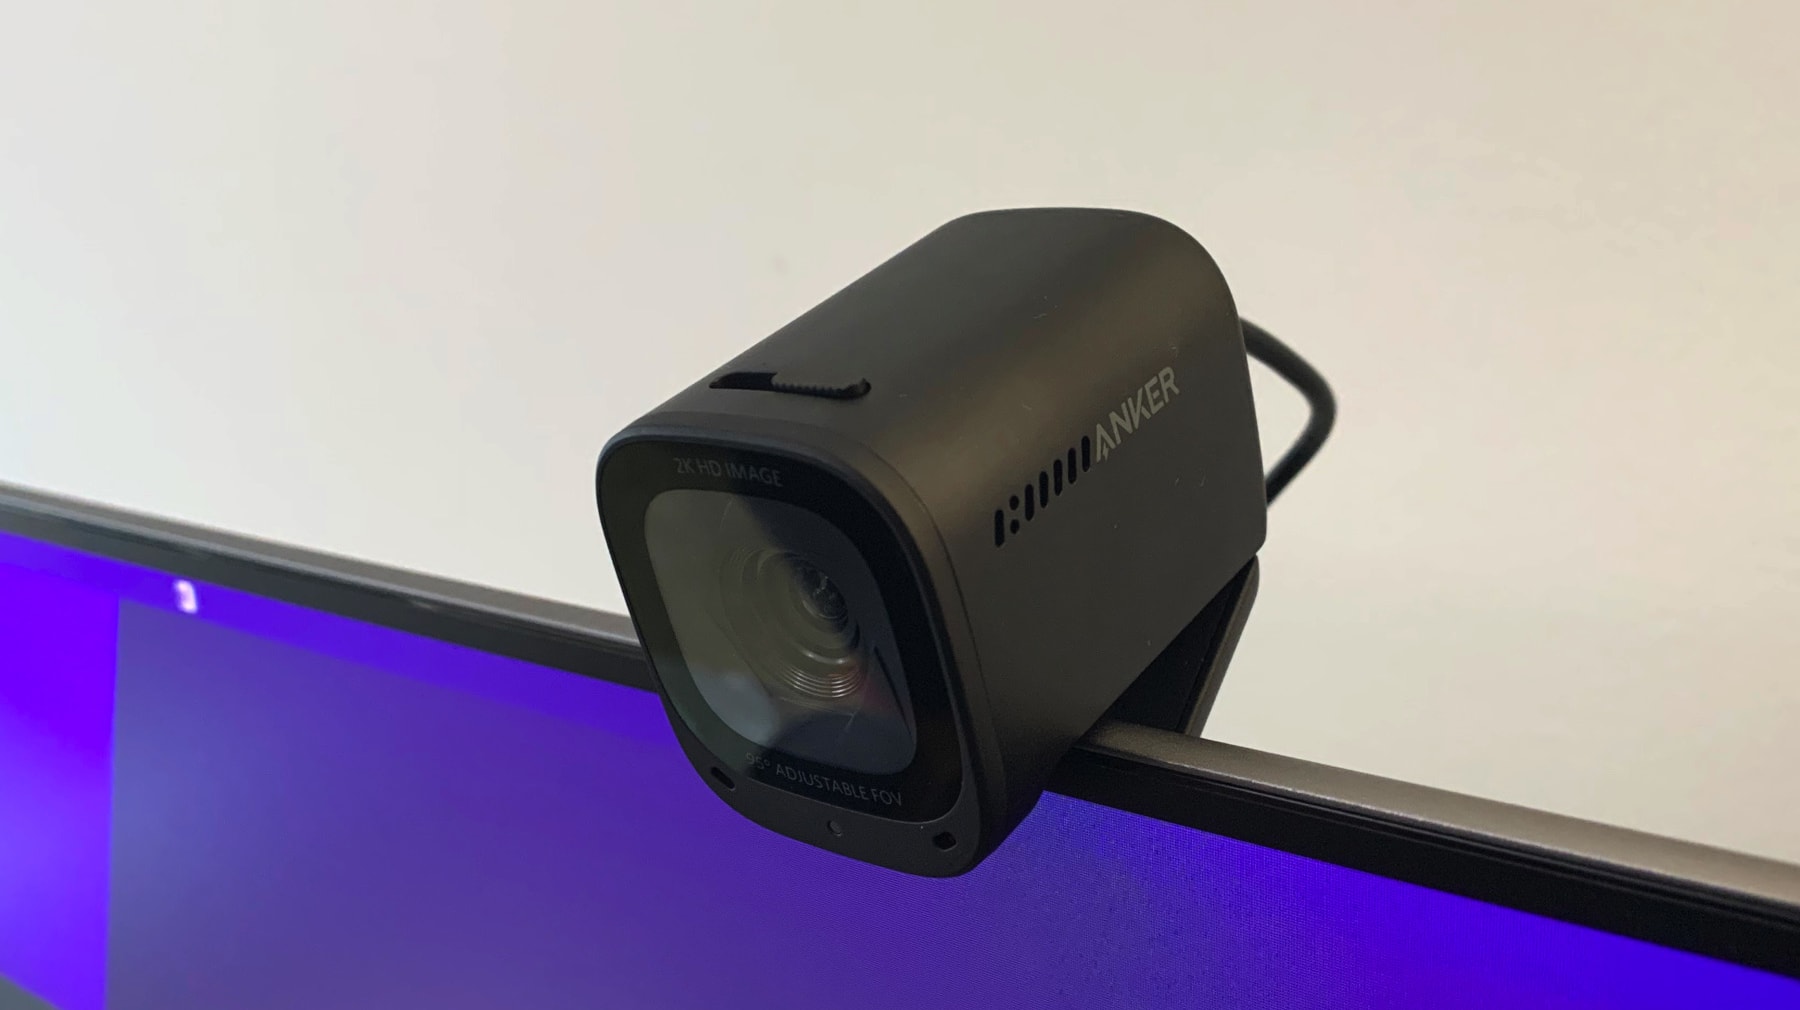
- Upgrade your hardware: If you frequently rely on background blur, consider investing in a high-quality webcam. Upgrading to a webcam with better image processing and background detection capabilities can enhance the overall blur effect.
By following these tips, you can enhance the background blur in your video calls and create a more visually appealing and professional environment. Now, let’s explore some common troubleshooting tips in case you encounter any issues with background blurring.
Troubleshooting common issues
While background blurring can greatly enhance your video conferencing experience, you may encounter some common issues along the way. Here are a few troubleshooting tips to help you address these concerns:
- Poor lighting: Insufficient lighting or harsh lighting conditions can affect the accuracy of the background blur. Make sure the room is well-lit and experiment with different lighting setups to achieve the desired results.
- Inaccurate background detection: Sometimes, the software may struggle to accurately detect the boundaries between you and the background. Ensure that there is enough contrast and visual separation between yourself and the surroundings to aid the detection process.
- Low-quality webcam: Some lower-quality webcams may struggle to apply the background blur effectively. Consider upgrading to a higher-quality webcam with better image processing capabilities for optimal results.
- Inconsistent blur effect: If the background blur seems inconsistent or incomplete, try adjusting the blur intensity settings in the video conferencing app. Test different settings to achieve a more balanced and desired effect.
- Software limitations: Not all video conferencing applications offer native background blur features. In such cases, consider using third-party software or virtual background tools that provide more extensive blur customization options.
- Computer performance: Blurring a background can be resource-intensive. If you experience performance issues or lag during video calls, check your computer’s specifications and ensure that it meets the recommended system requirements for running the video conferencing app and the background blur feature.
- Other participants’ settings: Remember that the background blur is specific to your video feed and may not affect the feeds of other participants in the meeting. Encourage others to enable the background blur feature on their end for a more uniform and professional look.
If you continue to face difficulties with background blurring despite troubleshooting, consult the documentation or support resources provided by the video conferencing app or seek assistance from their customer support team.
Now that we have covered some common troubleshooting tips, let’s explore alternative methods for achieving a blurred background on your webcam.
Alternatives to blurring background on webcam
If your video conferencing application doesn’t offer a native background blur feature or if you’re looking for alternative methods, there are other options to achieve a blurred background on your webcam:
- Physical green screen: A physical green screen setup allows you to replace your background with a virtual one or apply a custom blur effect. Green screens are widely used in professional video production and can provide more precise and realistic background effects.
- Virtual background tools: Some third-party software and apps provide virtual background features that offer more extensive background blur options. ChromaCam, XSplit VCam, and ManyCam are popular options that allow you to apply a blur effect to your webcam feed.
- Software post-processing: If you have access to video editing software, you can record your video call and apply a blur effect during post-processing. This method offers more control over the blur intensity and allows for additional editing options.
- Proper positioning and framing: Another way to minimize the visibility of your background without relying on software features is to position yourself in front of a blank wall or use a shallow depth of field camera lens. By adjusting your camera angle and framing, you can create a natural background blur effect without the need for additional software.
- Select a visually pleasing background: If blurring the background is not an option or doesn’t suit your preferences, you can choose a visually appealing and non-distracting background to enhance your video calls. Consider using virtual backgrounds provided by your video conferencing app or create a custom backdrop that reflects your personal style.
When choosing an alternative method for blurring your webcam background, consider the level of control, convenience, and desired aesthetics you want to achieve. Experiment with different options to find the one that best suits your needs.
Now that we have explored various methods and alternatives for blurring your webcam background, you are equipped with the knowledge to enhance the visual appeal of your video calls. Apply these techniques and enjoy more professional and distraction-free video conferencing experiences.