Introduction
Welcome to the world of laser engraving! If you’re looking to add a personal touch to your designs or create intricate patterns on various materials, a laser engraver is just what you need. This powerful tool allows you to etch designs onto wood, acrylic, leather, and many other materials with incredible precision and detail.
In order to get started, you’ll need to set up your laser engraver and install the appropriate software. One popular software option for controlling laser engravers is Laserworks/Rdworks. This software provides a user-friendly interface that allows you to import designs, adjust settings, and send commands to the engraver.
In this guide, we’ll walk you through the process of setting up your laser engraver with Laserworks/Rdworks software. We’ll cover everything from software installation to hardware configuration, so you’ll be up and running in no time. Whether you’re a beginner or an experienced enthusiast, this guide will help you unleash the full potential of your laser engraver.
So, let’s dive in and get started on this exciting journey of laser engraving with Laserworks/Rdworks! Follow the steps outlined in this guide, and you’ll soon be creating stunning designs that will impress everyone around you.
What is Laser Engraving?
Laser engraving is a technique that uses a laser beam to etch designs, patterns, or text onto various materials. It is a highly precise and versatile method of customization that has gained popularity in various industries, including arts and crafts, manufacturing, and promotional products.
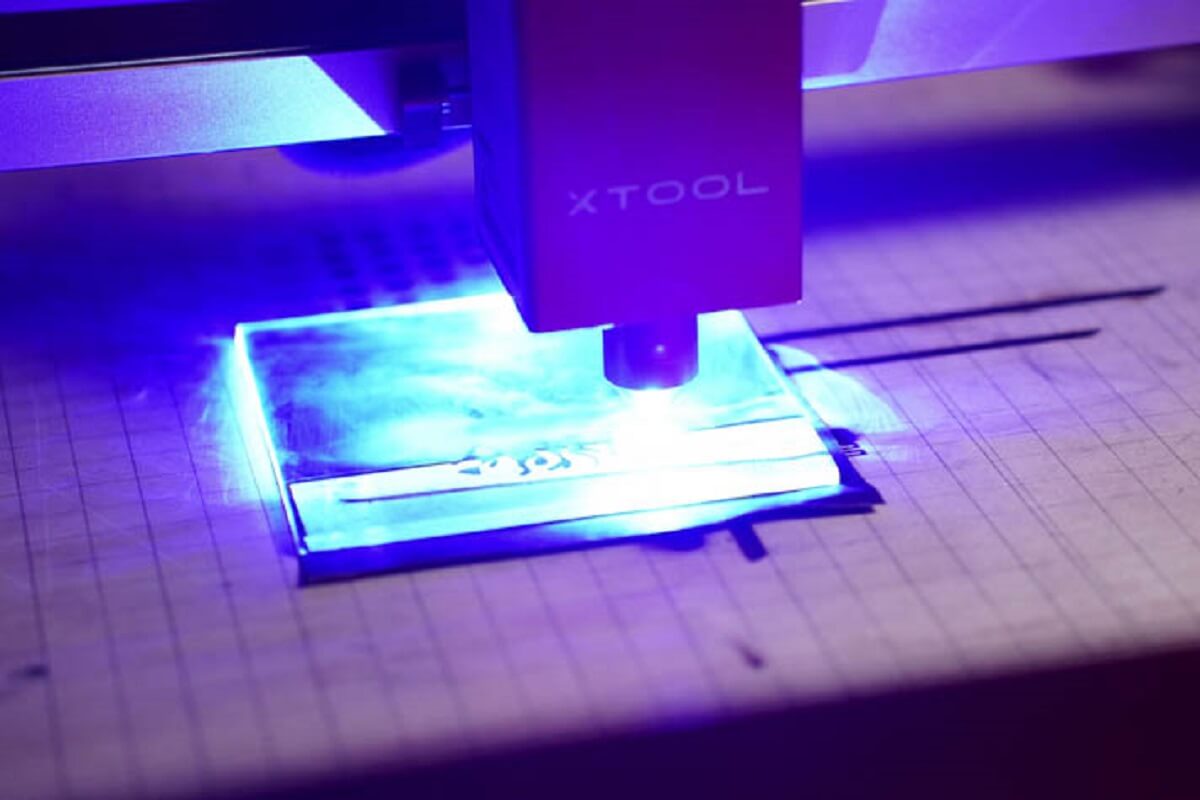
The process of laser engraving involves directing a high-powered laser beam onto the surface of the material. The intense heat generated by the laser vaporizes or burns away the material, leaving behind a permanent mark. The depth and intensity of the engraving can be controlled by adjusting the power and speed settings of the laser.
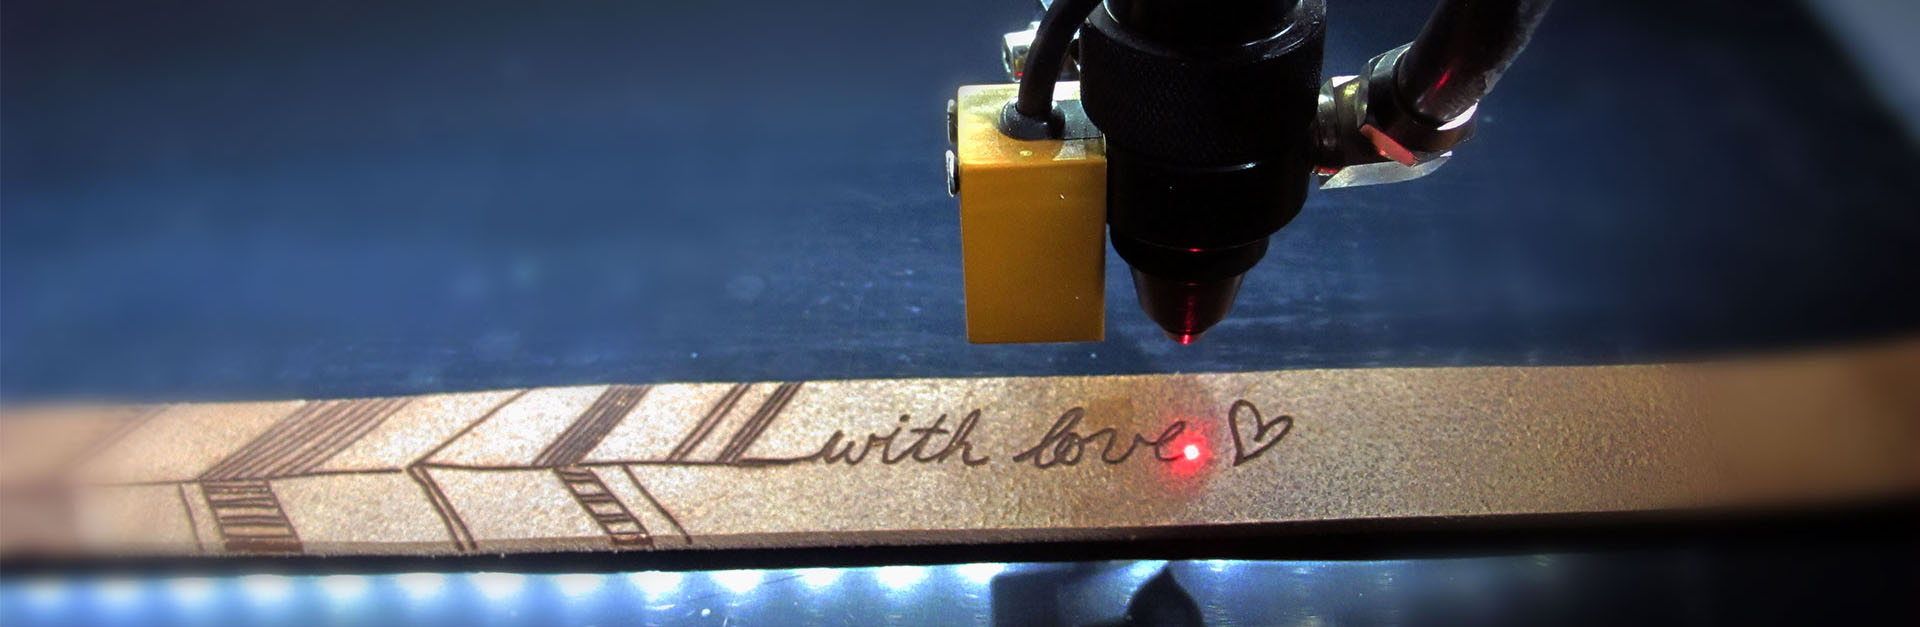
One of the key advantages of laser engraving is its ability to create intricate and detailed designs that would be challenging to achieve using traditional methods. The precision of the laser beam allows for the creation of fine lines, small text, and complex shapes with exceptionally sharp edges.
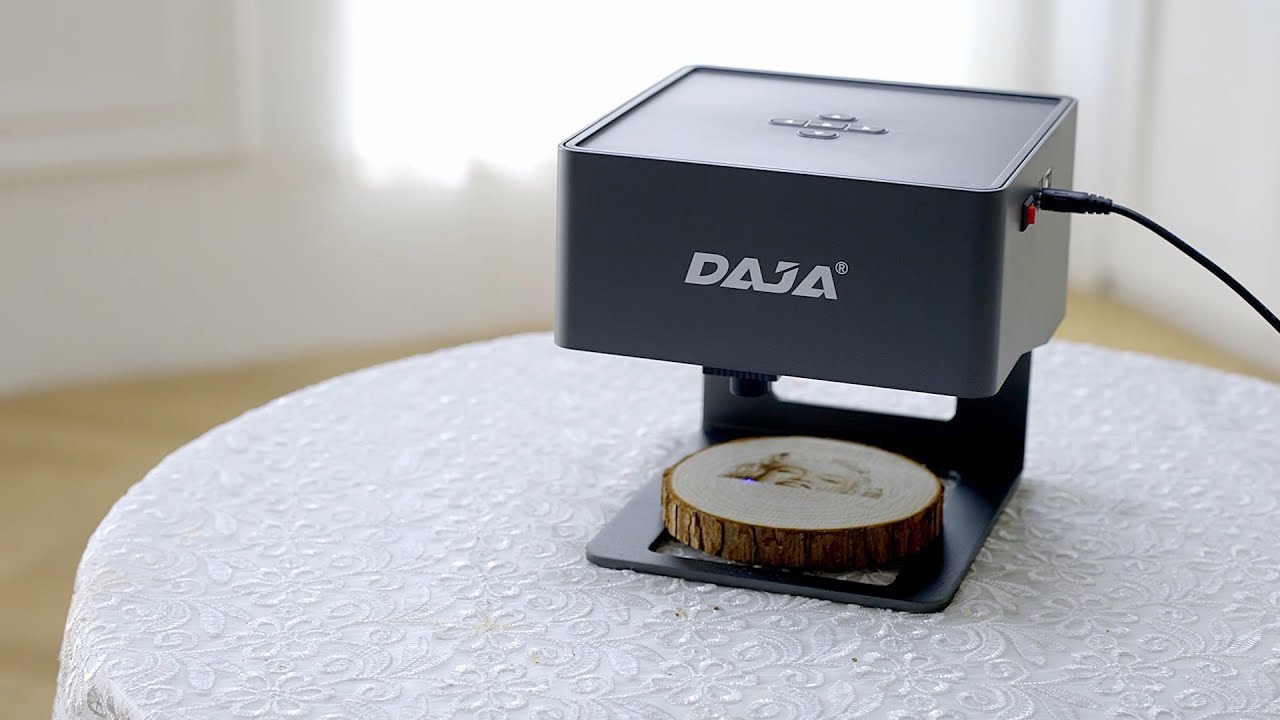
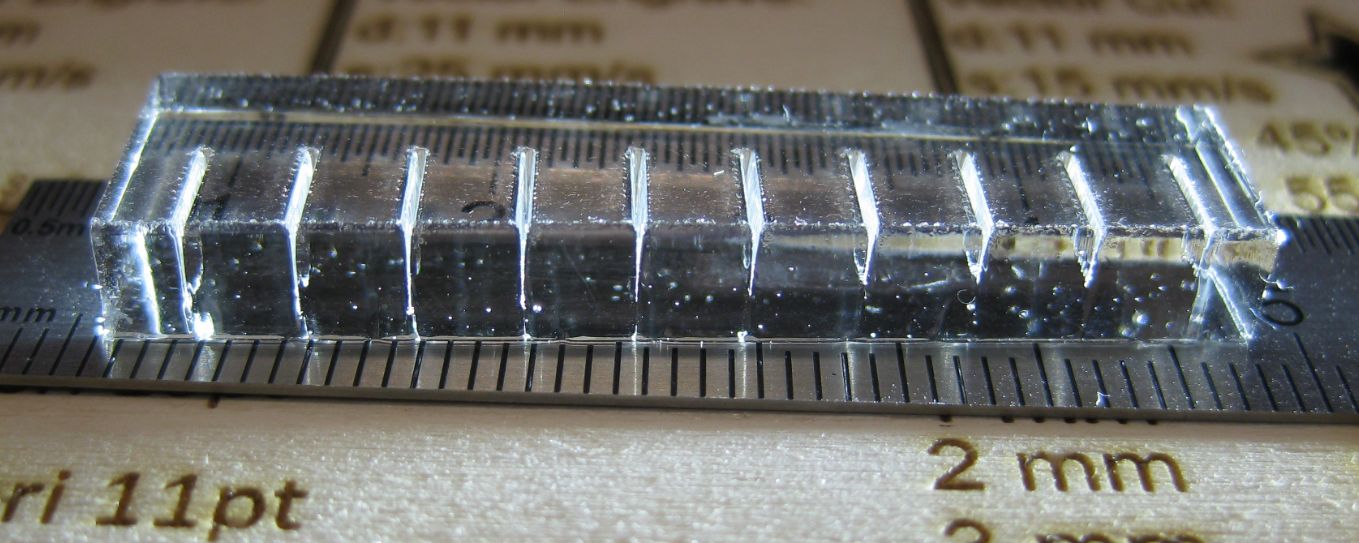
Laser engraving can be performed on a wide range of materials, including wood, acrylic, glass, leather, metal, and plastic. Each material reacts differently to the laser, resulting in unique engraving effects. For example, laser engraving on wood can produce a deep and rich burn, while engraving on acrylic can create a frosted or transparent effect.
Furthermore, laser engraving offers a permanent and durable marking solution. The engraved designs are resistant to fading, rubbing, and scratching, making them ideal for products that require long-lasting customization or branding.
Laser engraving technology has advanced significantly over the years, enabling faster speeds, higher resolutions, and greater compatibility with various software programs. Laserworks/Rdworks is one such software that provides a user-friendly interface for controlling laser engravers and optimizing the engraving process.
Whether you’re looking to personalize gifts, create custom signage, or add branding to your products, laser engraving offers a versatile and reliable customization method. With its precision, durability, and endless creative possibilities, laser engraving has become a preferred choice for individuals and businesses alike.
Overview of Laserworks/Rdworks Software
Laserworks/Rdworks is a powerful software designed specifically for controlling laser engravers. It provides a comprehensive set of tools and features that allow you to import designs, customize settings, and send commands to your laser engraving machine.
The software offers a user-friendly interface with a range of functionalities that cater to both beginners and experienced users. Whether you’re creating simple text engravings or intricate designs, Laserworks/Rdworks provides the tools you need to achieve your desired results.
One of the key features of Laserworks/Rdworks is its compatibility with various design file formats. You can import vector graphics files in formats such as AI, DXF, and PLT, allowing you to work with designs created in popular design software like Adobe Illustrator or CorelDRAW. Additionally, you can also import raster images in formats like BMP, JPG, and PNG, allowing you to engrave photographs or complex images onto your materials.
Once your design is imported, Laserworks/Rdworks provides a range of editing capabilities. You can resize, rotate, or mirror the design, ensuring that it fits perfectly on your material. The software also allows you to add text, apply vector shapes, and modify curves or lines to further customize your design.
Another notable feature of Laserworks/Rdworks is its ability to adjust laser parameters and parameters combination. This allows you to control the power, speed, and frequency of the laser beam, giving you precise control over the engraving process. You can customize these settings to achieve different effects on different materials, ensuring optimal results for each project.
Furthermore, Laserworks/Rdworks offers an intuitive interface for setting up the job parameters. You can specify the number of passes, determine the order of engraving, and optimize the cutting and scanning paths. These options ensure efficient and accurate execution of your engraving tasks, saving you time and improving overall productivity.
Once your design and settings are finalized, Laserworks/Rdworks allows you to preview the engraving on a virtual canvas. This feature gives you a visual representation of how the final result will look, allowing you to make any necessary adjustments before sending the job to the laser engraver.
Laserworks/Rdworks is compatible with a wide range of laser engraving machines and can be adapted to suit your specific hardware. The software provides a seamless bridge between your computer and the laser engraver, enabling smooth communication and accurate execution of commands.
In summary, Laserworks/Rdworks software provides a comprehensive and user-friendly platform for controlling laser engravers. With its design import capabilities, editing functionalities, parameter customization options, and preview features, Laserworks/Rdworks empowers users to create stunning and precise laser engravings with ease.
Step 1: Install Laserworks/Rdworks Software
The first step in setting up your laser engraver is to install the Laserworks/Rdworks software on your computer. This software serves as the control center for your laser engraving machine, allowing you to import designs and adjust settings for optimal engraving results.
Before proceeding with the installation, make sure you have the necessary system requirements. Laserworks/Rdworks is compatible with Windows operating systems, so ensure that your computer meets the minimum specifications to run the software smoothly.
To install Laserworks/Rdworks, follow these steps:
- First, obtain the installation files for Laserworks/Rdworks. These files are typically provided by the manufacturer of your laser engraver. You may receive them on a CD or have the option to download them from the manufacturer’s website.
- Once you have the installation files, locate the setup.exe or installer file.
- Double-click on the setup.exe file to launch the installation wizard.
- Follow the on-screen instructions provided by the installation wizard. You may be asked to choose the installation location, agree to the software license agreement, and select additional components or plugins to install.
- Once the installation is complete, you can launch Laserworks/Rdworks by locating the software icon on your desktop or in the Start menu.
After launching Laserworks/Rdworks for the first time, you may be prompted to activate or register the software. Follow the instructions provided to complete the activation process. In some cases, you may need a license key or serial number, which should be provided to you by the manufacturer.
It’s important to keep your Laserworks/Rdworks software up to date by regularly checking for software updates. These updates often include bug fixes, performance improvements, and new features that can enhance your engraving experience.
By successfully installing Laserworks/Rdworks on your computer, you’re now one step closer to unlocking the full potential of your laser engraver. In the next steps, we will cover how to connect your laser engraver to your computer and configure the software settings for optimal engraving results.
Step 2: Connect the Laser Engraver to your Computer
Once you have installed the Laserworks/Rdworks software on your computer, the next step is to connect your laser engraver to your computer. This connection will allow you to communicate with the engraver and send commands from the software to control its actions.
Here’s how you can connect your laser engraver to your computer:
- Start by locating the USB port on your laser engraver. This is typically found on the back or side of the machine.
- Connect one end of the USB cable to the USB port on the engraver.
- Connect the other end of the USB cable to an available USB port on your computer.
Once the connection is made, both your laser engraver and computer should recognize each other. In some cases, you may need to install USB drivers specific to your laser engraver. Refer to the manufacturer’s instructions or documentation to determine if any additional driver installation is required.
Now that your laser engraver is connected to your computer, you can proceed to configure the settings in the Laserworks/Rdworks software to ensure proper communication with the engraver.
Launch the Laserworks/Rdworks software on your computer, and navigate to the settings menu. Look for the “Device Settings” or similar option that allows you to select and configure the laser engraver connected to your computer.
In the device settings, you may need to select the appropriate port to which your laser engraver is connected. The software should display a list of available ports, and you can choose the one that corresponds to the USB port you connected the engraver to.
Once you have selected the correct port, you can adjust other settings such as baud rate and communication protocol. These settings may vary depending on your specific engraver model, so refer to the manufacturer’s documentation for guidance.
After configuring the proper settings, click on the “Connect” or similar button in the software to establish the connection between Laserworks/Rdworks and your laser engraver.
If the connection is successful, you should see the status change to “Connected” or a similar indication in the software. You are now ready to start sending commands to your laser engraver and begin the engraving process.
By successfully connecting your laser engraver to your computer, you have established the crucial link that allows you to control and operate the engraver using the Laserworks/Rdworks software. In the next step, we will cover how to configure the software settings to optimize your engraving results.
Step 3: Configure Laserworks/Rdworks Software Settings
After connecting your laser engraver to your computer, the next step is to configure the settings in the Laserworks/Rdworks software. These settings allow you to customize various aspects of the engraving process, ensuring optimal results for different materials and designs.
Follow these steps to configure the Laserworks/Rdworks software settings:
- Open the Laserworks/Rdworks software on your computer if it’s not already open.
- Navigate to the settings menu in the software. Depending on the version of the software, you may find it labeled as “Settings,” “Options,” or something similar.
- Explore the different settings available in the software. These settings may include options related to laser power, engraving speed, scanning parameters, and more. Each setting will impact the engraving process differently, so it’s essential to understand their effects.
- Adjust the settings according to your preferences and the desired engraving results. You may need to experiment with different settings to find the optimal balance for your specific engraver and material.
- Pay attention to the power and speed settings. Higher power typically results in deeper and darker engravings, while higher speed can achieve faster results with lighter engravings. Finding the right combination for your project is key.
- Consider enabling any additional features or settings that may enhance your engraving experience. Laserworks/Rdworks may offer options like image dithering, ramping, or automatic parameter adjustment. These features can help you achieve better engraving quality and efficiency.
- Once you have adjusted the settings to your desired values, save the changes in the software. This ensures that your preferences are applied each time you start a new engraving job.
- Take some time to familiarize yourself with the other functions and features of the Laserworks/Rdworks software. This can include the ability to import designs, set up layers, and preview the engraving before sending it to the laser engraver.
Remember to consult the user manual or documentation provided by the manufacturer for more specific guidance on configuring settings for your particular laser engraver model.
By configuring the Laserworks/Rdworks software settings, you’re now equipped with the tools to optimize your engraving results. In the next step, we will cover how to set up the hardware components of your laser engraver.
Step 4: Setting Up the Laser Engraver Hardware
Now that you have installed and configured the Laserworks/Rdworks software, it’s time to set up the hardware components of your laser engraver. This step ensures that the engraver is properly calibrated and ready for precise and accurate engraving.
Follow these steps to set up the hardware of your laser engraver:
- Ensure that the laser engraver is placed on a stable and level surface. This prevents any vibrations or movement that could affect the accuracy of the engraving.
- Check the laser tube and ensure it is securely connected to the laser engraver. The laser tube is the key component that emits the laser beam for engraving.
- Inspect the mirrors and lenses inside the engraver. These components play a crucial role in directing and focusing the laser beam. Clean them gently with a soft cloth or cotton swab if necessary, ensuring that there is no dirt or debris that could obstruct the laser’s path.
- Next, align the mirrors to ensure proper laser beam delivery. The laser engraver user manual or manufacturer documentation should provide instructions on how to align the mirrors correctly. Follow these instructions carefully to achieve accurate and consistent engraving results.
- Check the focus lens and make sure it is securely in place. The focus lens determines the focal length and intensity of the laser beam. Ensure that the lens is clean and free from scratches for optimal engraving performance.
- Verify that the ventilation system is properly set up. Laser engraving produces smoke and fumes, so it’s important to have adequate ventilation to ensure a safe working environment. Connect the appropriate ventilation system or use an exhaust fan to remove the smoke and fumes from the engraving area.
- Connect the power supply and ensure that it is compatible with your laser engraver’s requirements. Follow the manufacturer’s instructions for safely connecting and powering on your engraver.
- Perform a test run to verify that all the hardware components are working correctly. Use a simple design or text to test the engraver’s functionality. Make any necessary adjustments or troubleshoot any issues that may arise.
Following these steps will ensure that your laser engraver is set up correctly and ready to bring your designs to life. Remember to consult the user manual or manufacturer documentation for any specific instructions or troubleshooting guidance related to your laser engraver model.
With the hardware properly set up, we are now ready to move on to the next step: importing and preparing designs in Laserworks/Rdworks software.
Step 5: Importing and Preparing Designs in Laserworks/Rdworks Software
With your laser engraver hardware set up, it’s time to import and prepare designs in the Laserworks/Rdworks software. This step will allow you to bring your creative ideas to life and prepare them for engraving on various materials.
Follow these steps to import and prepare designs in Laserworks/Rdworks software:
- Launch the Laserworks/Rdworks software on your computer.
- Click on the “File” menu and select “Import” or use the shortcut key to import your design file. Laserworks/Rdworks supports various file formats such as AI, DXF, PLT for vector graphics, and BMP, JPG, PNG for raster images.
- Select the design file you want to import from your computer’s file browser and click “Open.”
- Once imported, position and resize the design within the workspace to fit the intended engraving area. Laserworks/Rdworks provides tools to manipulate the design, such as rotate, mirror, and scale.
- If needed, you can also add text by selecting the text tool from the toolbar and typing in the desired text.
- Further customize your design by applying vector shapes or modifying curves and lines using the appropriate tools in the software.
- Consider organizing your design by separating elements into different layers. Layers allow you to control the order in which elements are engraved and provide greater flexibility in managing complex designs.
- Preview your design to get an idea of how it will appear after engraving. The Laserworks/Rdworks software provides a virtual canvas where you can simulate the engraving process and make any necessary adjustments.
- Once you are satisfied with your design and its placement, you are ready to proceed with adjusting laser parameters and combination settings to achieve the desired engraving effect.
Remember to experiment and test various settings to find the optimal combination for your specific design and material. Laserworks/Rdworks provides options to adjust power, speed, frequency, and other parameters to achieve different engraving effects.
By importing and preparing your designs in the Laserworks/Rdworks software, you’re now ready to move on to the next step: adjusting laser parameters and parameters combination for your specific engraving needs.
Step 6: Adjust Laser Parameters and Parameters Combination
Adjusting laser parameters and parameters combination is a crucial step in achieving the desired engraving results with your laser engraver. Laserworks/Rdworks software provides a range of options to fine-tune the power, speed, frequency, and other settings to optimize the engraving process for different materials and designs.
Follow these steps to adjust laser parameters and parameters combination in Laserworks/Rdworks software:
- Open the Laserworks/Rdworks software on your computer, and make sure your design is ready for engraving.
- Navigate to the laser parameters settings in the software. Look for options such as “Laser,” “Engraving,” or similar labels.
- Start by adjusting the laser power. Higher power typically results in deeper and darker engravings, while lower power yields lighter engravings. Experiment with different power settings to achieve the desired effect on your specific material.
- Next, adjust the engraving speed. Higher speeds can produce faster results, while lower speeds allow for more detailed and precise engravings. Find the balance that works best for your design and material.
- Consider adjusting the frequency of the laser beam. Higher frequencies can create smoother and finer engravings, while lower frequencies may be suitable for larger or more rugged designs.
- Explore additional options provided by Laserworks/Rdworks, such as dithering, ramping, or automatic parameter adjustment. These options can enhance the engraving quality and efficiency, depending on your specific needs.
- Test and preview your adjustments by simulating the engraving process on the virtual canvas in Laserworks/Rdworks. This allows you to see how the changes affect the final result and make any necessary refinements.
- Take note of the parameter combinations that produce the best results for your design and material. Keeping a record of successful settings can save time and effort for future engraving projects.
Remember that each material and design may require different parameter adjustments. It’s important to experiment and test various settings to find the optimal combination that achieves the desired engraving effect.
By adjusting laser parameters and parameters combination in the Laserworks/Rdworks software, you’re now equipped with the ability to fine-tune the engraving process to achieve the best results. In the next step, we will cover how to send the engraving job to your laser engraver.
Step 7: Sending the Job to the Laser Engraver
After setting up the design and adjusting the laser parameters in Laserworks/Rdworks software, it’s time to send the engraving job to your laser engraver. This allows the machine to execute the commands and bring your design to life on the selected material.
Follow these steps to send the job to your laser engraver:
- Make sure your laser engraver is connected to your computer and powered on.
- In the Laserworks/Rdworks software, click on the “Send” or “Start” button to initiate the engraving process.
- Check that the laser engraver is properly positioned and the material is securely in place on the engraving bed.
- Ensure that all safety precautions are taken and that you are operating the laser engraver in a controlled and safe environment.
- Observe the engraving process as the laser beam moves across the material, creating your design. Pay attention to any unusual noises or issues that may arise during the process.
- Once the engraving is complete, carefully remove the material from the engraving bed. Take caution as the material may still be hot after the engraving process.
- Inspect the engraved design to ensure it meets your expectations. Clean off any debris or residue left behind by the engraving process.
It’s important to note that the time required for the engraving process can vary depending on factors such as design complexity, material type, and laser engraver speed.
By following these steps, you can successfully send your engraving job to your laser engraver and witness your design come to life on the selected material.
Congratulations! You have now completed all the necessary steps to set up and utilize your laser engraver with Laserworks/Rdworks software. With the skills and knowledge you’ve acquired, you can now embark on a creative journey of laser engraving and explore the unlimited possibilities this versatile technology provides.
Conclusion
Setting up your laser engraver with Laserworks/Rdworks software opens the door to a world of creative possibilities. With the ability to engrave intricate designs on various materials, you can add a personal touch to your projects, create unique gifts, or even start a business in custom engraving. By following the steps outlined in this guide, you have learned how to install the software, connect the engraver to your computer, configure the settings, prepare designs, adjust laser parameters, and send the job to the laser engraver.
Throughout the process, it is important to experiment, test different settings, and make adjustments based on the material you are engraving and the desired effect you want to achieve. Laserworks/Rdworks software provides you with the tools to fine-tune your engravings for optimal results, whether you are working with wood, acrylic, glass, or even metal.
Remember to always prioritize safety when working with a laser engraver. Ensure proper ventilation, wear protective eyewear, and familiarize yourself with the safety guidelines provided by the manufacturer.
Now that you have the knowledge and skills to use Laserworks/Rdworks software effectively, it’s time to unleash your creativity and explore the endless possibilities of laser engraving. Whether you’re a hobbyist, artist, or entrepreneur, the precision and versatility of laser engraving will enable you to bring your ideas to life with stunning detail and precision.
With each project, continue to learn and refine your techniques. As you gain experience, you’ll be able to push the boundaries of what you can achieve with your laser engraver and create truly remarkable pieces of art.
So, what are you waiting for? It’s time to start exploring the captivating world of laser engraving and see where your creativity takes you!