Introduction
Welcome to our comprehensive guide on how to create stunning designs for laser engravers. Laser engraving is a versatile and precise method of adding intricate patterns, images, and text onto various materials, such as wood, metal, acrylic, and leather. Whether you are a hobbyist or a professional looking to expand your skills, understanding the principles of designing for laser engraving is essential.
In this guide, we will provide you with valuable insights and practical tips to help you create outstanding designs that are optimized for laser engraving. You will learn how to choose the right design software, select the appropriate materials, and create vector graphics that yield the best results. Additionally, we will explore various techniques for incorporating colors, text, and different engraving applications into your designs.
No matter your level of experience, this guide is designed to help you enhance your knowledge and improve the quality of your laser engraving designs. Whether you are engraving personalized gifts, custom signage, or intricate artworks, the information in this guide will empower you to achieve impressive results.
So, let’s dive in and discover the world of laser engraving design!
Choosing the Right Design Software
When creating designs for laser engravers, choosing the right design software is crucial. The software you select will determine the ease of creating and manipulating your designs, as well as the compatibility with your laser engraver. Here are a few considerations to keep in mind:
- User-Friendliness: Look for design software that offers an intuitive interface and easy-to-use tools. This will allow you to create and modify designs efficiently, even if you’re a beginner.
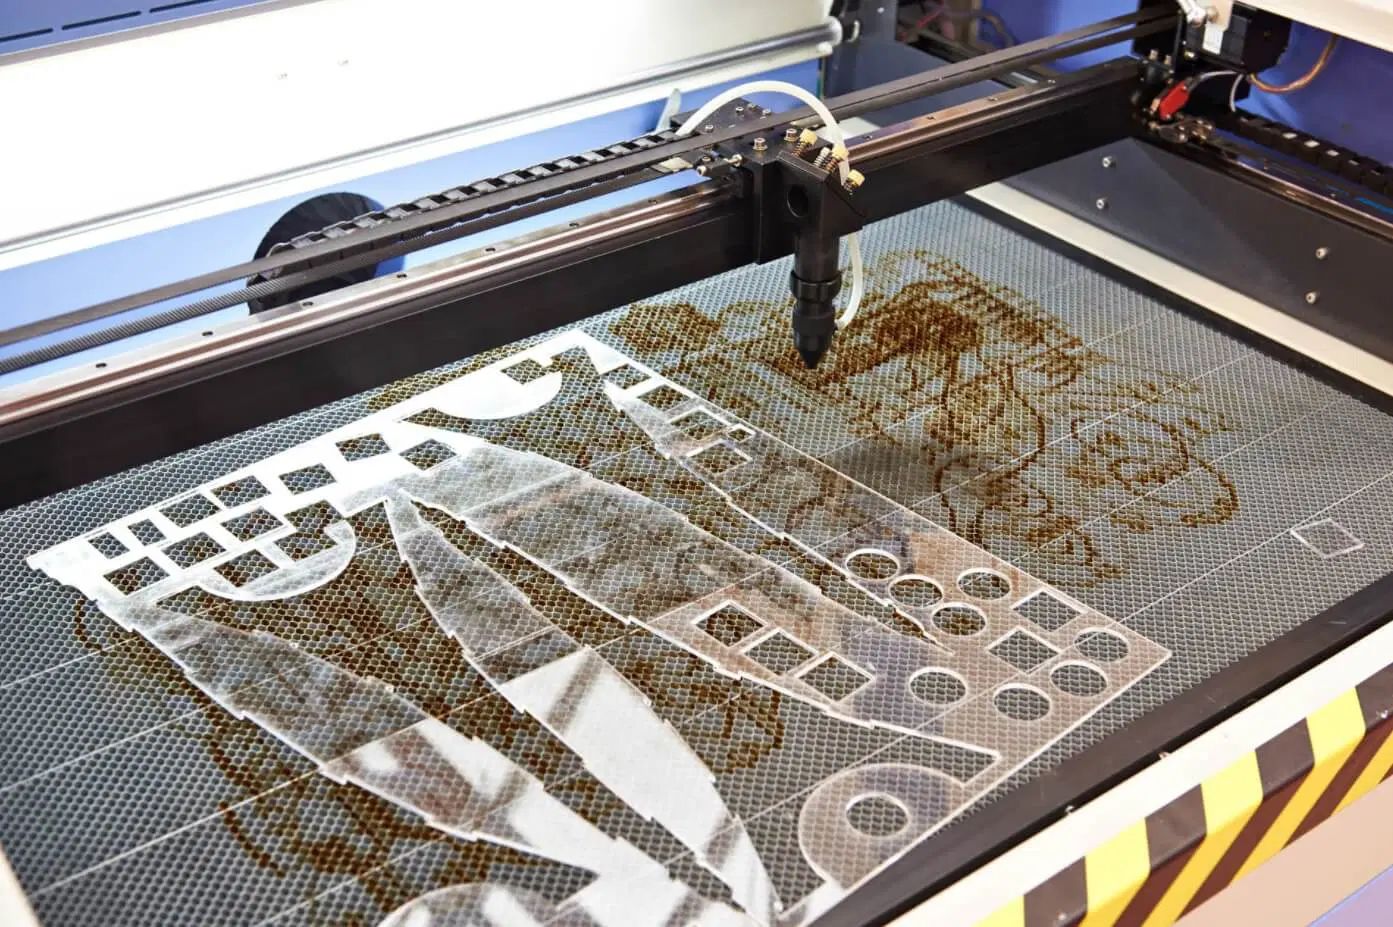
- Vector Graphics Support: Laser engravers typically work with vector graphics, which are scalable and don’t lose quality when resized. Ensure that the software you choose supports vector file formats such as SVG or AI.
- Compatibility: Check if the design software is compatible with your laser engraver. Some software may have specific plugins or settings for different engravers, ensuring seamless communication between the software and the hardware.
- Advanced Features: Depending on your design needs, consider software that offers advanced features like layering, object grouping, and text editing capabilities. These features can help you create complex and detailed designs.
Popular design software options for laser engraving include Adobe Illustrator, CorelDRAW, Inkscape, and AutoCAD. Each of these programs has its own strengths and weaknesses, so it’s important to experiment and find the software that best suits your specific requirements.
Remember, the software you choose will impact your overall design process, so take the time to familiarize yourself with its features and functionalities. It’s also a good idea to seek out tutorials or online communities that offer support and guidance for using the chosen software. This will help you unlock its full potential and create exceptional designs for laser engraving.
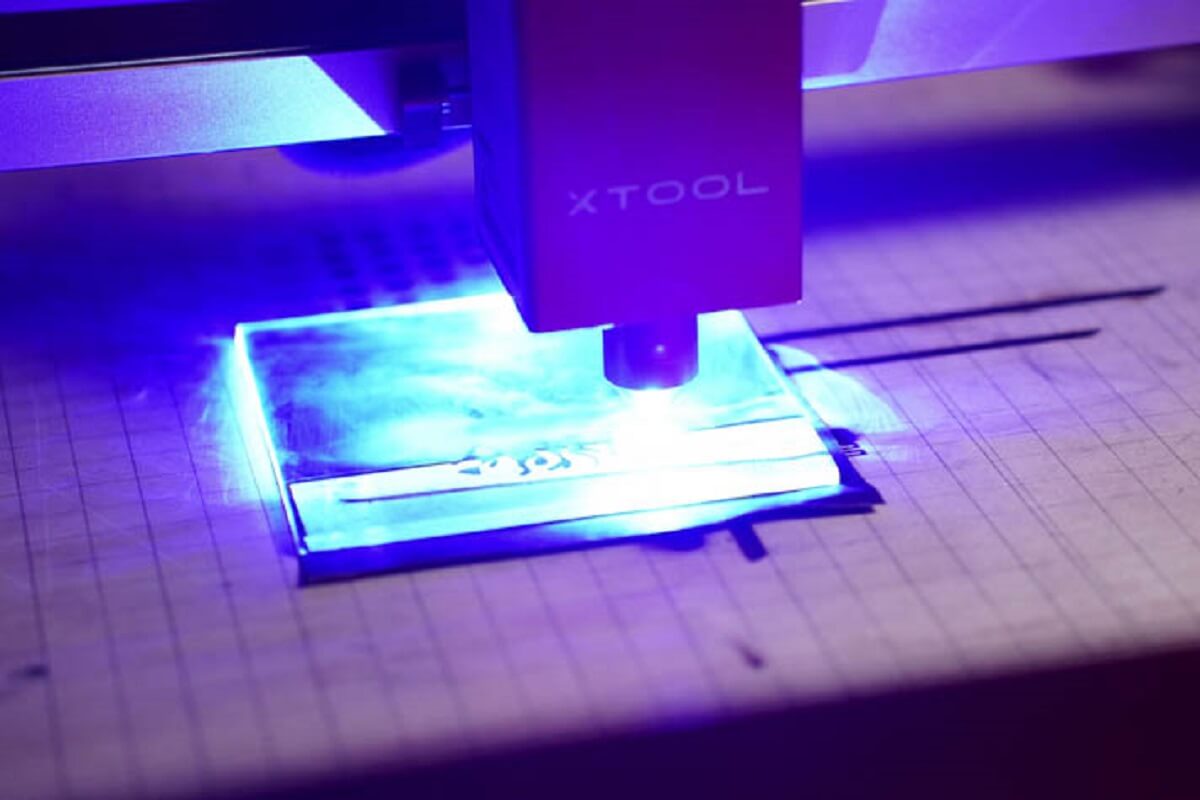
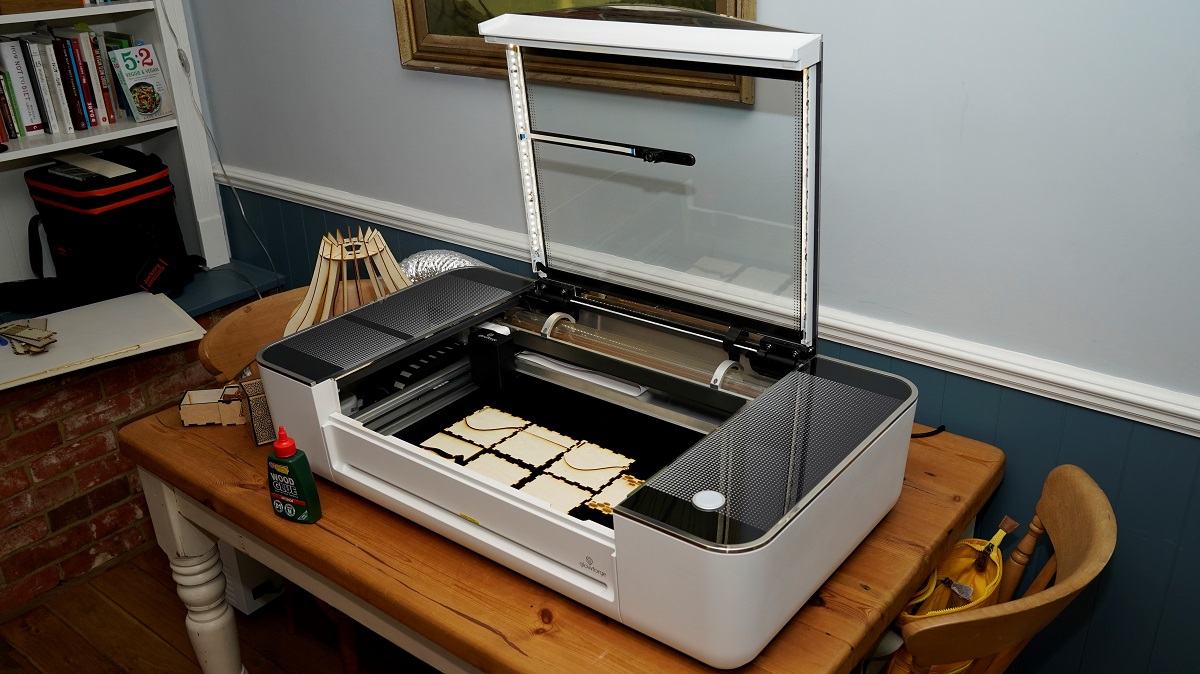
Understanding the Capabilities of Your Laser Engraver
Before diving into designing for laser engraving, it’s crucial to have a solid understanding of the capabilities and limitations of your laser engraver. Every machine has its unique specifications and settings that can affect the outcome of your designs. Here are some key factors to consider:
- Engraving Area: Familiarize yourself with the maximum size of the material that your laser engraver can accommodate. This will help you properly design within the available workspace and avoid any design elements that may go beyond the engraving area.
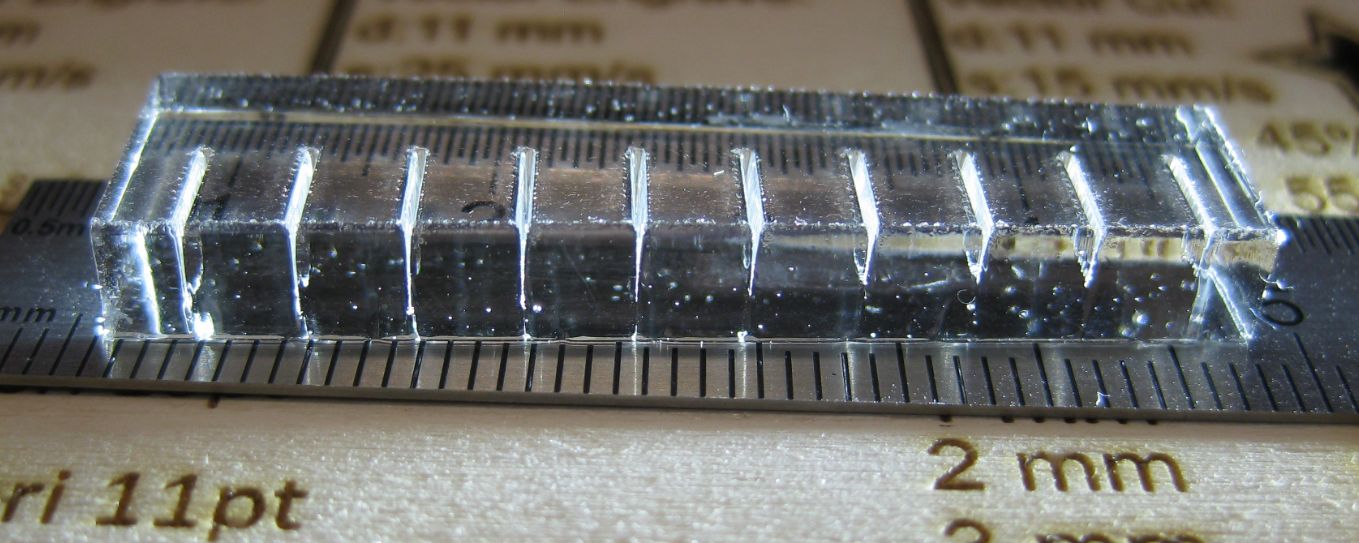
- Power and Speed Settings: Laser engravers have adjustable power and speed settings that impact the depth and speed of the engraving. Experiment with different settings to understand how they affect the outcome and adjust your designs accordingly.
- Resolution and Accuracy: Each laser engraver has a specific resolution and accuracy level. Take note of these specifications and adjust your designs accordingly to ensure optimum results.
- Material Compatibility: Different laser engravers may work better with specific materials. Test your engraver with various materials to understand how it interacts with each one. This will help you make informed decisions when selecting materials for different projects.
- Auxiliary Functions: Some laser engravers may offer additional features like rotary attachments for cylindrical objects or autofocus capabilities for consistent engraving depth. Understand these additional functions and incorporate them into your designs effectively.
By understanding your laser engraver’s capabilities, you can make informed design decisions that maximize the potential of your machine. Take the time to read the user manual, consult with the manufacturer, or seek advice from experienced users to gather more insights about your specific engraver model.
Remember, each laser engraver is unique, and mastering its capabilities will enable you to create precise and high-quality designs that align with your chosen materials and project requirements.
Selecting the Right Material for Laser Engraving
The material you choose for laser engraving plays a vital role in the final result of your design. Different materials have different characteristics, textures, and color reactions when exposed to the laser beam. Here are some factors to consider when selecting the right material:
- Compatibility: Ensure that the material you choose is compatible with laser engraving. Common materials used for laser engraving include wood, acrylic, leather, glass, metal, and certain types of plastic. Check the specifications of your laser engraver to determine the recommended materials.
- Surface Finish: Consider the surface finish of the material. Smooth and flat surfaces like acrylic and glass may yield sharper and more precise engravings. Textured materials like wood and leather can create a unique and rustic look. Experiment with different surface finishes to achieve your desired outcome.
- Color Reactions: Some materials, especially organic ones like wood and leather, produce different color reactions when engraved. The laser may bring out contrasting shades or create burn marks. Consider how these color reactions can enhance your design and use them to your advantage.
- Thickness: The thickness of the material affects the engraving depth. Thicker materials allow for deeper engravings, while thinner materials may require more delicate settings. Find the right balance to achieve your desired engraving depth without compromising the integrity of the material.
- Budget and Availability: Take into account the cost and availability of the materials you’re considering. Some materials may be more affordable and readily available than others. Consider your budget and the project requirements when making your material selection.
When starting out, it’s a good idea to experiment with different materials to understand their unique characteristics and how they respond to laser engraving. Keep a record of your experiments and take note of the settings and techniques that yield the best results for each material.
Selecting the right material is a crucial step in the laser engraving process. By choosing materials that complement your design and understanding how they interact with the laser, you can create visually stunning and professionally finished laser engravings.
Designing for Different Material Types
Designing for different material types in laser engraving requires careful consideration to ensure optimal results. Each material has its own characteristics, including hardness, texture, and color, which impact how the laser interacts with it. Here are some tips to keep in mind when designing for different material types:
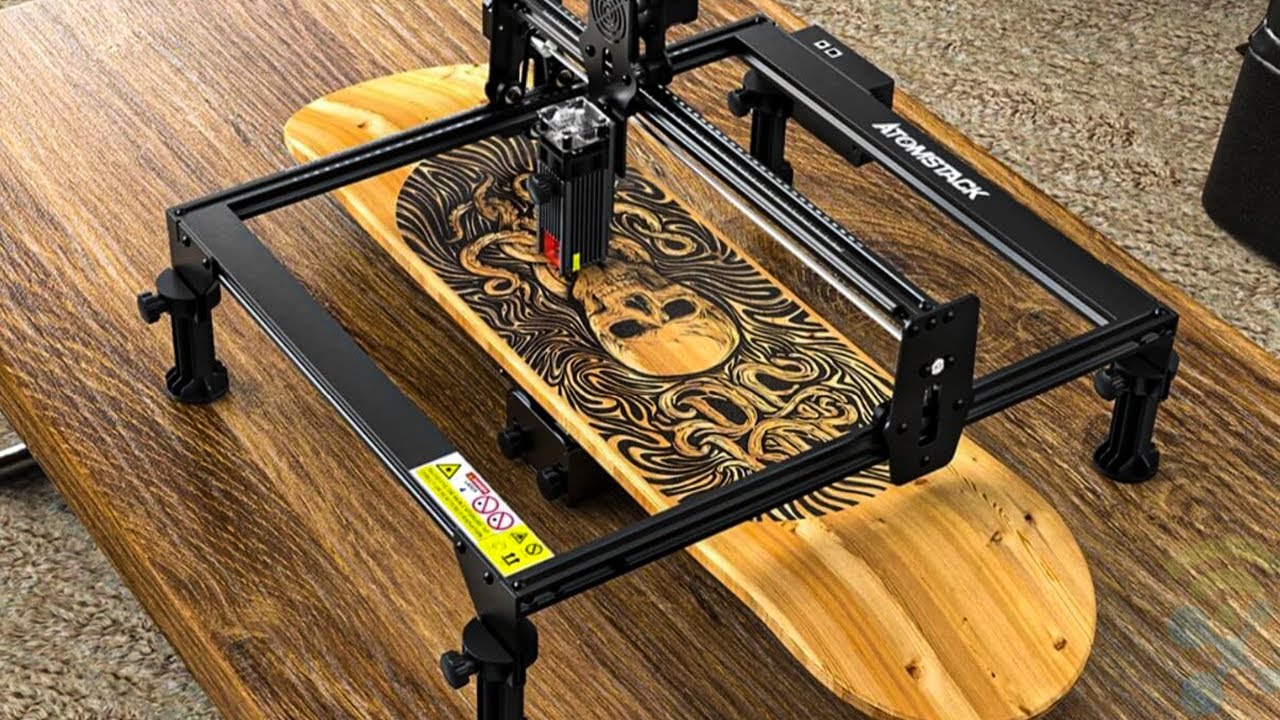
- Wood: Wood is a popular material for laser engraving due to its natural beauty and versatility. When designing for wood, consider the grain direction, as the laser beam will burn along the grain. Experiment with different wood species to understand how each one responds to engraving and adjust your designs accordingly.
- Acrylic: Acrylic is a widely used material known for its durability and transparency. When designing for acrylic, consider its thickness and choose designs that take advantage of its transparent nature. Incorporate intricate patterns or text that can appear to float within the material when engraved.
- Metal: Laser engraving on metal requires a different approach due to the heat conductivity and hardness of the material. Use high-power settings and consider using marking compounds or coatings specifically designed for metal engraving. Adjust your designs to focus on line art or grayscale graphics, as metal typically doesn’t show intricate details as clearly as other materials.
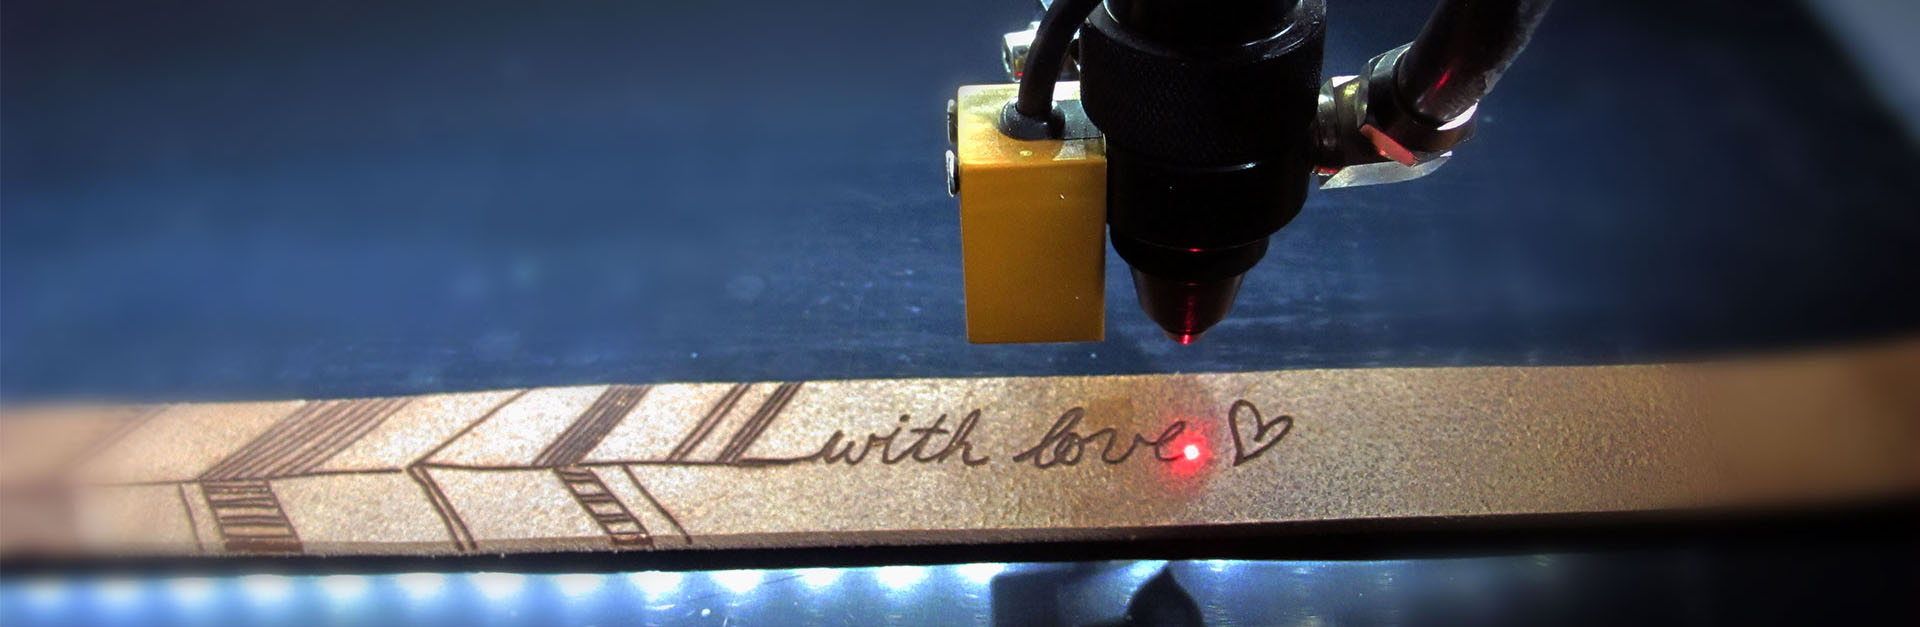
- Leather: Leather engraving can produce stunning results, giving a unique and rustic look to your designs. Consider the texture and color of the leather when choosing or designing your artwork. Experiment with different engraving depths and designs that work with the natural variations in the leather surface.
- Glass: Laser engraving on glass can create elegant and intricate designs. When designing for glass, consider using grayscale images or vector graphics with fine details. Experiment with different power settings to achieve different levels of engraving depth and opacity.
It is important to note that these are just general guidelines, and there may be variations based on the specific type and quality of the materials you are working with. Always conduct tests and make adjustments as needed to achieve the desired results.
Additionally, consider the intended purpose of the engraved design on each material type. Keep in mind factors such as readability, visibility, and intended usage when designing for different materials to ensure the final product meets your expectations.
By understanding the specific considerations for each material, you can create designs that are tailored to their unique characteristics, resulting in visually stunning and professionally finished laser engravings.
Tips for Creating Vector Graphics for Laser Engraving
Creating vector graphics is essential when designing for laser engraving, as it allows for precise and scalable designs. Vector graphics consist of mathematical equations rather than pixels, ensuring smooth lines and shapes when resized. Here are some tips to consider when creating vector graphics for laser engraving:
- Use the Right Design Software: Choose design software that supports vector file formats such as SVG (Scalable Vector Graphics) or AI (Adobe Illustrator). These software programs allow you to create and edit vector graphics with precision.
- Keep it Simple: Complex and intricate designs may not translate well in laser engravings. Focus on creating clean and simple vector graphics with crisp lines and minimal details. As a general rule, less is often more when it comes to laser engraving.
- Convert Text to Outlines: When including text in your design, convert the text to outlines or paths. This ensures that the laser engraver will treat the text as a shape, preventing font compatibility issues and ensuring consistent engraving quality.
- Avoid Strokes and Fills: Instead of using strokes and fills, focus on using solid shapes and lines. These elements engrave more consistently and accurately, especially when working with thin or delicate designs.
- Watch Out for Open Paths: Open paths, such as lines or shapes that aren’t connected, can cause issues during laser engraving. Make sure your vector graphics have closed paths to avoid any gaps or breaks in the engraved design.
- Create Separate Layers: Organize your design elements on separate layers. This allows you to easily modify and manipulate individual elements, adjust engraving settings for different parts of the design, or even engrave different elements in multiple passes for added depth and texture.
Additionally, consider the engraving depth and the material you’re working with when creating vector graphics. Adjust the line thickness and spacing accordingly to ensure clear and legible engravings. Remember that materials like wood may require wider spacing between lines to prevent excessive burning or charring.
Regularly test your vector designs on sample materials before engraving the final product. This will help you fine-tune your designs and optimize the settings for the best engraving results.
By following these tips, you can create vector graphics that are well-suited for laser engraving, resulting in clean, precise, and visually appealing designs.
Optimizing Your Designs for Laser Engraving
Optimizing your designs for laser engraving is crucial to achieve the best possible results. By taking certain considerations into account, you can enhance the clarity, readability, and overall appearance of your engravings. Here are some tips to optimize your designs for laser engraving:
- Contrast is Key: Aim for high contrast between the engraved area and the surrounding material. This ensures that your designs are easily visible and legible. For example, use light-colored designs on dark materials and vice versa.
- Adjust Line Thickness: Vary the line thickness in your designs to create depth and emphasis. Thicker lines engrave deeper, adding dimension to your artwork. Experiment with different line thicknesses to achieve the desired effect.
- Choose Suitable Fonts: Select fonts that are clear, legible, and suitable for laser engraving. Avoid overly intricate or thin fonts that may result in less satisfactory engravings. Bold and sans-serif fonts generally work well for laser engraving applications.
- Consider Material Properties: Take into account the properties of the material you’re working with. Some materials may have natural variations, such as wood grain or leather texture. Incorporate these characteristics into your designs to enhance their organic and unique appearance.
- Test Engraving Settings: Before engraving your final design, run test engravings on similar materials to determine the optimal settings. Adjust the power, speed, and resolution to achieve the desired engraving depth and quality.
- Account for Material Thickness: If engraving on materials with varying thickness, adjust your designs accordingly. Ensure that important design elements and text are positioned within the engraving area of thinner materials, while taking advantage of the extra depth available on thicker materials.
It’s important to note that different laser engravers and materials may require slight adjustments to these optimization techniques. Therefore, it’s recommended to experiment and become familiar with your specific equipment and materials to achieve the best results.
By optimizing your designs for laser engraving, you can create visually stunning and professional engravings that effectively convey your message and showcase your artistic vision.
Using Color and Grayscale Images in Laser Engraving
Laser engraving offers the opportunity to create visually appealing designs using color and grayscale images. By using these image types strategically, you can add depth, texture, and intricate details to your engravings. Here are some tips for using color and grayscale images in laser engraving:
- Color Images: Laser engravers can reproduce color images by using dithering techniques, which convert colors into patterns of dots or lines. When designing with color images, consider selecting images with high contrast and distinct colors. This will ensure that the dithering process produces noticeable variations in the engraved result.
- Grayscale Images: Grayscale images are particularly well-suited for laser engraving since they only use shades of black and white. The varying shades of gray can be engraved at different depths, resulting in stunning 3D effects and a wide range of surface textures. Experiment with different shades to achieve the desired level of detail and depth in your engravings.
- Image Conversion: Use specialized software or design tools to convert full-color images to grayscale or dithered versions before engraving. This allows you to have more control over the engraved result and customize how the image translates onto the material.
- Adjust Image Resolution: Higher-resolution images generally produce better results in laser engraving. However, keep in mind the limitations of your laser engraver and the material you’re working with. Very fine details may not reproduce as clearly, especially on textured materials.
- Create Dynamic Contrast: Consider using gradients or layered images with varying levels of brightness or density. This can create dynamic contrast and add depth to your engravings, particularly when working with grayscale images.
- Test and Iterate: Before engraving the final product, perform test engravings on similar materials to fine-tune the settings and image adjustments. This will help you achieve the desired level of detail, contrast, and texture in your engraved designs.
Experiment with different images, shades of gray, and color combinations to unlock the full potential of laser engraving. Take into account the material properties and the desired aesthetic outcome to create visually striking and captivating engravings.
Always ensure that you have the necessary rights and permissions to use any copyrighted or licensed images for your laser engraving projects.
By effectively utilizing color and grayscale images, you can elevate your laser engraving designs, creating visually appealing and intricately detailed engravings.
Incorporating Text in Your Laser Engraving Designs
Text can play a powerful role in laser engraving designs, adding personalization, information, or decorative elements to your projects. Whether it’s names, quotes, logos, or other textual elements, incorporating text requires careful consideration to ensure legibility and aesthetic appeal. Here are some tips for effectively incorporating text in your laser engraving designs:
- Font Selection: Choose fonts that are clear, legible, and appropriate for the design and intended purpose. Sans-serif fonts often work well for laser engraving, as they have clean lines and are easy to read. Avoid overly decorative fonts that may be challenging to decipher at smaller sizes.
- Sizing and Placement: Consider the size of the material and the desired visibility of the text. Adjust the font size accordingly, ensuring that the text is neither too small nor too overpowering for the engraving area. Experiment with different placements to find the most visually balanced and readable position for the text.
- Text Effects: Explore different text effects, such as outlines or shadows, to enhance the visibility and impact of the engraved text. These effects can make the text stand out from the background and add depth to the overall design.
- Spacing and Kerning: Pay attention to the spacing and kerning (the adjustment of space between individual characters) of the text. Adequate spacing between letters and words ensures readability and prevents the text from appearing cramped or crowded.
- Curved or Circular Text: In some cases, you may want to incorporate curved or circular text in your design, such as on the edge of a round object. Use design software that allows you to easily manipulate and align the text along curves, ensuring it follows the desired contour smoothly.
- Customizable Templates: Consider using customizable templates or pre-designed text layouts to save time and ensure consistent results. These templates can provide a starting point for your designs, allowing you to personalize or modify them to suit your specific needs.
Regularly test your engraved text on sample materials to ensure legibility and optimize the settings. Adjust the power, speed, and resolution to achieve sharp and well-defined text engraving.
Remember to select text that is relevant to the design’s purpose and aligns with the overall aesthetic. Whether it’s conveying a message or adding a personal touch, incorporating text in laser engraving designs can greatly enhance the impact and meaning of your creations.
Designing for Different Laser Engraving Applications
Laser engraving finds applications in various industries and for different purposes. Understanding the specific requirements and considerations for each application is essential to create designs that meet the desired outcome. Here are some key factors to consider when designing for different laser engraving applications:
- Personalization and Gifts: Laser engraving is popular for creating personalized gifts or customized items. When designing for personalization, consider the recipient’s preferences and the occasion. Incorporate names, monograms, or special messages to add a personal touch to your designs.
- Signage and Branding: Laser-engraved signs and branding materials require designs that effectively communicate the intended message and represent the brand. Consider the space available for the signage, the visibility requirements, and the desired aesthetic to create impactful and recognizable designs.
- Art and Decor: Laser engraving can be used to create intricate artworks, decorative pieces, and home decor items. When designing for artistic purposes, consider the medium, texture, and colors of the material to enhance the visual impact of your artwork.
- Identification and Serial Numbers: Laser engraving is utilized for permanent identification and serial numbering on products and parts. Design with clear and legible text, incorporating serial numbers or barcodes, to ensure accuracy and durability throughout the product’s lifecycle.
- Industrial and Manufacturing: In industrial applications, laser engraving is used for marking and etching on various materials. Designs should focus on clear, concise markings that meet industry standards and requirements, taking into account the material’s durability and readability for tracking or inventory purposes.
Each application may have specific guidelines or legal requirements that need to be followed. Familiarize yourself with any industry regulations, standards, or specifications to ensure your designs meet the necessary guidelines.
Additionally, consider the practical limitations of the laser engraver, such as engraving area, power, speed, and material compatibility, when developing designs for different applications. Customize your designs to the specific requirements of each project, taking into account factors like engraving size, depth, and resolution.
By tailoring your designs to different laser engraving applications, you can create visually striking and purpose-driven designs that meet the specific needs and expectations of each industry or application.
Troubleshooting Common Design Issues in Laser Engraving
While laser engraving is a versatile and precise technique, there are certain design issues that may arise during the process. Identifying and troubleshooting these common issues can help you achieve optimal results. Here are some key design issues and potential solutions:
- Inconsistent Engraving Depth: If you notice variations in the depth of your engravings, it could be due to inconsistencies in the material or the laser settings. Check the material surface for any obstructions or unevenness that may affect the engraving. Additionally, ensure that the laser settings, such as power and speed, are properly calibrated and consistent.
- Burn Marks or Charring: Burn marks or charring on the material surface can occur when the laser power is too high or the engraving time is too long. Try reducing the power or increasing the engraving speed to lessen the burning effect. Testing different power and speed settings on sample materials can help you find the optimal balance for clean and precise engravings.
- Blurred or Distorted Details: Blurred or distorted details in your designs may be a result of low image resolution or improper scaling. Ensure that the resolution of your design files is suitable for the desired engraving size. Avoid enlarging or reducing designs beyond their optimal resolution to maintain clarity and crispness.
- Unreadable Text: If your engraved text appears unclear or distorted, review the font selection and sizing. Choose fonts that are clear and legible, and ensure that the text is sized appropriately for the engraving area. Adjusting the engraving speed and power settings can also improve the sharpness and readability of engraved text.
- Unintended Engraving: Sometimes, portions of your design may inadvertently get engraved due to design elements extending beyond the intended boundaries. Carefully review your design files to ensure all unwanted elements, stray lines, or overlapping shapes are removed or properly aligned. Previewing the design placement on the material before engraving can help avoid unintentional engravings.
If you encounter persistent design issues, consider consulting the user manual or reaching out to the manufacturer of your laser engraver for specific troubleshooting steps or recommended settings. Frequently testing and iterating your designs, along with proper maintenance of your laser engraver, can help mitigate and resolve common design issues.
By identifying and addressing these design issues in laser engraving, you can achieve the desired level of precision and quality in your engraved projects.
Conclusion
Congratulations! You have reached the end of this comprehensive guide on designing for laser engraving. We hope that the information provided has equipped you with the knowledge and tips needed to create outstanding designs that are optimized for laser engraving.
Throughout this guide, we explored various aspects of the laser engraving process, from choosing the right design software and understanding your laser engraver’s capabilities to selecting the appropriate materials and troubleshooting common design issues. By following these guidelines, you can enhance the quality, precision, and visual appeal of your laser engraving projects.
Remember, designing for laser engraving requires attention to detail, creativity, and a deep understanding of the materials and applications involved. Take the time to experiment, test different settings, and iterate on your designs to achieve the best possible results for each project.
Whether you’re creating personalized gifts, signage, artwork, or industrial markings, the possibilities with laser engraving are vast. With practice and experience, you will continue to refine your skills and develop your unique style in designing for laser engraving.
We hope you find success and fulfillment in your laser engraving journey. Now go forth, unleash your creativity, and let your designs shine with the precision and beauty of laser engraving!