Introduction
Welcome to the world of indoor TV antennas, where you can enjoy your favorite television shows without the need for a pricey cable or satellite subscription. With the advancements in technology, indoor TV antennas have become a popular alternative for cord-cutters looking to access local channels and enjoy high-definition broadcasts without the hassle and expense of traditional cable services.
Setting up an indoor TV antenna may seem daunting at first, but with the right information and a little bit of effort, you can experience crisp and clear reception right in the comfort of your own home. In this guide, we will walk you through the process of setting up an indoor TV antenna, from assessing the signal strength in your area to finding the best placement for optimal reception.
Indoor TV antennas work by capturing over-the-air signals from broadcast towers and converting them into a format that your television can display. Unlike traditional antennas mounted on rooftops, indoor antennas are designed to be compact and discrete, making them a perfect choice for urban dwellers or anyone living in areas with strict building restrictions.
Before you dive into the setup process, it’s essential to evaluate the signal strength in your area. Various factors, such as the proximity to broadcast towers, topography, and building materials, can affect the quality of your reception. By assessing the signal strength, you can determine the type of indoor TV antenna that best suits your needs and the necessary steps to optimize your setup.
With a plethora of indoor TV antennas available on the market, choosing the right one can be overwhelming. We will guide you through the key factors to consider when selecting an indoor TV antenna, including range, frequency compatibility, and signal amplification. By understanding these factors, you can make an informed decision and ensure that your chosen antenna is capable of receiving the desired channels with optimal performance.
Once you have selected the right indoor TV antenna, the next step is finding the best placement for optimal reception. Placement plays a crucial role in the overall performance of your antenna, so we will provide tips and guidelines to help you position the antenna correctly. We will discuss the impact of obstructions, such as walls and furniture, and share strategies to overcome interference and achieve the best possible signal strength.
Connecting your indoor TV antenna to your television is a straightforward process, but it’s important to do it correctly to ensure a reliable and stable connection. We will walk you through the steps to connect your antenna, highlighting the different types of connections and providing troubleshooting tips for any potential issues that may arise.
Finally, we will cover the process of scanning for channels and fine-tuning your setup to maximize your channel selection and reception. We will also troubleshoot common issues that you may encounter along the way, such as pixelation, picture freezing, or missing channels, and provide solutions to resolve these problems.
By the end of this guide, you will be equipped with the knowledge and skills to set up and optimize your indoor TV antenna, ensuring a seamless and enjoyable viewing experience. So, let’s dive in and start your journey to a world of free, high-quality television.
How Does an Indoor TV Antenna Work?
If you’re wondering how an indoor TV antenna works, let’s take a closer look at the technology behind it. An indoor TV antenna is designed to capture over-the-air television signals transmitted by local broadcast towers. These signals contain the content of broadcast channels such as ABC, CBS, NBC, FOX, and more.
When you connect an indoor TV antenna to your television, the antenna acts as a receiver, picking up the electromagnetic waves that carry the TV signals. These waves travel through the air from the broadcast towers and are captured by the antenna’s elements, typically a combination of metal rods or flat panels.
Once the antenna captures the signals, it converts them into electrical currents that can be processed by your television. The antenna sends these electrical signals through a coaxial cable to the TV’s tuner. The tuner then decodes the signals and displays the TV channels on your screen.
It’s important to note that an indoor TV antenna can receive both analog and digital signals. In the past, television broadcasts were primarily analog, but with the transition to digital broadcasting, most signals are now transmitted in a digital format. Digital television signals offer higher visual and auditory quality, providing viewers with a more immersive and enjoyable viewing experience.
Indoor TV antennas are designed to capture both VHF (Very High Frequency) and UHF (Ultra High Frequency) signals. VHF signals, which range from channels 2 to 13, have longer wavelengths and are generally used by local network stations. UHF signals, on the other hand, cover channels 14 to 51 and have shorter wavelengths, making them suitable for a wider range of content, including local and regional channels.
Indoor TV antennas can vary in size and design, but the objective remains the same – to capture the signals and deliver them to your television. Some antennas are omnidirectional, which means they can pick up signals from various directions, while others are directional, requiring precise positioning towards the broadcast tower for optimal reception.
It’s worth noting that the effectiveness of an indoor TV antenna may be influenced by various factors. These include the distance from the broadcast towers, obstructions like buildings and trees, and the overall signal strength in your area. In a location with weak signals, you may need to consider using an antenna with built-in signal amplification capabilities to ensure better reception.
Now that you have a clearer understanding of how an indoor TV antenna works, the next step is to assess the signal strength in your area. By determining the available channels and signal quality, you can choose the most appropriate indoor TV antenna and proceed with the setup process.
Assessing the Signal Strength in Your Area
Before setting up your indoor TV antenna, it’s important to assess the signal strength in your area. This will give you valuable information about the available channels and signal quality, helping you make informed decisions about the type of antenna you need and how to optimize your setup.
The first step in assessing signal strength is to identify the broadcast towers in your vicinity. Various online resources and mobile apps provide this information, allowing you to locate the towers and determine their proximity to your location. Keep in mind that the closer you are to the towers, the stronger the signal will be, and the better the reception you can expect.
Once you have identified the broadcast towers, check if they transmit in both VHF and UHF frequencies. This information will help you choose an indoor TV antenna that is compatible with both frequency ranges. Many modern antennas are capable of receiving signals from both VHF and UHF, ensuring you have access to a wide range of channels.
Next, consider the terrain and potential obstructions between your location and the broadcast towers. Buildings, trees, and hills can impede signals, causing interference and reducing signal strength. If you live in a densely populated area with tall buildings, you may experience more signal challenges compared to a suburban or rural setting.
There are online tools and apps available that can provide a visual representation of the obstacles between your location and the broadcast towers. By analyzing these tools, you can determine the potential impact of obstructions on your signal strength and adjust your setup accordingly. For example, if you have clear line-of-sight to the towers, a simple indoor antenna may suffice. However, if there are significant obstructions, you may need a more powerful antenna or consider alternative solutions such as installing an outdoor antenna.
Furthermore, it’s essential to check the signal strength for both VHF and UHF channels. While some areas may have strong VHF signals, others may have stronger UHF signals or a mix of both. Understanding the signal strength for each frequency range will help you select an appropriate antenna that can capture the desired channels effectively.
There are several tools available, such as digital signal meters or TV tuner apps, that can measure the signal strength in your area. These tools display the signal quality and strength for each channel, allowing you to identify the channels with the strongest signals and plan your antenna setup accordingly.
Additionally, it’s worth considering the signal interference caused by nearby electronics or appliances. Certain devices, such as Wi-Fi routers and cordless phones, can interfere with TV signals, leading to degraded reception. If you experience issues with signal quality, try moving your indoor TV antenna away from these devices and other potential sources of interference.
By thoroughly assessing the signal strength in your area, considering obstacles and potential interference, and utilizing online tools and apps, you can make informed decisions about your indoor TV antenna setup. This will ensure optimal reception and enable you to enjoy a wide range of channels with high-quality pictures and audio.
Choosing the Right Indoor TV Antenna
Now that you have assessed the signal strength in your area, it’s time to choose the right indoor TV antenna. With numerous options available, it’s important to understand the key factors to consider in order to select an antenna that meets your needs and delivers optimal performance.
The first factor to consider is the range of the indoor TV antenna. Antennas come in various ranges, typically measured in miles. The range refers to the maximum distance between the antenna and the broadcast towers for reliable reception. If you live in close proximity to the towers, a shorter-range antenna may be sufficient. However, if you are located further away or in an area with weaker signals, you may need an antenna with a longer range to ensure reliable reception.
Another crucial consideration is the frequency compatibility of the antenna. Indoor TV antennas need to be capable of receiving both VHF (Very High Frequency) and UHF (Ultra High Frequency) signals. Most antennas on the market today are designed to capture signals across both frequency ranges. However, it’s important to double-check the antenna’s specifications to ensure it is compatible with the channels you wish to receive.
Signal amplification is an important feature to consider, especially if you are in an area with weaker signals or significant obstructions. An antenna with a built-in amplifier can help boost the signal strength, improving reception and reducing potential interference. However, keep in mind that excessive amplification can lead to a loss of signal quality, so it’s important to find a balance based on your specific signal conditions.
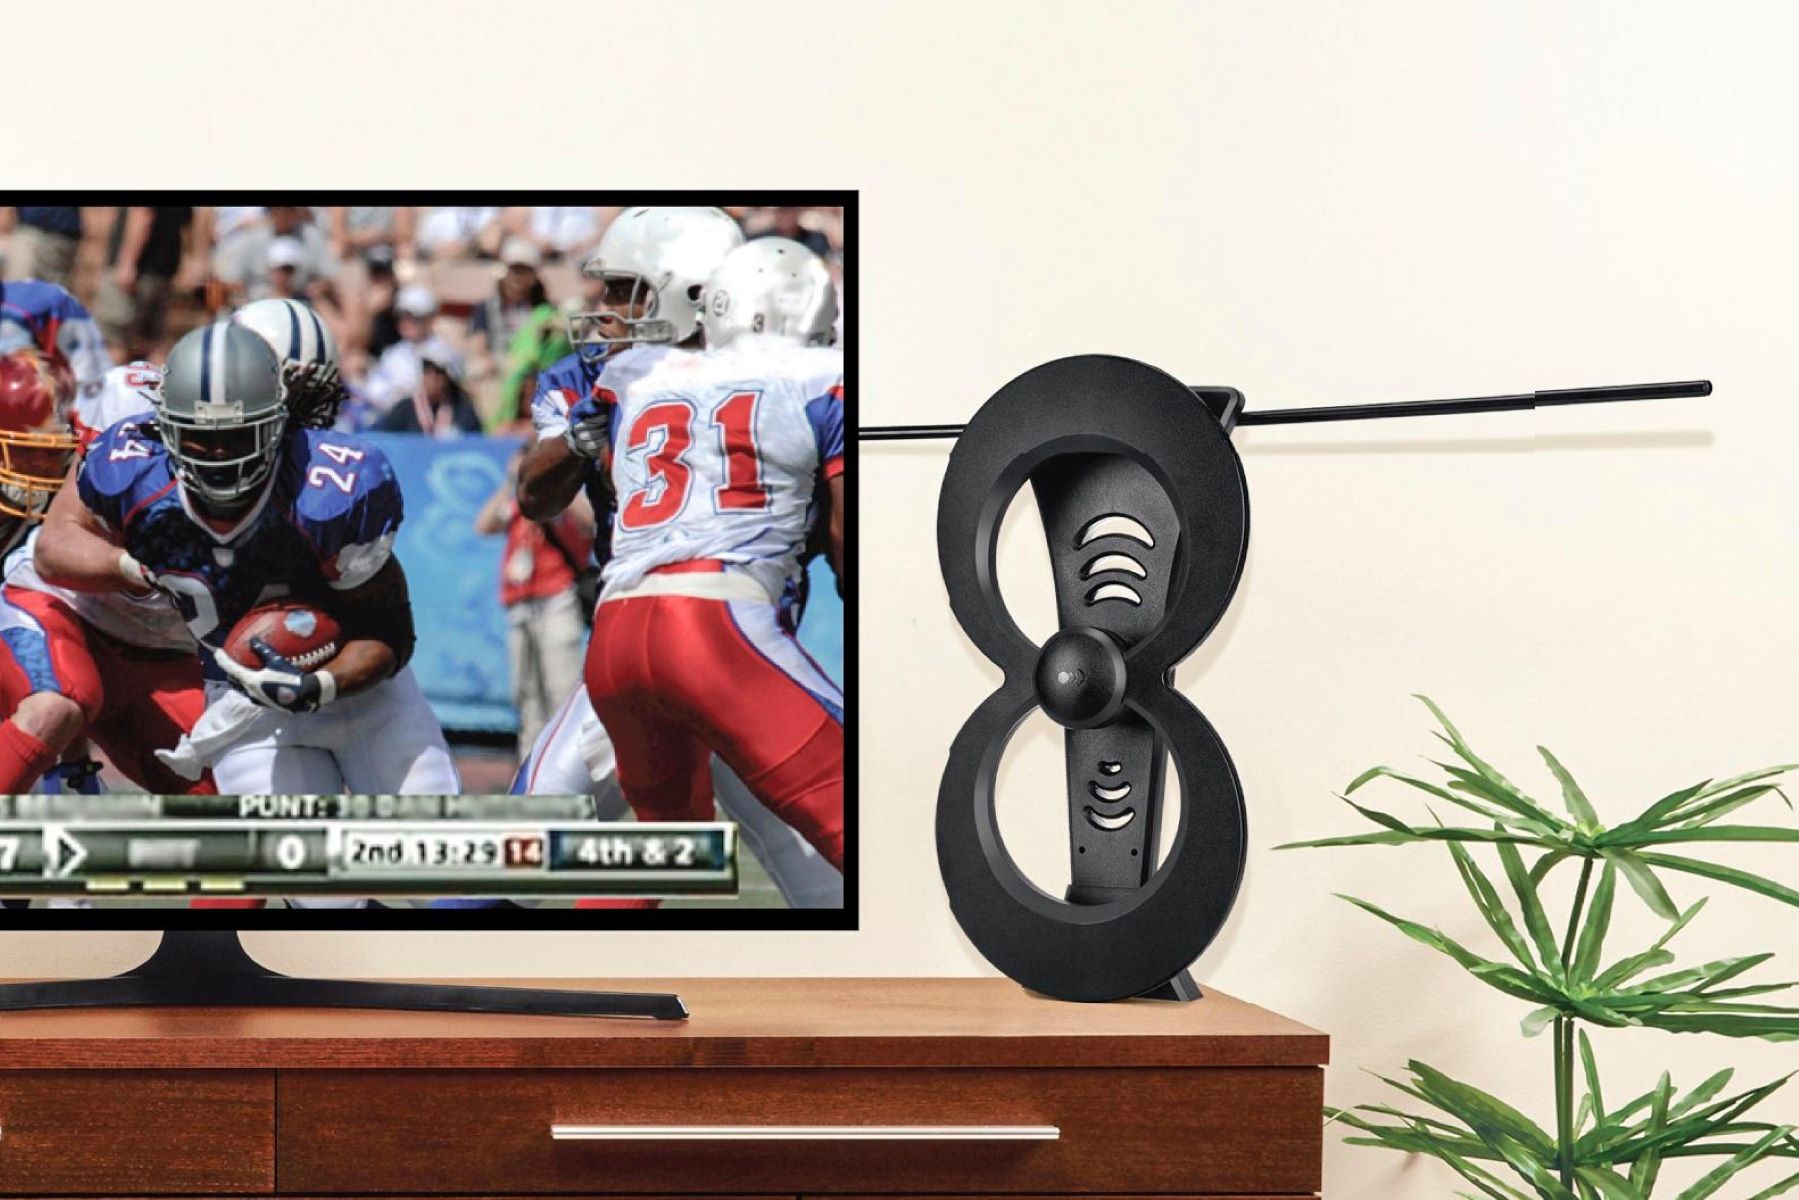
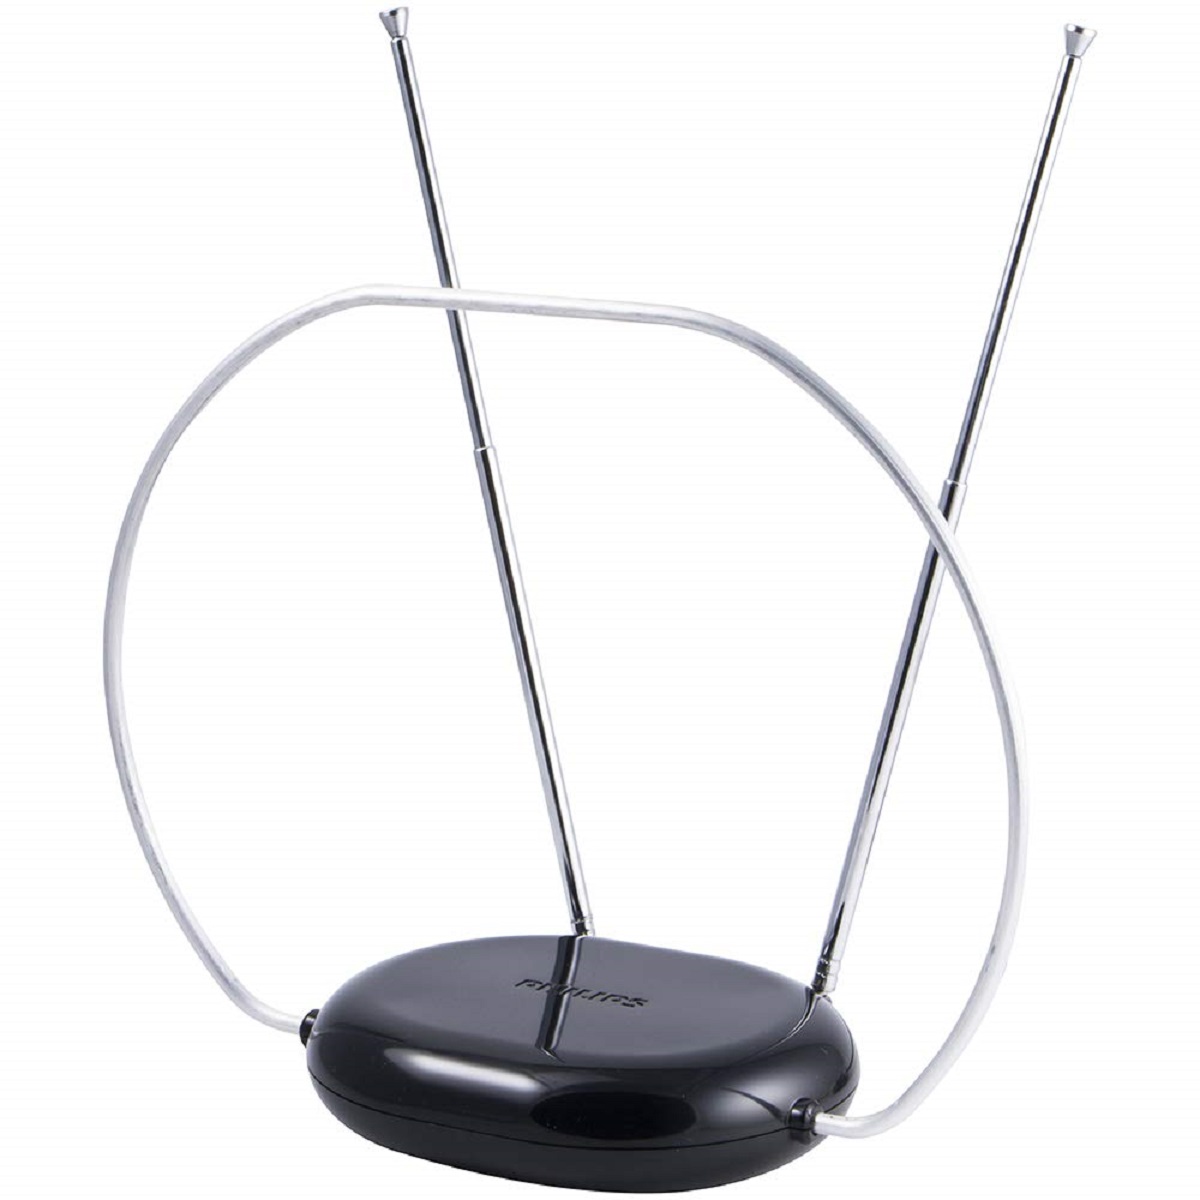
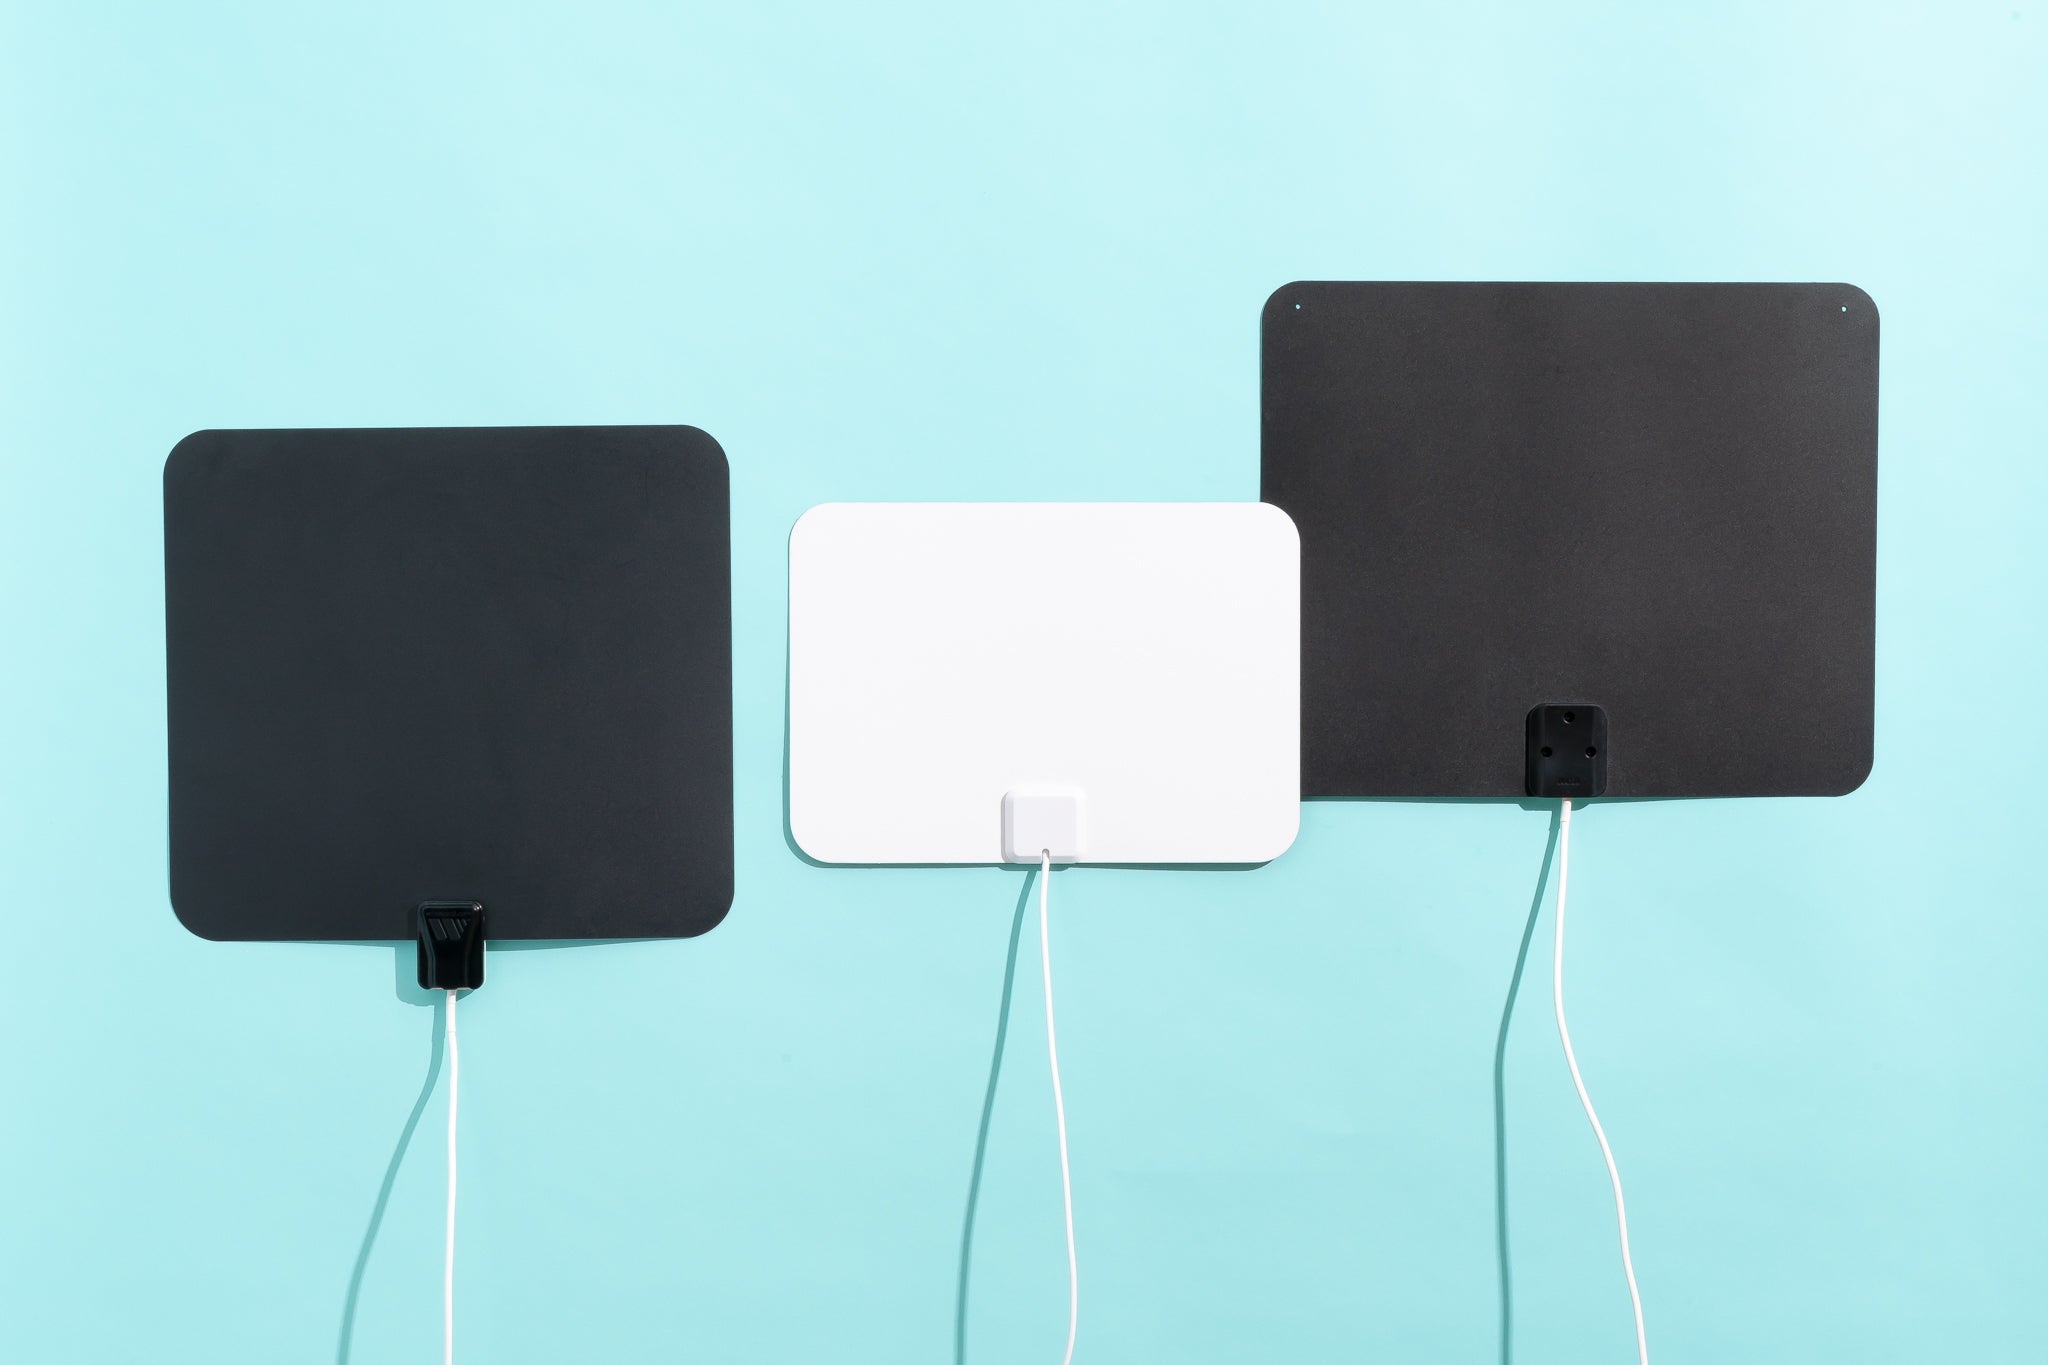
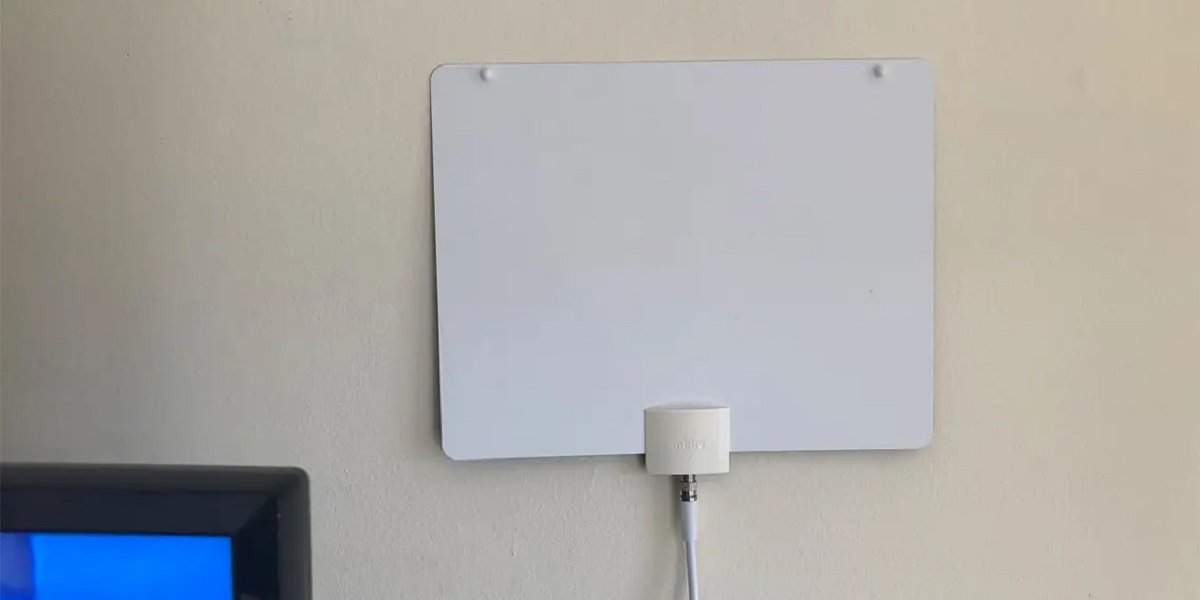
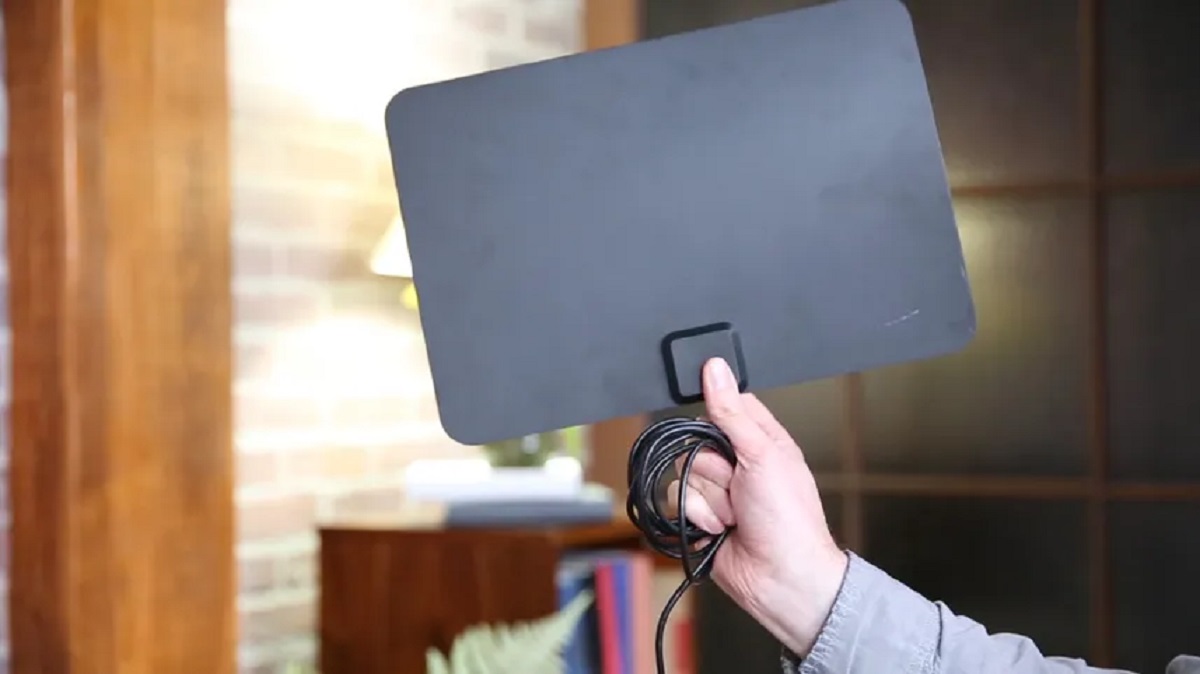
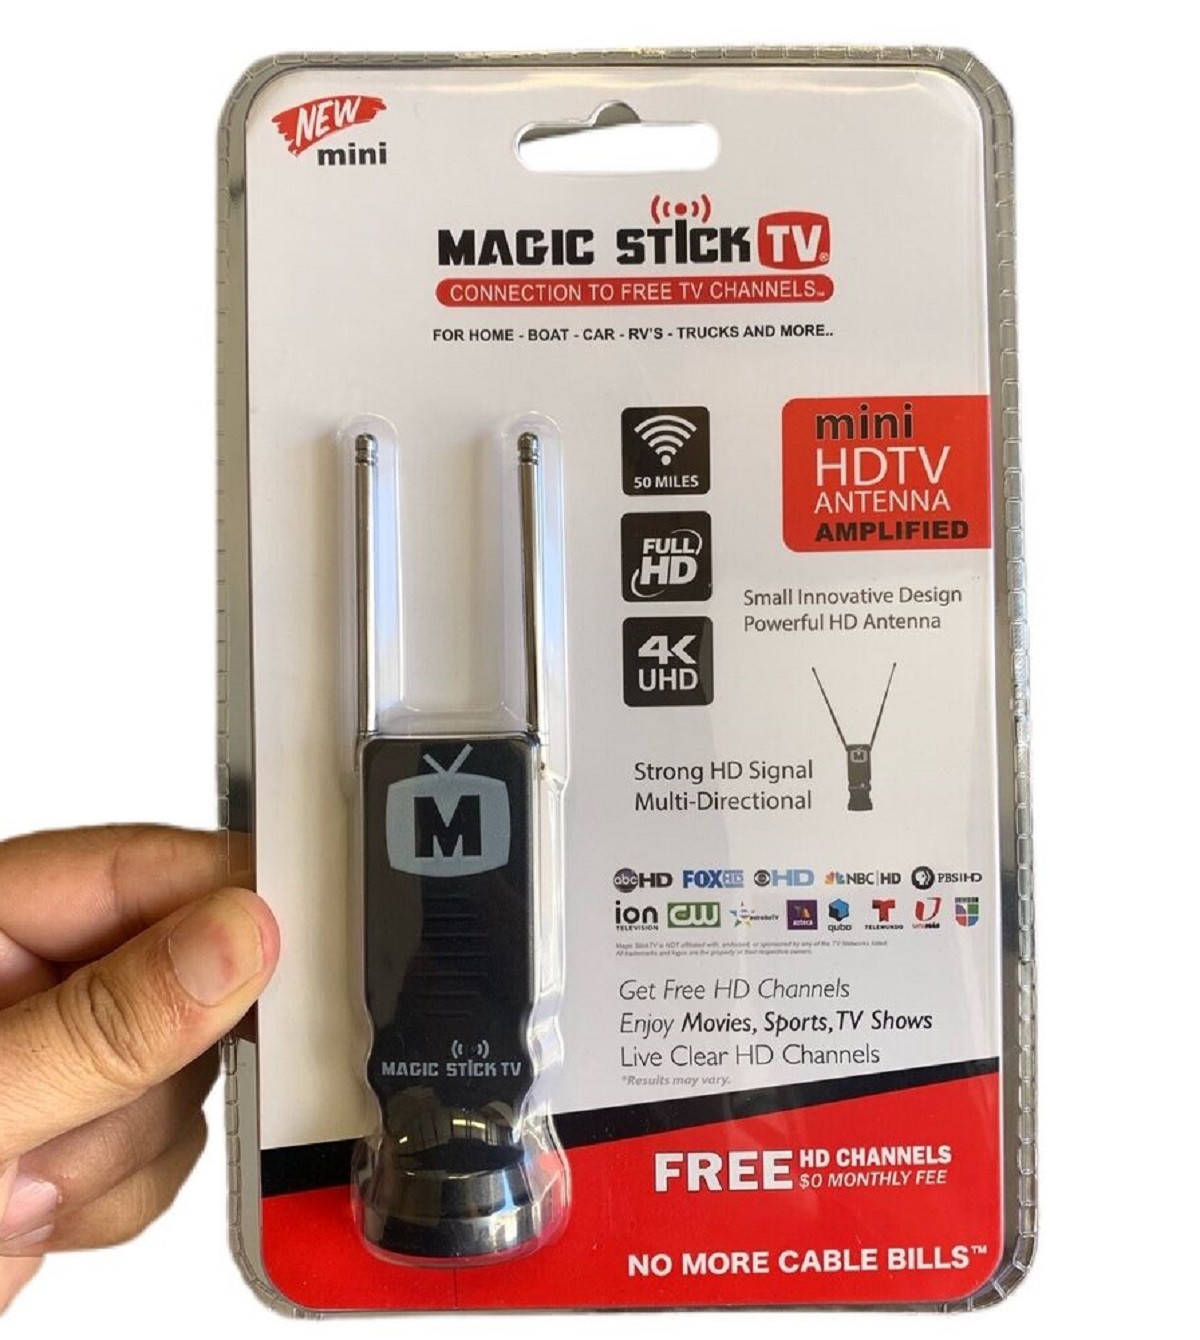
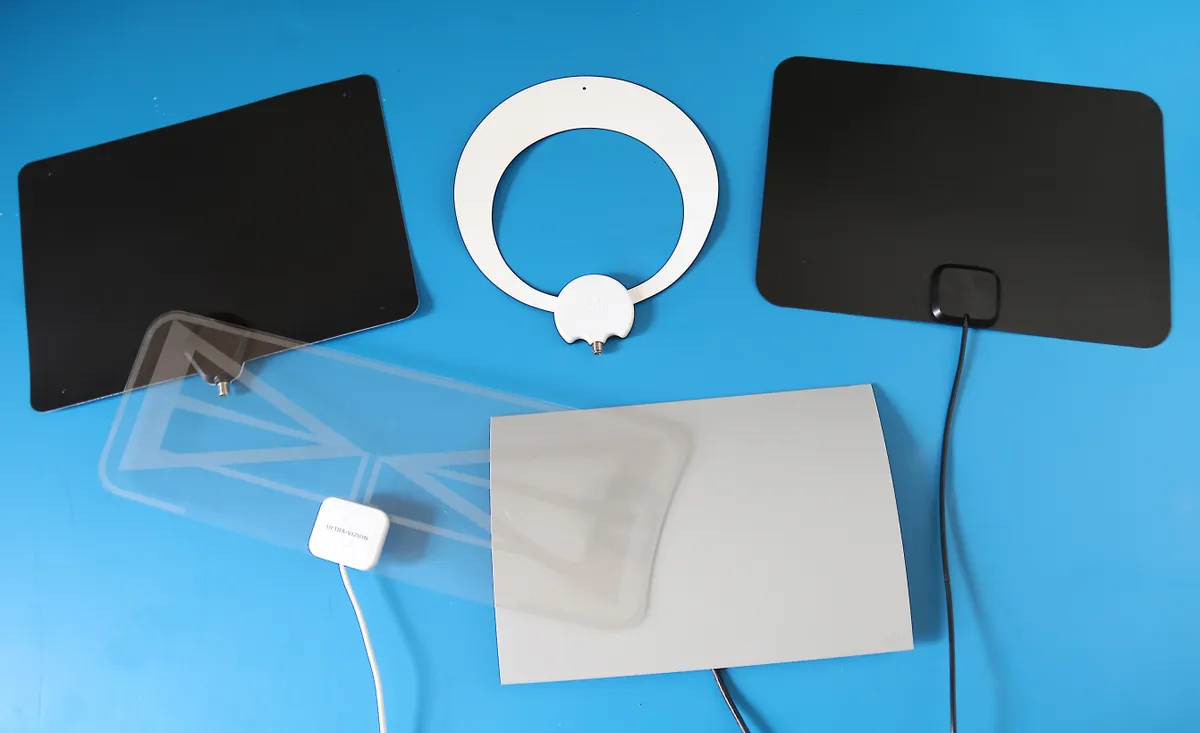
Indoor TV antennas come in various designs, including flat, traditional rabbit ears, and multi-directional designs. Flat antennas are often more discreet and easier to mount on walls or windows, while rabbit ear antennas offer adjustability for better signal reception. Multi-directional antennas capture signals from multiple directions, making them suitable for areas with broadcast towers spread out in different locations. Consider the design that fits your preferences and complements your home setup.
When it comes to installation and setup, ease of use is an important factor to consider. Look for antennas that come with clear instructions and user-friendly installation processes. Some antennas even come with adhesive strips or suction cups for easy placement on windows or walls. Choose an antenna that you feel confident about setting up and adjusting for optimal reception.
Lastly, it’s worth considering the overall build quality and durability of the indoor TV antenna. Look for antennas made from robust materials that can withstand environmental factors and have a long lifespan. Reading customer reviews and checking the warranty offered by the manufacturer can provide insights into the quality and durability of the antenna.
By considering factors such as range, frequency compatibility, signal amplification, design, ease of use, and build quality, you can select the right indoor TV antenna that suits your specific needs and delivers reliable reception. With the right antenna in place, you’ll be ready to move on to the next step of setting up and optimizing your indoor TV antenna.
Finding the Best Placement for Your Indoor TV Antenna
Once you have chosen the right indoor TV antenna, the next step is to find the best placement for optimal reception. The placement of your antenna plays a crucial role in the quality of your signal and overall viewing experience.
Start by identifying the location in your home that offers the clearest line-of-sight to the broadcast towers. This is usually a window or a wall facing the direction of the towers. Having a direct line-of-sight reduces obstructions and maximizes the signal strength reaching your antenna.
Experiment with different positions within the identified location. Often, simply moving the antenna a few inches or angling it slightly can make a significant difference in signal quality. It’s recommended to start by placing the antenna horizontally parallel to the ground and gradually adjust the position until you achieve the best possible reception.
If you have a multi-directional antenna, it’s important to find the optimal orientation that captures signals from all directions. Rotating the antenna and scanning for channels can help you determine the best orientation for maximum reception.
Keep in mind that certain materials and objects can interfere with TV signals. Walls, furniture, and large appliances can weaken the signal strength. Try to place the antenna away from these potential obstructions or experiment with different positions to minimize interference.
Height is another important factor to consider. If possible, place the antenna at a higher elevation, such as mounting it on a wall or placing it on a shelf. This can help improve signal reception by reducing the impact of objects and interference at lower levels.
For best results, always follow the manufacturer’s recommendations for antenna placement. They may provide specific instructions or guidelines based on the design and features of the antenna you have chosen. Additionally, consider using any included accessories, such as extension cables or antenna stands, to help optimize the placement.
It’s also worth mentioning that outdoor placement is an option in certain cases. If you have a balcony, patio, or access to a rooftop, installing an outdoor antenna may provide better reception, especially if your indoor signal is weak or obstructed. Consult with a professional installer or research the local regulations and requirements before considering an outdoor antenna setup.
Throughout the placement process, it’s important to rescan for channels after each adjustment to assess the impact on signal reception. This will help you determine if the new placement is providing better results. Fine-tuning and experimenting with different positions may be necessary to achieve the best reception in your specific location. Patience and persistence will ensure you find the optimal placement for your indoor TV antenna.
By carefully considering line-of-sight, experimenting with positions and orientations, minimizing obstructions, and utilizing any included accessories or guidelines provided by the manufacturer, you can find the best placement for your indoor TV antenna. This will result in improved signal reception and enhance your overall viewing experience.
Removing Interference for Better Reception
Interference can adversely affect the reception quality of your indoor TV antenna. Identifying and addressing sources of interference is essential to ensure optimal signal strength and a better viewing experience. Here are some steps you can take to remove interference and improve reception:
1. Adjust the antenna position: Start by repositioning the antenna to different locations in your home. Try moving it away from walls, furniture, and other objects that may be causing interference. Experiment with different heights and orientations to find the best placement.
2. Minimize electronic devices: Electronic devices such as cordless phones, Wi-Fi routers, and even compact fluorescent lights can cause interference. Keep your antenna away from these devices, especially if they are in close proximity to the TV or the antenna itself.
3. Use antenna extension cables: If necessary, you can use antenna extension cables to move the antenna further away from electronic devices or sources of interference. This can help to reduce any potential interference they may be causing.
4. Avoid signal-blocking obstacles: Large metal objects, mirrors, and even thick concrete walls can block or weaken TV signals. Try to place the antenna in a location that has a clear line of sight to the broadcast towers, avoiding these potential obstacles as much as possible.
5. Use signal filters: Signal filters are devices that can help reduce or eliminate interference caused by specific frequencies. These filters can be attached to the TV or the antenna’s coaxial cable, helping to block out unwanted signals and improve the overall reception quality.
6. Consider using a signal amplifier: In some cases, a weak signal may require the use of a signal amplifier. A signal amplifier, also known as a booster, can enhance the incoming signals and compensate for any signal loss caused by interference or transmission distance.
7. Check for proper grounding: Ensure that your TV and other connected devices are properly grounded. A proper ground connection can help reduce potential electrical interference and improve the overall reception quality.
8. Shield coaxial cables: Coaxial cables can sometimes pick up unwanted electromagnetic interference. To minimize this, make sure the coaxial cable is shielded and properly connected. Avoid running the cable parallel to other electrical cables to prevent interference.
9. Consider an outdoor antenna: If indoor interference remains persistent and significant, you may want to explore the option of installing an outdoor antenna. An outdoor antenna can offer improved reception by bypassing the obstacles and interference commonly found indoors. Consult with a professional installer or research local regulations and requirements before considering this option.
By following these steps and troubleshooting for potential sources of interference, you can significantly improve the reception quality of your indoor TV antenna. Identifying and addressing these issues will help ensure a clear, reliable signal and enhance your overall viewing experience.
Connecting Your Indoor TV Antenna to Your Television
Once you have found the ideal placement for your indoor TV antenna, the next step is to connect it to your television. The process is straightforward, and by following a few simple steps, you’ll be able to enjoy your favorite channels in no time.
1. Determine the type of connection: Most indoor TV antennas use a coaxial cable to connect to your television. This is a round cable with a connector called an “F-connector” on each end. Check the antenna’s packaging or manual to confirm the type of cable it uses.
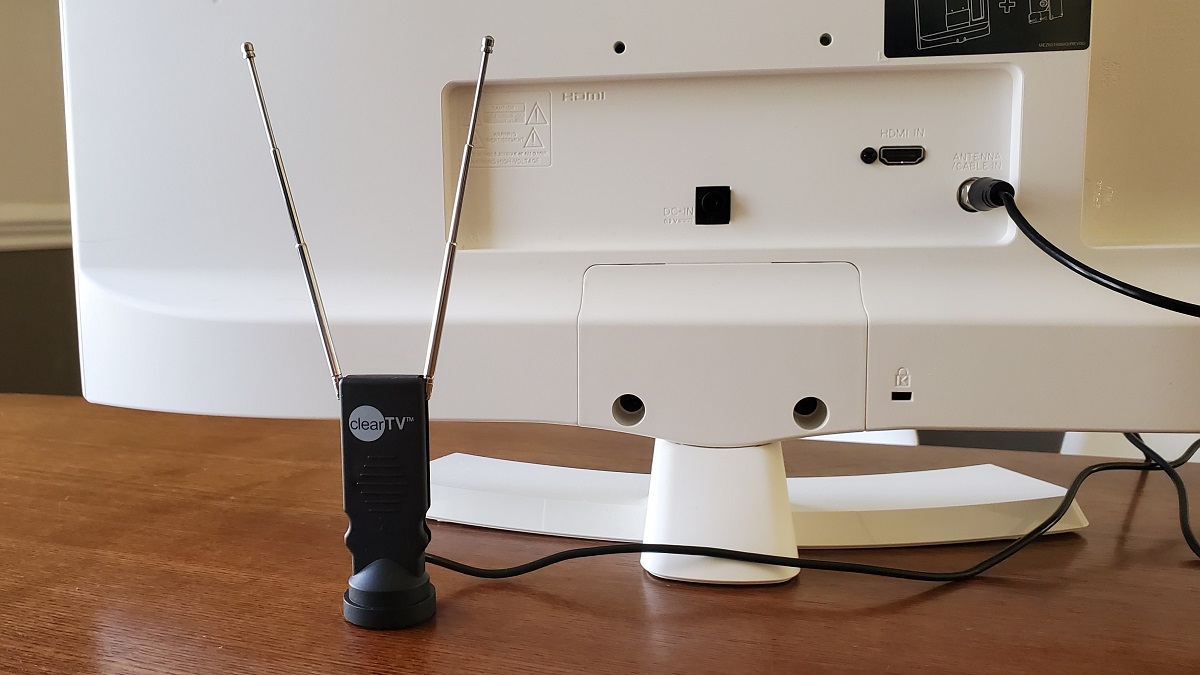
2. Locate the antenna input on your TV: Look for the “antenna in” or “RF in” port on the back of your television. It is usually labeled and resembles a threaded metal connector. This is where you will connect the coaxial cable from your indoor TV antenna.
3. Connect the coaxial cable: Screw one end of the coaxial cable onto the “antenna in” or “RF in” port on your television. Ensure that it is securely tightened to prevent any loose connections or signal loss.
4. Connect the other end to your indoor TV antenna: Attach the other end of the coaxial cable to the corresponding port on your indoor TV antenna. Again, ensure that it is securely connected to maintain a reliable signal.
5. Power on your television: Switch on your television and navigate to the “source” or “input” menu using your remote control. Select the appropriate input source for the antenna, typically labeled as “TV” or “Antenna.”
6. Set up channel scan: Once you have selected the antenna input on your TV, access the settings menu and perform a channel scan. This process will allow your television to detect the available channels and store them in its memory for easy access.
7. Fine-tune your setup: After the channel scan is complete, browse through the available channels and check the signal strength and quality. If necessary, try repositioning or adjusting the placement of your antenna to improve any weaker channels.
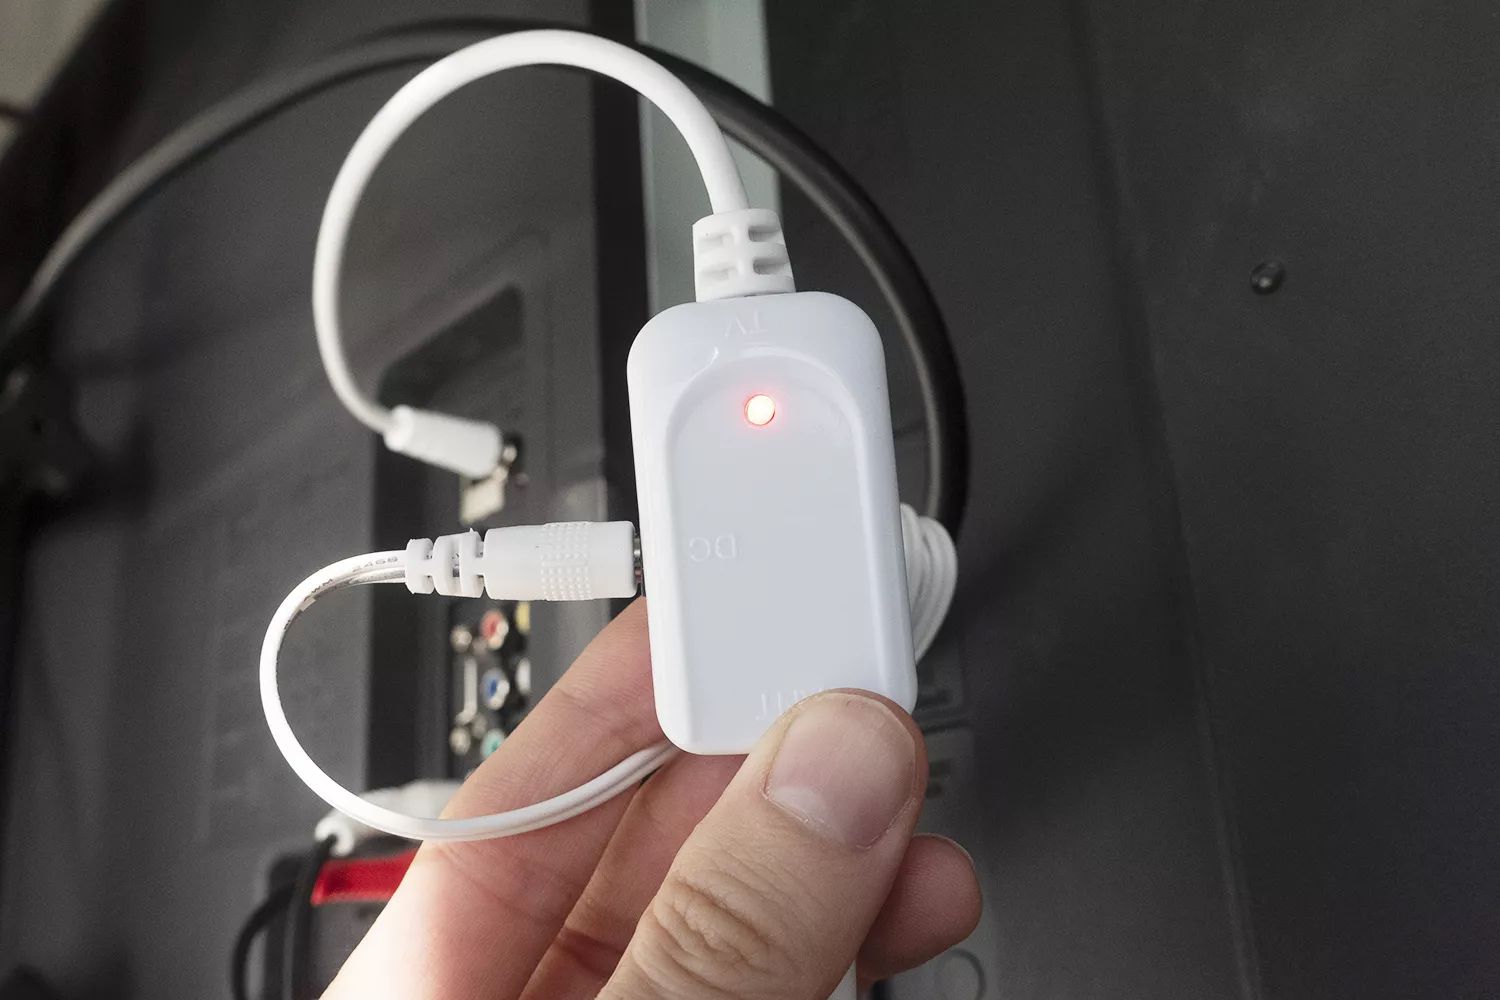
8. Add a signal amplifier (optional): If you live in an area with weak signals or experience signal loss, you may consider using a signal amplifier. Connect the amplifier between the antenna and the television to boost the incoming signals and improve reception.
Remember to consult the user manual that comes with your television and indoor TV antenna for any specific instructions or recommendations regarding the connection process. Manufacturers may provide additional guidance depending on the model and features of the devices.
By following these steps, you can easily connect your indoor TV antenna to your television and start enjoying high-quality, over-the-air channels without the need for cable or satellite subscriptions. Regularly re-scan for channels if you move or make significant changes to your antenna setup to ensure you have access to the latest available broadcasts.
Scanning for Channels and Fine-Tuning Your Setup
After connecting your indoor TV antenna to your television, the next step is to scan for channels and fine-tune your setup. This process allows your television to search for available channels in your area and optimize the reception for each channel. Follow these steps to get the most out of your antenna setup:
1. Access the settings menu: Using your television remote control, navigate to the settings or setup menu. The location and labeling of this menu may vary depending on your TV’s brand and model.
2. Find the channel scan option: Look for an option related to channel setup or antenna settings. This will typically be labeled as “Channel Scan,” “Auto Program,” “Auto-Tune,” or something similar.
3. Start the channel scan: Select the channel scan option, and choose the “Start,” “Scan,” or “Auto” button to begin the scanning process. Your television will start searching for available channels that can be received by your indoor TV antenna.
4. Wait for the scan to complete: The channel scan may take a few minutes to complete. Allow your television sufficient time to scan and detect all the available channels in your area. Avoid interrupting the process to ensure accurate results.
5. Review the scanned channels: Once the channel scan is finished, your television will display a list of the detected channels. Take note of the available channels and the corresponding numbers or names assigned to each channel.
6. Check the signal strength: While reviewing the scanned channels, pay attention to the signal strength and quality indicators provided by your television. These indicators usually represent how well your antenna is receiving the signals for each channel. Stronger signal strength and better quality typically result in clearer and more stable reception.
7. Arrange the channel order (optional): Some televisions allow you to rearrange the order of the scanned channels. If desired, you can access the channel settings menu and rearrange the channels according to your preference or frequently watched channels.
8. Fine-tune the antenna placement: If you notice any weak or pixelated channels during the scan or while browsing through the channels, consider fine-tuning your antenna placement. Adjust the position, orientation, or height of the antenna to see if it improves the reception quality for those specific channels.
9. Repeat the channel scan periodically: It’s advisable to repeat the channel scan periodically, especially if you make any changes to the antenna setup, such as relocating or adjusting the antenna. This ensures that your television remains updated with the latest available channels and optimizes the reception for any new or improved broadcasts.
By scanning for channels and fine-tuning your setup, you can ensure that your indoor TV antenna is effectively capturing all the available channels in your area. Regular scans and adjustments will help optimize the reception and enhance your overall viewing experience.
Troubleshooting Common Issues with Indoor TV Antennas
While using an indoor TV antenna can provide you with access to a variety of channels, you may occasionally encounter some common issues that can affect your reception. Here are some troubleshooting steps to address these issues and improve your viewing experience:
1. Poor signal quality or weak reception:
– Check the placement of your indoor TV antenna. Adjust its position, orientation, or height to improve the signal strength.
– Re-scan for channels to ensure that your television has detected all available channels in your area.
– Consider using a signal amplifier or an antenna with built-in signal amplification to boost weak signals.
– Minimize interference from nearby electronic devices, such as cordless phones or Wi-Fi routers, that can disrupt the signal.
2. Missing or inconsistent channels:
– Re-scan for channels to make sure your television has the most up-to-date channel list.
– Check if the channels you’re missing are VHF or UHF, and determine if you have an antenna that is optimized for both frequencies.
– Verify the signal strength of the missing channels. If they have weak signals, try repositioning your antenna or using a different antenna that is better suited for capturing those signals.
3. Pixelation or freezes in the picture:
– Ensure that your antenna is properly connected to your television and that the connectors are securely tightened.
– Check the signal strength of the affected channels. If the signal is weak, reposition or adjust your antenna to improve reception.
– Examine the coaxial cable for any damage or loose connections. If necessary, replace the cable to ensure a reliable signal transmission.
– Remove any potential sources of interference, such as devices emitting electromagnetic waves, that may be causing disruptions in the signal.
4. Audio issues:
– Confirm that the audio cables or connections between your television and audio devices, such as soundbars or speakers, are properly connected.
– Check the audio settings on your television and ensure they are suitable for your specific setup.
– For weak audio reception, verify the signal strength of the channels and adjust your antenna placement to improve reception.
5. Limited range or reception range issues:
– Consider a higher-gain antenna or one with an extended range if you live far from broadcast towers or have obstructions between your antenna and the towers.
– Experiment with different locations in your home to find the best placement that provides optimal reception for all desired channels.
– Check for obstacles such as buildings, trees, or hills that may be blocking or weakening the signals. Moving your antenna to a more favorable position may resolve reception range issues.
Remember to consult your TV and antenna manufacturer’s guidelines and troubleshooting resources for more specific solutions to address the issues you are experiencing. Patience and experimentation may be required to fine-tune your setup and overcome any challenges with your indoor TV antenna.
Conclusion
Setting up an indoor TV antenna can open up a world of free, high-quality television without the need for costly cable or satellite subscriptions. By following the steps outlined in this guide, you can confidently navigate the process of assessing signal strength, selecting the right antenna, finding the optimal placement, and troubleshooting common issues.
Remember to assess the signal strength in your area, considering factors such as proximity to broadcast towers, terrain, and potential obstructions. This will help you determine the type of antenna that suits your needs and optimize your setup for better reception.
Choosing the right indoor TV antenna is essential, considering factors such as range, frequency compatibility, signal amplification, and design. Finding the best placement is another crucial step, involving adjustments to the antenna’s position, orientation, and height while minimizing interference from electronic devices and obstructions.
Connecting your indoor TV antenna to your television is a simple process of ensuring a secure, tight connection between the antenna and the television’s “antenna in” or “RF in” port. Performing a channel scan and fine-tuning your setup further improves reception and ensures access to all available channels.
Throughout the process, it’s important to troubleshoot common issues that may arise, such as poor signal quality, missing channels, pixelation, audio problems, or limited reception range. By following the troubleshooting steps and experimenting with different solutions, you can overcome these challenges and enhance your viewing experience.
With the right indoor TV antenna setup, you can enjoy free access to local and regional channels, news, sports, and entertainment, all in high-definition quality. As technology advances, indoor TV antennas continue to evolve, providing even better performance and a wider range of channels.
So, take the time to set up your indoor TV antenna following the steps and recommendations in this guide. Sit back, relax, and immerse yourself in the world of free, over-the-air television, all at your convenience and without breaking the bank.


