Introduction
Welcome to the guide on how to set up AT&T Wi-Fi! In today’s digitally connected world, having a reliable and speedy internet connection is essential. AT&T offers a range of internet plans to suit every need, and in this article, we will walk you through the step-by-step process of setting up your AT&T Wi-Fi network.
Whether you are setting up Wi-Fi for your home or office, following these instructions will ensure a seamless and hassle-free experience. By the end of this guide, you’ll be surfing the web, streaming your favorite movies, and connecting your devices to the internet in no time.
Before we dive into the setup process, let’s take a moment to understand the benefits of choosing AT&T as your internet service provider. AT&T is a trusted and reputable company, known for its reliable network coverage, fast speeds, and excellent customer service. With AT&T, you can enjoy uninterrupted internet connectivity, access to a wide range of online services, and a host of additional features.
Setting up your AT&T Wi-Fi network is a straightforward process that can be completed without any technical expertise. With simple equipment and a few easy steps, you’ll be connected to the internet wirelessly and ready to experience the convenience and freedom of a Wi-Fi network.
In the following sections, we will guide you through each step of the process, from purchasing an AT&T internet plan to customizing your Wi-Fi settings. So, without further ado, let’s get started on setting up your AT&T Wi-Fi!
Step 1: Purchase an AT&T Internet plan
The first step in setting up your AT&T Wi-Fi is to purchase an AT&T internet plan. AT&T offers a variety of plans tailored to meet different needs and usage requirements. You can visit the AT&T website or contact their customer service to explore the available plans and choose the one that best fits your internet usage habits.
When selecting an internet plan, consider factors such as your monthly data requirements, the number of devices that will be connected to the Wi-Fi network, and the speed you desire for activities such as streaming, gaming, or video conferencing. AT&T offers different speed options, ranging from basic speeds for everyday browsing to ultra-fast speeds for heavy internet usage.
Once you’ve decided on the suitable plan, you can proceed with the subscription process. This typically involves providing your personal information, selecting your desired plan, and agreeing to the terms and conditions. You may also need to schedule an installation appointment if a technician is required to set up the necessary equipment.
During the subscription process, AT&T will provide you with the details of your internet plan, including the monthly cost, contract duration (if applicable), and any additional features or services included with your plan. It’s important to review these details carefully to ensure that you are selecting the right plan for your needs.
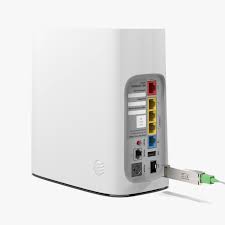
After completing the subscription, AT&T will provide you with the necessary equipment for your internet connection, typically a modem and a router. These devices will enable you to establish a connection between your home or office and the internet.
Now that you have purchased an AT&T internet plan, you’re one step closer to setting up your Wi-Fi network. In the next section, we will guide you through the process of gathering the equipment needed for the setup.
Step 2: Gather your equipment
Before you can start setting up your AT&T Wi-Fi, it’s important to gather all the necessary equipment. The two main components you’ll need are a modem and a router. The modem connects your home or office to the internet, while the router allows you to create a Wi-Fi network and connect multiple devices wirelessly.
If you have subscribed to an AT&T internet plan, they will provide you with a modem and router as part of the package. These devices may be all-in-one units that combine the functionality of both the modem and router, or they may be separate devices.
Ensure that you have all the required cables and power adapters that came with the modem and router. You may also need an Ethernet cable to connect your devices directly to the modem or router for a wired connection. Additionally, check if your devices require any specific software or configuration steps to be taken during the setup process.
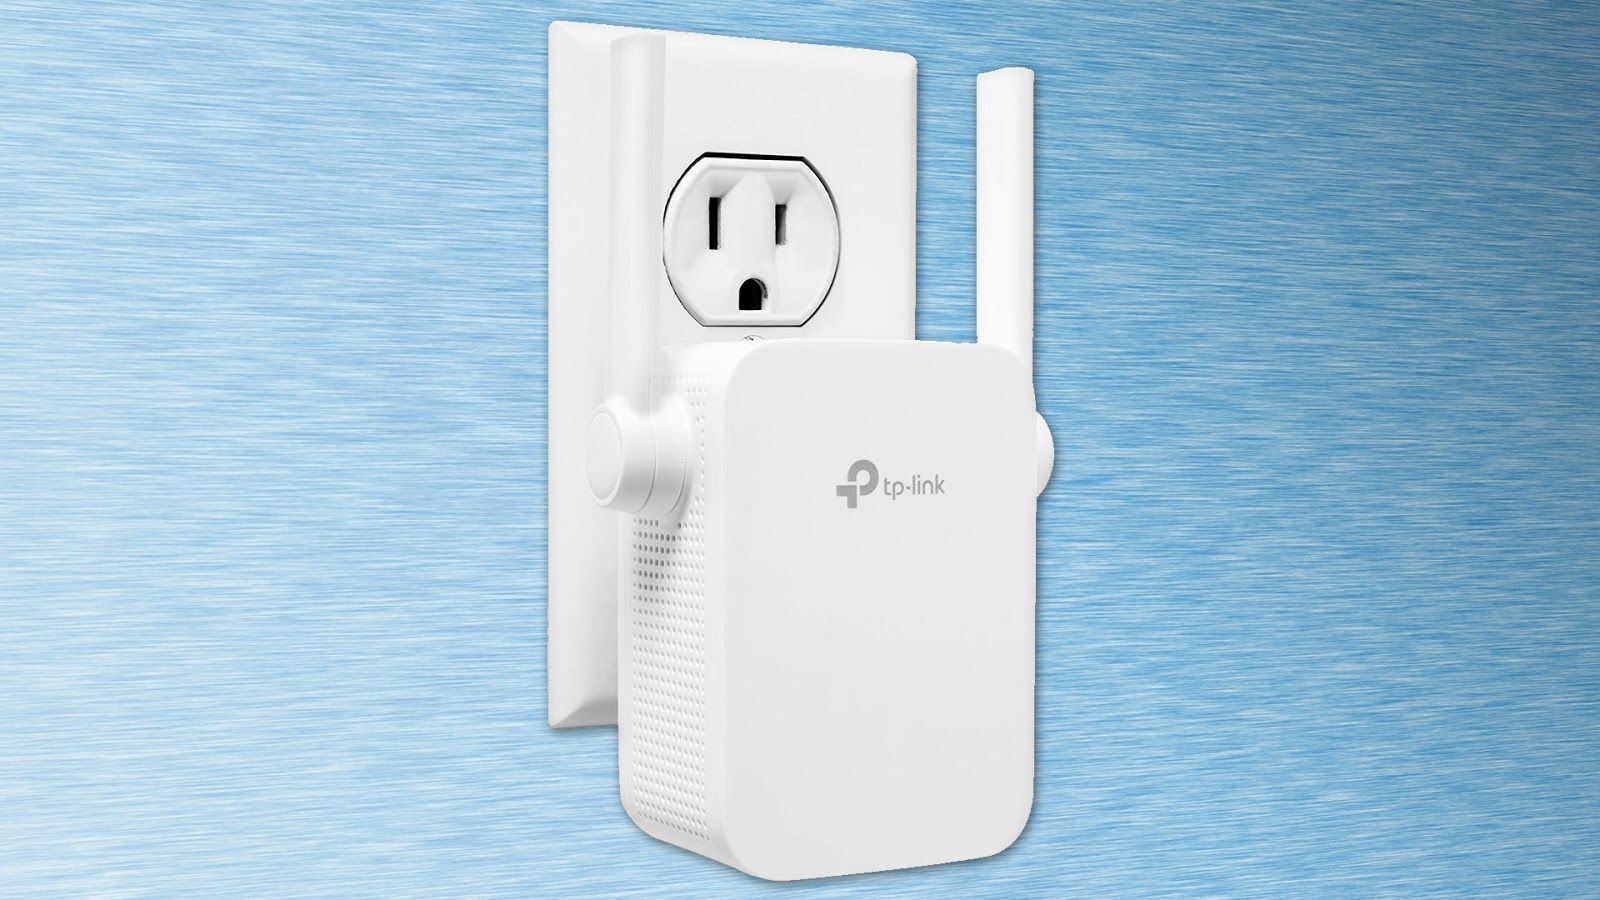
It’s crucial to place the modem and router in a central location within your home or office to maximize the Wi-Fi coverage. Avoid positioning them near walls or obstructions that may interfere with the signal quality. If you have a large space, you may consider additional Wi-Fi range extenders or mesh systems to ensure optimal coverage throughout the area.
Once you have gathered all the necessary equipment and located the ideal spot to set up your modem and router, you’re ready to move on to the next step. In the following section, we will guide you through the process of connecting your modem to the internet.
Step 3: Connect your modem to the internet
Now that you have gathered all the necessary equipment, it’s time to connect your modem to the internet. This step is crucial as it establishes the connection between your home or office and the AT&T network.
Start by finding a suitable location for your modem. Place it near a phone jack or cable outlet, as this is where you will connect it to the AT&T network. Ensure that the modem is placed on a stable surface and has enough ventilation to avoid overheating.
Next, take the telephone or cable cord provided by AT&T and connect one end to the wall jack and the other end to your modem’s DSL or broadband port. Make sure the connection is secure by twisting the connectors until they are tight.
If you have an all-in-one modem and router, you can skip this step as the modem will already be connected to the router within the device.
Once the modem is connected to the internet, it will start establishing a connection with the AT&T network. This process may take a few minutes, so be patient and wait for the lights on the modem to indicate a successful connection. Different modem models have different light indicators, but typically, solid green lights indicate a successful connection.
If the lights on the modem do not indicate a successful connection, you may need to troubleshoot the issue. Ensure that all cables are securely connected, restart the modem, and contact AT&T customer support for further assistance if needed.
Once a successful connection is established, you can move on to the next step of setting up your AT&T Wi-Fi network. In the following section, we will guide you through the step-by-step process of setting up your Wi-Fi network.
Step 4: Set up your Wi-Fi network
With your modem connected to the internet, it’s time to set up your Wi-Fi network. This will allow you to connect multiple devices wirelessly and enjoy the convenience of internet access throughout your home or office.
If you have purchased an all-in-one modem and router device, the Wi-Fi network setup process may be built into the device’s interface. In this case, you can access the device’s settings by opening a web browser and entering the IP address provided by the manufacturer. Consult the device’s user manual or contact AT&T customer support for guidance on accessing and navigating the settings interface.
If your modem and router are separate devices, connect one end of an Ethernet cable to the modem’s Ethernet port and the other end to the router’s WAN or internet port. This will establish a connection between the modem and router, allowing the router to broadcast the Wi-Fi signal.
Now, power on your router and wait for it to establish a connection with the modem. This may take a few minutes, and the router’s lights will indicate the connection status. Once the connection is established, the lights on the router should stabilize and indicate a successful connection.
Open a web browser on a connected device and enter the IP address specific to your router model. This will open the router’s settings interface, where you can configure your Wi-Fi network settings. Consult the router’s user manual or contact AT&T customer support for detailed instructions on accessing and configuring the settings.
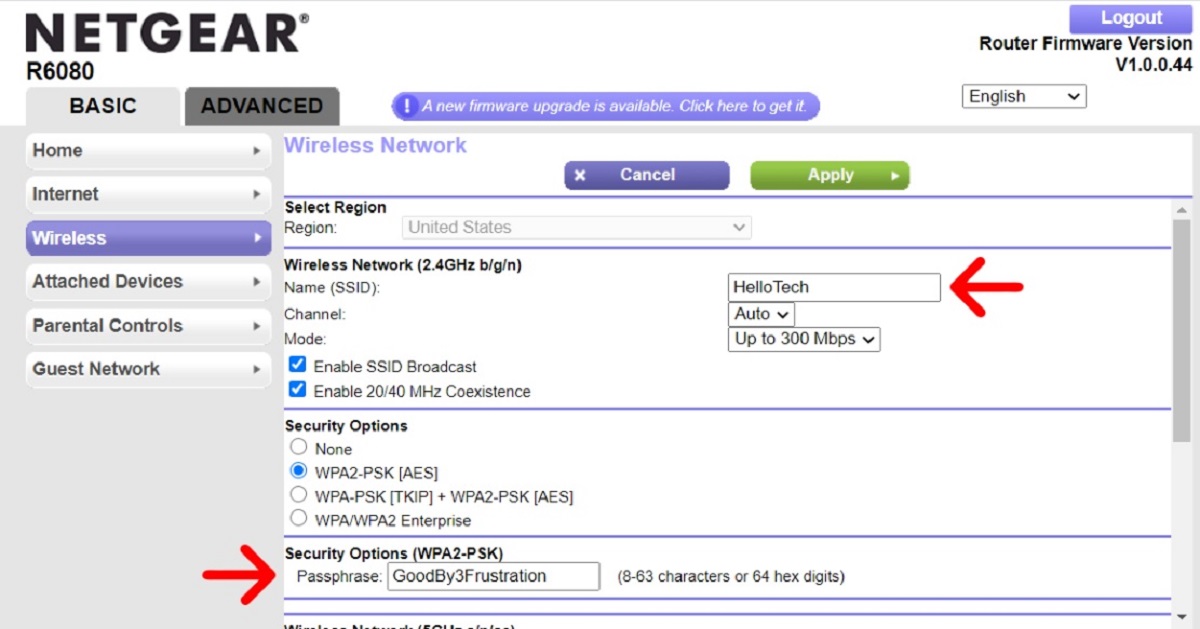
Within the settings interface, you can set a network name (SSID) for your Wi-Fi network and choose a strong, unique password to secure your network. It is recommended to use a combination of letters, numbers, and symbols in your password to enhance security.
Once you have configured the Wi-Fi settings, save the changes and wait for the router to restart. Once the router is back online, your Wi-Fi network will be up and running. You can now connect your devices to the Wi-Fi network and enjoy seamless internet access.
In the next step, we will guide you through connecting your devices to the newly set up Wi-Fi network.
Step 5: Connect your devices to the Wi-Fi network
Now that your Wi-Fi network is set up, it’s time to connect your devices to the network and enjoy wireless internet access. Whether you’re using a smartphone, tablet, laptop, or any other Wi-Fi-enabled device, the process of connecting to your AT&T Wi-Fi network is straightforward.
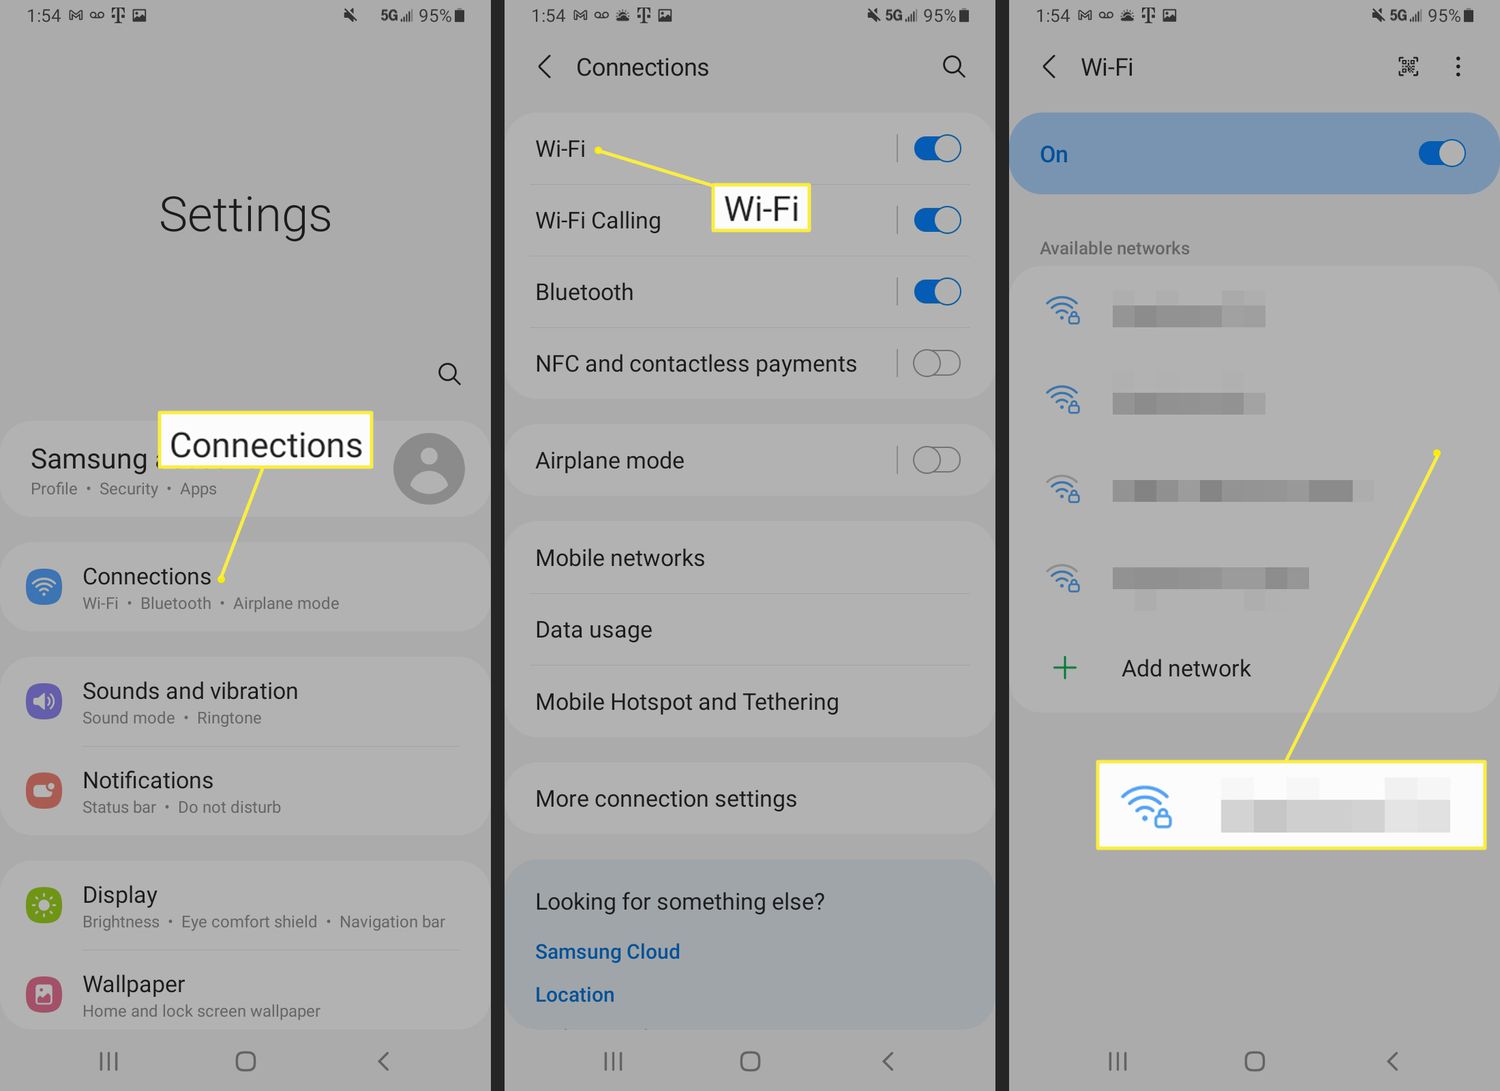
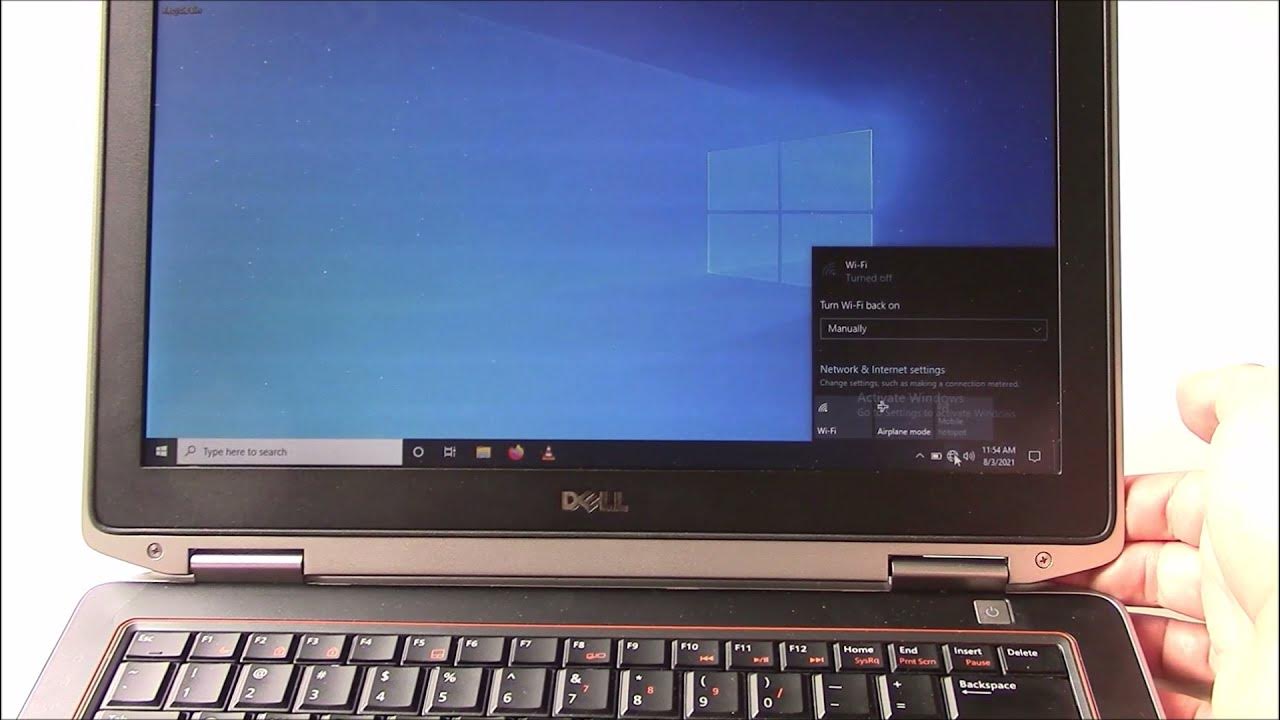
Start by accessing the Wi-Fi settings on your device. This can usually be done by going to the settings or network options and selecting the Wi-Fi section. You’ll see a list of available Wi-Fi networks, including the one you just set up.
Look for the name of your AT&T Wi-Fi network (SSID) that you configured during the setup process. Select it from the list of available networks to begin the connection process.
If you have set a password for your Wi-Fi network, you will be prompted to enter it. Carefully enter the password and ensure that all characters are correctly inputted, as Wi-Fi passwords are case-sensitive.
After entering the password, your device will attempt to connect to the Wi-Fi network. Once connected, you’ll see the Wi-Fi icon appear on your device, indicating a successful connection. The strength of the Wi-Fi signal will also be displayed, with more bars indicating a stronger signal.
Repeat this process for all the devices you want to connect to your Wi-Fi network. You can connect smartphones, tablets, laptops, smart TVs, gaming consoles, and any other device that has Wi-Fi capabilities.
If you encounter any issues during the connection process, ensure that you have entered the correct password and that the device is within range of the Wi-Fi signal. Additionally, make sure that your router is functioning properly and all cables are securely connected.
Once your devices are connected to the Wi-Fi network, you can enjoy wireless internet access throughout your home or office. Now that you’ve successfully connected your devices, let’s move on to the next step where we’ll explore how to customize your Wi-Fi settings.
Step 6: Customize your Wi-Fi settings
After connecting your devices to the AT&T Wi-Fi network, you may want to customize your Wi-Fi settings to further enhance your wireless experience. Customizing your settings allows you to optimize your network’s performance, improve security, and tailor the Wi-Fi experience to your specific needs.
One important setting to consider is the Wi-Fi network name (SSID). By default, AT&T assigns a generic network name to your Wi-Fi network. However, you have the option to personalize it to something more unique and easily recognizable. To change the network name, access your router’s settings interface once again and navigate to the Wi-Fi settings section. Locate the SSID field and enter your desired network name. Save the changes, and your Wi-Fi network will now have a customized name.
Another crucial setting is the Wi-Fi password. While AT&T provides a default password, it’s highly recommended to change it to a strong and unique password for enhanced security. Access the security settings in your router’s settings interface and locate the Wi-Fi password field. Choose a password that includes a mix of uppercase and lowercase letters, numbers, and special characters. Save the changes, and remember to update the password on each connected device accordingly.
You may also wish to explore additional Wi-Fi settings, such as channel selection, bandwidth allocation, or QoS (Quality of Service) settings. These options may vary depending on your router model and firmware. It’s advisable to consult your router’s user manual or contact AT&T customer support for guidance on these advanced settings. Making adjustments based on your specific needs can help optimize your Wi-Fi performance and ensure a smooth browsing experience for all connected devices.
Furthermore, consider enabling advanced security features like WPA2 encryption, which provides a higher level of protection for your Wi-Fi network. This ensures that only authorized devices can connect and prevents unauthorized access to your network.
Additionally, you may have the option to configure guest networks, which allow you to create a separate Wi-Fi network for visitors or temporary users. This provides them with internet access while keeping your main network secure and private.
By customizing your Wi-Fi settings and taking advantage of the additional features provided by AT&T, you can tailor your network to your specific preferences and improve its performance and security.
With your AT&T Wi-Fi network successfully set up, devices connected, and settings customized, you can now enjoy fast and reliable internet access throughout your home or office. Congratulations on completing the setup process!
Conclusion
Setting up your AT&T Wi-Fi network is a straightforward process that allows you to enjoy seamless internet connectivity throughout your home or office. By following the steps outlined in this guide, you have successfully purchased an AT&T internet plan, gathered the necessary equipment, connected your modem to the internet, set up your Wi-Fi network, connected your devices, and customized your Wi-Fi settings.
AT&T offers reliable network coverage, fast speeds, and excellent customer service, making it an ideal choice for your internet needs. With your AT&T Wi-Fi network in place, you can browse the web, stream movies, play online games, and connect all your devices wirelessly.
Remember to regularly update your Wi-Fi password and keep your network secure by enabling encryption and advanced security features. Additionally, exploring advanced settings and features provided by AT&T can help optimize your Wi-Fi performance for an enhanced user experience.
If you encounter any issues or need further assistance during the setup process, do not hesitate to reach out to AT&T customer support. They are available to provide guidance and solutions to ensure a smooth and successful Wi-Fi setup.
Now that you’ve completed the setup process, you can fully enjoy the convenience, speed, and freedom that AT&T Wi-Fi offers. Stay connected, explore the digital world, and make the most out of your internet experience with AT&T!