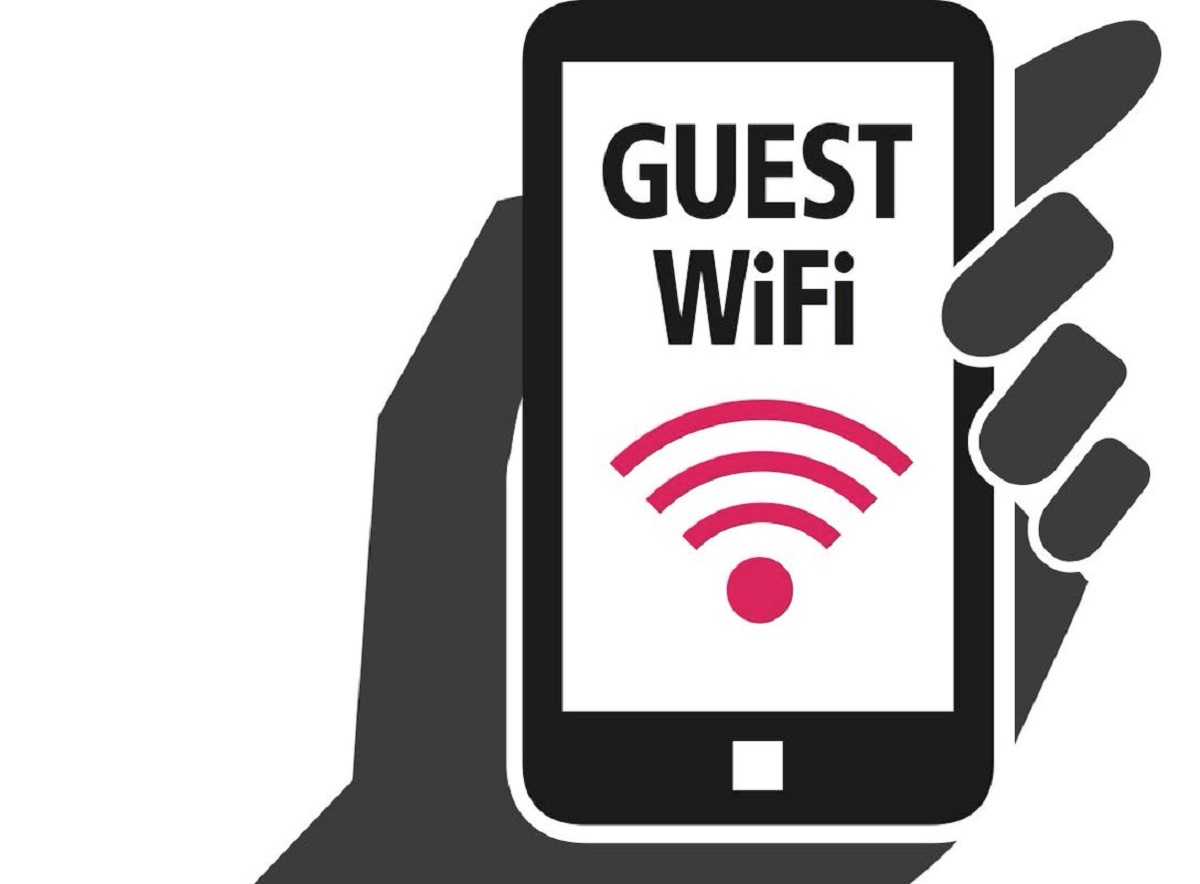
Introduction
Setting up guest wifi in your home or business is becoming increasingly important in today’s connected world. With the rise of mobile devices and the need for internet access on the go, providing a separate network for guests can greatly enhance their experience and keep your own network secure. Whether you’re hosting a party, running a small business, or simply want to offer your visiting friends and family a convenient way to connect to the internet, setting up guest wifi is a must.
Guest wifi provides a dedicated network for your guests to access the internet without having access to your main network. This ensures the privacy and security of your personal devices and files, while still allowing your guests to enjoy seamless internet connectivity. Additionally, it helps manage bandwidth usage and avoids slow internet speeds for both you and your guests.
In this article, we will guide you through the process of setting up guest wifi, from choosing the right router to configuring access permissions for your guests. We will also cover important aspects such as password encryption, limiting bandwidth, and troubleshooting common issues. By following these steps, you can create a secure and efficient guest wifi network that meets the needs of your visitors while keeping your own network protected.
Why Set Up Guest Wifi
Setting up guest wifi provides numerous benefits for both homeowners and businesses alike. Let’s explore a few key reasons why having a separate network for guests is essential:
- Enhanced Security: By allowing guests to connect to a separate wifi network, you can prevent them from accessing sensitive data or devices on your main network. This protects your personal information and ensures that your network remains secure.
- Privacy: Hosting a party or running a business often involves inviting people you might not know very well. By providing a guest wifi network, you can ensure that your guests’ internet activities are separate from your own, maintaining a level of privacy for both parties.
- Bandwidth Management: When too many devices are connected to the same network, it can result in slower internet speeds. With a dedicated guest wifi network, you can control and limit the bandwidth available for guests, ensuring that your own internet connection remains fast and stable.
- Convenience for Guests: Offering guest wifi shows hospitality and provides a convenient way for your visitors to stay connected. Whether they need to check emails, browse the web, or stream media, having a separate network dedicated to guests makes their experience more enjoyable.
- Compliance with Legal Requirements: In some countries, there are legal obligations for businesses to provide secure wifi networks for guest use. By setting up guest wifi, you ensure that you are compliant with these regulations and provide a safe internet environment.
Overall, setting up guest wifi is a win-win situation. It allows you to maintain network security and privacy while providing a seamless and convenient experience for your guests. Whether it’s for personal or business use, having a dedicated guest wifi network is an essential step in today’s digitally connected world.
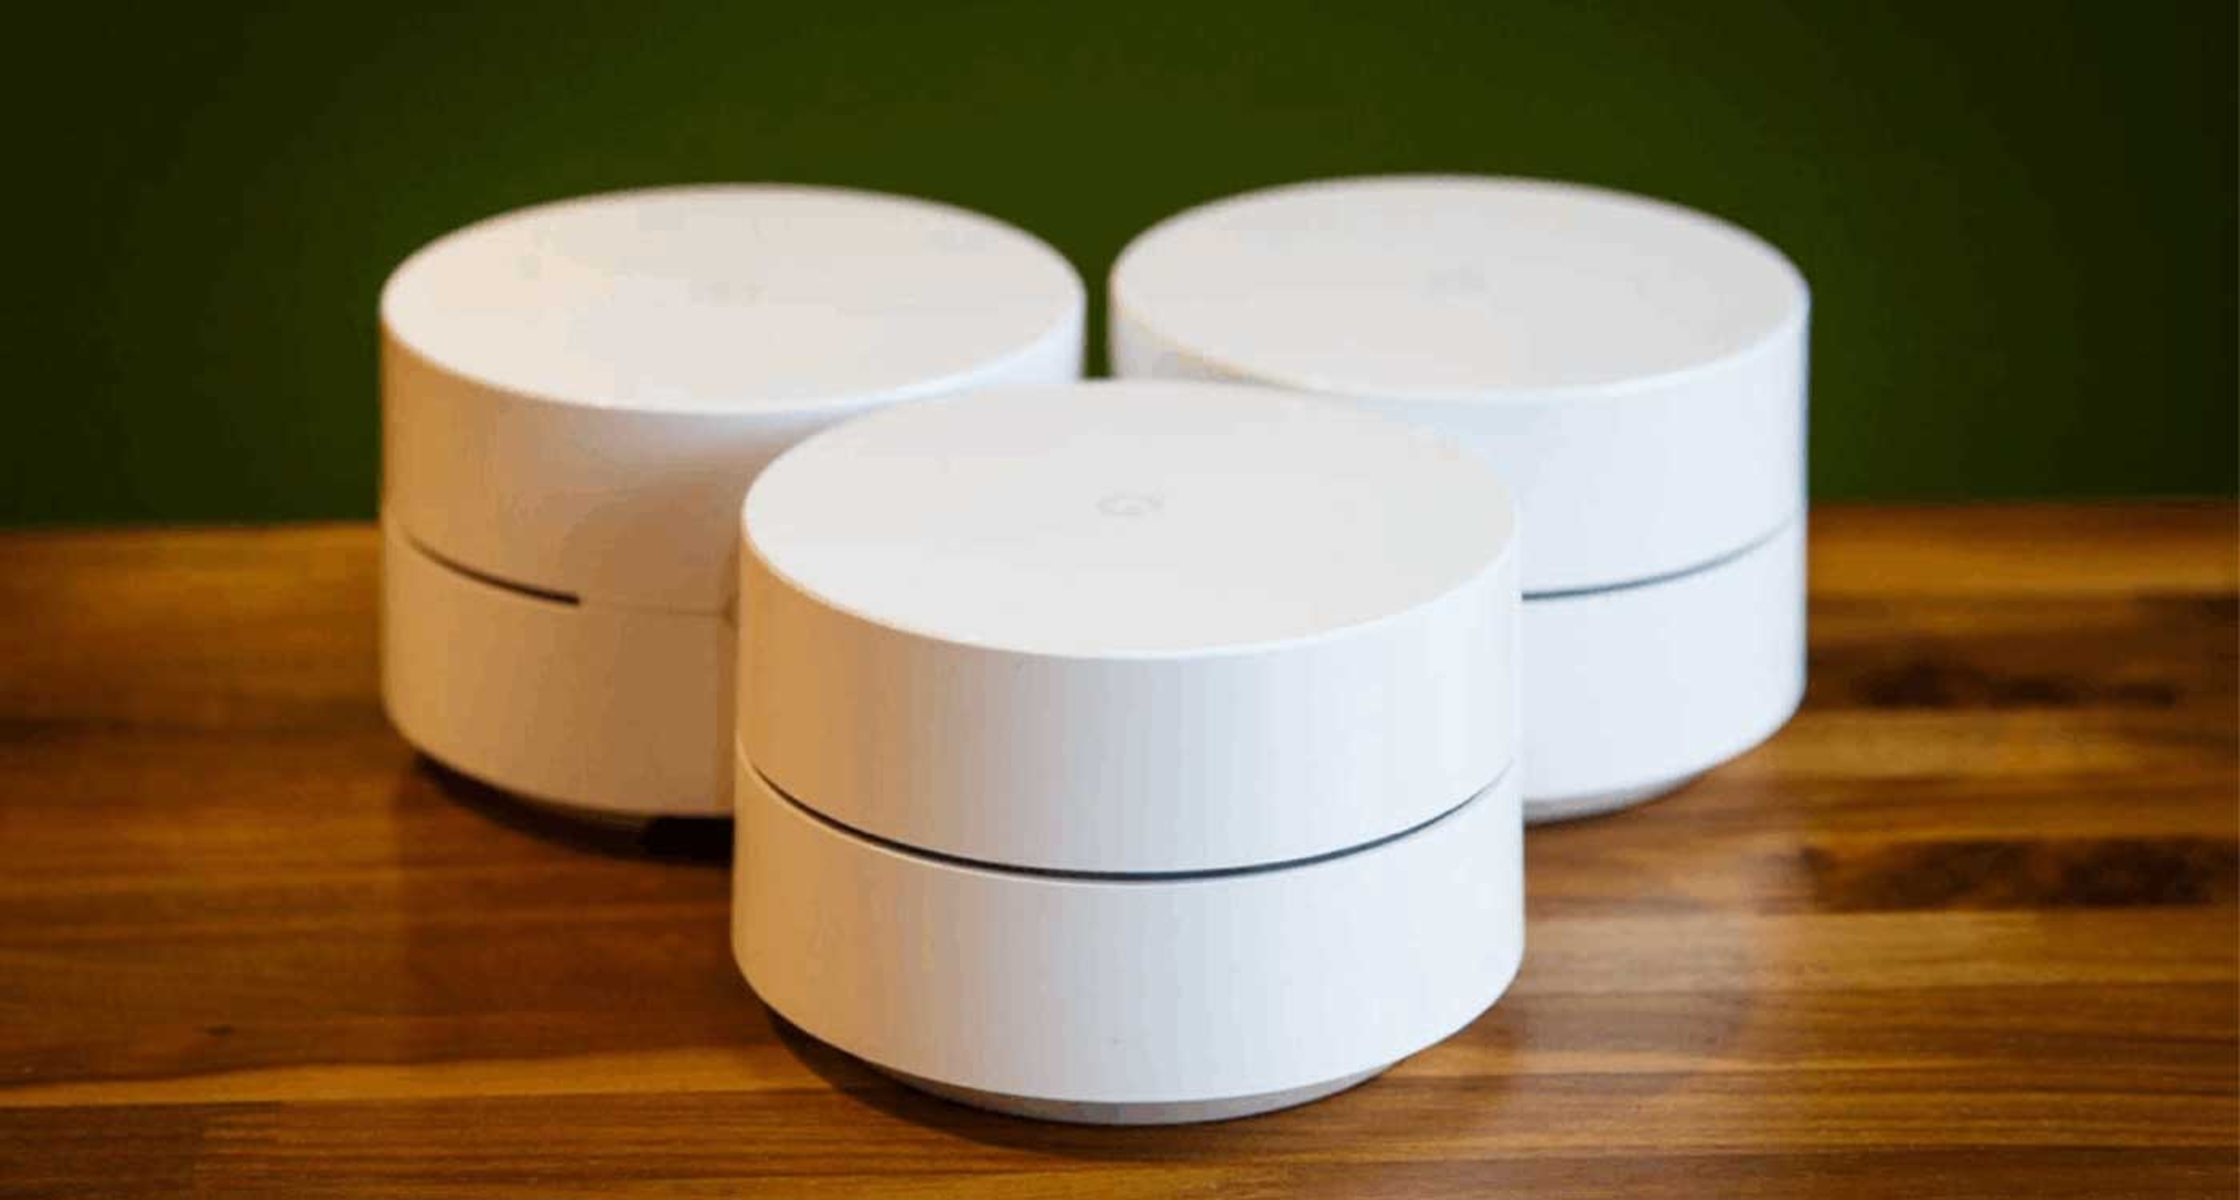
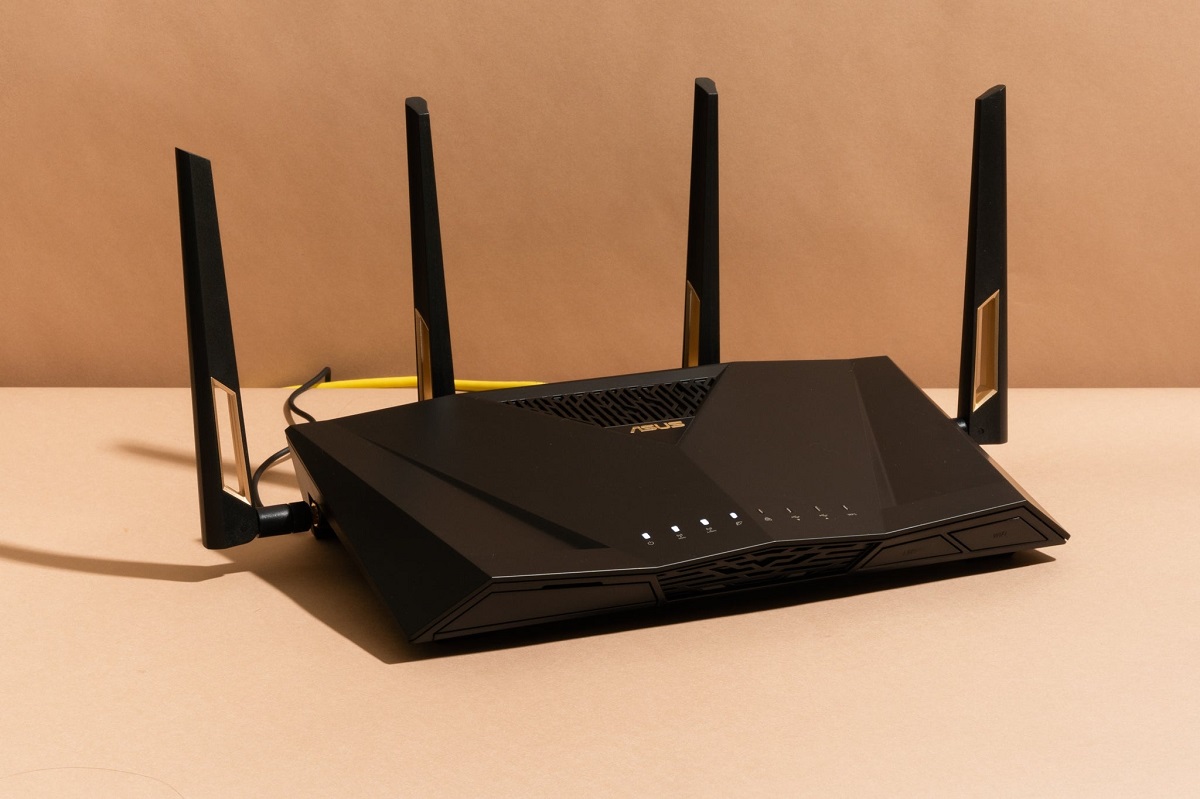
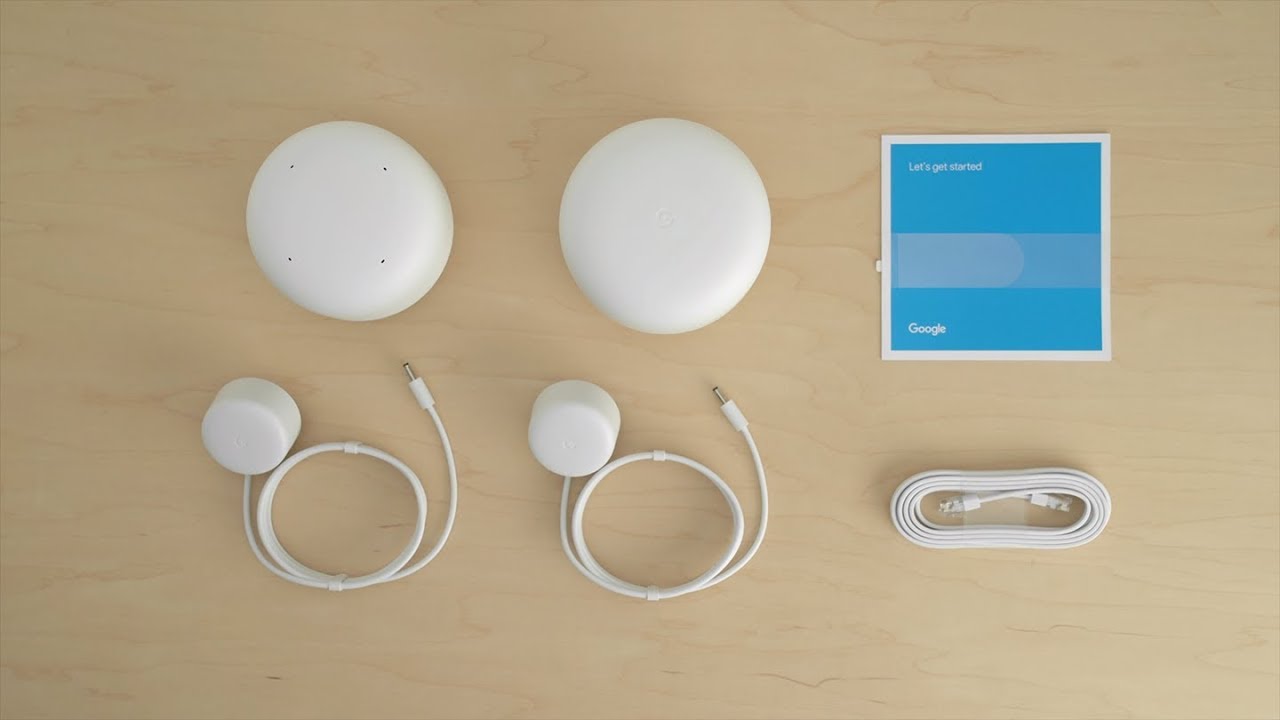
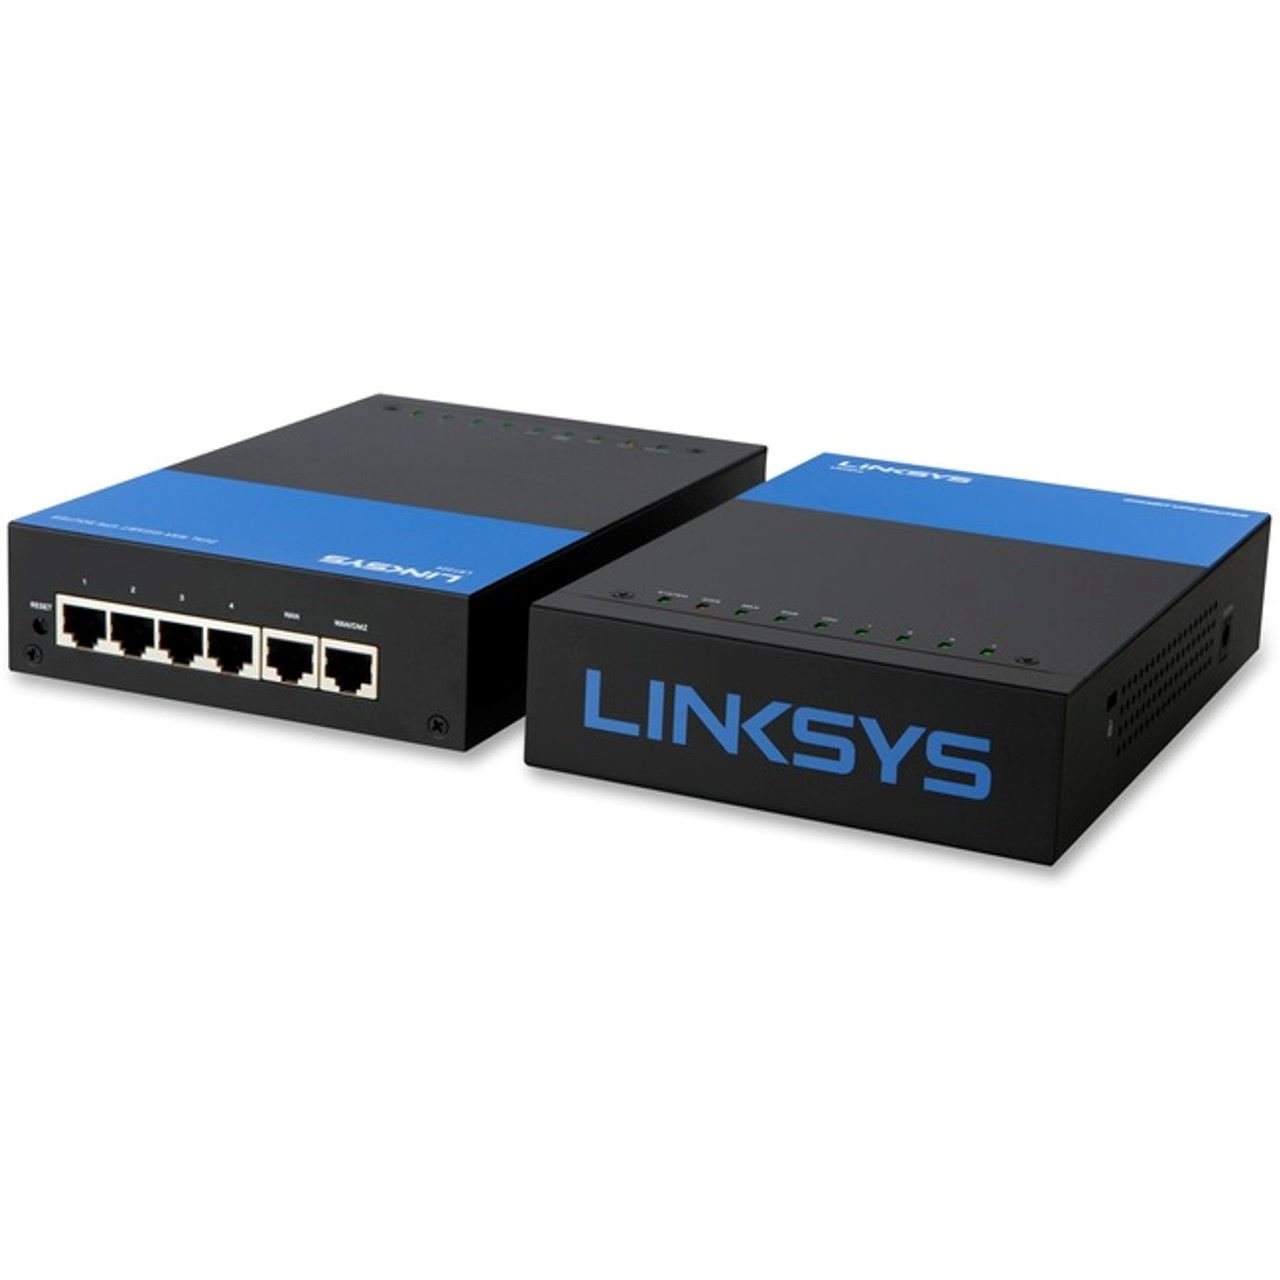
Choosing the Right Router
Selecting the correct router is a crucial step in setting up an efficient and secure guest wifi network. Here are some factors to consider when choosing the right router for your needs:
- Security Features: Look for a router that offers advanced security features such as WPA2 encryption, firewall protection, and MAC address filtering. These features help safeguard your network from unauthorized access and protect your guests’ data.
- Guest Network Support: Ensure that the router you choose has built-in support for guest networks. This feature allows you to create a separate wifi network for guests, keeping them isolated from your main network.
- Bandwidth Management: Consider a router that offers bandwidth management capabilities, allowing you to allocate specific amounts of bandwidth to your guest network. This ensures that your own internet performance is not affected by guest usage.
- Range and Signal Strength: Assess the size of your space and the distance between the router and where guests will be using wifi. A router with long-range capabilities and strong signal strength will ensure reliable coverage throughout your home or business.
- Ease of Configuration: Look for a router that offers a user-friendly interface and easy setup process. This makes it simpler to configure and manage your guest network, even if you have limited technical knowledge.
- Brand Reputation and Customer Support: Research reputable router brands known for their reliable performance and customer support. This ensures that you have assistance available should you encounter any issues during the setup or use of your guest wifi network.
By carefully considering these factors, you can select a router that meets both your current and future needs. Remember, investing in a high-quality router will provide a solid foundation for your guest wifi network, ensuring a secure and seamless experience for your guests.
Setting Up a Separate Network for Guests
Once you have chosen the right router, you can proceed with setting up a separate network specifically designed for your guests. Here are the steps to follow:
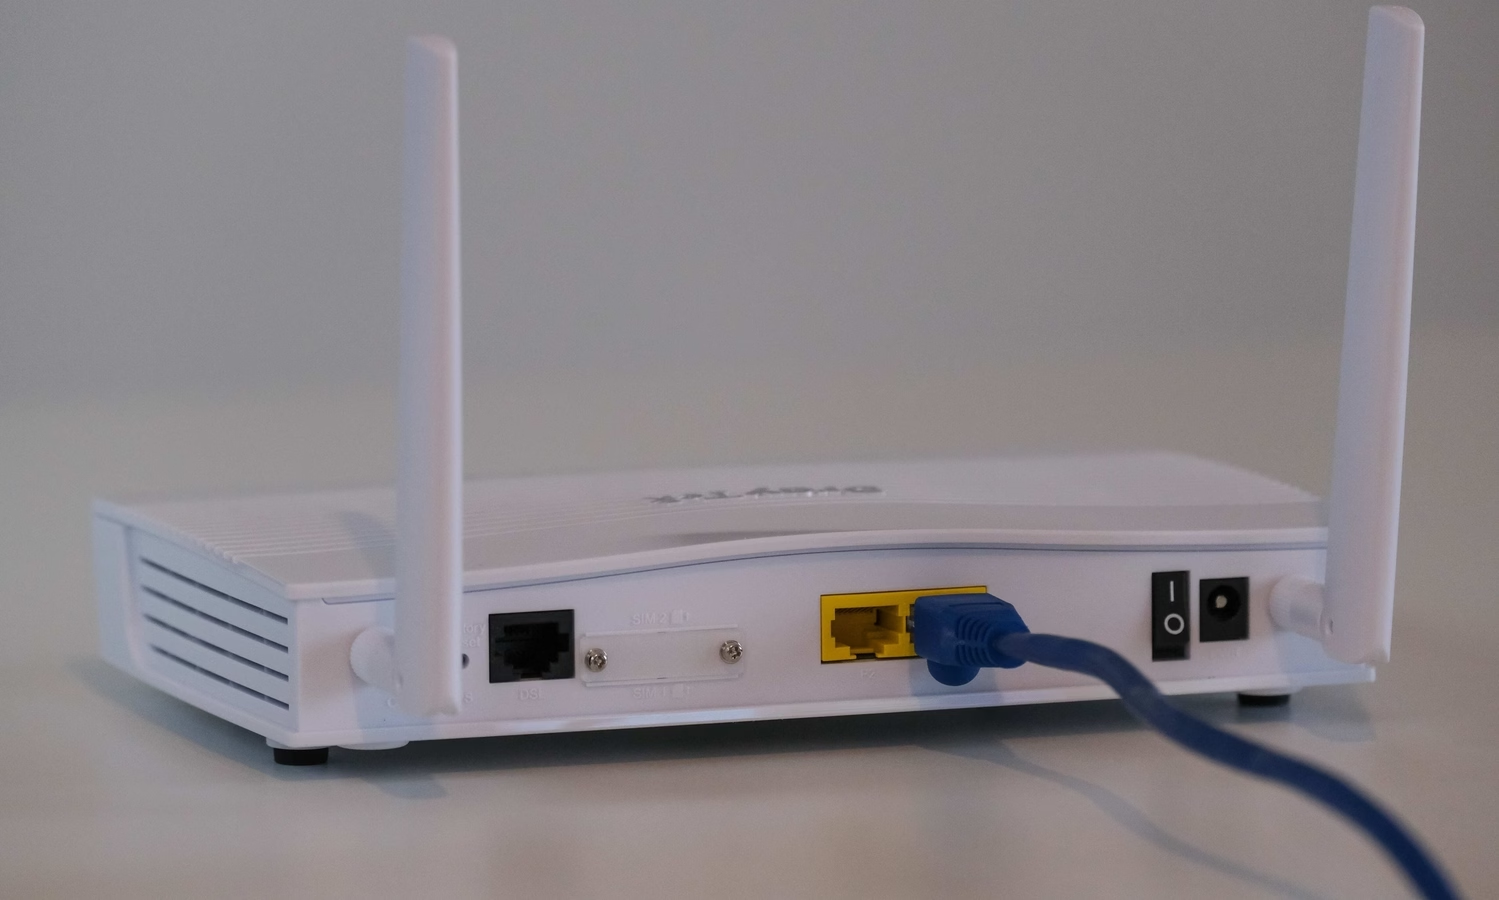
- Access Router Configuration: Connect your computer to the router either through a wired connection or wirelessly. Open a web browser and enter the router’s IP address in the address bar. Login using the administrator credentials provided by the router’s manufacturer.
- Create a Guest Network: In the router’s configuration settings, navigate to the wireless settings section. Look for an option to “Create a new network” or “Enable guest network.” Set the network name (SSID) and password for your guest network. Make sure to select WPA2 encryption for secure connections.
- Isolate Guest Network: Some routers allow you to enable “AP Isolation” or “Guest Isolation” mode. This feature ensures that devices connected to the guest network cannot communicate with each other, further enhancing security and privacy.
- Configure DHCP Settings: DHCP (Dynamic Host Configuration Protocol) assigns IP addresses to devices on your network. Ensure that the DHCP settings for the guest network are enabled and properly configured to assign IP addresses to guest devices.
- Apply Changes and Test: Once you have made the necessary settings, save the changes and allow the router to apply them. Test your guest network by connecting a device to it with the provided password. Ensure that the device can access the internet and verify that it cannot access other devices on your main network.
Remember to periodically change the password for your guest network to maintain security. This prevents unauthorized access and ensures that only trusted guests have access to your wifi network.
By following these steps, you can successfully set up a separate network for your guests. This not only provides convenience and privacy but also adds an extra layer of security to your home or business network infrastructure.
Password Encryption and Security
When setting up your guest wifi network, it is crucial to prioritize password encryption and security to protect both your network and your guests’ devices. Here are some important considerations to ensure a secure guest wifi experience:
- Use a Strong Password: Choose a robust password for your guest network that includes a combination of uppercase and lowercase letters, numbers, and special characters. Avoid using common or easily guessable passwords.
- Change Password Regularly: It is recommended to change your guest network password periodically to minimize the risk of unauthorized access. Consider establishing a schedule, such as changing the password every few months or after hosting a large gathering.
- Disable WPS: Wi-Fi Protected Setup (WPS) is a feature that allows easy device connection to your network. However, it can also pose a security risk. Disable this feature on your router to prevent potential vulnerabilities.
- Enable MAC Address Filtering: MAC address filtering allows you to control which devices can connect to your guest network. By adding the MAC addresses of trusted devices, you can ensure that only authorized devices can access your network.
- Separate Passwords for Admin and Guests: When configuring your router, use a strong and unique password for the administrative access. Avoid using the same password for your guest network as it may increase the risk of unauthorized access to your router settings.
- Keep Firmware Updated: Routinely check for firmware updates for your router. Keeping your router’s firmware up to date ensures that you have the latest security patches and fixes any vulnerabilities that may have been identified.
- Educate Guests: Make sure to inform your guests about the importance of maintaining their own device security. Encourage them to use strong passwords, install updates, and be cautious when connecting to public wifi networks.
By following these security measures, you can mitigate risks and ensure a secure guest wifi environment. It’s essential to stay vigilant and proactive in protecting both your network and your guests’ devices.
Limiting Bandwidth and Data Usage
Managing bandwidth and data usage is crucial for maintaining optimal internet performance for both yourself and your guests. Here are some strategies to effectively limit bandwidth consumption and manage data usage on your guest network:
- Set Bandwidth Limits: Most modern routers offer bandwidth control options. Allocate a specific amount of bandwidth for your guest network to prevent it from overwhelming your main network. This ensures a fair distribution of resources and avoids slowdowns.
- Use Quality of Service (QoS) Settings: QoS settings allow you to prioritize certain applications or types of traffic. Prioritize essential services such as web browsing or email over bandwidth-intensive activities like video streaming or file downloading.
- Implement Data Caps: Some routers allow you to set data limits for your guest network. By enforcing a data cap, you can control how much data guests can consume within a specific time frame. This helps prevent excessive data usage and encourages responsible internet use.
- Monitor Network Activity: Utilize router management tools or third-party applications to monitor the network activity on your guest network. This allows you to identify any bandwidth-hogging devices or unauthorized access and take appropriate action.
- Offer Guest Network Time Limits: If you anticipate a high number of visitors or want to restrict guest access to specific hours, consider implementing time limits for your guest network. This is particularly useful for businesses or events where you want to manage access during certain hours of the day.
- Communicate Expectations: Clearly communicate any bandwidth or data usage limits to your guests. Display a usage policy or provide a written guide detailing the acceptable behaviors and limitations of your guest network. This helps set expectations and encourages responsible use.
By implementing these strategies, you can effectively manage bandwidth and data usage on your guest network. This ensures a smooth and consistent internet experience for both yourself and your guests, preventing congestion and maintaining reliable connectivity.
Creating a Captive Portal for Guest Access
A captive portal is a web page that guests are redirected to when connecting to your guest network. It provides a seamless and user-friendly way for guests to authenticate and access the internet. Here’s how you can create a captive portal for your guest network:
- Choose a Captive Portal Solution: Look for a router that offers built-in captive portal functionality. Alternatively, you can explore third-party captive portal software or cloud-based solutions that are compatible with your router.
- Configure the Captive Portal: Access the router’s configuration settings and locate the captive portal section. Enable the captive portal feature and customize the login page with your desired branding, terms of use, and login instructions.
- Select the Authentication Method: Decide on the authentication method for your captive portal. Options include a simple password-based login, social media login, or a temporary access code that you provide to guests upon arrival.
- Set User Authentication Time Limits: If you want to limit the duration of guest access, consider setting a time limit for user authentication. This ensures that guests are required to log in periodically to maintain access, preventing unauthorized access for extended periods.
- Customize Guest Network Landing Page: Configure the landing page that guests will see after successful authentication. This page can include information such as network usage guidelines, frequently asked questions, or any additional instructions you want to provide to your guests.
- Test the Captive Portal: Before launching the captive portal, thoroughly test the login and authentication process to ensure a smooth and seamless user experience. Verify that guests are able to connect and access the internet after authentication.
Creating a captive portal adds an extra layer of functionality and professionalism to your guest network. It streamlines the authentication process and allows you to communicate important information to your guests while ensuring secure access to your wifi network.
Configuring Guest Access Permissions
Configuring guest access permissions allows you to control the level of access guests have on your wifi network. By setting up appropriate permissions, you can maintain network security and optimize the guest user experience. Here’s how you can configure guest access permissions:
- Guest Network Isolation: Enable guest network isolation to prevent guest devices from communicating with each other. This ensures that individual guests cannot access or interfere with other guests’ devices on the network, enhancing privacy and security.
- Access Control: Some routers allow you to set specific rules or access restrictions for your guest network. For example, you may want to block certain websites or limit access to specific services. Configure these settings to align with your requirements and protect your network from potential threats.
- Network Time Limits: If you want to restrict guest access to certain hours of the day, you can set up time limits for the guest network. This is particularly useful for businesses or events where you want to control when guests can connect to the network.
- Guest Network Expiry: Set an expiration date for guest access, especially if you are hosting temporary visitors or if you want to limit access to a specific timeframe. This ensures that guest accounts automatically deactivate after a certain period, preventing unauthorized access in the future.
- WiFi Speed and Bandwidth Allocation: Some routers offer the ability to allocate specific speed or bandwidth limits for the guest network. This allows you to prioritize your own network’s performance while still providing sufficient internet access for your guests.
- Guest Network Usage Reports: Consider routers that provide usage reports for the guest network, allowing you to monitor the amount of data consumed and the devices connected. This information can help you analyze patterns, identify potential issues, or manage network resources effectively.
By configuring guest access permissions, you can tailor the guest experience to meet your specific needs while maintaining the security and integrity of your wifi network. It allows you to strike a balance between guest convenience and network management, resulting in a smooth and controlled guest wifi environment.
Troubleshooting Common Issues
While setting up and managing a guest wifi network, you may encounter some common issues. Fortunately, most of these issues can be easily resolved by following a few troubleshooting steps. Here are some common issues and their possible solutions:
- Slow Internet Speed on Guest Network: If your guest network is experiencing slow internet speeds, first check if other devices on your main network are also affected. If they are, contact your internet service provider. If only the guest network is affected, try restarting your router, checking for firmware updates, or adjusting bandwidth allocation settings.
- Inconsistent Wifi Signal: If guests are experiencing a weak wifi signal, ensure that the router is placed in a central location and away from obstructions. Avoid interference from other devices or neighboring wifi networks by changing the router’s channel. Alternatively, consider using wifi extenders or mesh wifi systems to improve coverage.
- Authentication Issues: If guests are unable to authenticate or connect to the guest network, double-check the login credentials and verify that the password hasn’t changed. Restarting the router and clearing the device’s network settings can also resolve authentication issues.
- Security Concerns: If you suspect unauthorized access to your guest network, change the password immediately. Enable MAC address filtering to restrict access to specific devices. If these actions don’t resolve the issue, consider resetting the router to its factory settings and reconfiguring the guest network from scratch.
- Device Compatibility Issues: If some guest devices are unable to connect to the wifi network, ensure that the router’s security and encryption settings are compatible with the devices. Updating the firmware on both the router and the devices can also address compatibility issues.
- Connection Drops: If the guest network frequently disconnects or experiences intermittent connectivity issues, check for nearby electronic devices that may be causing interference. Ensure the router’s firmware is up to date and consider adjusting the router’s transmit power settings to amplify the signal.
If you continue to experience issues with your guest wifi network, consult the router’s user manual or reach out to the router manufacturer’s support for further assistance. They can provide specific troubleshooting steps or identify any underlying hardware or software issues that may be causing the problems.
Conclusion
Setting up a guest wifi network provides numerous benefits, such as increased security, privacy, and convenience for both homeowners and businesses. By following the steps outlined in this article, you can create a separate network specifically designed for your guests, ensuring a seamless and secure internet experience.
Choosing the right router is essential, as it forms the foundation of your guest wifi network. Look for a router with advanced security features, guest network support, and the ability to manage bandwidth effectively. Ensure that you configure password encryption and security settings to protect both your network and your guests’ devices.
Setting up a separate network for guests allows you to control access permissions and ensure network performance. Consider implementing a captive portal to streamline the authentication process and communicate important information to your guests.
Managing bandwidth and data usage is crucial to maintain optimal internet performance for both yourself and your guests. By implementing strategies to limit bandwidth consumption and control data usage, you can avoid congestion and ensure a smooth experience for all users.
Lastly, be prepared to troubleshoot common issues that may arise with your guest wifi network. By following the troubleshooting steps outlined in this article and seeking support from the router manufacturer if needed, you can quickly resolve any connectivity or performance issues.
With careful planning, configuration, and ongoing management, your guest wifi network can provide enhanced security, privacy, and convenience for everyone. So go ahead, set up your guest wifi network and provide a seamless internet experience for your guests while keeping your main network secure.