Introduction
Welcome to the world of tablets! Whether you’ve just purchased your first tablet or you’re looking to set up a new one, this guide will walk you through the process step by step. Tablets have become an essential tool for communication, entertainment, and productivity, and by following these instructions, you’ll be up and running in no time.
Setting up a tablet might seem a bit daunting at first, but fear not! With the right guidance, you’ll find that it’s a relatively straightforward process. We’ll cover everything from initial charging to personalizing your tablet to suit your preferences. So grab your tablet, and let’s dive in!
Before we begin, it’s important to note that the setup process may vary slightly depending on the make and model of your tablet. However, the general steps and concepts discussed here apply to most tablets available on the market today.
If you haven’t already, make sure you have your tablet, charger, and a stable internet connection. These will be essential for a smooth setup experience. Now, without further ado, let’s get started with charging your tablet!
Step 1: Charging the tablet
The first thing you need to do when setting up a new tablet is to ensure it has enough battery power. Connect the charger to the tablet and plug it into a wall socket. It’s recommended to use the charger that came with your device for optimal performance.
While your tablet is charging, you can take this time to gather any additional accessories you may want to set up later, such as a protective case or a stylus. It’s always a good idea to have these accessories handy before you start using your tablet.
Charging times may vary depending on the tablet model and battery capacity. It’s common for new tablets to take a few hours to charge fully. During this time, you can occupy yourself with other activities or simply let the tablet charge undisturbed.
It’s important to note that some tablets may not turn on until a minimum charge level is reached. So, if your tablet doesn’t power on immediately after connecting it to the charger, don’t fret. Give it some time to charge, and then try turning it on again.
Once the tablet is fully charged, you’re ready to move on to the next step – turning it on. Remember to disconnect the charger from the tablet and the power source before doing so to avoid any accidents.
Now that your tablet is all juiced up and ready to go, let’s explore how to turn it on and set it up.
Step 2: Turning on the tablet
With your tablet charged and the charger disconnected, it’s time to power it on. Locate the power button on your tablet – it’s usually located either on the side or at the top of the device. Press and hold the power button for a few seconds until you see the screen light up or the tablet logo appear.
Once the tablet powers on, you’ll be greeted with a startup screen or a lock screen, depending on your device’s settings. If you have already set up a lock screen PIN, pattern, or fingerprint, you’ll need to enter it here to access your tablet’s home screen.
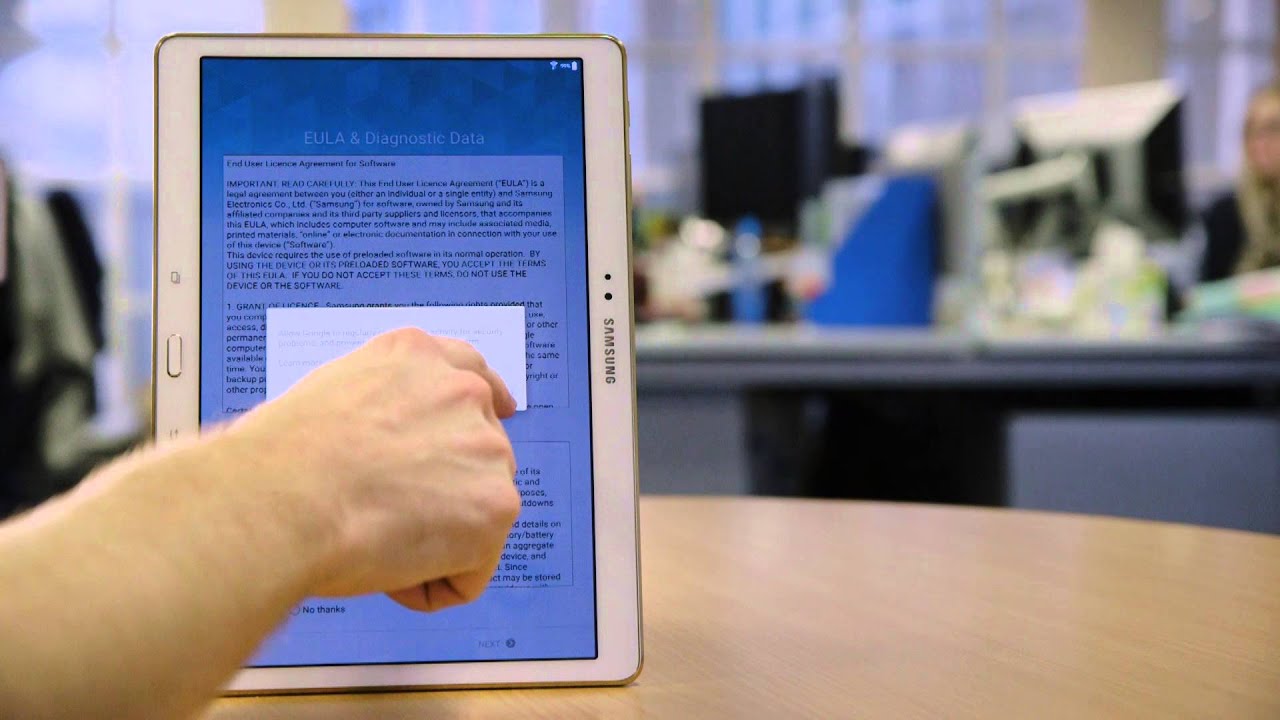
If it’s your first time setting up the tablet, you might be prompted to choose your language and region preferences. Select your desired options and proceed to the next screen. If you’re setting up a tablet that you’ve used before, you may be required to enter your login credentials or unlock pattern to access the home screen.
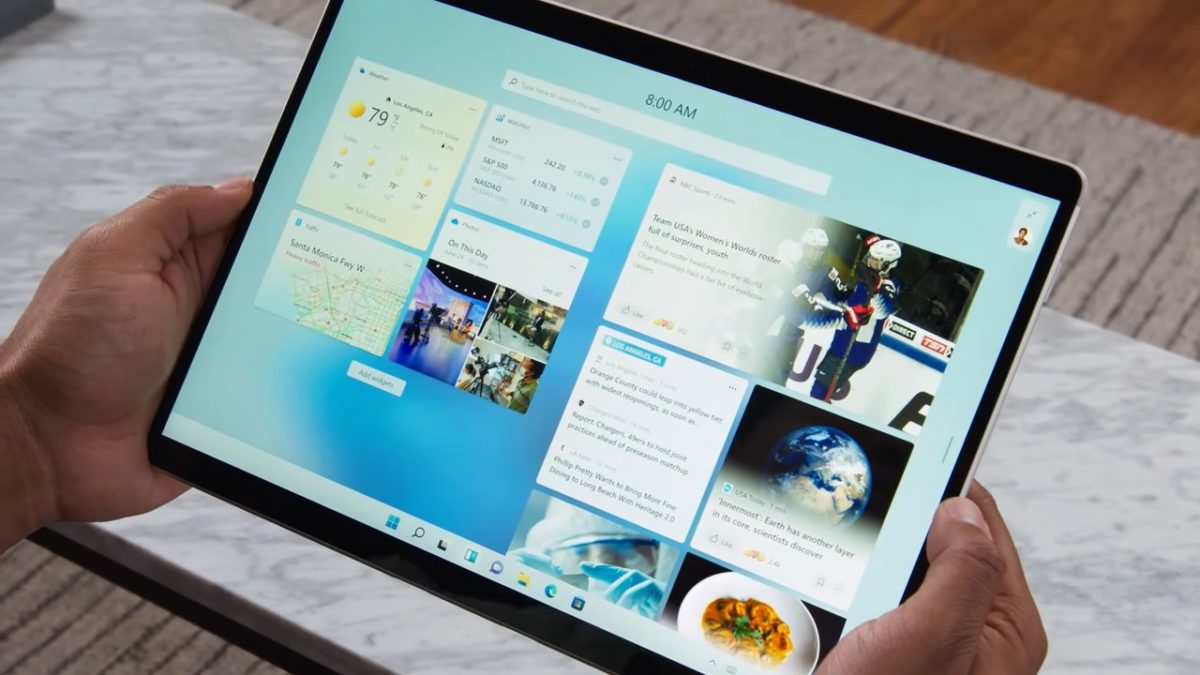
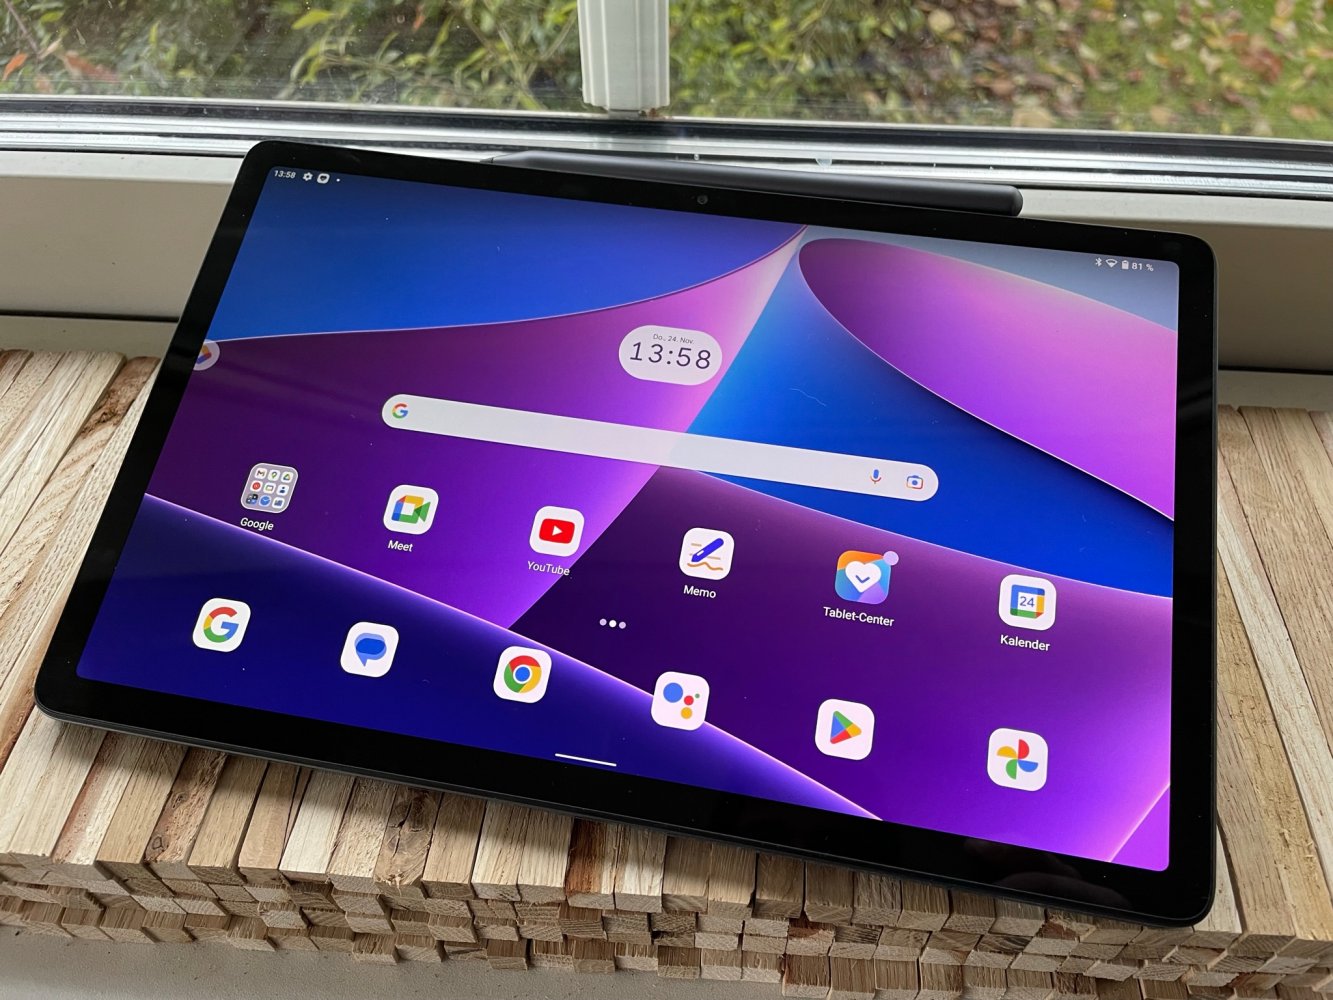
After successfully unlocking the tablet, you’ll be taken to the home screen, which is the central hub of your tablet’s interface. The home screen typically displays app icons, widgets, and shortcuts for quick access to various features and applications.
Take a moment to familiarize yourself with the layout of the home screen. You can swipe left or right to navigate through different pages or screens, and you can customize it to suit your preferences later in the setup process.
Congratulations! You have successfully turned on your tablet and reached the home screen. Now, let’s move on to the next step – connecting your tablet to a Wi-Fi network.
Step 3: Wi-Fi Setup
Once your tablet is turned on and you’re on the home screen, the next step is to connect to a Wi-Fi network. Wi-Fi provides internet access, allowing your tablet to download updates, browse the web, and use various online services.
To set up Wi-Fi, swipe down from the top of the screen to access the notification panel. Look for the Wi-Fi icon or the word “Wi-Fi” and tap on it to open the Wi-Fi settings.
In the Wi-Fi settings menu, you will see a list of available Wi-Fi networks in your vicinity. Locate your home network or the network you want to connect to and tap on its name. If the network is password-protected, you will be prompted to enter the Wi-Fi password.
Once you enter the correct password, your tablet will attempt to connect to the Wi-Fi network. If the connection is successful, the Wi-Fi icon on the status bar at the top of the screen will change to show that you are connected to the network. You may also see a notification confirming the connection.
If you encounter any issues connecting to Wi-Fi, ensure that you have entered the correct password and that your router is functioning properly. You can try restarting your tablet or contacting your internet service provider for assistance if needed.
Having a stable and reliable Wi-Fi connection is essential for many tablet features and functions. It allows you to download apps, stream media, access online services, and stay connected to the digital world.
Now that you’re connected to a Wi-Fi network, you’re ready to move on to the next step – updating the software on your tablet.
Step 4: Updating the software
Software updates are crucial for the optimal performance, security, and functionality of your tablet. It’s recommended to keep your tablet’s software up to date with the latest version provided by the manufacturer.
To update the software on your tablet, go to the Settings app, which you can usually find on the home screen or in the app drawer. Look for the “System” or “About” section, where you’ll find the option for software updates.
Tap on the “Software Update” or “Check for Updates” option to scan for any available updates. If any updates are found, follow the on-screen prompts to download and install them. It’s advisable to have your tablet connected to a Wi-Fi network during this process to avoid excessive data usage charges.
The update process may take some time, depending on the size of the update and the speed of your internet connection. It’s crucial not to interrupt the update or turn off your tablet during this process to prevent any potential issues or data loss.
Once the update is complete, your tablet may restart to finalize the installation. After it boots up, check the software version in the settings and ensure that it matches the latest available version provided by the manufacturer.
It’s a good practice to regularly check for software updates and install them promptly to benefit from any new features, bug fixes, and security patches released by the manufacturer. These updates improve the overall user experience and ensure that your tablet remains up to date.
With your tablet’s software updated, you’re now ready to proceed to the next step – creating or signing in to your account.
Step 5: Creating or signing in to your account
Creating or signing in to your account is an essential step in setting up your tablet. It allows you to access personalized settings, sync data across devices, and enjoy a seamless experience across various applications and services.
If you’re setting up a new tablet, you’ll most likely be prompted to create a new account during the setup process. Follow the on-screen instructions to provide the necessary information, such as your name, email address, and password. Make sure to choose a secure password and keep it confidential.
If you already have an existing account, such as a Google or Apple ID, you can sign in using those credentials. This will allow you to easily transfer your data, apps, and settings from your previous device to the new tablet.
Creating or signing in to an account also enables you to access the respective app stores, where you can download a wide range of applications tailored to your interests and needs. These app stores offer a vast selection of games, productivity tools, social media apps, and much more.
Once you have created or signed in to your account, your tablet will begin syncing your data, contacts, and settings. This enables you to seamlessly switch between devices while keeping your information up to date and readily available.
Remember to review and adjust the privacy and data synchronization settings according to your preferences. You can control what information is synced with your account and customize your tablet’s experience to suit your needs.
By creating or signing in to your account, you have unlocked a world of possibilities and personalized features on your tablet. Now, let’s move on to the next step – customizing the home screen.
Step 6: Customizing the home screen
The home screen of your tablet is the central hub where you can access your favorite apps, widgets, and shortcuts with a single tap. Customizing the home screen allows you to personalize your tablet’s look and make it more convenient and efficient for your needs.
Start by pressing and holding on an empty area of the home screen. This will bring up the customization options, such as wallpapers, widgets, and app shortcuts. Tap on “Wallpapers” to choose a new background image from the pre-installed options or your own photo gallery.
Next, you can add widgets to your home screen. Widgets are interactive elements that provide quick access to specific app functions or display live information. To add a widget, long-press on an empty area of the home screen, tap on “Widgets,” and select the widget you want to add. You can resize and reposition widgets according to your preference.
Organize your apps by creating folders on the home screen. Simply drag one app icon and drop it onto another app icon to create a folder. You can then rename the folder and add more apps to it by dragging and dropping. Folders help declutter the home screen and make it easier to find the apps you need.
If your tablet supports app shortcuts, you can access specific app features or actions directly from the home screen. Long-press on an app icon, and a menu of available shortcuts will appear. Drag the desired shortcut to the home screen for quick access.
Experiment with different arrangements, themes, and layouts to find the setup that suits your style and workflow. You can always customize and tweak the home screen at any time to keep things fresh and organized.
Remember to regularly organize and declutter your home screen to prevent it from becoming overly cluttered. Remove unnecessary widgets and apps to free up space and reduce visual distractions.
By customizing the home screen to your liking, you can create a personalized and efficient user interface that reflects your preferences and enhances your tablet experience.
Now that you have customized your home screen, let’s move on to the next step – installing and managing apps.
Step 7: Installing and managing apps
One of the great advantages of owning a tablet is the ability to install and use a wide range of applications tailored to your interests and needs. Whether it’s productivity apps, entertainment, or games, the app store offers a vast selection to enhance your tablet experience.
To install apps, open the app store on your tablet. For Android devices, it’s the Google Play Store, and for Apple devices, it’s the App Store. You can find the app store icon on your home screen or in the app drawer.
Once inside the app store, you can browse through different categories or use the search function to find specific apps. When you find an app you want to install, tap on it to view more details, such as the app description, reviews, and screenshots.
If the app is free, you can simply tap the “Install” button to download and install it on your tablet. If the app is paid, it will display the price instead of the install button. In this case, you may need to follow the on-screen instructions to complete the purchase.
After the installation process is complete, the app icon will appear on your home screen or in the app drawer. You can rearrange the app icons, create folders, or move them to different screens for better organization.
To manage your installed apps, you can tap and hold on an app icon to reveal a menu of options. This menu allows you to uninstall the app, add shortcuts to the home screen, or manage app-specific settings.
Regularly updating your apps is important to ensure you have the latest features, bug fixes, and security patches. To update your apps, open the app store, go to the “My Apps” or “Updates” section, and tap on the “Update All” button or update individual apps as needed.
As you install and manage your apps, it’s also essential to be mindful of your device’s storage capacity. If you find that your tablet is running out of storage space, consider uninstalling unused or unnecessary apps to free up space for new content.
Installing and managing apps allows you to customize your tablet’s functionality and tailor it to your interests and needs. Explore the app store and discover new apps that can enhance your productivity, entertainment, and overall tablet experience.
Now that you know how to install and manage apps let’s move on to the next step – setting up email and other accounts.
Step 8: Setting up email and other accounts
Setting up email and other accounts on your tablet allows you to access your emails, calendars, and other services directly on your device. Whether it’s a personal or work-related account, configuring them on your tablet is a convenient way to stay connected.
To set up an email account, open the email app on your tablet. You can find the email app icon on your home screen or in the app drawer. Once opened, you’ll be prompted to add an email account.
Depending on your tablet’s operating system, you may have different options for setting up an email account. Commonly supported email providers include Gmail, Outlook, Yahoo, and iCloud. Select the provider of your email account and follow the on-screen instructions to enter your email address and password.
If you’re using a custom or corporate email account, you may be required to enter additional server settings provided by your email administrator. Consult your email provider’s documentation or support website for specific instructions on configuring your account.
After entering the required information, your tablet will attempt to connect to the email server and verify your account settings. If successful, your email account will be added to the email app, and you’ll be able to send and receive emails directly from your tablet.
In addition to email accounts, you can also set up other accounts on your tablet, such as social media, cloud storage, or streaming services. Most apps for these services will have a log-in or sign-up option within the app itself.
To add other accounts, open the respective app and follow the instructions provided. Enter your account credentials, and the app will verify and add the account to your tablet. This allows you to access and manage your accounts directly from their respective apps.
Remember to review the account settings and customize them according to your preferences. You can adjust email sync intervals, notification settings, and other account-specific options to suit your needs.
Setting up email and other accounts on your tablet ensures that you have quick access to your important communications and services, making your tablet an essential tool for productivity and connectivity.
Now that you have set up your email and other accounts, let’s move on to the next step – adjusting settings and preferences.
Step 9: Adjusting settings and preferences
Adjusting the settings and preferences of your tablet allows you to customize its behavior, appearance, and functionality according to your personal preferences. It enables you to tailor your tablet experience to suit your needs and make it truly your own.
To access the settings menu, locate the Settings app on your tablet. It is usually represented by a gear or cog icon and can be found on the home screen or in the app drawer. Tap on the Settings app to open it.
Once inside the settings menu, you’ll find various categories and options to explore. These settings can vary depending on the make and model of your tablet, but here are some commonly available options you can expect to find:
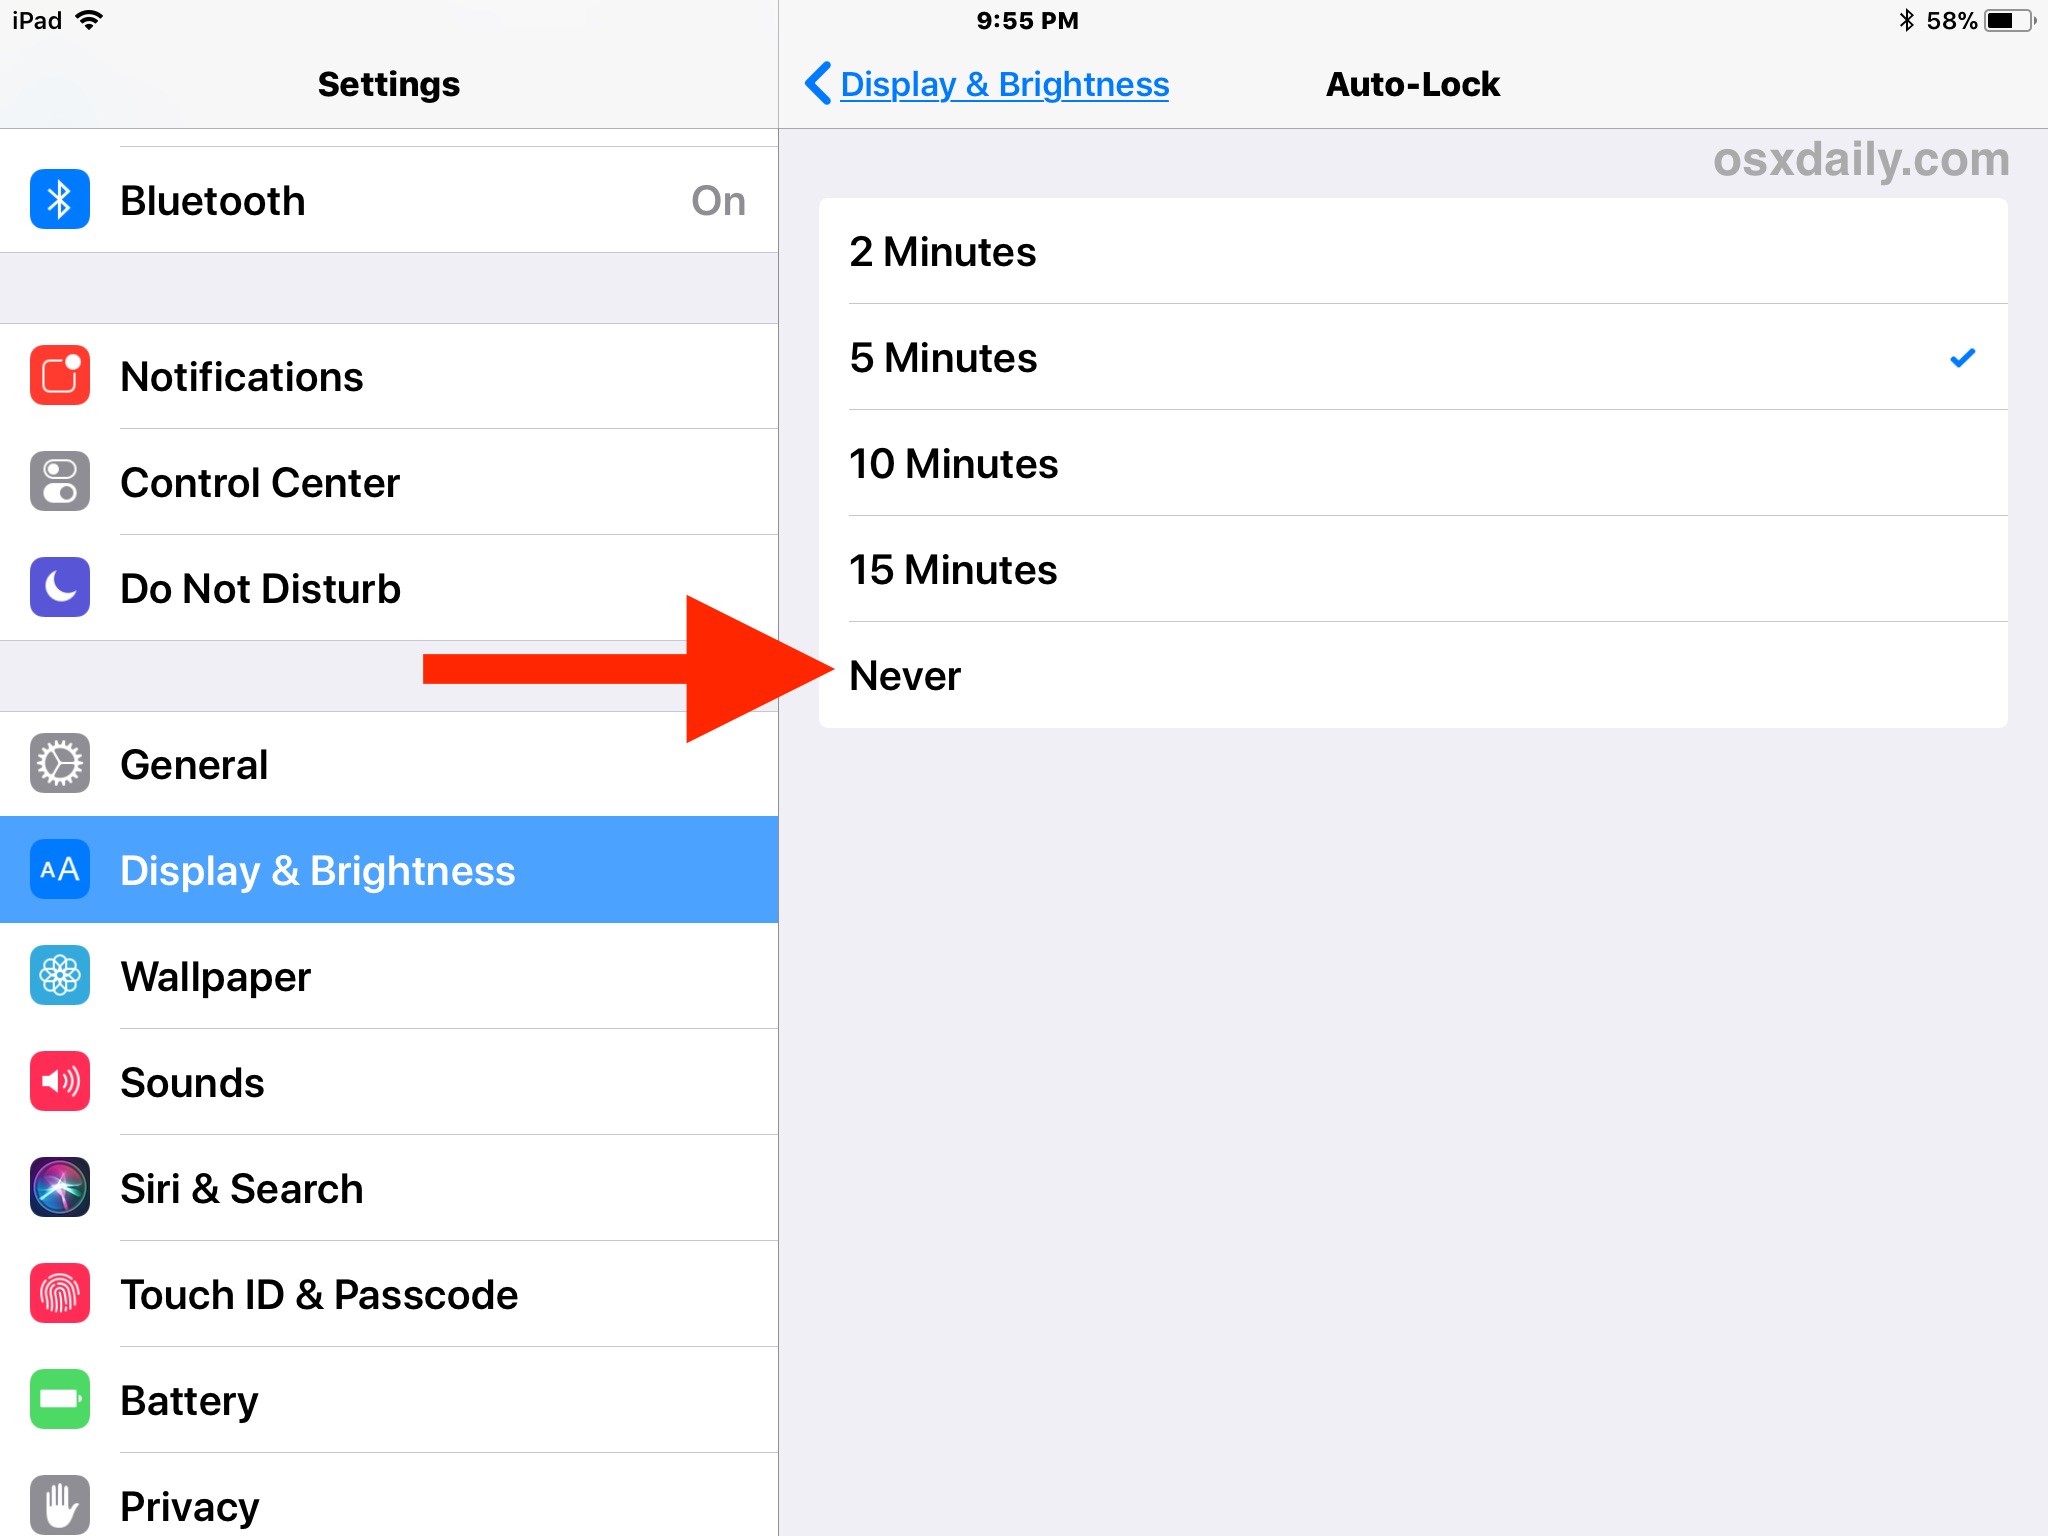
– Display: Adjust the screen brightness, choose a wallpaper, enable or disable auto-rotate, and configure other display-related preferences.
– Sounds & Notifications: Customize notification sounds, set up vibration patterns, adjust volume levels, and configure notification preferences.
– Privacy & Security: Manage app permissions, enable or disable location services, set up screen lock methods, and configure privacy and security-related settings.
– Language & Input: Choose your preferred language, enable or disable autocorrect, adjust keyboard settings, and add additional input methods if desired.
– Battery: Monitor battery usage, enable power-saving modes, and adjust battery-related settings to optimize battery life.
– Accessibility: Access features and settings designed for individuals with specific accessibility needs, such as visual, hearing, or motor impairments.
These are just a few examples of the settings and preferences you can adjust on your tablet. Take your time to explore the settings menu and make adjustments based on your preferences and requirements.
Remember to periodically review and update your settings as your needs evolve or when new software updates introduce additional options or improvements. Customizing these settings allows you to create a more personalized and intuitive tablet experience.
Now that you have adjusted the settings and preferences, you’re ready to move on to the final step – using the basic features of your tablet.
Step 10: Using basic tablet features
Now that you have set up your tablet, it’s time to explore and make use of its basic features. Understanding and utilizing these features will allow you to maximize your tablet’s capabilities and enjoy a seamless user experience.
Here are some of the basic features you can start with:
– Touchscreen gestures: Your tablet’s primary input method is its touchscreen. Explore various gestures such as tapping, swiping, pinching, and spreading your fingers to interact with the screen and navigate through apps and content.
– Multitasking: Most modern tablets support multitasking, allowing you to use multiple apps at the same time. Learn how to switch between apps, split the screen, or use the app switcher to switch effortlessly between your recently used apps.
– Virtual keyboard: Familiarize yourself with the virtual keyboard on your tablet. You can use it to compose emails, write notes, or enter text in various applications. Experiment with different keyboard layouts and features, such as autocorrect and predictive text.
– Camera: Tablets often come equipped with built-in cameras, enabling you to take photos and record videos. Explore the camera app, understand different shooting modes, adjust settings, and capture memorable moments.
– Notifications: Stay informed and in control by managing your notifications. Swipe down from the top of the screen to view your notifications. You can interact with them directly from the notification panel or customize notification preferences in the settings.
– Web browsing: Use the pre-installed web browser or download a different browser from the app store to surf the internet. Learn how to navigate web pages, bookmark websites, and clear your browsing history.
– File management: Explore the file manager app on your tablet to organize, browse, and manage files stored on your device. You can create folders, move files, and transfer files between your tablet and other devices.
– Entertainment: Tablets are great devices for entertainment. Explore the pre-installed apps for music, videos, e-books, and games. You can also download additional media and entertainment apps from the app store to expand your options.
These are just a few examples of the basic features you can start using on your tablet. Take the time to explore your tablet’s capabilities and experiment with the various apps and settings to make the most out of your device.
Keep in mind that the specific features and functionalities may vary depending on your tablet’s make, model, and operating system. Be sure to consult your tablet’s user manual or online resources for more detailed information about specific features and how to use them.
With a solid understanding of your tablet’s basic features, you are now fully equipped to enjoy its capabilities and integrate it seamlessly into your daily routine.
Conclusion
Congratulations! You have successfully set up your tablet and learned how to navigate its features and functions. By following the step-by-step guide in this article, you have gained the knowledge and skills necessary to make the most out of your tablet experience.
From charging the tablet to customizing the home screen, installing apps, and adjusting settings, each step has allowed you to personalize your tablet to suit your preferences and needs. By connecting to Wi-Fi, setting up email, and other accounts, you have ensured seamless connectivity and access to your favorite services.
Remember to regularly update your tablet’s software, manage installed apps, and explore new features and functionality as they become available. This will ensure that you stay up to date and continue to enjoy the latest enhancements and improvements.
As you continue to use your tablet, feel free to explore additional features and apps that align with your interests and requirements. Tablets offer a world of possibilities, from productivity and entertainment to communication and creativity.
Should you encounter any difficulties or have further questions, consult the user manual provided with your tablet or explore online resources specific to your tablet model. These resources will provide you with specific instructions and troubleshooting tips tailored to your device.
Enjoy your tablet and make the most out of its capabilities! Whether for work or play, your tablet is a powerful tool that can enhance your productivity, creativity, and entertainment experiences. Embrace the convenience and versatility it offers in your day-to-day life.
Thank you for choosing this guide to help you set up and navigate your tablet. We hope it has been informative and helpful in your journey. Now, go ahead and explore all the amazing possibilities your tablet has to offer!