Introduction
Setting up a 2Wire wireless router is a straightforward process that allows you to enjoy the convenience of a wireless network in your home or office. Whether you’re connecting multiple devices or simply want the freedom to browse the web from anywhere in your space, a wireless router is a must-have in today’s connected world.
In this guide, we’ll walk you through the step-by-step process of setting up your 2Wire wireless router. From hardware setup to configuring your wireless network and securing it, we’ll cover everything you need to know to get your router up and running.
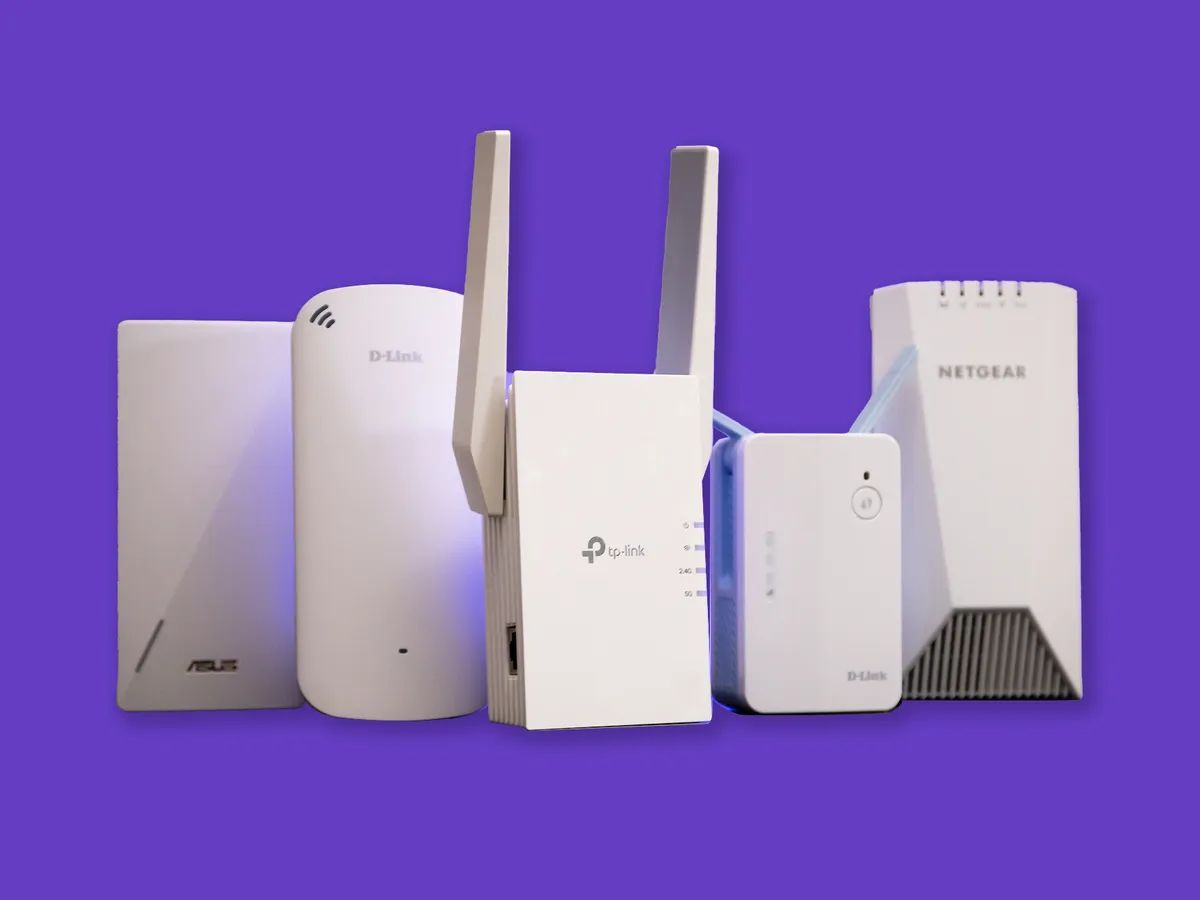
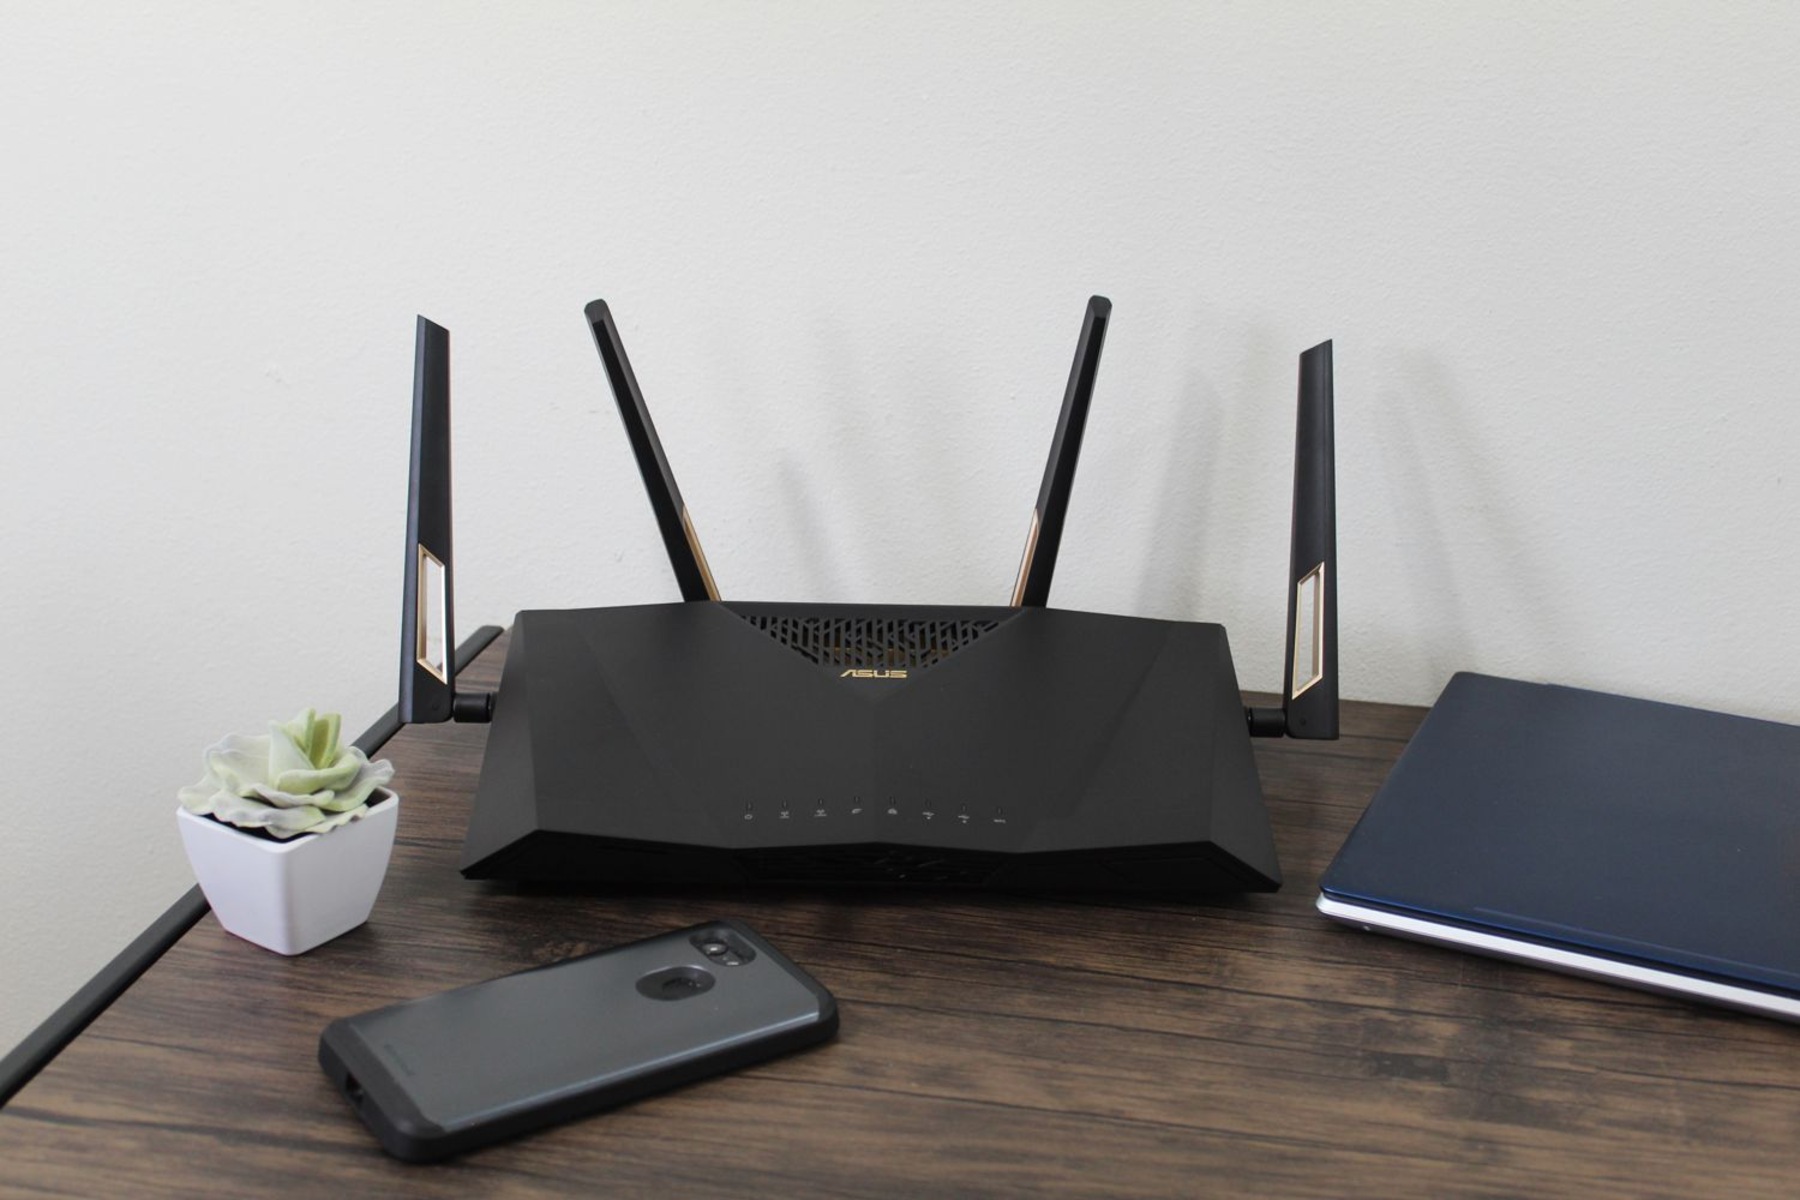
Before we dive into the technical details, it’s important to ensure you have all the necessary equipment. You’ll need a 2Wire wireless router, an Ethernet cable, and a computer or laptop to access the router’s configuration page.
Once you have the hardware in place, we can start the setup process. It’s important to note that every router may have slight variations in terms of layout and settings, but the general steps outlined in this guide should apply to most 2Wire router models. Now, let’s get started!
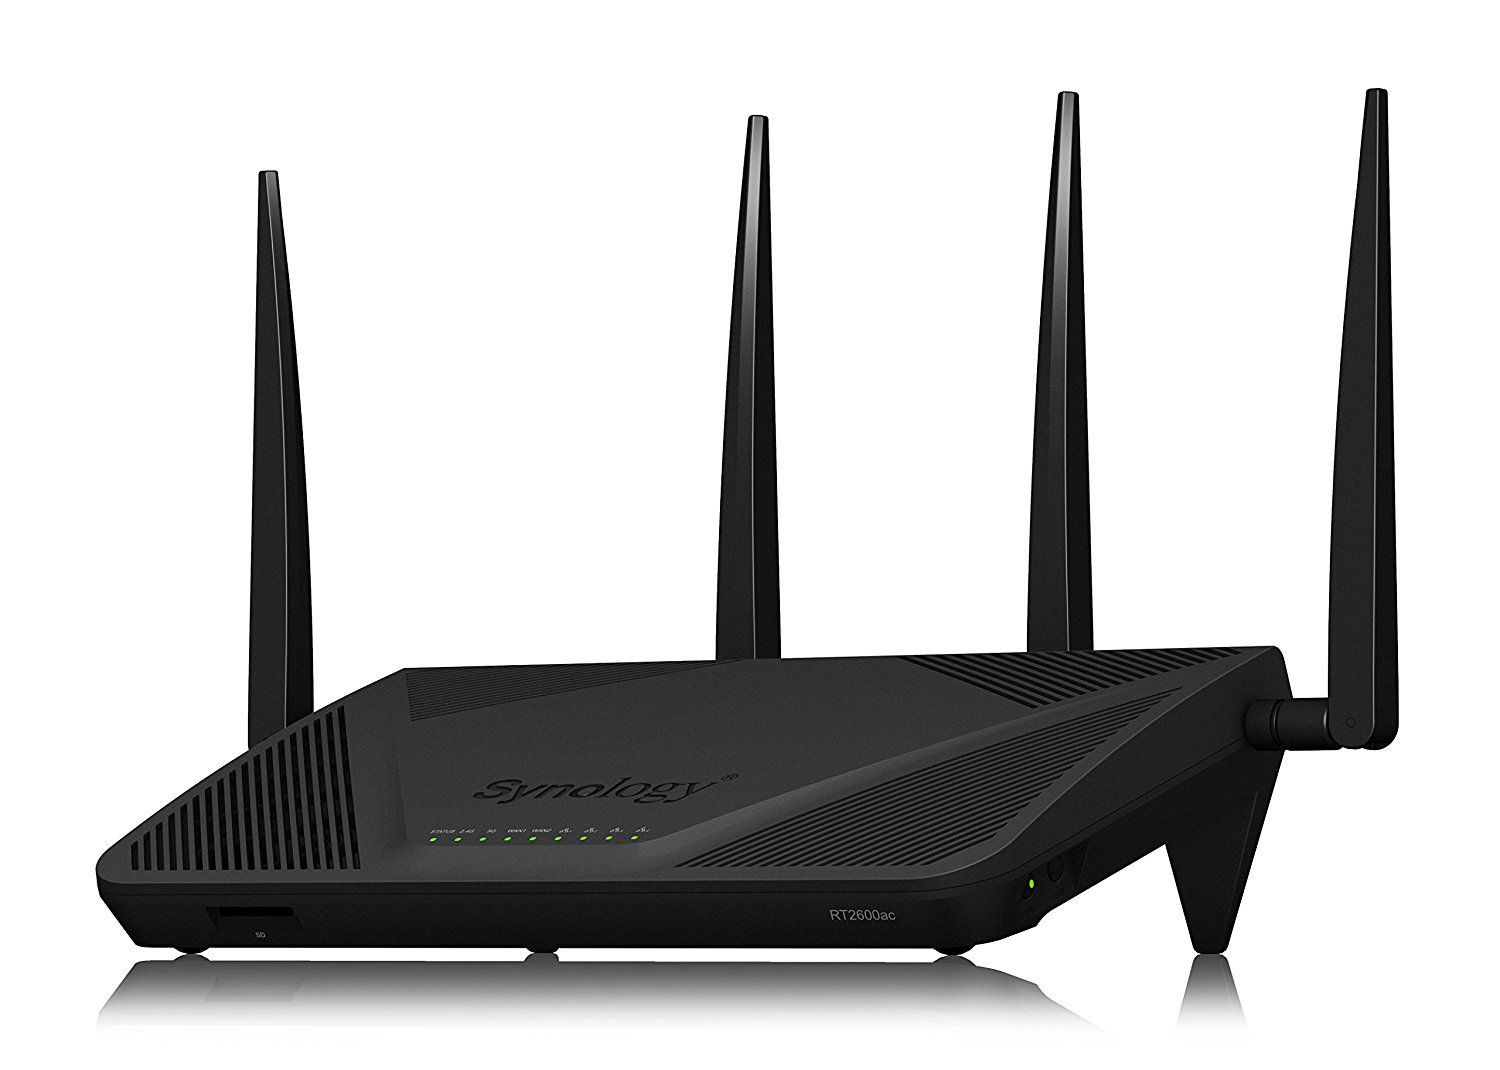
Step 1: Hardware Setup
The first step in setting up your 2Wire wireless router is to ensure that all the necessary hardware is properly connected. Follow these simple steps:
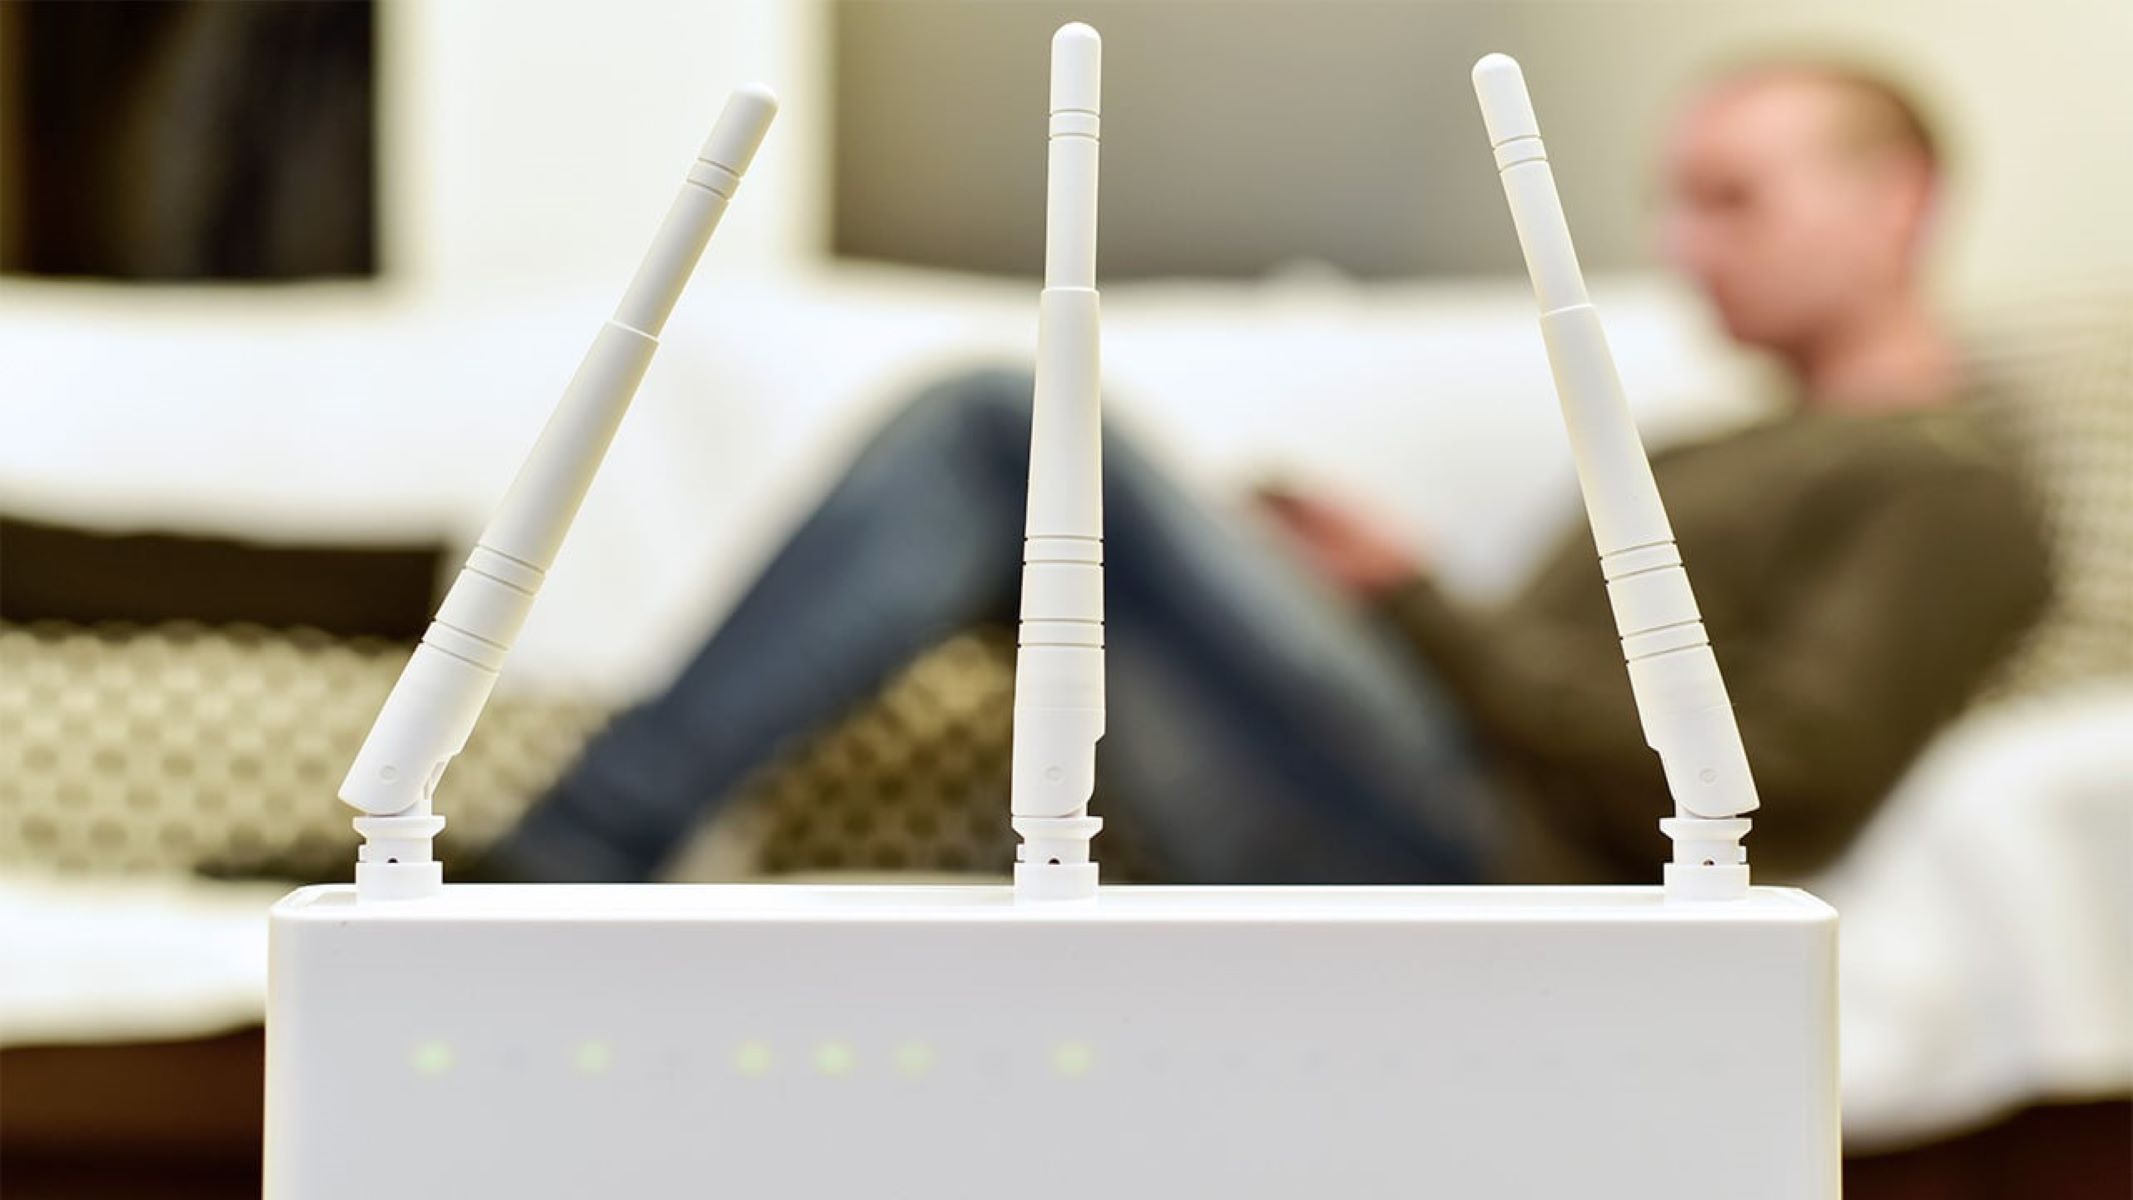
- Place the router in a central location: Find a suitable location for your router. It’s best to place it in a central area to ensure optimal coverage throughout your space.
- Connect the router to a power source: Plug one end of the power cord into the router’s power input and the other end into a power outlet. Make sure the power outlet is easily accessible.
- Connect the router to your modem: Take an Ethernet cable and connect one end to the modem’s Ethernet port. Then, connect the other end to the WAN or Internet port on the back of the router. This will establish a connection between your modem and router.
- Power on your modem: If you haven’t done so already, power on your modem and allow it to fully boot up. This may take a few minutes.
- Power on your router: Once your modem is fully powered on, turn on your 2Wire wireless router by pressing the power button located on the back or side of the router. Wait for the router to initialize.
- Confirm connection status: Check the indicator lights on your router. The power light should be solid green, indicating that the router is powered on and functioning properly. The Internet or WAN light should also be solid or blinking, indicating a successful connection to your modem.
Once you’ve completed these steps, the hardware setup for your 2Wire wireless router is complete. Make sure all the connections are secure and that the indicator lights on the router and modem confirm a successful connection. Now, we can move on to the next step – connecting your computer to the router.
Step 2: Connect the Router to Your Computer
Now that the hardware setup is complete, it’s time to connect your computer or laptop to the 2Wire wireless router. By establishing this connection, you’ll be able to access the router’s configuration page to set up your wireless network.
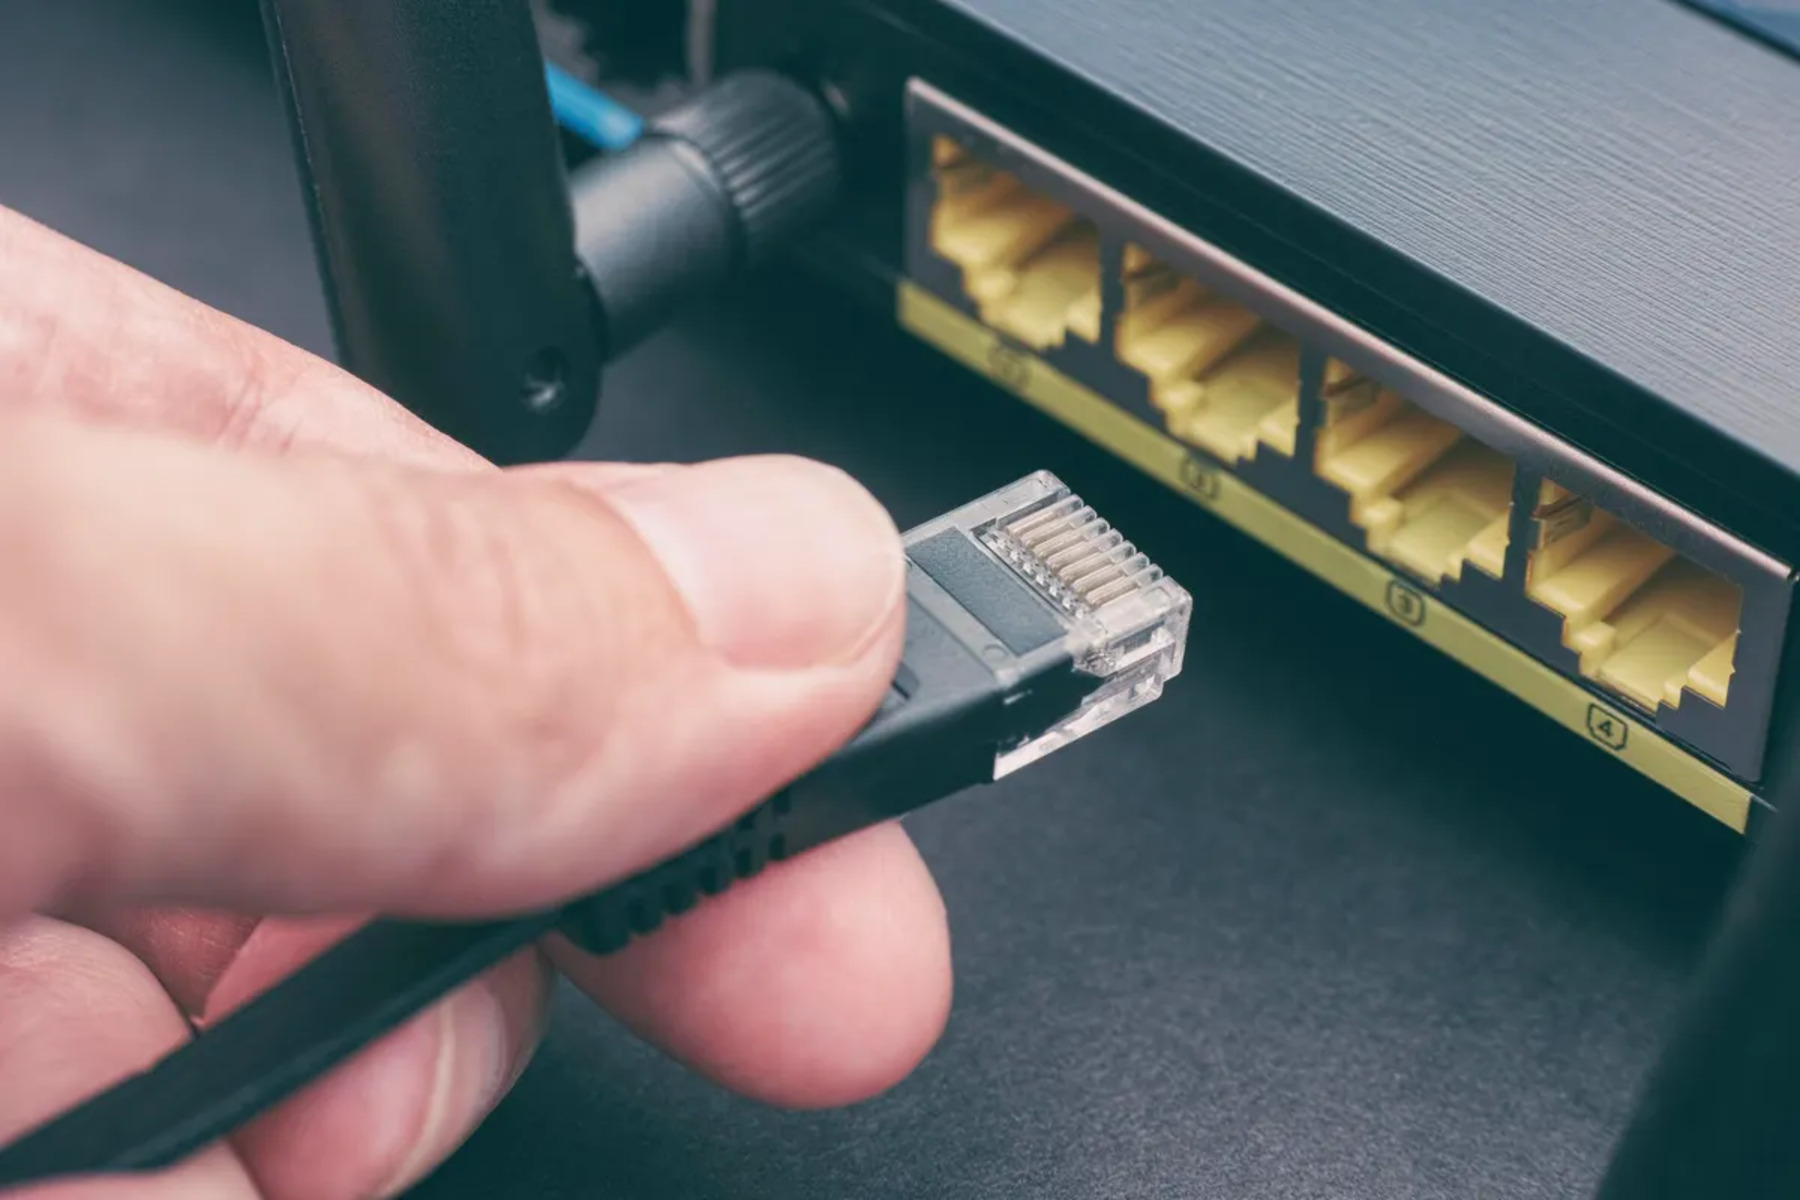
- Locate the Ethernet port on your computer: Most computers have an Ethernet port either on the back or side. It looks like a rectangular slot with a smaller square inside.
- Connect one end of the Ethernet cable: Take one end of the Ethernet cable and insert it into the Ethernet port on your computer.
- Connect the other end of the Ethernet cable: Take the other end of the Ethernet cable and plug it into one of the LAN (Local Area Network) ports on the back of the router. These ports are usually labeled with numbers.
- Confirm the connection: Once the Ethernet cable is securely connected to both your computer and the router, you should see the corresponding LAN port light up on the router. This indicates a successful connection.
At this stage, you have successfully connected your computer to the 2Wire wireless router. This wired connection allows you to access the router’s configuration page, where you can make changes to your network settings.
Before proceeding to the next step, ensure that your computer’s network adapter is properly configured to obtain the IP address automatically. This will allow your computer to communicate with the router. To check this, go to your computer’s network settings and make sure that the “Obtain an IP address automatically” option is selected.
Now that your computer is connected to the router and the network settings are configured correctly, we can move on to accessing the router configuration page.
Step 3: Access the Router Configuration Page
Accessing the router configuration page is essential for setting up your wireless network and customizing various settings. Follow these steps to access the 2Wire wireless router’s configuration page:
- Open a web browser: Launch your preferred web browser (such as Google Chrome, Mozilla Firefox, or Microsoft Edge) on your computer.
- Enter the router’s IP address: In the address bar of your web browser, type in the router’s IP address. The default IP address for most 2Wire routers is
192.168.1.254. Press Enter to proceed. - Enter the login credentials: On the router’s login page, you will be prompted to enter the username and password. The default username is usually
admin, and the default password is often printed on the router itself or can be found in the user manual. Enter these credentials and click on the Login button.
Once you have successfully logged into the router configuration page, you will have access to various settings that allow you to customize your wireless network according to your preferences. It’s important to note that the exact layout and available options may vary slightly depending on your 2Wire router model.
Take some time to explore the different sections of the configuration page. Here, you will find options to set up your wireless network name (SSID), enable network encryption, adjust security settings, configure port forwarding, and more. Make sure to save any changes you make before moving on to the next step.
Now that you have accessed the router configuration page and familiarized yourself with the available settings, we can move on to setting up your wireless network name (SSID).
Step 4: Set Up Wireless Network Name (SSID)
The wireless network name, also known as the SSID (Service Set Identifier), is what identifies your wireless network to devices in its range. Setting a unique and easily recognizable SSID ensures that you can easily connect to your network. Here’s how you can set up your wireless network name:
- Go to the router configuration page: Open your web browser and enter the router’s IP address (e.g.,
192.168.1.254) in the address bar. Log in with your username and password, if prompted. - Navigate to the wireless settings: Once you’re logged in, look for the “Wireless” or “Wi-Fi” settings section. Click on it to expand the options related to wireless network settings.
- Enter the desired SSID: Look for the “Network Name (SSID)” field and enter the name you want for your wireless network. Choose a name that is unique and easy to remember.
- Save the changes: After entering the desired SSID, locate the “Save” or “Apply” button on the configuration page. Click on it to save the changes you made. This step ensures that your wireless network name is updated and will be broadcasted to nearby devices.
Once you’ve completed these steps and saved the changes, your 2Wire wireless router will broadcast your newly set SSID. This allows devices in range to detect and connect to your network.
Keep in mind that while setting a unique SSID is recommended, avoid using any personally identifiable information or sensitive data in the network name. This helps to enhance the security of your network.
Now that your wireless network name is set, we can move on to securing your wireless network by setting up wireless security.
Step 5: Set Up Wireless Security
Securing your wireless network is crucial to protect your personal information, ensure the privacy of your data, and prevent unauthorized access. Follow these steps to set up wireless security on your 2Wire wireless router:
- Access the router configuration page: Open your web browser and enter the router’s IP address in the address bar. Log in with your username and password, if required.
- Navigate to the wireless security settings: Look for the “Wireless” or “Wi-Fi” settings section and click on it to expand the options related to wireless network settings.
- Select the desired security protocol: Locate the “Security” or “Encryption” settings and choose the security protocol you want to use. Common options include WEP, WPA, and WPA2. It’s recommended to choose WPA2, as it offers stronger security compared to older protocols.
- Set a strong password or passphrase: Enter a strong, unique password or passphrase in the “Password” or “Passphrase” field. Aim for a combination of uppercase and lowercase letters, numbers, and special characters. Make sure the password or passphrase is easy to remember but difficult for others to guess.
- Save the changes: After setting up wireless security, locate the “Save” or “Apply” button on the configuration page and click on it to save the changes. This step ensures that your wireless network is now protected with the chosen security protocol and associated password or passphrase.
Once you’ve completed these steps, your 2Wire wireless router will enforce the selected security protocol, requiring devices to provide the correct password or passphrase to connect to the network. This significantly enhances the security of your wireless network and prevents unauthorized access.
Remember to keep your wireless network password or passphrase secure, and avoid sharing it with individuals you do not trust. Additionally, consider changing your wireless network password periodically to further enhance security.
Now that your wireless network is secured, we can move on to connecting other devices to your network in the next step.
Step 6: Connect Other Devices to Your Wireless Network
Now that you have set up your 2Wire wireless router and secured your network, it’s time to connect other devices to your wireless network. Whether it’s a smartphone, tablet, laptop, or gaming console, follow these steps to connect devices to your wireless network:
- Enable Wi-Fi on the device: Go to the settings or network settings on the device you want to connect and ensure that Wi-Fi is turned on. This may involve toggling a switch, sliding a button, or selecting a Wi-Fi option.
- Scan for available networks: Once Wi-Fi is enabled, the device will automatically scan for available networks in the vicinity. Wait for the list of networks to populate.
- Select your network: From the list of available networks, locate and select your 2Wire wireless network. The network name (SSID) you set up earlier should be displayed in the list. If you have hidden your network name, you may need to manually enter the SSID.
- Enter the password or passphrase: If you have set up wireless security, the device will prompt you to enter the network password or passphrase. Enter the correct password or passphrase you set up during the security configuration step.
- Connect to the network: After entering the password or passphrase, click on the “Connect” or “Join” button to establish a connection to your wireless network. The device will attempt to connect to the network using the provided credentials.
Once the device successfully connects to your 2Wire wireless network, it will be able to access the internet and communicate with other devices on the network. The network icon on the device may display a connection symbol or signal strength indicator to indicate a successful connection.
Repeat these steps for each device you want to connect to your wireless network. Depending on the device and operating system, the steps may vary slightly, but the general process remains the same.
It’s important to note that you may need to reconnect to your wireless network if you move to a different location or if the device is turned off and on again. The device will automatically attempt to reconnect to the network using the previously entered credentials.
Congratulations! You have successfully connected other devices to your 2Wire wireless network. Enjoy the freedom and convenience of a wireless connection throughout your space.
Step 7: Troubleshooting Tips
While setting up a 2Wire wireless router is usually a straightforward process, sometimes you may encounter issues or face difficulties. Here are some troubleshooting tips to help you resolve common problems:
- Check your connections: Ensure that all the cables are securely connected to the router and other devices. Loose or improperly connected cables can cause connectivity issues.
- Restart your devices: Sometimes, a simple restart can fix connectivity problems. Power off your modem, router, and devices connected to the network. Wait a few seconds, then power them back on one by one, starting with the modem. Allow them to fully boot up before proceeding.
- Reset the router: If you’re experiencing persistent issues, you may need to reset the router to its factory settings. Locate the reset button on the router (usually a small hole) and use a paperclip or similar tool to press and hold the button for a few seconds. This will reset the router to its default settings. Note that this will erase any custom settings you have configured.
- Update firmware: Check if there are any available firmware updates for your router model. Outdated firmware can sometimes cause compatibility issues. Visit the manufacturer’s website and follow their instructions to update the router’s firmware.
- Change Wi-Fi channels: If you’re experiencing interference from other nearby Wi-Fi networks, you can try changing the Wi-Fi channel on your router. Access the router configuration page, navigate to the wireless settings, and look for the channel selection option. Experiment with different channels to find the one with the least interference.
- Contact your ISP: If all else fails and you’re still experiencing connectivity issues, it’s possible that there may be an issue with your internet service provider (ISP). Contact your ISP’s customer support for further assistance.
Remember, troubleshooting can vary depending on specific circumstances and router models. Consult the user manual or the manufacturer’s support documentation for more detailed troubleshooting steps for your specific 2Wire wireless router model.
By following these troubleshooting tips, you can overcome common challenges and ensure a smooth and reliable connection to your 2Wire wireless router.
Conclusion
Setting up a 2Wire wireless router allows you to enjoy the convenience and flexibility of a wireless network in your home or office. By following the step-by-step guide outlined in this article, you can successfully configure your router, establish a secure wireless network, and connect multiple devices.
Starting with the hardware setup, you ensured that the router was properly connected to your modem and powered on. Then, you connected your computer to the router using an Ethernet cable, allowing you to access the router’s configuration page.
Once you accessed the router configuration page, you were able to set up your wireless network name (SSID) and configure wireless security to protect your network from unauthorized access. By choosing a strong password or passphrase, you significantly enhanced the security of your wireless network.
Afterward, you learned how to connect other devices to your wireless network, enabling them to access the internet and communicate with other devices on the network. By following the simple steps provided, you were able to connect smartphones, laptops, tablets, and other devices to your network effortlessly.
Lastly, we explored troubleshooting tips to help you address any issues that may arise during the setup process or while using your 2Wire wireless router. By checking connections, restarting devices, resetting the router, updating firmware, and adjusting Wi-Fi channels, you can effectively troubleshoot common connectivity problems.
Remember to consult your router’s user manual or the manufacturer’s support documentation for more specific troubleshooting steps tailored to your 2Wire wireless router model.
With your 2Wire wireless router fully set up, secured, and functioning, you can enjoy the benefits of a reliable and robust wireless network, enabling seamless internet access and communication across your devices.
Now that you’ve completed the setup process, take a moment to explore further customization options available in your router’s configuration page. You can configure port forwarding, access controls, quality of service (QoS) settings, and more to enhance your network’s performance and tailor it to your specific needs.
Congratulations on successfully setting up your 2Wire wireless router! Enjoy the convenience and freedom of a wireless network that empowers you to stay connected wherever you are in your home or office.