Introduction
Welcome to this guide on how to set RAM in BIOS. If you are looking to optimize the performance of your computer, adjusting the RAM settings can be a valuable option. The Random Access Memory (RAM) plays a crucial role in the overall speed and responsiveness of your system. By configuring the RAM settings, you can potentially improve multitasking capabilities, reduce lag, and enhance the overall user experience.
Accessing the BIOS (Basic Input/Output System) is essential to make changes to your computer’s hardware and settings, including the RAM. The BIOS is a firmware interface that allows you to interact with the hardware and configure various system parameters.
In this step-by-step guide, we will walk you through the process of accessing the BIOS and adjusting the RAM settings. It is important to note that the BIOS menus and options may vary slightly depending on your computer’s manufacturer and model. However, the general steps outlined in this guide should be applicable to most systems.
Before proceeding, it is crucial to exercise caution when making changes to the BIOS, as incorrect settings can potentially cause system instability or even prevent your computer from booting. Therefore, we recommend backing up your data and documenting any changes you make.
Now, let’s dive into the process of setting RAM in BIOS. Follow the steps outlined in the upcoming sections, and you’ll be well on your way to optimizing your computer’s RAM for optimal performance.
Step 1: Accessing the BIOS
The first step in setting the RAM in BIOS is to access the BIOS interface. Follow the steps below to access the BIOS on your computer:
- Start by shutting down your computer completely. Press the power button and wait for the computer to turn off.
- Once the computer is turned off, press the power button again to start it.
- As the computer starts up, pay attention to the screen for a prompt that indicates which key to press to enter the BIOS setup. The key may vary depending on the computer manufacturer, but common keys include F2, Del, Esc, or F10. You may need to press the key repeatedly until the BIOS setup utility appears.
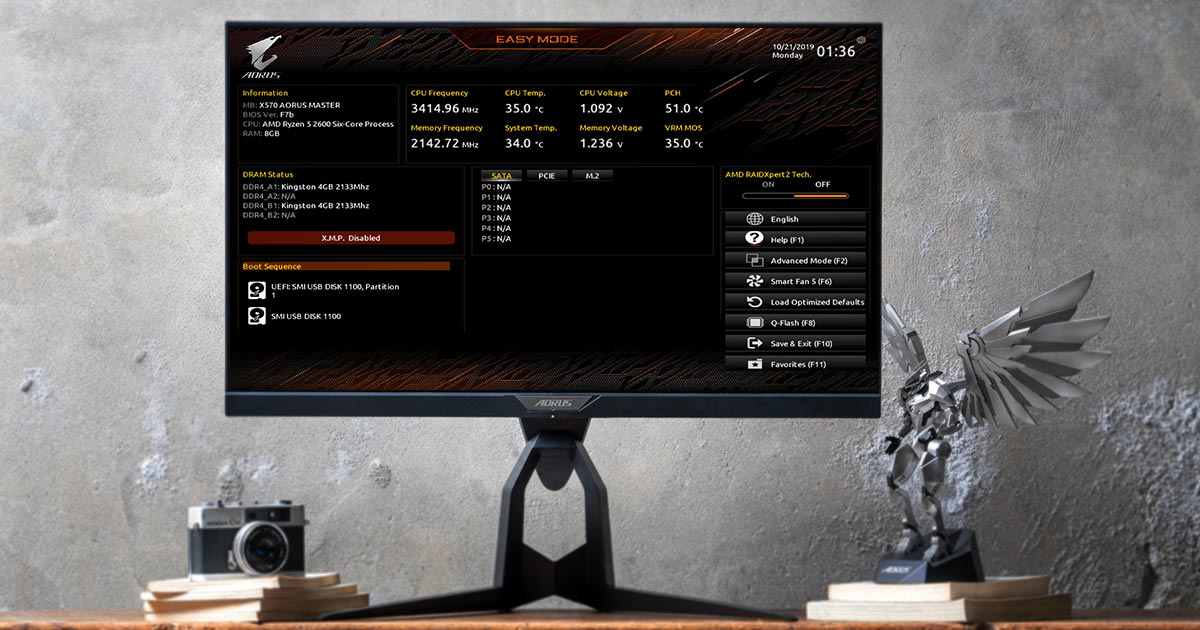
- Once you have successfully entered the BIOS setup, you will see a menu or interface displaying various options and settings. It is essential to be cautious while navigating through the BIOS, as modifying the wrong settings can have unintended consequences on your computer’s performance.
That’s it! You have successfully accessed the BIOS on your computer. Now, let’s move on to the next step – navigating through the BIOS menu.
Step 2: Navigating through the BIOS menu
Once you have entered the BIOS setup, you will see a menu or interface with various options and settings. Navigating through the BIOS menu is crucial to locate the RAM settings. Here’s how you can do it:
- Use the arrow keys on your keyboard to move between different options in the BIOS menu. The arrow keys typically include up, down, left, and right arrows. Some systems might also allow you to use the tab key to navigate.
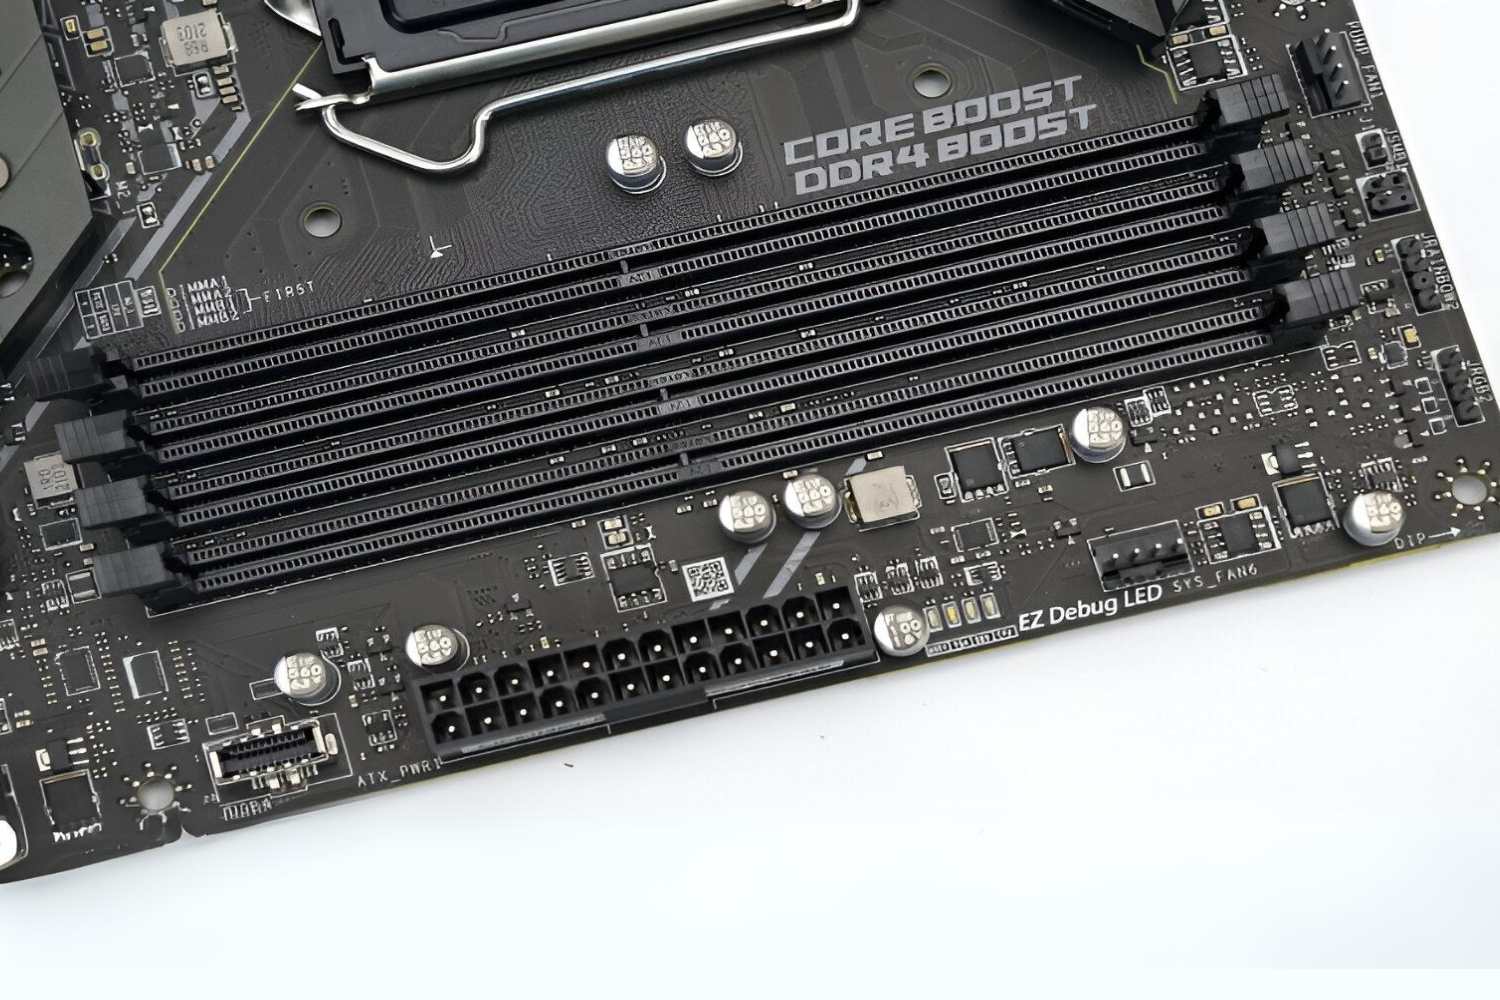
- Pay attention to the different sections or tabs in the BIOS menu. The RAM settings are usually located under a section related to system configuration or memory settings. Look for options that mention memory, RAM, or DIMM (Dual Inline Memory Module).
- As you navigate through the BIOS menu, additional options might be hidden under sub-menus. Use the enter or return key to access sub-menus and make further adjustments.
- Some BIOS interfaces offer a search function that allows you to quickly find specific settings. If available, use the search function by typing in keywords related to RAM.
Remember to read the on-screen instructions or consult the user manual provided by your computer manufacturer if you encounter any difficulties in navigating through the BIOS menu. Each BIOS interface may have slight variations in terms of layout and options.
Once you have familiarized yourself with navigating through the BIOS menu, you are ready to proceed to the next step: locating the RAM settings. This is where you can make changes to optimize your computer’s RAM performance.
Step 3: Locating the RAM settings
After successfully navigating through the BIOS menu, it’s time to locate the RAM settings. The RAM settings can vary depending on the BIOS version and manufacturer, but they are usually found within a section related to memory configuration. Follow these steps to find the RAM settings:
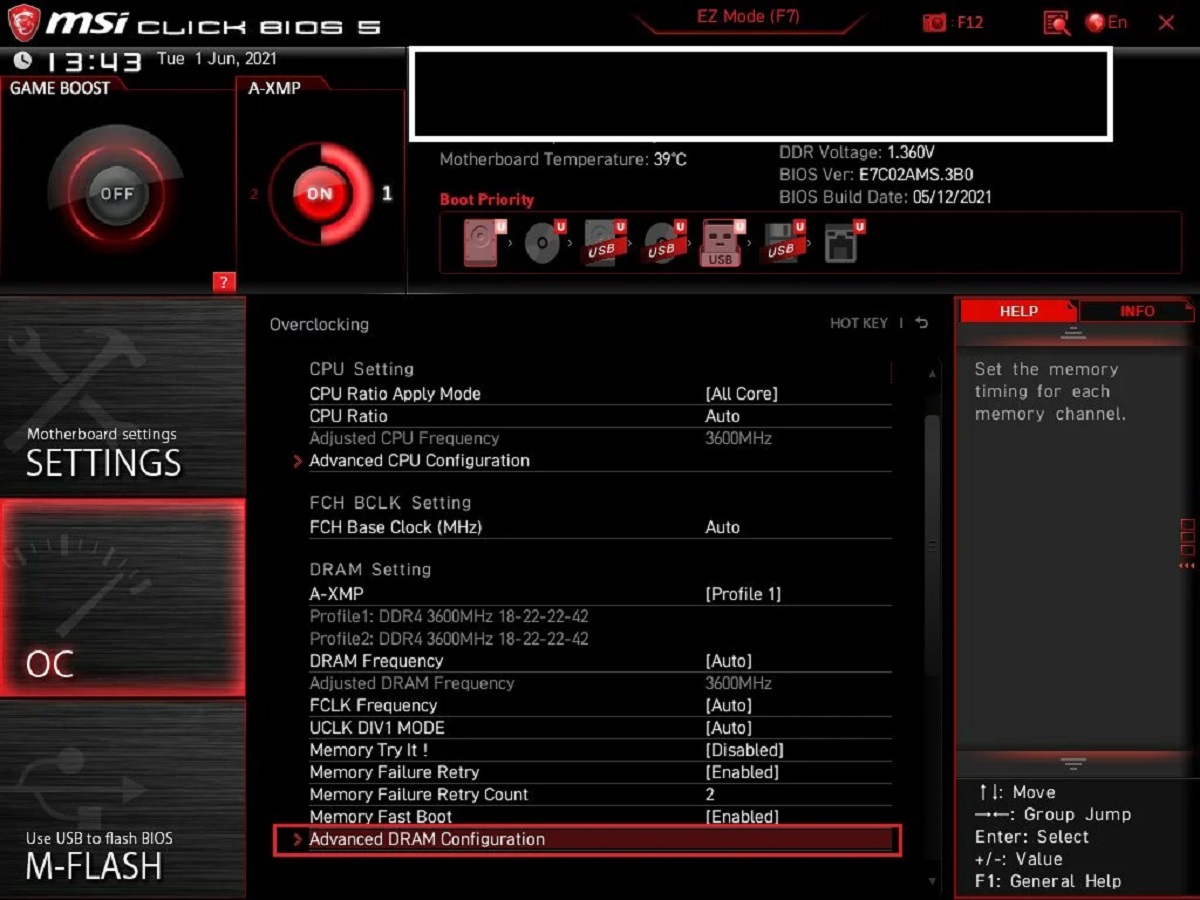
- Look for a section titled “Memory Settings,” “DRAM Configuration,” or something similar. This section is commonly found under the “Advanced” or “System Configuration” tab. Use the arrow keys to highlight the appropriate section.
- Once you have entered the memory settings section, you should see various options related to RAM configuration. These options may include the ability to adjust the RAM frequency, voltage, timings, and other parameters.
- Take note that not all BIOS interfaces provide the same level of customization for RAM settings. In some cases, you might have limited options to modify or adjust the RAM parameters.
It’s essential to be cautious while making changes to the RAM settings. Incorrect configurations can result in system instability or even prevent your computer from booting. Therefore, we recommend referring to the user manual provided by your computer manufacturer or doing some research online to understand the optimal settings for your specific RAM modules.
In the next step, we will discuss how to adjust the RAM frequency to optimize your computer’s performance. Stay tuned!
Step 4: Adjusting the RAM frequency
Adjusting the RAM frequency can significantly impact your computer’s performance. The RAM frequency, also known as clock speed, determines how quickly data can be read from and written to the RAM modules. Here’s how you can adjust the RAM frequency in the BIOS:
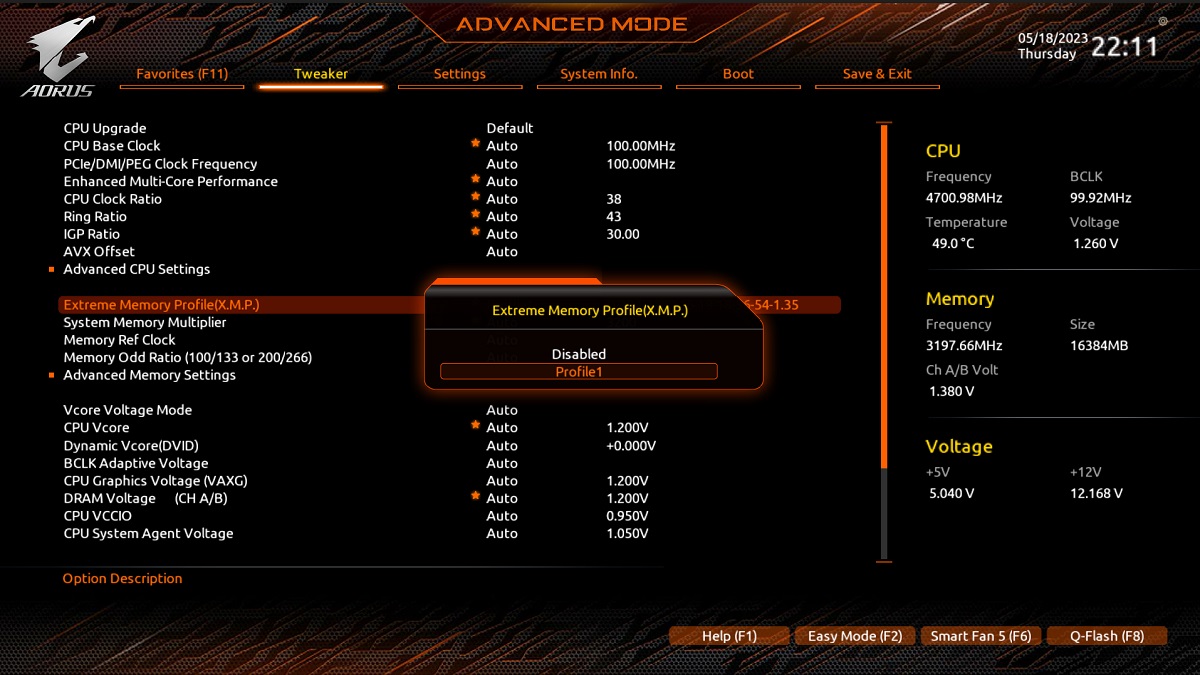
- Within the RAM settings section, look for an option related to “DRAM Frequency” or “Memory Clock Speed.” This option allows you to adjust the speed at which the RAM operates.
- Depending on your BIOS interface, you will likely have multiple frequency options to choose from. These options are typically presented as a selection of predefined values (e.g., DDR4-2400, DDR4-3200).
- Select the desired RAM frequency by highlighting the appropriate option using the arrow keys.
- Once you have chosen the desired RAM frequency, save the changes and exit the BIOS. The exact method to save changes may vary, but it is often done by pressing the F10 key and confirming the changes when prompted.
When adjusting the RAM frequency, it’s important to keep a few things in mind. First, higher RAM frequencies can provide better performance, but they also require appropriate support from your motherboard and RAM modules. Ensure that your hardware supports the selected frequency to avoid stability issues.
Second, increasing the RAM frequency may require adjustments to other settings, such as RAM voltage and timings. It’s recommended to consult your RAM manufacturer’s specifications or seek guidance from online communities to determine the best combination of frequency, voltage, and timings for your specific RAM modules.
Now that you’ve adjusted the RAM frequency, let’s move on to the next step: adjusting the RAM timings. Stay with us!
Step 5: Adjusting the RAM timings
RAM timings play a crucial role in determining how quickly data can be accessed from different addresses within the RAM modules. Optimizing RAM timings can lead to improved system responsiveness and performance. Follow these steps to adjust the RAM timings in the BIOS:
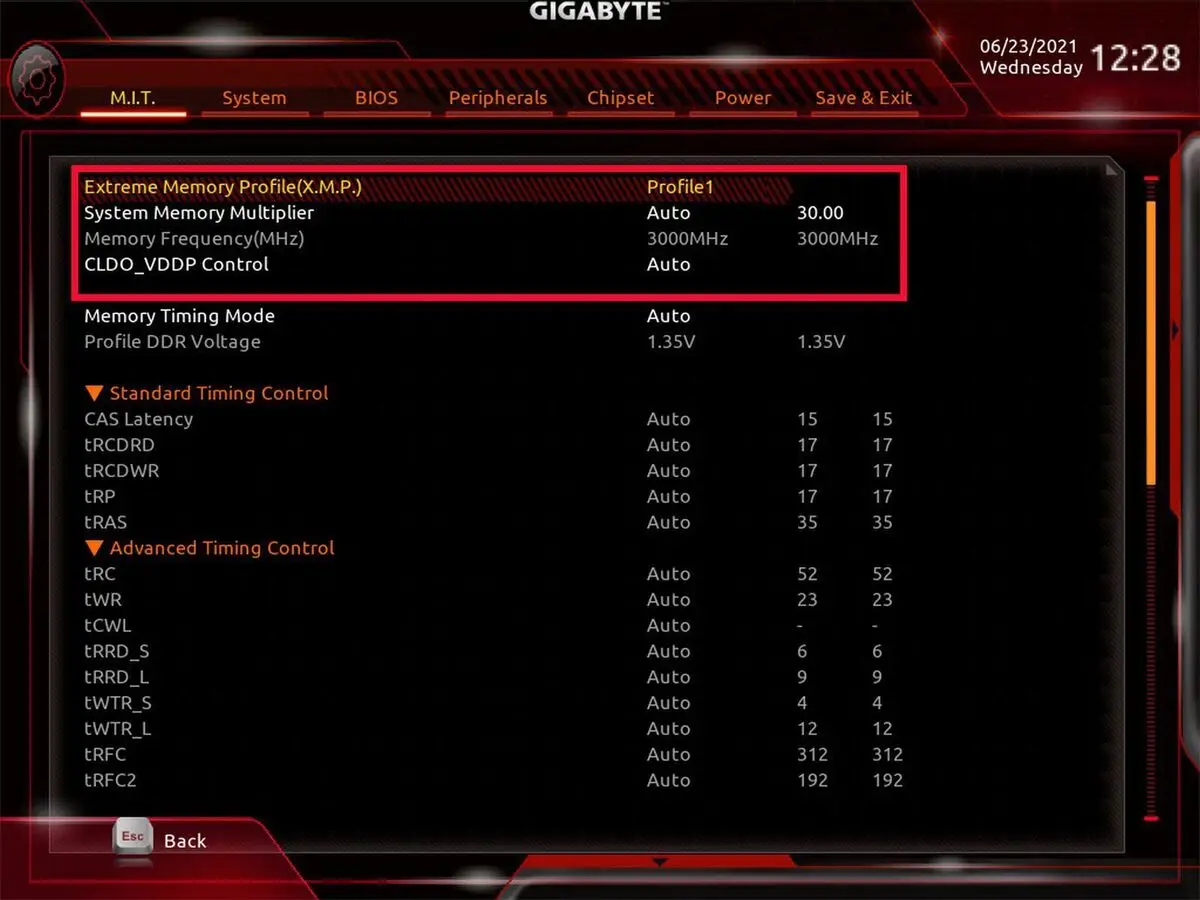
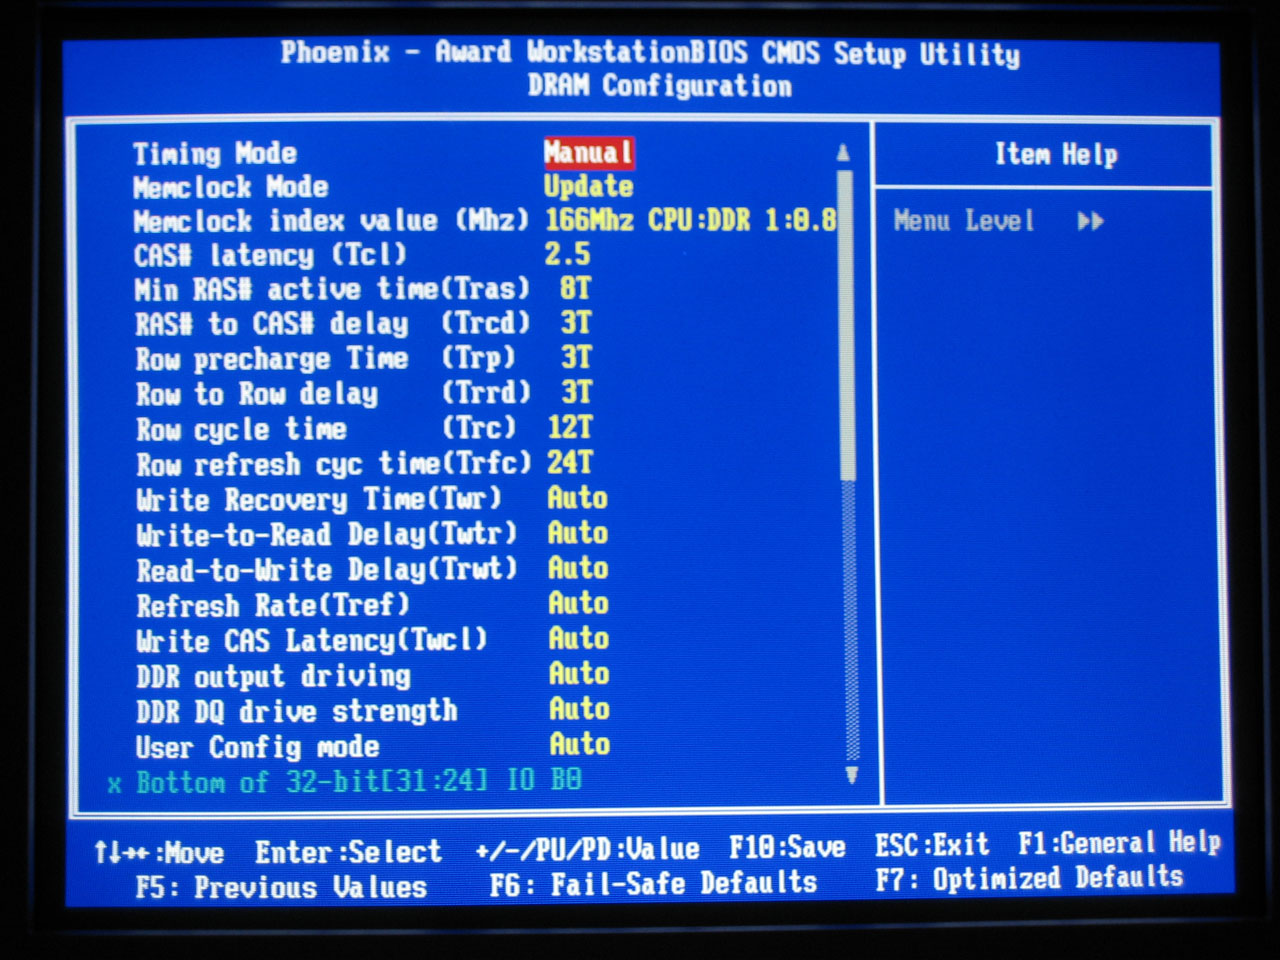
- Within the RAM settings section of the BIOS, look for an option related to “DRAM Timing” or “Memory Timings.” This option allows you to adjust various parameters that control the timings of the RAM.
- Common RAM timing parameters include CAS latency (CL), tRCD, tRP, and tRAS. These values denote the number of clock cycles it takes for the RAM to respond to various commands.
- Each timing parameter may have multiple options available, which represent different latency values. Lower latency values usually result in better performance but may require more stability testing.
- Use the arrow keys to highlight each timing parameter and adjust the values according to your desired configuration. It’s recommended to refer to your RAM manufacturer’s specifications or online resources for optimal timings.
- After making the necessary adjustments, save the changes and exit the BIOS. This step is typically done by pressing the F10 key and confirming the changes as prompted.
It’s important to note that adjusting RAM timings requires careful consideration. Setting timings too aggressively can lead to system instability or crashes. It’s recommended to gradually make adjustments and thoroughly test system stability after each change.
Additionally, not all BIOS interfaces provide the same level of customization for RAM timings. Some may have limited or predefined options available. In such cases, you might not be able to fine-tune the timings as extensively as desired.
Now that you’ve adjusted the RAM timings, you are one step closer to optimizing your computer’s RAM performance. In the next step, we’ll discuss how to save the changes and exit the BIOS. Let’s proceed!
Step 6: Saving the changes and exiting the BIOS
After making the desired adjustments to the RAM settings in the BIOS, it’s crucial to save the changes and exit the BIOS properly. Here’s how you can do it:
- Ensure that you have made all the necessary changes to the RAM settings according to your desired configuration.
- Within the BIOS interface, look for an option that allows you to save the changes. This option is typically found under a tab such as “Save & Exit” or “Exit.” Use the arrow keys to highlight the option.
- Press the Enter key to select “Save & Exit” or the corresponding option that enables you to save the changes you made.
- When prompted, confirm your choice to save the changes. Depending on the BIOS interface, you may need to press the Y key or select “Yes” to proceed.
- After saving the changes, the BIOS will typically exit, and your computer will restart with the newly configured RAM settings.
It’s important to remember that improper handling or saving of changes in the BIOS can result in system instability or booting issues. Always double-check your changes and confirm that you want to save them before proceeding. Additionally, it’s a good idea to keep a record of the changes you made for future reference.
Once your computer restarts, it will boot with the updated RAM settings. You can then monitor the system’s performance and stability to ensure that the changes have been applied successfully.
Congratulations! You have successfully adjusted the RAM settings in the BIOS. By optimizing the RAM frequency and timings, you have the potential to enhance your computer’s overall performance and responsiveness. Enjoy the improved experience!
Conclusion
Setting the RAM in the BIOS is a valuable way to optimize your computer’s performance and improve its overall responsiveness. By adjusting the RAM frequency and timings, you can potentially enhance multitasking capabilities, reduce lag, and enjoy a smoother computing experience.
In this step-by-step guide, we have walked you through the process of setting the RAM in BIOS. We began by accessing the BIOS and navigating through the menu to locate the RAM settings. Then, we discussed adjusting the RAM frequency and timings to fine-tune the performance according to your specific needs.
Throughout the process, it is important to exercise caution and refer to your computer’s user manual or online resources for guidance. Making incorrect changes to the BIOS settings can result in system instability or other unwanted consequences. Always take note of the original settings or document any changes you make for future reference.
After adjusting the RAM settings, it’s essential to save the changes and properly exit the BIOS. By following the instructions and confirming the changes, you can ensure that the new configurations take effect and that your system operates with the updated RAM settings.
Remember, each computer’s BIOS interface may have slight variations, so it’s important to familiarize yourself with the specific settings and options available on your system. Additionally, it’s recommended to consult your RAM manufacturer’s specifications for optimal settings and seek advice from online communities for further guidance.
By taking the time to optimize your computer’s RAM settings, you can unlock its full potential and enjoy enhanced performance. So, go ahead and apply these steps to set the RAM in BIOS, and experience a smoother and more efficient computing experience.