Introduction
Are you curious about how old your Discord account is? Whether you’ve been an avid user for years or just recently joined the community, finding out the age of your account can be a fascinating piece of information. Knowing the exact date when you first created your account can bring back memories of your early days on Discord and highlight your journey as a user.
Discord is a popular communication platform that allows users to chat, voice call, and even participate in gaming communities. While it’s easy to see your account’s creation date on some platforms, finding this information on Discord may require some extra steps. Fortunately, we’ve got you covered. In this guide, we’ll show you the steps to determine how old your Discord account is.
Whether you’re using Discord on your computer or mobile device, the process to find your account’s creation date remains the same. We’ll walk you through each step, making it easy for you to navigate the platform and unveil this intriguing piece of information.
So, if you’re ready to embark on a journey back in time, let’s dive into the steps to see how old your Discord account is.
Step 1: Open Discord on your computer or mobile device
The first step to finding out how old your Discord account is involves opening the Discord application on your computer or mobile device. Discord is available on various platforms, including Windows, macOS, iOS, and Android. Make sure you have the Discord app installed and updated to the latest version on your chosen device.
If you’re using Discord on your computer, you can open it by double-clicking the Discord icon on your desktop or by searching for “Discord” in the Start menu or Applications folder. Once you find the Discord app, click on it to launch the program. If you’re using a mobile device, locate the Discord app icon on your home screen or in your app drawer and tap on it to open the application.
Once Discord is open, you will be asked to log in or create an account. If you already have a Discord account, enter your login credentials (email/username and password) to access your account. If you don’t have an account, you can create one by clicking on the “Register” or “Create an Account” button and following the on-screen instructions.
After logging in, you will be greeted with the Discord interface, where you can join servers, participate in conversations, and customize your profile. Now that you have successfully opened Discord on your computer or mobile device, you’re ready to move on to the next step and find out how old your account is.
Step 2: Go to your User Settings
Once you have logged in to your Discord account and entered the Discord interface, it’s time to navigate to your User Settings. The User Settings menu allows you to customize various aspects of your Discord account, including appearance, notifications, privacy, and more.
To access your User Settings, look for the gear icon located either at the lower-left corner of the screen or at the top-right corner, depending on the version of Discord you’re using. On the desktop app, the gear icon is usually found at the lower-left corner, while on the mobile app, it is typically located at the top-right corner.
Clicking or tapping on the gear icon will open a dropdown menu with several options. Look for “User Settings” or a similar word or phrase in the list and select it. This action will open the User Settings menu where you can make various changes to your Discord account.
On the User Settings menu, you’ll find several tabs or sections, such as “My Account,” “Privacy & Safety,” “Authorized Apps,” “Connections,” and more, depending on the version of Discord you’re using. These tabs organize different settings and options related to your Discord account.
To proceed with finding your account’s creation date, you’ll need to access the specific settings related to appearance in the User Settings. In the next step, we’ll guide you on how to get to the Appearance tab, where you can enable Developer Mode, a crucial step for our account age finding process.
Now that you know how to access your User Settings, let’s move on to the next step and explore the Appearance tab.
Step 3: Click on the “Appearance” tab
Once you’ve accessed the User Settings menu, it’s time to navigate to the “Appearance” tab. By clicking on this tab, you’ll be able to access various appearance-related settings to personalize your Discord experience.
Look for the “Appearance” tab in the User Settings menu. In some versions of Discord, the tabs may be displayed at the top of the menu as clickable options, while in others, they may be listed as options on the left-hand side. Locate and click on the “Appearance” tab to proceed.
Clicking on the “Appearance” tab will open a new set of options and settings related to the appearance of your Discord account. Here, you can customize the theme, change the accent color, adjust font settings, and more.
However, for the purpose of determining your account’s creation date, we will focus on enabling Developer Mode, which will allow us to access additional information, including your account’s ID, which is crucial for finding its age.
Take a moment to familiarize yourself with the settings in the “Appearance” tab. You can make any desired changes to customize your Discord experience to your liking. Once you’re ready, let’s move on to the next step and enable Developer Mode.
By clicking on the “Appearance” tab, you’re one step closer to discovering how old your Discord account is. Let’s continue our journey by enabling Developer Mode.
Step 4: Enable Developer Mode
Enabling Developer Mode in Discord is necessary to access certain advanced features and information, including your account’s ID, which is essential for determining its creation date. By enabling Developer Mode, you’ll gain access to additional customization options and tools that can enhance your Discord experience.
To enable Developer Mode, follow these steps:
- Go to your User Settings menu, as described in the previous step.
- Click on the “Appearance” tab to access appearance-related settings.
- Scroll down until you find the “Advanced” section, which should be located below the “Language” settings.
- In the “Advanced” section, you’ll see an option called “Developer Mode.” Toggle the switch next to it to enable Developer Mode.
Once Developer Mode is activated, you’ll notice some changes in your Discord interface. New options and information become visible, and you’ll have access to additional features that are typically used by developers and advanced users.
Enabling Developer Mode will allow us to retrieve your account’s ID, which is a unique alphanumeric identifier assigned to every Discord account. This information is necessary to determine the creation date of your account.
Now that you’ve successfully enabled Developer Mode, it’s time to put it to use and move on to the next step, where we’ll retrieve your account’s ID. Let’s continue our journey to unravel the age of your Discord account.
Step 5: Go back to the main Discord interface
After enabling Developer Mode, it’s time to go back to the main Discord interface to continue our quest in finding out how old your account is.
To return to the main Discord interface, you can simply close the User Settings menu by clicking on the ‘X’ button at the top-right corner of the menu, or by clicking anywhere outside the menu, depending on the version of Discord you’re using.
Once the User Settings menu is closed, you’ll find yourself back in the familiar Discord interface. You’ll notice that certain elements might have changed slightly after enabling Developer Mode, but don’t worry, this shouldn’t affect your navigation within the application.
Now that we’re back in the main interface, we’re ready to move on to the next step, which involves right-clicking on your profile picture or username to access a specific option. This next step will help us retrieve the unique identifier (ID) of your account, which is crucial in determining its creation date.
So, take a breath, get ready to proceed, and let’s move on to step 6 to uncover the secrets of your Discord account’s age.
Step 6: Right-click on your profile picture or username
Now that we’re back in the main Discord interface, it’s time to retrieve the unique identifier (ID) of your account, which will help us determine its creation date. To do this, we will right-click on your profile picture or username to access a specific option that contains the desired information.
Follow these steps to retrieve your account’s ID:
- Locate your profile picture or username in the Discord interface. Your profile picture is usually displayed on the top-left corner of the screen, while your username is typically visible near your profile picture.
- Once you’ve found your profile picture or username, perform a right-click on it. This will open a context menu with different options.
- In the context menu, look for an option called “Copy ID” or something similar. The exact wording may vary slightly depending on the version of Discord you’re using.
- Click on the “Copy ID” option to copy the unique identifier to your clipboard.
By right-clicking on your profile picture or username and choosing the “Copy ID” option, you have successfully retrieved the essential piece of information needed to determine your account’s creation date.
Now that you have your account ID copied, it’s time to move on to the next step, where we’ll use your ID to find out how old your Discord account is. Get ready for an exciting discovery as we unveil the creation date of your account in the next step.
Step 7: Select “Copy ID” from the options
After right-clicking on your profile picture or username in the Discord interface, a context menu will appear with several options. Now, it’s time to select the specific option called “Copy ID” to retrieve your Discord account’s unique identifier (ID).
Follow these steps to select “Copy ID” from the options:
- Right-click on your profile picture or username in the Discord interface, as previously described.
- From the context menu that appears, locate the option named “Copy ID” or something similar. The exact text may vary slightly depending on the version of Discord you’re using.
- Click on the “Copy ID” option. This action will copy your Discord account’s ID to your clipboard.
By selecting the “Copy ID” option, you’ve successfully obtained the unique identifier of your Discord account. This ID is essential as it serves as a key piece of information that will help us determine the creation date of your account.
Now that you have your account’s ID copied, it’s time to proceed to the next step, where we’ll use this ID to find out how old your Discord account is. Get ready for an exciting journey as we uncover the secrets of your account’s age.
Step 8: Open your web browser and go to the official Discord website
To proceed with determining the age of your Discord account, we need to open your web browser and visit the official Discord website. This step allows us to access a special URL where we can input your account’s ID and retrieve its creation date.
Follow these steps to open your web browser and visit the official Discord website:
- Exit the Discord application on your computer or close the Discord app on your mobile device.
- Open your preferred web browser. You can use popular web browsers like Google Chrome, Mozilla Firefox, Microsoft Edge, or Safari.
- In the address bar of your web browser, type in “discord.com” without the quotation marks. This is the official website for Discord.
- Press Enter or click on the “Go” button to navigate to the Discord website.
Once you’ve performed these steps, your web browser will load the official Discord website, where you’ll be able to access your Discord account’s information, including its creation date, using the unique identifier (ID) we obtained in the previous steps.
Now that you’ve successfully opened your web browser and visited the official Discord website, we can move on to the next step where we’ll log into your Discord account using this platform. Get ready to uncover the age of your Discord account in the following step.
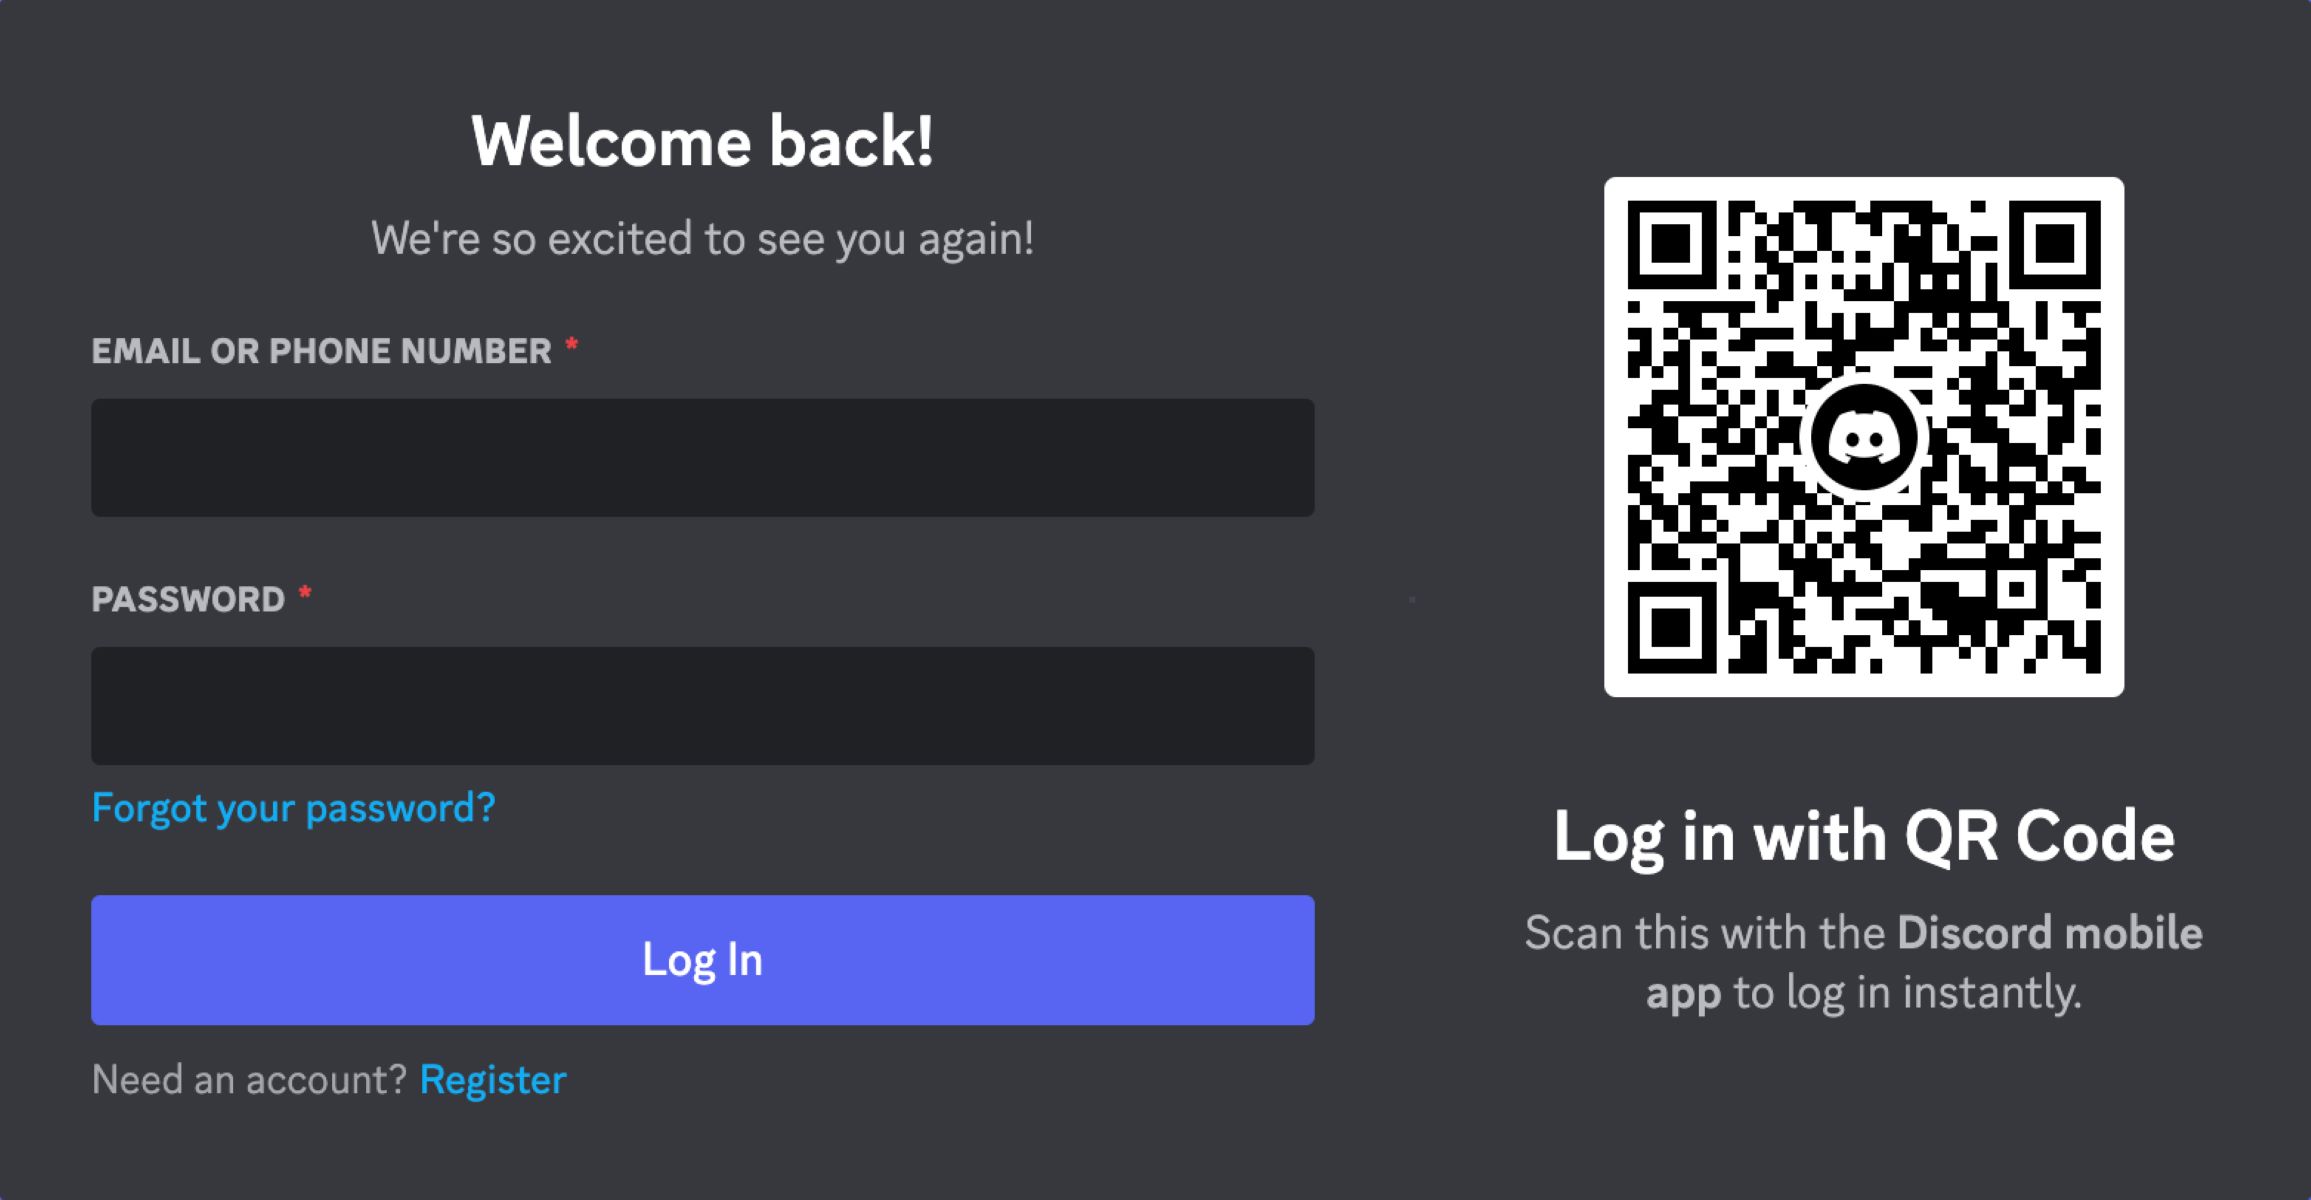
Step 9: Log in to your Discord account
With the official Discord website open in your web browser, it’s time to log in to your Discord account. Logging in will allow us to access your account’s information and use the unique identifier (ID) we previously obtained to determine its creation date.
Follow these steps to log in to your Discord account on the official Discord website:
- On the Discord website, you’ll find a “Login” or “Sign in” button. Click on this button to proceed with the logging in process.
- You will be redirected to a login page where you can enter your account credentials.
- Enter the email address or the username associated with your Discord account in the designated field.
- Next, enter your account password in the provided password field.
- Once you have entered your account credentials, click on the “Login” or “Sign in” button to log in to your Discord account.
After logging in successfully, you will gain access to your Discord account’s information and settings on the Discord website.
Now that you are logged in, it’s time to move on to the next step to finally unveil the age of your Discord account. Get ready for an exciting revelation as we retrieve the creation date of your account.
Step 10: Paste the copied ID into the URL bar after “discordapp.com/users/”
Now that you’re logged into your Discord account on the official Discord website, it’s time to use the unique identifier (ID) we copied earlier to find out the creation date of your account. To do this, we will paste the ID into the URL bar, following a specific format.
Here’s how to paste the ID into the URL bar:
- Go to the URL bar of your web browser, which is typically located at the top of the browser window.
- After “discordapp.com/users/”, paste the copied ID that we obtained earlier. Ensure that there are no extra spaces or characters before or after the ID.
- The format in the URL bar should look like this: “discordapp.com/users/your-copied-ID”.
By pasting the copied ID into the URL bar in this specific format, you are instructing the Discord website to display your account’s information, including its creation date.
Now that you have properly formatted the URL by pasting the ID, it’s time to proceed to the next step, where we will press Enter or navigate to the URL to retrieve the creation date of your Discord account. Get ready to discover the age of your account in the following step.
Step 11: Press Enter or go to the URL
With the URL bar in your web browser containing the formatted URL, which includes your copied ID, it’s time to proceed to the next step. This step involves either pressing Enter on your keyboard or clicking on the “Go” button or arrow to navigate to the URL and retrieve the creation date of your Discord account.
Follow these steps to press Enter or go to the URL on the official Discord website:
- Ensure that the URL bar in your web browser contains the properly formatted URL with your copied ID after “discordapp.com/users/”.
- Press the Enter key on your keyboard. Alternatively, you can click on the “Go” button or arrow located next to the URL bar.
By pressing Enter or going to the URL, you are instructing the Discord website to display your account’s information, including its creation date, based on the provided ID.
Now that you have taken this step, get ready for the exciting moment where we unveil the creation date of your Discord account. In the next step, we will explore the displayed information to find out how old your account really is.
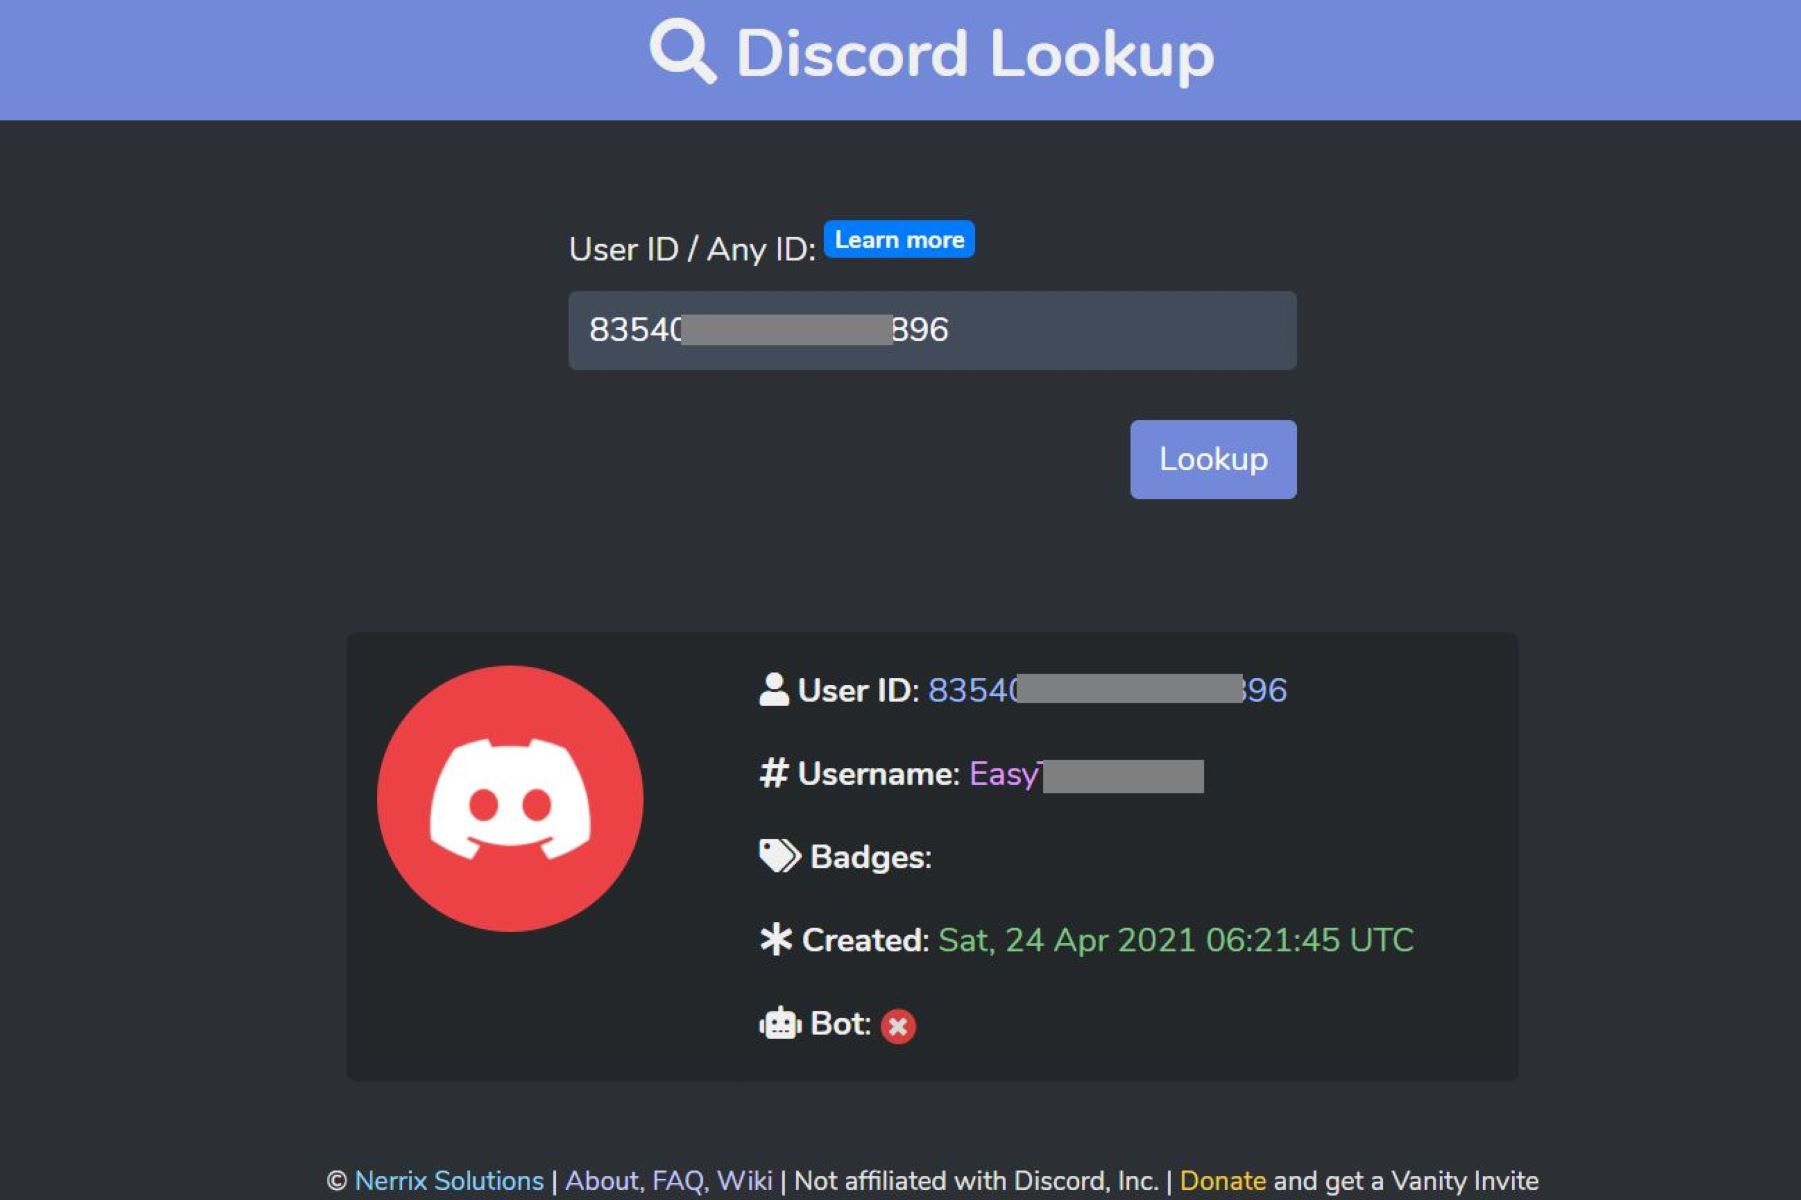
Step 12: Scroll down to find the Account Created information
After pressing Enter or navigating to the URL with your ID on the official Discord website, you will be presented with a page containing information about your Discord account. To determine the creation date of your account, you need to scroll down and locate the “Account Created” information.
Follow these steps to find the Account Created information:
- Using the scroll bar on the right-hand side of the webpage, scroll down the page.
- Continue scrolling until you find the section that displays information related to your account.
- Search for the specific entry labeled “Account Created” or something similar.
- The date and time of your account’s creation will typically be shown in this section.
Locating the “Account Created” information will provide you with the desired creation date of your Discord account. This date signifies when you first joined the Discord community and embarked on your Discord journey.
Take a moment to note down or remember this date as a special milestone in your Discord experience.
Congratulations! You have successfully discovered the creation date of your Discord account by scrolling down and finding the “Account Created” information on the official Discord website.
Now that you have unveiled the age of your Discord account, you can reflect on how far you’ve come and the memories you’ve made during your time on Discord.
Conclusion
Discovering the age of your Discord account can be an exciting journey down memory lane. By following the steps outlined in this guide, you were able to determine the creation date of your Discord account and unlock a piece of your Discord history.
Throughout the process, you learned how to navigate the Discord interface, access your User Settings, enable Developer Mode, and retrieve your account’s unique identifier (ID). With this ID, you logged into the official Discord website, pasted the ID into the URL, and ultimately found the “Account Created” information on the webpage.
Knowing the exact date when you created your Discord account can evoke nostalgia and remind you of your early days on the platform. It’s a meaningful milestone that represents the beginning of your journey as a Discord user.
Whether you joined Discord recently or have been a long-time user, this newfound knowledge adds an interesting dimension to your experience. You can reflect on the connections you’ve made, the communities you’ve participated in, and the memories you’ve created during your time on Discord.
Keep exploring Discord, engaging with others, and enjoying the various features the platform has to offer. As you continue your Discord journey, your account will accumulate even more memories and experiences.
Remember, your Discord account’s age is just one part of your overall experience. Embrace the present and look forward to the future as you continue to connect, chat, and enjoy the vibrant Discord community.
Happy Discord-ing!