Introduction
Welcome to the digital world of Discord! Whether you’re a gamer looking to connect with fellow players, a team member collaborating on a project, or simply someone who wants to join a community of like-minded individuals, Discord is the perfect platform for you. With its seamless communication features and user-friendly interface, creating a Discord account is a breeze.
Discord is a popular communication platform that offers both text and voice chat. It allows you to connect with people globally, join various interest-based servers, and engage in conversations with ease. Whether you’re using Discord on your computer or mobile device, the process of creating an account remains the same.
In this step-by-step guide, we will walk you through the process of creating a Discord account, customizing your profile, finding and joining servers, and much more. By the end, you’ll be well-equipped to navigate Discord and start making connections.
So, let’s dive in and embark on this exciting journey of creating your very own Discord account!
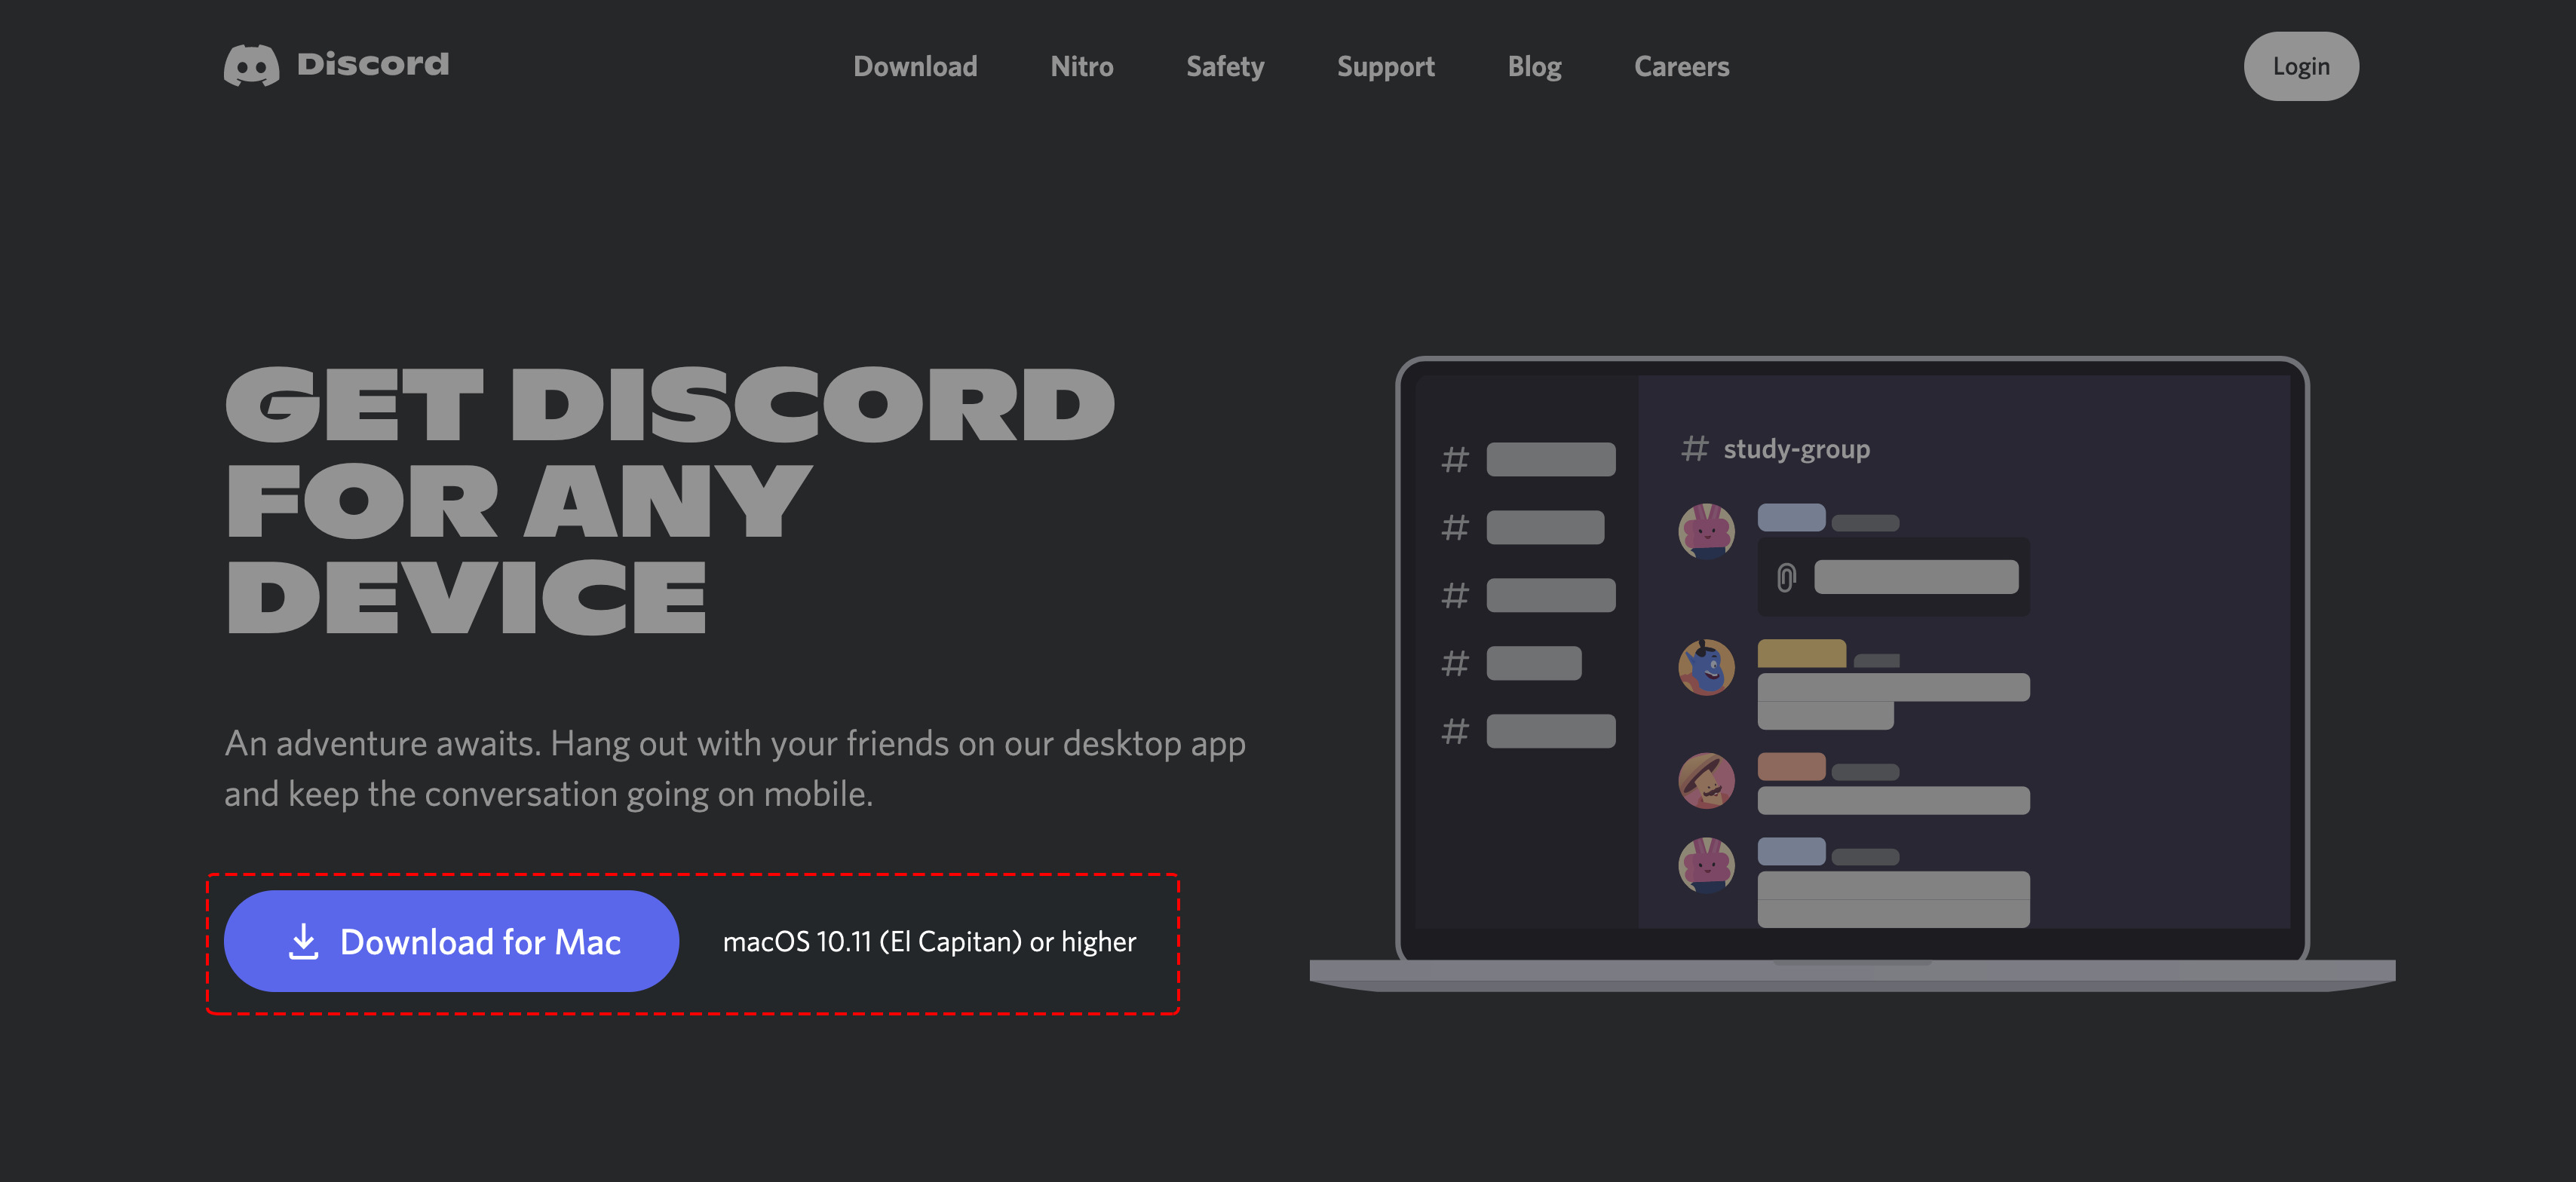
Step 1: Downloading Discord
The first step in creating a Discord account is to download the Discord application onto your device. Discord is available for both computers and mobile devices, making it accessible no matter what platform you prefer.
To download Discord on your computer, follow these steps:
- Open your preferred web browser and navigate to the Discord website.
- Click on the “Download for Windows” button if you are using a Windows computer or the “Download for Mac” button if you are using a Mac.
- Once the download is complete, locate the downloaded file and run the installer.
- Follow the on-screen instructions to complete the installation process.
If you’d like to use Discord on your mobile device, you can download the Discord app from the respective app store:
- For iOS devices, go to the App Store and search for “Discord.” Click on the “Get” button, and once the installation is complete, open the app.
- For Android devices, open the Google Play Store and search for “Discord.” Tap on the “Install” button, and after the app is installed, launch it.
Once you have downloaded and installed Discord on your device, you’re ready to move on to the next step of creating your Discord account.
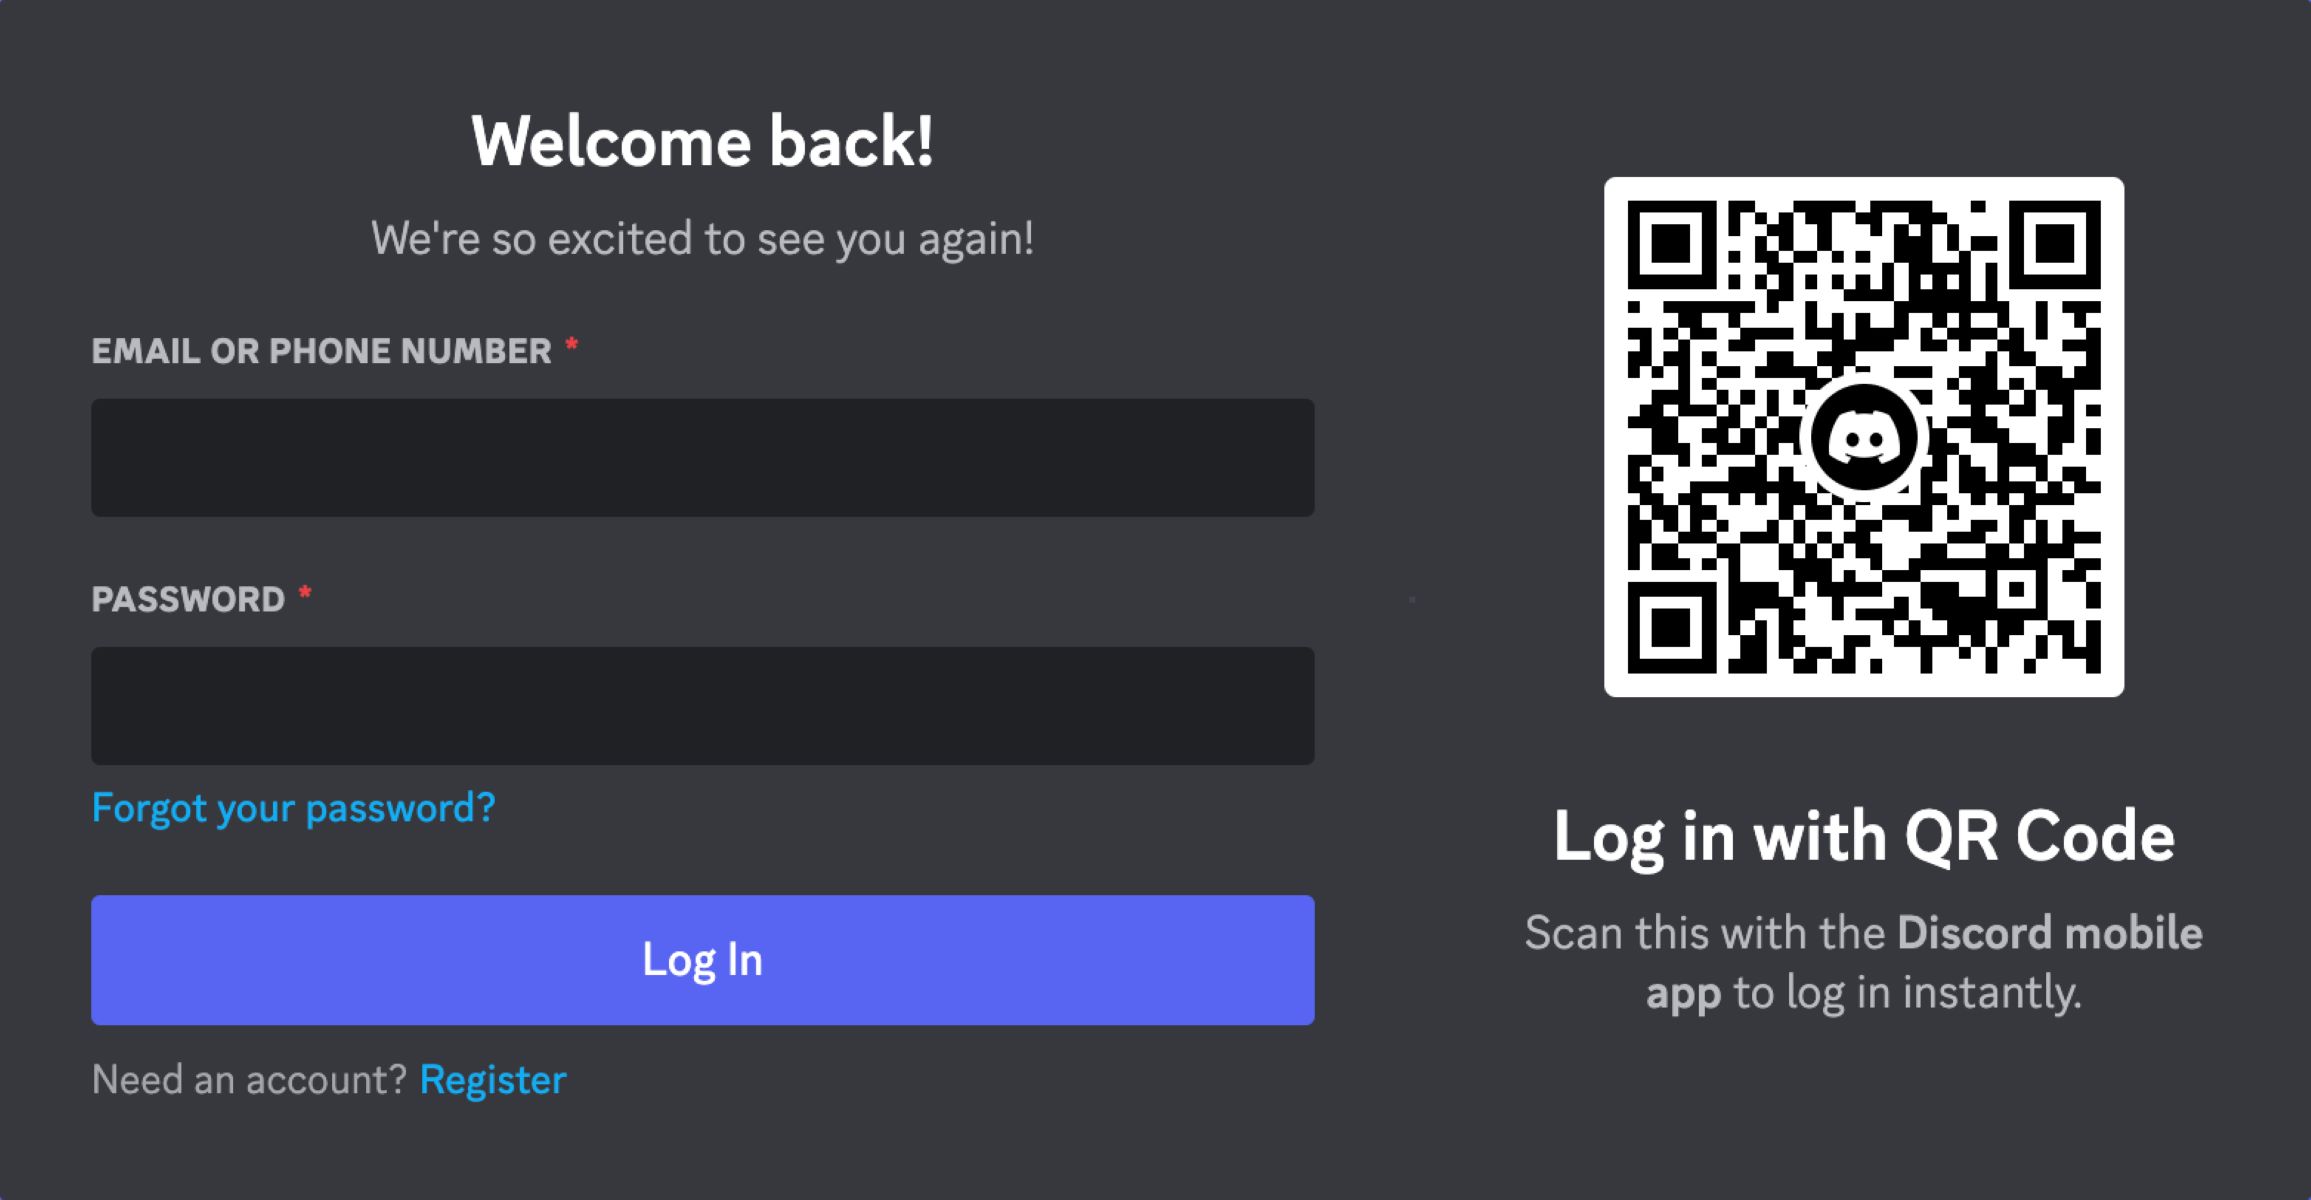
Step 2: Creating a Discord Account
Now that you have downloaded the Discord application, it’s time to create your Discord account. Follow these simple steps to get started:
- Open the Discord application on your device.
- Click on the “Register” or “Sign Up” button to begin the account creation process.
- On the registration page, you will be prompted to enter your desired username, email address, and password.
- Choose a unique and memorable username that will identify you on Discord.
- Enter a valid email address that you have access to as you will need to verify it later.
- Create a strong and secure password that includes a combination of letters, numbers, and special characters.
- Confirm your password by re-entering it in the appropriate field.
- If you have a friend that referred you to Discord, you can enter their referral code in the “Referral” field.
- Check the box to agree to Discord’s Terms of Service and Privacy Policy.
- Click on the “Continue” or “Create Account” button to proceed.
Once you have completed these steps, your Discord account will be created. Congratulations! You are now ready to take full advantage of all the features Discord has to offer. However, before you can start exploring, you will need to verify the email address you provided during the registration process. Let’s move on to the next step to learn how to do that.
Step 3: Choosing a Username
One of the most important aspects of creating your Discord account is choosing a unique and memorable username. Your username is how others will identify you on Discord, so it’s essential to pick something that represents you and is easy to recognize. Here are some tips to help you choose the perfect username:
- Be creative: Think outside the box and come up with a username that reflects your personality or interests. You can incorporate your favorite hobby, a catchy phrase, or even a play on words.
- Keep it unique: Avoid using a username that is already taken. You want your username to stand out and be easily distinguishable.
- Consider readability: Make sure your username is easy to read and understand. Avoid using excessive numbers, symbols, or special characters that can make it confusing.
- Think long-term: Choose a username that you will be comfortable using for a long time. Changing your username frequently may confuse your friends and followers.
- Respect the rules: Make sure your username follows Discord’s guidelines. It should not contain any offensive or inappropriate language.
Once you have decided on a username, enter it in the appropriate field during the account creation process. Remember, your username will be displayed to others, so choose wisely. If you ever change your mind or want to update your username later, Discord allows you to do so in your account settings.
Now that you have created your account and chosen a unique username, it’s time to move on to the next step: verifying your email address.
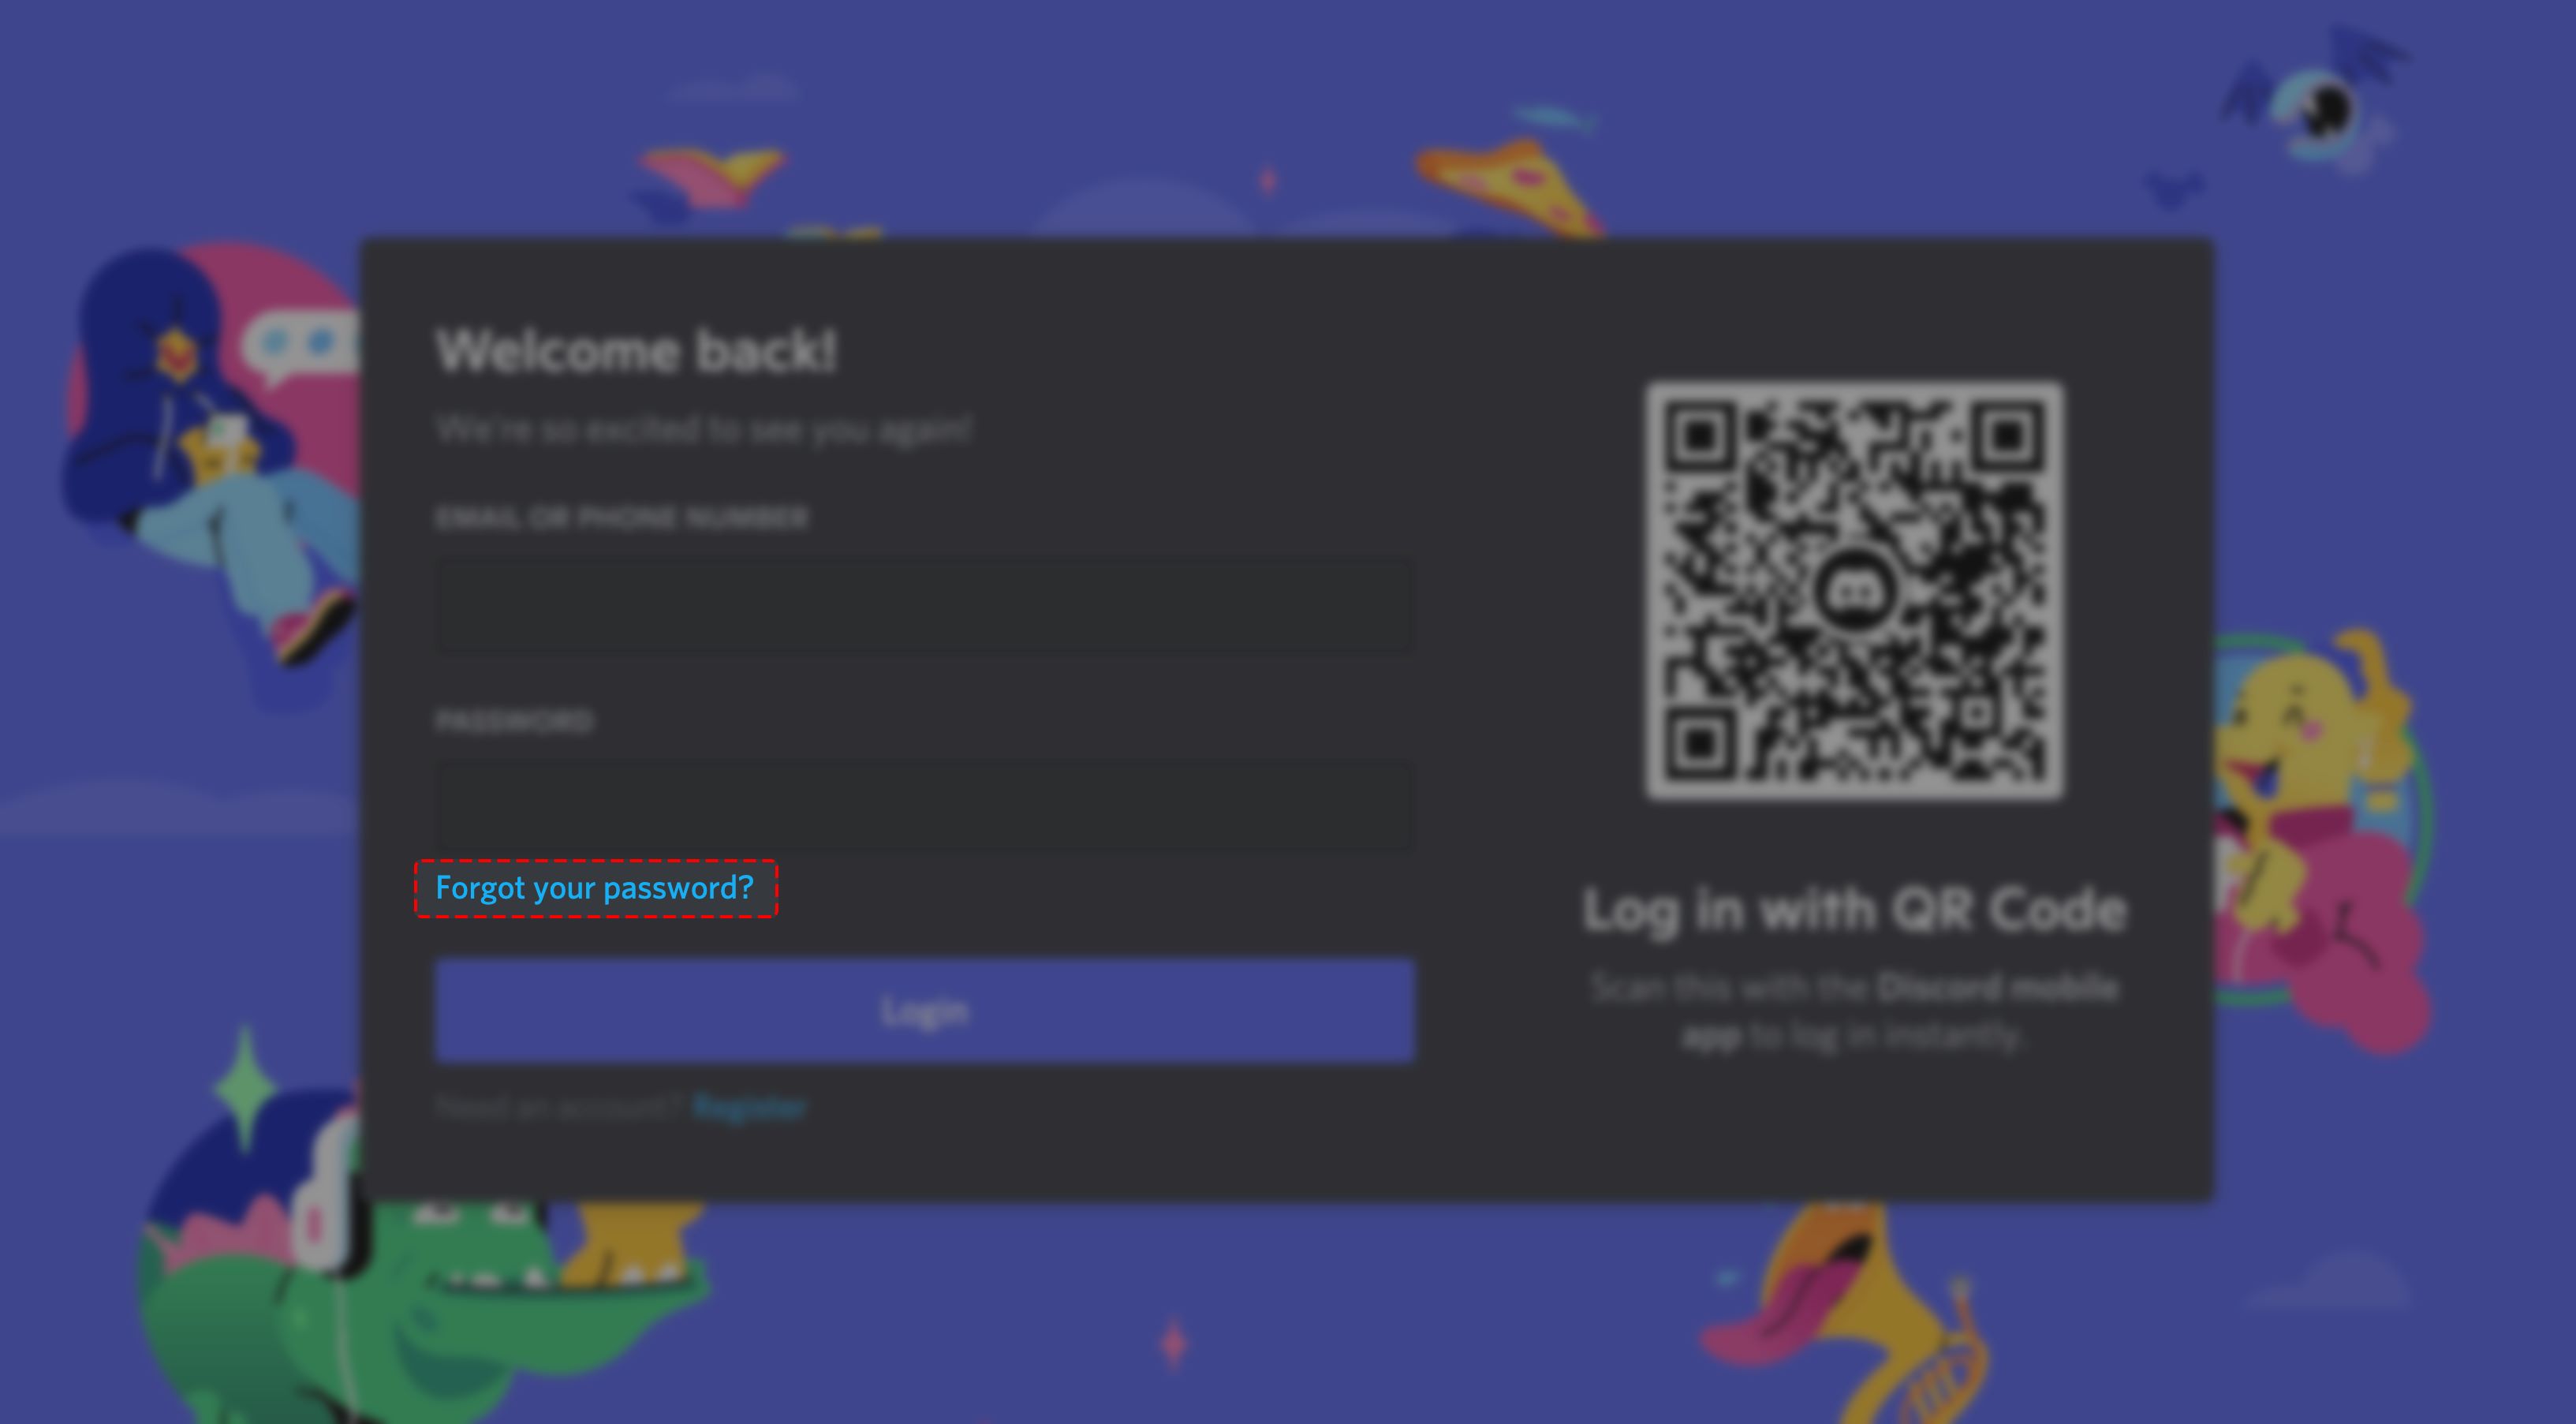
Step 4: Verifying Your Email
After creating your Discord account and choosing a username, the next step is to verify the email address associated with your account. Verifying your email is important as it helps ensure the security of your account and allows you to access all the features of Discord. Here’s how you can verify your email:
- Open your email inbox and look for an email from Discord.
- Click on the verification link provided in the email. This link will redirect you to a page confirming that your email has been successfully verified.
- If the link does not work or expires, you can request a new verification email by clicking on the “Resend Verification Email” button in your account settings on Discord.
- If you don’t see the verification email in your inbox, check your spam or junk folder as it might have been filtered there.
Verifying your email is a crucial step as it not only confirms the ownership of your account but also allows you to receive important notifications from Discord and reset your password if needed. It’s recommended to keep your email address up to date to ensure a seamless Discord experience.
Now that your email is verified, you can proceed to the next step: setting up two-factor authentication (2FA) for an added layer of security. By enabling 2FA, you will protect your Discord account from unauthorized access and keep your conversations and personal information safe.
Step 5: Setting Up Two-Factor Authentication
To further secure your Discord account, it is highly recommended to enable two-factor authentication (2FA). Two-factor authentication adds an extra layer of security by requiring a verification code, in addition to your password, when logging into your account. This ensures that even if someone manages to obtain your password, they still won’t be able to access your account without the verification code. Here’s how you can set up two-factor authentication on Discord:
- Open the Discord application and click on the gear icon located at the bottom left corner of the screen to open your User Settings.
- In the left sidebar, click on the “My Account” category.
- Under the “Security” section, you will find the option to enable two-factor authentication. Click on the “Enable Two-Factor Auth” button.
- You will be prompted to choose a two-factor authentication method. Discord offers two options: SMS authentication or an authentication app.
- To set up SMS authentication, enter your phone number and click on “Verify Phone Number.” You will receive a verification code via SMS, which you will need to enter to complete the setup.
- To set up authentication using an app, click on the “Set Up” button next to “Authenticator App.” Follow the instructions provided to scan the QR code using an authenticator app such as Google Authenticator or Authy. Once scanned, the app will generate a time-based verification code that you will need to enter in Discord.
- Once you have successfully set up two-factor authentication, Discord will provide you with backup codes. These codes can be used if you ever lose access to your authentication method. It is crucial to save these codes in a safe location.
Enabling two-factor authentication adds an extra layer of security to your Discord account, helping to prevent unauthorized access. It is highly recommended to set up this feature to safeguard your account and personal information.
Now that you have enabled two-factor authentication, you can proceed to the next step: customizing your Discord profile to make it uniquely yours.
Step 6: Customizing Your Profile
Now that you have created your Discord account and secured it with two-factor authentication, it’s time to personalize your profile. Customizing your profile allows you to express yourself and make your presence on Discord more unique and appealing. Here are some steps to help you customize your Discord profile:
- Click on the gear icon at the bottom left corner of the Discord window to access your User Settings.
- In the left sidebar, click on the “User Settings” category.
- Under the “My Account” section, you will find options to edit your profile picture, username, email address, and password.
- To change your profile picture, click on the current picture and select a new image from your device.
- If you wish to change your username, click on the pencil icon next to your current username and enter a new one. Keep in mind that you can only change your username once every 24 hours.
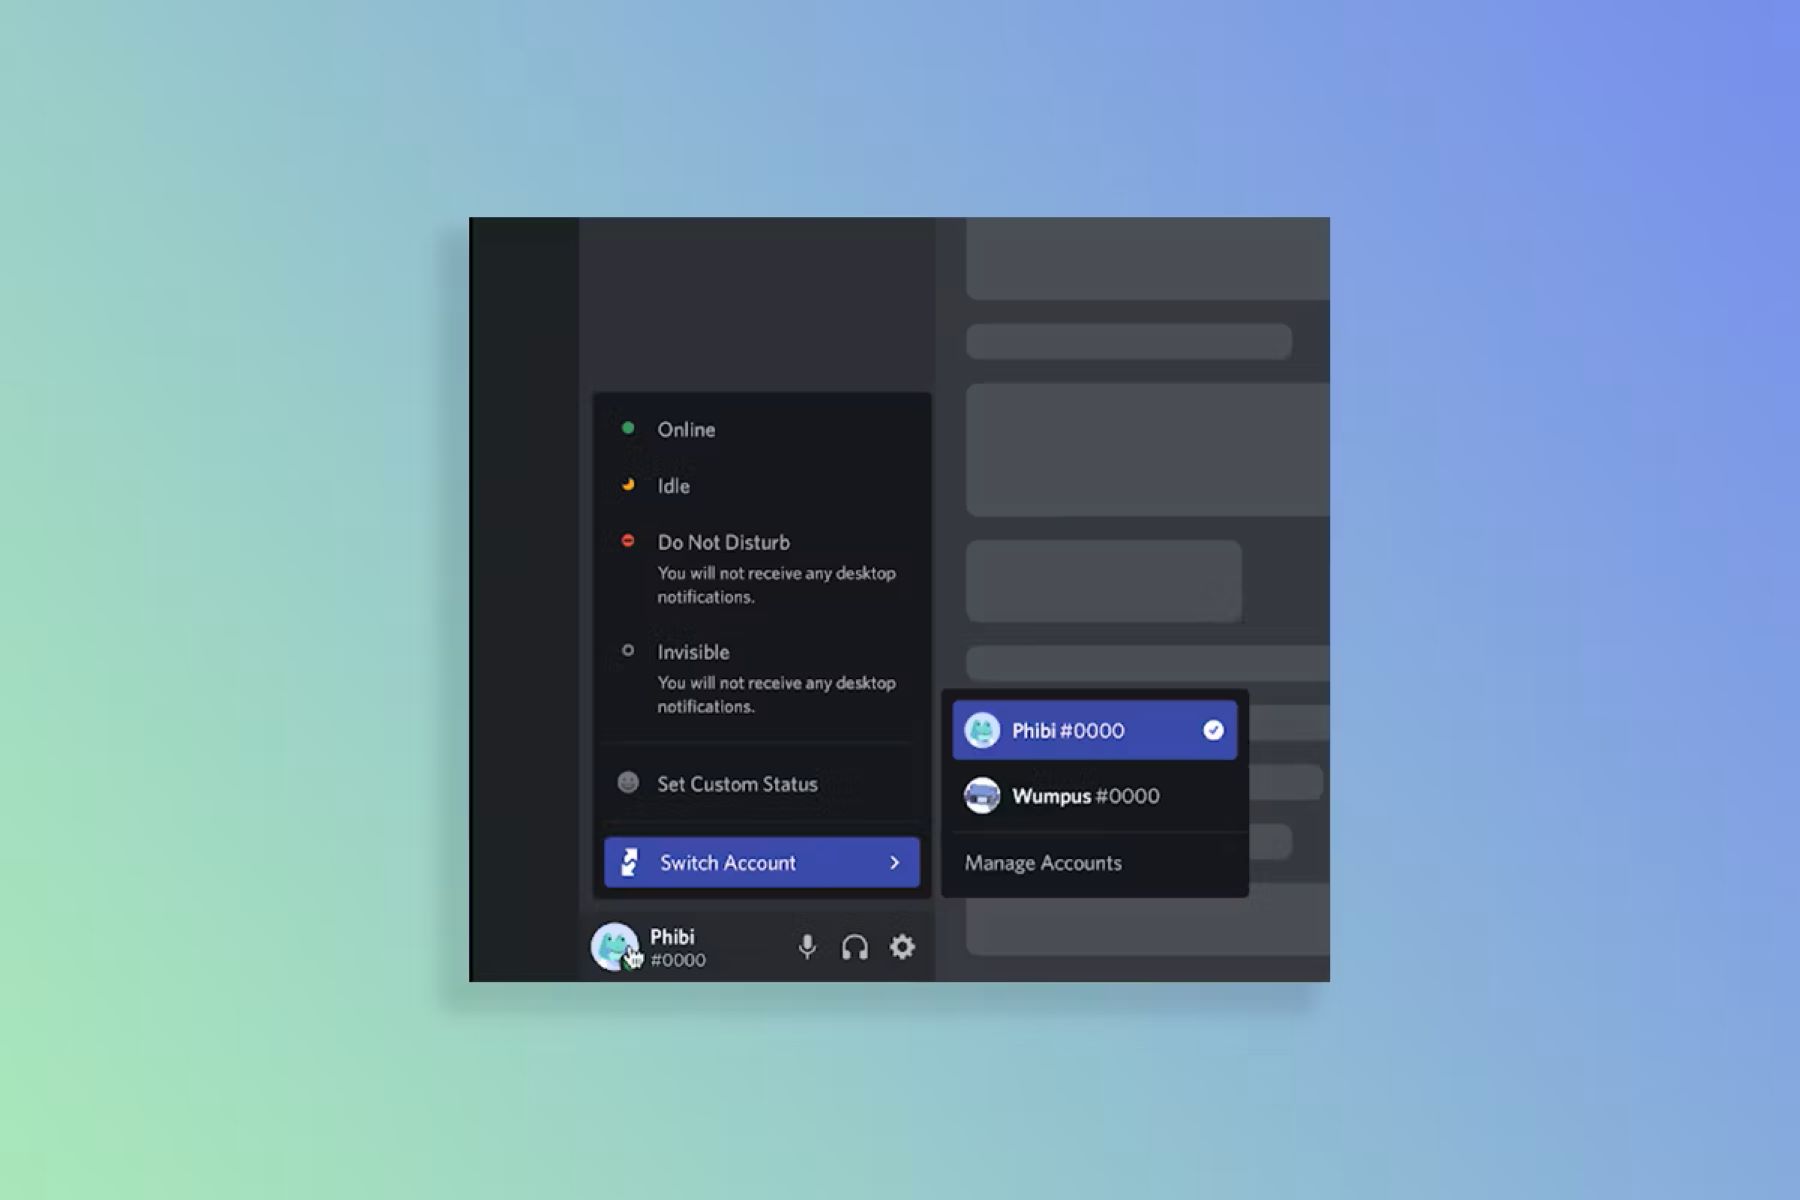
- Under the “Privacy & Safety” section, you will find options to manage your online status, enable/disable friend requests, and control whether others can see what games you’re playing.
- Below that, you can also add a short bio to your profile, providing a brief description of yourself or your interests.
- Scroll further down to find the “Appearance” section. Here, you can customize your Discord theme by choosing from the available options or enabling the “Developer Mode” for advanced customization.
- Once you have made the desired changes, click on the “Save Changes” button to apply them to your profile.
By customizing your profile, you can make it more visually appealing and reflect your personality or interests. It allows you to create a unique identity on Discord and helps others get to know you better.
With your profile customized, you’re ready to explore the world of servers and channels on Discord. In the next step, we will guide you on finding and joining servers that interest you.
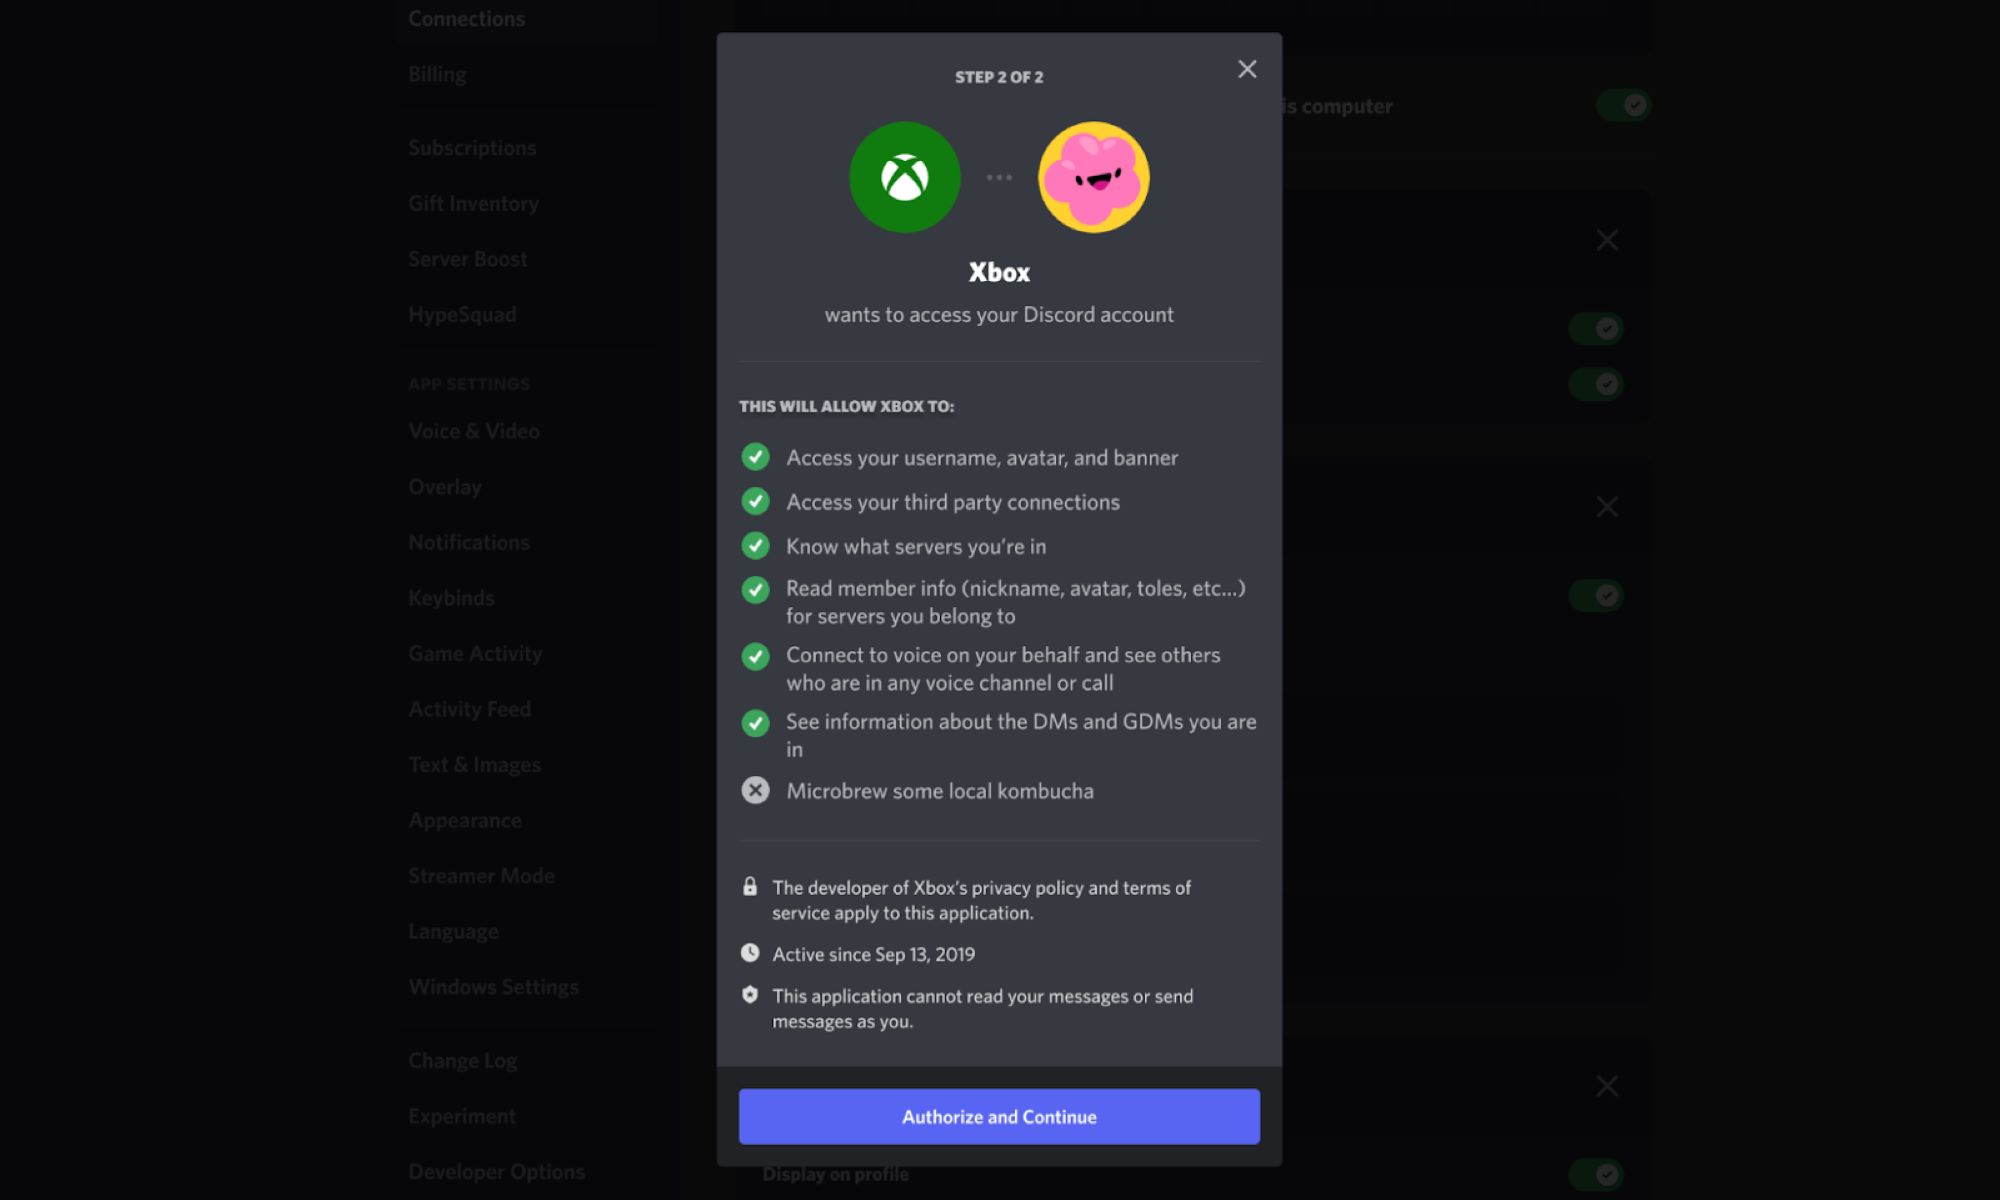
Step 7: Finding and Joining Servers
One of the most exciting aspects of Discord is the ability to join servers and connect with like-minded individuals who share similar interests. Discord offers a wide range of servers, including gaming communities, hobby groups, educational platforms, and more. Here’s how you can find and join servers on Discord:
- Go to the Discord application or website and log into your account.
- In the left sidebar, you will find the server discovery section labeled “Explore Public Servers.” Click on the plus icon next to it.
- A new window will open, displaying various categories of servers that you can browse through.
- Click on a category that interests you, such as “Gaming,” “Technology,” “Art,” or any other topic you’re passionate about.
- Within each category, you will see a list of recommended servers. These servers have been curated by Discord based on their popularity and quality.
- Browse through the list and click on a server that catches your attention to view more details.
- On the server’s page, you can read the description, view the number of members, and see the server’s rules and guidelines.
- If you decide you want to join the server, click on the “Join Server” button to become a member.
- Some servers may require verification before granting you access. Follow the instructions provided to complete the verification process.
Alternatively, you can also join servers through invite links. If someone invites you to a server, they will provide you with a unique URL or code. Click on the link or enter the code in the server discovery section to join the server directly.
By joining servers that align with your interests, you can connect with a community of individuals who share your passion. You can chat, participate in discussions, and engage in activities specific to the server’s focus.
Now that you’ve joined some servers, it’s time to explore the various channels within them and start interacting with other members. The next step will guide you through navigating Discord channels.
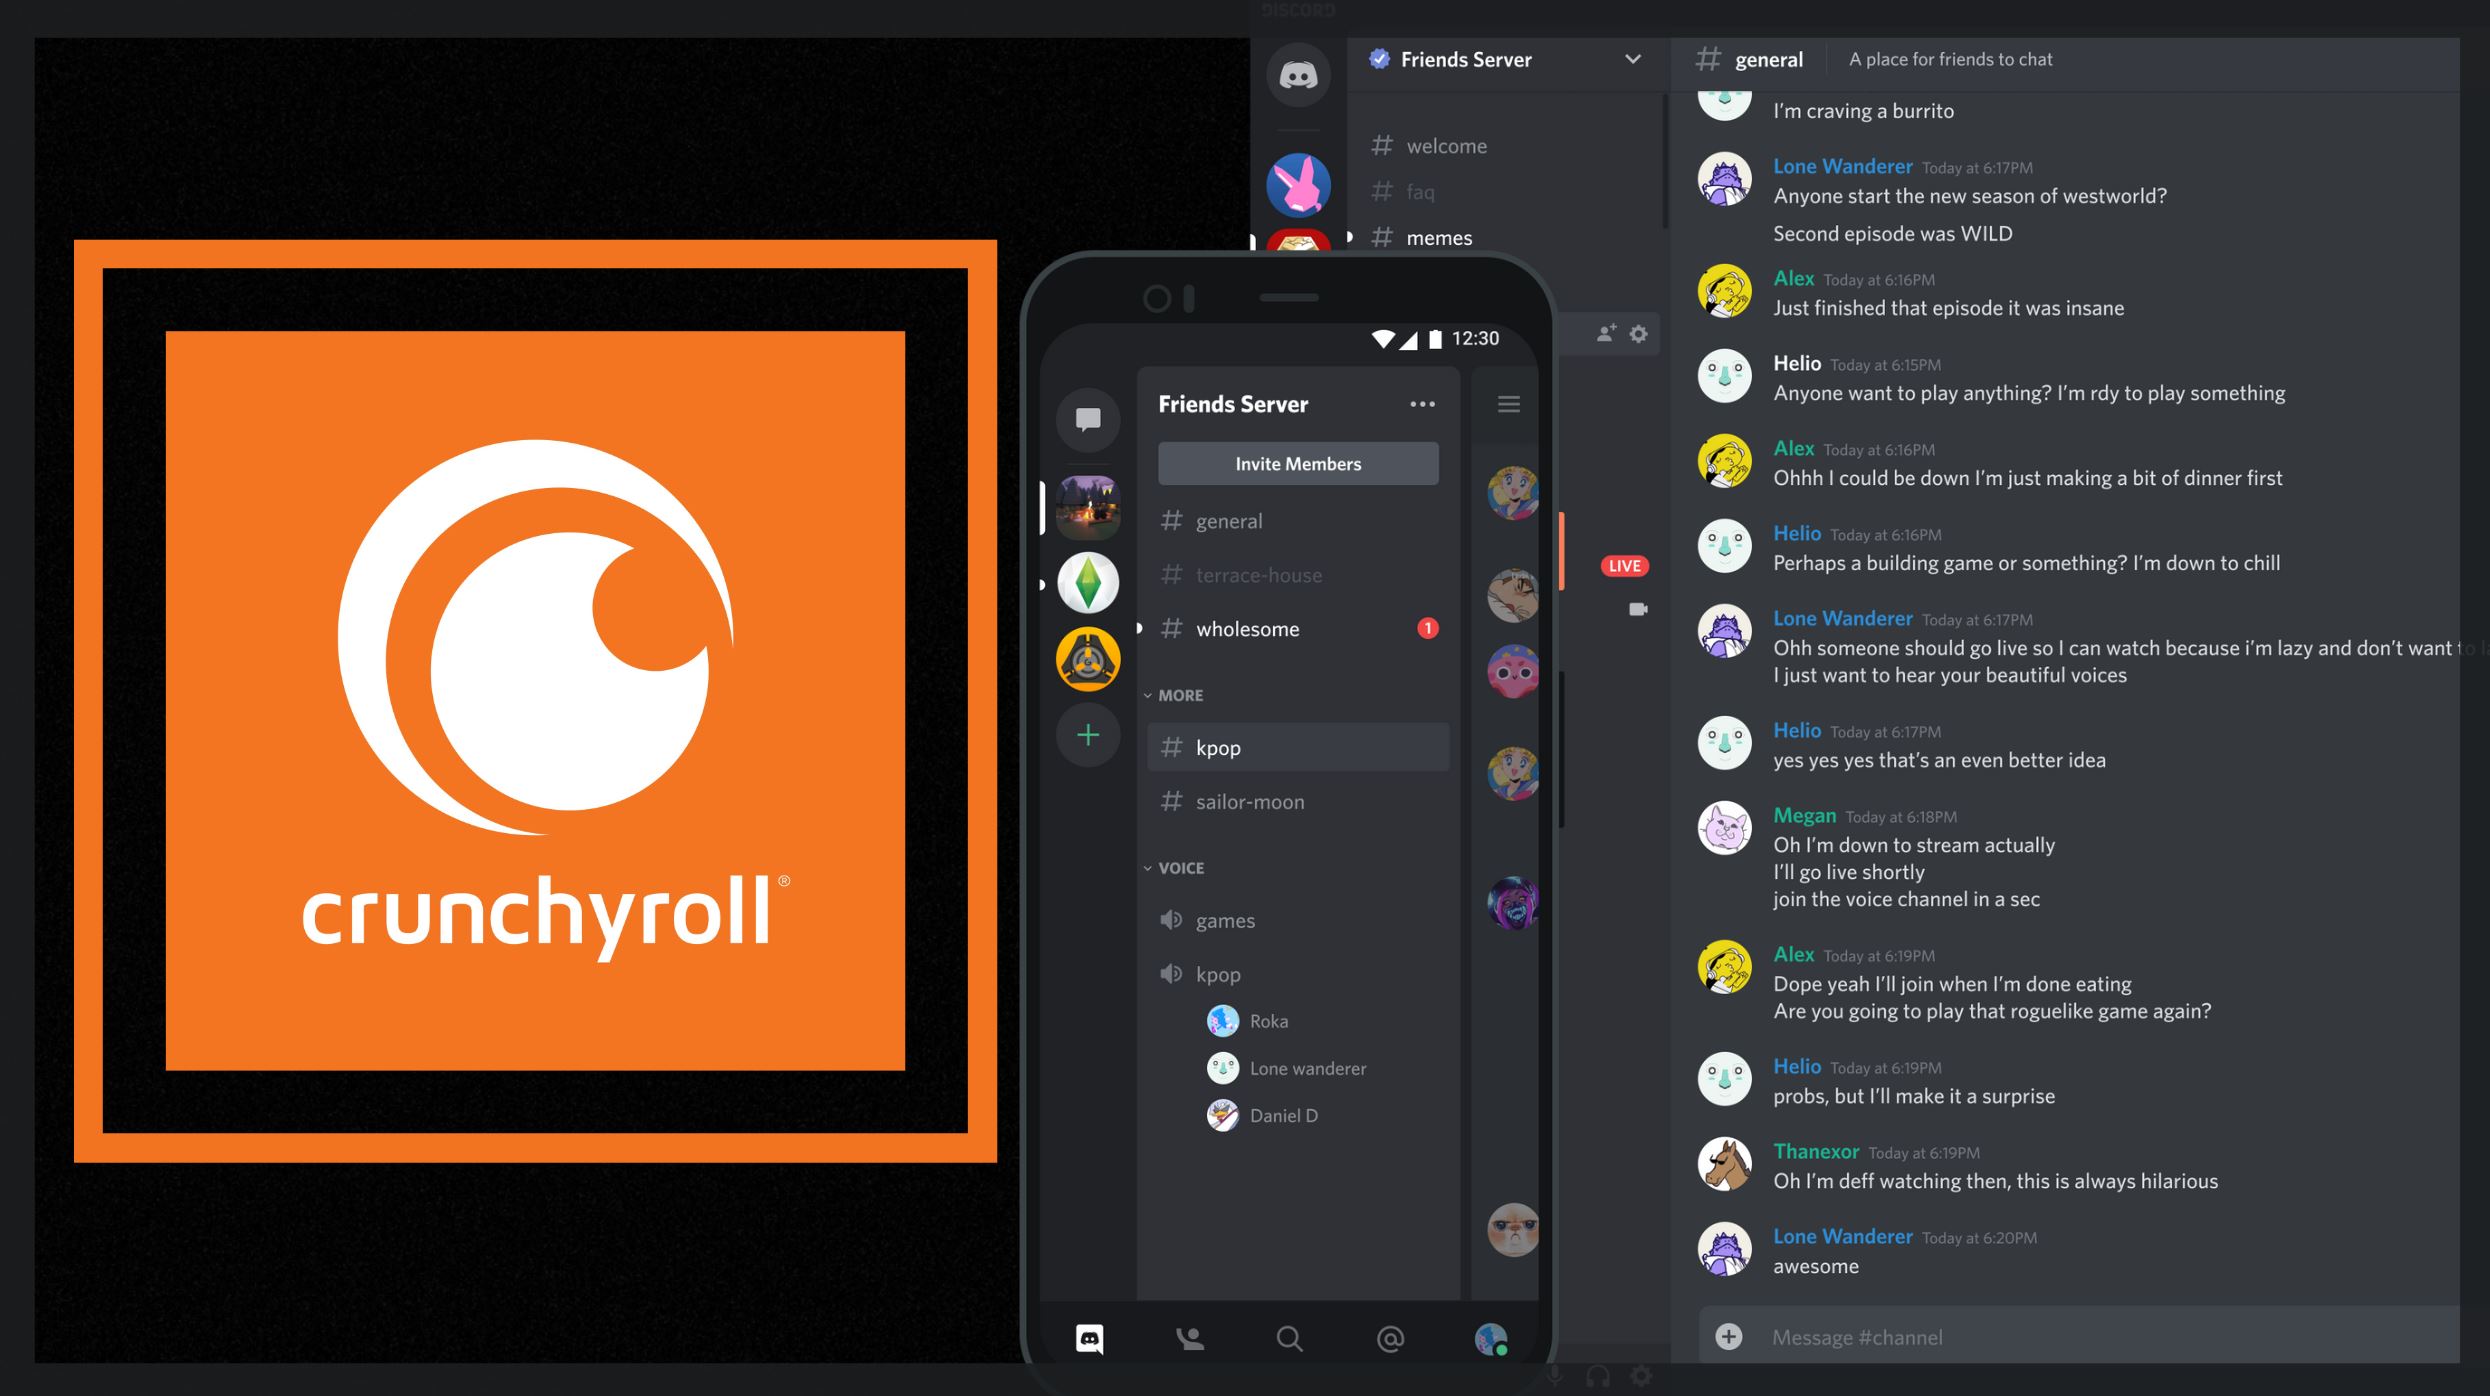
Step 8: Navigating Channels
Once you have joined servers on Discord, you will find that each server is divided into various channels. Channels are organized spaces within a server where specific discussions and activities take place. Navigating through these channels allows you to explore different topics and engage with other members. Here’s how you can navigate channels on Discord:
- Open the Discord application and log into your account if you haven’t already.
- On the left sidebar, you will see a list of servers you have joined. Click on the server you want to explore.
- Once inside the server, you will find a list of channels under the server name.
- Click on a specific channel to enter it and view the conversations happening within.
- In text channels, you can read messages, participate in discussions by sending your own messages, and react to messages using emojis.
- Some servers also have voice channels where you can join voice chats with other members. To join a voice channel, click on it and select the “Join Voice” option.
- Channels may be organized based on topics, activities, or specific purposes. Look for channel names or descriptions to understand their intended use.
- To navigate between channels within a server, simply click on the desired channel name in the list.
- If a server has a large number of channels, you can use the search bar located at the top of the channel list to quickly find a specific channel by name.
As you navigate through different channels, take your time to explore the discussions, engage with other members, and contribute to the conversations. Each channel offers a unique space for interaction, and you can switch between channels to find the ones that interest you the most.
Now that you know how to navigate channels on Discord, it’s time to learn how to send messages and communicate with other members effectively. The next step will guide you through the process of sending messages on Discord.
Step 9: Sending Messages
One of the primary functions of Discord is the ability to send messages and engage in conversations with other members. Whether it’s text channels or voice chats, Discord provides various ways to communicate. Here’s how you can send messages on Discord:
- Navigate to the server and channel where you want to send a message.
- In the text channel, you will find a text input box at the bottom of the screen. Click on it to start typing your message.
- You can send a simple text message by typing your message and pressing the “Enter” or “Return” key on your keyboard.
- Add formatting to your message to make it stand out. Use Markdown syntax such as *bold*, _italic_, `code blocks`, and more.
- Attach files or images to your message by clicking on the attachment icon (paperclip or image icon) in the text input box and selecting the file from your device.
- If you want to mention a specific user in your message, type the “@” symbol followed by their username. This will notify them of your message.
- React to messages with emojis by clicking on the smiley face icon below a message and selecting the desired emoji from the list.
- Edit or delete your own messages by clicking on the ellipsis (three dots) icon that appears when you hover over your message. Choose the appropriate option.
- Reply to someone’s message by hovering over their message and clicking on the “Reply” arrow icon that appears. This will create a threaded conversation.
Remember to adhere to server rules and guidelines when sending messages. Be respectful and considerate in your interactions with others, fostering a positive and inclusive environment.
With these messaging tips in mind, you’re now equipped to start communicating effectively on Discord. The next step will guide you on adding friends to your Discord account and expanding your network.
Step 10: Adding Friends
Building connections and expanding your network is an integral part of the Discord experience. Adding friends on Discord allows you to easily stay in touch and communicate with people you know. Here’s how you can add friends on Discord:
- Open the Discord application and log into your account, if not already logged in.
- In the left sidebar, click on the “Friends” icon represented by a person’s silhouette.
- At the top of the Friends tab, click on the “Add Friend” button.
- Type in the Discord Tag of the person you want to add. The Discord Tag consists of their username followed by a hashtag (#) and a four-digit number assigned to them.
- If you don’t know someone’s Discord Tag, you can ask them directly or search for it in mutual servers.
- Once you have entered the Discord Tag, click on the “Send Friend Request” button.
- The person will receive your friend request and can choose to accept or decline it.
- If your friend request is accepted, the person will be added to your Friends list, and you can start messaging and interacting with them.
- If your friend request is declined, the person will remain on your pending friend requests list until you cancel the request or they accept it in the future.
- You can also manage your friend requests from the “Friends” tab by clicking on the “Pending” tab, where you can cancel or resend friend requests.
Adding friends on Discord opens up opportunities for private conversations, collaboration, and staying connected with your close circle. It allows you to easily communicate with them, share updates, and enjoy a more personalized experience on the platform.
With friends added to your Discord account, you can now explore the various voice chat and video call features that Discord offers. The next step will guide you through these communication options.
Step 11: Voice Chat and Video Calls
Discord provides a seamless platform for voice chatting and video calls, allowing you to connect with others in real-time. Whether you want to have a quick conversation or engage in group discussions, Discord has you covered. Here’s how you can utilize the voice chat and video call features on Discord:
- Open Discord and log into your account, if not already logged in.
- Select the server where you want to engage in voice chat or video call.
- In the left sidebar, you will find a list of voice channels under the server name.
- Click on a voice channel to join the channel and start voice chatting with others who are connected.
- If you want to initiate a video call instead, join a voice channel first and click on the camera icon at the bottom left corner of the voice chat window. This will start a video call for all participants in the voice channel.
- During a voice chat or video call, you can mute or unmute your microphone by clicking on the microphone icon at the bottom left corner of the screen.
- Similarly, you can turn your camera on or off during a video call by clicking on the camera icon at the bottom left corner of the screen.
- If you want to invite more people to your voice chat or video call, you can share the channel’s invite link with them. To get the invite link, click on the gear icon next to the voice channel name and select “Invite People.”
- Discord also allows you to switch between voice channels without leaving the current call. Simply click on a different voice channel to switch to that channel.
- If you want to disconnect from a voice channel or end a video call, click on the red phone icon at the bottom left corner of the screen.
By utilizing the voice chat and video call features on Discord, you can have real-time conversations, connect with friends, and collaborate with team members effortlessly. These features enhance the overall communication experience and provide a convenient way to stay connected with others, regardless of physical distance.
Now that you’ve mastered voice chat and video calls on Discord, it’s time to explore the server’s settings and customize it to suit your preferences. The next step will guide you through managing server settings on Discord.
Step 12: Managing Server Settings
As a Discord user, you have the ability to manage server settings to customize your experience and ensure a smooth operation within the servers you are a part of. By managing server settings, you can control various aspects of the server, including roles, permissions, channels, and more. Here’s how to manage server settings on Discord:
- Open Discord and log into your account, if not already logged in.
- Select the server you want to manage from the left sidebar.
- Once inside the server, click on the server name at the top left corner of the screen to open the drop-down menu.
- From the drop-down menu, click on the “Server Settings” option.
- A new window will open, displaying various options and tabs related to server settings.
- Explore the different tabs to customize the server according to your preferences.
- In the “Overview” tab, you can change the server name and upload a server icon.
- Under the “Roles” tab, you can create and edit roles for different members of the server, assign permissions, and manage role-related settings.
- The “Members” tab allows you to view a list of members in the server and manage their roles and permissions.
- In the “Channels” tab, you can create, edit, and organize different channels within the server, including text and voice channels.
- The “Moderation” tab offers tools and settings for moderation within the server, including message filtering, bans, and timeouts for members.
- Under the “Bans” tab, you can view and manage banned members from the server.
- Additional tabs, such as “Webhooks,” “Vanity URL,” and “Server Boost,” provide advanced features and settings specific to certain Discord functionalities.
By managing server settings, you can create a well-organized, secure, and engaging environment for members within the server. It allows you to tailor the server to suit the needs of your community or team and provides you with administrative control over various aspects of server management.
Now that you have learned the essentials of managing server settings, you are fully equipped to make the most out of Discord and create the ideal community or collaboration space for you and your fellow members.
Conclusion
Congratulations! You have successfully learned how to create a Discord account and navigate its various features. Discord provides a powerful platform for communication, collaboration, and building communities with like-minded individuals. By following the steps outlined in this guide, you are now equipped to make the most out of your Discord experience.
Throughout this guide, you learned how to download Discord, create an account, choose a unique username, verify your email, set up two-factor authentication for added security, customize your profile, find and join servers, navigate channels, send messages, add friends, engage in voice chats and video calls, and manage server settings.
Whether you’re a gamer looking for a dedicated community, a professional seeking a platform for remote collaboration, or someone simply looking to connect with others who share similar interests, Discord offers an inclusive and feature-rich environment.
Remember to adhere to Discord’s guidelines and community standards, fostering a positive and respectful environment for all users. Engage in meaningful conversations, share knowledge, participate in activities, and enjoy the connections you build through Discord.
Now, it’s time to dive in and explore the vast world of Discord. Get ready to connect, collaborate, and have fun!