Introduction
Transferring ownership of a Discord server is a straightforward process that allows you to pass the responsibility and control of the server to someone else. Whether you’re stepping down as the server owner or simply transferring ownership to a new leader, Discord provides an easy-to-follow process to make the transition smooth.
Discord servers have become a popular choice for communities, gaming groups, and professional networks to connect and communicate. As the server owner, you have the power to manage and moderate the server, set rules, and make key decisions. But there may come a time when you need to transfer this ownership to another individual, ensuring the stability and continuity of the server.
In this guide, we will walk you through the steps to transfer ownership of a Discord server. You will learn how to verify ownership, prepare the new owner, create a role, grant necessary permissions, and finally, transfer ownership using the server settings. Whether you are passing the torch to a trusted friend, colleague, or a successor, following these steps will ensure a seamless transition.
Please note that to transfer ownership, you should have the necessary permissions as the current server owner. If you do not have server ownership, you may need to reach out to the current owner or contact Discord support for further assistance.
Now, let’s dive into the step-by-step process of transferring ownership of a Discord server.
Step 1: Verify the Server Ownership
Before transferring ownership of a Discord server, it is essential to verify that you are the current owner of the server. This step ensures the security and prevents any unauthorized transfer of ownership.
To verify your server ownership:
- Open the Discord application or go to the Discord website and log in to your account.
- Select the server that you want to transfer ownership of from the server list on the left side of the screen.
- Once you are on the server, make sure that you have administrative permissions. This can be checked by looking for the crown icon next to your username in the member list on the right side of the screen. The crown indicates that you are the server owner.
- If you do not have the crown icon, it means you are not the server owner. In this case, you will need to contact the current owner or Discord support to resolve the ownership issue before proceeding.
Verifying your server ownership is a crucial step before transferring ownership to ensure that the process is secure and authorized. Once you have confirmed that you are the current server owner, you can proceed to the next step of preparing the new owner.
Step 2: Prepare the New Owner
Before transferring ownership of your Discord server, it’s important to prepare the new owner for the responsibilities that come with being the server owner. This step ensures a smooth transition and helps the new owner feel confident in their role.
To prepare the new owner:
- Have a conversation with the individual you have chosen as the new owner. Discuss their willingness to take on the responsibility and ensure they are prepared for the role.
- Explain the purpose and goals of the server, as well as any specific rules and guidelines that have been established. This will help the new owner understand the server’s community and its dynamics.
- Provide any necessary documentation or resources that the new owner might need to effectively manage the server. This could include guidelines for moderation, server policies, or any other relevant information.
- Discuss your expectations as the previous owner. Let the new owner know what level of involvement or assistance you are willing to provide. This can help establish a smooth handover process and ensure a successful transition.
- Encourage the new owner to engage with the server members and build relationships within the community. Building trust and rapport with the existing members will help them establish their authority as the new owner.
By adequately preparing the new owner, you are setting them up for success in their role as the server owner. This step helps ensure a seamless transition, maintain the server’s integrity, and foster a positive environment for all members.
Step 3: Create a New Role for the New Owner
In order to transfer ownership of your Discord server, it is important to create a new role specifically for the new owner. This role will grant them the necessary permissions and distinguish their authority within the server.
To create a new role for the new owner:
- Open the Discord application or go to the Discord website and log in to your account.
- Select the server from the server list where you want to transfer ownership.
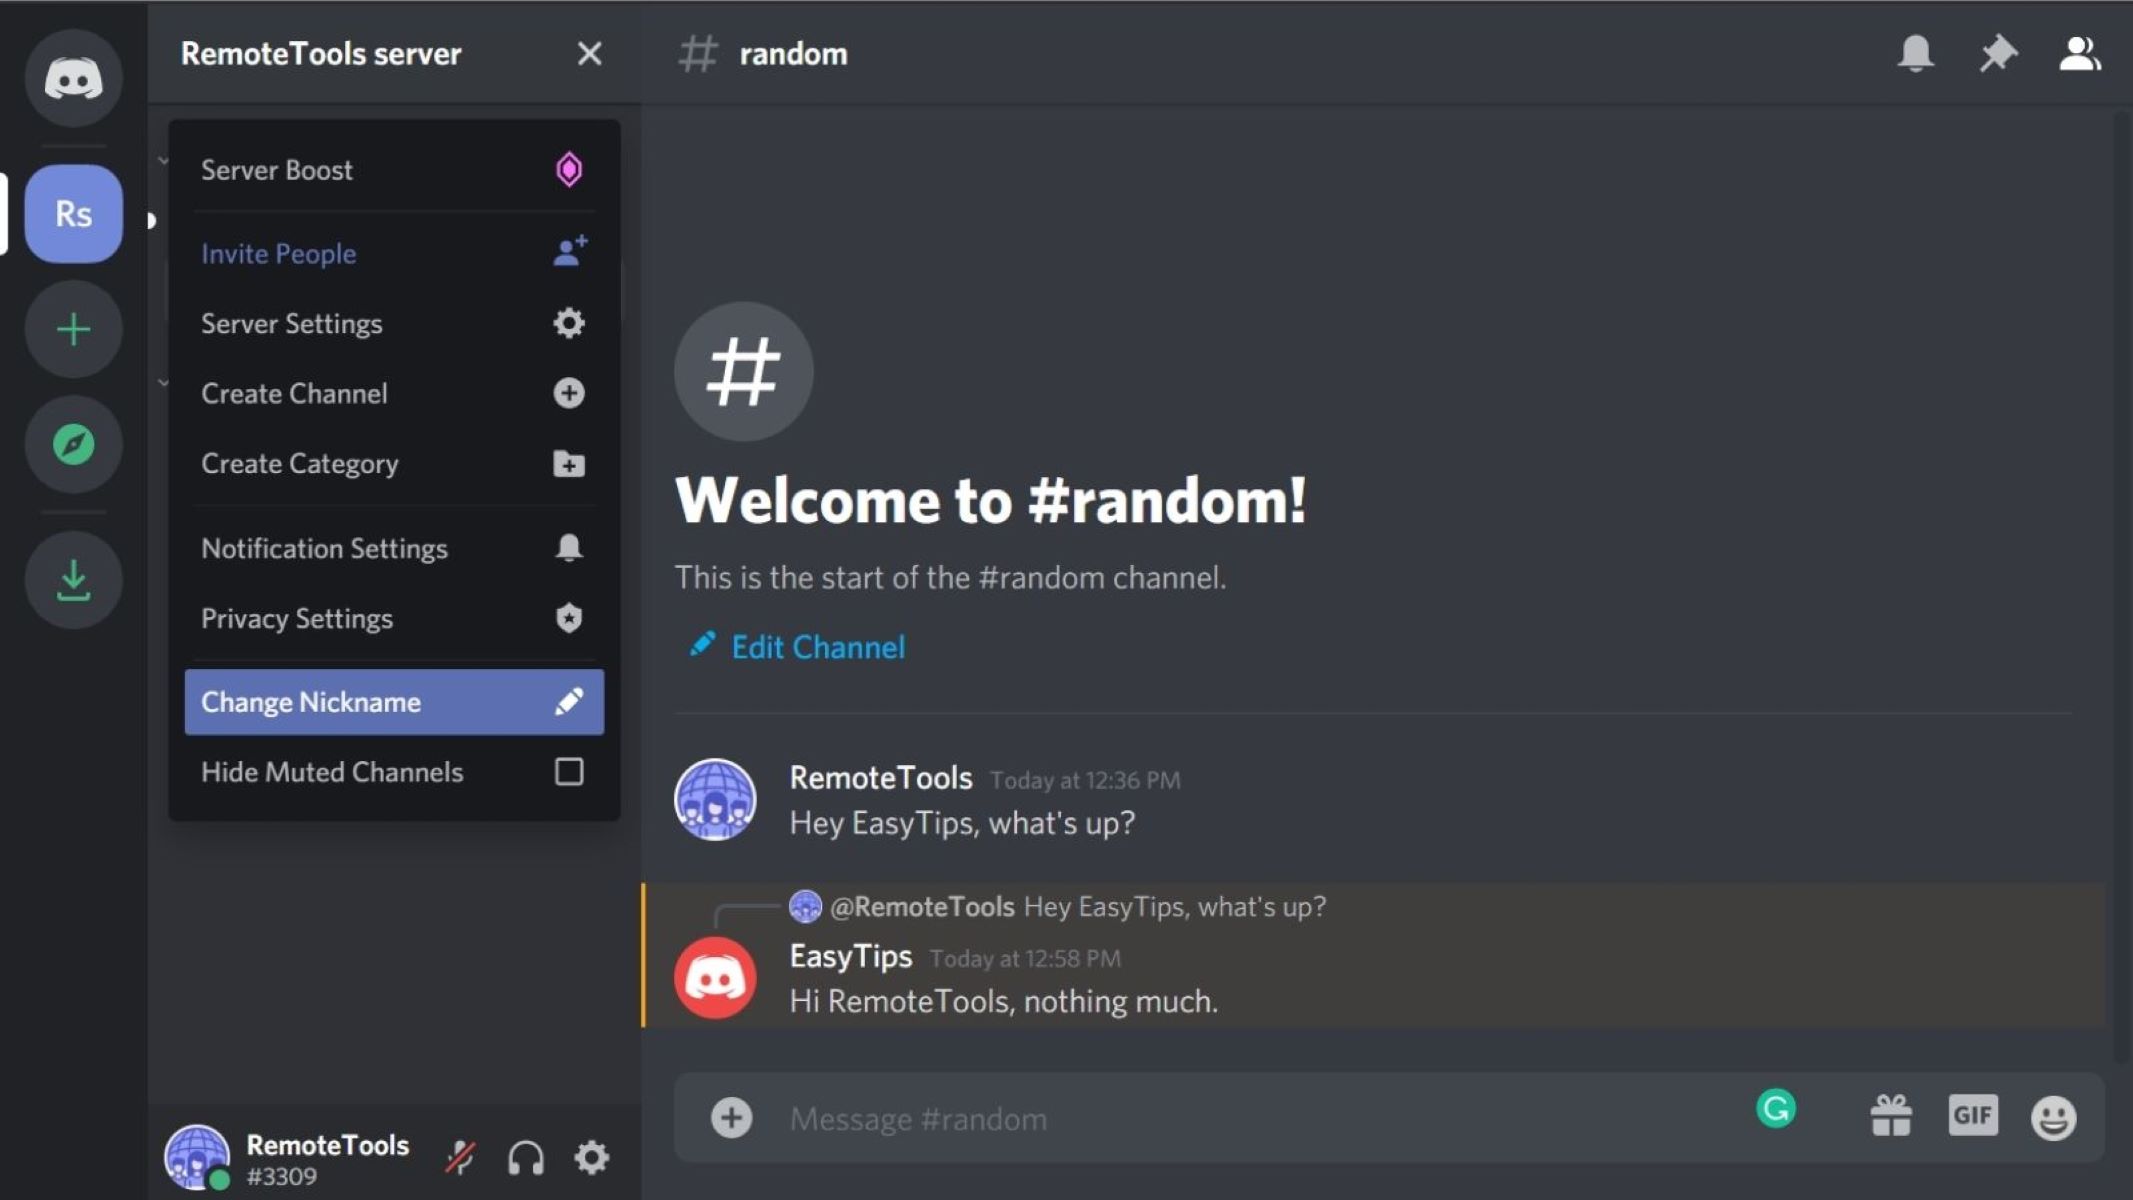
- Click on the down arrow next to the server name at the top left corner of the screen to open the server settings menu, then select “Roles” from the dropdown menu.
- Click on the “+ Create Role” button at the top right corner of the “Roles” section.
- Enter a name for the new role, such as “Server Owner” or any other suitable title that reflects their authority.
- Customize the permissions for the role, granting them administrative privileges. This will give the new owner full control over the server, allowing them to manage channels, roles, and other server settings.
- Assign the newly created role to the new owner by locating their name in the member list on the right side of the screen, right-clicking on their name, and selecting the new role from the “Roles” submenu.
By creating a dedicated role for the new owner, you are ensuring that they have the necessary permissions and visibility within the server. This step sets the stage for the ownership transfer process and helps establish their authority as the new server owner.
Step 4: Grant Administrator Permissions to the New Owner
After creating a new role for the new owner in the previous step, the next crucial step is to grant them administrator permissions. This will give them full control and authority over the server, allowing them to effectively manage and moderate it.
To grant administrator permissions to the new owner:
- Open the Discord application or go to the Discord website and log in to your account.
- Select the server from the server list where you want to transfer ownership.
- Click on the down arrow next to the server name at the top left corner of the screen to open the server settings menu, then select “Roles” from the dropdown menu.
- Locate the newly created role for the new owner in the “Roles” section and click on the “Permissions” button next to the role name.
- In the permissions menu, enable the “Administrator” permission for the new owner’s role. This will grant them all the necessary permissions to manage the server.
- Save the changes by clicking on the “Save Changes” button at the bottom of the permissions menu.
By granting administrator permissions to the new owner, you are entrusting them with the highest level of control and authority within the server. This step ensures that they have the necessary tools and privileges to effectively manage the server and its community.
Step 5: Transfer Ownership using Server Settings
Once you have prepared the new owner and granted them the necessary permissions, it’s time to transfer ownership of your Discord server using the server settings. Discord provides an intuitive process for transferring ownership, ensuring a seamless transition.
To transfer ownership using server settings:
- Open the Discord application or go to the Discord website and log in to your account.
- Select the server from the server list where you want to transfer ownership.
- Click on the down arrow next to the server name at the top left corner of the screen to open the server settings menu, then select “Server Settings” from the dropdown menu.
- In the server settings menu, navigate to the “Members” tab on the left side of the screen.
- Locate the new owner’s name in the member list on the right side of the screen and click on the three-dot menu next to their name.
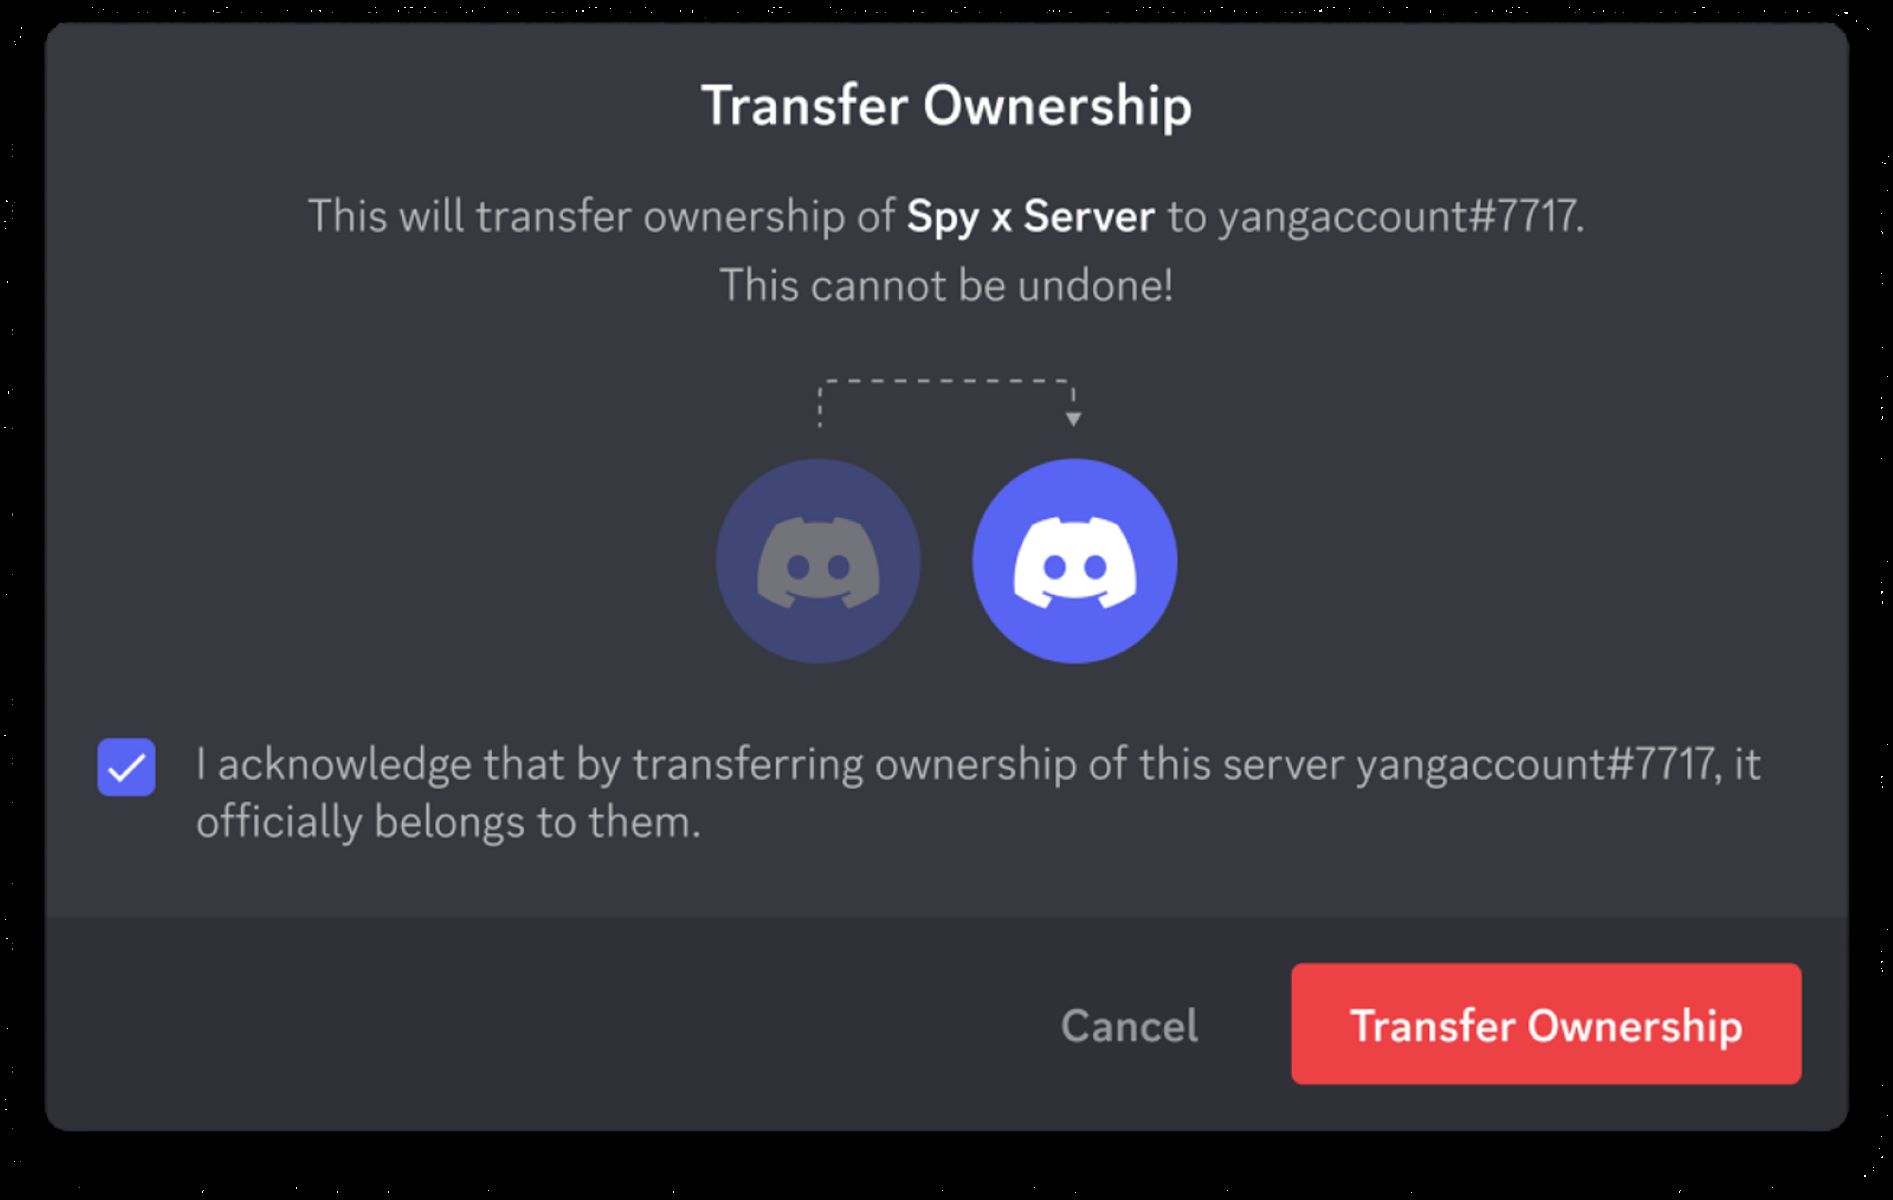
- From the dropdown menu, select “Transfer Ownership” to transfer the ownership of the server to the new owner.
- Confirm the transfer of ownership when prompted to ensure the transfer is completed.
By following these steps, you will successfully transfer ownership of the Discord server to the new owner. This transfer will give them full control and responsibility for managing the server going forward.
It is important to note that after the ownership transfer, you will no longer have administrative control over the server. Therefore, it is crucial to ensure that the new owner is fully prepared and capable of managing the server effectively.
Step 6: Confirm Ownership Transfer
After transferring ownership of your Discord server, it is crucial to confirm that the ownership transfer has been successfully completed. This step ensures that the new owner has full control and authority over the server.
To confirm ownership transfer:
- Communicate with the new owner and ask them to log into Discord and check their server list.
- Ask the new owner to locate the server that was transferred to them in their server list.
- Ensure that the new owner has the server crown icon next to their username in the member list, indicating that they are now the server owner.
- Request the new owner to access the server settings and verify that they have administrative permissions and control over the server.
- Confirm with the new owner that they can perform necessary tasks such as managing channels, roles, and members.
By confirming the ownership transfer, you can have peace of mind knowing that the new owner has officially taken charge of the Discord server. This step ensures a successful transition of control and ensures that the server continues to thrive under new leadership.
If any issues arise during the confirmation process, such as the new owner not having the appropriate permissions or encountering any difficulties in managing the server, you can provide them with support or reach out to Discord’s support team for further assistance.
With the ownership transfer confirmed, the new owner can now fully embrace their role and guide the server according to their vision and goals, fostering a vibrant and engaging community.
Step 7: Remove the Old Owner Role (optional)
Once the ownership transfer is successfully completed and confirmed, you have the option to remove the old owner role from the server. This step helps maintain clarity and prevents any confusion regarding the ownership of the Discord server.
To remove the old owner role:
- Open the Discord application or go to the Discord website and log in to your account.
- Select the server from the server list where the ownership transfer took place.
- Click on the down arrow next to the server name at the top left corner of the screen to open the server settings menu, then select “Roles” from the dropdown menu.
- Locate the old owner’s role in the “Roles” section and click on the three-dot menu next to the role name.
- Select “Delete Role” from the dropdown menu to remove the old owner role from the server.
- Confirm the deletion of the role when prompted to complete the removal process.
By removing the old owner role, you are ensuring that there is no duplication or confusion in the server’s roles and permissions. This step helps solidify the transition of ownership and clearly designates the new owner as the sole authority of the server.
It is important to note that removing the old owner role is an optional step. If the previous owner will still be involved in the server or will have a different role, it may be best to keep their role and adjust their permissions accordingly.
However, if the previous owner is completely stepping down and will no longer have any involvement, removing the old owner role can help streamline the hierarchy and maintain a clear chain of authority within the server.
Conclusion
Transferring ownership of a Discord server is a process that allows for the smooth transition of control and responsibility to a new owner. By following the steps outlined in this guide, you can ensure that the transfer is secure, authorized, and successful.
We began by verifying the server ownership to ensure that the process is initiated by the rightful owner. From there, we moved on to preparing the new owner, providing them with the necessary information and resources to take over the server effectively.
Creating a new role and granting administrator permissions to the new owner established their authority within the server. Transferring ownership using server settings allowed for a seamless transition, ensuring that the new owner has full control and responsibility over the server.
Confirming the ownership transfer is a critical step to ensure that the new owner can fully access and manage the server. Finally, removing the old owner’s role (if desired) solidifies the transfer and maintains clarity in the chain of authority within the server.
Throughout the process, communication and cooperation between the previous and new owners are key to ensuring a successful and smooth transition. By following these steps, you can transfer ownership of your Discord server confidently and empower the new owner to lead and manage the server effectively.
Remember, transferring ownership is a significant decision, so it is important to consider the long-term vision for the server and choose a new owner who is capable and willing to take on the responsibility. With the proper preparations and execution, you can ensure that your Discord server continues to thrive under new leadership, fostering a vibrant and engaging community.