Introduction
Scanning documents and images has become an essential task in today’s digital age. Whether you need to digitize important paperwork, create electronic backups, or share images and documents online, having the ability to scan on your MacBook Pro can save you time and effort.
MacBook Pro offers a variety of options for scanning, ranging from built-in applications to third-party software. In this article, we will guide you through the process of setting up your scanner and using different scanning tools available on your MacBook Pro.
Scanning on a MacBook Pro is a straightforward process that can provide you with high-quality digital copies of your documents and images. Not only does it allow you to reduce clutter and save space, but it also ensures that your important files are easily accessible and safe from physical damage.
Whether you’re a student needing to scan class notes, a professional needing to digitize important documents, or even an artist wanting to capture your artwork, learning how to scan on your MacBook Pro is a skill that can prove invaluable.
Setting up your scanner
Before you can start scanning on your MacBook Pro, you need to make sure that your scanner is properly set up and recognized by your computer. Follow these steps to set up your scanner:
- Connect your scanner: Use a USB cable or connect wirelessly to ensure your scanner is properly connected to your MacBook Pro. Make sure to use the correct ports and cables supported by your scanner model.
- Check for compatibility: Confirm that your scanner is compatible with macOS and the version of macOS installed on your MacBook Pro. Visit the manufacturer’s website to download any necessary drivers or software updates for Mac compatibility.
- Verify scanner recognition: Once the scanner is connected, go to the Apple menu and click on “System Preferences.” Then, select “Printers & Scanners.” Your scanner should be listed on the left-hand side under “Scanners” or “Printers & Scanners.” If your scanner is not detected, click on the “+” button to add it manually or consult the scanner’s manual for further guidance.
- Calibrate your scanner: Some scanners may require calibration to ensure accurate color and image reproduction. Consult the scanner’s manual or the manufacturer’s website for calibration instructions specific to your scanner model.
- Configure scanner settings: Once your scanner is properly connected and recognized, you can customize the scan settings according to your preferences. This may include selecting the file format (such as PDF or JPEG), resolution, color mode, and scan destination.
By following these steps, you can ensure that your scanner is set up correctly and ready to use on your MacBook Pro. Once the setup is complete, you can start scanning your documents and images with ease and convenience.
Using the built-in “Image Capture” application
MacBook Pro comes equipped with a built-in application called “Image Capture,” which allows you to scan documents and images directly from your scanner. Follow these steps to use the “Image Capture” application:
- Open “Image Capture”: Launch the “Image Capture” application on your MacBook Pro. You can find it in the Applications folder or by using the Spotlight search.
- Connect your scanner: Ensure that your scanner is properly connected to your MacBook Pro and turned on before opening “Image Capture.”
- Select your scanner: In the “Image Capture” window, you should see a list of connected scanners on the left-hand side. Select your scanner from the list.
- Adjust scan settings: Customize the scan settings according to your needs. You can select the file format, resolution, color mode, and scan destination. You can also enable features like automatic image correction if available.
- Preview and adjust: Place the document or image you want to scan on the scanner bed and click on the “Preview” button in the lower-left corner of the “Image Capture” window. This allows you to see a preview of the scanned document and make any necessary adjustments, such as cropping or rotating.
- Scan the document: Once you are satisfied with the settings and adjustments, click on the “Scan” button in the lower-right corner of the “Image Capture” window. Your document will be scanned and saved to the specified location on your MacBook Pro.
- Review and save: After the scan is complete, you can review the scanned document in the “Image Capture” window. If you are happy with the result, click on the “Import” button to save the scanned document to your desired location.
The “Image Capture” application provides a simple and intuitive way to scan documents and images on your MacBook Pro. With its user-friendly interface and customizable scan settings, you can quickly digitize your important paperwork or capture stunning images with ease.
Scanning documents using third-party software
In addition to the built-in “Image Capture” application, you can also use third-party software to scan documents on your MacBook Pro. These software options often provide more advanced features and customization options. Here are a few popular third-party applications for scanning:
- Adobe Acrobat: Adobe Acrobat is a powerful tool that allows you to create, edit, and manage PDF documents. It also has a built-in scanning feature that enables you to scan documents directly into PDF format. With Adobe Acrobat, you can enhance scanned documents, adjust settings, and even perform OCR (Optical Character Recognition) to make the text searchable.
- VueScan: VueScan is a versatile scanning software that supports a wide range of scanners. It offers advanced scanning options, including the ability to batch scan multiple documents, adjust color balance, and apply filters. VueScan also provides compatibility with older scanner models that may not have native macOS support.
- ExactScan: ExactScan is another powerful scanning application that offers a range of features, including automatic document detection, OCR capabilities, and integrated cloud storage support. It has a user-friendly interface and supports various file formats for saving scanned documents.
To use third-party scanning software, follow these general steps:
- Download and install: Visit the official website of the software you choose and download the appropriate version for your MacBook Pro. Follow the installation instructions provided by the software.
- Launch the software: Open the installed application and familiarize yourself with the interface and available scanning options.
- Connect your scanner: Ensure that your scanner is properly connected to your MacBook Pro and turned on before launching the third-party scanning software.
- Select scanner: In the software interface, locate the option to select your scanner from the available devices. Choose the appropriate scanner model from the list.
- Adjust settings: Customize the scan settings according to your preferences. Options might include file format, resolution, color settings, and destination folder.
- Preview and scan: Place the document on the scanner bed and preview the scanned image if available. Make any necessary adjustments, such as cropping or rotating, before initiating the scanning process.
- Scan and save: Once you are satisfied with the settings and adjustments, initiate the scanning process. Follow the software prompts to save the scanned document to the desired location on your MacBook Pro.
Using third-party scanning software gives you more flexibility and control over the scanning process. Explore the features and capabilities of different software options to find the one that best suits your needs.
Troubleshooting common scanning issues
While scanning documents on your MacBook Pro, you may encounter some common issues that can hinder the scanning process. Here are a few troubleshooting tips to help resolve these issues:
- Ensure proper connections: Check that your scanner is properly connected to your MacBook Pro and turned on. Make sure the USB cable is securely plugged in or that you are connected to the scanner wirelessly.
- Restart your scanner and MacBook Pro: Sometimes, a simple restart can resolve connectivity or software-related issues. Turn off your scanner, unplug it from the power source, then restart your MacBook Pro. Once it boots up, reconnect and power on your scanner.
- Check for software updates: Ensure that your operating system and scanning software are up to date. Go to the Apple menu, click on “System Preferences,” and select “Software Update” to check for any available updates. Similarly, check for updates within your scanning software’s preferences or settings.
- Reset printing system: If your scanner is not being recognized by your MacBook Pro, you can try resetting the printing system. Access “Printers & Scanners” in the Apple menu’s “System Preferences,” right-click in the printer list, and select “Reset printing system.” You will need to re-add your scanner afterward.
- Check for driver compatibility: Ensure that your scanner’s drivers are compatible with the version of macOS installed on your MacBook Pro. Visit the manufacturer’s website and download any necessary updates or compatible drivers.
- Scan in safe mode: If you are experiencing persistent scanning issues, you can try scanning in safe mode. Restart your MacBook Pro and hold down the Shift key until the Apple logo appears. This will boot your computer in safe mode, which disables third-party extensions and may help resolve software conflicts.
- Consult the scanner’s manual: If you still encounter scanning issues, refer to the scanner’s manual or contact the manufacturer’s support for specific troubleshooting steps and assistance.
By following these troubleshooting tips, you can overcome common scanning issues and ensure a smooth and efficient scanning experience on your MacBook Pro.
Tips for getting the best scanning results
To achieve optimal scanning results on your MacBook Pro, consider the following tips:
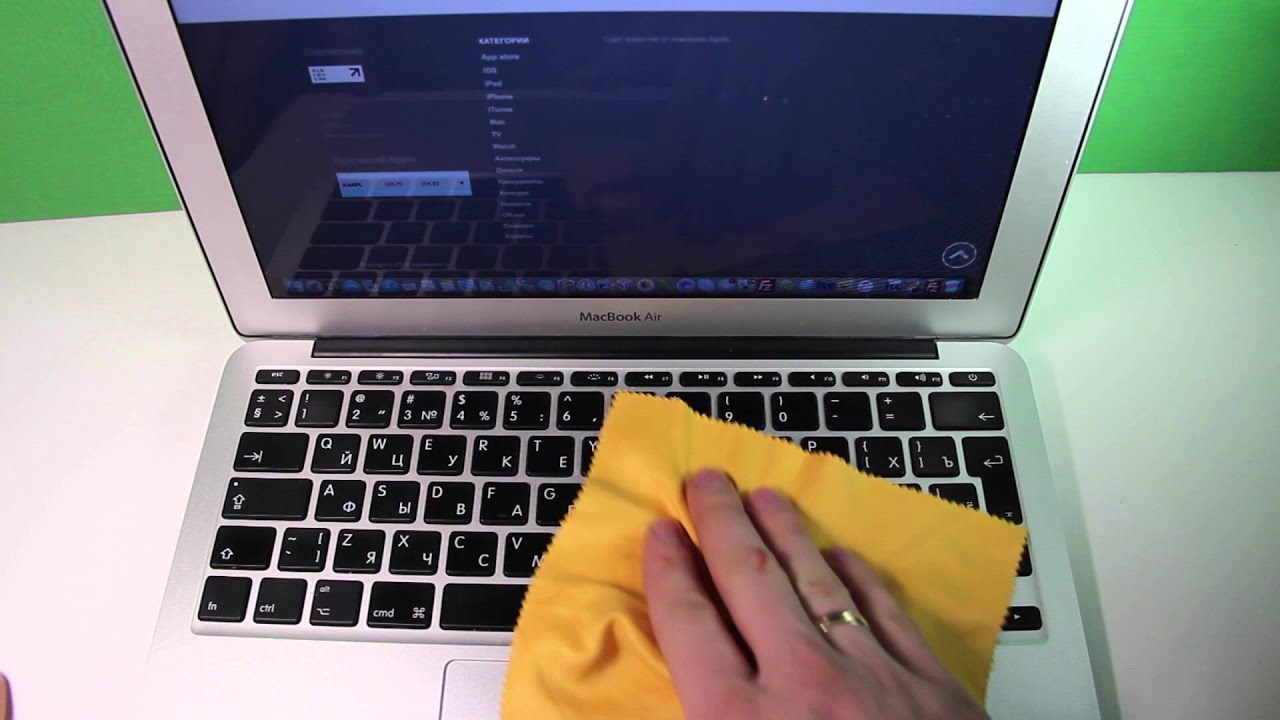
- Clean your scanner: Dust and debris on the scanner glass can affect the quality of your scans. Clean the glass surface using a soft, lint-free cloth and a mild glass cleaner to ensure clear and sharp scans.
- Choose appropriate resolution: Select the right resolution for your scanning needs. Higher resolutions result in more detailed scans but also increase the file size. For text documents, 300-600 DPI (dots per inch) is usually sufficient, while images may require higher DPI settings.
- Consider file format: Choose the appropriate file format based on your requirements. For documents, PDF is often the preferred format, as it retains the formatting and allows for searchable text. For images, JPEG or TIFF formats are common for their high quality and flexibility.
- Adjust brightness and contrast: Most scanning applications allow you to adjust the brightness and contrast settings. Experiment with these settings to ensure that the scanned image or document appears clear and true to the original.
- Properly position documents: When placing documents on the scanner bed, align them neatly and ensure they are not skewed. This helps to avoid distortion or cropping of important information during the scanning process.
- Use OCR for text documents: If you need to convert scanned documents into editable text, utilize OCR (Optical Character Recognition) capabilities. Many scanning applications offer OCR functionality, which can save you time on manual typing and editing.
- Preview and make adjustments: Always preview your scans before finalizing them. This allows you to make any necessary adjustments, such as cropping, rotating, or enhancing the image quality.
- Organize scanned files: Develop a system to keep your scanned documents organized. Create folders and use descriptive file names so that you can easily locate and retrieve scanned files when needed.
By following these tips, you can ensure that your scanned documents and images on your MacBook Pro are of high quality, clear, and easy to use. Experiment with different settings and techniques to find the best combination for your specific scanning needs.
Conclusion
Scanning documents on your MacBook Pro is a valuable skill that can help you organize and digitize your important paperwork, create digital backups, and share documents electronically. Whether you use the built-in “Image Capture” application or third-party scanning software, you have the flexibility to scan various types of documents with ease.
In this article, we discussed the process of setting up your scanner and explored the use of the built-in “Image Capture” application as well as third-party software options. We also provided troubleshooting tips for common scanning issues and shared useful tips to achieve the best scanning results.
Remember to always ensure that your scanner is properly connected, compatible with your MacBook Pro, and recognized by your computer before scanning. Adjust scan settings, such as resolution and file format, to suit your specific needs. Take advantage of features like image correction and OCR to enhance and optimize your scanned documents. Additionally, keep your scanner clean and properly position your documents for accurate results.
By following the guidelines and tips outlined in this article, you can make the most of your scanning capabilities on your MacBook Pro. Whether you’re a student, professional, or artist, the ability to easily and effectively scan documents is sure to enhance your productivity and convenience.
So, grab your MacBook Pro, connect your scanner, and start scanning away! Digitize your physical documents, reduce clutter, and enjoy the benefits of having digital copies readily accessible whenever you need them.