Introduction
Welcome to this step-by-step guide on how to rotate the screen on your Lenovo Ultrabook. Whether you accidentally pressed a wrong key combination or you simply prefer a different screen orientation for your workflow, this tutorial will walk you through the process of adjusting the screen rotation on your Lenovo Ultrabook. By following the steps outlined below, you will be able to easily rotate your screen to your desired orientation.
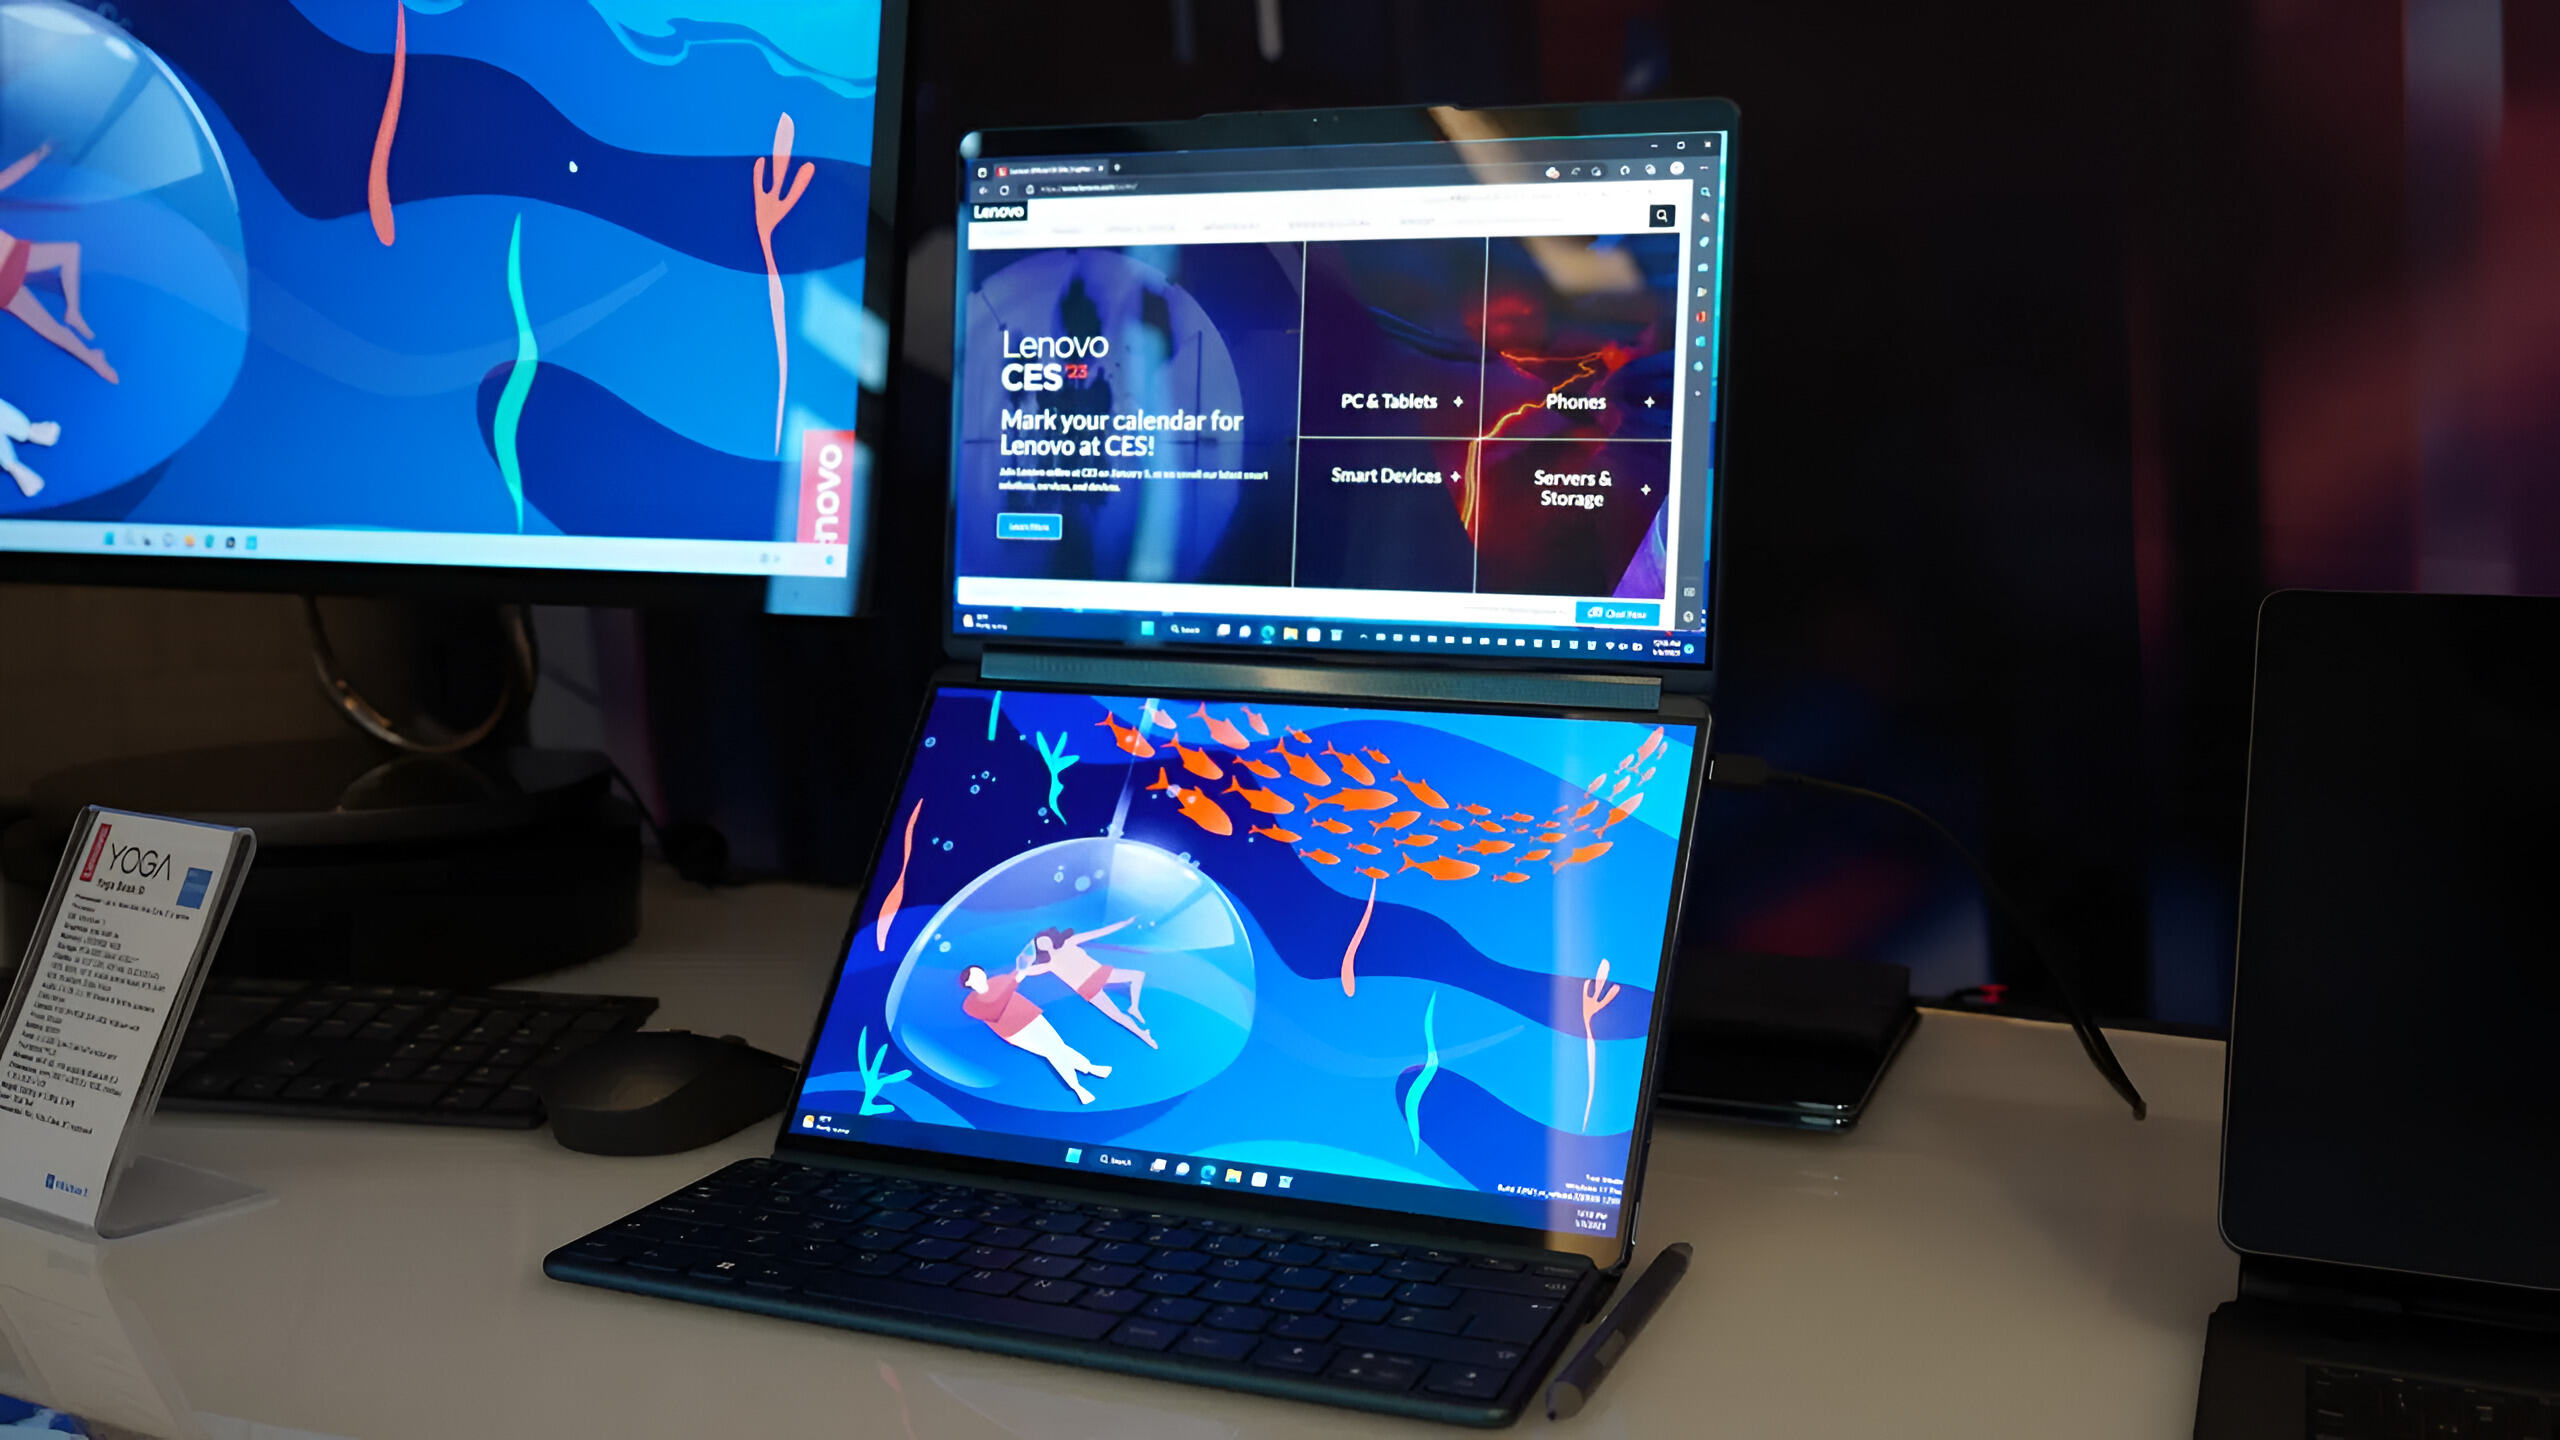
Lenovo Ultrabooks are known for their sleek design, powerful performance, and high-resolution displays. Having the option to change the screen orientation allows you to customize your viewing experience, whether you want to switch between landscape and portrait mode for different tasks, or if you want to collaborate with others in a meeting or presentation.
Before we dive into the steps, it’s essential to note that the process may vary slightly depending on the specific model of your Lenovo Ultrabook and the operating system you are using. However, the general instructions should be applicable to most Lenovo Ultrabooks, running Windows operating systems.
So, without further ado, let’s get started with a simple guide to rotating the screen on your Lenovo Ultrabook!
Step 1: Accessing the Display Settings
The first step in rotating the screen on your Lenovo Ultrabook is to access the Display Settings. These settings control various aspects of your screen, including the screen resolution, orientation, and appearance. To access the Display Settings, follow the steps below:
- Start by right-clicking on the desktop background of your Lenovo Ultrabook. This will bring up a context menu with various options.
- From the context menu, select “Display settings.” This will open the Display settings window, where you can make changes to your screen settings.
- Alternatively, you can access the Display settings by going to the “Settings” app on your Lenovo Ultrabook. Click on the “Start” button, followed by the “Settings” icon, which looks like a gear. In the Settings app, click on “System” and then select “Display” from the left-hand menu.
Once you have accessed the Display settings, you are ready to move on to the next step: rotating the screen orientation. Remember, the exact steps may vary slightly depending on your specific Lenovo Ultrabook model and the version of Windows you are using. However, the general instructions should remain the same.
Step 2: Rotating the Screen Orientation
Now that you have accessed the Display settings on your Lenovo Ultrabook, it’s time to rotate the screen orientation. Follow the instructions below to change the orientation of your screen:
- In the Display settings window, look for the section titled “Orientation.”
- Click on the dropdown menu under “Orientation” to see the available options. The options commonly include Landscape, Portrait, Landscape (flipped), and Portrait (flipped).
- Click on the desired orientation to rotate your screen accordingly. For example, if you want to switch to portrait mode, select “Portrait.”
As soon as you select the desired screen orientation, you will notice an immediate change in the screen display. The icons, windows, and overall layout will adjust according to the new orientation. This allows you to view content in a way that best suits your needs and preferences.
It’s important to note that some Lenovo Ultrabooks also have a physical rotation lock button or switch on the device. If you are unable to change the screen orientation through the Display settings, check if your Ultrabook has a rotation lock feature. If it does, make sure it is switched off before attempting to change the screen orientation.
By following these steps, you can easily rotate the screen orientation on your Lenovo Ultrabook. Whether you need a different view for reading documents, browsing the internet, or simply for a change of perspective, adjusting the screen orientation can greatly enhance your user experience.
Step 3: Adjusting the Rotation Angle
Once you have successfully rotated the screen orientation on your Lenovo Ultrabook, you may find that the default rotation angle is not exactly what you’re looking for. In this step, we’ll explore how to adjust the rotation angle to your preferred position. Follow the instructions below to make this adjustment:
- Return to the Display settings window on your Lenovo Ultrabook.
- Locate the section labeled “Rotation.” This section may be located within the Display settings or in a separate tab, depending on your Ultrabook model and operating system version.
- Click on the dropdown menu under “Rotation” to view the available options. The options typically include 0 degrees, 90 degrees, 180 degrees, and 270 degrees.
- Select the desired rotation angle that aligns with your preferred screen orientation. For instance, if you want a landscape mode with the screen rotated clockwise, you would select 90 degrees.
After selecting the appropriate rotation angle, your screen will adjust accordingly, reflecting the new orientation with the adjusted rotation angle. This feature allows you to fine-tune the screen alignment to suit your specific needs, providing you with a comfortable and personalized viewing experience.
It’s worth mentioning that some Lenovo Ultrabooks offer a feature called auto-rotation, which automatically adjusts the screen orientation based on the device’s physical position. If your Ultrabook has this feature, you can enable or disable it in the Display settings as well. This is particularly useful if you frequently switch between different usage scenarios or if you prefer a hands-free experience.
By adjusting the rotation angle, you can optimize your screen orientation to match your desired viewing angle. Whether you’re working on creative projects, watching multimedia content, or engaging in other activities, a properly adjusted rotation angle will enhance your visual experience and boost productivity.
Step 4: Applying and Saving Changes
Once you have adjusted the screen orientation and rotation angle to your liking on your Lenovo Ultrabook, it’s time to apply and save the changes. This ensures that your new screen settings persist even after restarting your device. Follow the steps below to apply and save the changes you’ve made:
- Double-check the changes you’ve made in the Display settings window. Make sure the screen orientation and rotation angle are set correctly.
- Scroll down to the bottom of the Display settings window, and you should see a button labeled “Apply” or “Apply Changes.”
- Click on the “Apply” button to apply the new screen settings.
- To save the changes and ensure they persist, click on the “OK” or “Save” button.
Once you have clicked “Apply” and “OK” or “Save,” the changes you’ve made to the screen orientation and rotation angle will be finalized. Your Lenovo Ultrabook will now display content in the selected orientation whenever you use it, even after restarting the device.
It’s important to note that some Windows operating systems may have additional options for saving the changes made in the Display settings. For example, you may see a prompt asking whether you want to keep the changes or revert to the previous settings after making adjustments. In such cases, simply select the option to keep the changes to ensure they are saved.
By applying and saving the changes in the Display settings, you can enjoy your preferred screen orientation and rotation angle on your Lenovo Ultrabook consistently. Whether you’re using it for work, entertainment, or any other tasks, having the screen set up exactly the way you want enhances usability and ensures a comfortable and enjoyable experience.
Conclusion
Congratulations! You have successfully learned how to rotate the screen on your Lenovo Ultrabook. By following the step-by-step instructions in this guide, you have gained the ability to customize your screen orientation and rotation angle to suit your preferences and enhance your user experience.
Being able to adjust the screen orientation on your Lenovo Ultrabook offers numerous benefits. It allows you to optimize your workspace for different tasks, collaborate effectively in meetings and presentations, and adapt to different content types such as documents, videos, and images.
Remember that the process may vary slightly depending on your specific Lenovo Ultrabook model and the version of Windows you are using. However, the basic steps covered in this guide should provide a good starting point for most users.
In addition to rotating the screen, you also learned how to adjust the rotation angle to further fine-tune your screen alignment. This gives you the flexibility to tailor your viewing experience precisely to your needs and preferences.
Finally, don’t forget to apply and save the changes you’ve made in the Display settings to ensure that your preferred screen orientation persists across sessions and device restarts.
With the knowledge and skills gained from this guide, you are now equipped to make the most of your Lenovo Ultrabook’s screen orientation features. Enjoy the flexibility and versatility that comes with being able to adjust and personalize your screen display!