Introduction
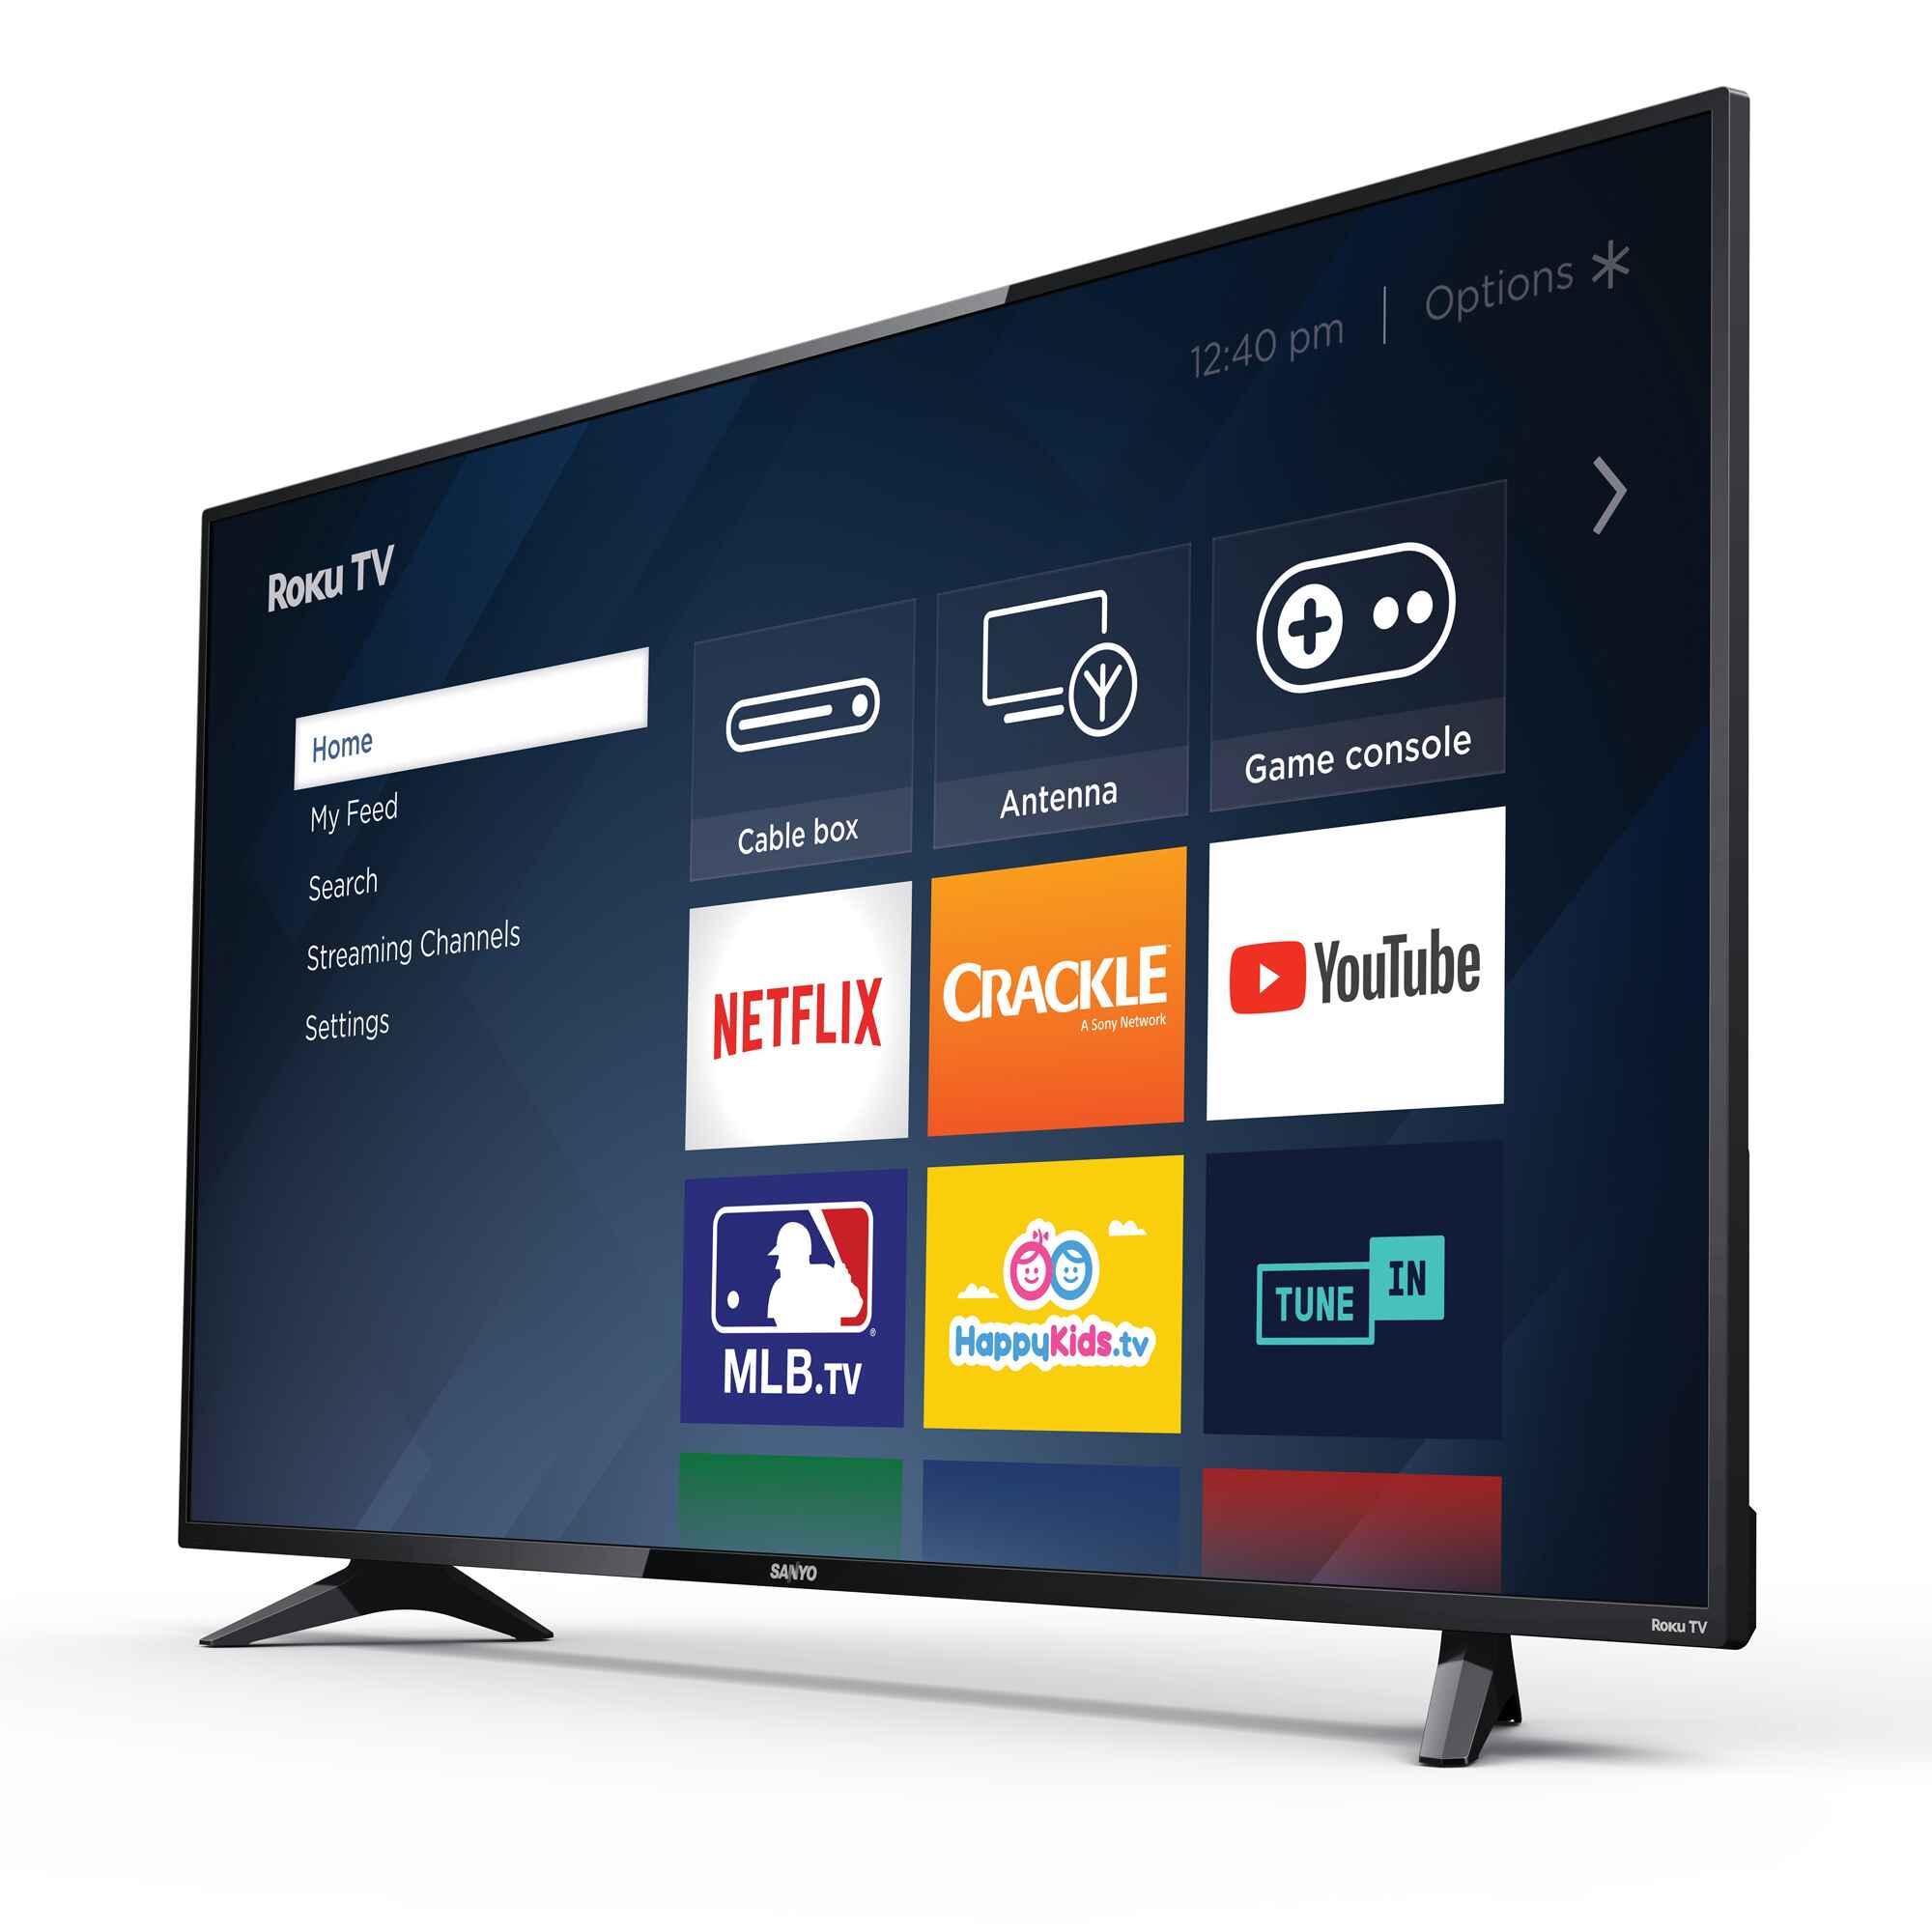
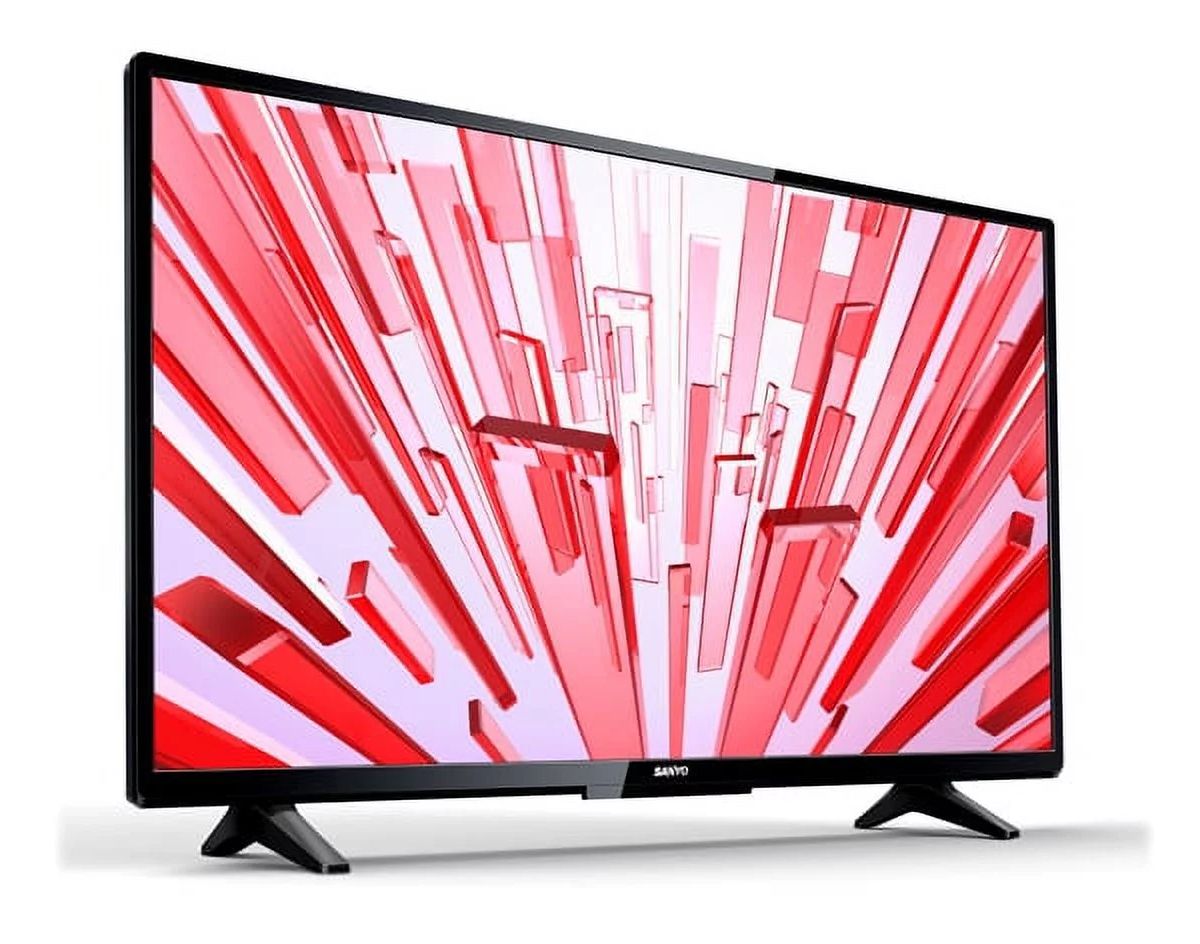
Resetting a Sanyo LED TV can be a useful troubleshooting step when you encounter issues with your television, such as a frozen screen or audio problems. It essentially brings the TV back to its default settings, resolving many common issues that may arise during regular use.
Whether you have experienced technical glitches or simply want to start fresh, resetting a Sanyo LED TV is a fairly straightforward process that can be done in a few simple steps. By following the instructions carefully, you can reset your TV and restore its functionality.
In this article, we will guide you through the step-by-step process of resetting your Sanyo LED TV. It’s important to note that different models may have slight variations in the reset procedure, so it’s always a good idea to refer to your TV’s user manual for specific instructions. However, the general reset process outlined here should apply to most Sanyo LED TV models.
Before proceeding with the reset, it’s recommended that you take note of any personalized settings or presets on your TV, such as picture settings, channel configurations, and network settings. These settings may be lost during the reset process, so it’s a good idea to jot them down or take pictures for easy reference once the TV has been reset.
Now, let’s dive into the step-by-step instructions to reset your Sanyo LED TV and get it back to its default settings.
Step 1: Turn off the Sanyo LED TV
The first step in resetting your Sanyo LED TV is to ensure that it is completely turned off. This will ensure a clean restart and allow the TV to be properly reset.
To turn off your Sanyo LED TV, locate the power button. Depending on your TV model, the power button may be located on the side or bottom panel of the TV or on the remote control. Press the power button once to turn off the TV.
It’s important to note that you should not simply unplug the TV from the power source at this stage. Turning off the TV using the power button ensures a controlled shutdown and prevents any potential damage to the TV or data loss during the reset process.
Once the TV is turned off, make sure to wait for a few moments to ensure that it has completely powered down. This waiting period allows any residual power to dissipate from the TV. It is a crucial step in preparing the TV for the reset process.
By ensuring that your Sanyo LED TV is turned off and allowing it to fully power down, you are ready to proceed to the next step of the reset process.
Step 2: Unplug the TV from the power source
Once you have turned off your Sanyo LED TV, the next step in the reset process is to unplug the TV from the power source. This step is essential to ensure a complete power reset of the TV.
Locate the power cord at the back of the TV or the power outlet where it is connected. Carefully unplug the TV from the power source by gently pulling the power cord out of the outlet or disconnecting it from the TV. Make sure to avoid pulling or yanking the cord too forcefully to prevent any damage.
After unplugging the TV, it is important to leave it disconnected from the power source for a substantial amount of time. This allows any residual electricity in the TV’s circuits to dissipate completely, ensuring a thorough power reset.
The recommended waiting time can vary depending on the specific model of your Sanyo LED TV. However, a general guideline is to leave the TV unplugged for about 5 to 10 minutes. This duration should be sufficient for the TV to reset and drain any remaining power.
Taking the time to unplug the TV and wait for a few minutes allows the TV to completely power down and reset any electrical components. This step paves the way for a clean restart and ensures a successful reset process for your Sanyo LED TV. Once the waiting period is over, you are ready to proceed to the next step of the reset process.
Step 3: Wait for a few minutes
After unplugging your Sanyo LED TV from the power source, it is important to wait for a few minutes before proceeding to the next step. This waiting period allows sufficient time for the TV’s circuits to fully discharge and reset.
The duration of the waiting time can vary depending on the specific model of your Sanyo LED TV, but a general guideline is to wait for at least 5 to 10 minutes. During this time, the TV will completely power down and any residual power within the circuitry will dissipate.
While you wait, it’s a good idea to take a moment to check the connections and cables of your TV. Ensure that all cables are securely connected and there are no loose or damaged connections. This step can help prevent any unnecessary troubleshooting or issues after the reset process.
Waiting for a few minutes before proceeding to the next step is crucial for allowing the TV to reset properly. It ensures that any temporary data or settings stored in the TV’s memory are cleared, providing a clean slate for the reset process.
Once the waiting time is over, you can move on to the next step and continue with the reset process for your Sanyo LED TV.
Step 4: Press and hold the power button on the TV
Now that you have waited for a few minutes after unplugging the Sanyo LED TV, it’s time to proceed with the next step of the reset process. In this step, you will need to locate the power button on the TV and press and hold it down.
Locate the power button on the front or side panel of your Sanyo LED TV. It is typically labeled with the power symbol (a circle with a line) or simply marked as “Power”. Press and hold down the power button firmly using your finger or thumb.
While you hold down the power button, it is important to keep it pressed for a few seconds. This duration can vary depending on the model of your Sanyo LED TV, but a general guideline is to hold it for about 10 to 15 seconds.
As you hold down the power button, you may notice some indicators on the TV, such as the LED light blinking or the screen briefly turning on and off. These are normal reactions and part of the reset process. Do not be alarmed by these temporary changes.
The purpose of pressing and holding the power button is to discharge any remaining power in the TV’s capacitors and trigger a complete reset. By doing so, you ensure that any residual data or settings are cleared from the TV’s memory, preparing it for a fresh start.
Once you have held down the power button for the required duration, you can release it and move on to the next step of the reset process for your Sanyo LED TV.
Step 5: Plug the TV back into the power source
After completing the previous step of holding down the power button on your Sanyo LED TV, it’s time to plug the TV back into the power source. This step will provide the TV with the necessary power to initiate the reset process.
Take the power cord that you had previously unplugged and insert it securely into the power outlet or reconnect it to the TV. Make sure to plug the cord in firmly to ensure a stable power connection.
Once the TV is plugged back into the power source, it is important to give it a few moments to initialize. During this time, the TV will receive the power it needs and begin booting up.
While the TV is powering up, you may see some visual changes, such as the LED light turning on or the screen flickering briefly. These are normal behaviors as the TV goes through its startup process.
It’s important to note that you should not turn on the TV manually using the power button at this stage. The TV will boot up automatically after being plugged into the power source, so allow it to do so on its own.
By plugging the TV back into the power source, you are providing it with the necessary electricity to proceed with the reset process. Now, you can move on to the next step and continue resetting your Sanyo LED TV.
Step 6: Continue holding the power button for a few more seconds
After plugging your Sanyo LED TV back into the power source, it is time to proceed with the next step in the reset process. In this step, you will resume holding down the power button on the TV for a few more seconds.
Locate the power button on the front or side panel of your Sanyo LED TV. With the TV now powered up, press and hold down the power button firmly using your finger or thumb.
While you continue to hold down the power button, it is important to maintain the pressure for an additional few seconds. The duration can vary depending on the model of your Sanyo LED TV, but a general guideline is to hold it for about 5 to 10 seconds.
As you keep the power button pressed, you may notice the TV react in certain ways, such as the screen turning on and off or the LED light blinking. These actions are part of the reset process and should not be a cause for concern.
The purpose of continuing to hold down the power button is to allow the TV to perform a full power cycle. By doing so, any residual power or temporary settings will be cleared, ensuring a thorough reset process.
Once you have held down the power button for the required duration, you can release it and move on to the next step of the reset process for your Sanyo LED TV.
Step 7: Release the power button and wait for the TV to restart
After holding down the power button for a few more seconds in the previous step, it is time to release the button and allow the TV to restart. This step is crucial in completing the reset process for your Sanyo LED TV.
Release your finger or thumb from the power button on the TV. By doing so, you are signaling to the TV that it can now proceed with the restart process.
After releasing the power button, it is important to exercise patience and wait for the TV to restart on its own. The duration of the restart process can vary depending on the model of your Sanyo LED TV, but it typically takes a few moments.
During the restart, you may observe various indicators on the TV, such as the LED light flashing or the screen temporarily going blank. These are normal behaviors as the TV goes through its reboot process.
Once the TV has fully restarted, you will likely see the initial setup screen or the Sanyo logo appear. This signifies that the reset process has been completed successfully, and the TV is now ready for configuration.
Taking the time to release the power button and allowing the TV to restart ensures that the reset process is executed properly. It gives the TV the opportunity to integrate the changes made during the reset and set itself up for further configuration.
Now that you have released the power button and the TV has restarted, you can proceed to the final step: configuring the settings on your Sanyo LED TV.
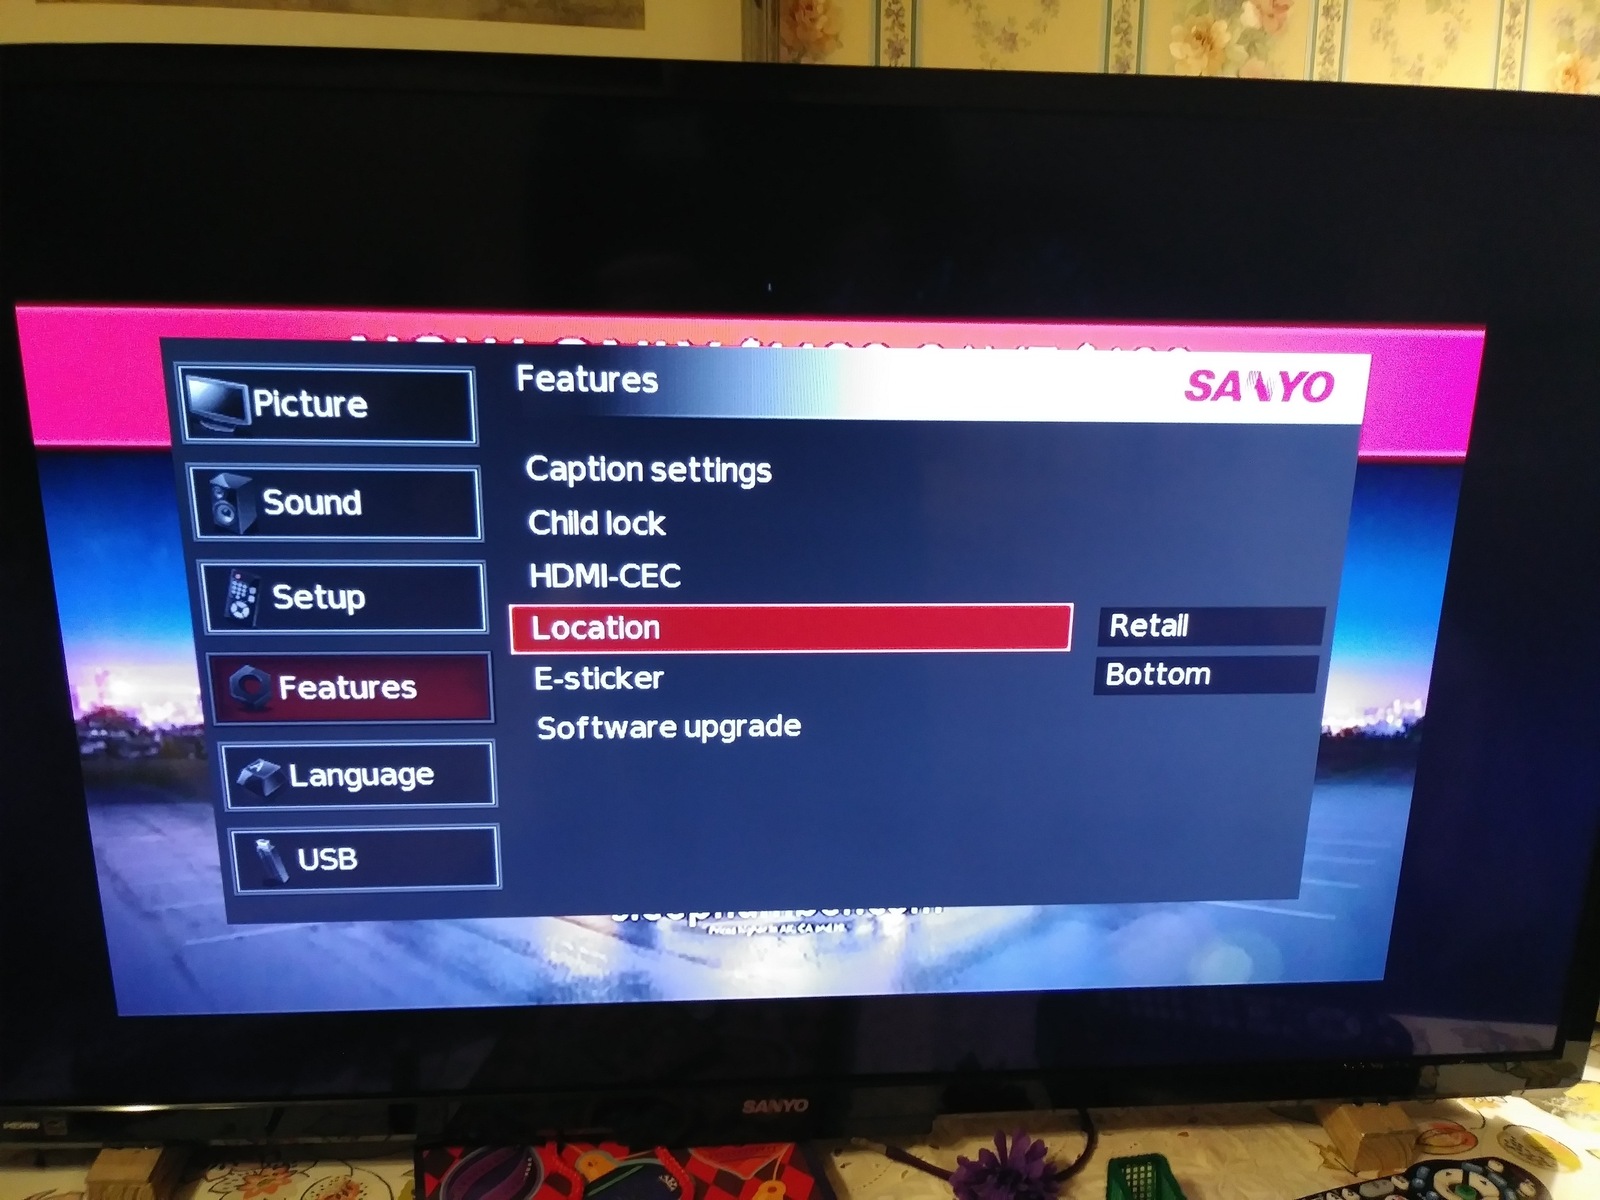
Step 8: Configure the TV settings again
After the reset process and the successful restart of your Sanyo LED TV, it’s time to configure the settings again. In this step, you will personalize and adjust the various TV settings to your preferences.
When the TV restarts, you will likely be prompted with an initial setup screen or a guided on-screen menu. Follow the on-screen instructions to navigate through the setup process and configure the essential settings such as language, date, and time.
Next, you can proceed to adjust the picture settings to optimize the visual quality according to your preference. This includes adjusting the brightness, contrast, color temperature, and other picture-related settings. You may refer to the TV’s user manual for guidance on specific settings and adjustments.
Additionally, you may need to configure the audio settings to ensure optimal sound quality. This includes adjusting the volume, balance, equalizer settings, and any audio enhancements that the TV offers. Take the time to fine-tune these settings to your liking and create an immersive audio experience.
If your Sanyo LED TV is connected to a network, you will need to set up the network connection again. This involves entering the network details such as Wi-Fi password or configuring a wired connection. Follow the on-screen prompts to establish a stable network connection for access to streaming services, online content, and software updates.
Finally, you may want to customize any additional settings, such as parental controls, sleep timer, input source labeling, or any other advanced settings that your TV offers. These settings can enhance your TV viewing experience and cater to your specific needs.
By taking the time to configure the TV settings again, you ensure that your Sanyo LED TV is personalized according to your preferences. This step allows you to optimize the picture and audio quality, establish a network connection, and customize additional settings to enhance your overall viewing experience.
Once you have completed configuring the TV settings, your Sanyo LED TV is now ready for you to enjoy your favorite shows, movies, and more.
Conclusion
Resetting a Sanyo LED TV can be a beneficial troubleshooting step when you encounter issues or simply want to start fresh. By following the step-by-step process outlined in this guide, you can successfully reset your Sanyo LED TV and restore it to its default settings.
Throughout this article, we have covered the essential steps to reset a Sanyo LED TV. These steps include turning off the TV, unplugging it from the power source, waiting for a few minutes, pressing and holding the power button, plugging the TV back in, continuing to hold the power button, releasing the power button, and finally, configuring the TV settings again.
It’s important to note that while these steps should apply to most Sanyo LED TV models, there may be slight variations. To ensure accuracy, always refer to your TV’s user manual for specific instructions.
Resetting your Sanyo LED TV can help resolve various issues like frozen screens, audio problems, or other functionality glitches. It provides a fresh start and allows you to reconfigure the TV settings according to your preferences.
Remember to take note of any personalized settings or presets before the reset process, as they will be lost during the reset. By jotting them down or taking pictures, you can easily reconfigure the TV settings after the reset.
With a properly reset Sanyo LED TV, you can now enjoy a seamless and optimized viewing experience. Whether you’re watching your favorite shows, movies, or playing games, your Sanyo LED TV is ready to deliver captivating visuals and immersive sound.
We hope that this guide has been helpful and has provided you with the necessary information to successfully reset your Sanyo LED TV. By following these steps, you can troubleshoot common issues, start fresh, and continue to enjoy your Sanyo LED TV to its fullest potential.