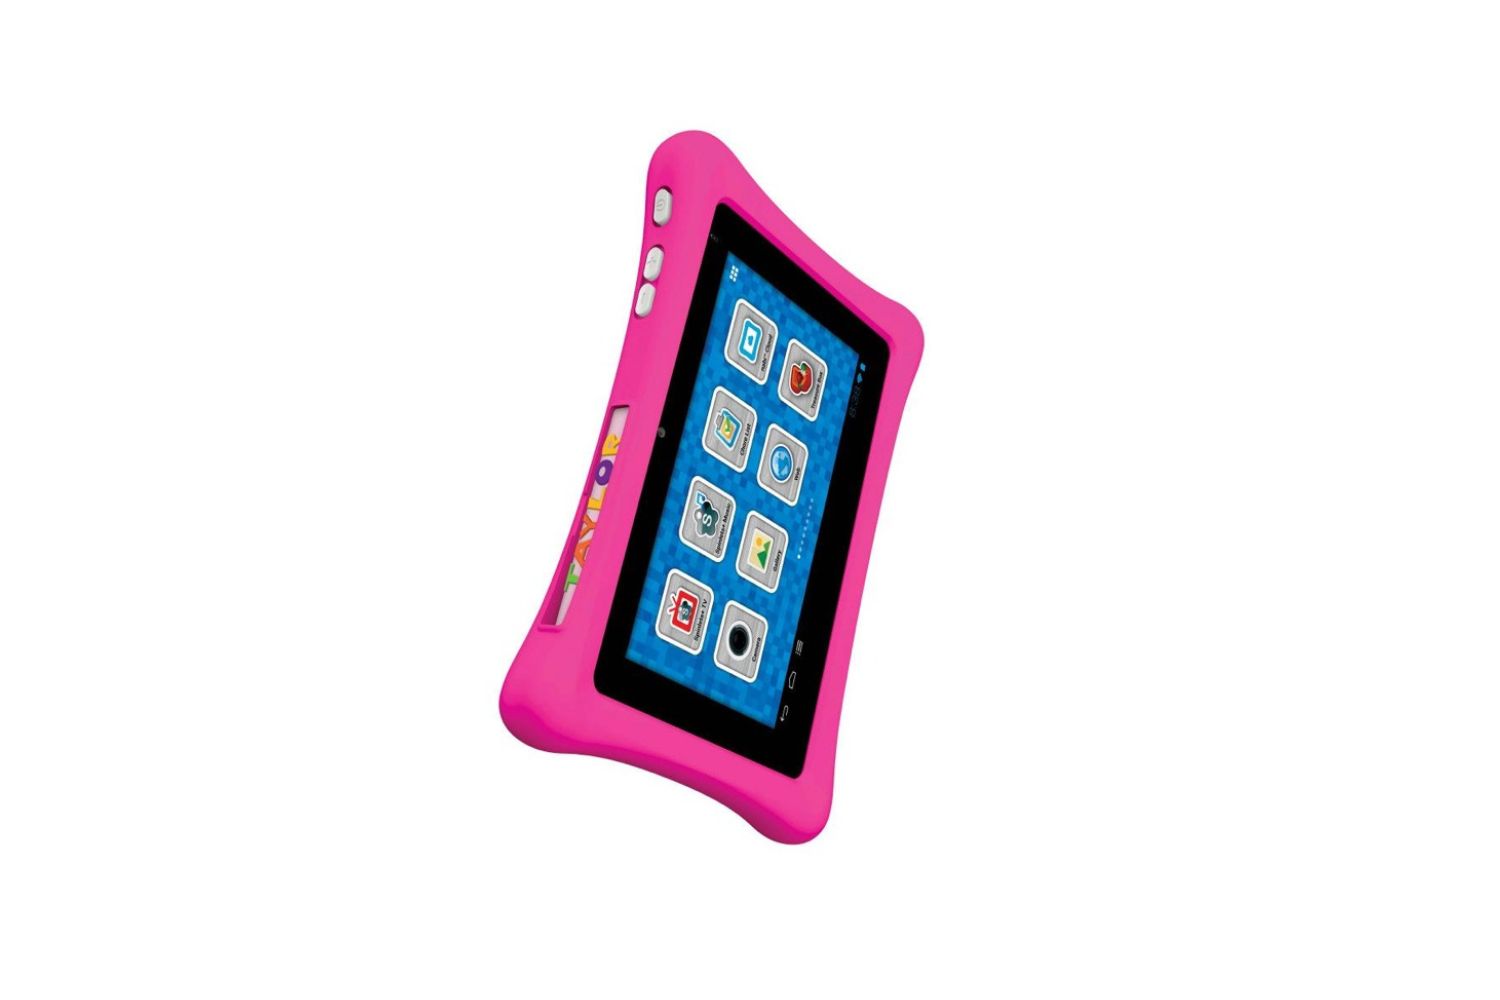
Introduction
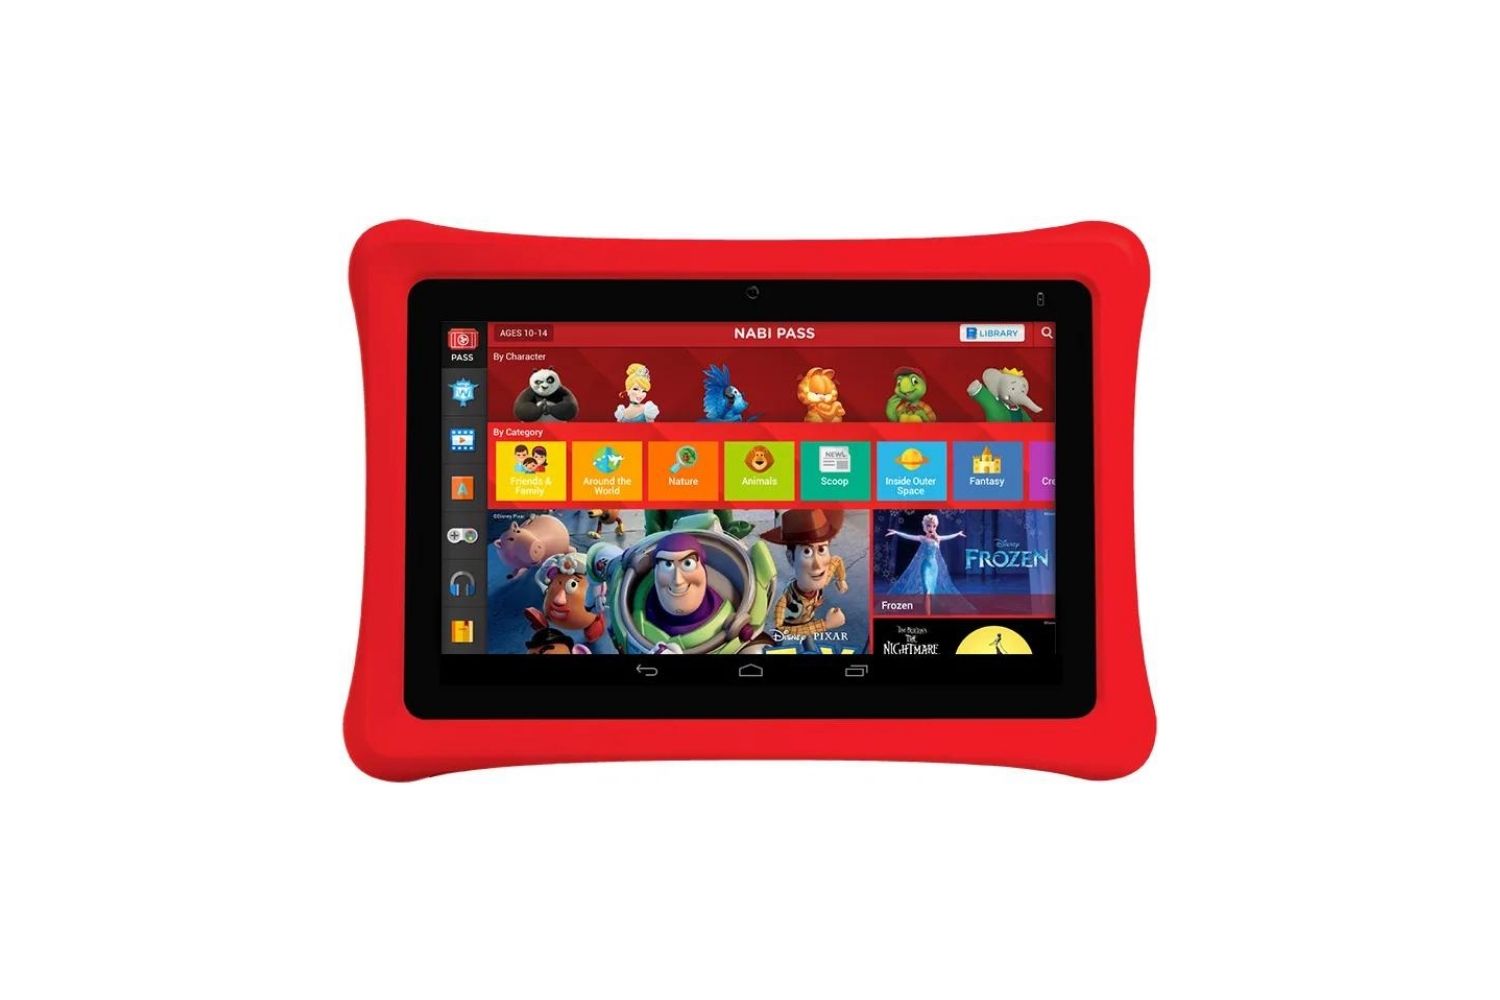
Welcome to the guide on how to reset your Nabi 2 tablet. Sometimes, you may encounter issues with your Nabi 2 tablet that can only be resolved by performing a reset. Resetting your tablet can help to troubleshoot software glitches, resolve performance issues, or restore your tablet to its factory settings.
It’s important to note that performing a reset will erase all data from your Nabi 2 tablet, so it’s essential to back up any important files or documents before proceeding with the reset process. In this guide, we’ll walk you through the steps to reset your Nabi 2 tablet and also show you how to restore your data afterwards.
Whether you’re experiencing unresponsive apps, frequent crashes, or other software-related problems, resetting your Nabi 2 tablet can often provide a solution. However, before jumping into the reset process, it’s advised to try some basic troubleshooting steps like force stopping misbehaving apps, clearing cache, or restarting your device. If these steps don’t resolve the issue, a reset might be necessary.
There are two types of resets you can perform on your Nabi 2 tablet: a soft reset and a factory reset. A soft reset is a quick and simple process that restarts your device without erasing any data, whereas a factory reset will wipe all data and settings, bringing your tablet back to its original state.
If you’re unsure which type of reset to perform, don’t worry. We’ll guide you through both methods, so you can choose the one that suits your needs. Let’s dive in and explore how to reset your Nabi 2 tablet step by step.
Backup Your Data
Before proceeding with the reset process, it is crucial to back up your data to prevent any loss of important files or documents. Resetting your Nabi 2 tablet will erase all data, so taking the time to back up ensures that you can restore your files later.
There are a few different methods you can use to back up your data on the Nabi 2 tablet:
- Google Backup: If you have set up your Nabi 2 tablet with a Google account, it is likely that your apps, contacts, calendars, and some settings are automatically backed up to your Google account. To verify this, go to Settings > Google > Backup, and make sure all the necessary options are enabled.
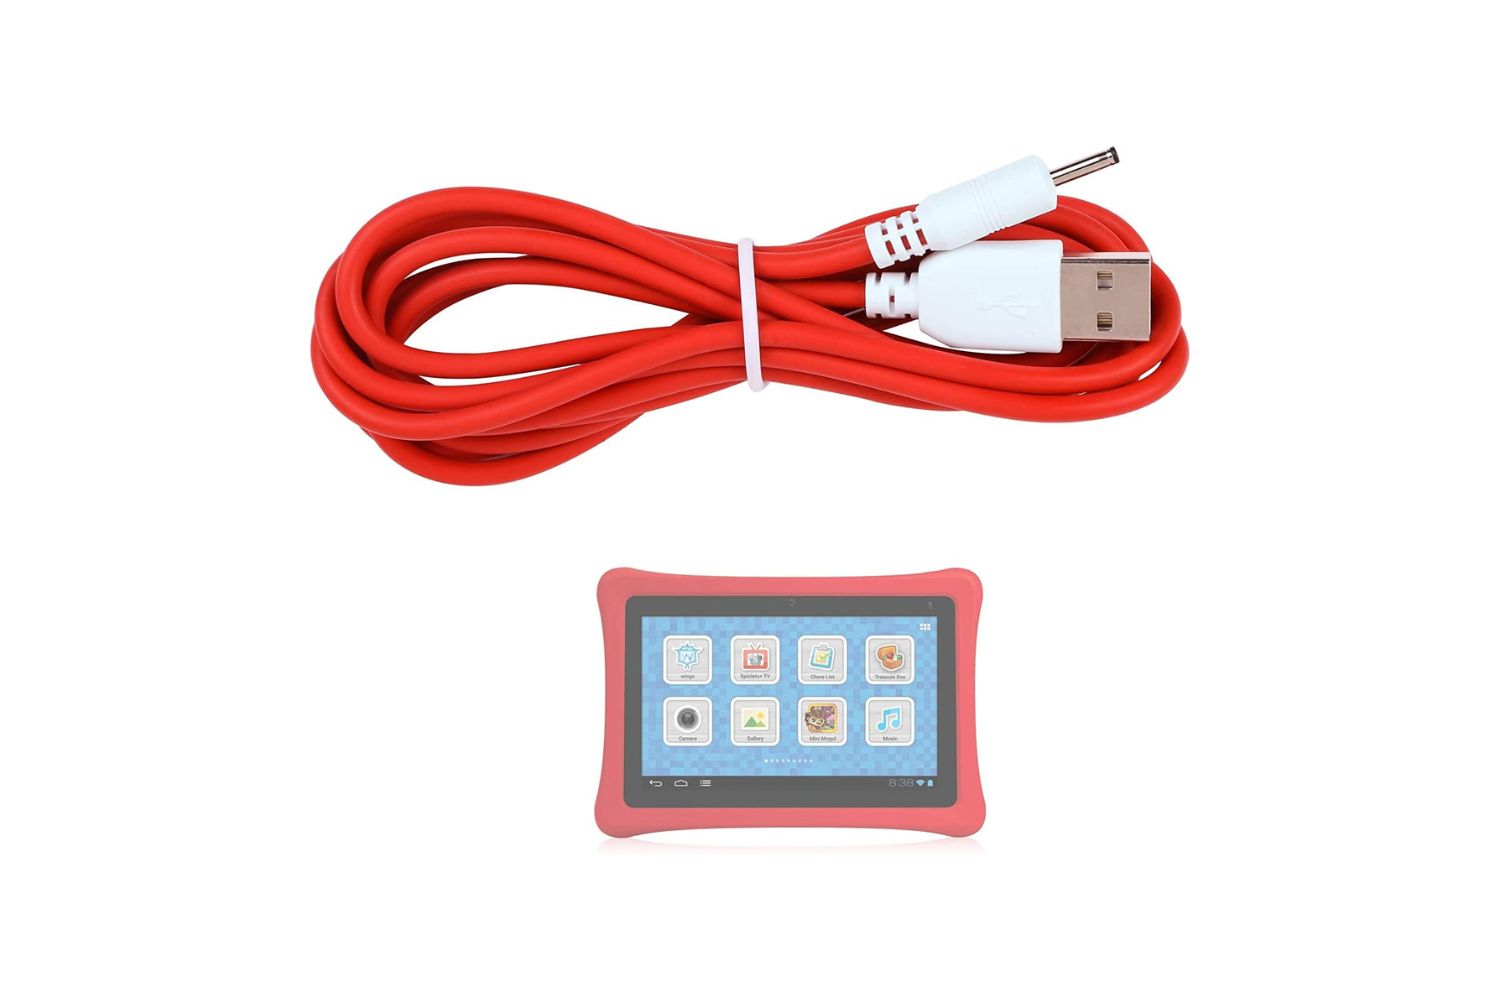
- Manually Copying Files: To back up your personal files, such as photos, videos, and documents, you can connect your Nabi 2 tablet to a computer using a USB cable. Once connected, your Nabi 2 tablet will appear as a storage device on your computer, allowing you to browse and copy files to a desired location on your computer’s hard drive.
- Cloud Storage Services: Another convenient option is to utilize cloud storage services such as Google Drive, Dropbox, or OneDrive. These services offer free storage space that allows you to upload and store your files securely online. Install the corresponding app on your Nabi 2 tablet and sign in to your account to start uploading your files.
Ensure that you have successfully backed up all the necessary data before proceeding to the next steps. It’s always better to be safe than sorry when it comes to safeguarding your important files.
Performing a Soft Reset
If you’re experiencing minor issues with your Nabi 2 tablet, a soft reset can often resolve them without affecting your data. A soft reset is a simple process that restarts your device. Here’s how to perform a soft reset on your Nabi 2 tablet:
- Press and hold the power button on your Nabi 2 tablet for about 10 seconds until the screen turns off.
- Release the power button, and then press and hold it again until you see the Nabi logo appear on the screen.
- Once the Nabi logo appears, release the power button and allow your tablet to boot up normally.
By performing a soft reset, you are essentially giving your Nabi 2 tablet a fresh start. This can help resolve minor software glitches or unresponsive apps that may have been causing issues.
If a soft reset doesn’t resolve the problem you’re experiencing with your Nabi 2 tablet, you may need to perform a factory reset. Keep in mind that a factory reset will erase all data and settings on your device, so it’s important to have a backup of your data before proceeding.
Now that you’ve learned how to perform a soft reset on your Nabi 2 tablet, let’s move on to the next section, where we’ll guide you through the process of performing a factory reset.
Performing a Factory Reset
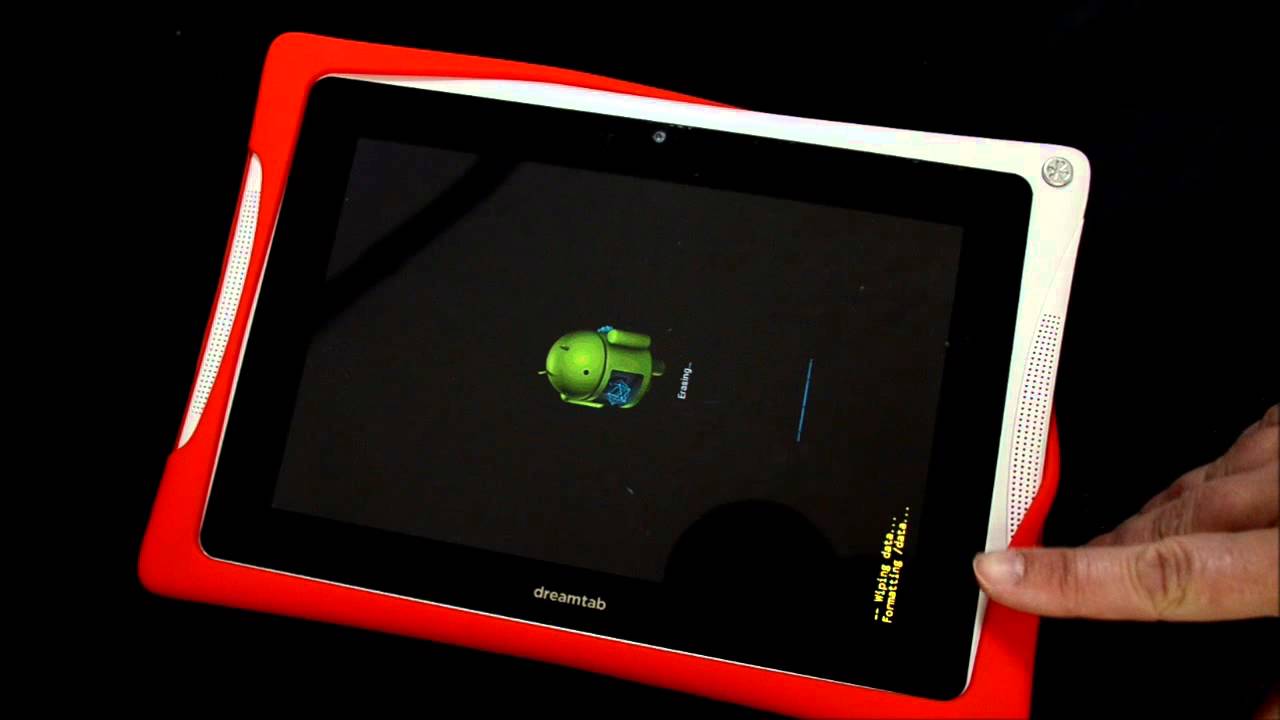
If you’re experiencing persistent issues with your Nabi 2 tablet that cannot be resolved by a soft reset, a factory reset may be necessary. A factory reset restores your Nabi 2 tablet to its original state, wiping all data and settings. Here’s how to perform a factory reset on your Nabi 2 tablet:
- Start by turning off your Nabi 2 tablet. If it’s unresponsive, press and hold the power button for about 10 seconds until it powers off.
- Once your tablet is turned off, press and hold the “Volume Up” and “Power” buttons simultaneously. Hold them until the Nabi logo appears on the screen.
- When the Nabi logo appears, release both buttons. You will enter the recovery mode, where you’ll see a menu with several options.
- Use the volume buttons to navigate through the options and select “Wipe data/factory reset” using the power button.
- A confirmation screen will appear, asking if you want to proceed with the factory reset. Navigate to the “Yes” option and confirm the reset.
- Wait for the reset process to complete. Once finished, you’ll be taken back to the recovery mode menu.
- Select the “Reboot system now” option to restart your Nabi 2 tablet.
After the reboot, your Nabi 2 tablet will be restored to its factory settings. You can start fresh, setting up your tablet as if it were new.
It’s important to note that performing a factory reset will erase all data from your Nabi 2 tablet, so make sure you have backed up any important files or documents before proceeding with the reset.
Now that you know how to perform a factory reset on your Nabi 2 tablet, let’s move on to the next section, where we’ll guide you through the process of restoring your data.
Restoring Your Data
After performing a factory reset on your Nabi 2 tablet, you’ll need to restore your data to get your device back to its previous state. If you followed our earlier advice to back up your data, you’re one step closer to having your files and settings restored. Here’s how to go about restoring your data on your Nabi 2 tablet:
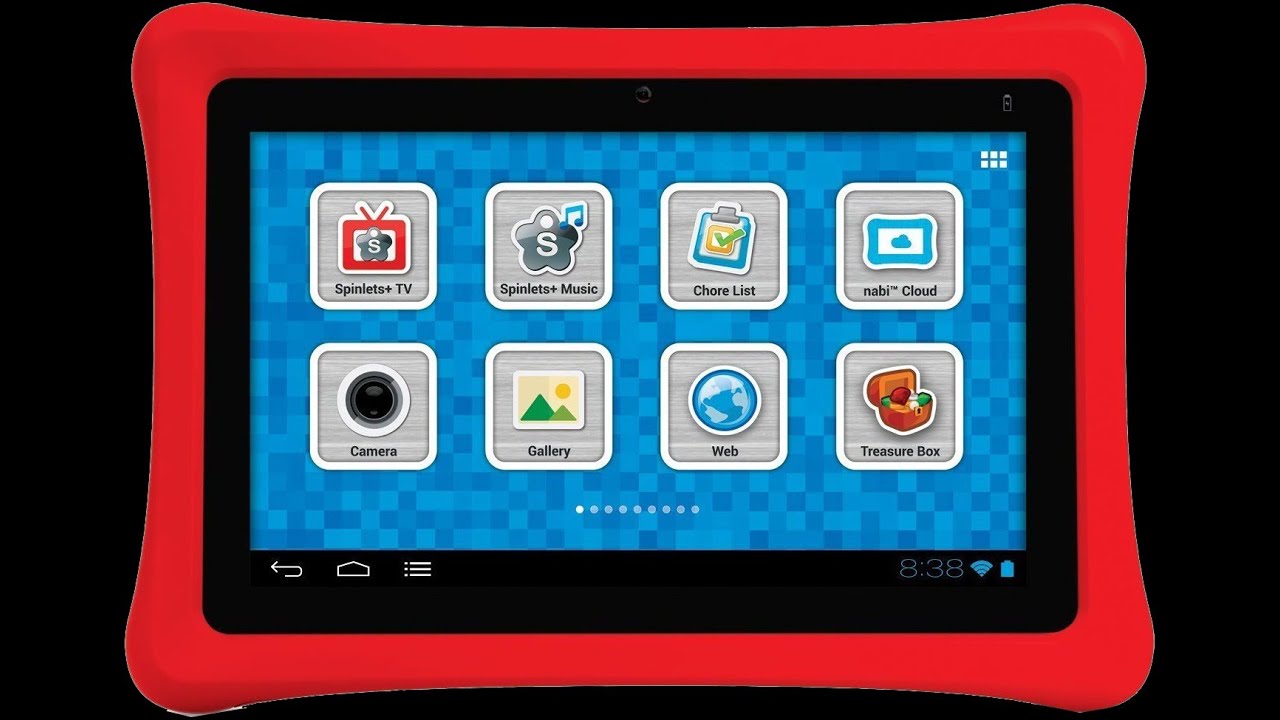
- Start by setting up your Nabi 2 tablet as you did when you first purchased it. Follow the on-screen instructions to select your language, connect to a Wi-Fi network, and sign in with your Google account.
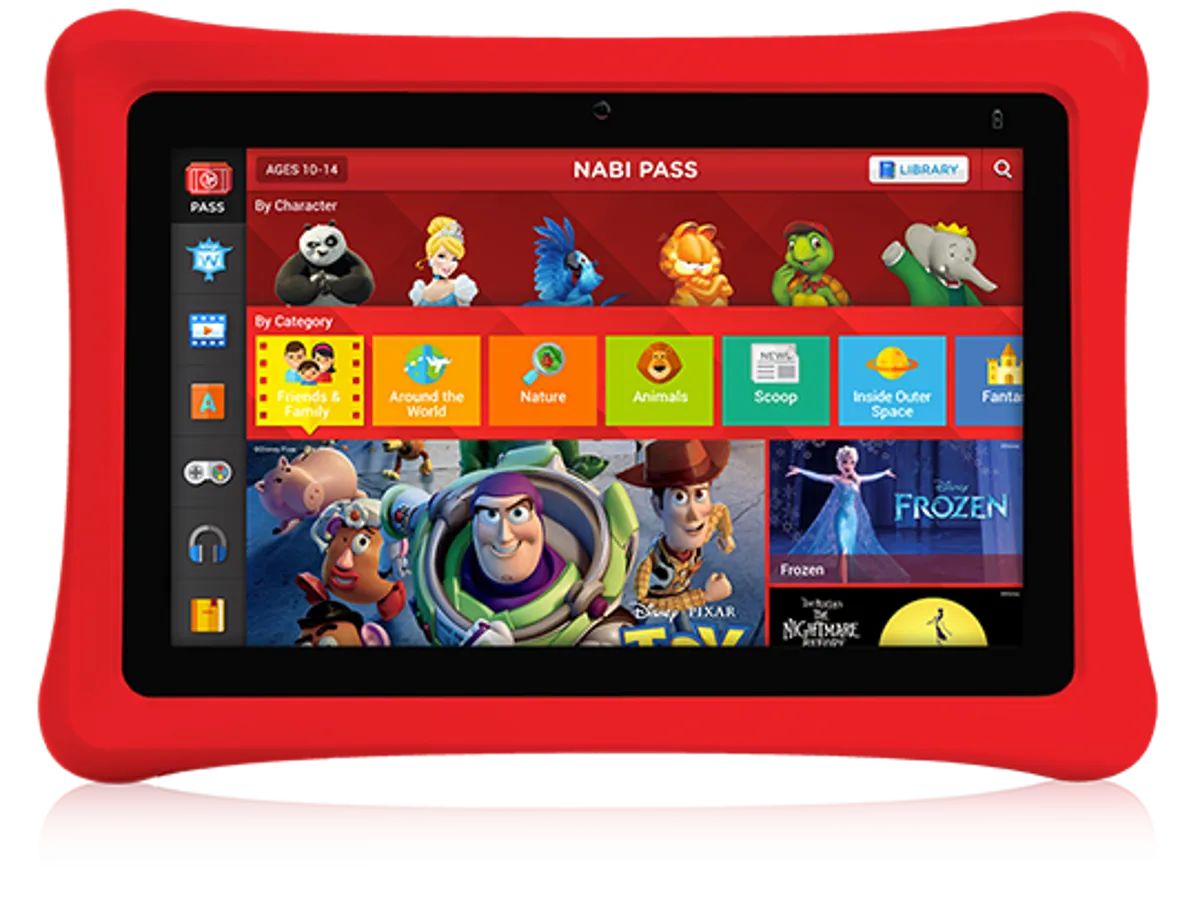
- If you were using a cloud storage service like Google Drive, Dropbox, or OneDrive, install the respective app from the Google Play Store and sign in with your account credentials.
- Next, you can restore your personal files from your computer if you manually copied them or from the cloud storage service you used. Connect your Nabi 2 tablet to your computer using a USB cable and transfer the files back to your device. If you used a cloud storage service, simply download the files back onto your tablet.
- If you were using Google Backup, your apps, contacts, calendars, and some settings should automatically start syncing and restoring once you sign in with your Google account on your Nabi 2 tablet. Allow some time for everything to sync and update.
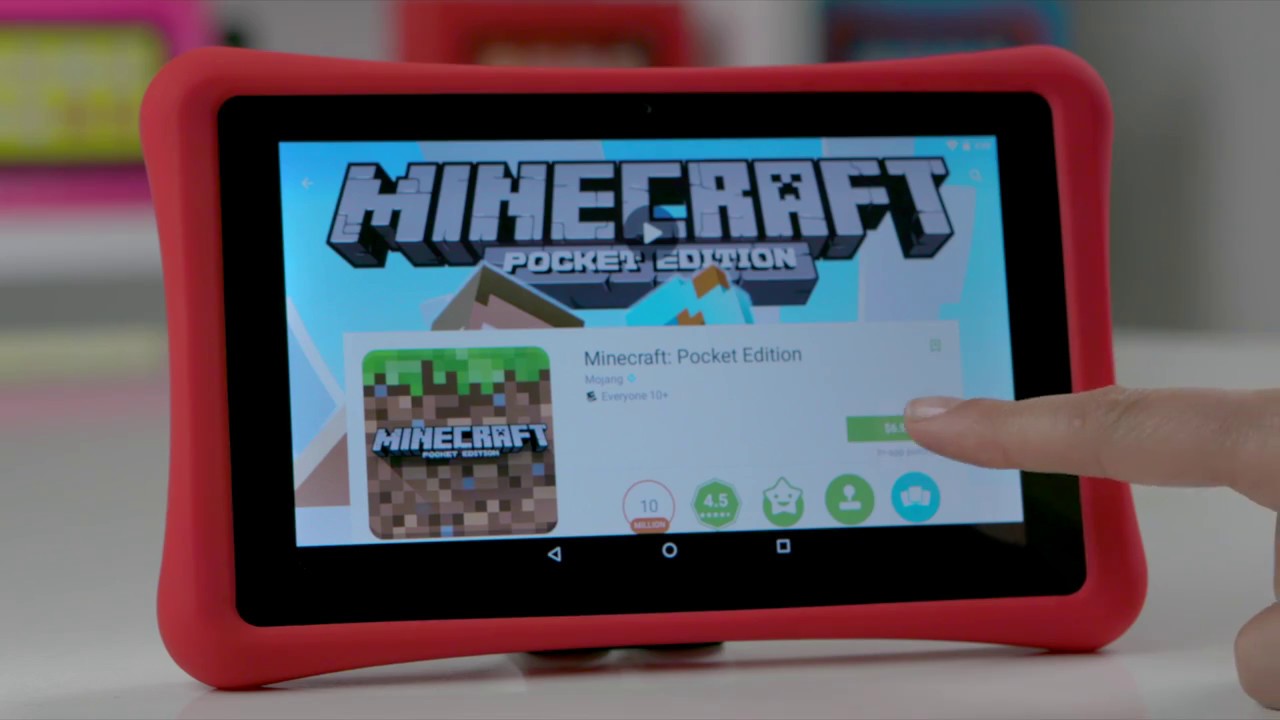
- While your data is being restored, take the opportunity to reinstall any additional apps you used to have on your tablet. Simply go to the Google Play Store, search for the app, and reinstall it.
By following these steps, you’ll be able to restore your data and settings on your Nabi 2 tablet, bringing it back to its previous state before the factory reset.
It’s important to remember that not all data may be recoverable, especially if you didn’t back it up. Therefore, it’s crucial to regularly back up your data to prevent any potential loss in the future.
Now that you’ve learned how to restore your data on your Nabi 2 tablet, you’re ready to enjoy a refreshed device with your files and settings back in place.
Conclusion
Resetting your Nabi 2 tablet can be an effective solution to troubleshoot software issues, improve performance, or restore your device to its factory settings. Whether you opt for a soft reset or a factory reset, it’s crucial to back up your data beforehand to prevent any loss.
In this guide, we explored the steps to perform a soft reset on your Nabi 2 tablet, which can help resolve minor issues without erasing your data. If a soft reset doesn’t solve the problem, a factory reset can be performed to restore your tablet to its original state.
After performing a factory reset, it’s important to restore your data to get your device back to its previous state. This can involve reinstalling apps, transferring files from your computer, or syncing your data from a cloud storage service.
Remember, resetting your Nabi 2 tablet will erase all data, so it’s essential to back up your important files and documents before proceeding. Additionally, it’s a good practice to keep regular backups to prevent any data loss in the future.
We hope this guide has been helpful in guiding you through the process of resetting and restoring your Nabi 2 tablet. By following these steps, you can resolve software issues and bring your tablet back to optimal performance.
Now, armed with this knowledge, you can confidently reset your Nabi 2 tablet when needed and enjoy a smooth and efficient user experience. If you have any further questions or need assistance, feel free to consult the official Nabi support or seek help from technical experts.