Introduction
Welcome to the world of Nabi 2 tablets! If you’re a proud owner of this kid-friendly device, you might be wondering how to add apps to enhance your little one’s learning and entertainment experience. Fortunately, the process is relatively simple and can be done in just a few easy steps.
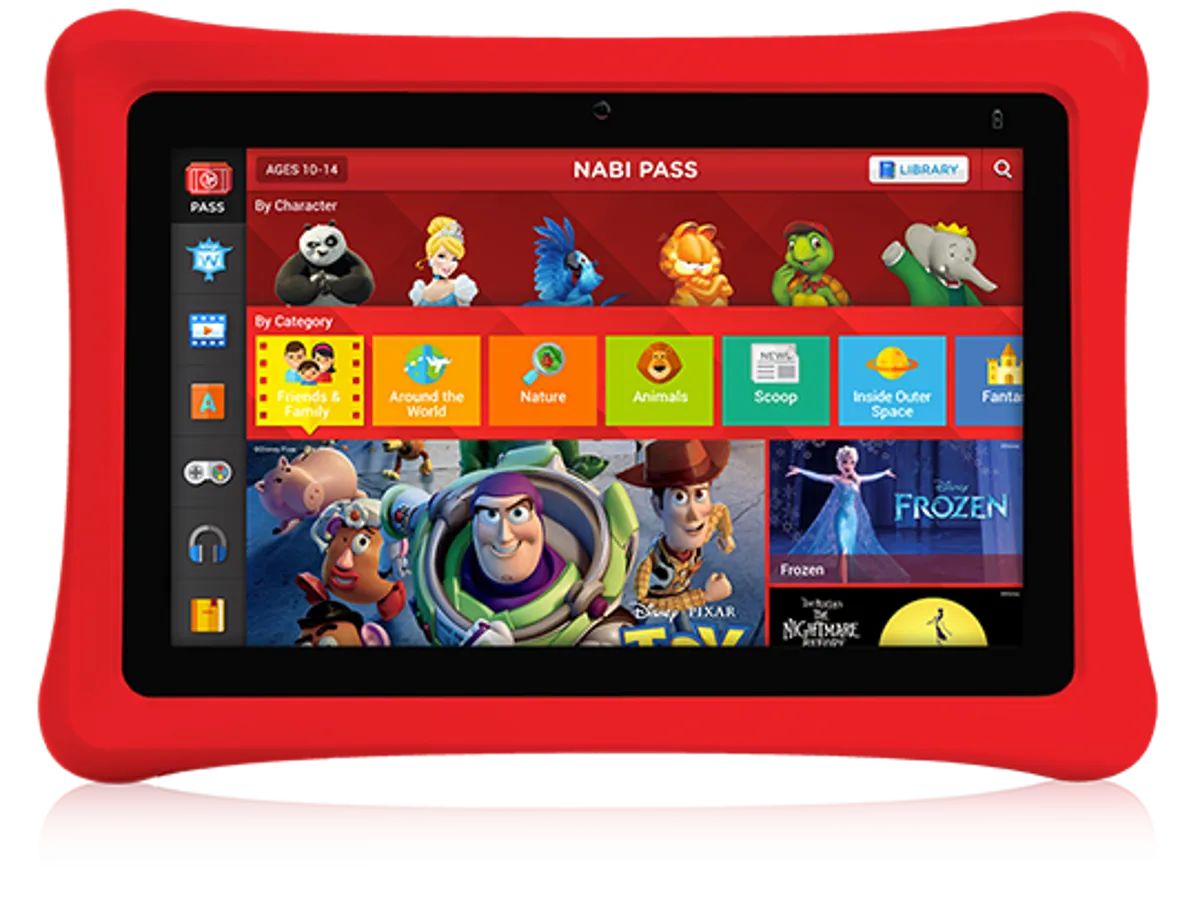
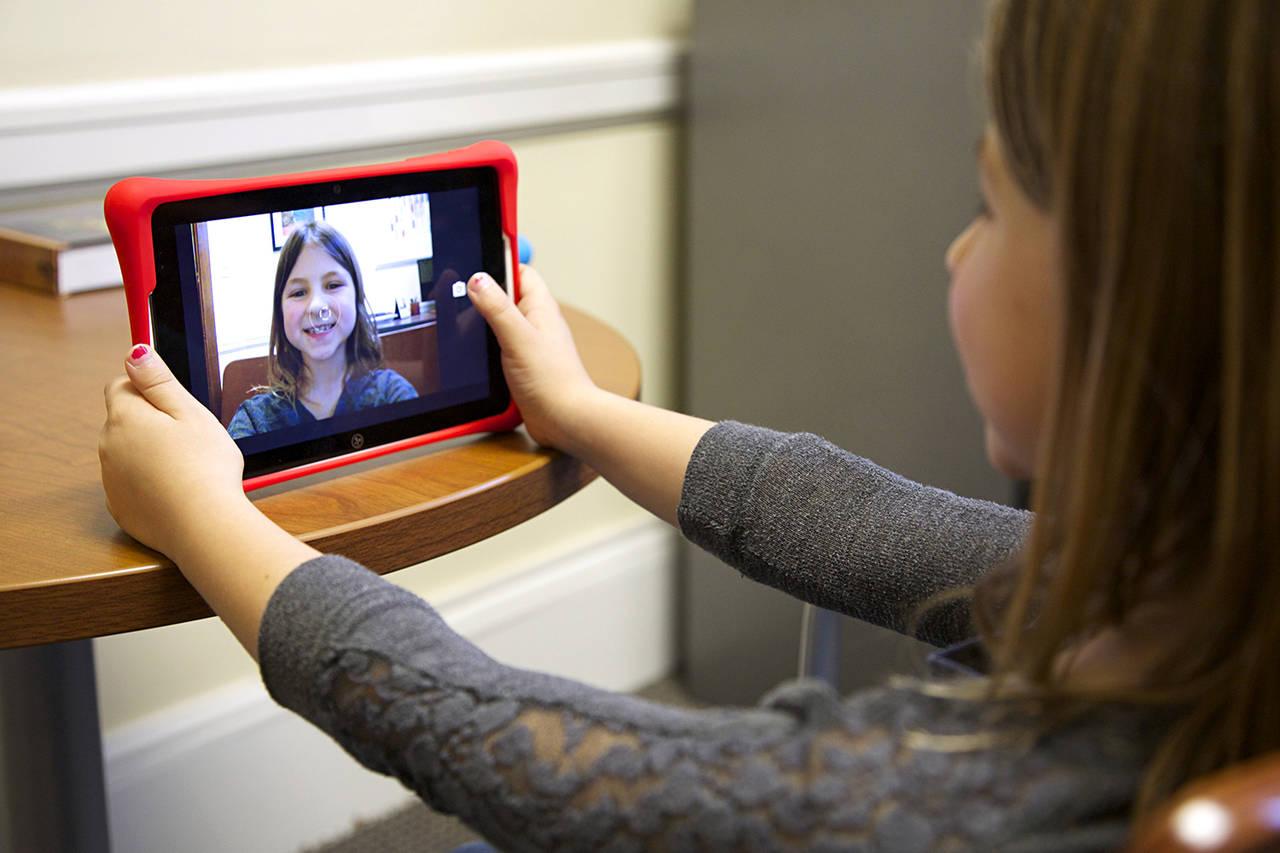
The Nabi 2 tablet is designed with children in mind, providing a safe and educational environment for them to explore and enjoy. But while the tablet comes preloaded with a variety of apps, you may want to add additional ones that align with your child’s specific interests and learning needs.
In this article, we will guide you through the process of adding apps to your Nabi 2 tablet. From enabling unknown sources to installing the apps and adding them to the home screen, we’ll cover every step to ensure a seamless experience.
So, let’s dive in and discover how to unlock the full potential of your Nabi 2 tablet by adding new and exciting apps!
Step 1: Enable Unknown Sources
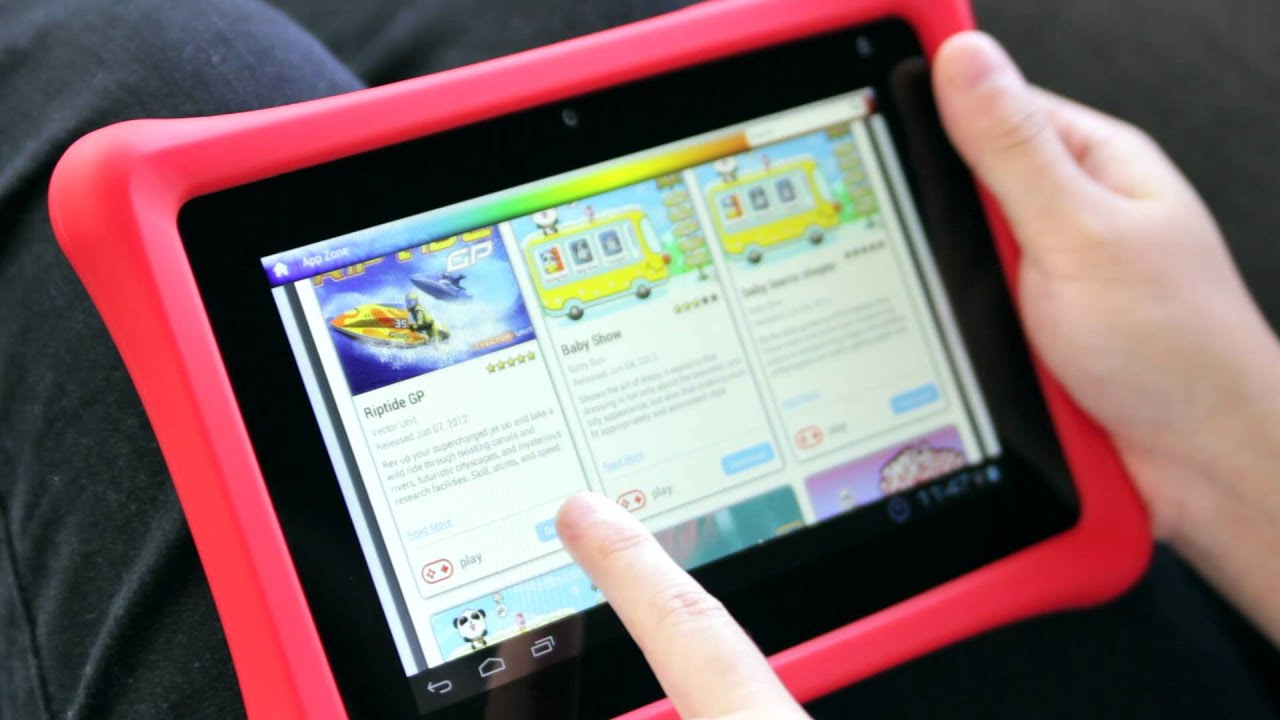
The first step in adding apps to your Nabi 2 tablet is to enable the “Unknown Sources” option. By default, the tablet only allows installation of apps from the Nabi App Store, but enabling this option allows you to install apps from third-party sources.
Here’s how you can enable Unknown Sources on your Nabi 2 tablet:
- Unlock your Nabi 2 tablet and go to the Settings menu. You can find the Settings app in the app drawer or by swiping down from the top of the screen and tapping the gear icon.
- In the Settings menu, scroll down and tap on “Security”.
- On the Security page, look for the “Unknown Sources” option. By default, it is turned off.
- To enable Unknown Sources, simply toggle the switch next to it. You will see a warning message informing you about the risks of installing apps from unknown sources. Read the message carefully and if you’re comfortable, tap “OK” to proceed.
Enabling Unknown Sources is necessary to install apps that are not available in the Nabi App Store. However, it’s important to exercise caution when installing apps from unknown sources. Make sure to download apps only from trusted sources to ensure the safety and security of your device.
Once you have successfully enabled Unknown Sources, you are now ready to download and install apps from third-party sources onto your Nabi 2 tablet. In the next step, we will guide you through the process of downloading the APK files for the apps you want to add.
Step 2: Download the APK File
After enabling Unknown Sources on your Nabi 2 tablet, the next step is to download the APK (Android Package) file for the app you wish to install. APK files are the installation files for Android apps, similar to .exe files on a computer.
Here’s how you can download the APK file for an app:
- Open a web browser on your Nabi 2 tablet, such as Chrome or Firefox.
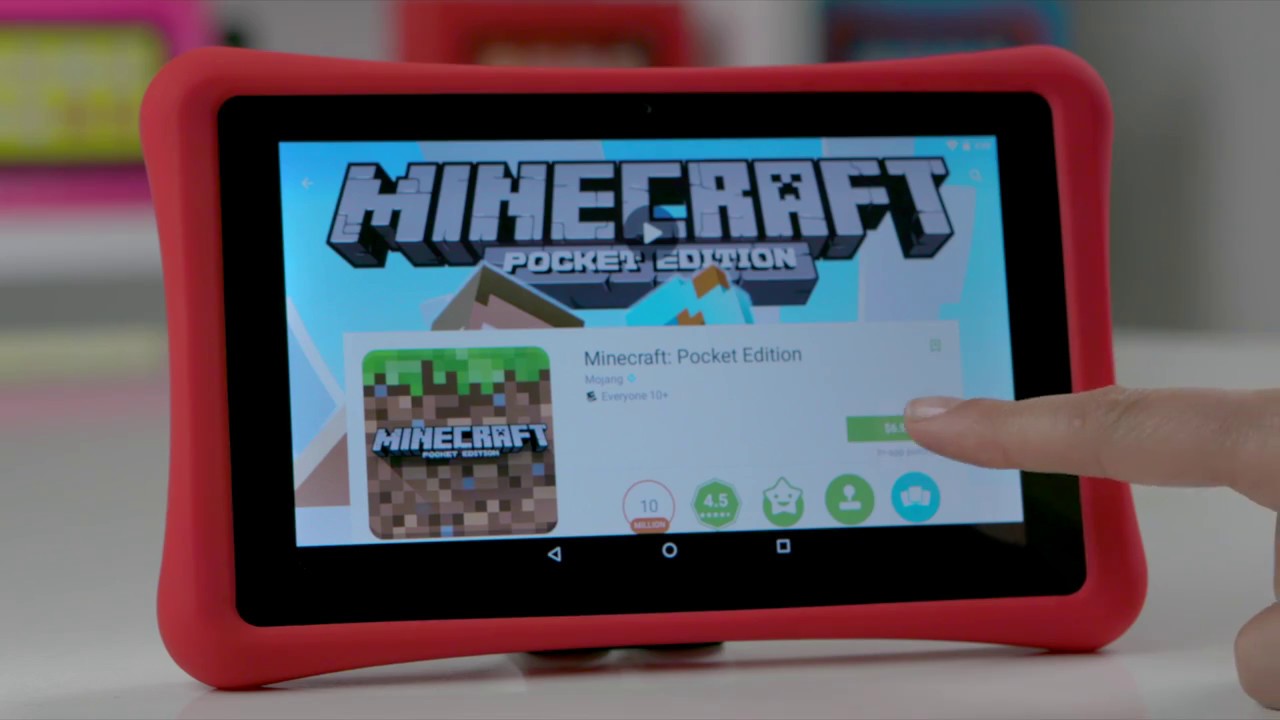
- Search for the app you want to download, followed by “APK”. For example, if you want to download a game called “ABC Adventure”, you would search for “ABC Adventure APK”.
- Look for a trusted website that offers APK files for download. It’s essential to choose a reliable source to ensure the safety and authenticity of the app.
- Once you’ve found a suitable website, navigate to the page for the specific app you want to download.
- On the app’s page, you will usually find a “Download” button or a link labeled “Download APK. Tap on it to initiate the download.
- Depending on your browser settings, you may receive a prompt asking for confirmation before downloading the APK file. Confirm the download by tapping “OK” or “Confirm”.
- The APK file will now begin to download. The time it takes to complete the download will vary depending on the size of the file and your internet connection speed.
Once the APK file has been successfully downloaded, you are ready to proceed to the next step, which is the installation process. Keep in mind that you may need to repeat this process for each app you wish to add to your Nabi 2 tablet.
Step 3: Install the App
After downloading the APK file for the app you want to install on your Nabi 2 tablet, it’s time to proceed with the installation process. Installing an app from an APK file is slightly different from installing apps from the Nabi App Store, but it’s a straightforward process.
Here’s how you can install the app using the downloaded APK file:
- Open the File Manager app on your Nabi 2 tablet. You can find it in the app drawer or by swiping down from the top of the screen and tapping the folder icon.
- In the File Manager, navigate to the location where the APK file was downloaded. By default, it is usually stored in the “Downloads” folder.
- Tap on the APK file to initiate the installation process.
- You may see a warning message indicating that installing apps from unknown sources can be harmful. As long as you have downloaded the APK file from a trusted source, you can proceed with confidence.
- Tap “Install” to begin the installation. The app will now be installed on your Nabi 2 tablet.
- After the installation is complete, you will see a notification informing you that the app has been successfully installed.
- You can now access the newly installed app by going to the app drawer or searching for it on the home screen.
That’s it! You have successfully installed the app on your Nabi 2 tablet using the downloaded APK file. Repeat this process for every app you wish to add to your device.
Now that you have added the app to your Nabi 2 tablet, it’s time to make it easily accessible for your child. In the next step, we will guide you on how to add the app to the home screen.
Step 4: Add Apps to the Home Screen
Once you have successfully installed an app on your Nabi 2 tablet, you may want to add it to the home screen for easy access. Adding apps to the home screen allows your child to quickly find and launch their favorite apps without having to navigate through the app drawer.
Here’s how you can add apps to the home screen on your Nabi 2 tablet:
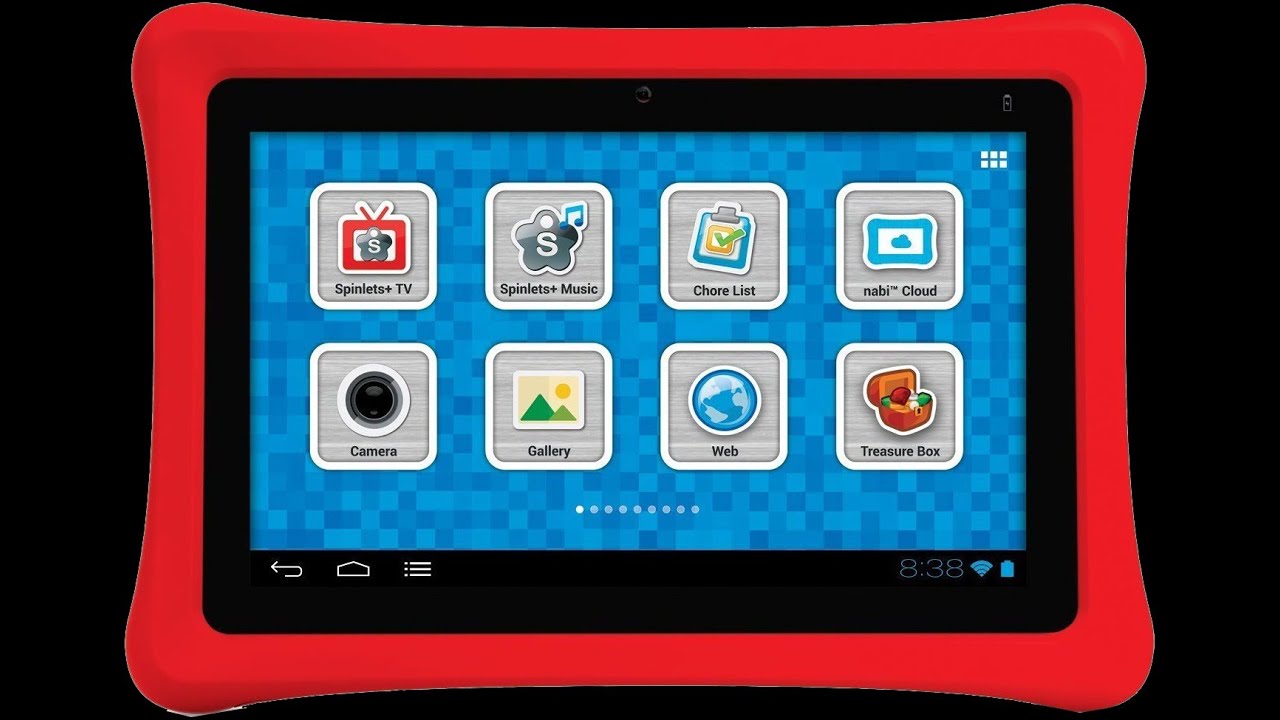
- Go to the app drawer by tapping on the “Apps” icon on the home screen.
- Locate the app you want to add to the home screen.
- Long-press on the app icon until you see a pop-up menu.
- From the pop-up menu, select “Add to Home”. This will add the app to the home screen.
- You can drag the app icon to your desired position on the home screen by long-pressing and then moving it.
- Repeat this process for any other apps you want to add to the home screen.
By adding apps to the home screen, you can create a customized layout that is tailored to your child’s preferences and interests. This makes it easier for them to quickly access their favorite apps and engage in educational and entertaining activities.
Remember, you can rearrange the apps on the home screen at any time by long-pressing and dragging them to your desired position. You can also remove apps from the home screen by long-pressing and dragging them to the “Remove” or “Trash” icon that appears at the top or bottom of the screen.
With apps added to the home screen, your child can now enjoy exploring and playing with their favorite apps on the Nabi 2 tablet. Get creative and organize the apps in a way that suits your child’s needs and preferences.
Congratulations! You have successfully completed all the steps to add apps to your Nabi 2 tablet. Now, your child can enjoy a wide range of interactive and educational experiences right at their fingertips.
Conclusion
Congratulations! You have successfully learned how to add apps to your Nabi 2 tablet. By enabling unknown sources, downloading APK files, installing apps, and adding them to the home screen, you have unlocked the full potential of your Nabi 2 tablet and provided your child with a world of engaging and educational experiences.
Adding apps to the Nabi 2 tablet allows you to customize the device to suit your child’s interests and learning needs. Whether it’s educational apps, interactive games, or creative tools, you can now expand the app library and provide a rich and stimulating digital environment for your little one.
Remember to exercise caution and only download APK files from trusted sources to ensure the safety and security of your Nabi 2 tablet. Additionally, regularly check for app updates, as developers frequently release new features and enhancements to improve the user experience.
Now that you have the knowledge and skills to add apps to your Nabi 2 tablet, it’s time to explore the world of possibilities. Discover new apps, encourage your child’s curiosity, and watch as they embark on exciting learning adventures.
Enjoy the journey of learning and entertainment with your Nabi 2 tablet, and let your child’s imagination soar!