Introduction
Replacing a computer case fan is a relatively simple and essential task for maintaining the optimal performance and temperature of your computer. The computer case fan plays a crucial role in cooling the internal components, preventing overheating and potential damage. Over time, these fans may malfunction or become noisy, indicating the need for a replacement.
In this guide, we will walk you through the step-by-step process of replacing a computer case fan. We will cover all the necessary tools and materials you will need, as well as provide detailed instructions on how to safely and efficiently replace the fan.
Whether you are an experienced computer enthusiast or a beginner, this guide will help you navigate through the process with ease. By following our instructions, you can ensure that your computer remains cool and functioning optimally for smooth and efficient performance.
Before we dive into the step-by-step instructions, make sure to take note of any specific recommendations provided by your computer manufacturer or the fan manufacturer. These may include compatibility requirements or specific instructions for your particular computer model.
Now, let’s gather the necessary tools and materials and get started with replacing your computer case fan!
Tools and Materials Needed
Before you begin replacing your computer case fan, it’s important to gather all the necessary tools and materials to ensure a smooth and successful replacement process. Here are the essential items you’ll need:
- Screwdriver (typically Phillips or flathead, depending on your case)
- Replacement computer case fan (make sure it matches the size and specifications of your old fan)
- Thermal paste (optional, but recommended for optimal heat transfer)
- Compressed air or a soft brush for cleaning dust and debris
- Antistatic wrist strap (optional, but helpful to prevent static electricity damage to sensitive components)
- Clean cloth or microfiber cloth for cleaning the surfaces
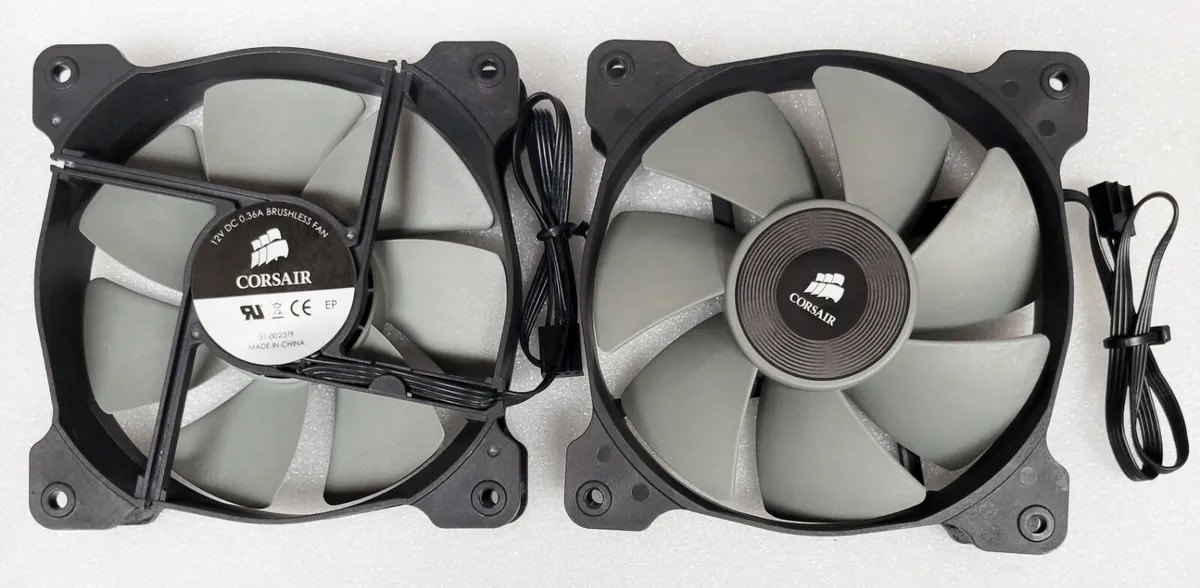
It’s important to choose a replacement fan that is compatible with your computer’s case and can provide adequate airflow for cooling. Check the specifications of your old fan, such as its size (typically measured in millimeters), voltage, and airflow rating, and ensure that the replacement fan matches those specifications. Additionally, consider factors like noise level and whether you prefer a fan with LED lighting.
Thermal paste is used to improve heat transfer between the CPU and the fan, ensuring efficient cooling. While not always necessary for fan replacement, if you’re also removing and reinstalling the CPU, applying a small amount of thermal paste can help optimize heat dissipation.
Now that you have gathered all the necessary tools and materials, you’re ready to move on to the step-by-step process of replacing your computer case fan. Ensure that you have a clean and well-lit workspace, and follow the instructions carefully to avoid any damage to your computer components.
Step 1: Turn off and unplug your computer
Before you begin replacing the computer case fan, it’s crucial to ensure your computer is turned off and completely unplugged from the power source. This step is essential for your safety and to prevent any potential damage to the computer or its components.
Start by shutting down your computer through the operating system. Make sure all the applications and processes are closed before proceeding. After shutting down, wait a few moments to allow the computer to fully power down.
Next, locate the power cord connected to the back of the computer. Gently unplug it from the power outlet. If your computer is connected to a surge protector or power strip, unplug it from there as well.
While turning off and unplugging the computer may seem like a basic step, it’s crucial to emphasize its importance. Failing to do so can expose you to potential electrical hazards and increase the risk of damaging the internal components of your computer.
Once you have ensured that your computer is powered off and the power cord is unplugged, you can move on to the next step of replacing the computer case fan. Remember to exercise caution and be mindful of your surroundings while working on your computer.
In the next step, we will guide you through opening the computer case safely to access the internal components.
Step 2: Open the computer case
Now that your computer is turned off and unplugged, it’s time to open the computer case to access the internal components, including the fan that needs to be replaced. Follow these steps to open the computer case safely:
- Locate the screws or fasteners securing the side panel of your computer case. These are typically located on the back or side of the case. Depending on your case design, you may need a Phillips or flathead screwdriver to remove them. Set aside the screws in a safe place so that you can easily find them later.
- Once the screws are removed, gently slide or lift the side panel of the case. Some cases may have a latch mechanism that needs to be released before the panel can be removed. Be cautious and handle the panel carefully to avoid any accidental damage or injury.
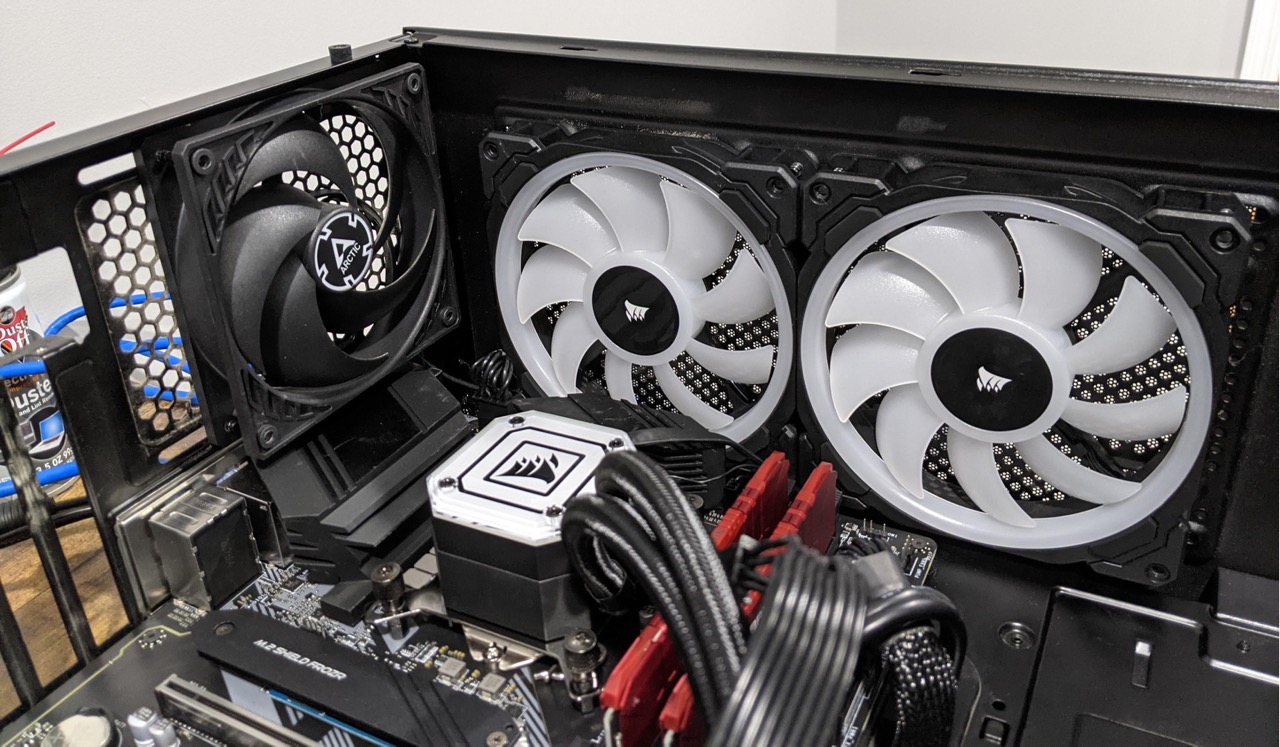
- Inspect the inside of the case to locate the faulty fan. It is usually mounted on either the front, back, or side of the case and connected to the motherboard.
- Take note of the fan’s orientation and how it is secured in place. You may need to disconnect some cables or loosen additional screws to fully remove the fan.
While opening the computer case may vary slightly depending on the specific design and model of your case, these general steps should help you access the internal components with ease. It’s crucial to handle the case and its components gently to avoid any damage.
Once the computer case is open, you can move on to the next step of identifying the faulty fan that needs to be replaced.
Step 3: Identify the faulty fan
After successfully opening the computer case, it’s time to identify the faulty fan that needs to be replaced. Here’s how you can identify the fan:
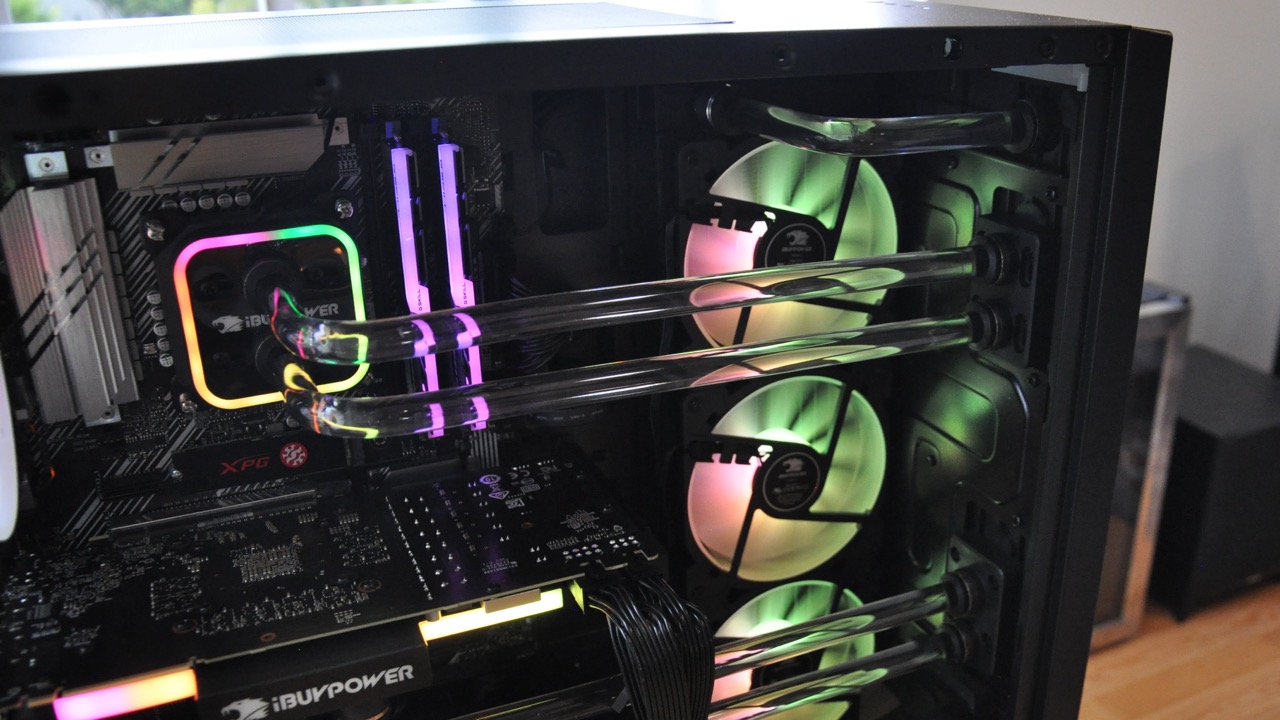
- Inspect the inside of the case and locate the fan that is not functioning properly or making abnormal noises. Typically, case fans are positioned near the front, back, or side of the computer case. They may also be attached to radiators or heatsinks.
- Check for any visible signs of damage or wear on the fan blades or motor. Look for broken or missing blades, excessive dust or debris buildup, or signs of discoloration or corrosion.
- Verify whether the fan is spinning when your computer is turned on. If the fan is not spinning at all or spinning irregularly, it indicates a malfunction and the need for a replacement.
- Pay attention to any abnormal noises coming from the fan. Grinding, buzzing, or rattling sounds are often indicative of a faulty fan that needs to be replaced.
It’s important to note that in some cases, the faulty fan may not be immediately obvious. If you have multiple fans inside the computer case, it can be helpful to listen closely and visually inspect each fan individually to pinpoint the one causing the issue. Additionally, referring to any system diagnostics or fan monitoring tools can also aid in identifying the problematic fan.
Once you have identified the faulty fan, you can proceed to the next step of removing the old fan and preparing for the replacement.
Step 4: Remove the old fan
Now that you have identified the faulty fan, it’s time to remove it from the computer case. Follow these steps to safely remove the old fan:
- Before touching any components inside the case, discharge any static electricity buildup by touching a grounded metal object such as the power supply unit or a metal part of the case.
- Identify the screws or fasteners that secure the fan to the case. There may be multiple screws holding it in place. Use a screwdriver to carefully remove these screws and set them aside in a safe location.
- Gently disconnect any cables or connectors that are attached to the fan. These cables may be connected to the motherboard or a fan controller. Take note of how the cables are connected as you will need to reconnect them later.
- Carefully lift the fan out of its mounting location. Be mindful of any additional clips or latches that may be securing the fan in place. If necessary, loosen them before removing the fan completely.
- Inspect the area where the fan was located for any dust or debris. Use compressed air or a soft brush to clean the area before proceeding with the installation of the new fan.
Throughout the process of removing the old fan, it is important to handle the components with care to avoid any damage. Take note of the orientation and position of the fan for easy installation of the new fan.
With the old fan successfully removed, you are now ready to install the new fan in the next step. Make sure to keep the screws and cables handy for the installation process.
Step 5: Install the new fan
Now that you have removed the old fan, it’s time to install the new fan in your computer case. Follow these steps to install the new fan:
- Take out the new fan from its packaging and ensure that it matches the specifications of the old fan, such as size and connector type.
- Select the appropriate mounting location for the new fan. Refer to your computer case’s manual or manufacturer’s instructions for guidance. Typically, fans are mounted on the front, back, or side of the case.
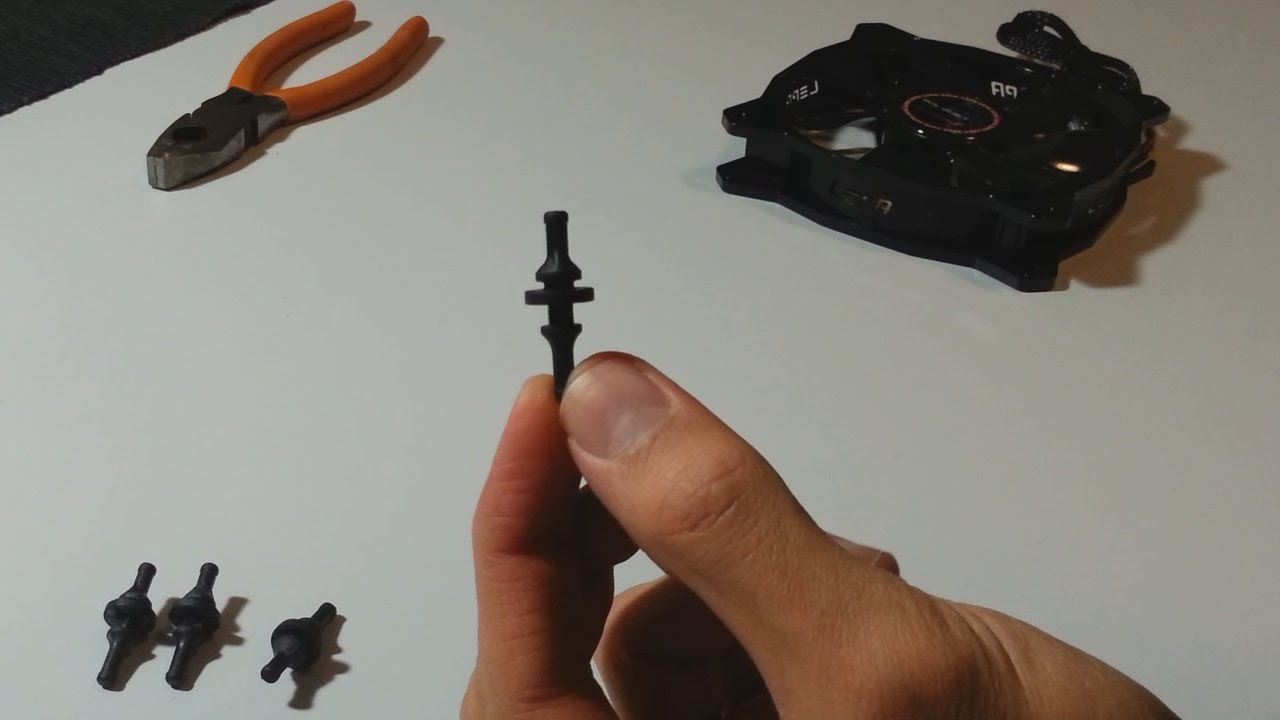
- If necessary, insert any mounting screws or fasteners that came with the new fan into the corresponding holes in the fan mounting bracket or the case itself.
- Carefully position the new fan in the mounting location, aligning the screw holes or fasteners with the corresponding holes or slots in the case.
- Tighten the screws or fasteners to secure the new fan in place. Ensure that it is securely attached to prevent any vibrations or movement during operation.
- If the new fan has a separate cable for power, connect it to an available fan header on the motherboard or a fan controller. Match the connectors properly to avoid any damage or incorrect operation.
- Verify that all connections are secure and properly aligned. Double-check the orientation and position of the fan to ensure optimal airflow.
Throughout the installation process, be careful not to overtighten the screws or apply excessive force, as this can damage the fan or the mounting points. Ensure that the fan is installed securely but with enough flexibility to absorb vibrations.
Now that the new fan is installed, it’s time to connect the fan cables in the next step. Proper cable management can help improve airflow and maintain a clean and organized interior of the computer case.
Step 6: Connect the fan cables
With the new fan securely installed, it’s time to connect the necessary cables to ensure proper operation. Follow these steps to connect the fan cables:
- Identify the cable coming from the new fan. It will typically have a connector that matches the fan header on the motherboard or a fan controller.
- Check the alignment and orientation of the connector and the corresponding fan header or controller. Ensure that the pins on the connector match the pins on the header.
- Gently insert the connector into the fan header, aligning the pins properly. Do not force the connection; it should fit snugly without excessive pressure.
- Secure the connection by gently pressing down on the connector, ensuring it is fully inserted into the fan header.
- If you have multiple fans, repeat the same steps to connect the cables of each fan to their respective fan headers or a fan controller.
- Check all the connections to ensure they are secure and properly aligned. Make sure there are no loose cables that could obstruct the fan’s movement or cause noise.
Properly connecting the fan cables is crucial for the fan to receive power and function correctly. It also allows the motherboard or fan controller to adjust the fan speed based on temperature or user-defined settings.
After connecting the fan cables, it’s time to proceed to the next step of closing the computer case and preparing to power on your computer with the newly installed fan.
Step 7: Close the computer case
After successfully installing the new fan and connecting its cables, it’s time to close the computer case to secure the components. Follow these steps to close the computer case:
- Ensure that all the internal components, including the new fan, are properly seated and secured within the case.
- Align the side panel of the computer case with the edges of the case. Be mindful of any cables or components that might interfere with the panel’s placement.
- If your case has a latch mechanism, engage it to secure the side panel. If not, carefully slide or press the panel into place until it is securely attached.
- If applicable, use the screws that were removed earlier to secure the side panel back onto the case. Tighten the screws until they are snug, but avoid over-tightening.
- Ensure that there are no loose cables or obstructions that could impede the airflow or cause harm to the components.
- Gently inspect the exterior of the computer case to ensure that everything appears secure and properly aligned.
Closing the computer case is an important step to protect the internal components from dust, debris, and potential physical damage. A securely closed case also promotes proper airflow, which is crucial for efficient cooling.
Now that the computer case is closed, you are ready to move on to the final step of powering on your computer with the newly installed fan.
Step 8: Power on your computer
With the computer case closed and all the components properly installed, it’s time to power on your computer and ensure that the new fan is functioning correctly. Follow these steps to power on your computer:
- Double-check that your computer case is securely closed, with all screws tightened and cables properly connected.
- Locate the power cord that was previously unplugged and connect it back into the power outlet or a surge protector.
- Ensure that all external devices, such as monitors or keyboards, are properly connected to the computer.
- Press the power button on your computer to turn it on.
- Listen for any abnormal noises coming from the new fan. It should run smoothly and quietly, without any grinding or rattling sounds.
- Observe the fan’s operation. It should be spinning steadily, providing adequate airflow to cool the internal components.
- Monitor the computer’s temperature using software tools or the BIOS to ensure that it remains within a safe range.
- If the new fan is functioning properly and the computer operates without any issues, you have successfully replaced the fan. Congratulations!
If you encounter any issues, such as the fan not spinning or unusual behavior, double-check the connections, ensure that the fan is securely installed, and consult the instruction manual or seek professional assistance if needed.
By following these steps, you have successfully replaced the computer case fan and taken an important step towards maintaining optimal cooling performance for your computer.
Conclusion
Replacing a computer case fan is an essential task for maintaining proper cooling and optimal performance of your computer. By following the step-by-step instructions provided in this guide, you can safely and effectively replace a faulty fan without the need for professional assistance.
We began by emphasizing the importance of turning off and unplugging your computer before starting the replacement process. Safety is paramount when working with computer components.
We then proceeded to guide you through the process of opening the computer case, identifying the faulty fan, removing the old fan, installing the new fan, connecting the fan cables, and closing the computer case securely.
Once the fan replacement was complete, the final step involved powering on the computer to ensure the new fan operated correctly.
Remember to gather the necessary tools and materials, carefully follow the instructions, and exercise caution when handling the components inside your computer.
Replacing a computer case fan not only helps to prevent overheating and potential damage but also keeps your computer running efficiently, extending its lifespan. Regularly monitoring and cleaning the fans can contribute to enhanced cooling performance and system stability.
Now that you have successfully replaced the fan, you can enjoy a cooler and more reliable computer experience. If you encounter any difficulties during the replacement process, don’t hesitate to seek assistance from a qualified technician.
We hope that this guide has empowered you with the knowledge and confidence to replace a computer case fan and maintain the optimal performance of your computer system. Happy computing!