Introduction
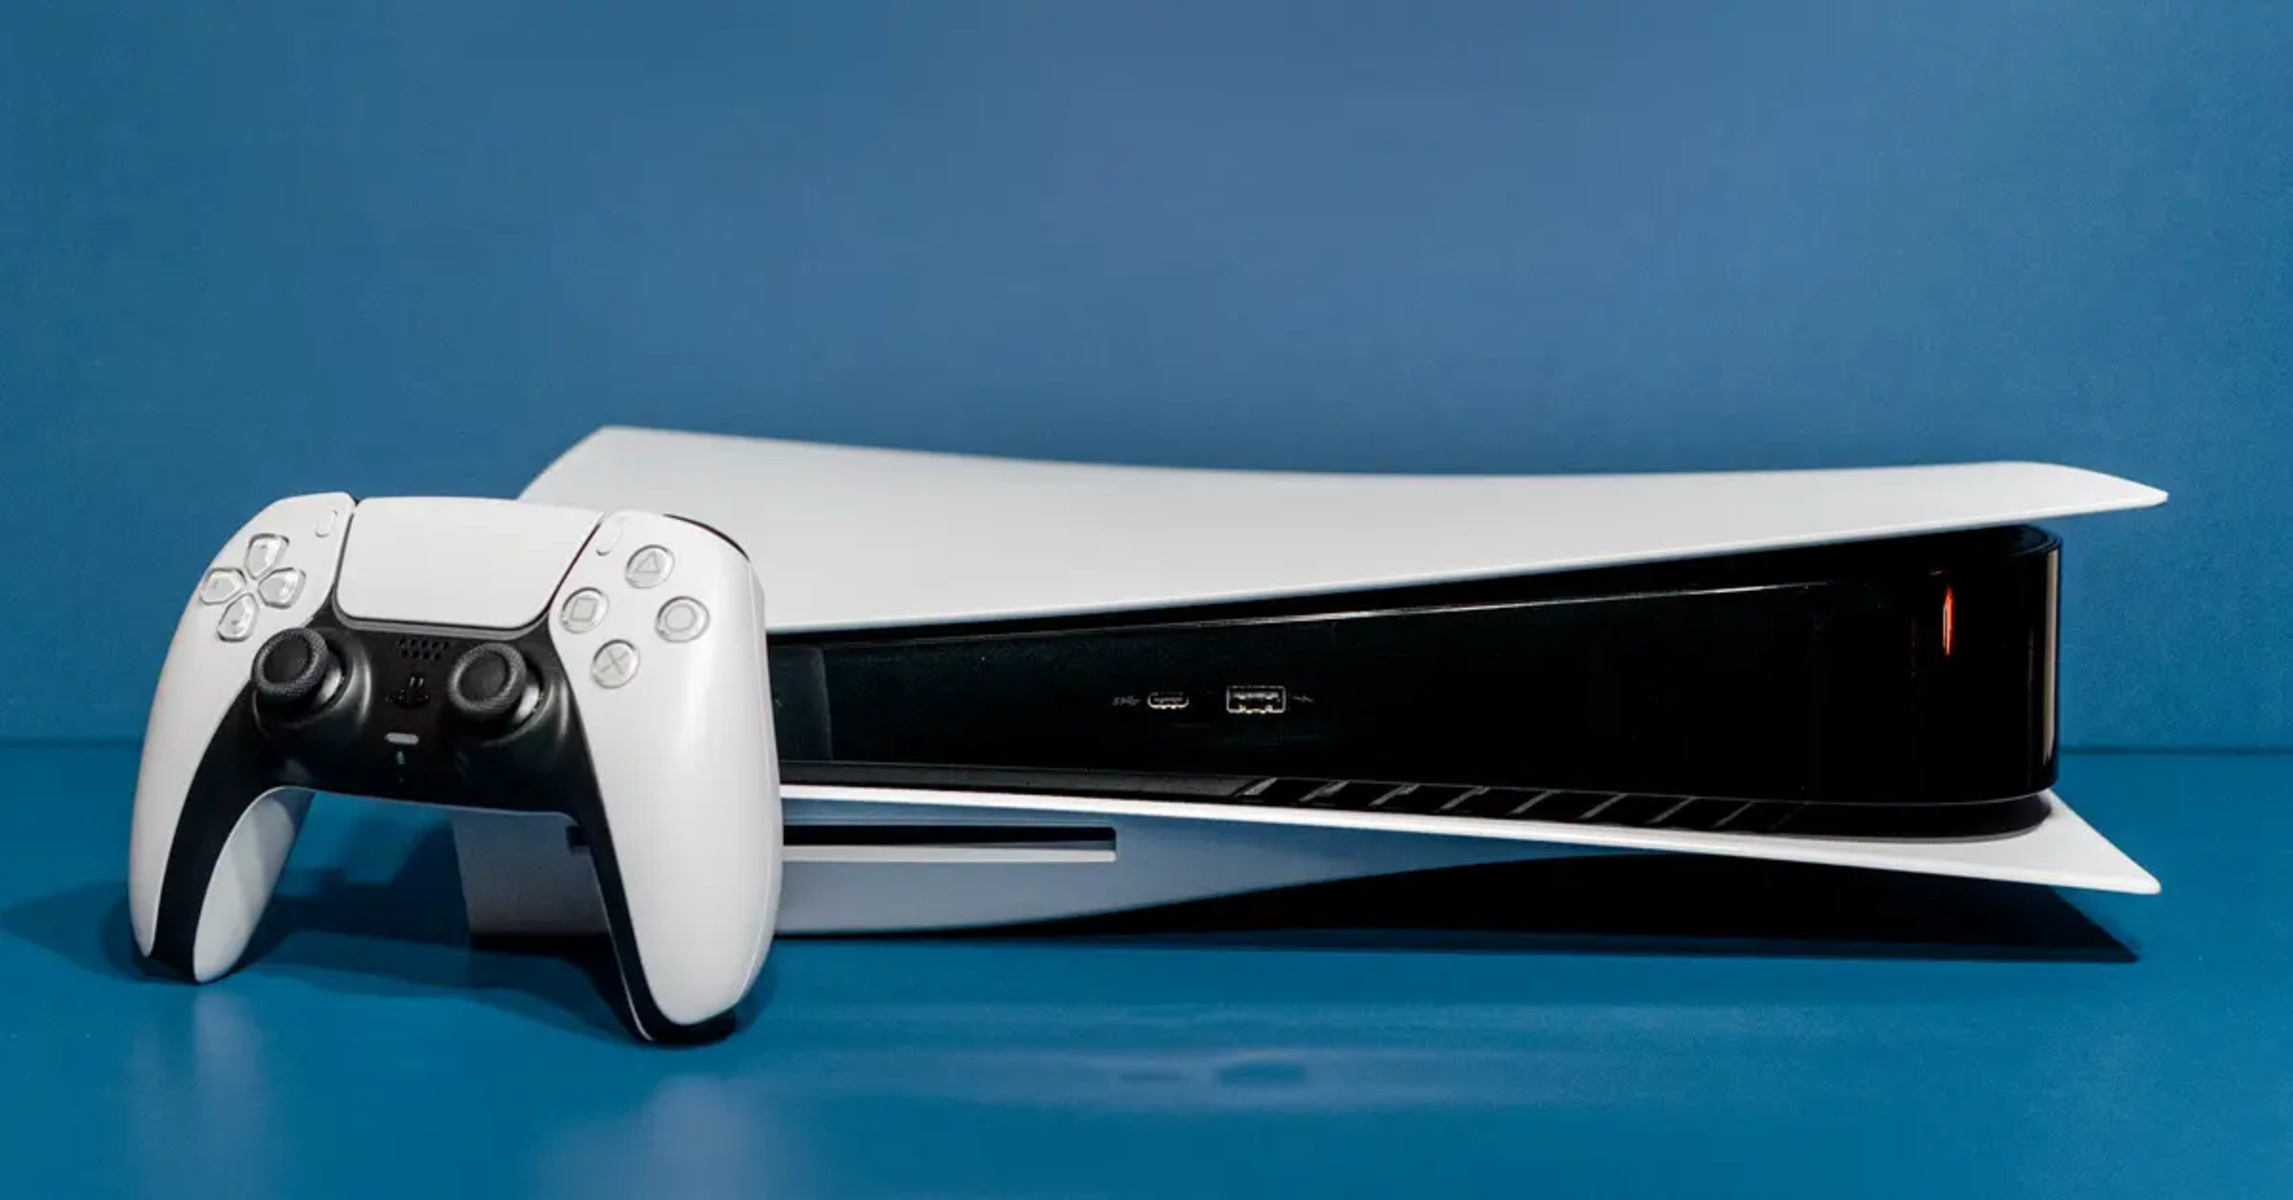
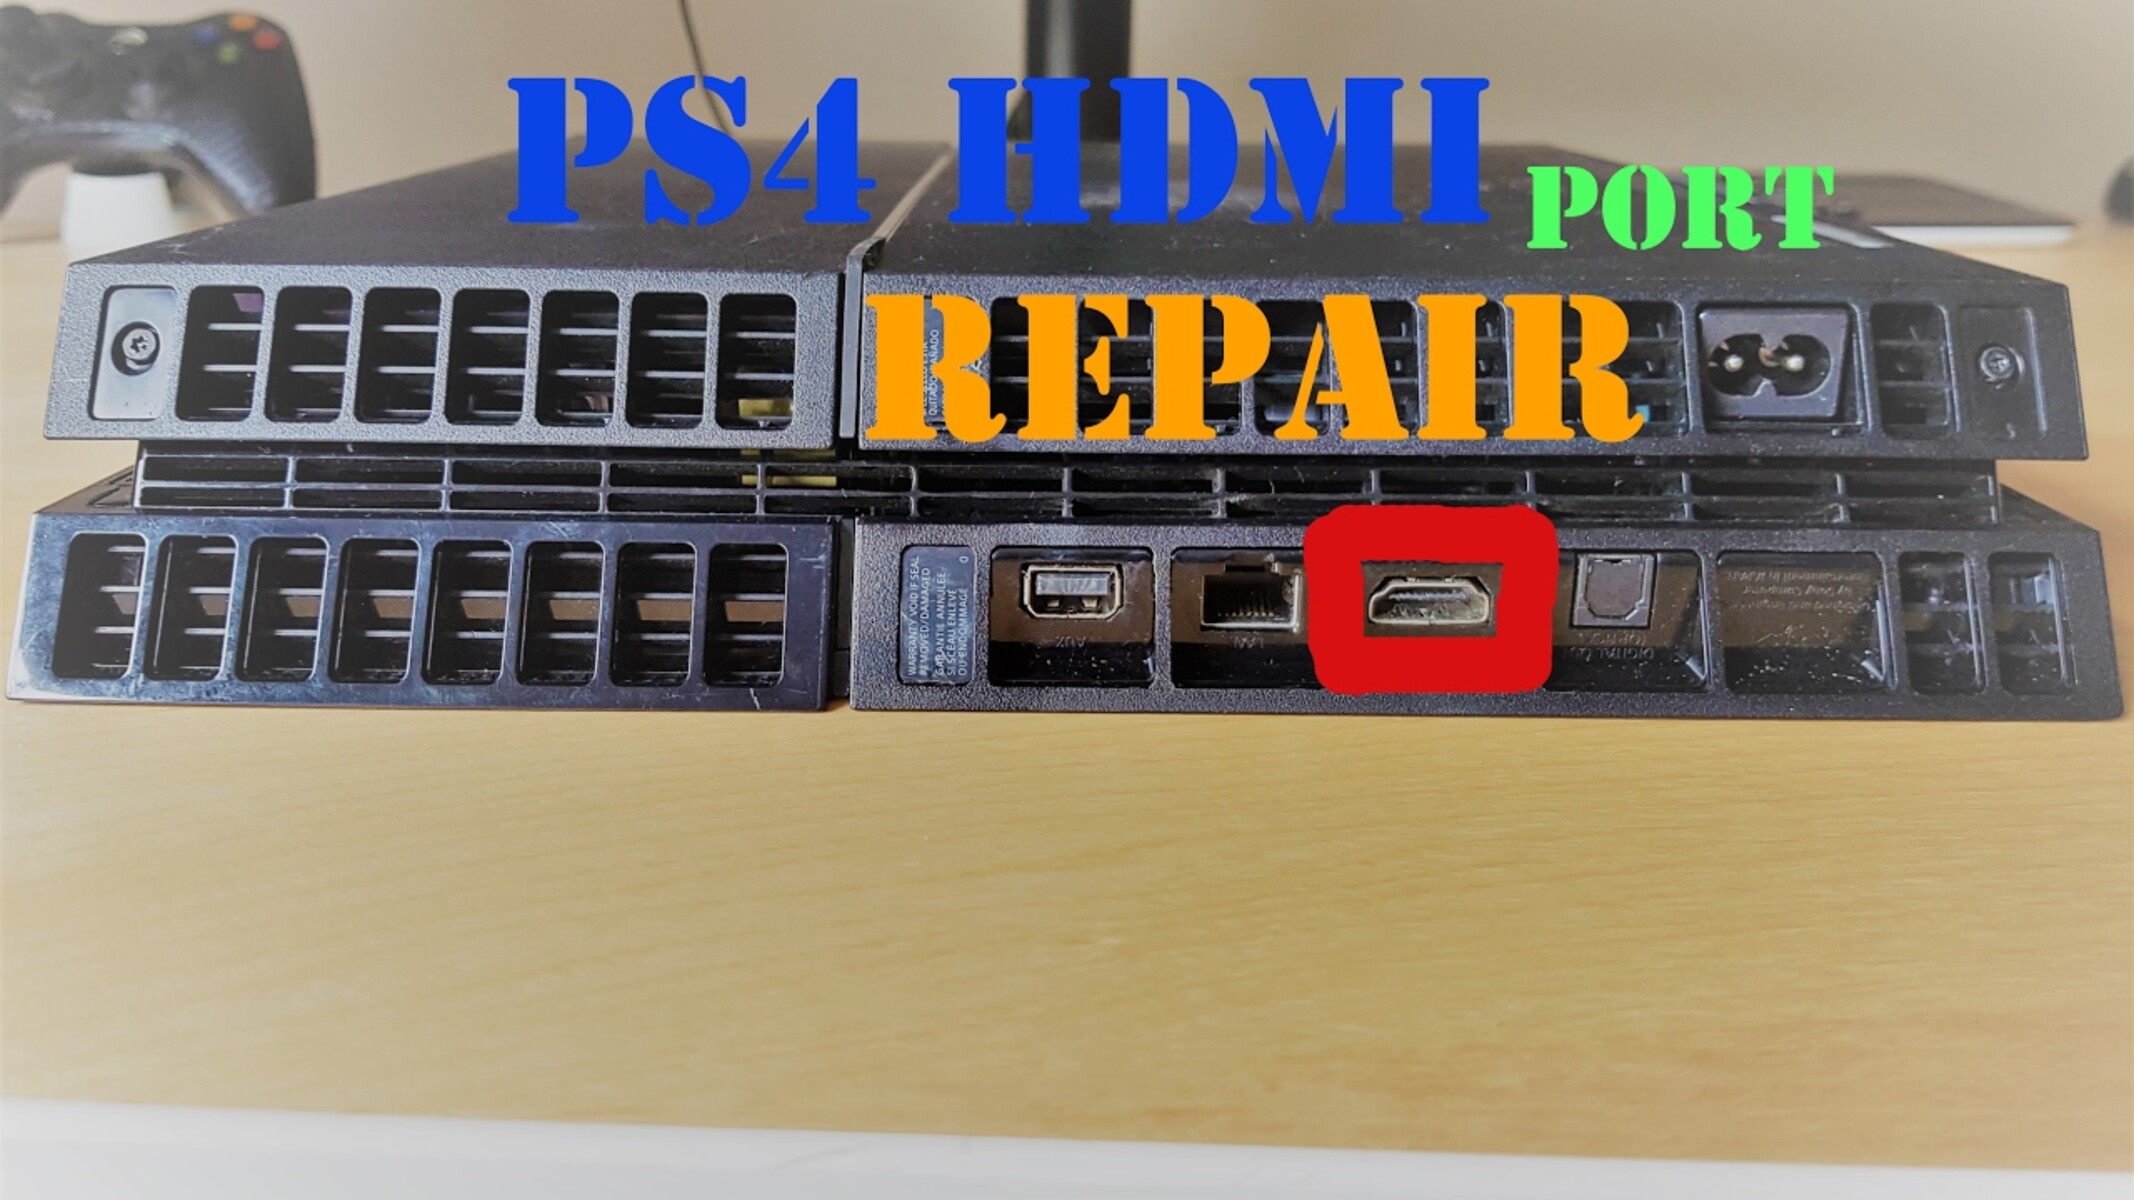
Welcome to our comprehensive guide on how to repair an HDMI port. HDMI (High-Definition Multimedia Interface) ports are found on various devices, such as televisions, computers, gaming consoles, and audio/video receivers. They allow for high-quality audio and video transmission, making them vital components for a seamless entertainment experience.
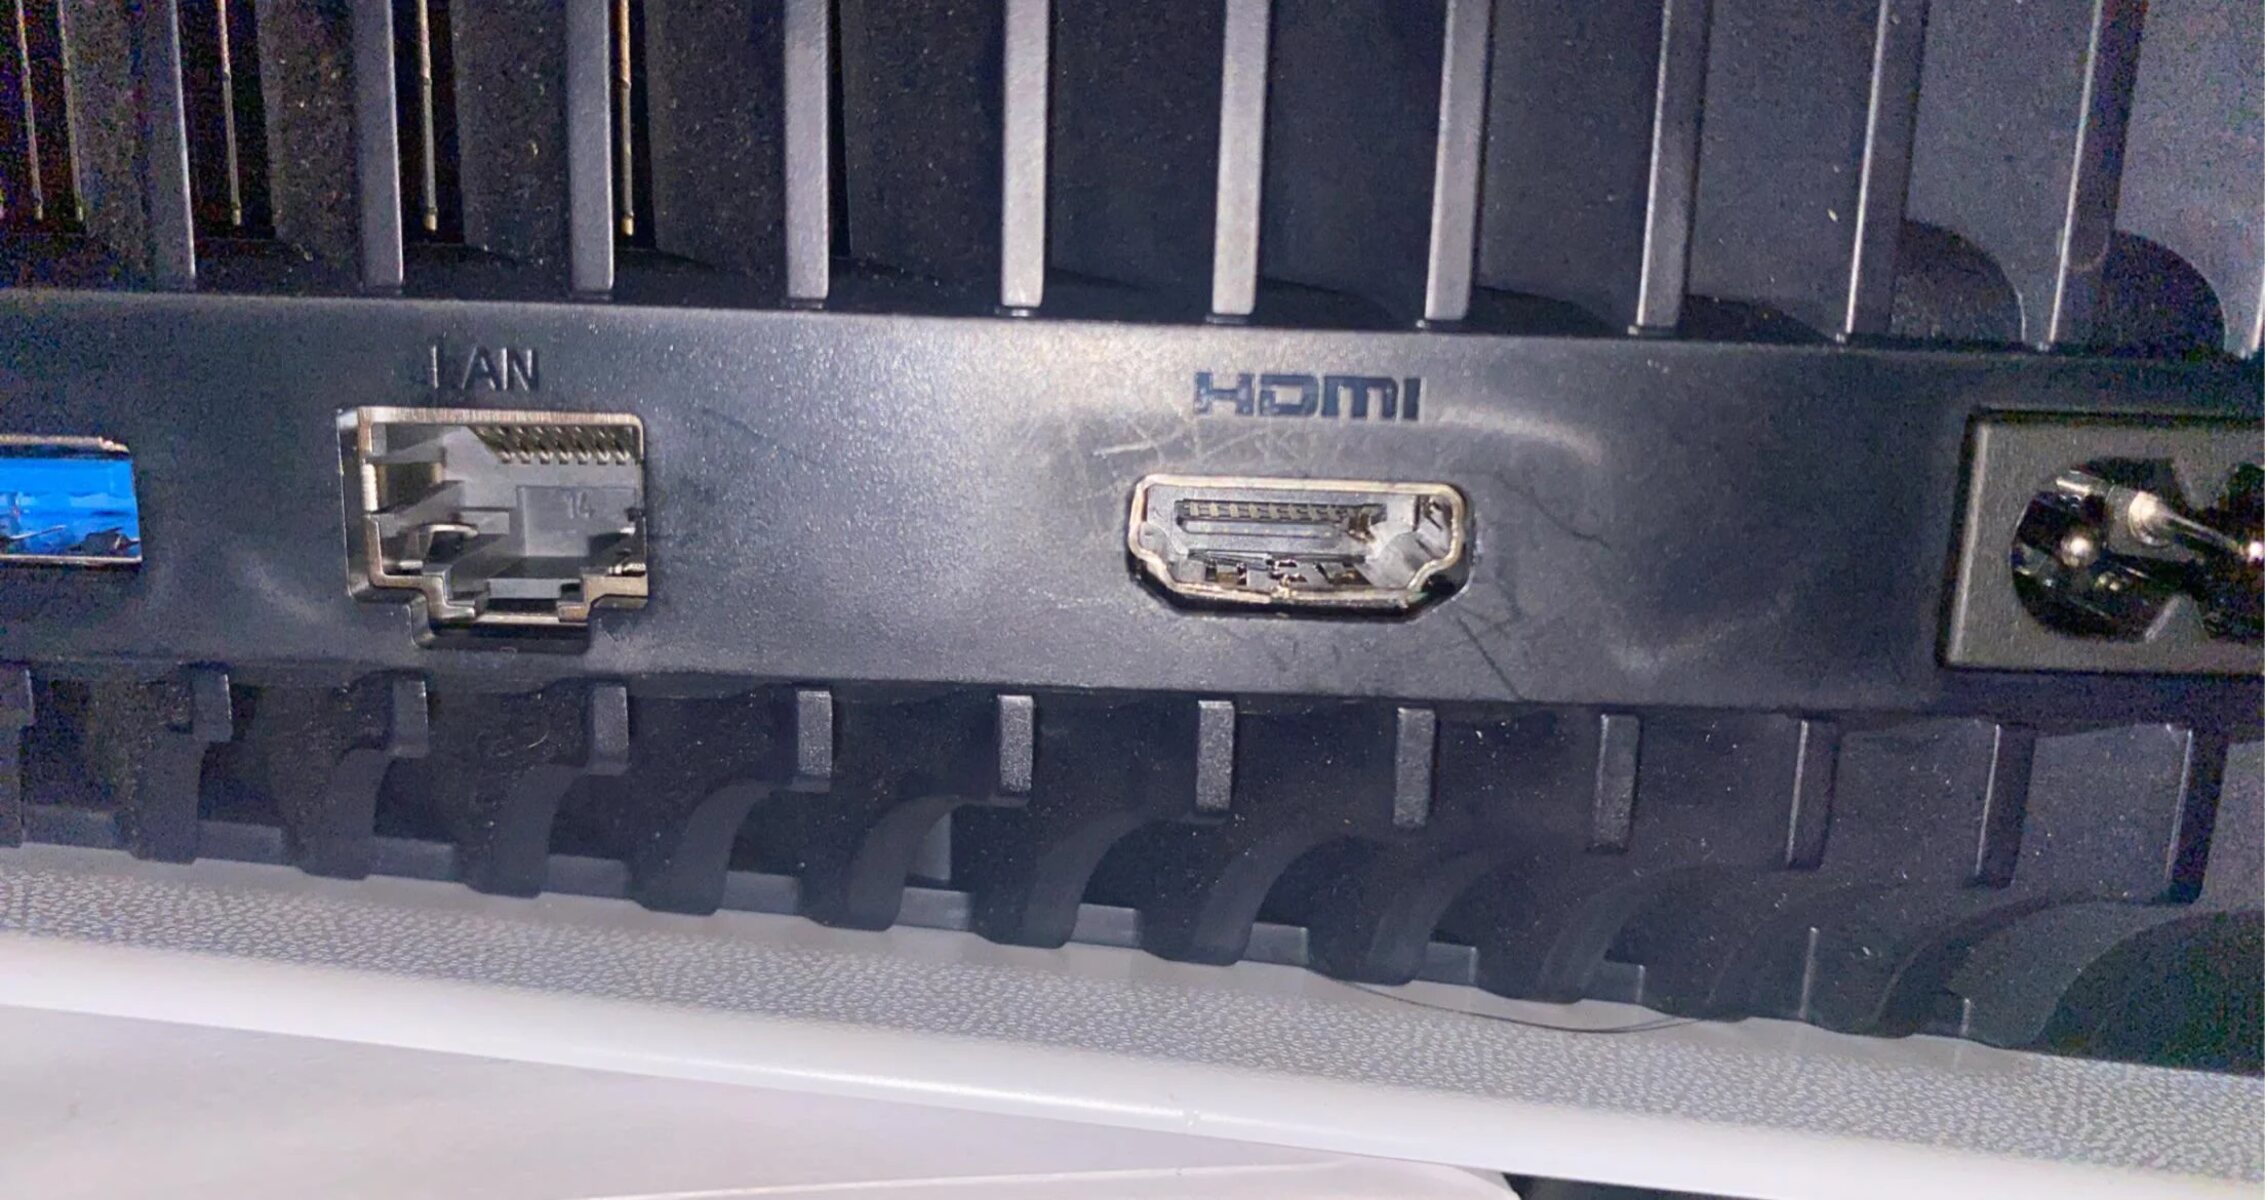
However, like any other electronic component, HDMI ports can develop issues over time or due to accidental damage. Common issues include loose connections, dirt or debris obstructing the port, and bent or damaged pins. These problems can result in a lack of audio or video output, flickering screens, or no signal at all.
While it may seem daunting, repairing an HDMI port is often feasible with a few simple troubleshooting steps and, in some cases, part replacement. In this guide, we will walk you through the necessary tools and materials, as well as the step-by-step process, to help you revive your HDMI port and restore your entertainment setup.
It’s important to note that this guide is intended for informational purposes and may not address all types of HDMI port issues. If you are unsure or uncomfortable with performing the repairs yourself, it’s always recommended to seek professional assistance.
Now let’s dive into the common issues you may encounter with HDMI ports and how to troubleshoot them effectively.
Common Issues with HDMI Ports
HDMI ports can experience various issues that prevent proper audio and video transmission. Understanding these common problems will help you identify the issue with your HDMI port and guide you in the troubleshooting process. Let’s explore some of the most frequent issues:
1. No Signal: This is one of the most prevalent issues, where the device connected to the HDMI port fails to receive any signal. It can be caused by loose connections, incompatible devices, or faulty HDMI cables.
2. Flickering Screen: If you notice a flickering or unstable display on your connected device, it may indicate a problem with the HDMI port. This issue can be caused by damaged pins, a faulty cable, or an incompatible resolution setting.
3. Audio Problems: Sometimes, the HDMI port may fail to transmit audio signals, resulting in either no sound or distorted audio. This can be due to loose connections, incorrect audio settings, or a malfunctioning HDMI audio driver.
4. Intermittent Connection: In some cases, the HDMI connection may work sporadically, causing the signal to drop randomly. This issue can be attributed to loose cables, a failing HDMI port, or improper device compatibility.
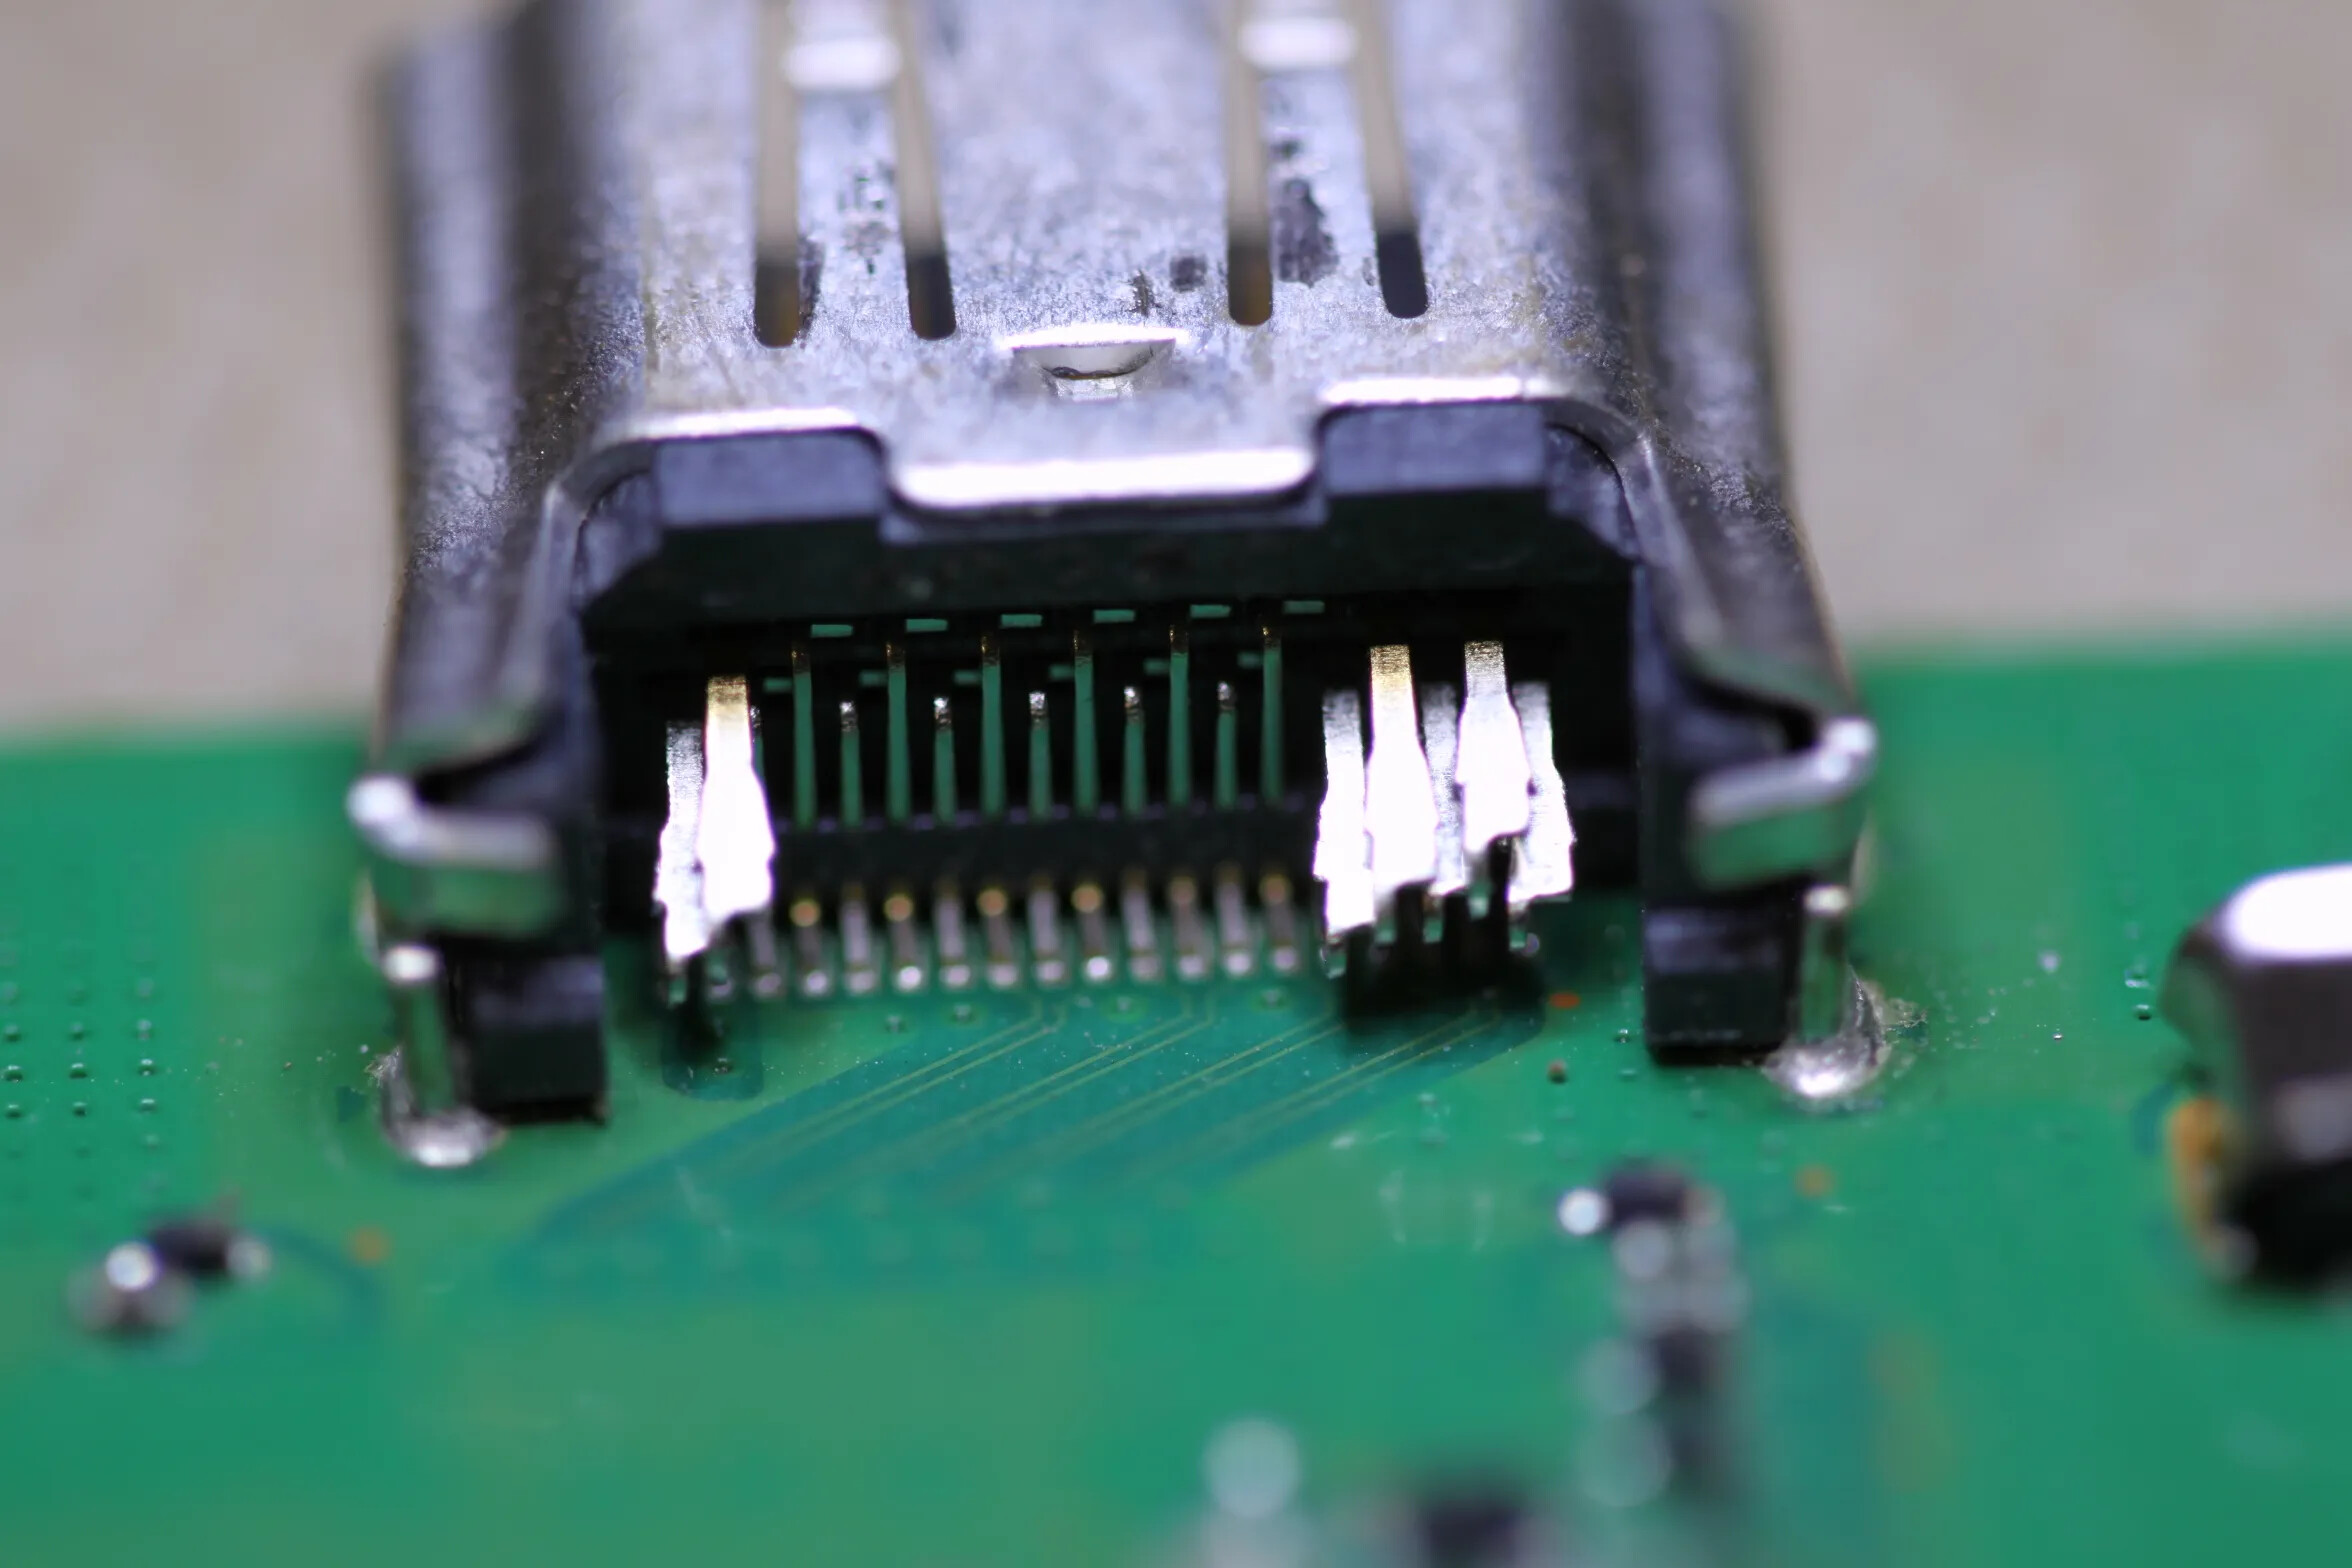
5. Damaged Pins: HDMI ports have delicate pins that can become bent, broken, or damaged. This can occur from rough insertion or accidental mishandling. Bent pins can disrupt the signal transmission, resulting in various display and audio issues.
Now that you have a better understanding of the common issues associated with HDMI ports, let’s move on to the next section: the tools and materials you’ll need to carry out the repairs.
Tools and Materials Needed
Before you begin repairing your HDMI port, it’s important to gather the necessary tools and materials to ensure a smooth and effective troubleshooting process. Here are the items you’ll need:
1. Screwdriver Set: Depending on the device, you may need a Phillips or hex screwdriver to open the casing and gain access to the HDMI port.
2. Compressed Air: A can of compressed air is useful for removing dust, dirt, and debris from the HDMI port. Make sure to use a can specifically designed for electronics to avoid moisture or residue buildup.
3. Cleaning Solution: If the HDMI port is particularly dirty or sticky, a gentle cleaning solution can be used with a microfiber cloth. Avoid using harsh chemicals or abrasive materials, as they may further damage the port.
4. Replacement HDMI Port: If you identify a severe physical issue with the HDMI port, you may need to replace it. Make sure to purchase a compatible port for your specific device. Refer to your device’s manual or consult a professional if you’re unsure.
5. Small Brush or Toothbrush: Use a small brush or toothbrush with soft bristles to gently clean the HDMI port. This will help remove any stubborn debris that can affect the connection.
6. Isopropyl Alcohol (Optional): If the HDMI port is heavily contaminated or corroded, you may consider using isopropyl alcohol. It can help dissolve residue and improve the overall connection quality. However, exercise caution, as excessive use or improper application of alcohol can damage the port.
Remember to gather all the necessary tools and materials before you attempt to repair the HDMI port. This will ensure that you have everything you need to effectively troubleshoot and potentially fix the issue. Now that you’re prepared, let’s move on to the next section: checking for loose connections.
Step 1: Check for Loose Connections
Loose connections are a common cause of HDMI port issues. Before moving on to more in-depth troubleshooting steps, start by checking the connections to ensure they are secure. Here’s how:
1. Ensure that the HDMI cable is firmly plugged into both the device’s HDMI output port and the corresponding input port on the receiving device (e.g., TV, monitor, or audio/video receiver).
2. Gently wiggle the cable to check if there’s any play or movement. If the cable feels loose, remove and reconnect it firmly to establish a secure connection.
3. If you’re using an HDMI adapter or an HDMI-to-DVI converter, make sure they are tightly connected and seated properly.
4. If your HDMI cable has a detachable connector, try swapping it out with another HDMI cable to see if the issue persists. Sometimes, cables can become damaged over time, affecting the signal quality.
5. Verify that the input source on the receiving device is correctly set to the HDMI port you are using. Most devices have multiple HDMI inputs, so selecting the correct one is crucial for proper signal transmission.
6. If you’re using a power strip or an HDMI switch, ensure that all cables are securely connected and that the power supply to these devices is uninterrupted. Faulty power supply can cause erratic behavior in HDMI connections.
Once you’ve checked and secured all your HDMI connections, test the HDMI port by powering on the device and checking for signal output. If the problem persists, proceed to the next step: cleaning the HDMI port.
Step 2: Clean the HDMI Port
If loose connections are not the cause of your HDMI port issues, the next step is to clean the port. Over time, dust, dirt, and debris can accumulate in the HDMI port, impeding proper signal transmission. Cleaning the port can often resolve connectivity problems. Follow these steps to clean the HDMI port:
1. Power off and unplug the device that has the HDMI port you want to clean. This will prevent any electrical mishaps during the cleaning process.
2. Inspect the HDMI port for any visible dirt, dust, or debris. Use a flashlight if necessary to get a clear view of the port. Carefully remove any visible debris with a small brush, a toothbrush with soft bristles, or a can of compressed air.
3. If the port is exceptionally dirty or sticky, moisten a microfiber cloth with a small amount of water or a gentle cleaning solution. Gently wipe the inside of the port, being careful not to exert too much pressure or introduce excess moisture. Allow the port to dry completely before proceeding.
4. For stubborn or hard-to-reach dirt, you can try using a small brush, such as a dental brush or a cotton swab, dipped in isopropyl alcohol. Be cautious not to saturate the port with alcohol and avoid excessive scrubbing, as it can damage the delicate pins inside.
5. Once the HDMI port is clean, blow it gently with a can of compressed air to remove any remaining debris or moisture.
6. Before reconnecting the HDMI cable, ensure that the surrounding area is free of dust or debris that could contaminate the port again. Use the compressed air or a clean cloth to remove any lingering particles.
Now that the HDMI port is clean, plug in the HDMI cable securely, power on the device, and check if the connectivity issue has been resolved. If the issue persists, proceed to the next step: checking for bent pins in the HDMI port.
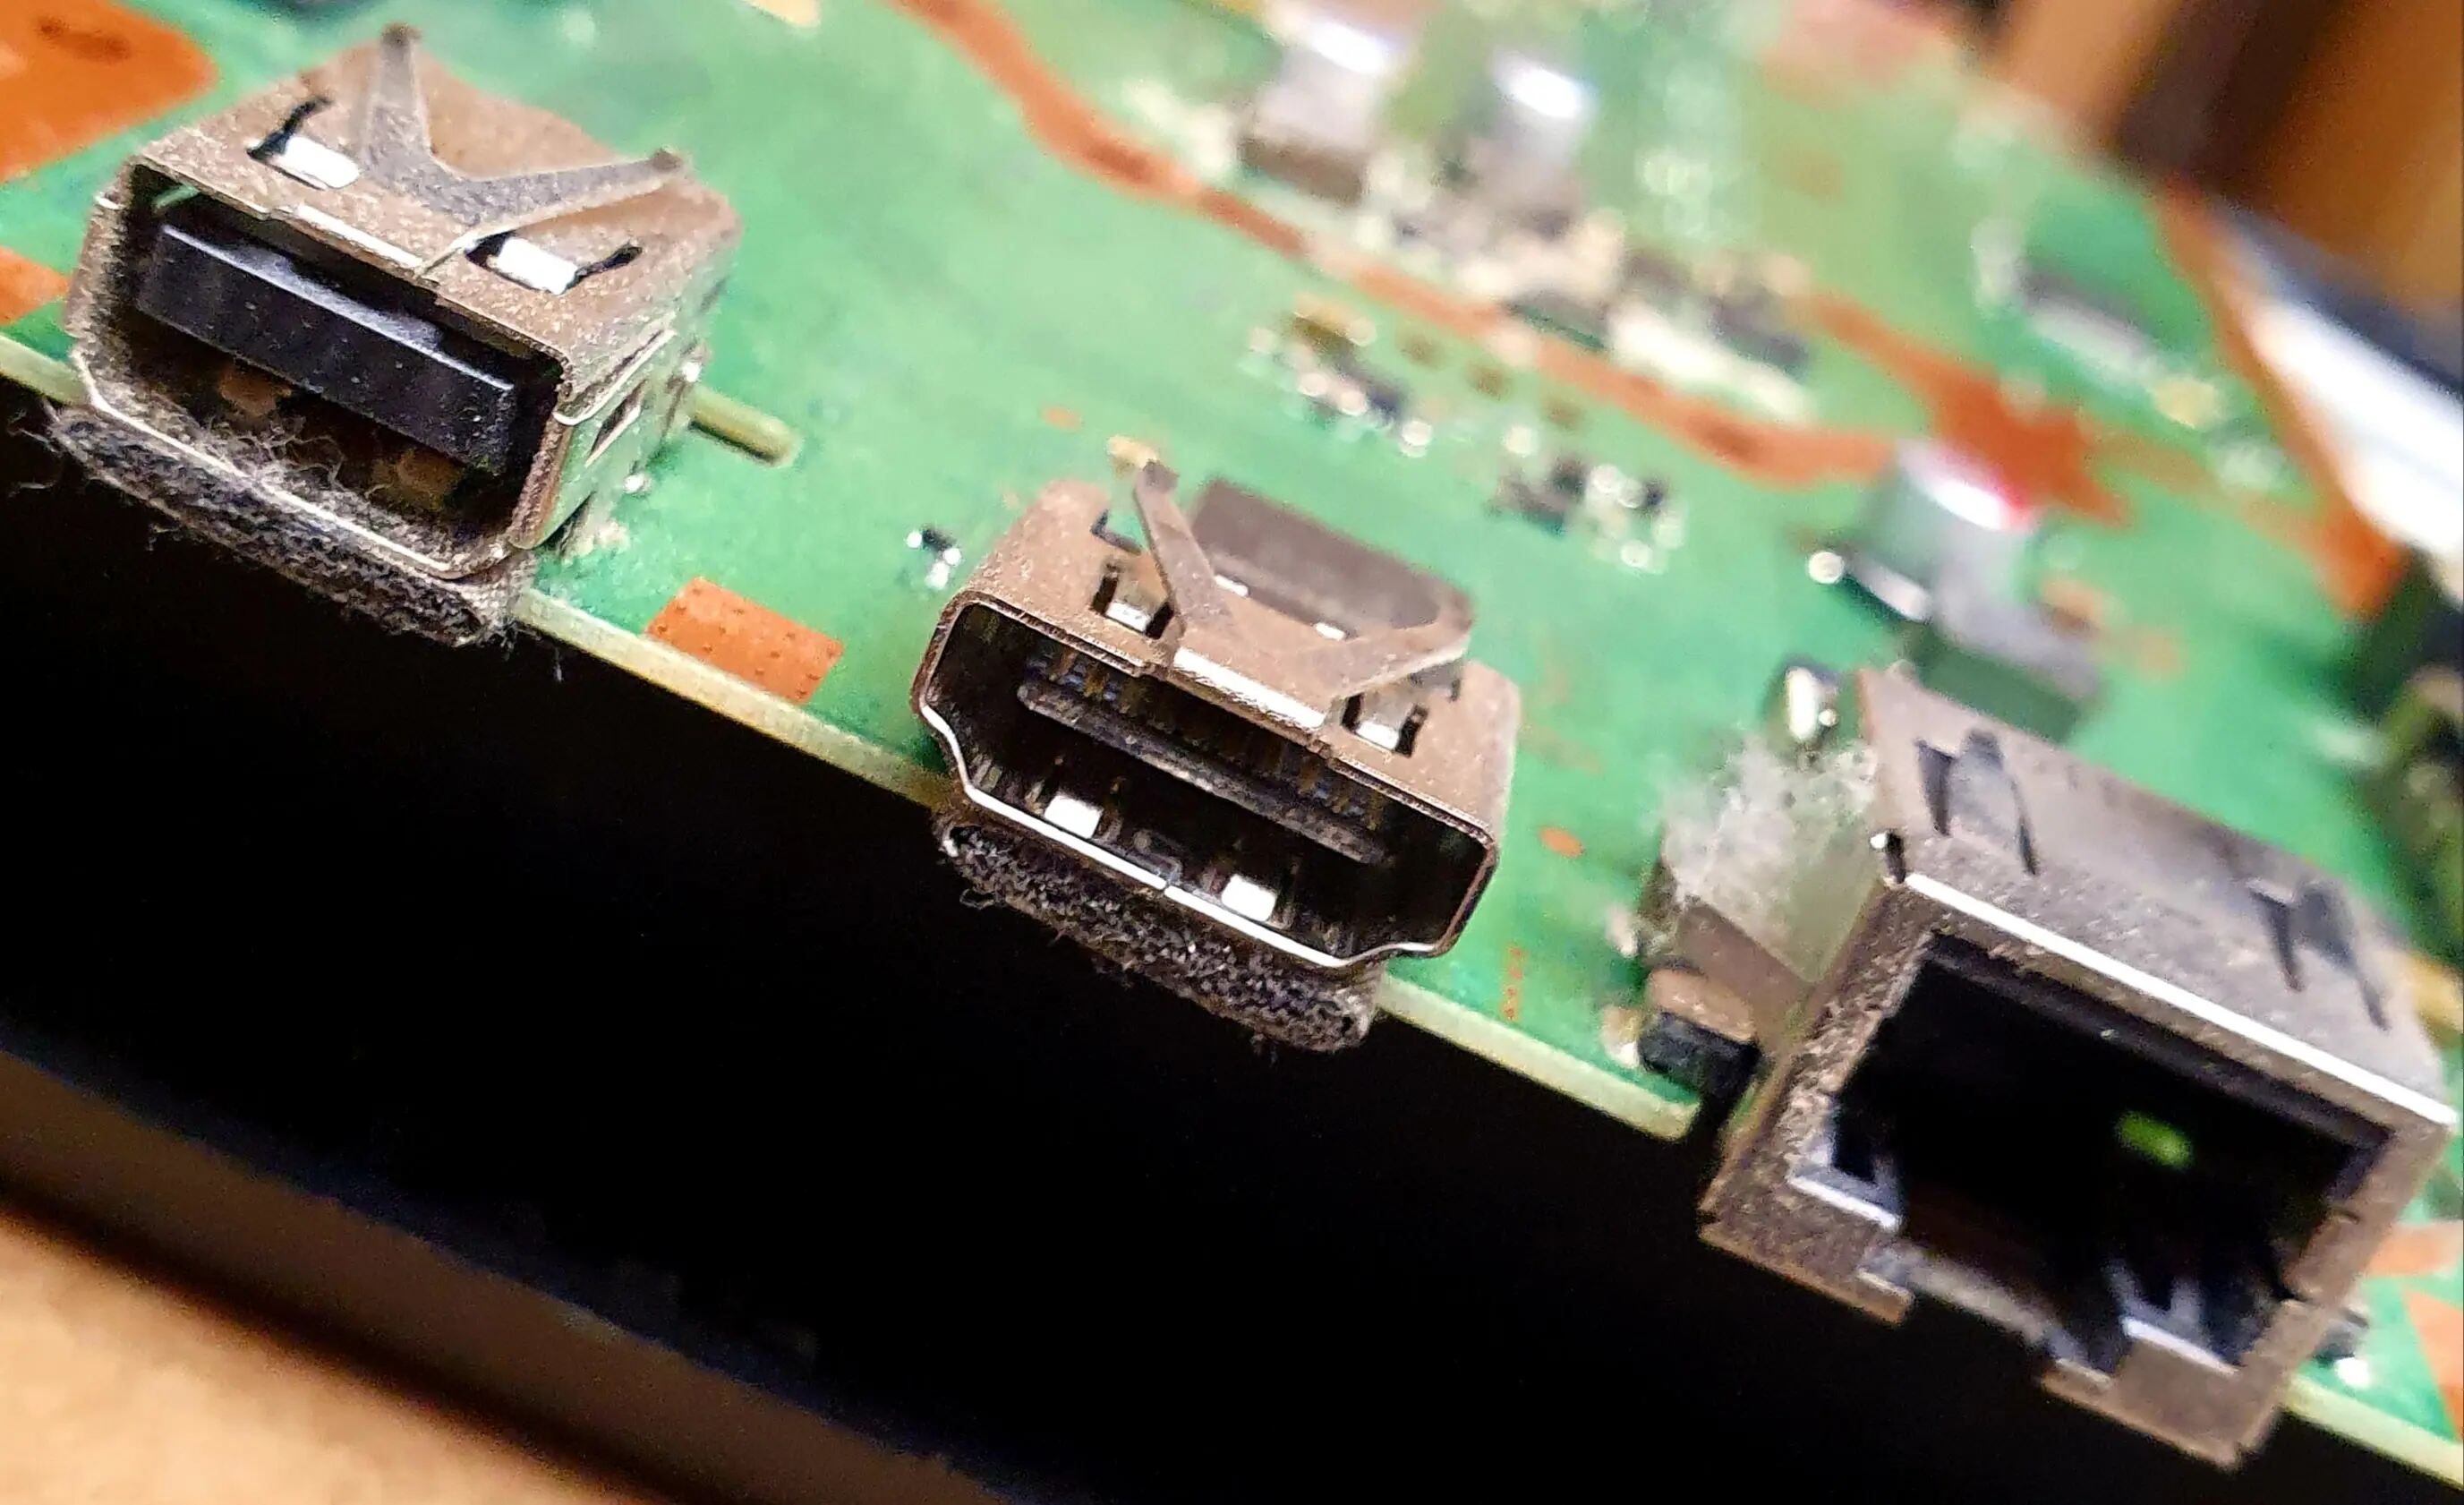
Step 3: Check for Bent Pins
If cleaning the HDMI port didn’t solve the connectivity problem, the next step is to inspect the port for bent or damaged pins. Bent pins can disrupt the signal transmission and cause various audio and video issues. Follow these steps to check for bent pins:
1. Power off and unplug the device that has the HDMI port you want to inspect. Ensure that there is no electrical current flowing through the device during this process.
2. Carefully examine the HDMI port to check for any visible signs of bent or misaligned pins. Use a flashlight or magnifying glass if needed to get a closer look.
3. If you notice any bent pins, use a thin, non-metallic tool, such as a plastic toothpick or a small plastic flathead screwdriver, to gently realign them. Be extremely cautious not to break or further damage the pins.
4. Once you have realigned the bent pins, carefully reinsert the HDMI cable into the port and ensure that it is securely connected. It’s essential to align the pins correctly with the corresponding holes in the cable connector.
5. Before powering on the device, perform a visual check to make sure all the pins are in their proper positions and none are sticking out or bent at odd angles.
6. Power on the device and test the HDMI connection. If the issue is resolved and the audio and video signals are being transmitted correctly, congratulations! Your HDMI port is back in working order.
If you find multiple bent or severely damaged pins that cannot be easily fixed, it may be necessary to consider replacing the HDMI port. Proceed to the next step to learn about the process of replacing a faulty HDMI port.
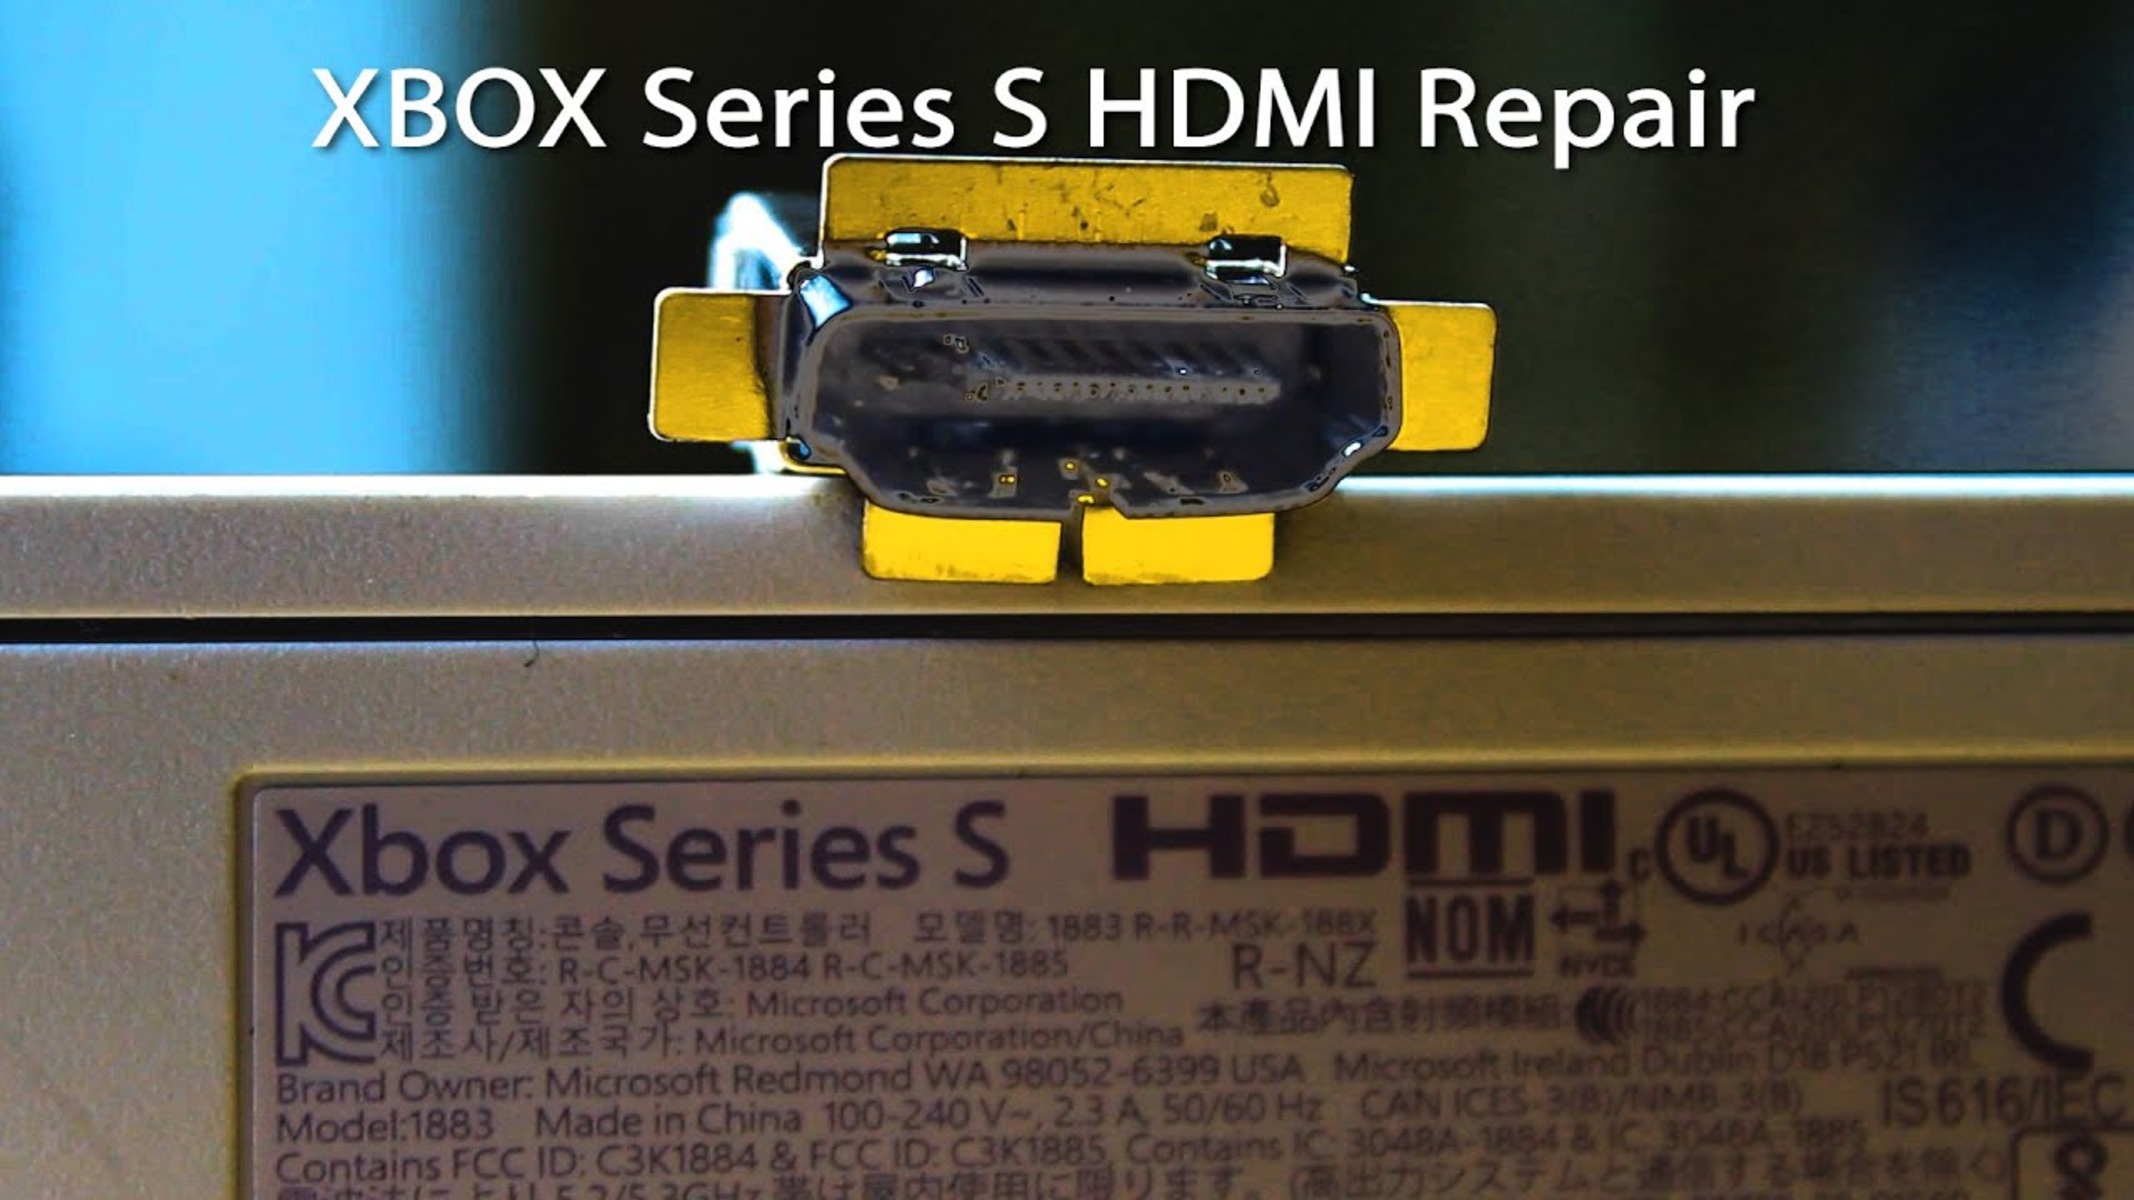
Step 4: Replace the HDMI Port
If you’ve determined that the HDMI port is beyond repair due to severe damage or if none of the previous steps resolved the issue, it’s time to consider replacing the HDMI port. Here’s how you can go about replacing it:
1. Begin by referring to the device’s manual or online resources to understand the specific steps involved in opening the device and accessing the HDMI port. Some devices may require removing screws, panels, or a back cover.
2. Once you have gained access to the HDMI port, carefully disconnect any cables or connectors attached to it. Take note of their positions to ensure proper reassembly later.
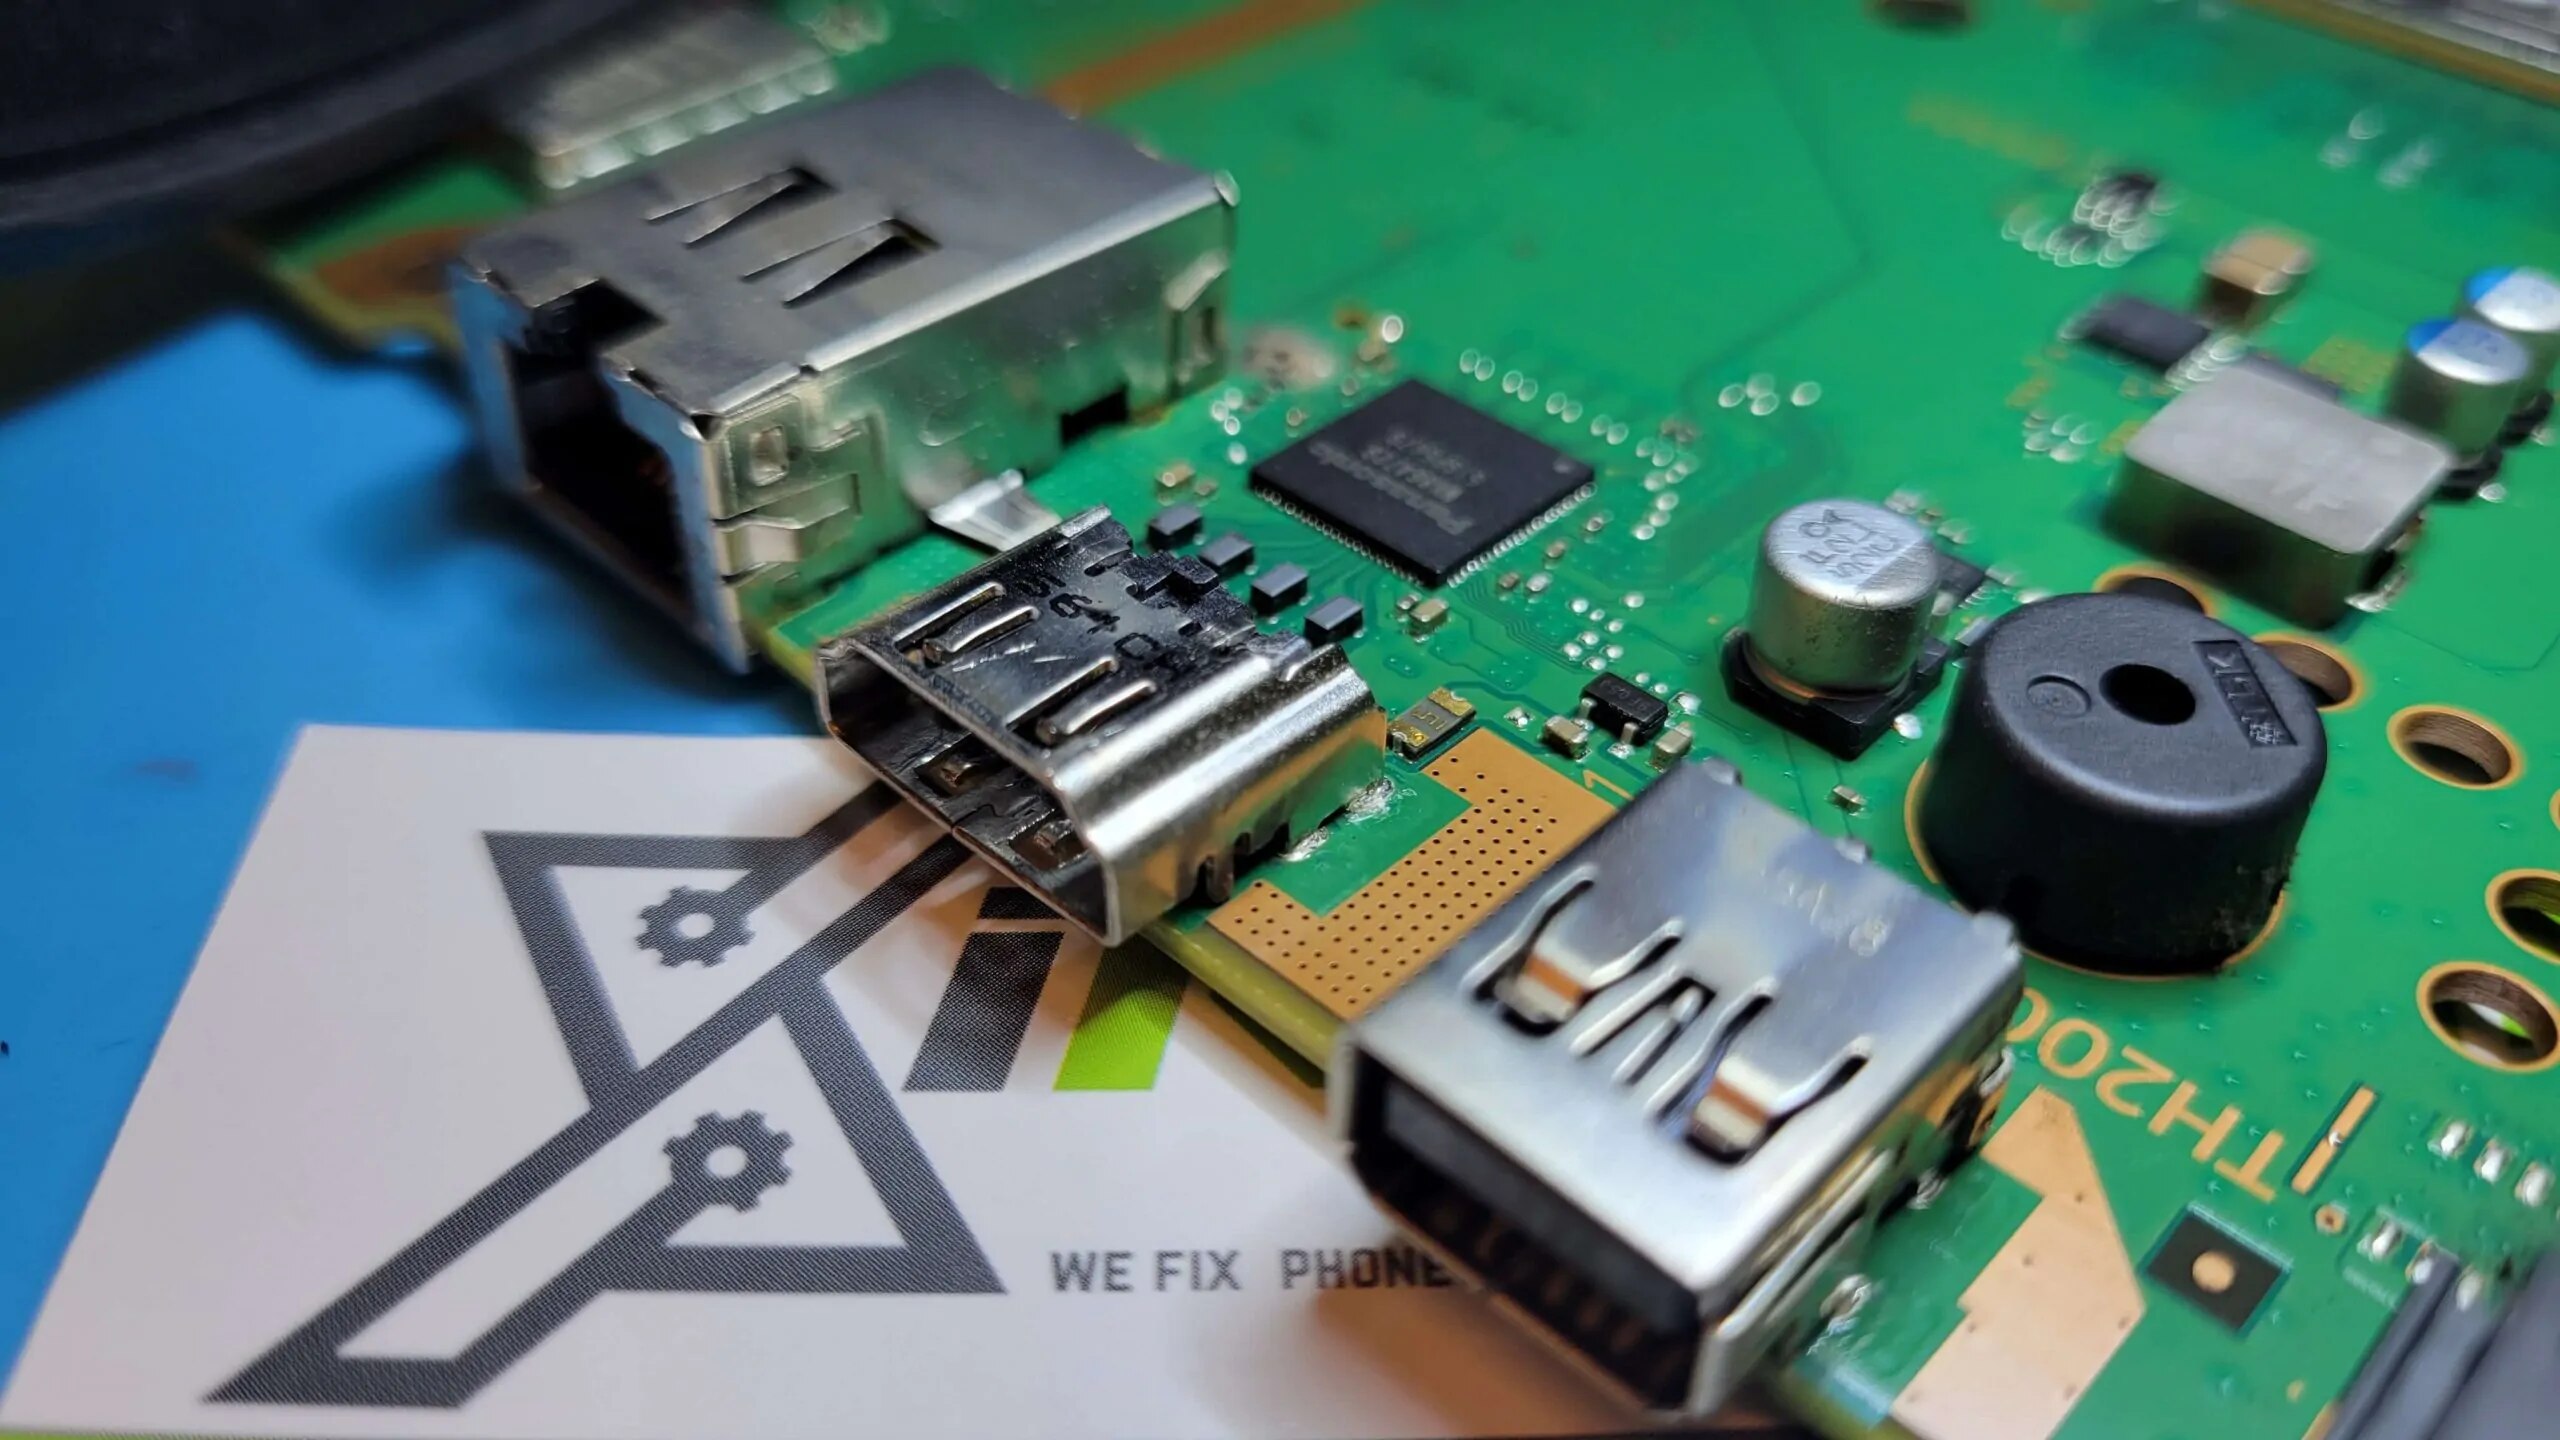
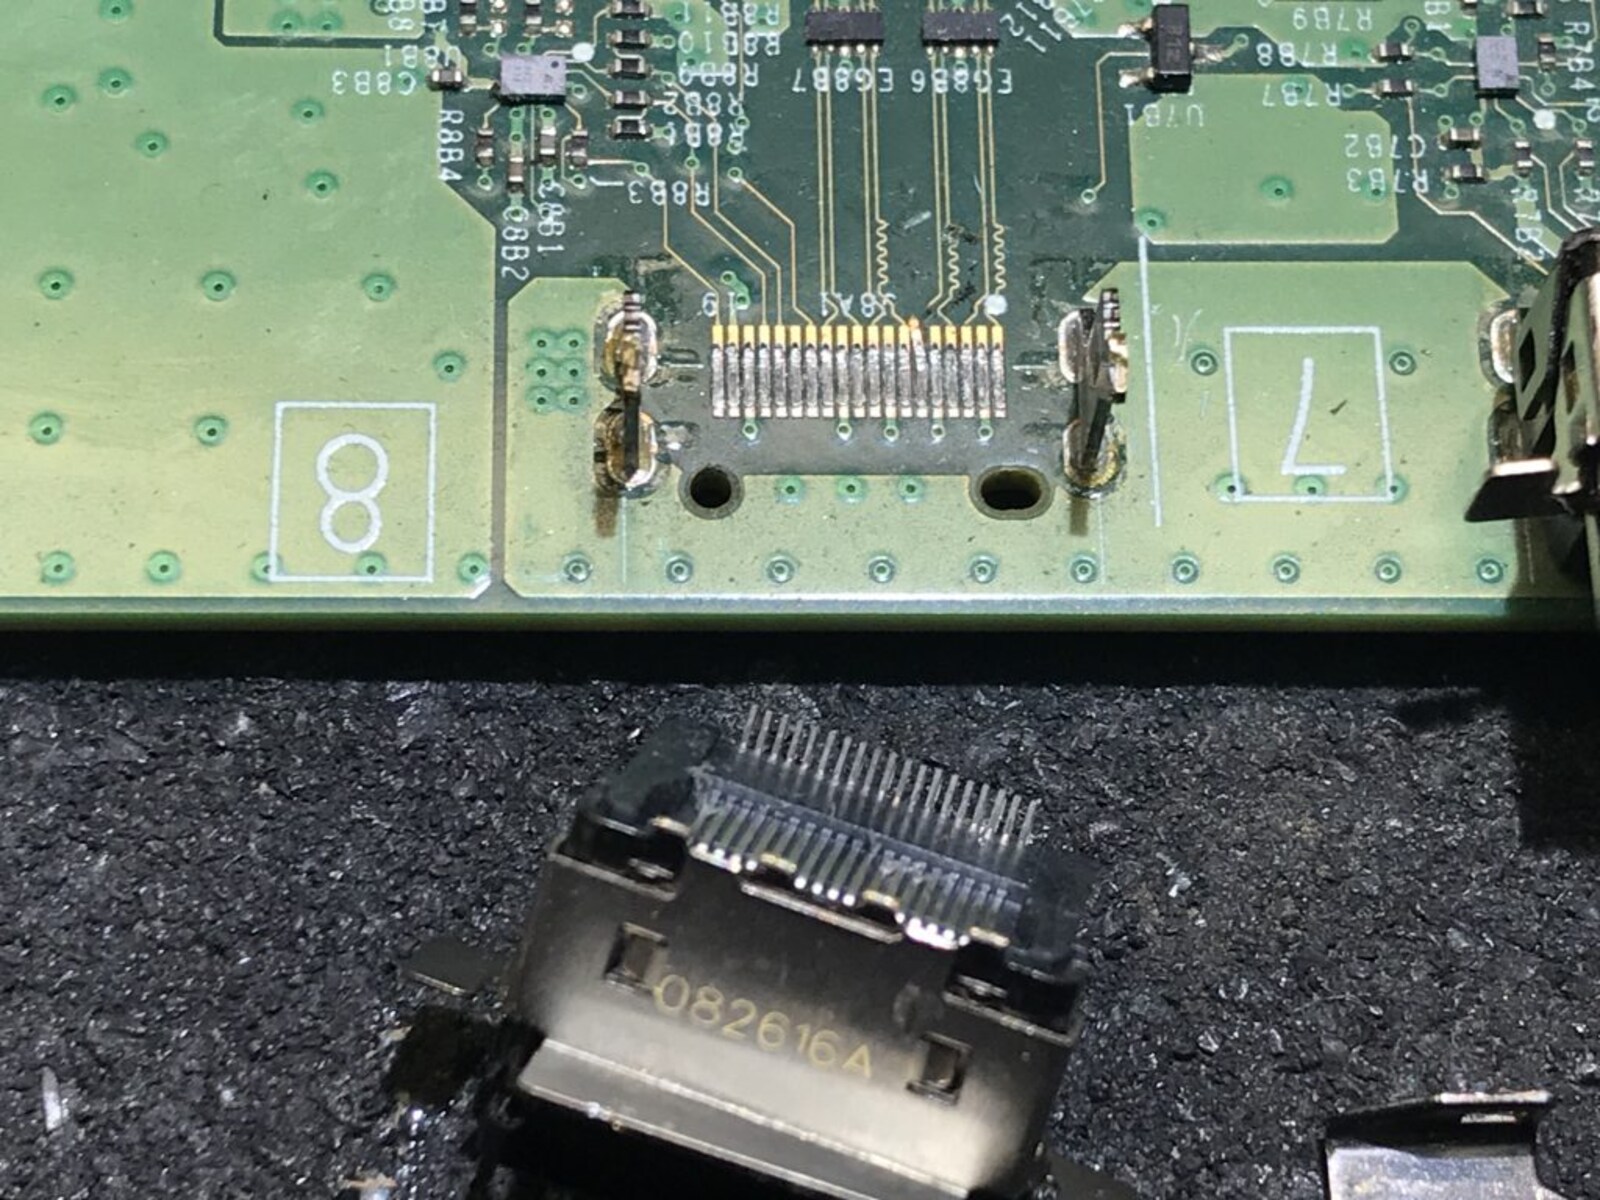
3. Locate the HDMI port on the device’s circuit board. It will typically be soldered to the board, and you will need a soldering iron to remove it. If you’re not familiar with soldering, it is advisable to seek assistance from a professional to avoid any potential damage to the device.
4. Use the soldering iron to heat the solder joints connecting the HDMI port to the circuit board. As the solder melts, gently lift the port using a soldering iron or a desoldering pump. Take your time to avoid damaging nearby components.
5. Once the old HDMI port is removed, carefully clean the solder pads on the circuit board using solder wick or a desoldering tool. This will ensure a clean surface for the new port to be soldered onto.
6. Take the replacement HDMI port that matches the specifications of your device. Align the pins and position the port onto the solder pads. Apply a small amount of solder to each pad and reflow the solder joints using the soldering iron.
7. After soldering the new HDMI port, allow it to cool down and solidify before reattaching any cables or connectors that were previously connected to the old port.
8. Finally, reassemble the device by following the steps in reverse order. Make sure all screws, panels, or covers are securely fastened.
Once the device is fully reassembled, power it on and test the new HDMI port. Connect your HDMI cable and check if the audio and video signals are being transmitted properly.
If you’re uncomfortable or inexperienced with soldering or confident in your ability to replace the HDMI port, it’s best to seek the help of a professional technician or service center to ensure a successful replacement.
Step 5: Test and Troubleshoot
After replacing the HDMI port or performing any repairs, it’s important to thoroughly test the functionality to ensure that the issue has been resolved. Follow these steps to test and troubleshoot the HDMI port:
1. Connect the HDMI cable securely to the repaired or replaced HDMI port, as well as the corresponding input port on the receiving device (e.g., TV, monitor, or audio/video receiver).
2. Power on the devices and check if the audio and video signals are being transmitted correctly. Look for any flickering screens, distorted audio, or other issues that were present before the repair.
3. If you encounter any issues during the test, double-check the connections to ensure they are secure. Verify that the input source on the receiving device is correctly set to the repaired HDMI port.
4. If the issue persists, try using a different HDMI cable and/or connecting to a different HDMI input port on the receiving device. This can help determine if the problem lies with the cable or the port.
5. Test the repaired HDMI port with different devices to confirm if the issue is specific to one device or if it occurs across multiple devices. This will help identify if the problem lies with the port or the connected device.
6. If needed, consult the device’s manual, online forums, or contact the manufacturer’s support for further troubleshooting assistance. They may have specific recommendations or firmware updates that can address any persistent issues.
By thoroughly testing and troubleshooting the repaired HDMI port, you can ensure that it is functioning optimally and providing a reliable audio and video connection. Remember, if the issue persists or if you are unsure about any of the troubleshooting steps, it’s best to consult a professional technician for further assistance.
Conclusion
Repairing an HDMI port can be a straightforward process if you follow the necessary steps and troubleshoot effectively. By checking for loose connections, cleaning the port, inspecting for bent pins, and even replacing the HDMI port if necessary, you can often revive the functionality of your HDMI port and enjoy uninterrupted audio and video transmission.
Throughout this guide, we’ve discussed the common issues associated with HDMI ports and provided step-by-step instructions on how to address them. It’s crucial to approach the repair process with caution, following safety measures and taking care not to cause further damage to the device or port.
However, it’s important to note that not all HDMI port issues can be resolved through DIY repairs. If you feel uncomfortable performing the repairs yourself or if the issue persists despite your efforts, it is recommended to seek professional assistance. Professional technicians have the expertise and tools to diagnose and repair complex HDMI port problems more accurately.
In any case, regular maintenance and care can help prevent issues with HDMI ports. Regularly inspecting the connections, keeping the ports clean, and handling the cables with care can go a long way in maintaining optimal performance.
We hope that this guide has been helpful in guiding you through the process of repairing an HDMI port. By following these steps and troubleshooting effectively, you can restore the functionality of your HDMI port and enjoy seamless audio and video connectivity for your entertainment setup.