Introduction
Are you a Windows 10 user looking to connect your device to a larger screen or display? HDMI (High-Definition Multimedia Interface) is the perfect solution for you. Whether you want to stream movies, play games, or give presentations, HDMI allows you to connect your Windows 10 computer to a variety of external displays with stunning visual quality.
In this guide, we will walk you through the process of using HDMI on Windows 10. We will explain what HDMI is, discuss the different types of HDMI cables, and provide step-by-step instructions on how to connect your Windows 10 device to an external display. We will also cover important display settings, including adjusting resolution and setting up multiple displays, to ensure you have the best HDMI experience. Additionally, we will address common HDMI issues and provide troubleshooting tips to help you overcome any obstacles you may encounter.
By the end of this article, you will have a thorough understanding of HDMI and be equipped with the knowledge and skills to use HDMI effectively on your Windows 10 device. So, let’s dive in and explore the world of HDMI and how it can enhance your Windows 10 experience.
What is HDMI?
HDMI, which stands for High-Definition Multimedia Interface, is a digital audio and video interface that allows you to transmit high-quality audio and video signals from one device to another. It has become the standard connection for transmitting high-definition content between devices, such as computers, laptops, Blu-ray players, gaming consoles, and TVs.
One of the key advantages of HDMI is its ability to deliver uncompressed, high-definition digital audio and video signals. This ensures that you experience crystal-clear picture quality and immersive sound when connecting your Windows 10 device to an HDMI-enabled display.
HDMI cables are capable of transmitting both audio and video signals, eliminating the need for separate audio and video cables. This streamlines the connection process and reduces cable clutter. Additionally, HDMI cables support various high-definition formats, including 720p, 1080p, and even 4K Ultra HD resolution, allowing you to enjoy content in stunning detail and clarity.
Another advantage of HDMI is its compatibility with HDCP (High-bandwidth Digital Content Protection), a technology that ensures secure transmission of copyrighted content. This means that you can securely stream HD movies and TV shows from popular streaming services, such as Netflix, Amazon Prime Video, and Hulu, on your Windows 10 device and enjoy them on a larger screen.
Over the years, HDMI technology has evolved, resulting in the development of different types of HDMI cables. These cables differ in terms of supported features, bandwidth, and compatibility. It is important to choose the right type of HDMI cable that meets your specific needs and matches the capabilities of your devices.
In the next section, we will explore the different types of HDMI cables available and help you understand which one is best suited for your Windows 10 device.
Types of HDMI
When it comes to HDMI cables, there are different types available, each offering varying features and capabilities. Let’s take a closer look at the different types of HDMI cables:
- Standard HDMI: This is the most common type of HDMI cable and is widely used for connecting everyday devices, such as computers, gaming consoles, and TVs. Standard HDMI cables support up to 1080p resolution and are suitable for most home entertainment setups.
- High-Speed HDMI: High-Speed HDMI cables offer increased bandwidth and are designed to handle higher resolutions and refresh rates. These cables are capable of supporting 4K Ultra HD resolution, 3D content, and deep color for a more immersive viewing experience. High-Speed HDMI cables are ideal for gamers, content creators, and home theater enthusiasts who demand higher performance.
- Premium High-Speed HDMI: Premium High-Speed HDMI cables are the top of the line when it comes to HDMI connectivity. These cables are certified to meet strict requirements for bandwidth, resolution, and audio quality. They support the latest HDMI features, including 8K resolution and HDR (High Dynamic Range), delivering the best possible picture and sound quality. Premium High-Speed HDMI cables are recommended for those looking to future-proof their setup and want the ultimate HDMI experience.
- Ultra High-Speed HDMI: Designed for the most demanding applications, Ultra High-Speed HDMI cables offer unparalleled performance. These cables support resolutions up to 10K and refresh rates up to 120Hz. With features like eARC (Enhanced Audio Return Channel) and Variable Refresh Rate (VRR), Ultra High-Speed HDMI cables are ideal for gamers, professional content creators, and advanced home theater setups.
It is important to note that while there are different types of HDMI cables, they are all backward compatible. This means that you can use a higher-quality HDMI cable, such as a Premium High-Speed or Ultra High-Speed HDMI cable, with devices that only support Standard HDMI or High-Speed HDMI. However, keep in mind that the capabilities of the cable will be limited to the capabilities of the device it is connected to.
Now that you have an understanding of the different types of HDMI cables, you can choose the one that best suits your needs and ensures optimal performance when connecting your Windows 10 device to an external display.
Connecting HDMI on Windows 10
Connecting your Windows 10 device to an external display using HDMI is a straightforward process. Follow these step-by-step instructions to get started:
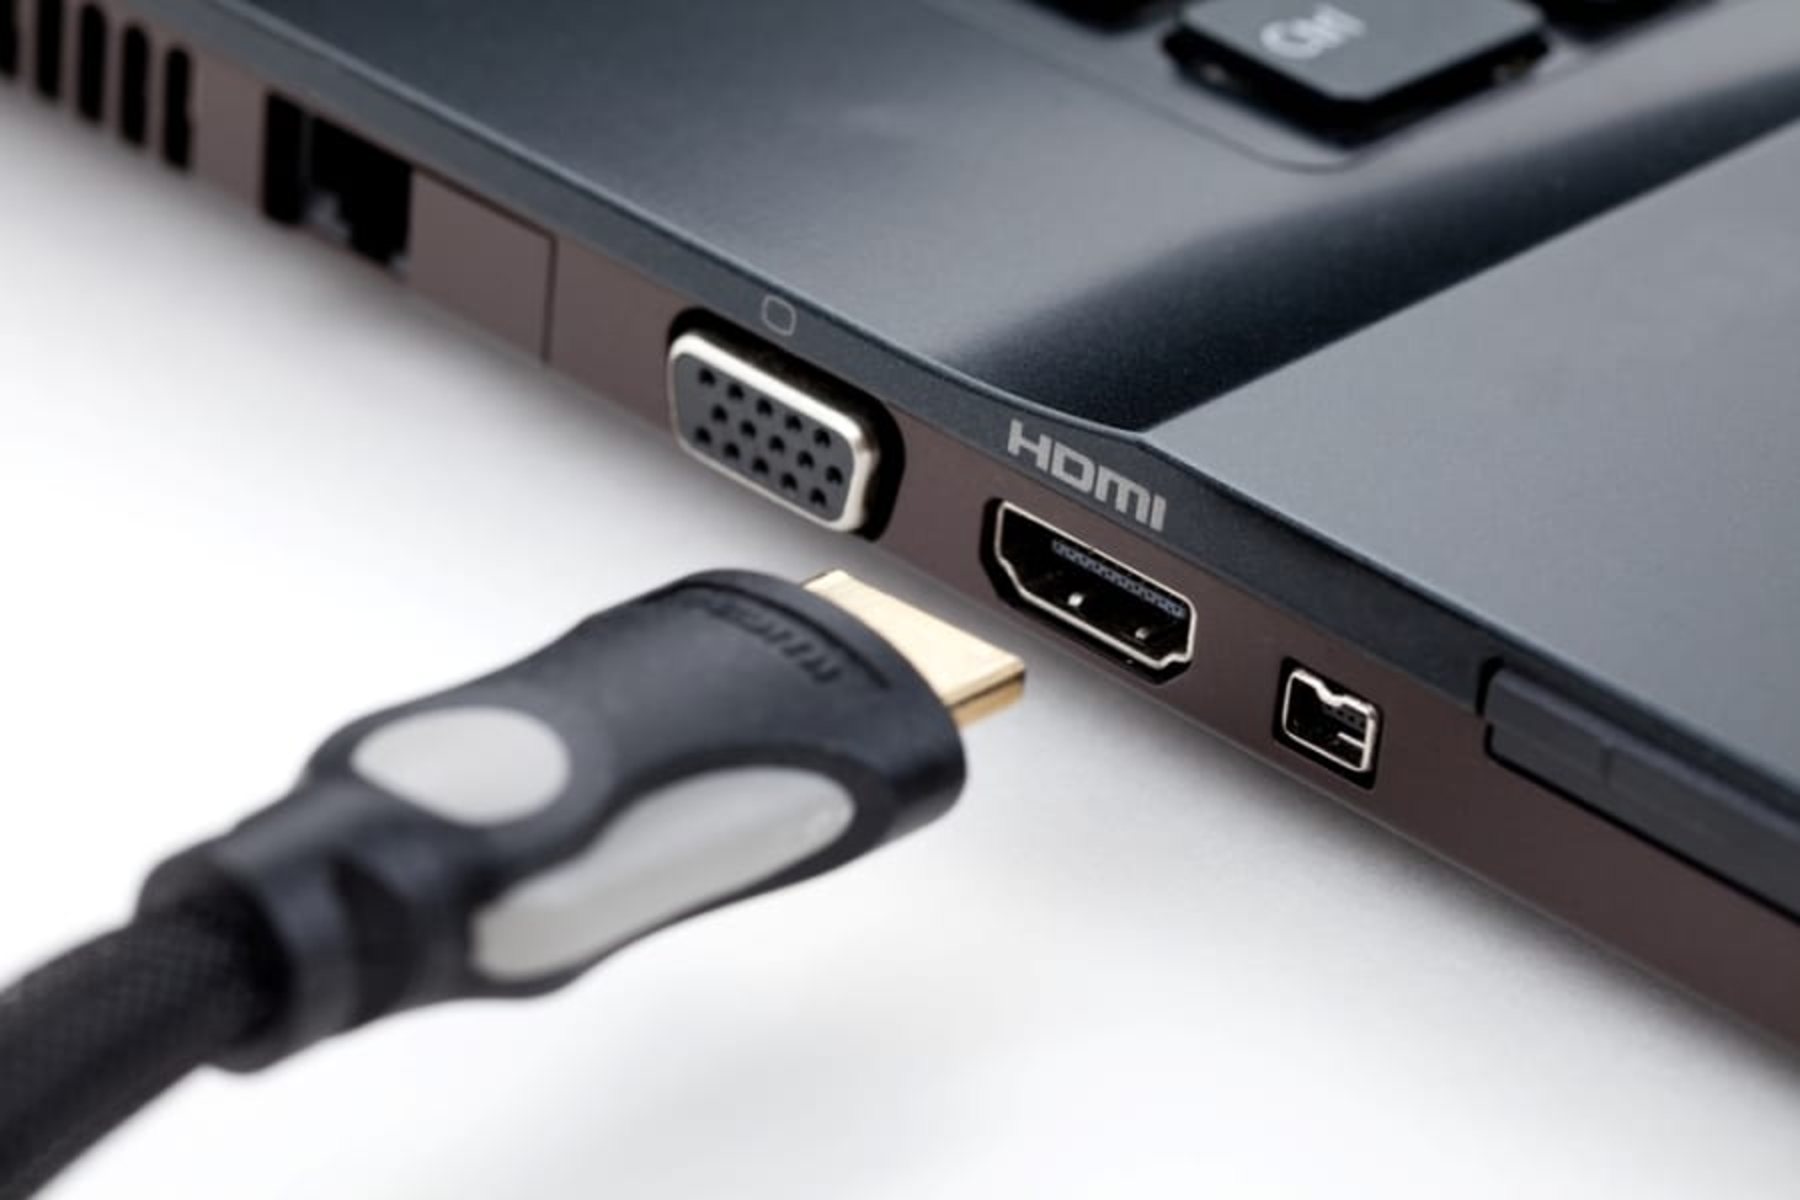
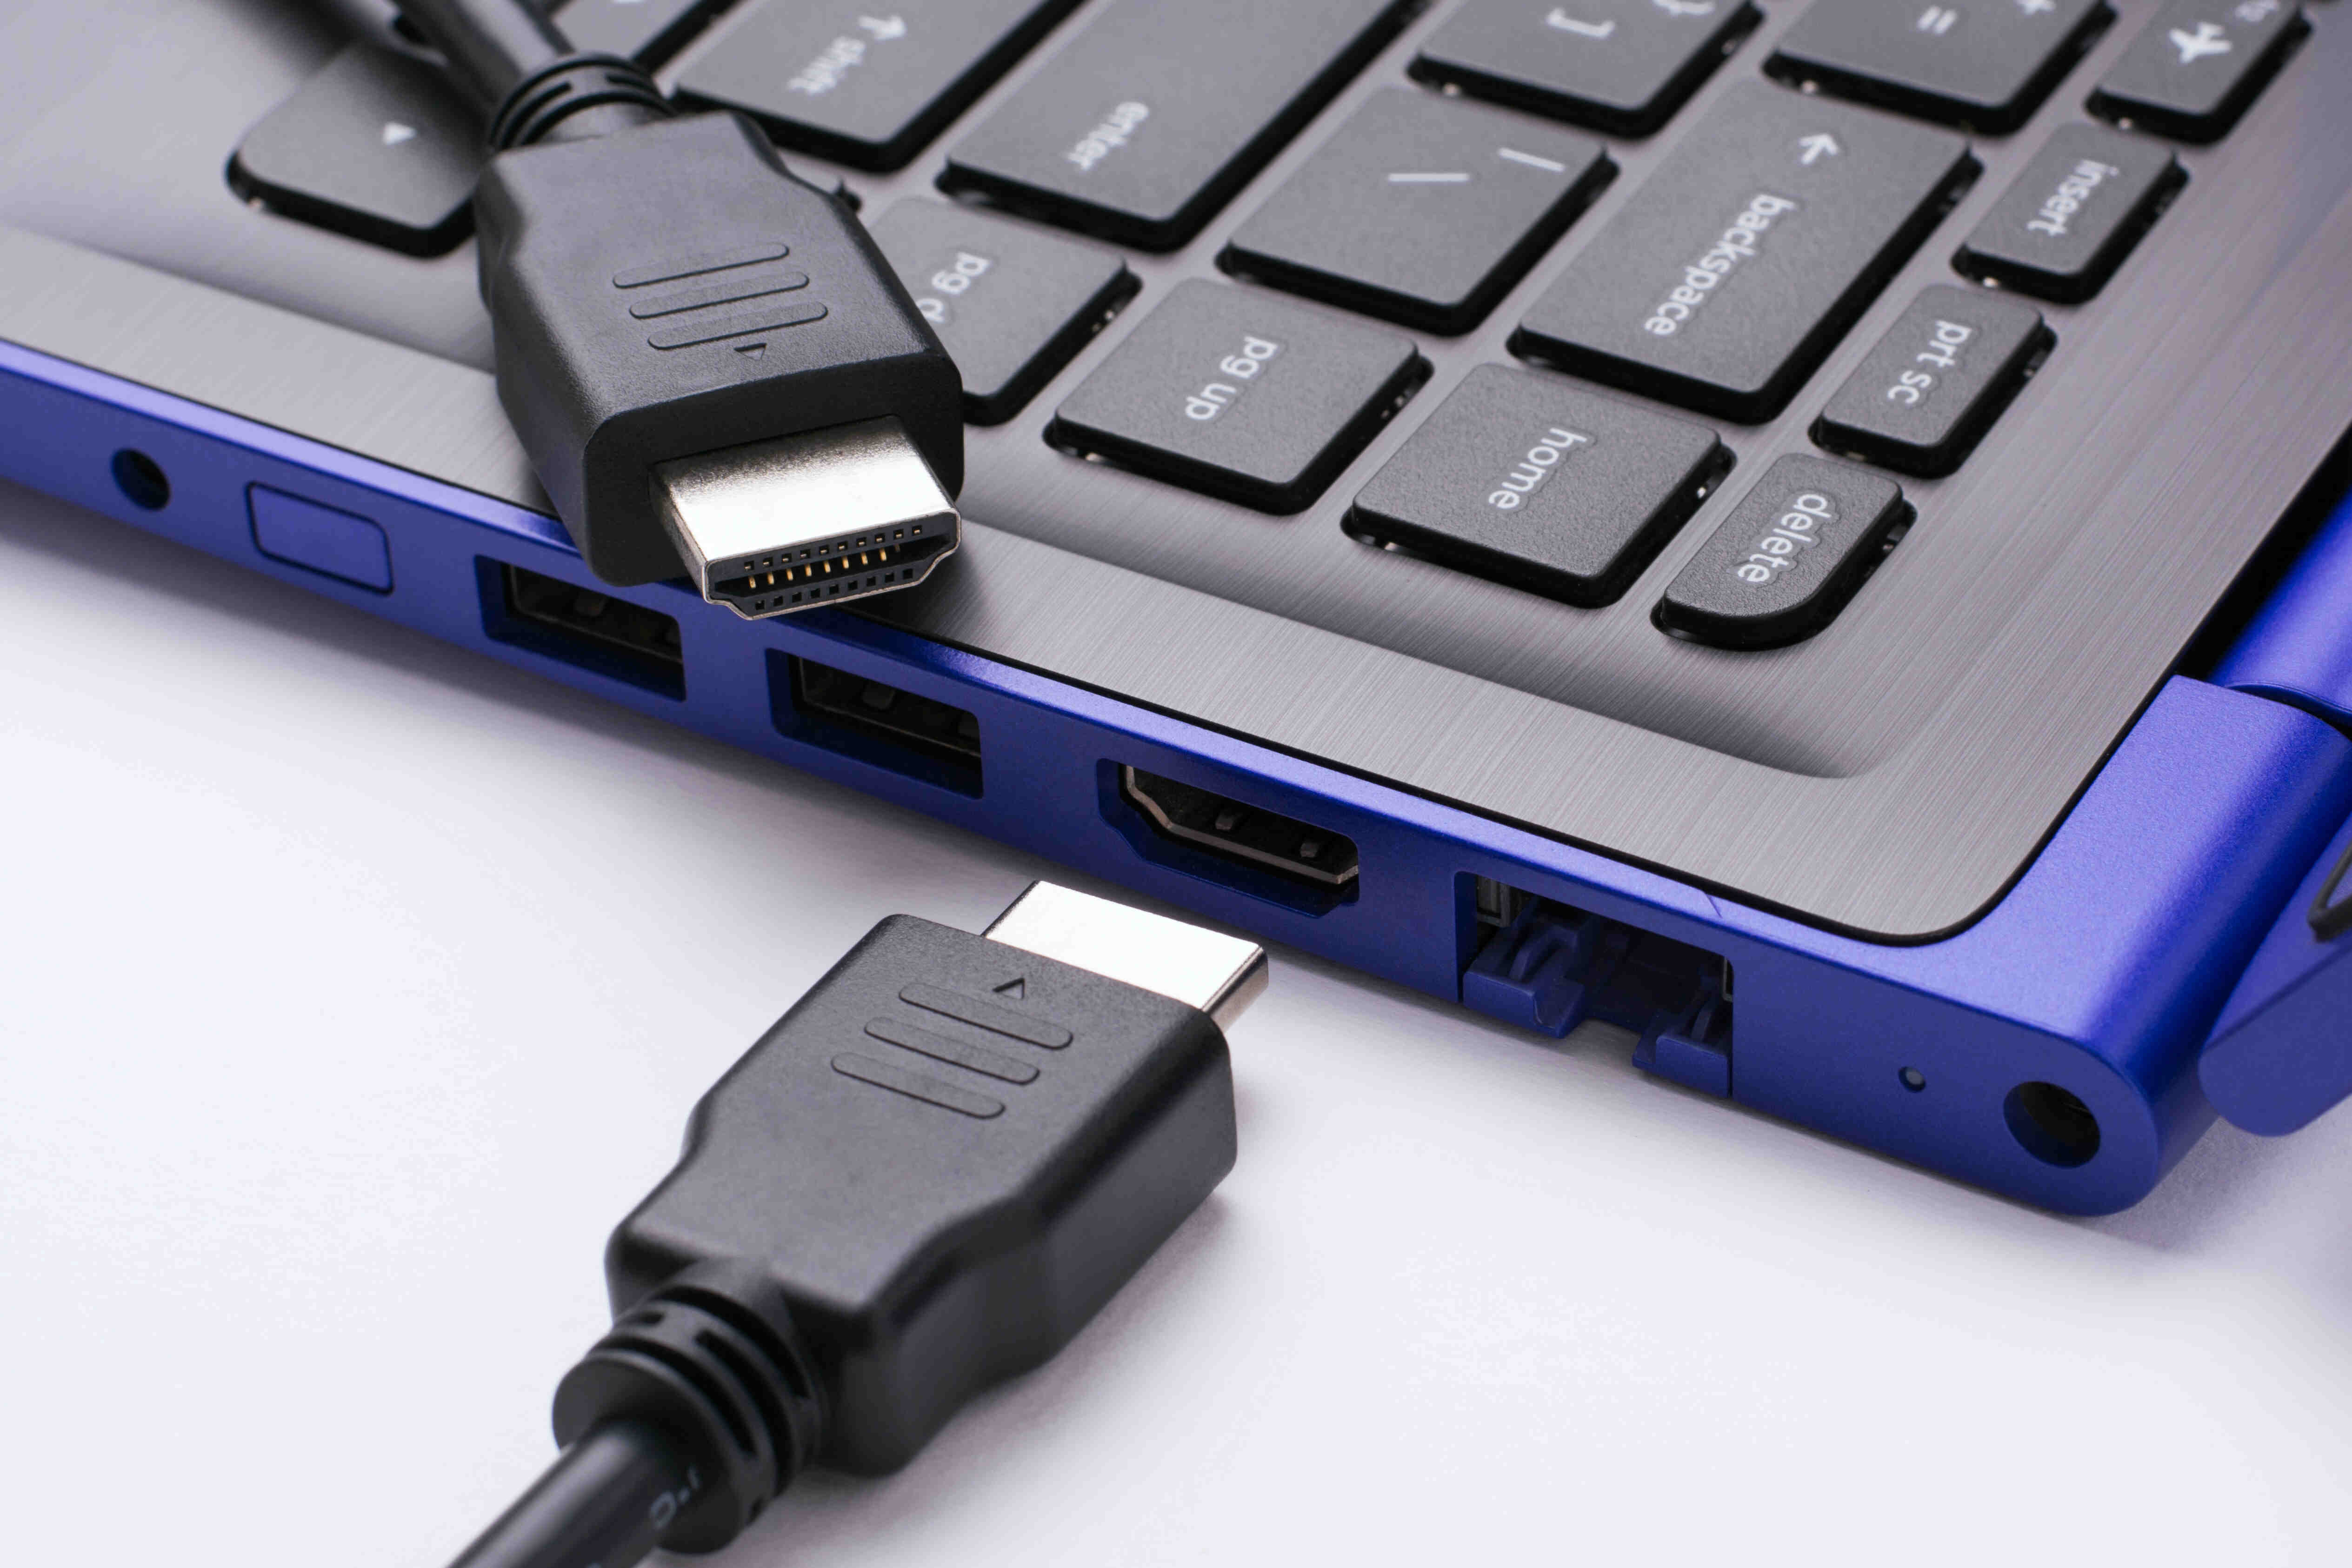
- Step 1: Check your computer’s HDMI port: Before connecting your Windows 10 device to a display using HDMI, make sure your computer has an HDMI port. Most modern laptops and desktop computers come equipped with an HDMI port. It is usually located on the side or back of the device and is labeled “HDMI.”
- Step 2: Connect the HDMI cable: Once you have located the HDMI port on your Windows 10 device, connect one end of the HDMI cable to the port. Ensure that the cable is securely inserted into the port to establish a stable connection.
- Step 3: Configure display settings: After connecting the HDMI cable, you need to configure the display settings on your Windows 10 device to ensure that the external display works correctly. Here are some important settings you may need to adjust:
Adjusting resolution: Right-click on your desktop and select “Display settings” from the context menu. In the Display settings window, you can adjust the resolution to match the capabilities of your external display. Select the appropriate resolution from the drop-down menu and click “Apply” to save the changes. This will ensure that the content is displayed correctly on the external display.
Setting up multiple displays: If you want to use your Windows 10 device with multiple displays, you can do so using HDMI. In the Display settings window, scroll down to the “Multiple displays” section and choose the desired display mode. You can select “Extend these displays” to extend your desktop across multiple screens, “Duplicate these displays” to mirror your desktop on both screens, or “Show only on 2” to display content only on the external display.
With these settings configured, your Windows 10 device should now be connected to the external display using HDMI. You can now enjoy your favorite movies, games, and presentations on a larger screen with enhanced visual quality.
If you encounter any issues with the HDMI connection, refer to the next section for troubleshooting tips to help you resolve common HDMI problems.
Step 1: Check your computer’s HDMI port
Before you can connect your Windows 10 device to an external display using HDMI, the first step is to verify that your computer has an HDMI port. Most modern laptops, desktop computers, and even some tablets come with this port as a standard feature.
To check if your computer has an HDMI port, follow these steps:
- Look for the HDMI logo: Look for the HDMI logo on the sides or back of your computer. It is usually a rectangular shape with the letters “HDMI” printed near it. The logo may come in different colors, such as black, blue, or white.
- Consult the user manual: If you are unable to locate the HDMI port visually, refer to the user manual or specifications of your computer. The manual should provide details about the available ports and their locations.
- Search online: If you cannot find the HDMI port on your computer or do not have access to the user manual, you can search online for your specific computer model. Visit the manufacturer’s website or perform a search using the computer model number to find detailed specifications and diagrams that highlight the location of the HDMI port.
Once you have confirmed the presence of an HDMI port on your computer, you are ready to move on to the next step of connecting the HDMI cable.
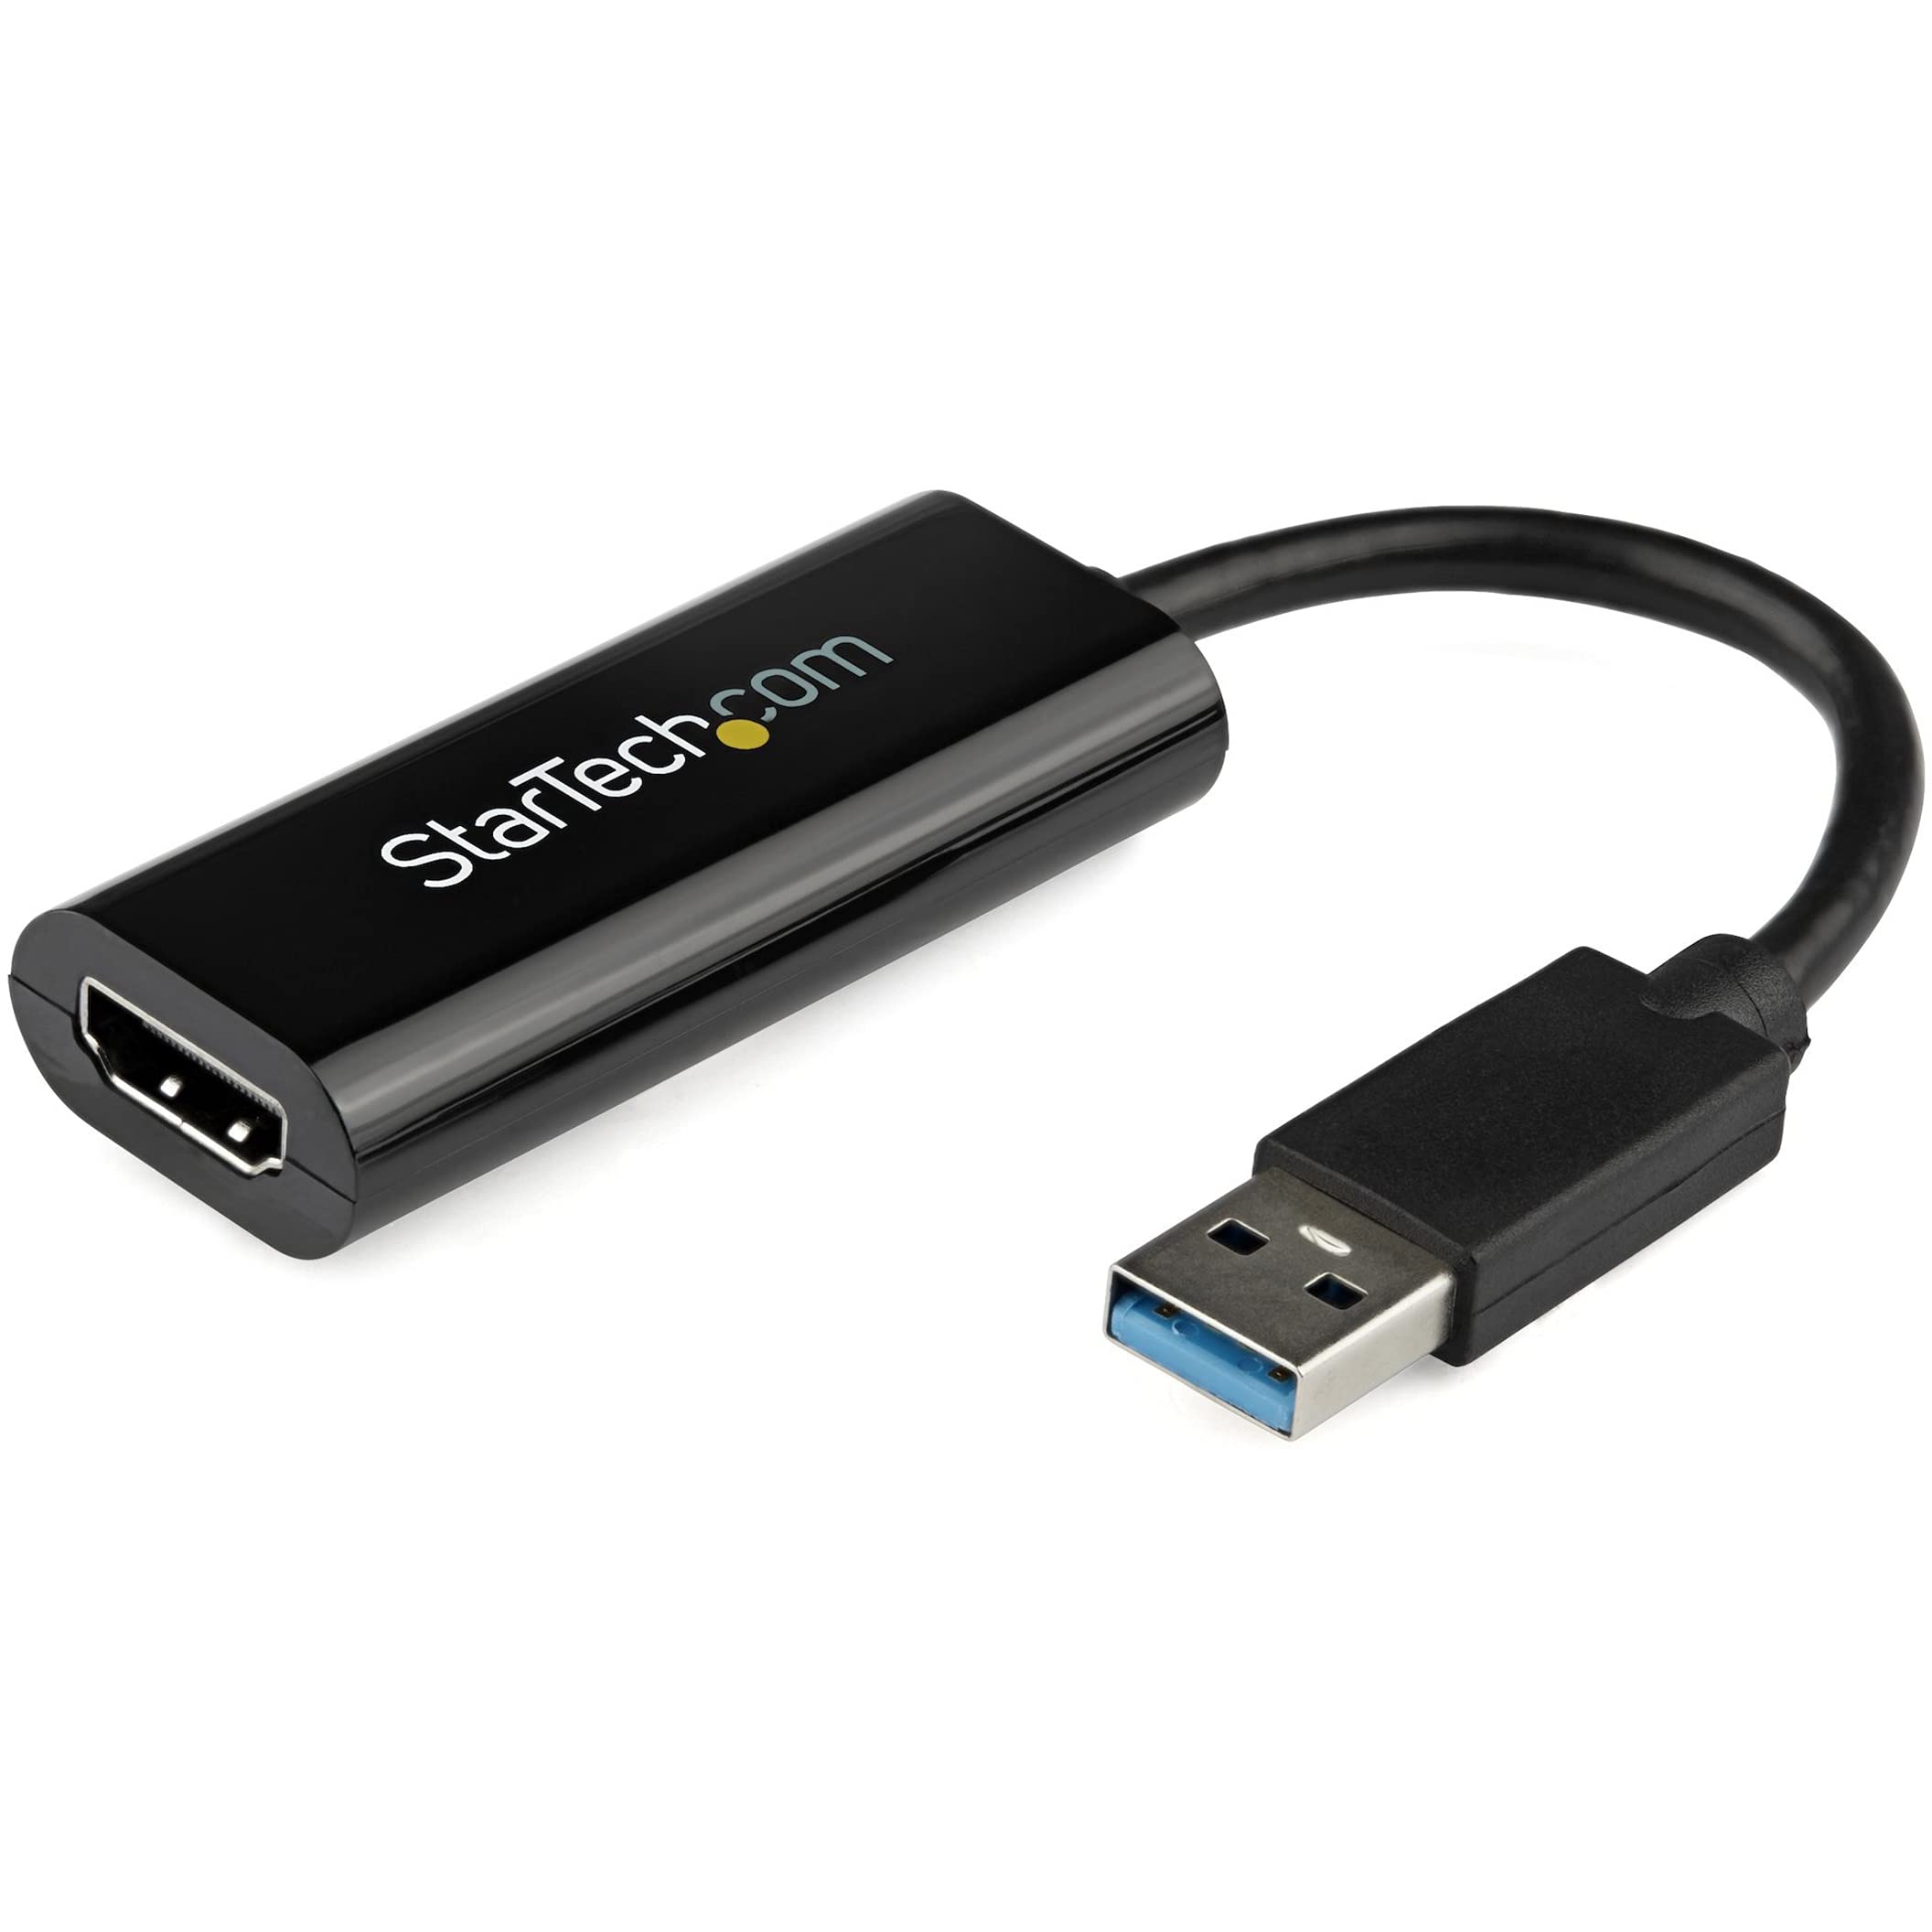
It is worth noting that some smaller or older devices may not have an HDMI port. In such cases, you may need to consider alternative methods of connecting your device to an external display, such as using a VGA or DVI port, or using an adapter to convert the available port to HDMI.
Now that you have identified the HDMI port on your computer, let’s proceed to the next step of connecting the HDMI cable and configuring the display settings in Windows 10.
Step 2: Connect the HDMI cable
Once you have confirmed that your computer has an HDMI port, the next step is to connect the HDMI cable to establish a connection between your Windows 10 device and the external display. Follow these simple steps:
- Locate the HDMI port on your computer: Look for the HDMI port on your computer. It is usually located on the side or back of the device, depending on the model. The HDMI port is typically labeled “HDMI” and may have the HDMI logo next to it.
- Prepare the HDMI cable: Take the HDMI cable and ensure that both ends are readily accessible. One end of the cable will have an HDMI connector, while the other end may vary depending on the type of display you are connecting to (e.g., HDMI, DisplayPort, VGA).
- Insert the HDMI cable into the computer: Take the end of the HDMI cable with the HDMI connector and align it with the HDMI port on your computer. Ensure that the HDMI connector is oriented correctly, matching the shape and size of the port. Gently insert the HDMI cable into the port until it is securely connected.
- Insert the other end into the display: Take the other end of the HDMI cable, which may be an HDMI connector or an adapter for a different display port type, and connect it to the corresponding port on the external display. Again, ensure a secure connection is made.
It is important to note that the HDMI cable should securely fit into the HDMI port without force. Avoid applying excessive pressure or bending the cable too much, as this may damage the cable or the port.
Once the cable is properly connected to both your computer and the external display, your Windows 10 device should automatically detect the connection and configure the display settings accordingly.
In the next step, we will explore how to configure the display settings on your Windows 10 device to ensure a seamless viewing experience on the external display.
Step 3: Configure display settings
After connecting the HDMI cable between your Windows 10 device and the external display, you will need to configure the display settings to ensure proper functionality and optimal viewing experience. Here are the necessary steps to configure the display settings:
- Right-click on your desktop: Begin by right-clicking on an empty area of your desktop. This action will bring up a context menu with various options.
- Select “Display settings”: From the context menu, click on “Display settings” to open the Windows 10 Display settings menu.
- Adjust the resolution: In the “Display settings” menu, you will see a section labeled “Resolution.” Here, you can choose the optimal resolution for your external display. Select the resolution that matches the specifications of your display for the best picture quality.
- Configure display mode: Scroll down to the “Multiple displays” section. Here, you can decide how you want your Windows 10 device to interact with the external display. You have a few options:
- Extend these displays: This option allows you to extend your desktop across both the Windows 10 device and the external display. You can move windows and applications between the two screens, effectively increasing your available workspace.
- Duplicate these displays: Choosing this option will mirror your Windows 10 device’s screen on the external display. This is useful for presentations or when you want to display the same content on both screens.
- Show only on 2: This option lets you use only the external display, disabling the built-in screen of your Windows 10 device.
Experiment with these display modes to find the one that best suits your needs. Once you have made your selection, Windows 10 will configure the display settings accordingly.
It’s important to note that not all external displays will support all resolutions or display modes. If you encounter any issues or the display does not look correct, try adjusting the resolution or changing the display mode to find the optimal setup.
With the display settings properly configured, you can now enjoy your Windows 10 experience on the larger screen of the external display connected via HDMI.
Adjusting resolution
One important aspect of configuring your display settings when using HDMI on Windows 10 is adjusting the resolution. The resolution determines the number of pixels displayed on your screen and directly impacts the clarity and quality of the visuals. Follow these steps to adjust the resolution:
- Right-click on your desktop: Begin by right-clicking on an empty area of your desktop to open the context menu.
- Select “Display settings”: From the context menu, click on “Display settings” to access the Windows 10 Display settings menu.
- Find the “Resolution” section: In the Display settings menu, scroll down until you locate the section labeled “Resolution.” Here, you will see a drop-down menu that lists the available resolution options.
- Select the desired resolution: Click on the drop-down menu and choose the resolution that best suits your needs and the capabilities of your external display. It is recommended to select the highest resolution that your display supports for maximum visual clarity and detail.
- Apply the changes: After selecting the desired resolution, click on the “Apply” button to save the changes. Windows 10 will automatically adjust the resolution and optimize the display settings for the connected external display.
Monitor and assess the visuals on your external display after adjusting the resolution. If the display looks blurry, distorted, or does not fit the screen properly, try a different resolution from the drop-down menu and see if it improves the visual quality. Experiment with different resolutions until you find the one that provides the best balance between clarity and usability for your specific needs.
Keep in mind that the available resolution options may vary depending on the capabilities of your external display. It is essential to choose a resolution that matches the native resolution of your display for the best picture quality. Using a resolution that differs from the native resolution may result in stretched or skewed visuals.
By adjusting the resolution to match your external display’s capabilities, you can ensure that your Windows 10 experience is visually appealing and optimized for your viewing pleasure.
Setting up multiple displays
If you want to expand your Windows 10 workspace and use multiple displays simultaneously, HDMI allows you to easily set up and configure multiple displays. Follow these steps to set up multiple displays:
- Right-click on your desktop: Begin by right-clicking on an empty area of your desktop to open the context menu.
- Select “Display settings”: From the context menu, click on “Display settings” to access the Windows 10 Display settings menu.
- Scroll down to the “Multiple displays” section: In the Display settings menu, scroll down until you find the “Multiple displays” section. This is where you can configure how you want your Windows 10 device to interact with the multiple displays.
- Choose the desired display mode: Click on the drop-down menu under the “Multiple displays” section and choose the display mode that suits your needs:
- Extend these displays: This mode allows you to extend your desktop across multiple displays. You can move windows and applications between the screens, effectively increasing your available workspace. This mode is ideal for multitasking, as you can have different applications open on different displays for enhanced productivity.
- Duplicate these displays: Selecting this mode will mirror your Windows 10 device’s screen on all connected displays. This is useful for presentations or when you want to display the same content on multiple screens simultaneously.
- Show only on 2: This mode allows you to use only the external display connected via HDMI, disabling the built-in screen of your Windows 10 device. This is helpful when you want to use a larger display as your primary screen or when using a projector for presentations.
After selecting the desired display mode, Windows 10 will configure the settings accordingly. You may need to rearrange the position of the displays in the Display settings menu if the physical orientation of your displays does not match their virtual arrangement on the screen.
With multiple displays set up, you can enjoy an expanded workspace, boost your productivity, or engage in immersive gaming experiences on larger screens. Take advantage of the flexibility provided by HDMI and make the most out of your Windows 10 device with multiple displays.
Troubleshooting common HDMI issues
While connecting and using HDMI on Windows 10 is generally a straightforward process, you may occasionally encounter common issues. Here are some troubleshooting tips to help you resolve common HDMI problems:
- No signal on the external display: If you’re not getting a signal on the external display, ensure that the HDMI cable is securely connected to both your Windows 10 device and the display. Try unplugging and reconnecting the cable to ensure a solid connection. Additionally, check that the display is powered on and set to the correct input source for the HDMI connection.
- Poor picture or sound quality: If you’re experiencing poor picture or sound quality, check the HDMI cable for any physical damage or signs of wear. Sometimes, a faulty cable can result in signal degradation. Try using a different HDMI cable to see if it improves the quality. Also, ensure that the resolution and audio settings are properly configured in the Windows 10 display settings.
- Display not filling the screen: If the display does not fill the entire screen or there are black borders around the image, it might be due to incorrect display settings. Adjust the resolution in the Windows 10 display settings to match the native resolution of the display. Also, check the aspect ratio settings on the display itself to ensure it is set correctly.
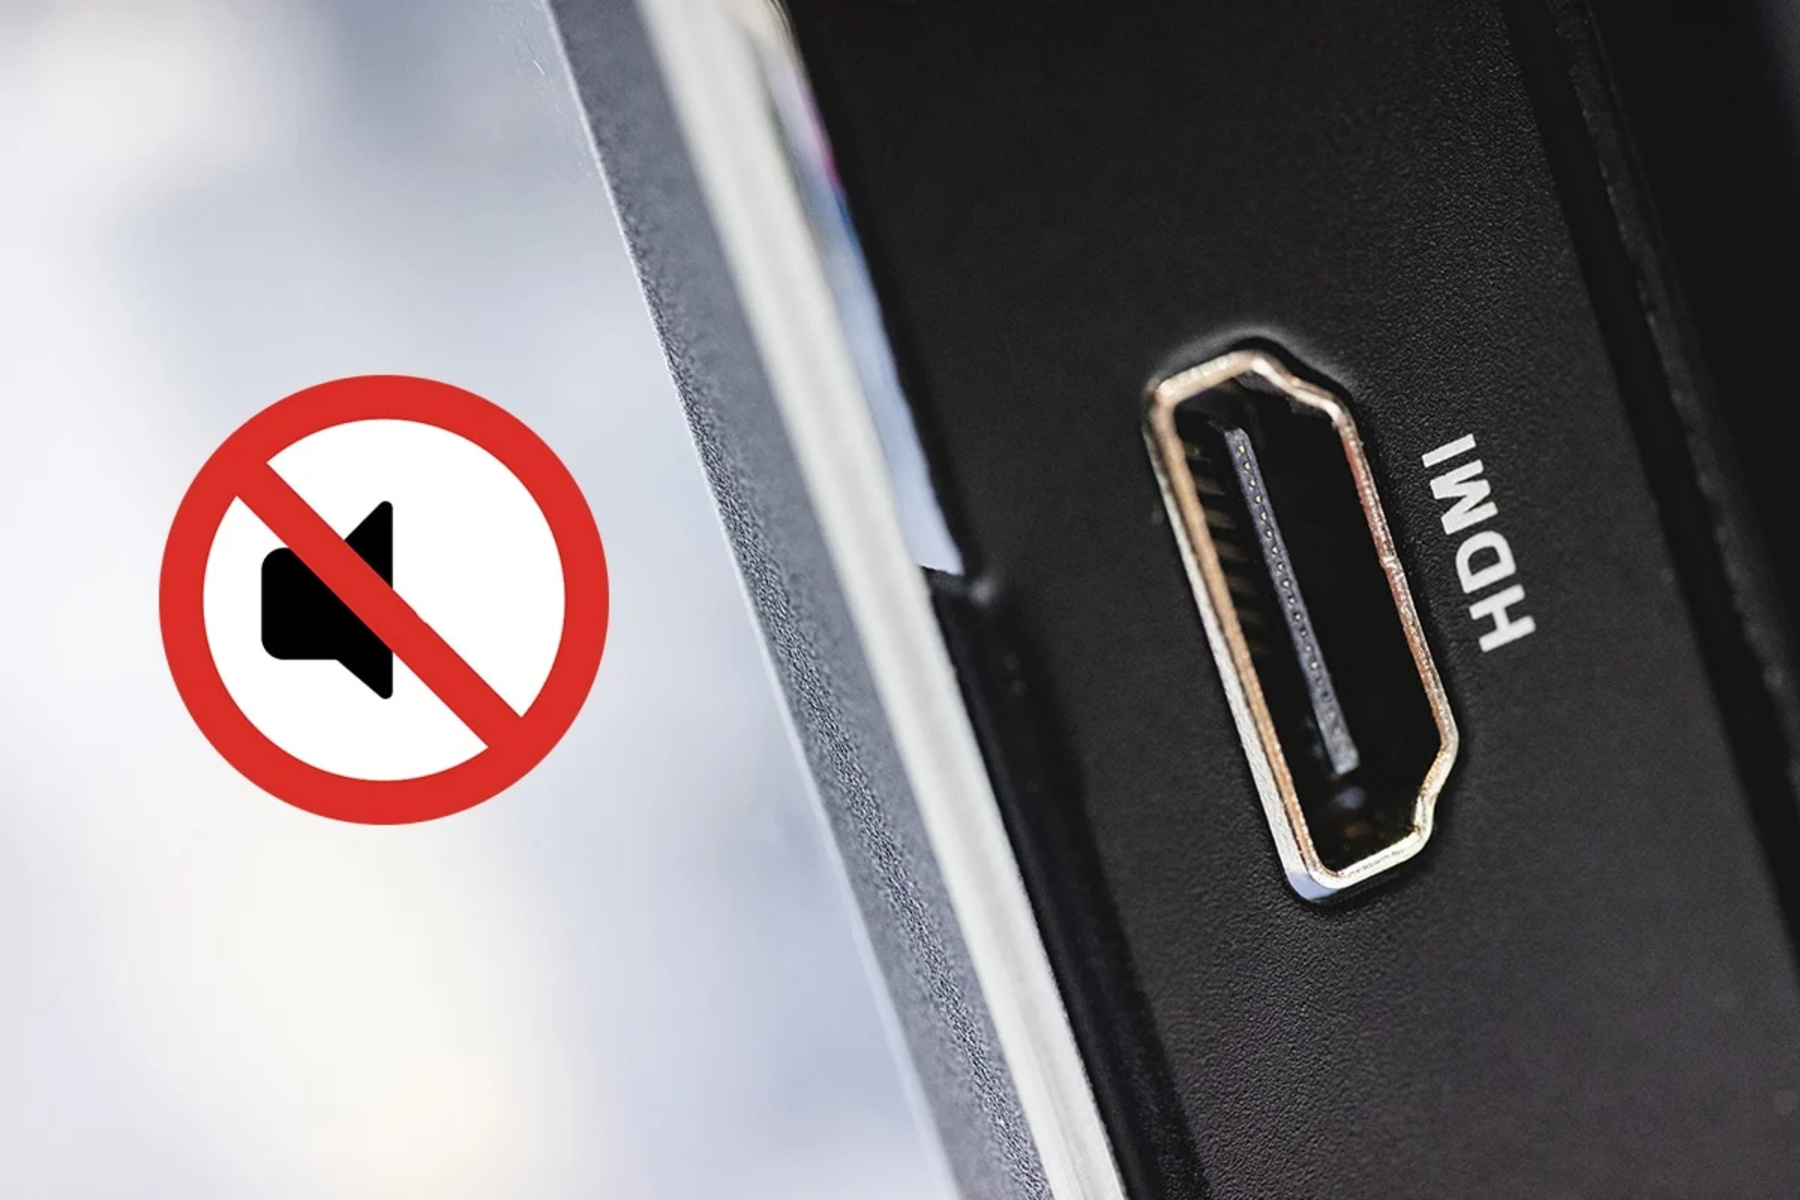
- No audio on the external display: If you’re not getting audio on the external display, first ensure that the HDMI cable is connected securely to both your Windows 10 device and the display. Then, check the audio settings in the Windows 10 control panel or sound settings. Ensure that the correct audio output device is selected for the HDMI connection. You may also need to adjust the volume settings on the external display itself.
If you’ve tried the above troubleshooting steps and still can’t resolve the HDMI issue, try the following additional steps:
- Restart your Windows 10 device and the external display to reset the connection.
- Check for and install any available Windows updates, as they can sometimes include fixes for HDMI-related issues.
- Test the HDMI port on your Windows 10 device by connecting it to a different external display. This will help determine if the issue lies with the port or the display itself.
- If available, try using a different HDMI port on your Windows 10 device or a different HDMI input on the display.
These troubleshooting steps should help you resolve common HDMI issues and ensure a smooth and reliable connection between your Windows 10 device and the external display.
Conclusion
Using HDMI on Windows 10 allows you to connect your device to external displays and enjoy high-quality audio and video experiences. In this guide, we discussed the importance of HDMI and its ability to transmit uncompressed, high-definition content between devices. We explored the different types of HDMI cables available and their respective capabilities, ensuring you can choose the right cable for your needs. We also provided step-by-step instructions on how to connect your Windows 10 device to an external display using HDMI, along with tips on configuring the display settings and troubleshooting common HDMI issues.
By following the instructions outlined in this guide, you can seamlessly connect your Windows 10 device to an external display, extend your workspace, enjoy multimedia content on a larger screen, or deliver impactful presentations. HDMI provides a convenient and reliable way to transfer audio and video signals, ensuring you can make the most out of your Windows 10 experience.
Remember to check your computer’s HDMI port, securely connect the HDMI cable, and configure the display settings to match your preferences and the capabilities of your external display. If you encounter any issues, refer to the troubleshooting tips provided to resolve common HDMI problems.
Now, armed with the knowledge and skills to use HDMI effectively on Windows 10, you can enhance your computing experience and enjoy stunning visuals and immersive sound on a larger screen. Harness the power of HDMI and take your Windows 10 device to new heights.