Introduction
Welcome to the world of external hard drives! These compact and convenient devices have revolutionized the way we store and access our data. Whether you use an external hard drive for backup purposes or as an extended storage solution, encountering issues with it can be frustrating.
From sudden disconnects to unrecognized devices, external hard drive problems can feel daunting. But fear not! In this comprehensive guide, we will walk you through the steps to repair your external hard drive and get it back up and running.
Before we jump into the troubleshooting process, it’s crucial to note that not all external hard drive issues can be easily fixed. In some cases, the problem may be hardware-related, requiring professional assistance. However, in many instances, a software or connectivity issue may be the culprit, and that’s where we can help you troubleshoot.
So, if you’re ready to roll up your sleeves and tackle your external hard drive problems head-on, let’s get started!
Step 1: Identify the Problem
The first step in repairing your external hard drive is to identify the exact problem you are facing. This will help narrow down the potential causes and guide you towards the appropriate solution.
Here are some common issues you may encounter with your external hard drive and how to identify them:
- No Power: If your external hard drive is not powering on or showing any signs of life, it could be due to a faulty power supply or a problem with the USB cable. Try connecting your hard drive to a different power outlet and replace the USB cable to see if the issue resolves.
- Not Recognized: If your computer does not recognize the external hard drive when you connect it, there could be a problem with the drive itself, the USB port, or the device driver. Try connecting the hard drive to a different USB port or try it on another computer to rule out a USB port issue.
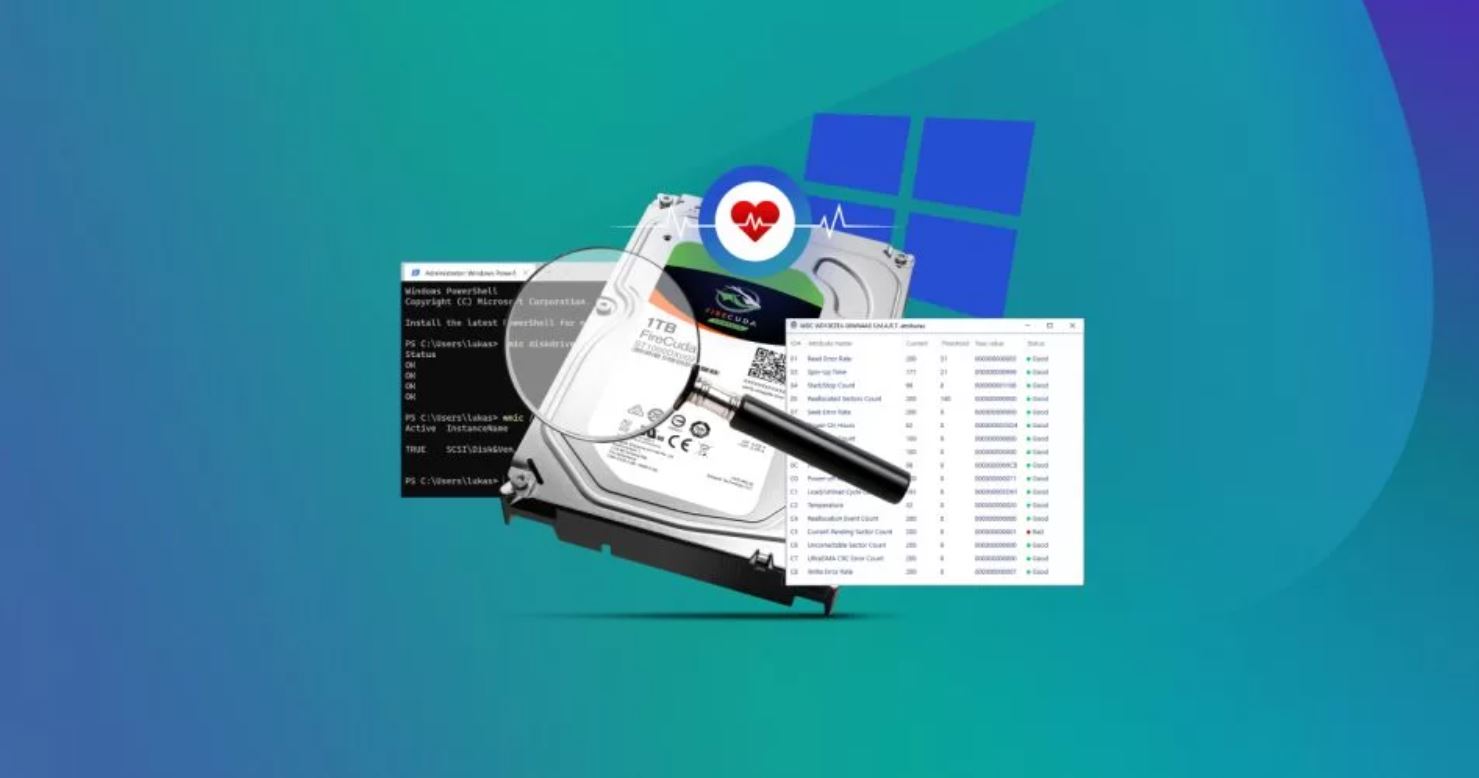
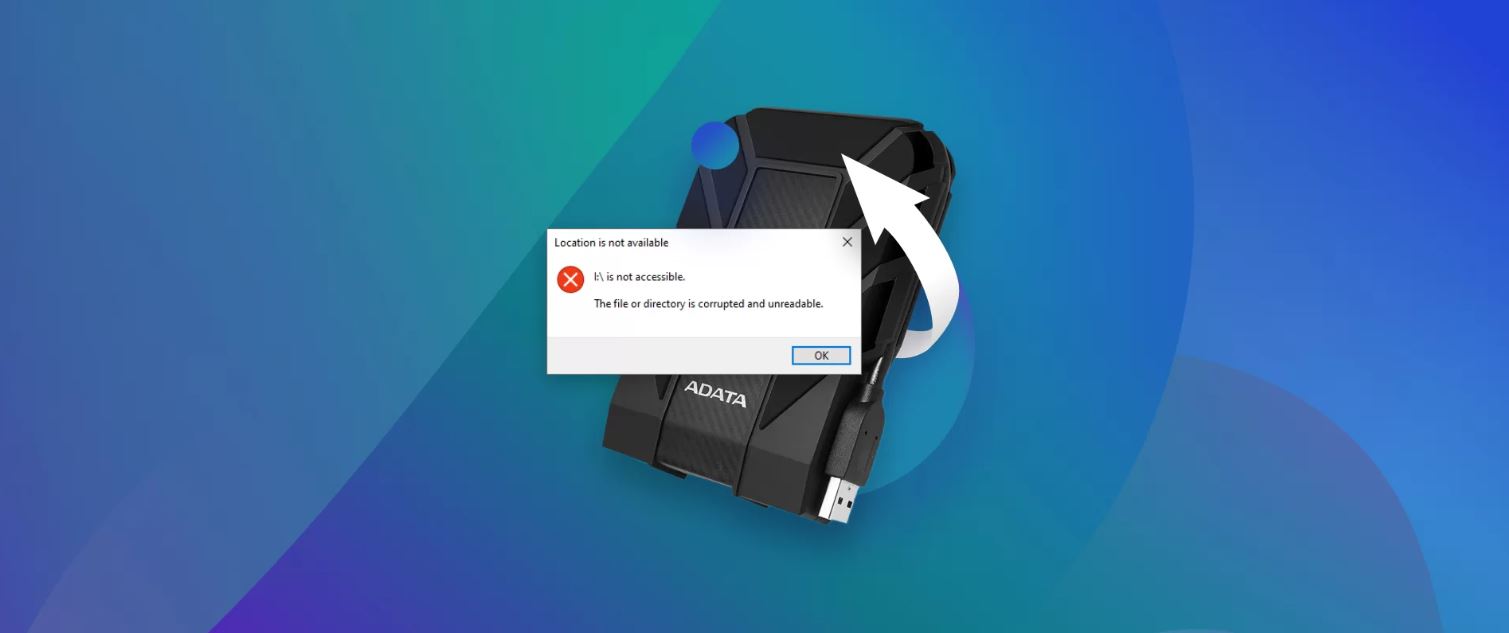
- Data Corruption: If you are experiencing data corruption issues or are unable to access your files, it could be a sign of a failing hard drive or file system errors. Run a diagnostic tool to check the health of your drive and consider running data recovery software to retrieve your files.
- Slow Performance: If your external hard drive is taking a long time to respond or transfer files, it could be due to a fragmented drive or excessive usage. Use disk cleanup and defragmentation tools to optimize the performance of your drive.
By identifying the specific problem you are facing with your external hard drive, you can better focus your efforts on finding the most appropriate solution. Keep in mind that some issues may require advanced troubleshooting or professional assistance, so don’t hesitate to seek help if needed.
Step 2: Backup Important Data
Before attempting any repairs or troubleshooting steps on your external hard drive, it’s crucial to prioritize the safety of your data. The last thing you want is to risk losing valuable files or documents in the process.
Here’s how you can back up your important data:
- Assess the Importance: Take some time to evaluate the criticality of the data stored on your external hard drive. Identify any irreplaceable or sensitive files that need immediate backup.
- Select a Backup Method: Choose a suitable backup method based on your needs. You can either manually copy and paste files to another storage device, use backup software for automated backups, or utilize cloud storage services for added security.
- Create Multiple Copies: It’s always recommended to have multiple copies of your data. This ensures that even if one backup fails, you have an additional copy as a fallback.
- Verify the Backup: After performing the backup, double-check that all your important files have been successfully copied. Open a few randomly selected files to ensure their integrity.
Remember, ideally, you should have a regular backup routine in place to minimize the risk of data loss. This can include scheduled automated backups or manual backups at specific intervals.
By backing up your important data, you can have peace of mind knowing that it is safe and secure while you proceed with repairing your external hard drive.
Step 3: Check the Connections
When facing issues with your external hard drive, it’s important to ensure that the connections are secure and functioning properly. Loose or faulty connections can often be the root cause of many problems.
Follow these steps to check the connections:
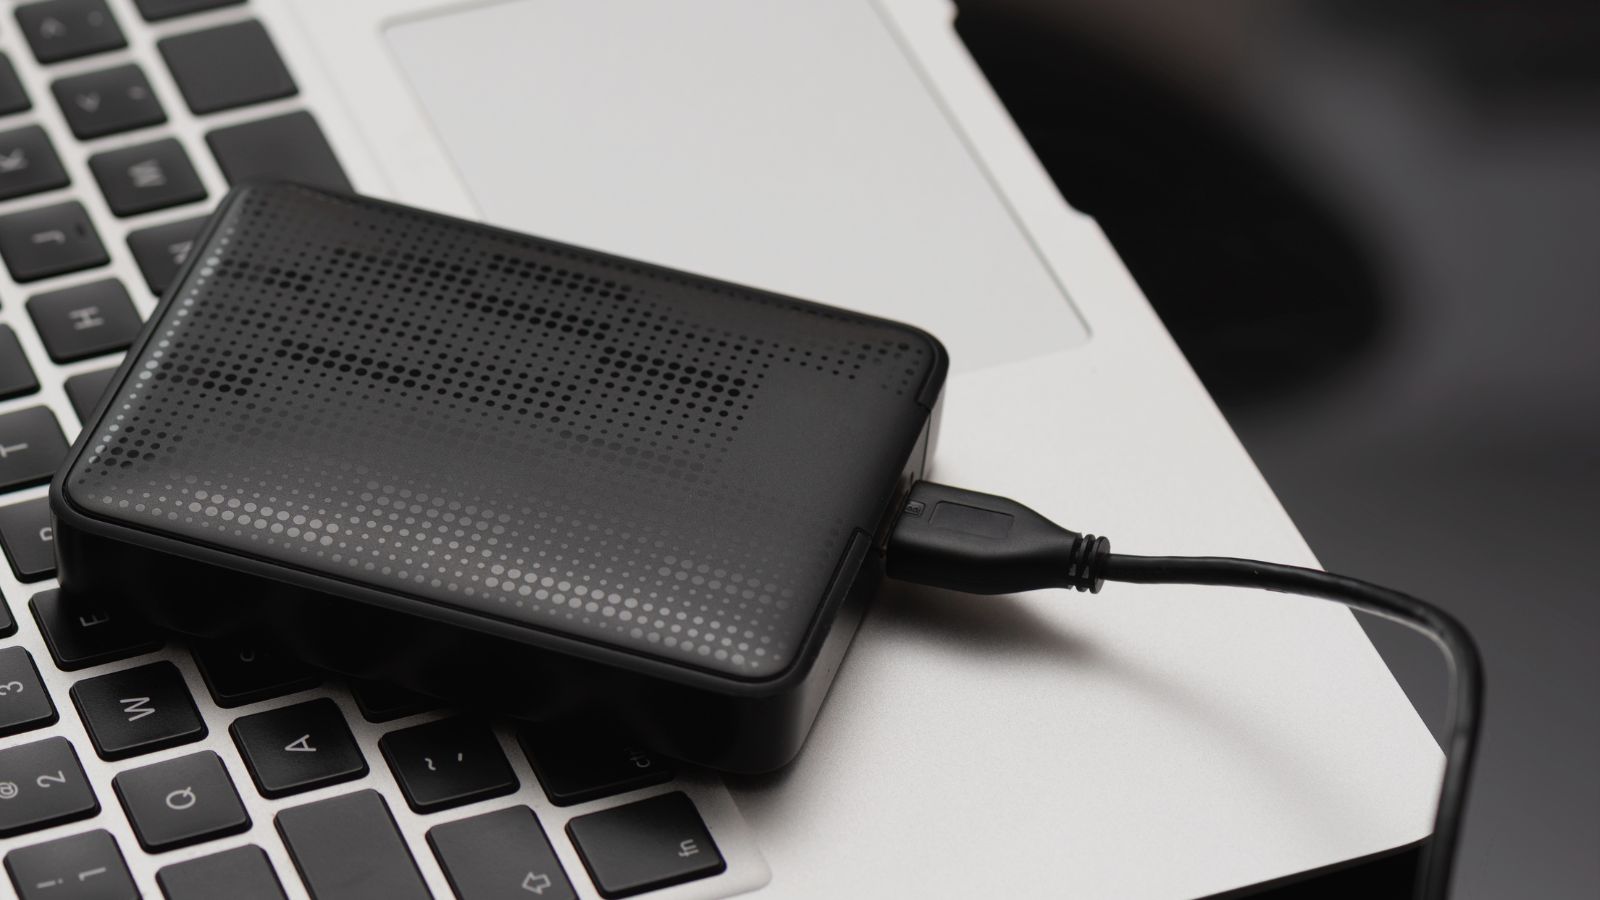
- Inspect the USB Cable: Examine the USB cable that connects your external hard drive to your computer. Look for any signs of damage, such as frayed wires or bent connectors. If you notice any issues, replace the cable with a new one.
- Try a Different USB Port: Plug your external hard drive into a different USB port on your computer to rule out a faulty port. Sometimes, certain USB ports may not provide adequate power or have compatibility issues.
- Use a Different Computer: If possible, connect your external hard drive to another computer. This will help determine if the issue is specific to your computer or if it persists across multiple devices. If the drive works on another computer, it may indicate a problem with your computer’s USB drivers.
- Use a Different USB Cable: If you have access to another USB cable that is compatible with your external hard drive, try using it instead. This will ensure that the problem is not caused by a faulty cable.
By thoroughly checking the connections between your external hard drive and your computer, you can pinpoint any potential issues and address them accordingly. Remember to test your drive after each connection change to see if the problem has been resolved.
Step 4: Use Disk Management Tool
If your external hard drive is recognized by your computer but is not showing up in File Explorer or Disk Management, it’s time to utilize the Disk Management tool to troubleshoot and resolve the issue.
Follow these steps to use the Disk Management tool:
- Access Disk Management: To open Disk Management, right-click on the Start button and select “Disk Management” from the menu. Alternatively, you can press the Windows key + X and choose “Disk Management” from the list.
- Locate Your External Hard Drive: In the Disk Management window, look for your external hard drive. It should be listed alongside your other disk drives. Take note of its disk number and drive letter.
- Assign a Drive Letter: If your external hard drive does not have a drive letter assigned to it, right-click on the drive and select “Change Drive Letter and Paths.” Then, click “Add” and choose a letter from the available options. This will assign a drive letter to your external hard drive.
- Initialize the Disk (if necessary): If your external hard drive shows up as “Not Initialized” in Disk Management, right-click on the drive and select “Initialize Disk.” Choose the desired partition style (MBR or GPT) and click “OK” to initialize the disk.
- Create a New Volume: If your external hard drive appears as unallocated space, you can create a new volume by right-clicking on the unallocated space and selecting “New Simple Volume.” Follow the on-screen instructions to create a new partition and format it.
Using the Disk Management tool can help resolve issues related to drive letter conflicts, unrecognized partitions, or unallocated space on your external hard drive. After performing these steps, check if your drive is now properly recognized and accessible in File Explorer.
Step 5: Run Error Checking
If you suspect that there are errors or issues with your external hard drive’s file system, running an error checking tool can help identify and fix these problems. This step can help resolve issues such as file corruption, bad sectors, or disk errors.
Here’s how you can run error checking on your external hard drive:
- Open File Explorer: Right-click on the Start button and select “File Explorer” from the menu. Alternatively, you can press the Windows key + E to open File Explorer.
- Locate Your External Hard Drive: In File Explorer, locate your external hard drive in the list of drives on the left-hand side. Right-click on the drive and select “Properties.”
- Navigate to the Tools Tab: In the Properties window, click on the “Tools” tab, which is located at the top of the window.
- Click on “Check” or “Check Now”: Under the “Error checking” section, click on the “Check” or “Check Now” button. This will initiate the error checking process.
- Select the Appropriate Options: In the Error Checking dialog box, choose whether you want to automatically fix file system errors and scan for bad sectors. You can also choose to perform the scan on the next system restart if the drive is currently in use.
- Start the Error Checking Process: Click on the “Start” button to begin the error checking process. The tool will scan and diagnose any errors on your external hard drive.
Once the error checking process is complete, the tool will display a summary of the scan results. If any errors were found and fixed, it’s recommended to perform another scan to ensure the drive is error-free.
Running error checking can help resolve file system-related issues, which may be affecting the performance and accessibility of your external hard drive. It’s a valuable step to take in your repair process.
Step 6: Reinstall the Device Driver
If your external hard drive is recognized by your computer but still not functioning properly, reinstalling the device driver can help resolve any driver-related issues that may be causing the problem.
Follow these steps to reinstall the device driver for your external hard drive:
- Open Device Manager: Right-click on the Start button and select “Device Manager” from the menu. Alternatively, you can press the Windows key + X and choose “Device Manager” from the list.
- Locate your External Hard Drive: In the Device Manager window, expand the “Disk drives” category. Look for your external hard drive in the list of disk drives. It should be listed with the make and model of your drive.
- Uninstall the Device Driver: Right-click on your external hard drive and select “Uninstall device.” Confirm the action when prompted. This will remove the driver software associated with your external hard drive.
- Disconnect and Reconnect the Drive: Disconnect your external hard drive from the computer. Wait for a few seconds, and then reconnect it to the computer.
- Install the Driver: Once you reconnect your external hard drive, Windows will automatically attempt to reinstall the device driver. Follow any on-screen instructions if prompted.
- Restart your Computer: After the driver installation is complete, restart your computer to ensure the changes take effect.
Reinstalling the device driver can help fix issues related to driver corruption or conflicts, allowing your external hard drive to function properly once again.
If Windows is unable to automatically install the driver, you can visit the manufacturer’s website and download the latest driver specifically designed for your external hard drive model. Install the driver manually by following the manufacturer’s instructions.
Step 7: Format the External Hard Drive
If you have tried all the previous steps and are still experiencing issues with your external hard drive, formatting the drive may be a necessary step to resolve the problem. Formatting erases all the data on the drive and resets it to its default settings.
Follow these steps to format your external hard drive:
- Open File Explorer: Right-click on the Start button and select “File Explorer” from the menu. Alternatively, you can press the Windows key + E to open File Explorer.
- Locate Your External Hard Drive: In File Explorer, locate your external hard drive in the list of drives on the left-hand side. Take note of the drive letter assigned to your external hard drive.
- Right-click and Select Format: Right-click on the drive and select “Format” from the context menu. This will open the Format dialog box.
- Choose File System and Allocation Unit Size: In the Format dialog box, select the file system you want to use for your external hard drive. For Windows, NTFS is typically recommended. You can also choose the desired allocation unit size, or leave it as the default.
- Provide a Volume Label: Enter a name or label for your external hard drive. This will be the name displayed when you connect the drive to your computer.
- Enable Quick Format (optional): If you want to speed up the formatting process, you can check the “Quick Format” option. This will only erase the file system metadata and not perform a full scan of the drive.
- Start the Formatting Process: Click on the “Start” button to begin the formatting process. A warning message will appear, notifying you that all data on the drive will be erased. Confirm the action to proceed.
- Wait for the Formatting to Complete: The formatting process may take some time, depending on the size of your external hard drive. Once completed, you will receive a notification that the formatting was successful.
Formatting your external hard drive can help resolve persistent issues or errors on the drive. However, remember that formatting will erase all data, so be sure to back up any important files before proceeding.
After formatting, your external hard drive should be ready for use, and any previous issues should be resolved. If the problems persist, consider seeking professional assistance or contacting the manufacturer for further support.
Step 8: Seek Professional Help
If you have exhausted all the previous steps and your external hard drive is still not functioning properly, it may be time to seek professional help. Sometimes, hardware-related issues or complex software problems require the expertise of experienced technicians or data recovery specialists.
Here are some situations where professional help might be necessary:
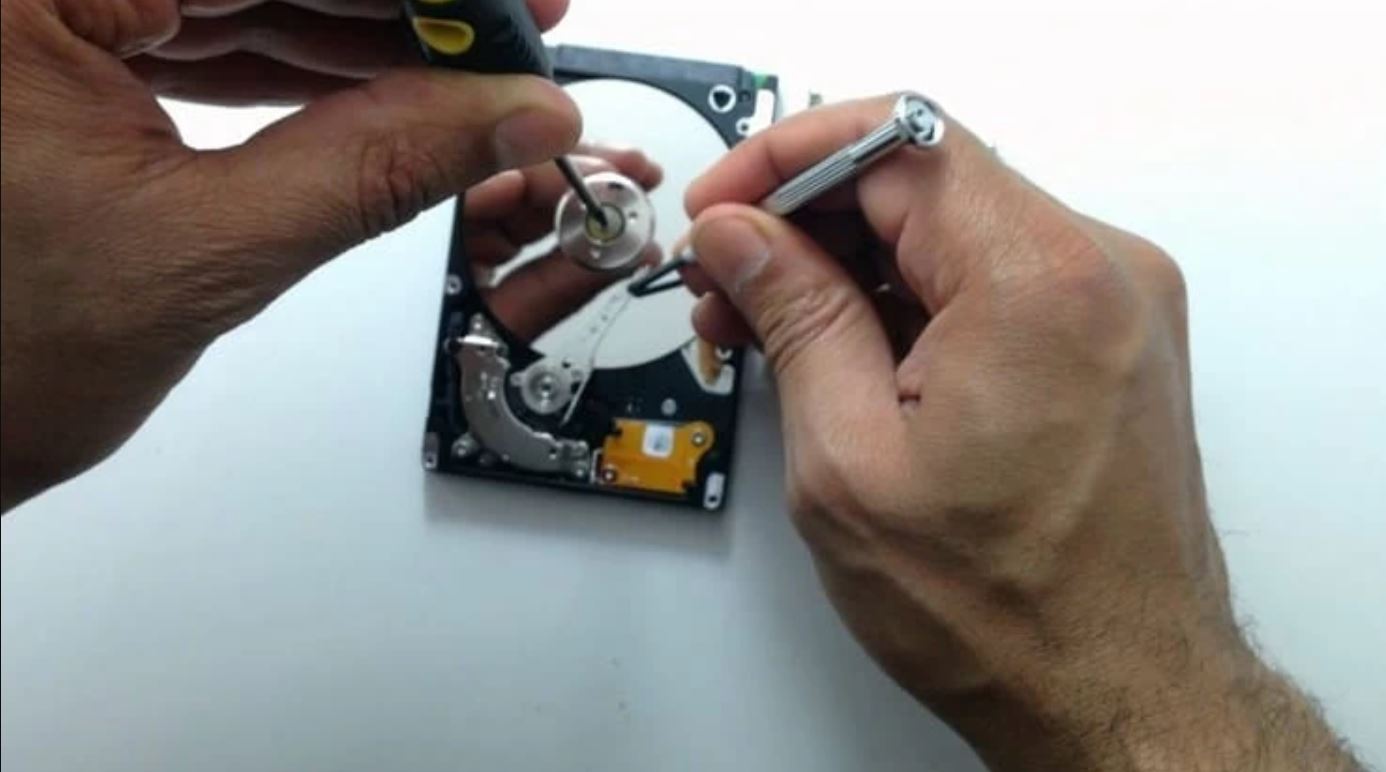
- Physical Damage: If your external hard drive has suffered physical damage, such as a broken connector or internal components, professional technicians can assess the damage and perform necessary repairs.
- Data Recovery: If you have valuable data on your external hard drive that is not accessible or has been lost, data recovery specialists can use advanced techniques to retrieve your files.
- Advanced Troubleshooting: If you have tried all the troubleshooting steps and are still encountering complex software or compatibility issues, professionals who specialize in storage devices can provide expert guidance and solutions.
- Warranty Support: If your external hard drive is still under warranty, contacting the manufacturer or their authorized service center can help you access warranty repairs or replacements.
When seeking professional help, it’s important to choose reputable service providers or trusted manufacturers to ensure the safety of your data and the reliability of the repairs.
Remember, professional assistance may come at a cost, and the outcome of the repair or data recovery process is not guaranteed. However, in many cases, it is worth investing in professional help if the data on your external hard drive is irreplaceable or if the drive itself is of high value.
Ultimately, the decision to seek professional help should be based on the severity of the issue and your personal circumstances.
Conclusion
Repairing an external hard drive can be a challenging task, but by following the steps outlined in this guide, you can increase your chances of resolving common issues and getting your drive back in working order. From identifying the problem to seeking professional help, each step plays a crucial role in the troubleshooting process.
Remember to always prioritize the safety of your data by backing up important files before attempting any repairs. Troubleshooting steps like checking connections, running error checking, and reinstalling device drivers can often resolve minor issues and get your external hard drive functioning again.
However, if you encounter physical damage, data loss, or complex software problems, it may be best to seek professional help. Experienced technicians and data recovery specialists have the necessary expertise and tools to address more intricate issues.
Ultimately, the success of repairing your external hard drive depends on the nature of the problem and the extent of the damage. In some cases, repairs may not be possible, and you may need to consider replacing the drive.
Lastly, remember to maintain good practices when using your external hard drive, such as safely ejecting the drive, keeping it away from physical damage, and regularly backing up your data to avoid future issues.
By following the steps provided in this guide and making informed decisions, you can increase your chances of successfully repairing your external hard drive and ensuring the longevity of your data storage solution.