Introduction
Welcome to this handy guide on how to remove an SD card from your Fire Tablet. If you’re looking to expand the storage capacity of your device or transfer data between devices, an SD card can be a great option. However, it’s essential to know the correct way to remove the SD card to avoid any damage or data loss.
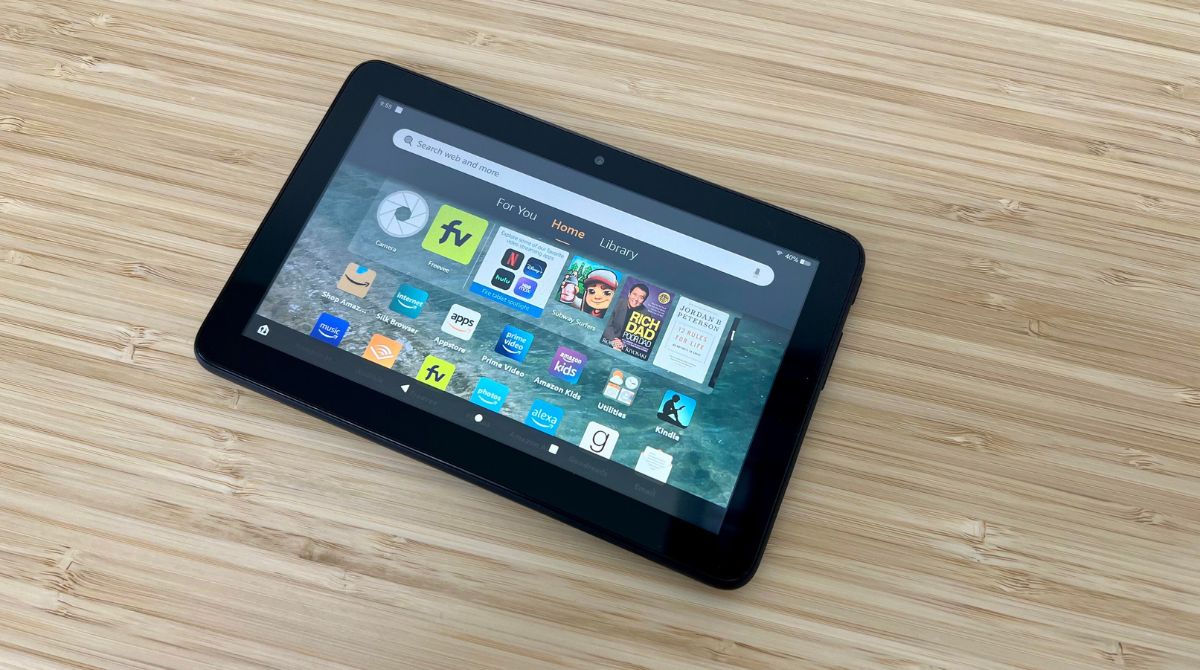
Fire Tablets, developed by Amazon, offer users the convenience of additional storage space through an SD card. Whether you’re using a Fire 7, Fire HD 8, or Fire HD 10 tablet, the process of removing the SD card is relatively similar across all models. By following a few simple steps, you’ll be able to safely remove your SD card and continue using your device without any issues.
In this guide, we will walk you through the step-by-step process of removing an SD card from your Fire Tablet. We’ll cover everything from locating the SD card slot to safely taking out the card without causing any damage. So, let’s get started and learn how to remove an SD card from your Fire Tablet!
Step 1: Locate the SD card slot
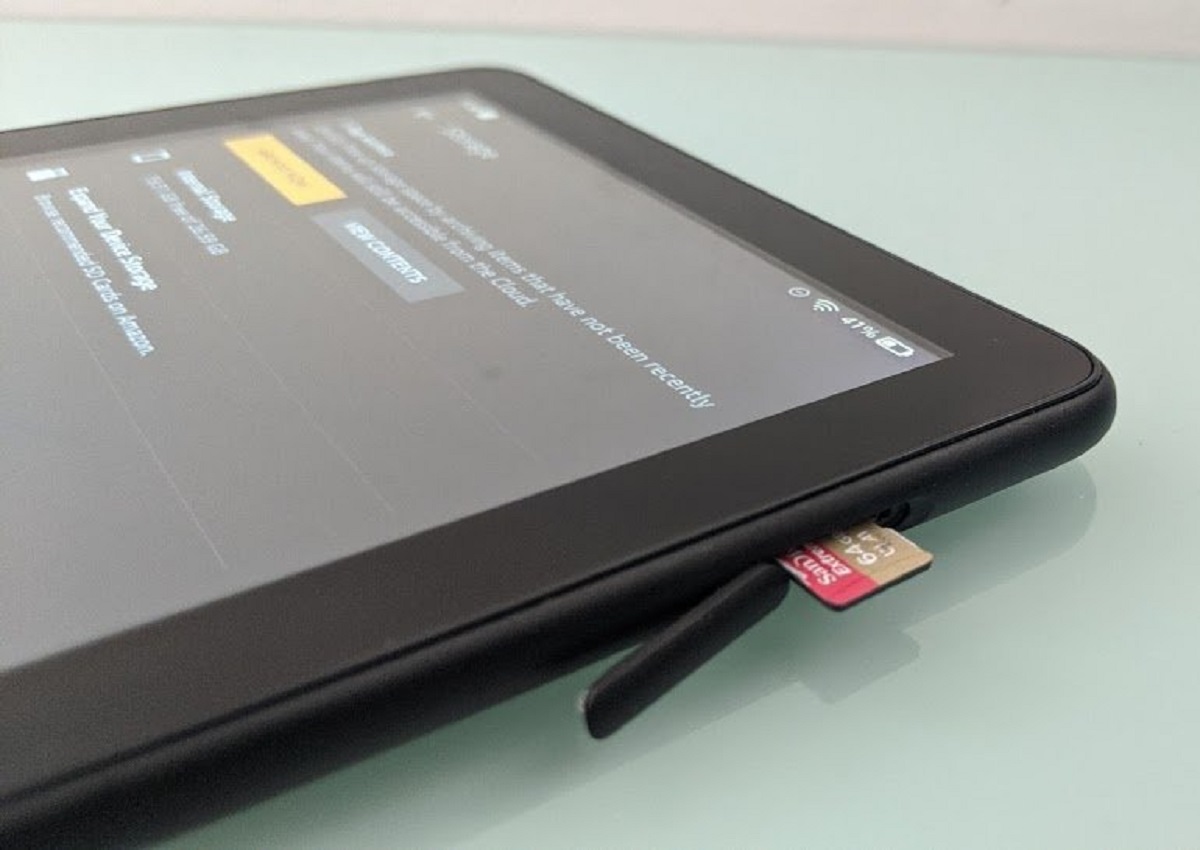
The first step in removing an SD card from your Fire Tablet is to locate the SD card slot. Depending on the model of your tablet, the location of the slot may vary slightly. In most cases, you’ll find the SD card slot on the side or the back of the device. Now, let’s go through the process of locating the SD card slot:
- Start by powering on your Fire Tablet if it’s not already turned on.
- Once the tablet is powered on, take a close look at the sides or the back of the device. You will notice a small slot or a cover panel that indicates the presence of the SD card slot.
- If you’re having trouble locating the slot, consult the user manual or the official Amazon support page for your specific Fire Tablet model.
It’s important to be gentle and avoid using excessive force while searching for the SD card slot. Applying excessive force may damage your device, so take your time and look carefully for the slot.
Once you have successfully located the SD card slot, you’re now ready to proceed to the next step of removing the SD card from your Fire Tablet.
Step 2: Power off the Fire Tablet
Before removing the SD card from your Fire Tablet, it’s crucial to power off the device to prevent any potential damage to the card or the tablet itself. Follow these simple steps to power off your Fire Tablet:
- Press and hold the Power button located either on the top or the side of your tablet. A menu will appear on the screen.
- In the menu, select the “Power off” or “Shut down” option. This will initiate the shutdown process.
- Wait for a few seconds until the tablet completely powers off. You can verify the power off status by ensuring the screen is blank and there are no indicator lights on.
By ensuring that your Fire Tablet is powered off, you minimize the risk of any data corruption or damage to the SD card. This step is crucial in maintaining the integrity of your device and the SD card itself.
Once your Fire Tablet is powered off, you can now move on to the next step of removing the SD card from the device.
Step 3: Remove the back cover
With the Fire Tablet powered off, the next step is to remove the back cover of the device, which will provide access to the SD card slot. Follow these steps to remove the back cover:
- Hold your Fire Tablet with one hand and use your other hand to firmly grip the back cover.
- Locate any indentations or small notches along the sides or corners of the tablet. These are designed to help you remove the back cover.
- Apply gentle pressure and use your fingernail or a small, flat tool to carefully insert it into the notch or indentation.
- Once inserted, carefully pry up or slide the tool along the edge of the back cover to release the clips holding it in place.
- Repeat the process for all sides of the tablet until the back cover is loose enough to be completely removed.
It’s important to exercise caution while removing the back cover to avoid any damage to the device or the cover itself. Take your time and ensure that you apply gentle and even pressure throughout the process.
Once the back cover is successfully removed, you will have clear access to the internal components of the tablet, including the SD card slot.
Now that you have removed the back cover, we can proceed to the next step of locating the SD card within the device.
Step 4: Locate the SD card
Now that you have successfully removed the back cover of your Fire Tablet, it’s time to locate the SD card within the device. Follow these steps to find the SD card:
- Take a close look at the exposed internals of your tablet. You will see various components and circuits.
- Scan the area for a small, rectangular slot labeled “SD” or “MicroSD.” This is where the SD card is inserted.
- In some models, the SD card slot may be accompanied by a small plastic holder or bracket to secure the card in place.
- Depending on the design of your tablet, the SD card slot may be located near the battery, near the camera, or in a separate compartment of its own.
- If you’re having trouble locating the SD card slot, consult the user manual or the official Amazon support page for your specific Fire Tablet model.
Remember to handle the internals of your tablet with care, as they are delicate and can be easily damaged. Avoid touching any other components apart from the SD card slot.
Once you have located the SD card slot, proceed to the next step to safely remove the SD card from your Fire Tablet.
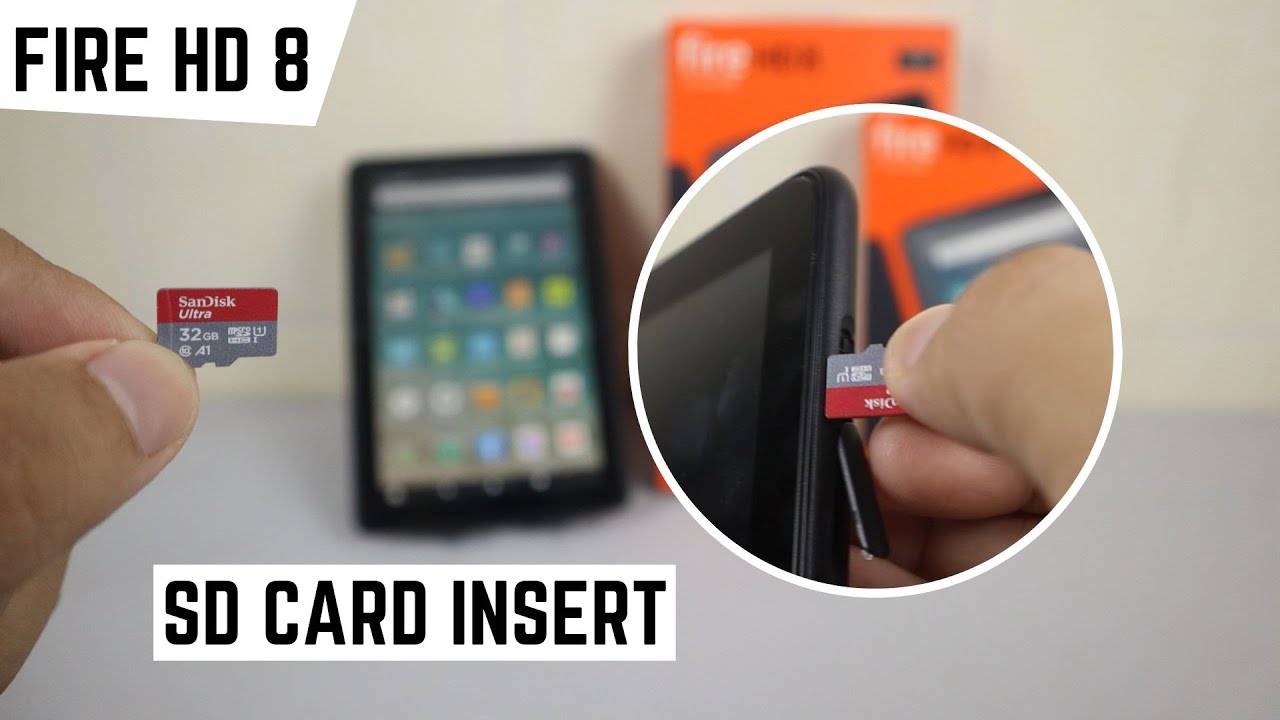
Step 5: Remove the SD card
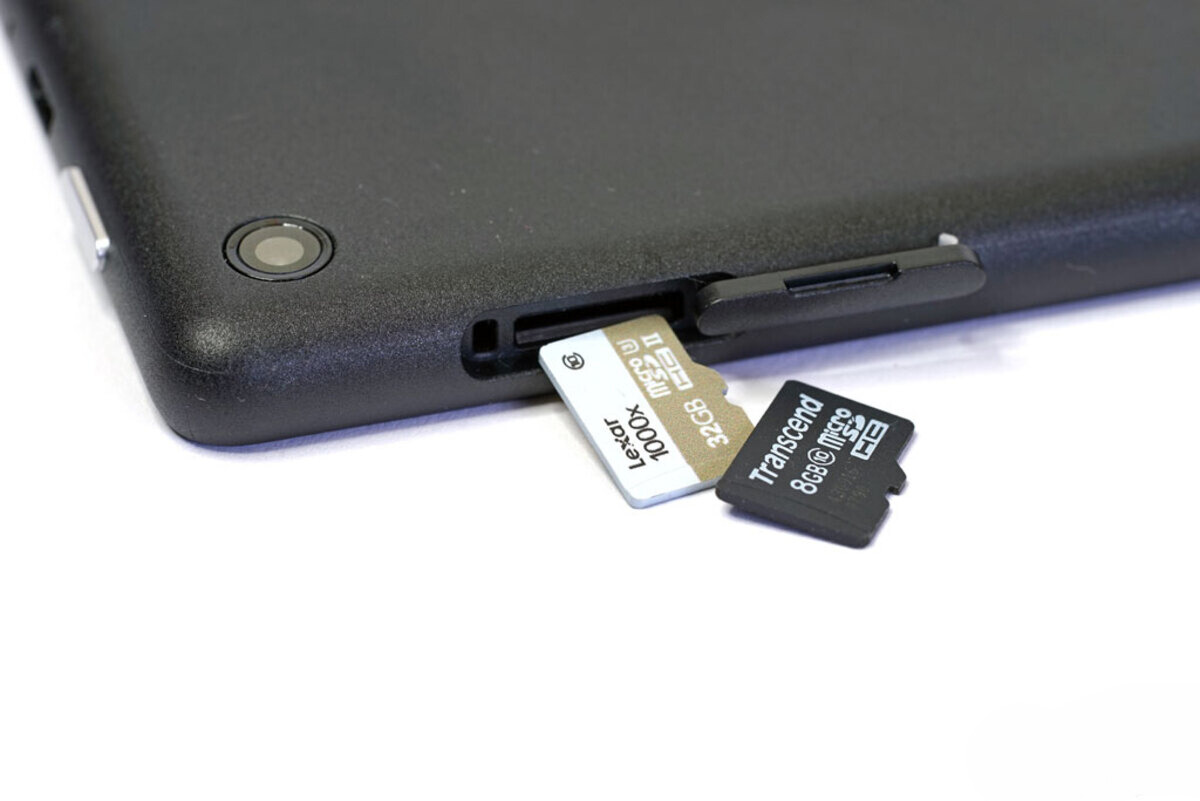
Now that you have located the SD card slot in your Fire Tablet, it’s time to safely remove the SD card. Follow these steps to remove the SD card:
- Inspect the SD card slot and identify any mechanisms that may be holding the card in place, such as a spring-loaded mechanism or a small plastic bracket.
- If there’s a locking mechanism, gently slide it to the unlocked position, if applicable.
- To remove the SD card, carefully press on the card to release it from the slot. Make sure to exert even pressure on both ends of the card.
- If the SD card is secured with a plastic bracket, use your fingertips or a small tool to lift the bracket and free the card.
- Once the SD card is loose, gently pull it out of the slot, making sure to avoid bending or damaging the card.
It’s crucial to handle the SD card with care during this step. Avoid touching the contacts or any exposed components on the card. Contamination or physical damage to the card could result in data loss or difficulty inserting the card back into the slot.
If you encounter any resistance or difficulty in removing the SD card, double-check that any locking mechanisms are fully disengaged and try again. It’s important to avoid forcing or yanking the card, as this may cause damage to the card or the tablet.
With the SD card successfully removed from your Fire Tablet, you’re ready to move on to the next step of reassembling the device.
Step 6: Replace the back cover
Now that you have removed the SD card from your Fire Tablet, it’s time to securely replace the back cover. Follow these steps to reattach the cover:
- Hold the back cover in your hand and align it with the edges of the tablet.
- Take note of any grooves or clips on the cover that correspond to the slots or protrusions on the tablet.
- Carefully position the cover over the tablet, ensuring that it fits snugly and aligns properly with the edges.
- Apply gentle pressure to the cover, starting from one edge and gradually moving around the device, snapping the clips back into place.
- Make sure all edges of the cover are securely sealed and there are no gaps or loose sections.
It’s important to be patient and gentle when attaching the back cover to avoid any damage to the tablet or the cover itself. If you encounter resistance or difficulty, double-check the alignment and ensure all clips are properly aligned before applying pressure.
Once the cover is securely in place, give it a gentle press all around to ensure it is flush with the tablet’s body. This will ensure a proper fit and protect the internal components from dust or debris.
With the back cover successfully reattached, you have completed the process of removing and replacing the SD card from your Fire Tablet. You can now power on your tablet and resume using it as usual.
Conclusion
Congratulations! You have successfully learned how to remove an SD card from your Fire Tablet. By following the step-by-step process outlined in this guide, you can safely take out the SD card without causing any damage to your device or losing any data.
Remember to always power off your Fire Tablet before attempting to remove the SD card. Take your time when removing the back cover, locating the SD card slot, and removing the card itself. Exercise caution and avoid applying excessive force.
Once the SD card is removed, be sure to store it in a safe place, away from dust, moisture, or extreme temperatures. This will help preserve the card and its data for future use.
When you’re ready to reinsert the SD card, simply follow these steps in reverse order. Power off the tablet, remove the back cover, align the card with the slot, and gently insert it until it clicks into place.
Always remember to handle the SD card with care, avoiding any contact with the metal contacts or any other components. This will help prevent any damage or data corruption.
We hope this guide has been helpful in guiding you through the process of removing and replacing an SD card from your Fire Tablet. Enjoy your expanded storage capacity and the flexibility to transfer data and apps between devices.
If you have any further questions or need additional assistance, consult the user manual or visit the official Amazon support page for your specific Fire Tablet model. Happy SD card management!