Introduction
Welcome to the world of Amazon Fire tablets! These versatile devices offer a wide range of functionalities, including a built-in File Manager that allows you to organize and manage your files effortlessly. Whether you want to delete unnecessary files to free up storage space or simply declutter your device, the File Manager on your Amazon Fire tablet is here to help.
In this article, we will guide you through the process of deleting files from the File Manager on your Amazon Fire tablet. We will cover everything from accessing the File Manager to deleting individual files and even emptying the trash. By the end of this guide, you’ll be equipped with the knowledge and skills to efficiently manage your files on your Amazon Fire tablet.
Before we dive into the step-by-step instructions, it’s worth mentioning that deleting files from the File Manager is a permanent action. Once you delete a file, it cannot be recovered unless you have a backup. Therefore, it’s crucial to double-check and ensure you’re deleting the correct files to avoid any unwanted data loss.
With that said, let’s get started on deleting files from the File Manager on your Amazon Fire tablet. Follow the steps below and regain control over your device’s storage.
Step 1: Accessing the File Manager
Before you can start deleting files, you need to access the File Manager on your Amazon Fire tablet. Here’s how:
Step 1.1: Finding the File Manager App
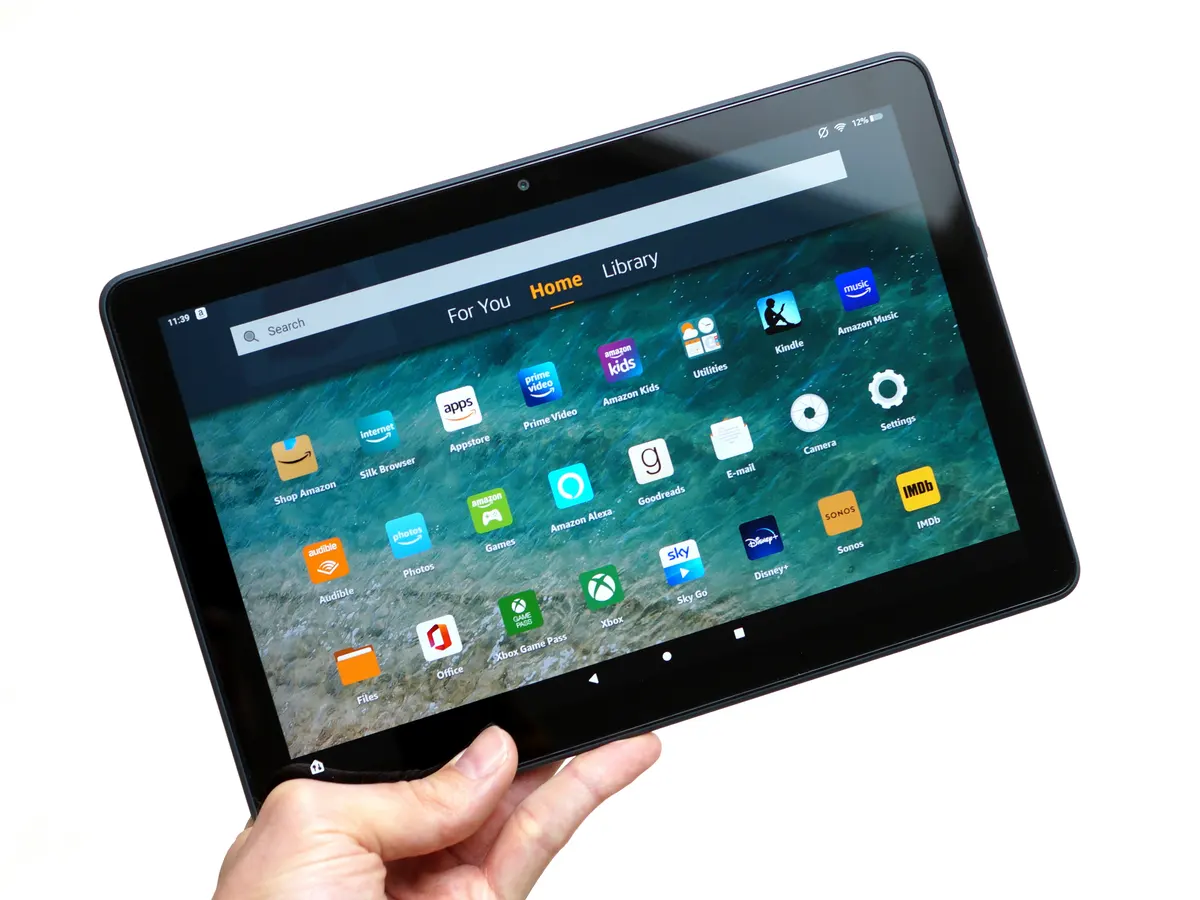
The File Manager app is pre-installed on your Amazon Fire tablet. To find it, go to your device’s home screen or app drawer. Look for an icon that resembles a folder with a blue background and a white file inside. This is the File Manager app.
If you can’t find the File Manager app on your home screen or app drawer, you can also swipe down from the top of your device’s screen to access the Quick Settings menu. From there, tap on the “Settings” option (represented by a gear icon) and then select “Storage” or “Storage & USB.” On the next screen, you should see an option labeled “Files” or “File Manager.” Tap on it to open the File Manager app.
Step 1.2: Opening the File Manager
Once you have located the File Manager app, simply tap on its icon to open it. The app will launch, displaying the main interface where you can view and manage your files.
Alternatively, if you accessed the File Manager app through the Quick Settings menu, tapping on the “Files” or “File Manager” option should also open the app directly.
Now that you have successfully accessed the File Manager on your Amazon Fire tablet, you can proceed to the next step and start locating the files you want to delete.
Step 1.1: Finding the File Manager App
In order to access the File Manager on your Amazon Fire tablet, you first need to locate the File Manager app. Here’s how you can find it:
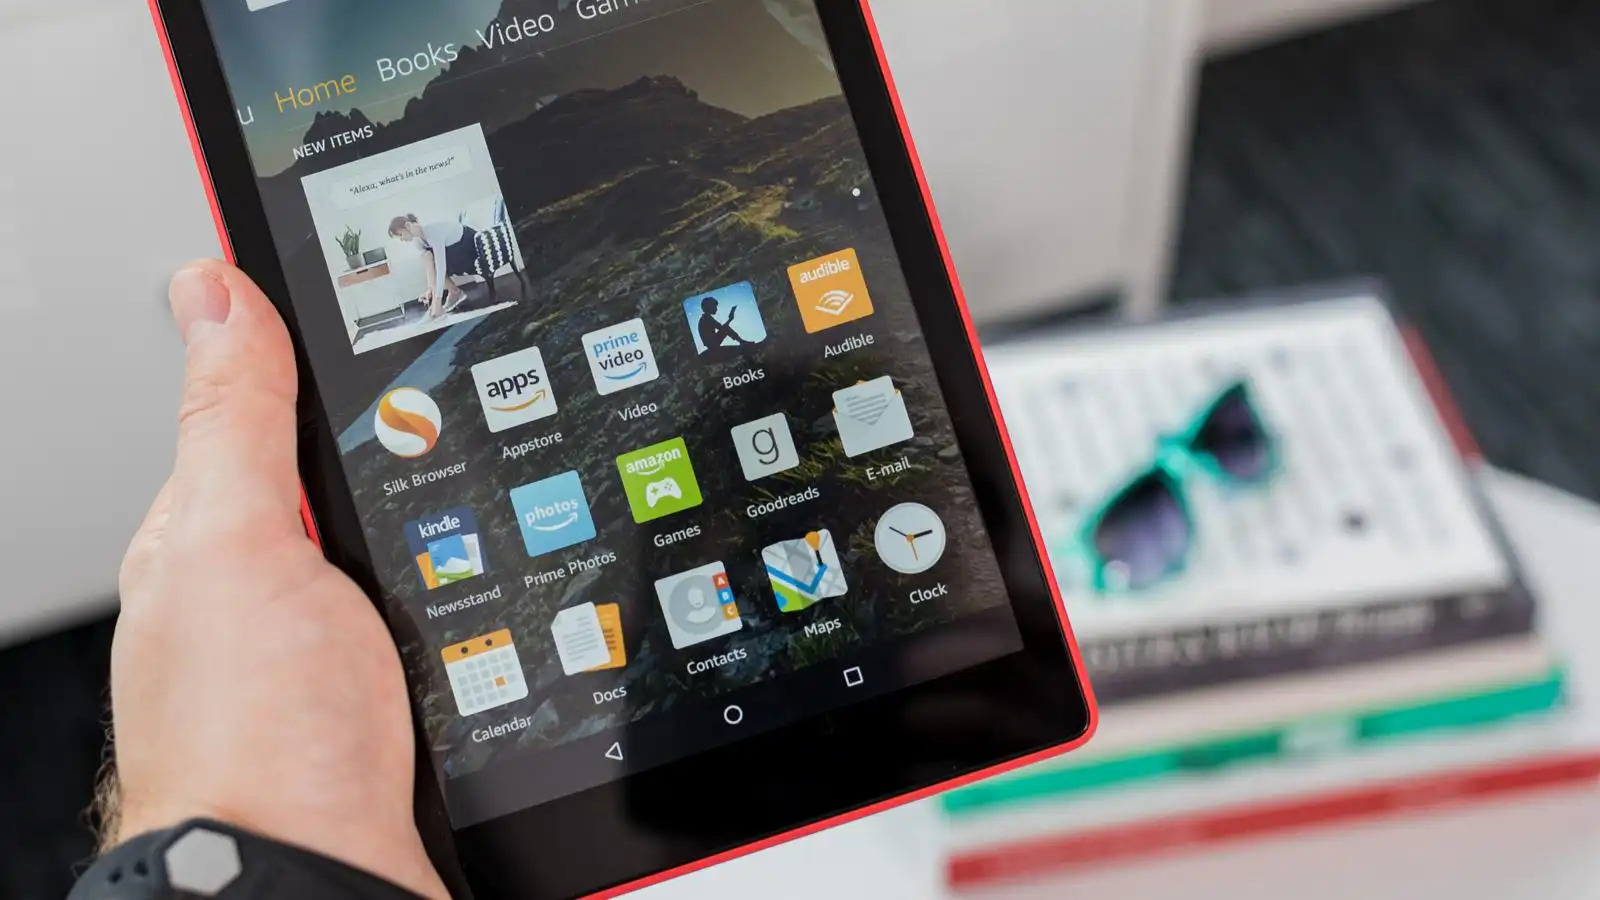
1. Begin by going to your device’s home screen or app drawer. Take a moment to familiarize yourself with the icons and apps available.
2. Look for an icon that resembles a folder with a blue background and a white file inside. This is the File Manager app. The icon may vary slightly depending on the version of your Amazon Fire tablet, but it typically features a recognizable folder symbol.
3. If you’re having trouble locating the File Manager app, you can try swiping down from the top of your device’s screen to access the Quick Settings menu. From there, tap on the “Settings” option, usually represented by a gear icon.
4. In the Settings menu, look for an option labeled “Storage” or “Storage & USB.” Tap on it to proceed.
5. Depending on your device, you may see an option called “Files” or “File Manager” within the Storage menu. Tap on it to open the File Manager app.
6. If you don’t find the File Manager app within the Storage menu, try searching for it using the search function on your device. Simply swipe down from the top of your screen to access the Quick Settings menu, and then enter “File Manager” in the search bar.
Regardless of the method you choose, once you have located the File Manager app, simply tap on its icon to open it. The File Manager will launch, allowing you to manage your files efficiently.
Now that you have successfully found and opened the File Manager app on your Amazon Fire tablet, you can proceed to the next step to start organizing and managing your files.
Step 1.2: Opening the File Manager
After locating the File Manager app on your Amazon Fire tablet, the next step is to open it. Here’s how you can do that:
1. Once you have found the File Manager app icon on your home screen or app drawer, simply tap on it. The File Manager app will open, and you will be directed to the main interface where you can view and manage your files.
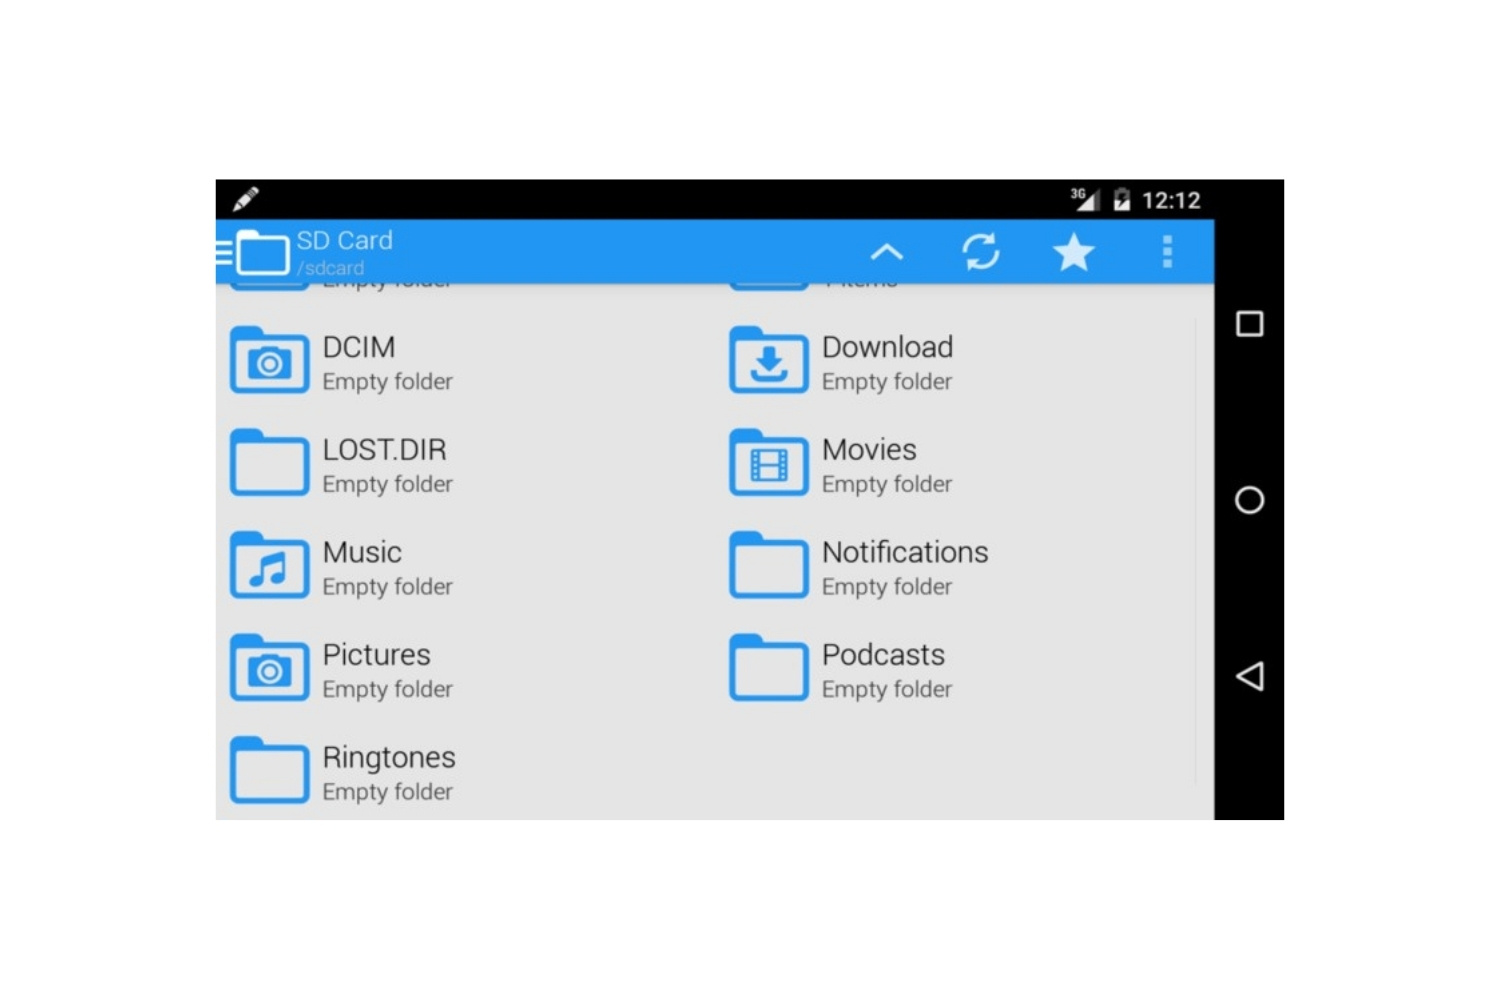
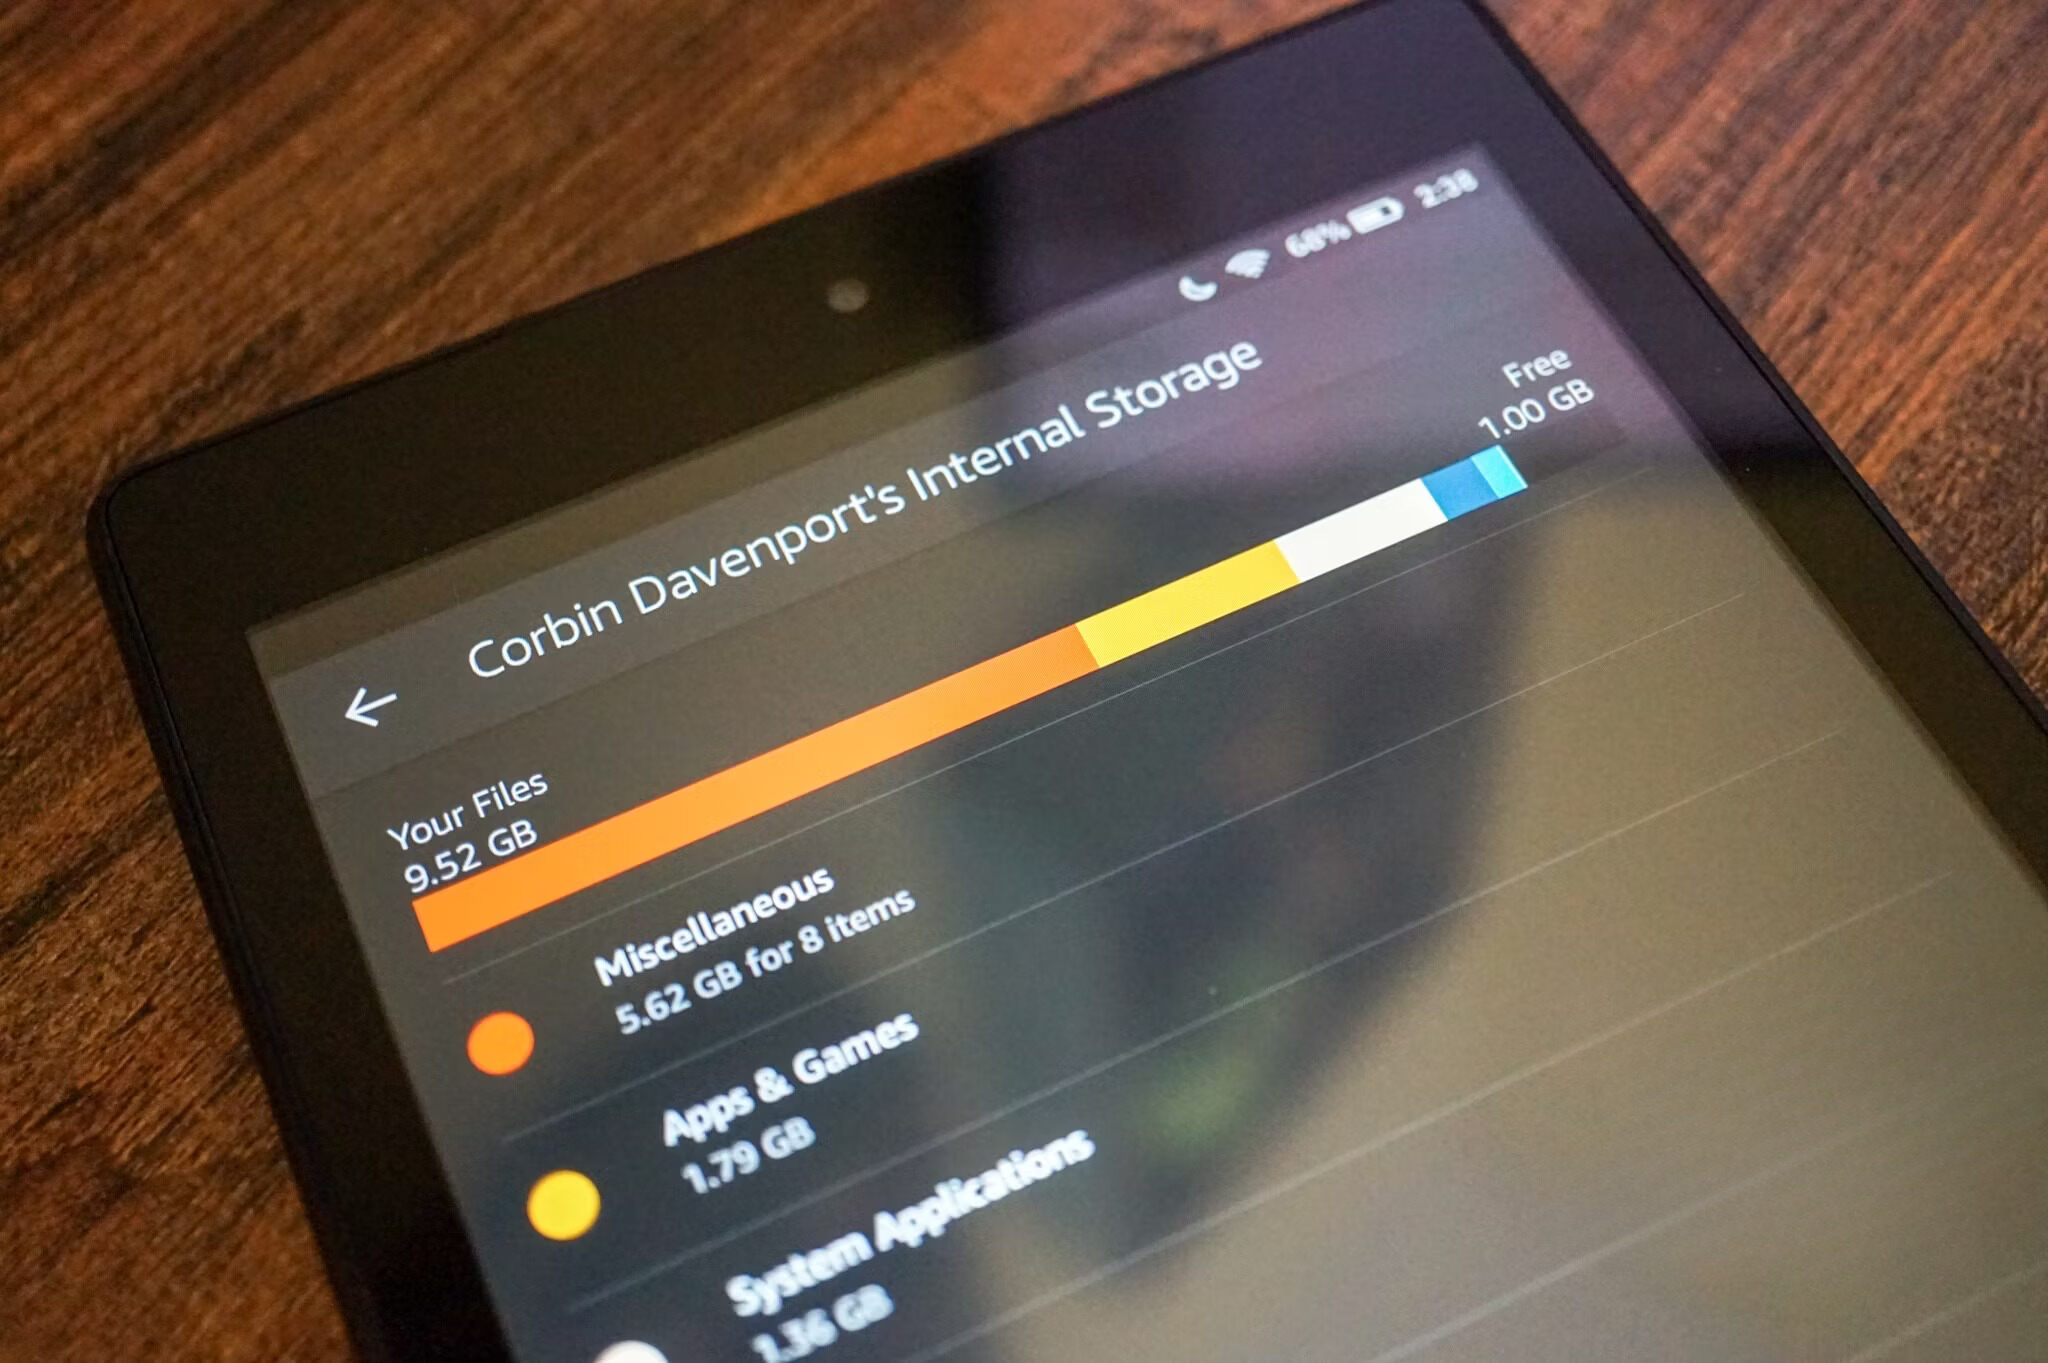
2. Upon opening the File Manager app, you will see a file directory with various folders and files. The main directory is usually labeled “Internal Storage,” representing the internal storage of your Amazon Fire tablet. Depending on your device, there may be additional storage options available, such as an SD card or external storage.
3. To navigate through the folders and files, you can simply tap on them. Tapping on a folder will open it, displaying its contents. Tapping on a file will allow you to perform actions specific to that file, such as opening it or deleting it.
4. Along with the file directory, the File Manager app also provides options to sort and filter your files. You can tap on the menu icon (typically represented by three dots or lines) to access additional options, such as sorting files by name, size, or date modified.
5. Additionally, you can use the search bar at the top of the app to search for specific files or folders. Simply tap on the search field, enter the name or keyword, and the File Manager will display the relevant results.
Now that you have successfully opened the File Manager app on your Amazon Fire tablet and familiarized yourself with its interface, you are ready to proceed to the next step. In the following steps, we will guide you through the process of locating and selecting the files you want to delete.
Step 2: Locating the Files
Now that you have opened the File Manager app on your Amazon Fire tablet, it’s time to locate the files you want to delete. Follow these steps to find the files:
Step 2.1: Navigating through Folders
The File Manager app displays a file directory, which includes various folders and files. To navigate through the folders and find your desired files, follow these steps:
- Start by tapping on the main directory, usually labeled “Internal Storage.” This will display a list of folders and files stored in the internal storage of your device.
- If the files you’re looking for are located in a specific folder within the internal storage, tap on that folder to open it.
- Continue navigating through the folders until you reach the desired location where your files are stored.
You can also go back to the previous folder by tapping on the back arrow icon or using the back button on your device.
Step 2.2: Searching for Specific Files
If you have a specific file in mind and want to find it quickly, you can use the search function within the File Manager app. Here’s how:
- Tap on the search bar at the top of the app.
- Enter the name or keyword related to the file you’re searching for.
- The File Manager will display the search results, showing the files that match your search criteria.
- Tap on the desired file from the search results to open it or delete it.
By following these steps, you’ll be able to locate the files you want to delete in the File Manager app on your Amazon Fire tablet. Once you have found the files, you can proceed to the next step and learn how to select and delete them.
Step 2.1: Navigating through Folders
When using the File Manager app on your Amazon Fire tablet, navigating through folders is essential to locate the files you want to delete. Here’s how you can easily navigate through the folders:
To begin, open the File Manager app and you will be presented with the main directory, typically labeled as “Internal Storage.” This directory represents the internal storage of your device, where most of your files are stored.
To explore the contents of folders within the main directory and find your desired files, follow these steps:
- Tap on the main directory, “Internal Storage,” to view its contents.
- Within the main directory, you will see a list of folders and files. These folders may contain subfolders and further organize your files.
- To access a specific folder, simply tap on its name. This will open the folder and display its contents.
- If you want to go back to the previous folder or the main directory, you can tap on the back arrow icon located at the top left corner of the app.
- By repeating these steps, you can continue navigating through the folders and accessing the desired location where your files are stored.
Exploring the various folders in the File Manager app allows you to categorize and organize your files effectively. This makes it easier to locate specific files for deletion or other actions.
Remember, the exact structure of the folders may differ depending on how you have organized your files. Take your time to navigate through the folders until you find the files you want to delete.
Once you have successfully located the files, you can move on to the next step and learn how to select and delete them from the File Manager app on your Amazon Fire tablet.
Step 2.2: Searching for Specific Files
If you have a specific file in mind and want to quickly locate it in the File Manager app on your Amazon Fire tablet, you can use the built-in search function. Here’s how:
- Open the File Manager app on your Amazon Fire tablet.
- Tap on the search bar located at the top of the app.
- Enter the name or keyword related to the file you are searching for.
- As you type, the File Manager will automatically start displaying search results that match your search criteria. The results will appear as a list below the search bar.
- Scroll through the list of search results to find the specific file you are looking for.
- Once you have located the file you want to delete, simply tap on it to open it or perform actions such as deletion.
The search function in the File Manager app allows you to quickly find specific files without having to navigate through multiple folders manually. It is especially useful when you have a large number of files stored on your Amazon Fire tablet.
Keep in mind that the search results will only display files that match the name or keyword you entered. Make sure to enter accurate and relevant search terms to ensure you find the exact file you are looking for.
By using the search function, you can save time and effort in locating specific files in the File Manager app on your Amazon Fire tablet. Once you have found the file you want to delete, you can proceed to the next step and learn how to select and delete files from the File Manager.
Step 3: Selecting Files to Delete
After locating the files you want to delete in the File Manager app on your Amazon Fire tablet, the next step is to select them. Here’s how to select files for deletion:
- Within the File Manager app, navigate to the folder or location where the files you want to delete are located.
- Once you are in the desired location, you can start selecting the files to delete. To select a single file, simply tap on it. You will see a checkmark appearing next to the selected file.
- If you want to select multiple files, you can tap and hold on one file, and then proceed to tap on the other files you wish to select. Each selected file will display a checkmark.
- If you want to select all files in a folder, you can tap on the menu icon (typically represented by three dots or lines) located at the top right corner of the app. From the menu, select the “Select all” option. This will automatically select all the files in the current folder.
By following these steps, you will be able to select individual files or multiple files for deletion in the File Manager app. Take your time to carefully select the files you want to delete to avoid deleting any important or unintended files.
Once you have successfully selected the files you wish to delete, you can move on to the next step and learn how to delete the selected files from the File Manager app on your Amazon Fire tablet.
Step 4: Deleting the Files
Now that you have selected the files you want to delete in the File Manager app on your Amazon Fire tablet, it’s time to proceed with the deletion process. Follow these steps to delete the selected files:
Step 4.1: Deleting a Single File
- After selecting a single file you wish to delete, tap on the menu icon (usually represented by three dots or lines) located at the top right corner of the app.
- From the menu options, select “Delete” or a similar option that indicates deletion.
- A confirmation dialog box may appear, asking you to confirm the deletion of the file. Read the prompt carefully and make sure you are deleting the correct file. If you are certain, proceed with confirming the deletion.
- The selected file will be permanently deleted from your Amazon Fire tablet.
Step 4.2: Deleting Multiple Files
- If you have selected multiple files for deletion, tap on the “Delete” button that appears at the bottom of the app’s interface. It may be labeled as “Delete” or “Trash,” depending on your device.
- A confirmation dialog box will appear, displaying the number of files selected for deletion. Review the list of files carefully to ensure you are deleting the correct ones.
- If you are certain about deleting the selected files, confirm the action by tapping on the “Delete” or “Yes” button in the confirmation dialog box.
- The selected files will be permanently deleted from your Amazon Fire tablet.
Remember, the deletion process is irreversible, and the files cannot be recovered unless you have previously backed them up. Take the time to double-check your selections before confirming deletion to prevent accidental loss of important files.
Once the selected files have been successfully deleted, you can move on to the next step and learn how to confirm the deletion and, if desired, empty the trash.
Step 4.1: Deleting a Single File
If you want to delete a single file from the File Manager app on your Amazon Fire tablet, follow these simple steps:
- Start by selecting the file you wish to delete. To select the file, tap on it once. You will see a checkmark or a similar indicator appear beside the file, indicating that it’s selected.
- After selecting the file, tap on the menu icon at the top right corner of the app. The menu icon is usually represented by three dots or lines.
- From the menu options that appear, look for the option labeled “Delete” or a similar term associated with deletion. Tap on it.
- A confirmation dialog box may appear, asking you to confirm the deletion of the file. Read the prompt carefully and make sure you are deleting the correct file.
- If you are certain about deleting the file, proceed with confirming the deletion by tapping on the “Delete” or “Yes” button.
- The selected file will be permanently deleted from your Amazon Fire tablet.
By following these steps, you can easily delete a single file from the File Manager app. It’s important to exercise caution and double-check before deleting the file, as the action is irreversible.
Now that you know how to delete a single file, you can move on to the next step and learn how to delete multiple files from the File Manager app on your Amazon Fire tablet.
Step 4.2: Deleting Multiple Files
If you have selected multiple files for deletion in the File Manager app on your Amazon Fire tablet, you can easily delete them by following these steps:
- After selecting the desired files for deletion, look for the “Delete” or “Trash” button at the bottom of the app’s interface. This button is specifically visible when multiple files are selected.
- Tap on the “Delete” or “Trash” button. A confirmation dialog box will appear, displaying the number of files selected for deletion.
- Carefully review the list of files in the dialog box to ensure that you have selected the correct ones for deletion.
- If you are certain about deleting the selected files, proceed by tapping on the “Delete” or “Yes” button in the confirmation dialog box.
- The selected files will now be permanently deleted from your Amazon Fire tablet.
It’s important to note that the deletion process is irreversible. Once you confirm the deletion of multiple files, they cannot be recovered unless you have previously backed them up.
Take a moment to double-check your selections before confirming the deletion to avoid accidental loss of important files. It’s always a good practice to review the list of selected files in the confirmation dialog box.
Now that you know how to delete multiple files from the File Manager app, you can proceed to the next step and learn how to confirm the deletion and optionally empty the trash if desired.
Step 5: Confirming the Deletion
After selecting and deleting the files from the File Manager app on your Amazon Fire tablet, it’s important to confirm the deletion to ensure that the files have been successfully removed. Here’s how to confirm the deletion:
- Once you have deleted the files, the File Manager app will usually display a notification or message indicating that the deletion was successful. This notification may vary depending on your device and the file manager app version.
- To ensure that the files have been effectively deleted, you can navigate back to the location where the files were previously stored and verify that they are no longer present.
- If you had deleted the files from the internal storage, make sure to check the appropriate folders to confirm their absence.
- If the files were stored in an external storage device or SD card, navigate to the corresponding folders or directories on your device and confirm that the files have been deleted.
By following these steps, you can confirm the successful deletion of the files from the File Manager app. It’s always a good practice to double-check and ensure that the files have been removed as intended.
Now that you have confirmed the deletion, you can proceed with the optional step of emptying the trash to permanently remove the deleted files from your Amazon Fire tablet.
Step 6: Emptying the Trash (Optional)
After deleting files from the File Manager app on your Amazon Fire tablet, they are usually moved to a temporary storage area known as the “Trash” or “Recycle Bin.” Emptying the trash permanently removes these files from your device. Here’s how you can empty the trash:
- Open the File Manager app on your Amazon Fire tablet.
- Look for the menu icon at the top right corner of the app’s interface. This icon is typically represented by three dots or lines.
- Tap on the menu icon to reveal a list of options.
- From the options presented, select “Trash” or a similar term associated with the trash or recycle bin.
- Within the trash or recycle bin, you will see a list of files that were previously deleted.
- To permanently remove the deleted files from your device, tap on the menu icon again and choose “Empty trash” or a similar option.
- A confirmation message will pop up, asking you to confirm the action of permanently deleting the files.
- If you are certain about emptying the trash and permanently removing the files, confirm the action.
It’s important to note that once you empty the trash, the deleted files cannot be recovered. Therefore, it’s crucial to ensure that you no longer need the files before proceeding with emptying the trash.
Emptying the trash helps to free up storage space on your Amazon Fire tablet by permanently deleting the files you have deleted. This step is optional but recommended if you want to reclaim storage space on your device.
With the completion of this step, you have successfully deleted the files, confirmed their deletion, and optionally emptied the trash on your Amazon Fire tablet. Congratulations!
Conclusion
Congratulations! You have now learned how to effectively delete files from the File Manager app on your Amazon Fire tablet. By following the step-by-step instructions outlined in this guide, you have gained the skills to manage and organize your files with ease.
Throughout this process, we covered various steps, including accessing the File Manager, navigating through folders, searching for specific files, selecting files for deletion, confirming the deletion, and optionally emptying the trash. These steps ensure that you have complete control over your files and can remove unnecessary files to free up valuable storage space on your device.
Remember to exercise caution when deleting files and double-check your selections to avoid accidental deletion of important files. It’s also a good practice to regularly back up your important files to a secure location to prevent data loss.
With the knowledge gained from this guide, you can now confidently manage and maintain your files on your Amazon Fire tablet. Enjoy a clutter-free and organized file system that allows you to make the most of your device’s storage capabilities.
Thank you for following along with this guide. We hope that it has been helpful and that you find success in deleting files using the File Manager app on your Amazon Fire tablet. Happy file management!