Introduction
With the ever-increasing amount of media files, apps, and documents, the storage capacity of your Fire Tablet may start to feel limited. Fortunately, Amazon’s Fire Tablets come with a handy feature that allows you to expand the storage capacity using an SD card. Adding an SD card to your Fire Tablet is a simple and effective way to give yourself more space for all your files and apps.
In this article, we will walk you through the process of adding an SD card to your Fire Tablet, from understanding the SD card slot to choosing the right SD card for your needs. We will also guide you through the steps of preparing the SD card for use, inserting it into your Fire Tablet, and managing your SD card storage. Additionally, we will provide troubleshooting tips for common issues you may encounter along the way.
Whether you’re a heavy media consumer, an avid gamer, or simply need more space for your files, adding an SD card to your Fire Tablet can significantly enhance your tablet experience. So, let’s dive in and discover how to expand the storage capabilities of your Fire Tablet with an SD card.
Overview of Fire Tablet Storage Options
Before we delve into the details of adding an SD card to your Fire Tablet, let’s first take a look at the storage options that are available to you. Fire Tablets typically come with two types of storage – internal storage and expandable storage.
The internal storage is the built-in storage capacity of your Fire Tablet. It varies depending on the model you have, with options ranging from 16GB to 256GB. This internal storage is where your operating system, pre-installed apps, and user data are stored. However, as you install more apps, download files, and capture photos and videos, this internal storage can quickly fill up.
To overcome this limitation, Amazon allows you to expand the storage of your Fire Tablet using an external SD card. The SD card slot is designed to accommodate a microSD card, which can provide additional storage capacity for your tablet. The maximum supported capacity for SD cards varies by tablet model, but it can range from 128GB to a whopping 1TB.
It’s worth noting that the expandable storage offered by an SD card is separate from the internal storage. It allows you to offload files, such as photos, videos, and downloaded apps, onto the SD card, freeing up space on your device’s internal storage. However, some apps and system files will still need to be installed and stored on the internal storage.
By utilizing both the internal storage and the expandable storage via an SD card, you can strike a balance between having ample space for your essential files and keeping your device running smoothly.
Now that we have a better understanding of the storage options available on Fire Tablets, let’s move on to exploring the SD card slot and understanding how it works.
Understanding the SD Card Slot
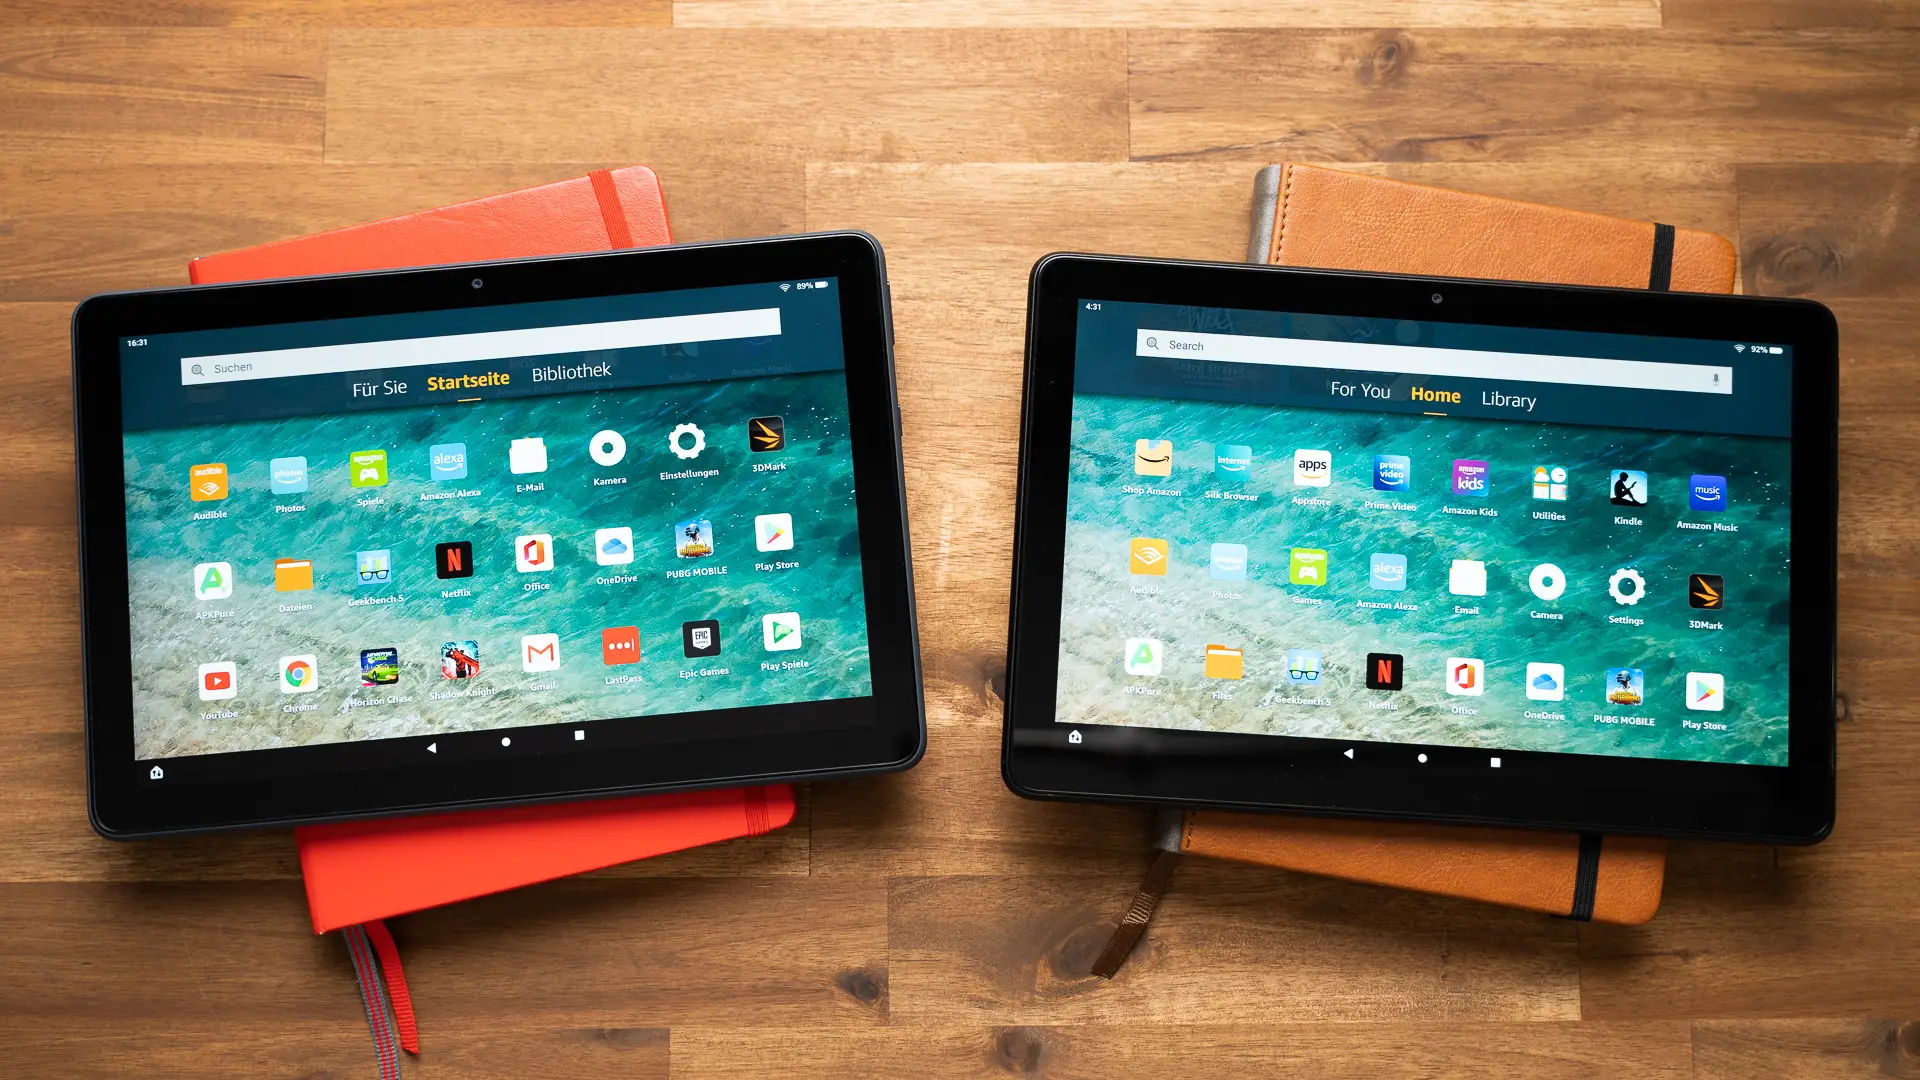
Before you start adding an SD card to your Fire Tablet, it’s important to familiarize yourself with the SD card slot and how it functions. The location and design of the SD card slot may vary slightly depending on the model of your Fire Tablet, but the general concept remains the same.
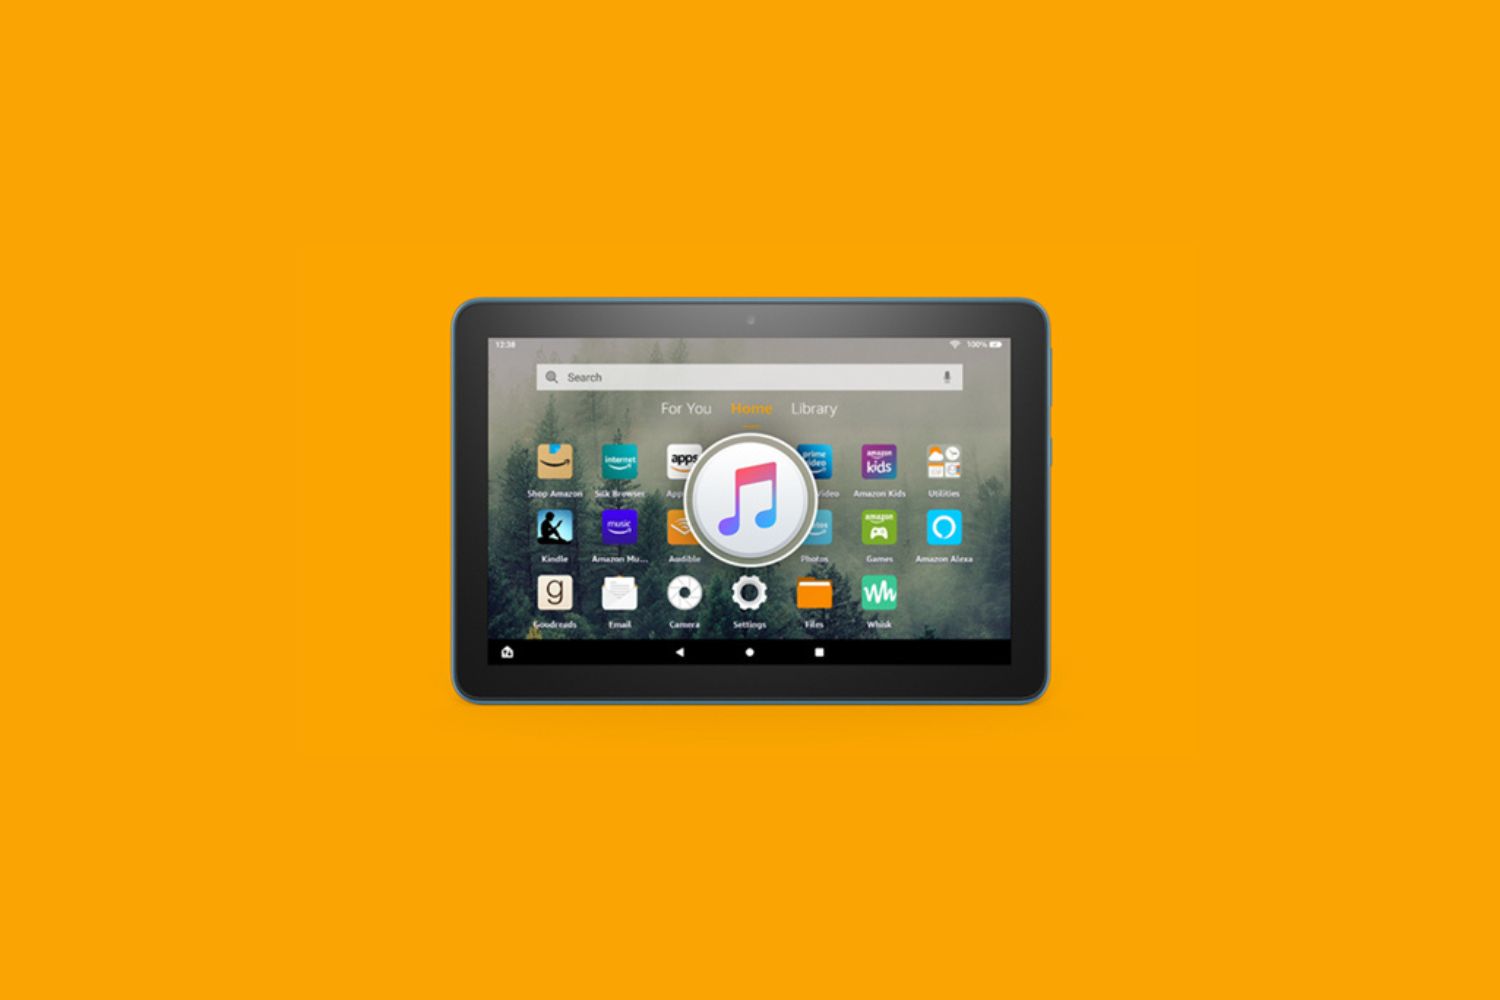
The SD card slot on your Fire Tablet is typically located on the side or top of the device. It is a small slot that is specifically designed to accommodate a microSD card. The microSD card is a miniature version of the standard SD card that is commonly used in digital cameras, smartphones, and other portable devices.
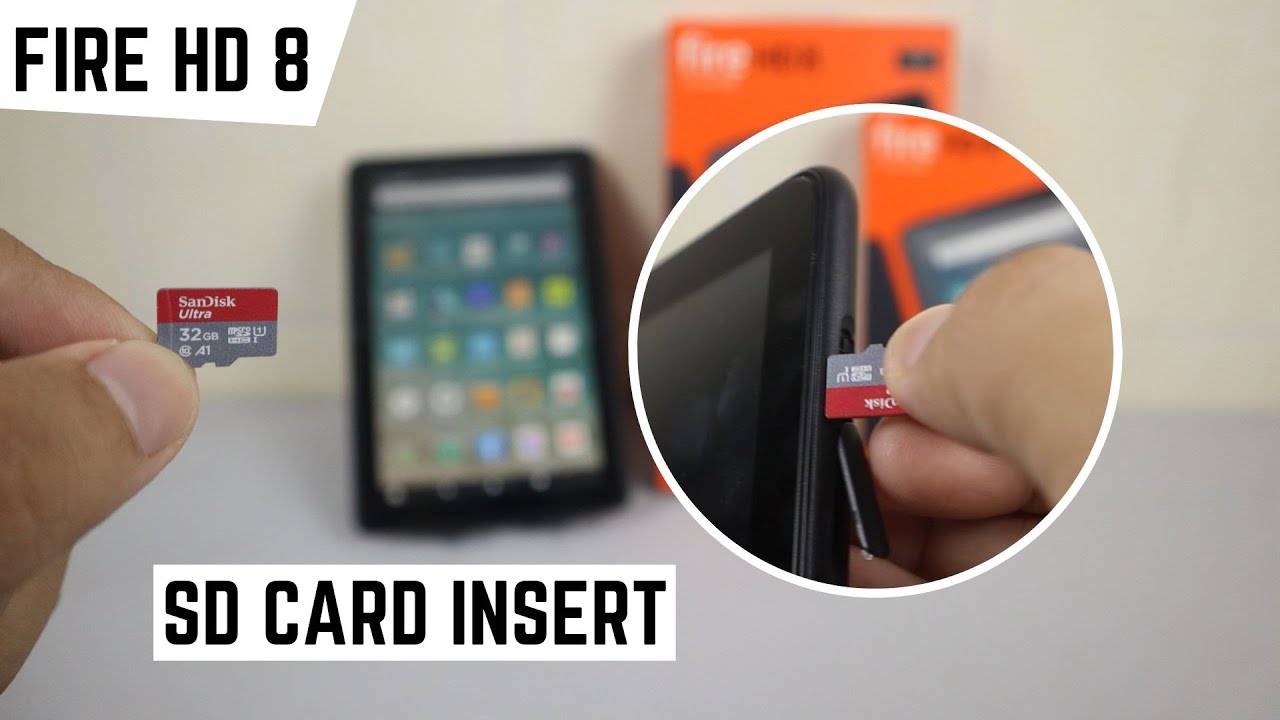
Inserting an SD card into the slot is a straightforward process. First, make sure your Fire Tablet is powered off. Then, locate the SD card slot on your device. It may have a cover or a tray that needs to be opened to access the slot. Once you have exposed the SD card slot, carefully insert the microSD card into the slot, making sure the gold contacts on the card align with the pins in the slot.
It’s important to note that some Fire Tablet models support “hot swapping,” which means you can insert or remove the SD card while the device is powered on. However, it’s generally recommended to power off your device before inserting or removing the SD card to avoid any potential data corruption or damage to the card.
Now that you have a better understanding of the SD card slot and how it works, the next step is to choose the right SD card for your Fire Tablet. We will explore this in the next section.
Choosing the Right SD Card for Your Fire Tablet
When it comes to choosing an SD card for your Fire Tablet, there are a few factors to consider to ensure compatibility and optimal performance. Here are some key considerations to keep in mind:
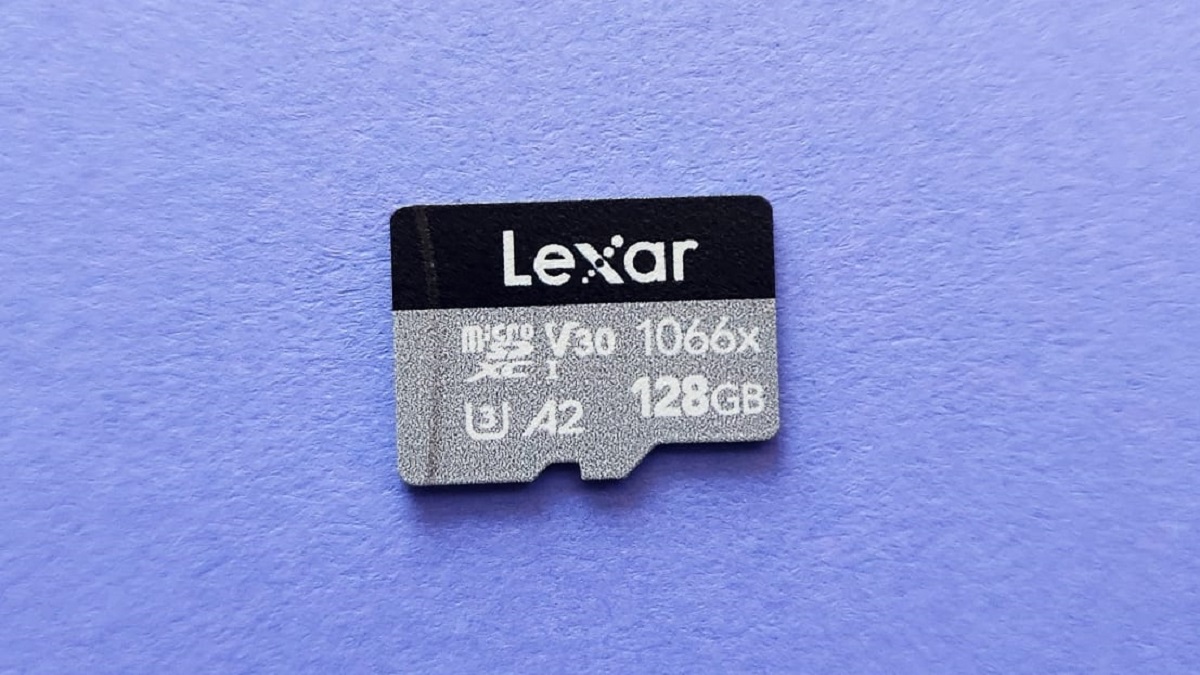
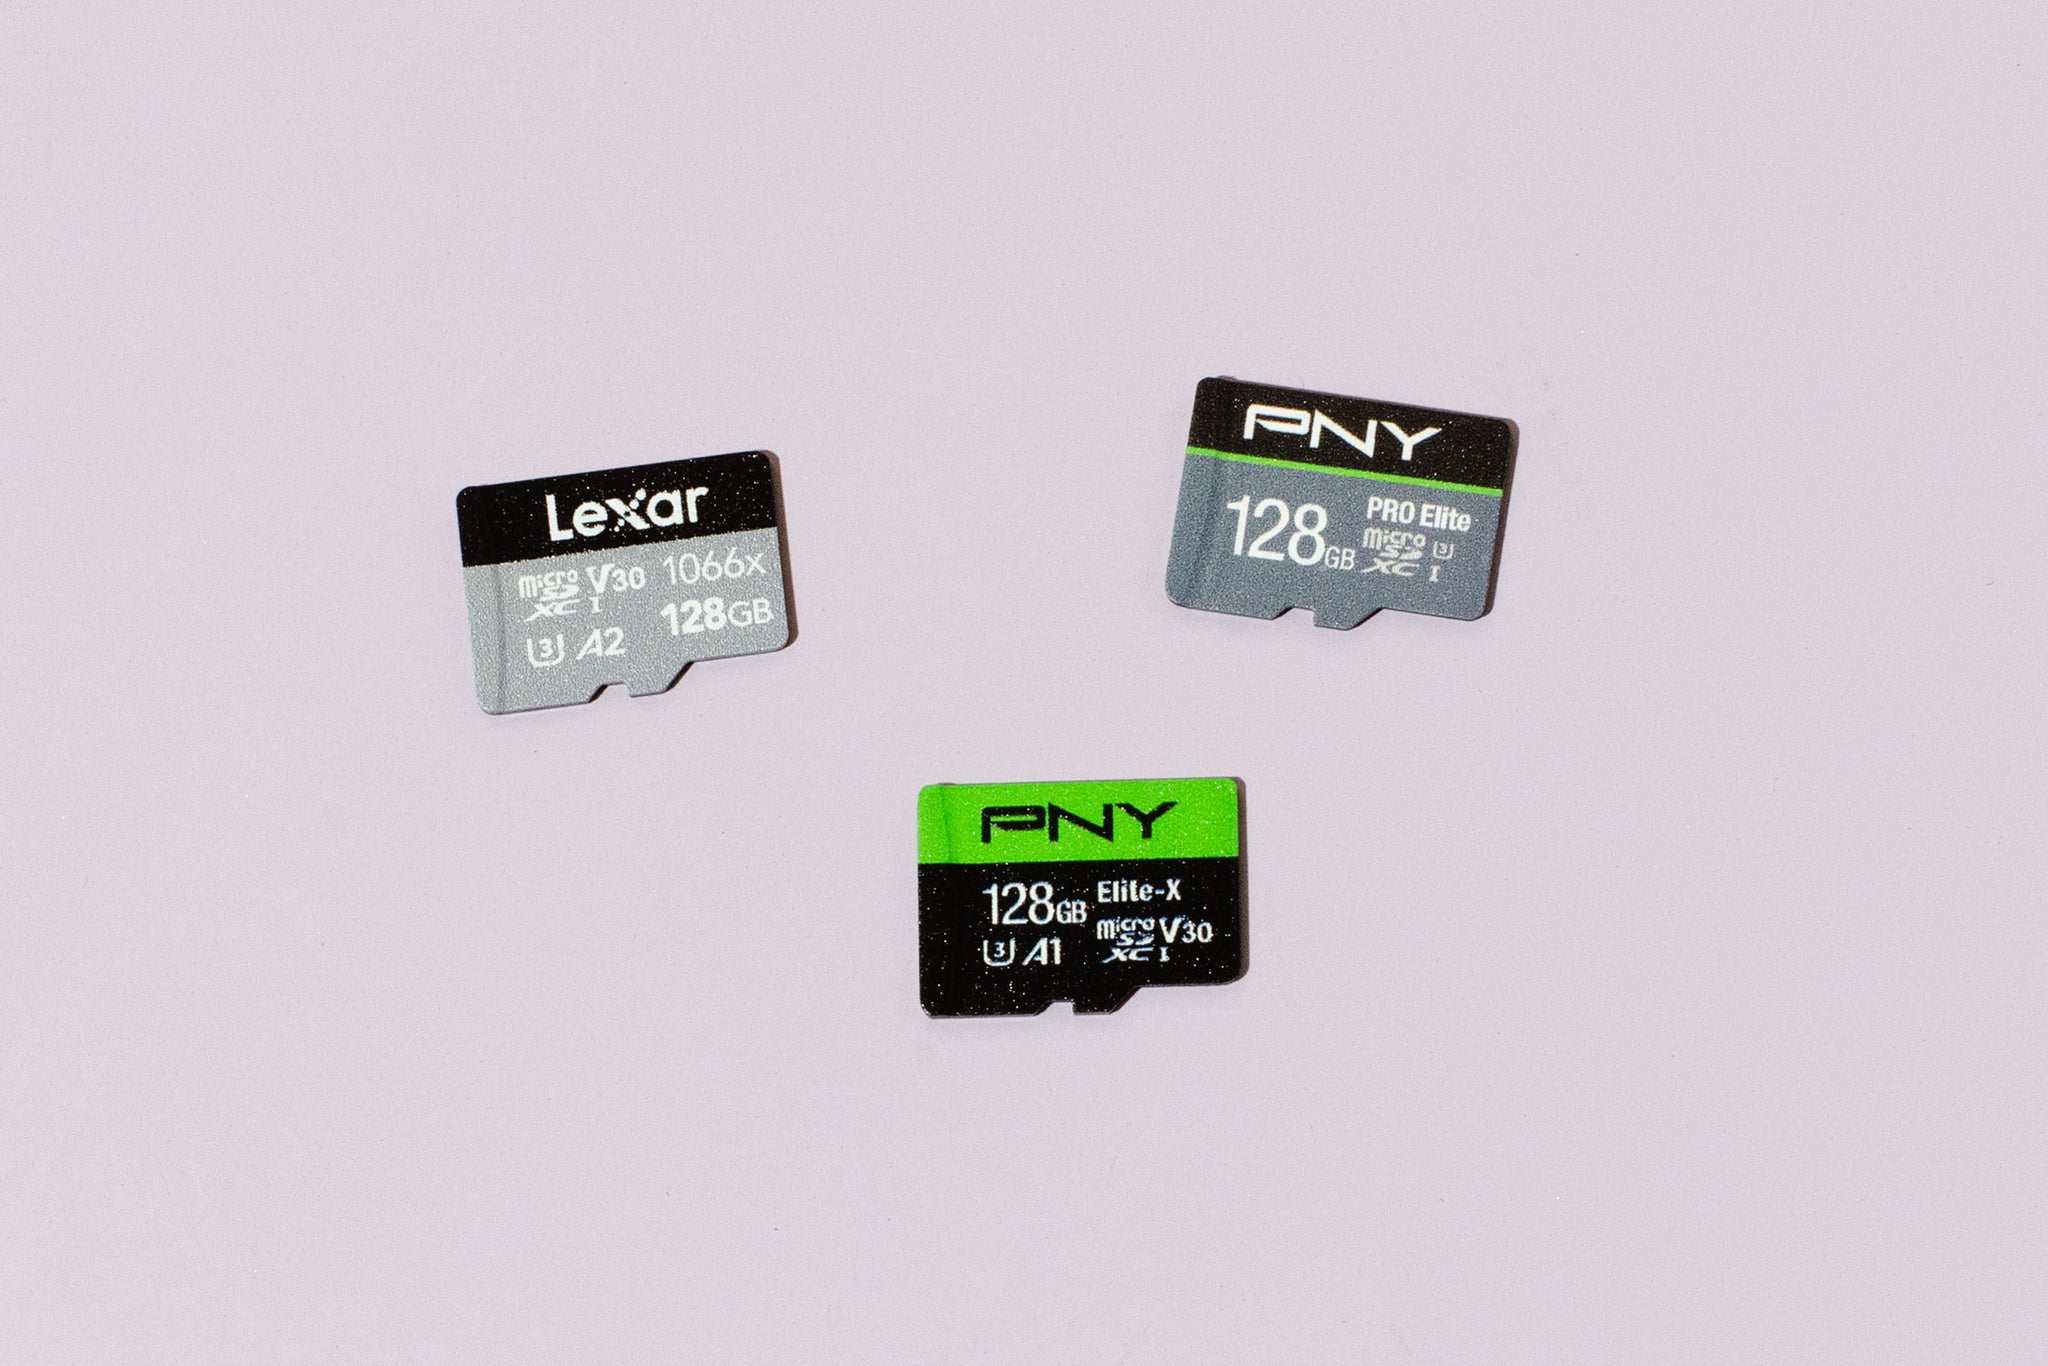
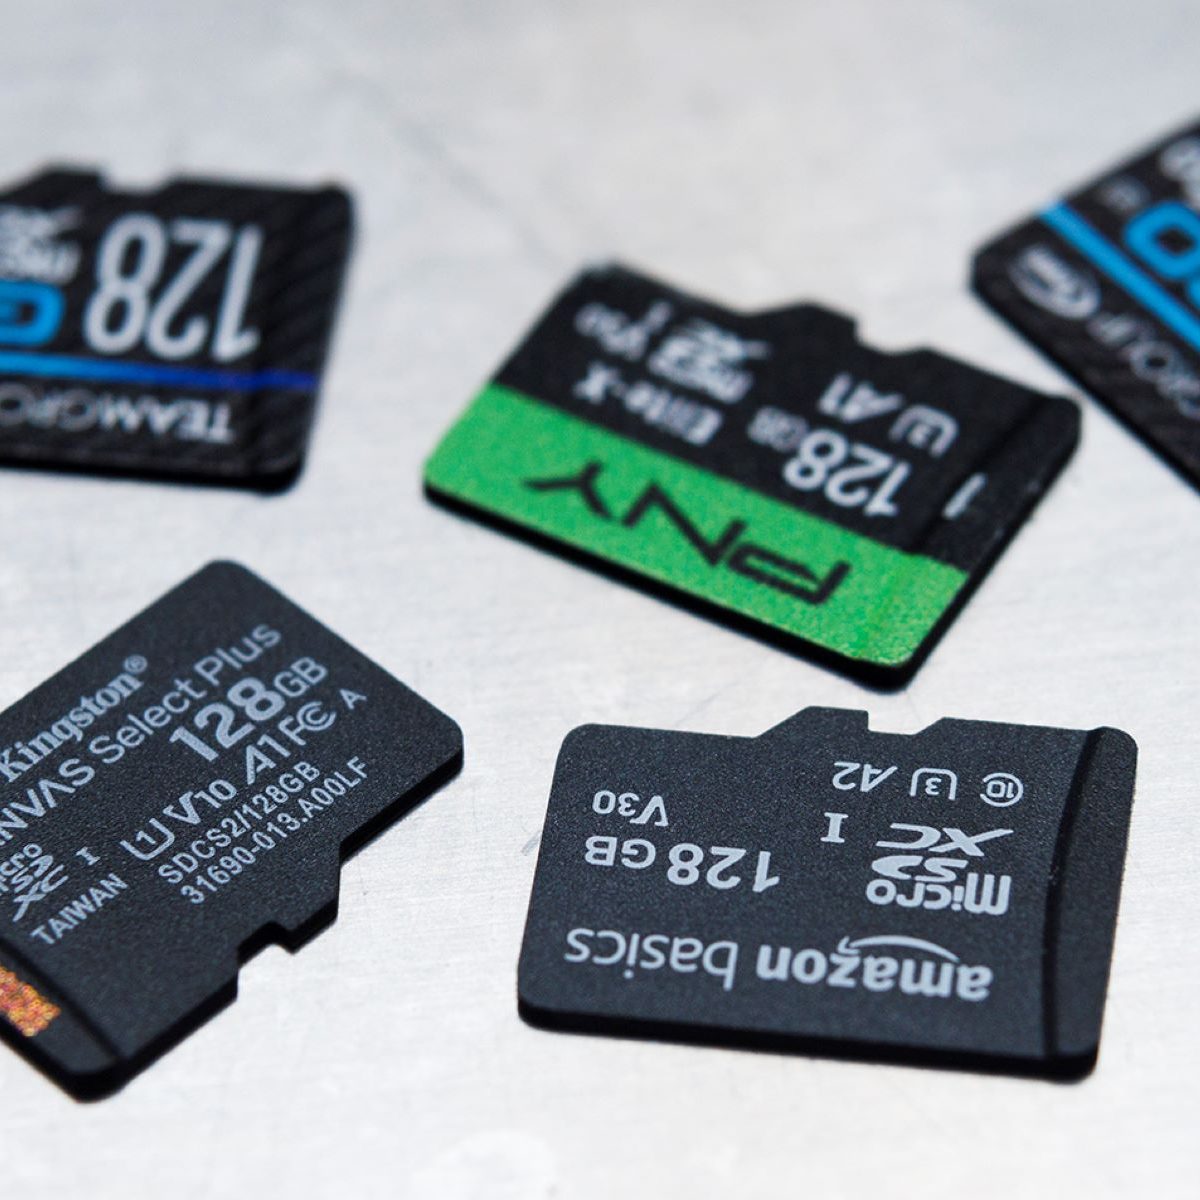
1. Capacity: Determine how much additional storage you require. Consider the types of files you plan to store on the SD card, such as photos, videos, or apps. Fire Tablets typically support SD cards with capacities ranging from 128GB to 1TB. Choose a capacity that suits your needs without exceeding the maximum supported by your tablet model.
2. Speed Class: SD cards are categorized into different speed classes which indicate their minimum write speeds. For smoother performance and faster data transfer, opt for a higher speed class, such as Class 10 or UHS-I. This is especially important if you plan to use your SD card to store and run apps or capture high-quality photos and videos.
3. SD Card Type: Fire Tablets support microSD cards. Make sure you choose a microSD card specifically and not a standard SD card. Before purchasing, double-check the compatibility of the microSD card with your specific Fire Tablet model.
4. Brand and Reliability: Stick to well-known and reputable brands when purchasing an SD card. Trusted brands often offer better quality and reliability, ensuring your data remains secure and the card lasts longer.
5. Price: Consider your budget, but don’t compromise on quality and performance. It’s better to invest in a reliable and compatible SD card rather than opting for a cheaper, lower-quality option that may cause issues or fail prematurely.
By considering these factors, you can ensure that you choose the right SD card for your Fire Tablet, providing you with the additional storage you need without compromising on performance.
Preparing the SD Card for Use
Once you have chosen and acquired the right SD card for your Fire Tablet, the next step is to prepare it for use. Preparing the SD card involves formatting it to a compatible file system and optimizing it for use with your tablet. Here’s how you can do it:
1. Backup Your Data: Before formatting the SD card, it is crucial to back up any data or files that may be stored on it. Formatting the card will erase all existing data, so make sure to transfer any important files to another storage device or your computer.
2. Insert the SD Card: Power off your Fire Tablet and insert the SD card into the SD card slot, ensuring it is properly aligned and securely inserted. Power on your tablet once the card is inserted.
3. Access the Storage Settings: On your Fire Tablet, go to Settings and select Storage from the menu. This will allow you to manage and format the SD card.
4. Format the SD Card: In the Storage settings, locate the SD card and select the option to format it. Follow the on-screen prompts to finalize the formatting process. This will prepare the SD card for use with your tablet.
5. Optimize Storage Settings: Within the Storage settings, you may find additional options to optimize how your tablet uses the SD card for storage. These options may include choosing the default locations for app installations or media downloads. Configure these settings according to your preferences.
Once the SD card is successfully formatted and optimized, it is ready to be used with your Fire Tablet. You can now start managing your storage and making the most of the additional space provided by the SD card. In the next section, we will guide you through the process of inserting the SD card into your Fire Tablet.
Inserting the SD Card into Your Fire Tablet
Now that you have prepared your SD card for use, the next step is to insert it into your Fire Tablet. Follow these steps to properly insert the SD card:
1. Power Off Your Tablet: Before inserting or removing the SD card, make sure your Fire Tablet is powered off. This will help prevent any accidental data corruption or damage to the card.
2. Locate the SD Card Slot: Depending on the model of your Fire Tablet, the SD card slot may be located either on the side or top edge of the device. Look for a small slot that is designed to accommodate a microSD card.
3. Open the SD Card Slot: If your tablet has a cover or tray over the SD card slot, carefully open it using your fingertips or a small tool. Some models may have a small notch or indentation for easy access.
4. Insert the SD Card: Take your microSD card and gently insert it into the slot, making sure the gold contacts on the card align with the pins in the slot. Apply light pressure until the card is fully inserted and sits flush with the tablet’s body. Avoid using excessive force to prevent any damage.
5. Close the SD Card Slot: If your tablet has a cover or tray, securely close it to protect the SD card and ensure it stays in place. Ensure that the cover or tray is properly aligned and snaps into place.
6. Power On Your Tablet: Once the SD card is inserted and the slot is closed, power on your Fire Tablet. It will now recognize the SD card and integrate it into the device’s storage system.
By following these steps, you can safely and effectively insert an SD card into your Fire Tablet. The next section will guide you through checking if your tablet recognizes the SD card.
Checking if Your Fire Tablet Recognizes the SD Card
After inserting the SD card into your Fire Tablet, it’s essential to verify whether the tablet recognizes the card and has successfully integrated it into its storage system. Here’s how you can check if your Fire Tablet recognizes the SD card:
1. Access the Storage Settings: Open the Settings menu on your Fire Tablet and select Storage from the options available. This will display the storage settings and provide information about the internal storage and SD card.
2. Check the SD Card Status: In the Storage settings, locate the section that displays information about the SD card. Here, you can see the total storage capacity of the SD card, the available space, and any files or data currently stored on the card. This confirms that your Fire Tablet recognizes the SD card and has successfully integrated it into its storage system.
3. Verify App Installations: If you’ve set your tablet to install apps on the SD card by default, you can validate if the apps are being installed on the card. Go to the Apps & Games section in the Settings menu and check the storage location of the installed apps. If they are being installed on the SD card, it indicates that your tablet recognizes and utilizes the SD card for app installations.
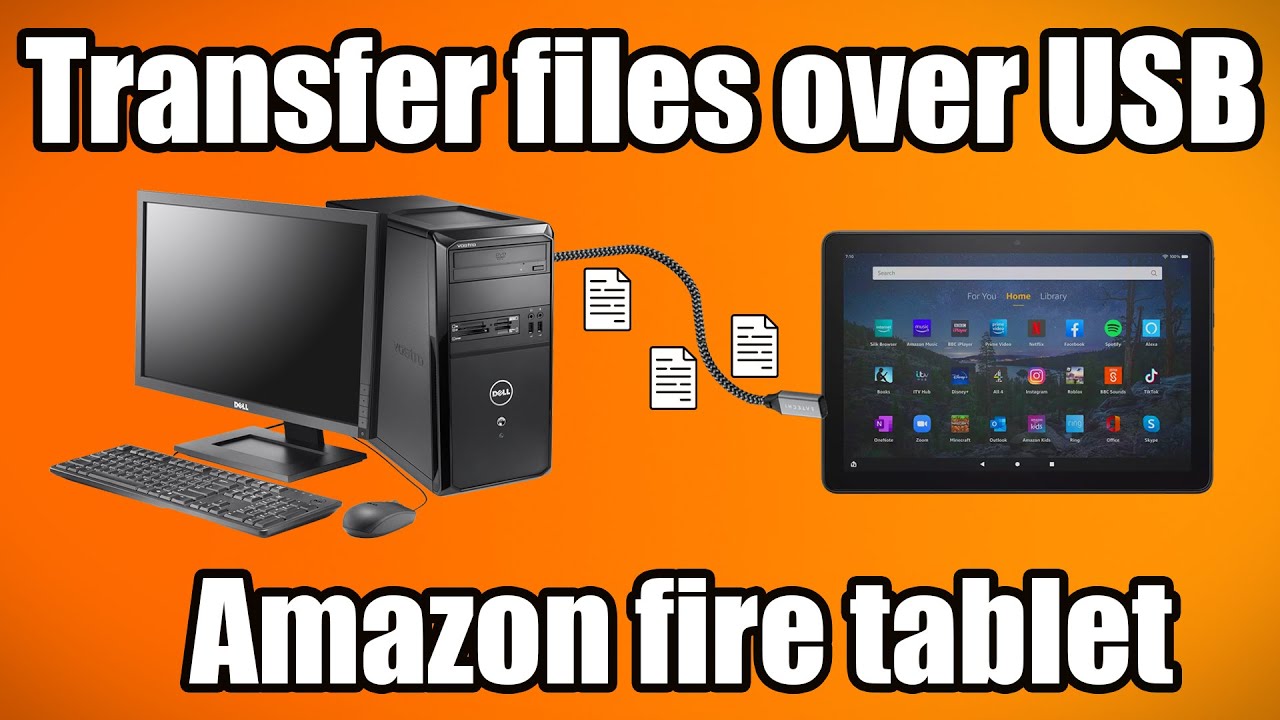
4. Transfer Files: To further confirm that your Fire Tablet recognizes the SD card, you can transfer or save files, such as photos, videos, or documents, to the SD card. Use the File Manager or any compatible file management app to browse the device’s storage and select the SD card as the destination for the files. If the transfer is successful and the files are accessible from the SD card, it confirms that your tablet recognizes and can read/write data to the SD card.
If you encounter any issues or if your Fire Tablet does not recognize the SD card, refer to the troubleshooting section in this article for possible solutions. Otherwise, now that you have confirmed that your Fire Tablet recognizes the SD card, you can move on to effectively managing the storage on your device, which will be discussed in the next section.
Managing Your SD Card Storage
With the SD card successfully recognized by your Fire Tablet, you now have the opportunity to manage and optimize your device’s storage. Here are some key aspects to consider when managing your SD card storage:
1. Move Files to the SD Card: One of the primary benefits of having an SD card is the ability to offload files from your tablet’s internal storage. Use the File Manager or compatible apps to move photos, videos, music, and other files to the SD card. This frees up precious space on the internal storage while keeping your files accessible.
2. Set the SD Card as Default Storage: To ensure that new files are automatically saved to the SD card, you can set it as the default storage location. Go to the Storage settings on your tablet, navigate to the Default Location option, and select the SD card as the preferred storage for new apps, downloads, and other media files.
3. Manage App Installations: Keep an eye on the apps installed on your Fire Tablet and their storage usage. In the Apps & Games section of the Settings menu, you can view the storage space consumed by each app. Some apps offer the option to move them to the SD card entirely or partially. Consider relocating larger apps or those you rarely use to the SD card to free up internal storage.
4. Regularly Backup SD Card Data: Just like with any storage device, it’s essential to back up the data stored on your SD card regularly. Connect your tablet to a computer and copy the contents of the SD card to a secure location. This practice ensures that your files are protected in case of accidental loss, theft, or card failure.
5. Organize Files and Folders: As you transfer files to the SD card, take the opportunity to organize them into well-labeled folders. This makes it easier to locate specific files and maintain a tidy storage system. Consider creating separate folders for photos, videos, music, documents, and any other file types you frequently use.
By effectively managing your SD card storage, you can optimize your Fire Tablet’s performance, extend its usable lifespan, and enjoy ample space for all your files and apps.
Removing the SD Card from Your Fire Tablet
If you need to remove the SD card from your Fire Tablet, whether it’s to replace it with a different one or to access the files stored on it, follow these steps to safely remove the SD card:
1. Power Off Your Tablet: Before removing the SD card, ensure that your Fire Tablet is powered off. This helps prevent any potential data corruption or damage to the card.
2. Locate the SD Card Slot: Depending on the model of your Fire Tablet, the SD card slot is usually located on the side or top edge of the device. Look for a small slot that accommodates a microSD card.
3. Open the SD Card Slot: If your tablet has a cover or tray over the SD card slot, carefully open it using your fingertips or a small tool. Some models may have a small notch or indentation for easy access.
4. Remove the SD Card: Gently push the SD card inwards or slightly press on it to release it from the slot. Once it is partially ejected, carefully pull it out with your fingers, ensuring not to apply excessive force or bend the card.
5. Close the SD Card Slot: If your tablet has a cover or tray, securely close it to protect the SD card slot from dust or damage. Align the cover or tray with the slot and press it until it snaps into place.
6. Power On Your Tablet: Once the SD card is safely removed, you can power on your Fire Tablet. The device will now operate using its internal storage, and the SD card can be used in another device or replaced with a different SD card if desired.
It is crucial to follow these steps to properly remove the SD card to prevent any potential damage or data loss. Remember to always power off your tablet before inserting or removing the SD card to ensure the integrity and safety of your data.
Troubleshooting Common Issues with SD Cards on Fire Tablets
While adding an SD card to your Fire Tablet is a straightforward process, you may encounter some common issues along the way. Here are a few troubleshooting tips for resolving these issues:
1. SD Card Not Recognized: If your Fire Tablet does not recognize the SD card, ensure that it is inserted correctly and securely. Power off your tablet, remove the SD card, and reinsert it, making sure it aligns with the slot. If the issue persists, try using a different SD card to rule out any card-specific problems.
2. SD Card Read/Write Errors: If you experience read/write errors or are unable to transfer files to the SD card, check if the card is write-protected. Some SD cards have a physical switch that locks them to prevent accidental data deletion. Ensure the switch is in the unlocked position. If the issue continues, format the SD card again using your Fire Tablet and retry the file transfer.
3. Slow Performance: If you notice slow performance when accessing files or using apps stored on the SD card, consider upgrading to a higher speed class SD card. A faster speed class can significantly improve the read and write speeds, resulting in smoother and faster performance.
4. App Compatibility Issues: Not all apps may be compatible with running directly from the SD card. If you encounter issues with specific apps, try moving them back to the internal storage or contacting the app developer for assistance. Additionally, ensure that your Fire Tablet and apps are up to date with the latest software versions, as updates often include bug fixes and performance improvements.
5. Data Corruption: To minimize the risk of data corruption, always power off your Fire Tablet before inserting or removing the SD card. Avoid removing the card while transferring files or while apps are accessing it. Additionally, periodically back up the data on your SD card to an external storage device or computer.
If you continue to experience issues or if the SD card fails to work consistently, it may be necessary to seek further assistance from Amazon customer support or consider replacing the SD card with a new one.
By troubleshooting common issues and taking necessary precautions, you can ensure a smooth and efficient experience when using an SD card with your Fire Tablet.
Conclusion
Adding an SD card to your Fire Tablet can significantly expand its storage capacity and enhance your overall tablet experience. With a few simple steps, you can add, manage, and utilize the additional storage space provided by the SD card. From understanding the SD card slot to choosing the right card, preparing it for use, and troubleshooting common issues, this guide has provided you with the necessary information to navigate the process with confidence.
Remember to follow the proper procedures for inserting and removing the SD card, ensuring that your tablet is powered off during these processes. Regularly back up your data and organize your files to maximize the effectiveness of your SD card storage. By taking these steps, you can optimize your Fire Tablet’s performance, prevent data loss, and ensure a smooth and seamless user experience.
Whether you’re a multimedia enthusiast, a gamer, or a user who simply needs more storage space, adding an SD card to your Fire Tablet is a versatile and practical solution. Enjoy the freedom of storing more apps, capturing endless photos and videos, and accessing your files on the go with ease.
Now that you have a comprehensive understanding of the process, it’s time to explore the possibilities and unlock the full potential of your Fire Tablet’s storage capabilities!