Introduction
Welcome to this guide on how to set up your Amazon Fire Tablet! Whether you’ve just purchased a new Fire Tablet model or received one as a gift, this step-by-step tutorial will walk you through the process of getting your tablet up and running in no time.
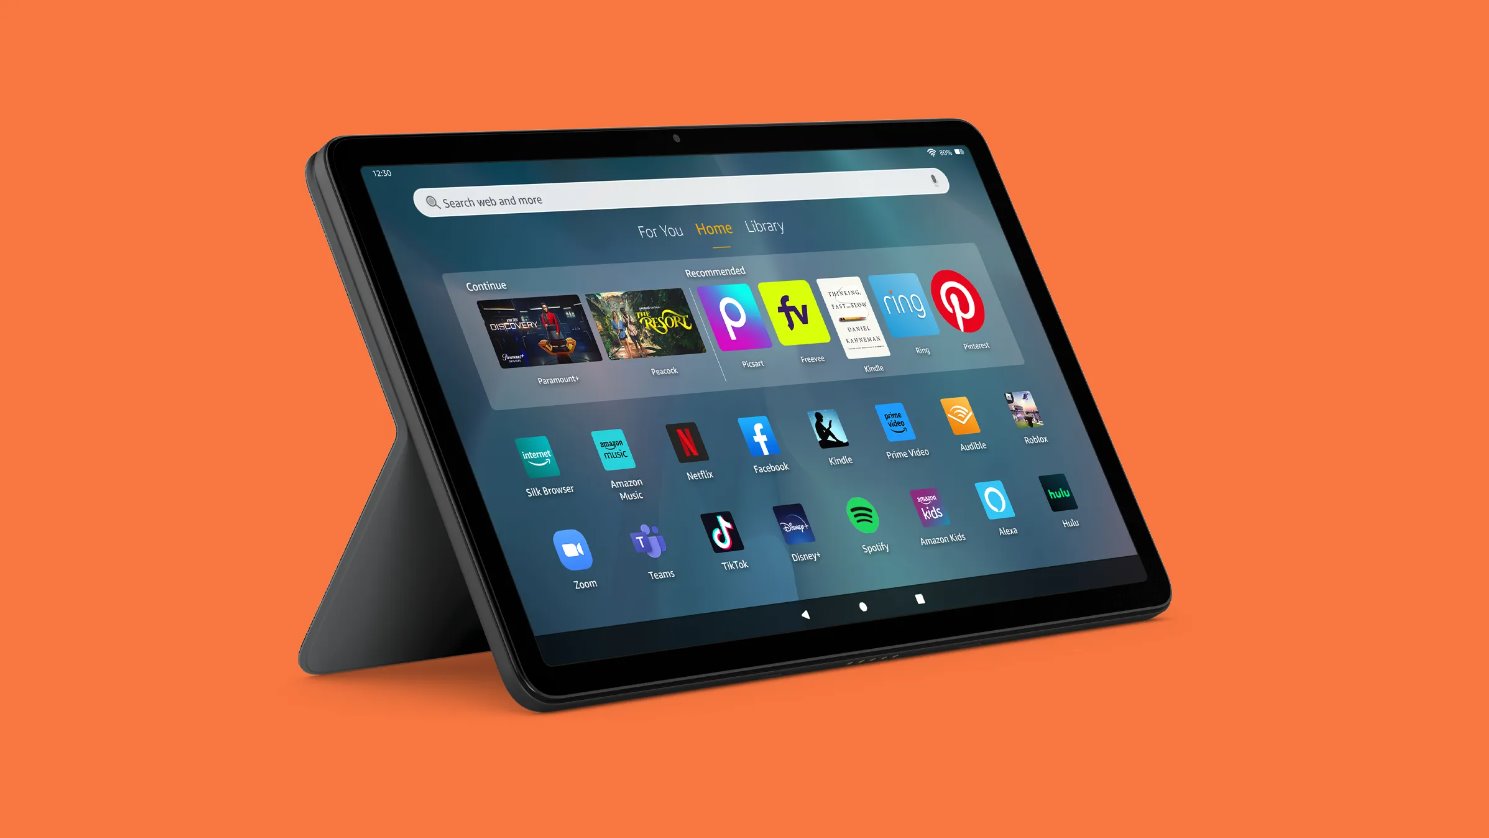
The Amazon Fire Tablet offers a host of features and apps that make it a versatile and convenient device for entertainment, productivity, and more. From accessing your favorite books, movies, and games to browsing the web and staying connected with loved ones, this compact gadget has everything you need.
Setting up your Amazon Fire Tablet is a straightforward process that requires just a little time and a few simple steps. In this guide, we’ll cover everything you need to know, from unboxing and charging your tablet to personalizing it and managing settings. By the end, you’ll have a fully functional and personalized device that’s ready to use.
Before we dive into the specific steps, it’s worth noting that the setup process may vary slightly depending on the model of Fire Tablet you own. However, the general principles remain the same, and this guide will provide you with the foundational knowledge and guidance you need to set up your tablet successfully.
So, without further ado, let’s get started by unboxing and charging your Amazon Fire Tablet! Whether you’re a tech-savvy individual or a first-time tablet user, rest assured that this guide will make the setup process a breeze. Let’s dive in!
Step 1: Unboxing and Charging Your Amazon Fire Tablet
Exciting times! You’ve just received your brand new Amazon Fire Tablet, and it’s time to unbox it and get it ready for use. Follow these simple steps to ensure a smooth start:
1.1. Open the Box: Carefully remove the tablet from its packaging. Take a moment to appreciate the sleek design and compact size of your new device.
1.2. Plug in the Charger: Locate the charger that comes with your Fire Tablet. Connect one end of the charger to the tablet’s charging port and the other end to a power outlet. Ensure a secure connection.
1.3. Charge the Tablet: Let your tablet charge for a few hours to ensure a full battery. You can use this time to explore the accompanying user manual or set aside any accessories that came with the tablet.
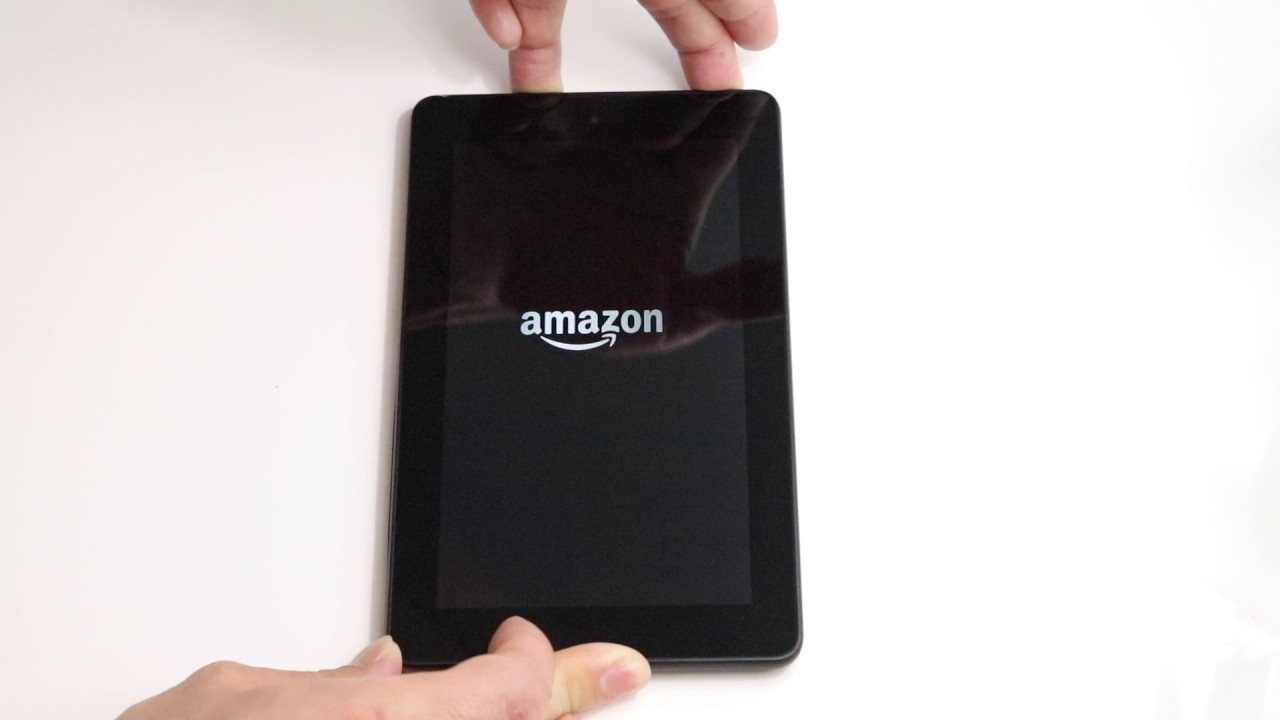
1.4. Power on the Tablet: Once the tablet has sufficient charge, press and hold the power button located on the side or top edge of the device. You’ll see the Amazon logo appear, indicating that the tablet is booting up.
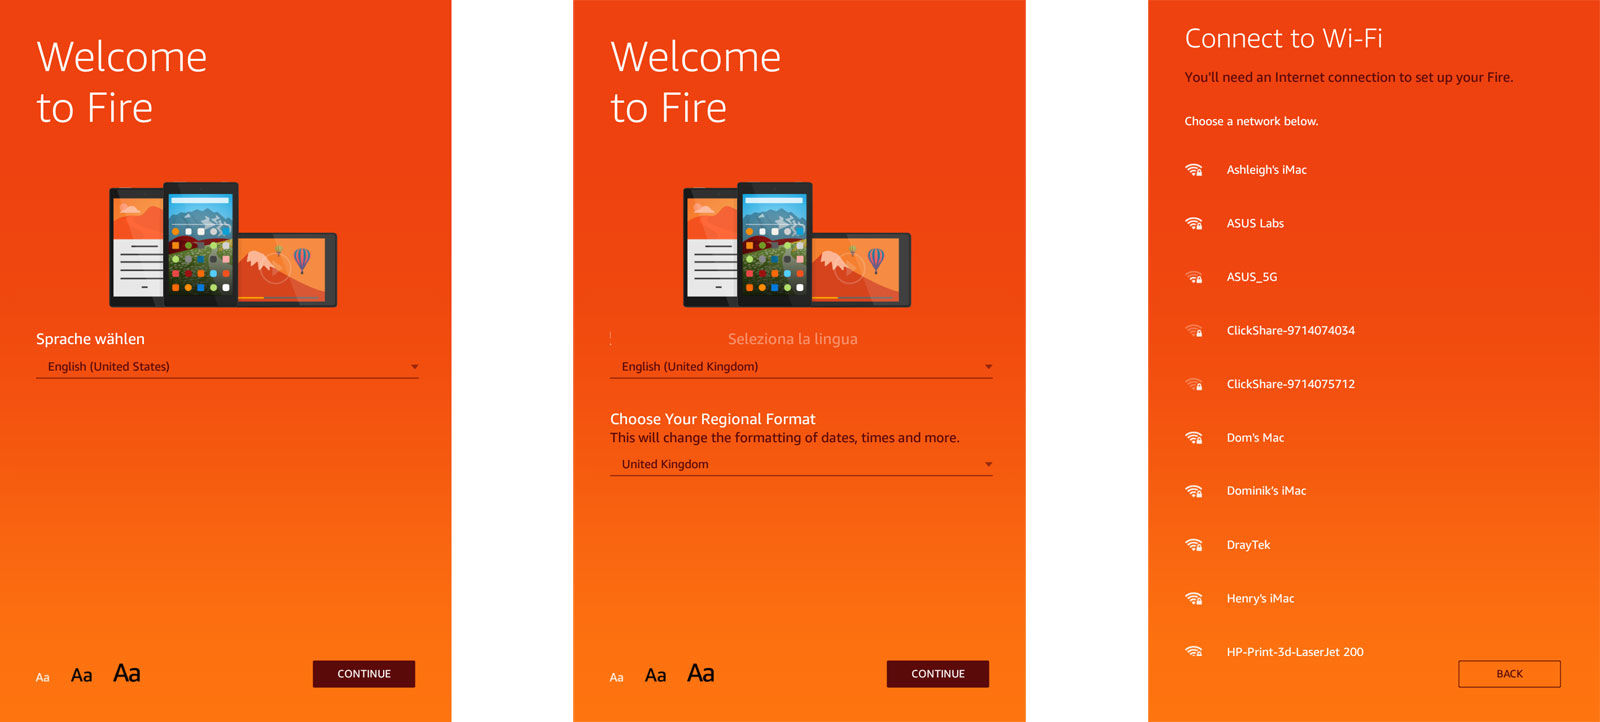
1.5. Follow On-Screen Prompts: The on-screen setup will guide you through the initial setup process. You’ll be prompted to select your language, connect to Wi-Fi, and sign in to your Amazon account, among other things.
1.6. Create or Sign in to Your Amazon Account: If you don’t already have an Amazon account, you can create one during the setup process. If you do have an account, simply sign in to access your previous Amazon content and settings.
1.7. Register Your Device: After signing in to your Amazon account, you’ll have the option to register your tablet. Registering provides access to special offers and ensures that your tablet is fully integrated with your account.
1.8. Set a Passcode: To protect your tablet’s data and privacy, consider setting a passcode or using biometric authentication features like facial recognition or fingerprint scanning. This will help keep your information secure.
Congratulations! You have successfully unboxed and charged your Amazon Fire Tablet. In the next step, we’ll cover how to connect your tablet to Wi-Fi. Let’s move on to step 2 and get your tablet connected to the internet!
Step 2: Connecting to Wi-Fi
In order to enjoy all the features and benefits of your Amazon Fire Tablet, it’s important to connect it to Wi-Fi. Follow these simple steps to get your tablet connected:
2.1. Access the Settings: Swipe down from the top of the screen to open the Notification panel and tap on the “Settings” icon. Alternatively, you can access the Settings app from the home screen by tapping on the gear-shaped icon.
2.2. Navigate to Wi-Fi: In the Settings menu, locate and select the “Wi-Fi” option. This will bring up a list of available Wi-Fi networks in your vicinity.
2.3. Select a Network: From the list of available Wi-Fi networks, choose the network you want to connect to. If the network is password-protected, you’ll be prompted to enter the password. Make sure to enter the correct password to establish a successful connection.
2.4. Connect to the Network: Once you’ve entered the password, tap on the “Connect” button to initiate the connection process. Your tablet will attempt to connect to the selected Wi-Fi network.
2.5. Wait for Connection: Depending on the network’s strength and other factors, it may take a few moments for your tablet to establish a stable connection. You’ll see a checkmark appear next to the network name when the connection is successful.
2.6. Test the Connection: To ensure that your tablet is successfully connected to Wi-Fi, open a web browser or any app that requires an internet connection. If the Wi-Fi connection is working, you’ll be able to browse the web or access online content without any issues.
That’s it! You have successfully connected your Amazon Fire Tablet to a Wi-Fi network. In the following steps, we’ll cover how to set up an Amazon account and personalize your tablet. Let’s move on to step 3 and get your tablet ready for personalization!
Step 3: Setting up an Amazon Account
In order to make the most out of your Amazon Fire Tablet, you’ll need to set up an Amazon account. Follow these steps to get started:
3.1. Open the Amazon Website: Using a web browser on your tablet or computer, navigate to the official Amazon website (www.amazon.com).
3.2. Create an Account: If you don’t already have an Amazon account, click on the “Account & Lists” tab located at the top-right corner of the Amazon website. From the drop-down menu, select “Start here” to create a new account.
3.3. Fill in the Required Information: Follow the on-screen prompts to enter your name, email address, and desired password for your Amazon account. Make sure to choose a strong password that includes a combination of letters, numbers, and symbols.
3.4. Verify Your Email: After entering your information, Amazon will send a verification email to the email address you provided. Open the email and click on the verification link to confirm your account.
3.5. Sign in to Your Account: Once your account is verified, return to the Amazon website. Click on the “Account & Lists” tab and select “Sign in” from the drop-down menu. Enter your email address and password to sign in to your newly created Amazon account.
3.6. Link Your Account to the Tablet: On your Amazon Fire Tablet, open the Settings app and select “My Account.” Tap on “Register” to link your tablet to your Amazon account. Enter the email address and password associated with your Amazon account.
3.7. Sync Your Content: By linking your Amazon account to your Fire Tablet, you can access all your purchased books, movies, music, and other digital content. The tablet will automatically sync your purchased content and display it in the respective apps.
That’s it! You’ve successfully set up an Amazon account and linked it to your Fire Tablet. In the next step, we’ll explore how to personalize your tablet to suit your preferences. Let’s move on to step 4 and make your Fire Tablet uniquely yours!
Step 4: Personalizing Your Amazon Fire Tablet
Your Amazon Fire Tablet is now set up and connected to your Amazon account. It’s time to personalize your tablet to make it truly reflect your style and preferences. Follow these steps to customize and personalize your Fire Tablet:
4.1. Access the Settings: Swipe down from the top of the screen to open the Notification panel, then tap on the “Settings” icon. Alternatively, you can find the Settings app on your home screen by tapping the gear-shaped icon.
4.2. Customize the Wallpaper: In the Settings menu, locate and select the “Display” or “Wallpaper” option. Here, you can choose from a variety of pre-installed wallpapers or set your own custom image as the background for your tablet’s home screen.
4.3. Organize Apps and Widgets: Press and hold any app icon on your tablet’s home screen to enter the app customization mode. From here, you can rearrange and organize your apps, create folders for better organization, and add widgets for quick access to information.
4.4. Set up a Personalized Lock Screen: In the Settings menu, select “Security & Privacy” or “Lock Screen.” Here, you can choose a lock screen method that suits your preference, such as a PIN, pattern, fingerprint, or facial recognition, to secure your tablet.
4.5. Adjust Display and Sound Settings: Explore the different settings in the “Display” and “Sound” sections of the Settings menu to customize the brightness, font size, screen rotation, sound volume, and other visual and audio preferences according to your liking.
4.6. Install or Remove Apps: Visit the Amazon Appstore on your tablet to discover thousands of apps and games tailored for your Fire Tablet. Install your favorite apps and remove unwanted pre-installed apps to make your tablet more personalized and streamlined.
4.7. Explore Alexa Integration: If your Fire Tablet supports Alexa, take advantage of voice commands and hands-free features by enabling and customizing the Alexa settings in the “Alexa” or “Accessibility” section of the Settings menu.
By following these steps, you can transform your Amazon Fire Tablet into a device that reflects your personal style and preferences. Take the time to explore the various customization options to make the tablet uniquely yours.
In the next step, we’ll cover how to install apps and games on your tablet for a more enjoyable and productive experience. Let’s move on to step 5 and discover the world of apps and games!
Step 5: Installing Apps and Games
Your Amazon Fire Tablet offers a wide range of apps and games to enhance your entertainment and productivity. In this step, we’ll explore how to discover and install apps and games on your tablet:
5.1. Open the Appstore: Locate and tap the “Appstore” icon on your tablet’s home screen. This will take you to the Amazon Appstore, which is specifically curated for Fire Tablets.
5.2. Browse or Search for Apps: Use the search bar or browse through different categories to discover apps and games that catch your interest. You can explore popular apps, top charts, recommendations, and even specific app categories like productivity, games, or entertainment.
5.3. Install an App: Once you’ve found an app or game you want to install, tap on its icon to open the app’s page. Here, you’ll find information about the app, user reviews, screenshots, and more. Tap on the “Install” button to download and install the app on your tablet.
5.4. Manage Installed Apps: To view and manage the apps you’ve installed, go to the “Apps” section in the Settings menu. From here, you can view and organize your apps, update them to the latest versions, and uninstall any apps you no longer need.
5.5. Enable Unknown Sources: If you want to install an app from a source outside of the Amazon Appstore, you’ll need to enable the “Unknown Sources” option in the Security settings. Be cautious when installing apps from unknown sources, as they may pose security risks.
5.6. Family Library: If you have set up a Family Library within your Amazon account, you can share eligible apps and games with family members. This allows you to share purchased content without the need for individual purchases.
By following these steps, you can easily discover, install, and manage apps and games on your Amazon Fire Tablet. Whether you’re looking for productivity tools, entertainment apps, or games to pass the time, the Amazon Appstore has a wide selection to cater to your needs.
In the next step, we’ll delve into managing settings and notifications on your tablet. Let’s move on to step 6 and customize your tablet to suit your preferences!
Step 6: Managing Settings and Notifications
Customizing the settings and managing notifications on your Amazon Fire Tablet can greatly enhance your overall user experience. In this step, we’ll explore how to manage settings and notifications to suit your preferences:
6.1. Access the Settings: Open the Settings app on your tablet by tapping on the gear-shaped icon either on the home screen or in the Notification panel.
6.2. Customize Display and Sound: Explore the various options in the “Display” and “Sound” sections of the Settings menu. Adjust the brightness, screen timeout, font size, sound volume, and other display and audio settings according to your preferences.
6.3. Manage App Permissions: In the Settings menu, go to the “Apps & Notifications” or “Apps” section. From here, you can view a list of installed apps and manage their permissions. Grant or revoke access to device features like camera, microphone, location, and contacts for better control over your privacy.
6.4. Set Up Do Not Disturb Mode: If you want to minimize interruptions, enable the “Do Not Disturb” mode in the Sound settings. Set your preferred quiet hours or allow only specific contacts to bypass the mode to ensure you’re not disturbed at inappropriate times.
6.5. Adjust Notification Settings: Customize how notifications are displayed and managed on your tablet. You can choose to display or hide sensitive content on the lock screen, control app notification preferences, or even prioritize certain notifications over others.
6.6. Manage Storage and Memory: To ensure your tablet runs smoothly, regularly check and manage your storage and memory usage. This can be done in the “Storage” or “Device” section of the Settings menu. Clear cache, uninstall unused apps, and transfer media files to external storage to free up space.
6.7. Explore Advanced Settings: Dive into the “Advanced” or “System” settings to explore additional options like date and time settings, language preferences, backup and restore options, and more. Adjust these settings to fine-tune your tablet’s performance and functionality.
By managing settings and notifications, you can personalize your Amazon Fire Tablet to better suit your needs and preferences. Take the time to explore and customize the various options available to make your tablet work the way you want it to.
In the next step, we’ll discuss how to add media and content to your tablet. Let’s move on to step 7 and unleash the full potential of your Fire Tablet!
Step 7: Adding Media and Content to Your Tablet
Your Amazon Fire Tablet is not just a device for accessing apps and games, but also a platform for enjoying a wide range of media and content. In this step, we’ll explore how to add and manage media on your tablet:
7.1. Sync Your Amazon Content: Upon linking your tablet to your Amazon account, your previously purchased content like books, movies, and music will automatically sync to your tablet. Access the respective apps to enjoy your purchased content.
7.2. Explore the Amazon Content Store: On your Fire Tablet, access the Amazon Appstore and browse through the available content stores like Kindle, Prime Video, and Prime Music. Discover new books, movies, TV shows, and music to add to your library.
7.3. Add Content from Other Sources: If you have personal media files, you can transfer them to your tablet by connecting it to your computer via USB. Navigate to the tablet’s storage and copy or drag and drop your files to the appropriate folders.
7.4. Manage Your Media: Use the respective apps like Kindle for books, Prime Video for movies and TV shows, and Prime Music for music to manage and organize your media collection. Create playlists, add books to your reading list, and customize your viewing preferences.
7.5. Download Content for Offline Use: If you’re planning to be without an internet connection, you can download select movies, TV episodes, and music albums from services like Prime Video and Prime Music for offline playback. This allows you to enjoy your favorite content even without an active internet connection.
7.6. Explore Third-Party Apps: Aside from the pre-installed apps, you can also explore other media and content apps available in the Appstore. For example, you can install streaming apps, news apps, or photography apps to enhance your tablet’s capabilities.
By adding media and content to your Amazon Fire Tablet, you can create a personalized entertainment hub and enjoy your favorite books, movies, music, and more. Take advantage of the various content stores and apps available to unlock a world of digital content at your fingertips.
In the next step, we’ll delve into setting up parental controls to ensure a safe and age-appropriate experience for younger users. Let’s move on to step 8 and make your tablet family-friendly!
Step 8: Setting up Parental Controls
Your Amazon Fire Tablet offers robust parental control features that allow you to create a safe and age-appropriate environment for younger users. Follow these steps to set up parental controls on your tablet:
8.1. Access the Settings: Open the Settings app on your tablet by tapping on the gear-shaped icon, either on the home screen or in the Notification panel.
8.2. Navigate to Parental Controls: In the Settings menu, locate and select the “Parental Controls” option. This will bring up the settings and options related to controlling and restricting access for younger users.
8.3. Create a Parental Controls Password: Set a unique password that will be required to access and modify the parental control settings. Make sure to choose a password that is not easily guessable by your children.
8.4. Set Age Filters and Content Restrictions: Depending on the age of the user, you can apply age filters that limit access to age-appropriate content. This includes filtering out explicit books, movies, apps, and websites.
8.5. Manage Screen Time Limits: Establish daily usage limits to control how much time your child can spend on the tablet. Set specific time windows during which the tablet can be used or create a schedule that aligns with your child’s routines.
8.6. Block Access to Inappropriate Content: Fine-tune the content your child can access by blocking specific websites or categories of content. This ensures they don’t stumble upon inappropriate material or access sites you deem unsuitable.
8.7. Customize Educational Goals and Profiles: If your tablet supports the “FreeTime” feature, create customized profiles for each child, set educational goals, and manage their access to specific apps and content that support their learning and development.
8.8. Monitor Activity: Depending on the parental control options available on your tablet, you may be able to view activity reports, including the apps used, websites visited, and time spent on different activities.
By setting up parental controls, you can create a safe digital environment for your child on your Amazon Fire Tablet. These measures provide you with peace of mind while allowing your child to explore and enjoy age-appropriate content and apps.
In the next step, we’ll cover how to troubleshoot common issues that you may encounter while using your tablet. Let’s move on to step 9 and ensure a smooth user experience!
Step 9: Troubleshooting Common Issues
While using your Amazon Fire Tablet, you may encounter some common issues that can disrupt your user experience. Here are some troubleshooting steps you can follow to resolve these issues:
9.1. Device Won’t Turn On: If your tablet doesn’t turn on, ensure that it’s charged by connecting it to a power source. If it still doesn’t respond, try performing a soft reset by pressing and holding the power button for about 20 seconds. Release the button and then press it again to power on the device.
9.2. Wi-Fi Connection Problems: If you’re having trouble connecting to Wi-Fi, ensure that the Wi-Fi connection is enabled on your tablet and that you’re within range of the network. You can also try restarting your router or forgetting the network on your tablet and then reconnecting.
9.3. App Crashes or Freezes: If an app on your tablet crashes or freezes, try closing the app and reopening it. If the problem persists, go to the “Settings” > “Apps & Notifications” or “Apps” section and find the problematic app. Clear its cache or data, or uninstall and reinstall the app to resolve any issues.
9.4. Unresponsive Touchscreen: If the touchscreen becomes unresponsive, try cleaning it with a microfiber cloth to remove any dirt or debris. If that doesn’t work, restart your tablet by pressing and holding the power button until a menu appears, then select “Restart” or “Power Off” and power it on again.
9.5. Slow Performance or Lag: If your tablet is running slowly or experiencing lag, there are a few things you can try. Close unnecessary apps running in the background, clear your device’s cache, and delete any unused files or apps to free up storage space. You can also perform a factory reset as a last resort, but remember to back up your important data beforehand.
9.6. Battery Drains Quickly: If you notice that your tablet’s battery drains quickly, check for apps or settings that may be causing excessive battery usage. Turn off features like Wi-Fi, Bluetooth, or GPS when you’re not using them, reduce the screen brightness, and enable battery optimization settings in the device settings.
If you’ve tried these troubleshooting steps and are still experiencing issues with your Amazon Fire Tablet, you may need to consult the official support channels provided by Amazon for further assistance. They can provide more specific guidance or arrange for repair or replacement if necessary.
With these troubleshooting tips, you’ll be able to overcome common issues and ensure a smoother user experience with your Amazon Fire Tablet.
Congratulations! You have successfully completed all the steps to set up and personalize your Amazon Fire Tablet. Enjoy exploring all the features, apps, and entertainment that your tablet has to offer!
Conclusion
Congratulations! You’ve made it through the step-by-step guide on setting up and personalizing your Amazon Fire Tablet. By following these instructions, you’ve successfully unboxed and charged your tablet, connected it to Wi-Fi, set up an Amazon account, personalized the device to your liking, installed apps and games, managed settings and notifications, added media and content, set up parental controls, and learned how to troubleshoot common issues.
Your Amazon Fire Tablet is now fully equipped to meet your entertainment, productivity, and learning needs. Whether you’re enjoying your favorite books, movies, or music, exploring new apps and games, or using the tablet for educational purposes, you have a versatile device at your fingertips.
Remember to regularly update your tablet’s software, explore new apps and content, and take advantage of the various features and settings to make the most out of your device. If you ever encounter any issues or have further questions, don’t hesitate to consult Amazon’s official support channels for assistance.
Now it’s time to embark on your new digital adventure with your Amazon Fire Tablet. Enjoy the convenience, entertainment, and possibilities that it offers. From reading books to watching movies, from staying connected to getting things done, your tablet is designed to enrich your digital experience.
Thank you for following this guide, and we hope you enjoy using your Amazon Fire Tablet to its fullest potential! Happy exploring!