Introduction
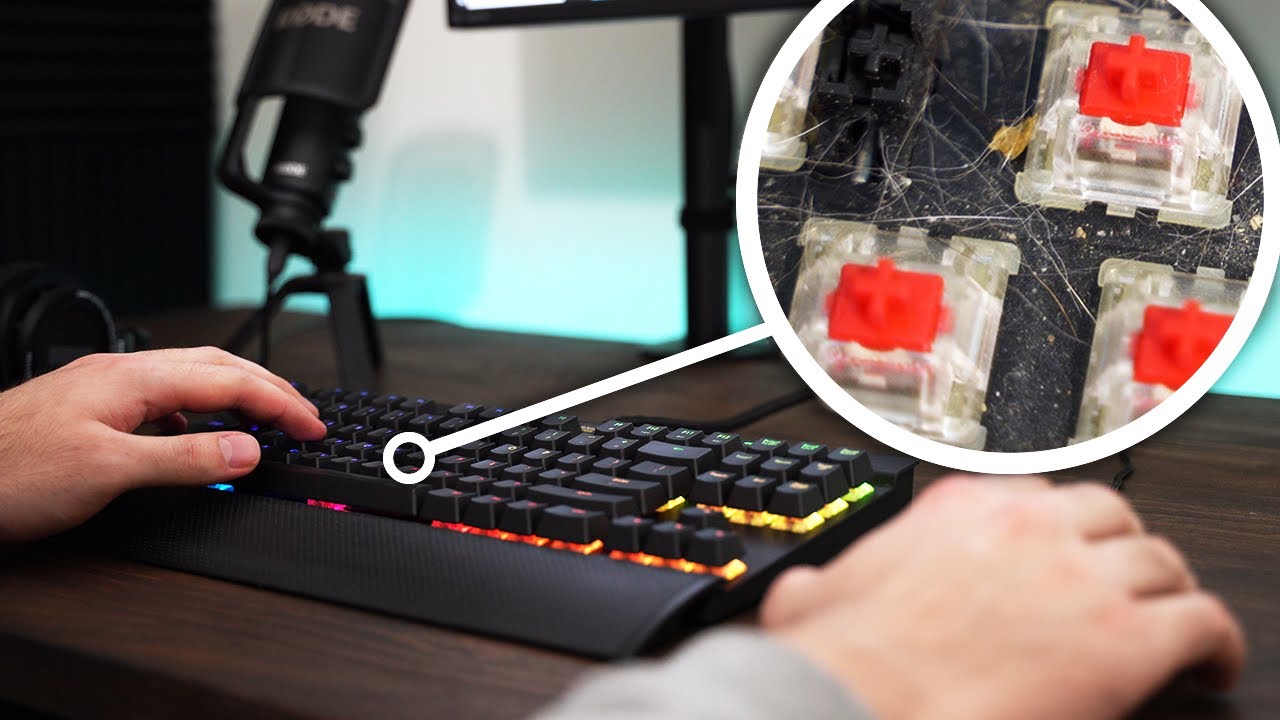
When it comes to using a keyboard on a daily basis, wear and tear are inevitable. Over time, the keys on your keyboard may start to feel sticky, lose their responsiveness, or simply become frustrating to use. In such cases, it may be necessary to remove and replace the keyboard switches to restore optimal performance.
Whether you’re a gamer looking for precision in your keystrokes or a writer seeking smooth typing experience, knowing how to remove keyboard switches can come in handy. This skill allows you to improve the functionality and lifespan of your keyboard, saving you the expense of purchasing a new one.
In this guide, we’ll take you through the step-by-step process of removing keyboard switches. We’ll provide you with essential tips and expert advice to ensure that you can successfully navigate this procedure without damaging your keyboard.
Before we dive into the details, it’s important to note that this process may vary depending on the type of keyboard you have. Different keyboards may have different mechanisms for attaching switches and keycaps. Therefore, it’s crucial to consult your keyboard’s user manual or do preliminary research to familiarize yourself with the specific components and methods pertaining to your keyboard model.
Tools and Materials Needed
Before you begin the process of removing keyboard switches, it’s important to gather the necessary tools and materials. Here’s a list of items you’ll need:
– Keycap Puller: This is a small tool specifically designed to safely remove keycaps from the keyboard without causing damage. It usually has a wire loop or prongs that fit under the keycap for easy removal.
– Retaining Clip Remover: Some keyboards have retaining clips that keep the switches in place. A retaining clip remover tool is essential for safely removing these clips without bending or breaking them.
– Switch Puller: In cases where the switches are not held in place by retaining clips, a switch puller can be used to remove the switches. This tool consists of a pair of tweezers or pliers that grip the sides of the switch for easy extraction.
– Cleaning Solution: While not a tool, a cleaning solution is important to have on hand to thoroughly clean the switches, keycaps, and other keyboard components. You can use rubbing alcohol or a mild cleaning solution specifically designed for electronics.
– Microfiber Cloth or Cotton Swabs: These are essential for wiping down the components after cleaning. They help remove dirt, grime, and any residual cleaning solution.
– Replacement Switches (optional): If you’re planning to replace the switches, make sure to have the appropriate replacement switches ready. Research and choose switches that match your typing preferences and are compatible with your keyboard.
– Workspace: Set up a clean and well-lit workspace where you can comfortably work on your keyboard. This will help prevent accidental damage and make it easier to keep track of small components.
Remember, it’s essential to have the right tools and materials before proceeding with the switch removal process. This will ensure that you can work efficiently and effectively, minimizing the risk of causing any damage to your keyboard.
Step 1: Detaching the Keycaps
The first step in removing keyboard switches is to detach the keycaps. The keycaps are the plastic covers that sit on top of the switches. Here’s how you can do it:
1. Start by powering off your computer or disconnecting the keyboard from the device to avoid any accidental inputs while working on it.
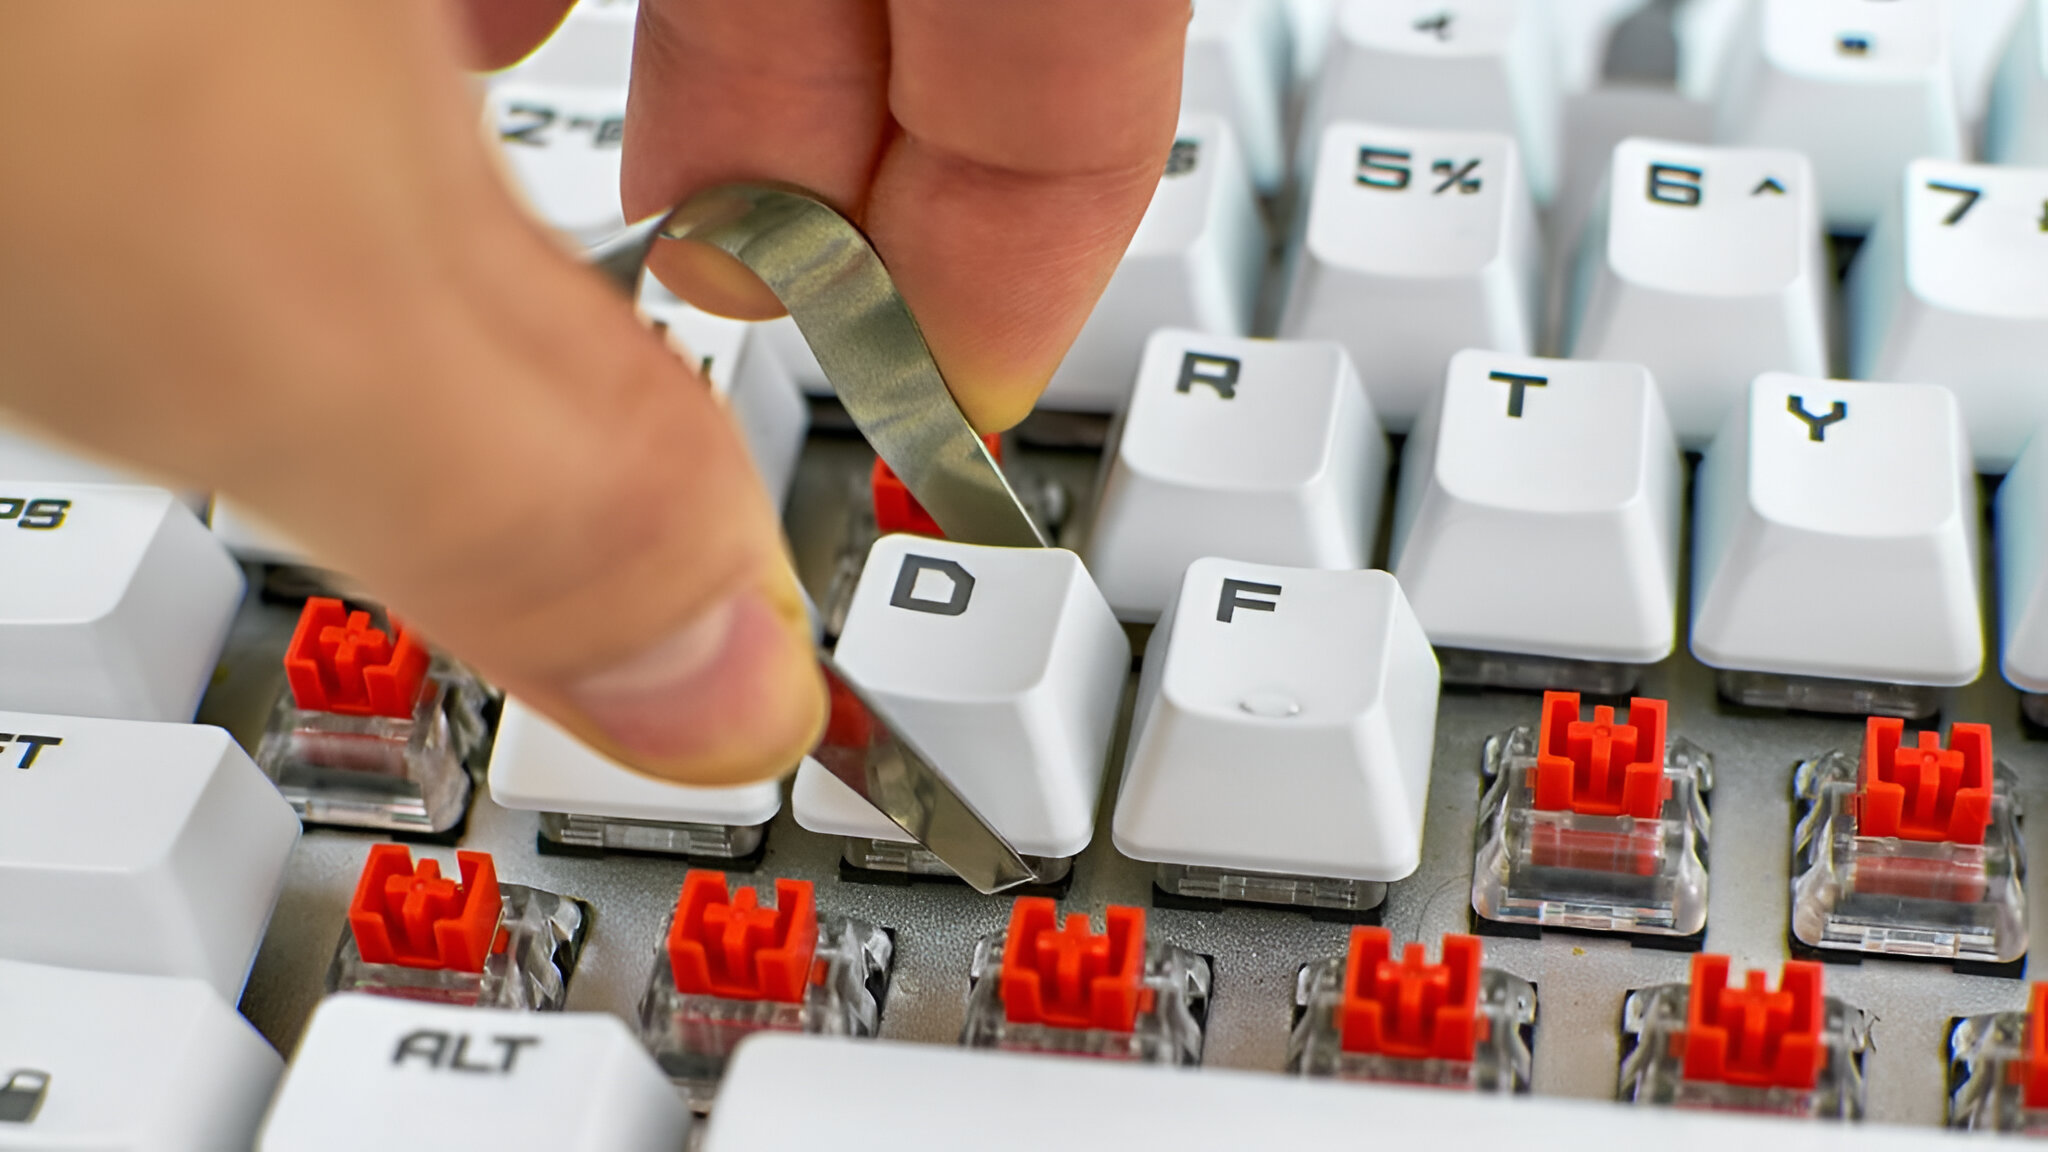
2. Using a keycap puller, gently insert the wire loop or prongs beneath the corner of a keycap. Be careful not to use excessive force to prevent damaging the keycap or the switch underneath.
3. Once the keycap puller is securely hooked onto the keycap, pull upwards gently until the keycap pops off. If you encounter resistance, wiggle the keycap slightly from side to side while pulling to disengage it.
4. Repeat this process to remove all the keycaps from the keyboard. Start from one corner and work your way across the keyboard systematically to ensure you don’t miss any keycaps.
5. Take care to keep the keycaps organized and in a safe place to avoid misplacing or losing them. You can use a small container or lay them out in a grid pattern on a clean surface.
Detaching the keycaps provides you with better access to the switches and prevents them from getting in the way during the following steps. It’s important to handle the keycaps with care to avoid any damage or warping. Proper removal and storage of the keycaps will make reassembling the keyboard much easier later on.
Step 2: Removing the Retaining Clips
In some keyboards, the switches are held in place by retaining clips. These clips can be delicate, so it’s important to handle them with care when removing them. Here’s how you can remove the retaining clips:
1. Locate the retaining clips that secure the switch in place. They are usually small plastic pieces that fit around the sides of the switch.
2. Using a retaining clip remover tool, carefully insert it under one side of the retaining clip. Gently pry the clip upwards to release it from the switch.
3. Repeat this process for the other side of the retaining clip. Take your time and apply gentle force to avoid bending or breaking the clip.
4. Once both sides of the retaining clip are released, carefully lift it out from the switch. Set it aside in a safe place where it won’t get lost or damaged.
5. Follow the same process for all the switches that are held in place by retaining clips.
Removing the retaining clips allows you to freely access and remove the switches from the keyboard. Be patient and cautious during this step to ensure you don’t damage the clips or the switches. Properly removing the retaining clips will make it easier for you to proceed with the next steps of the switch removal process.
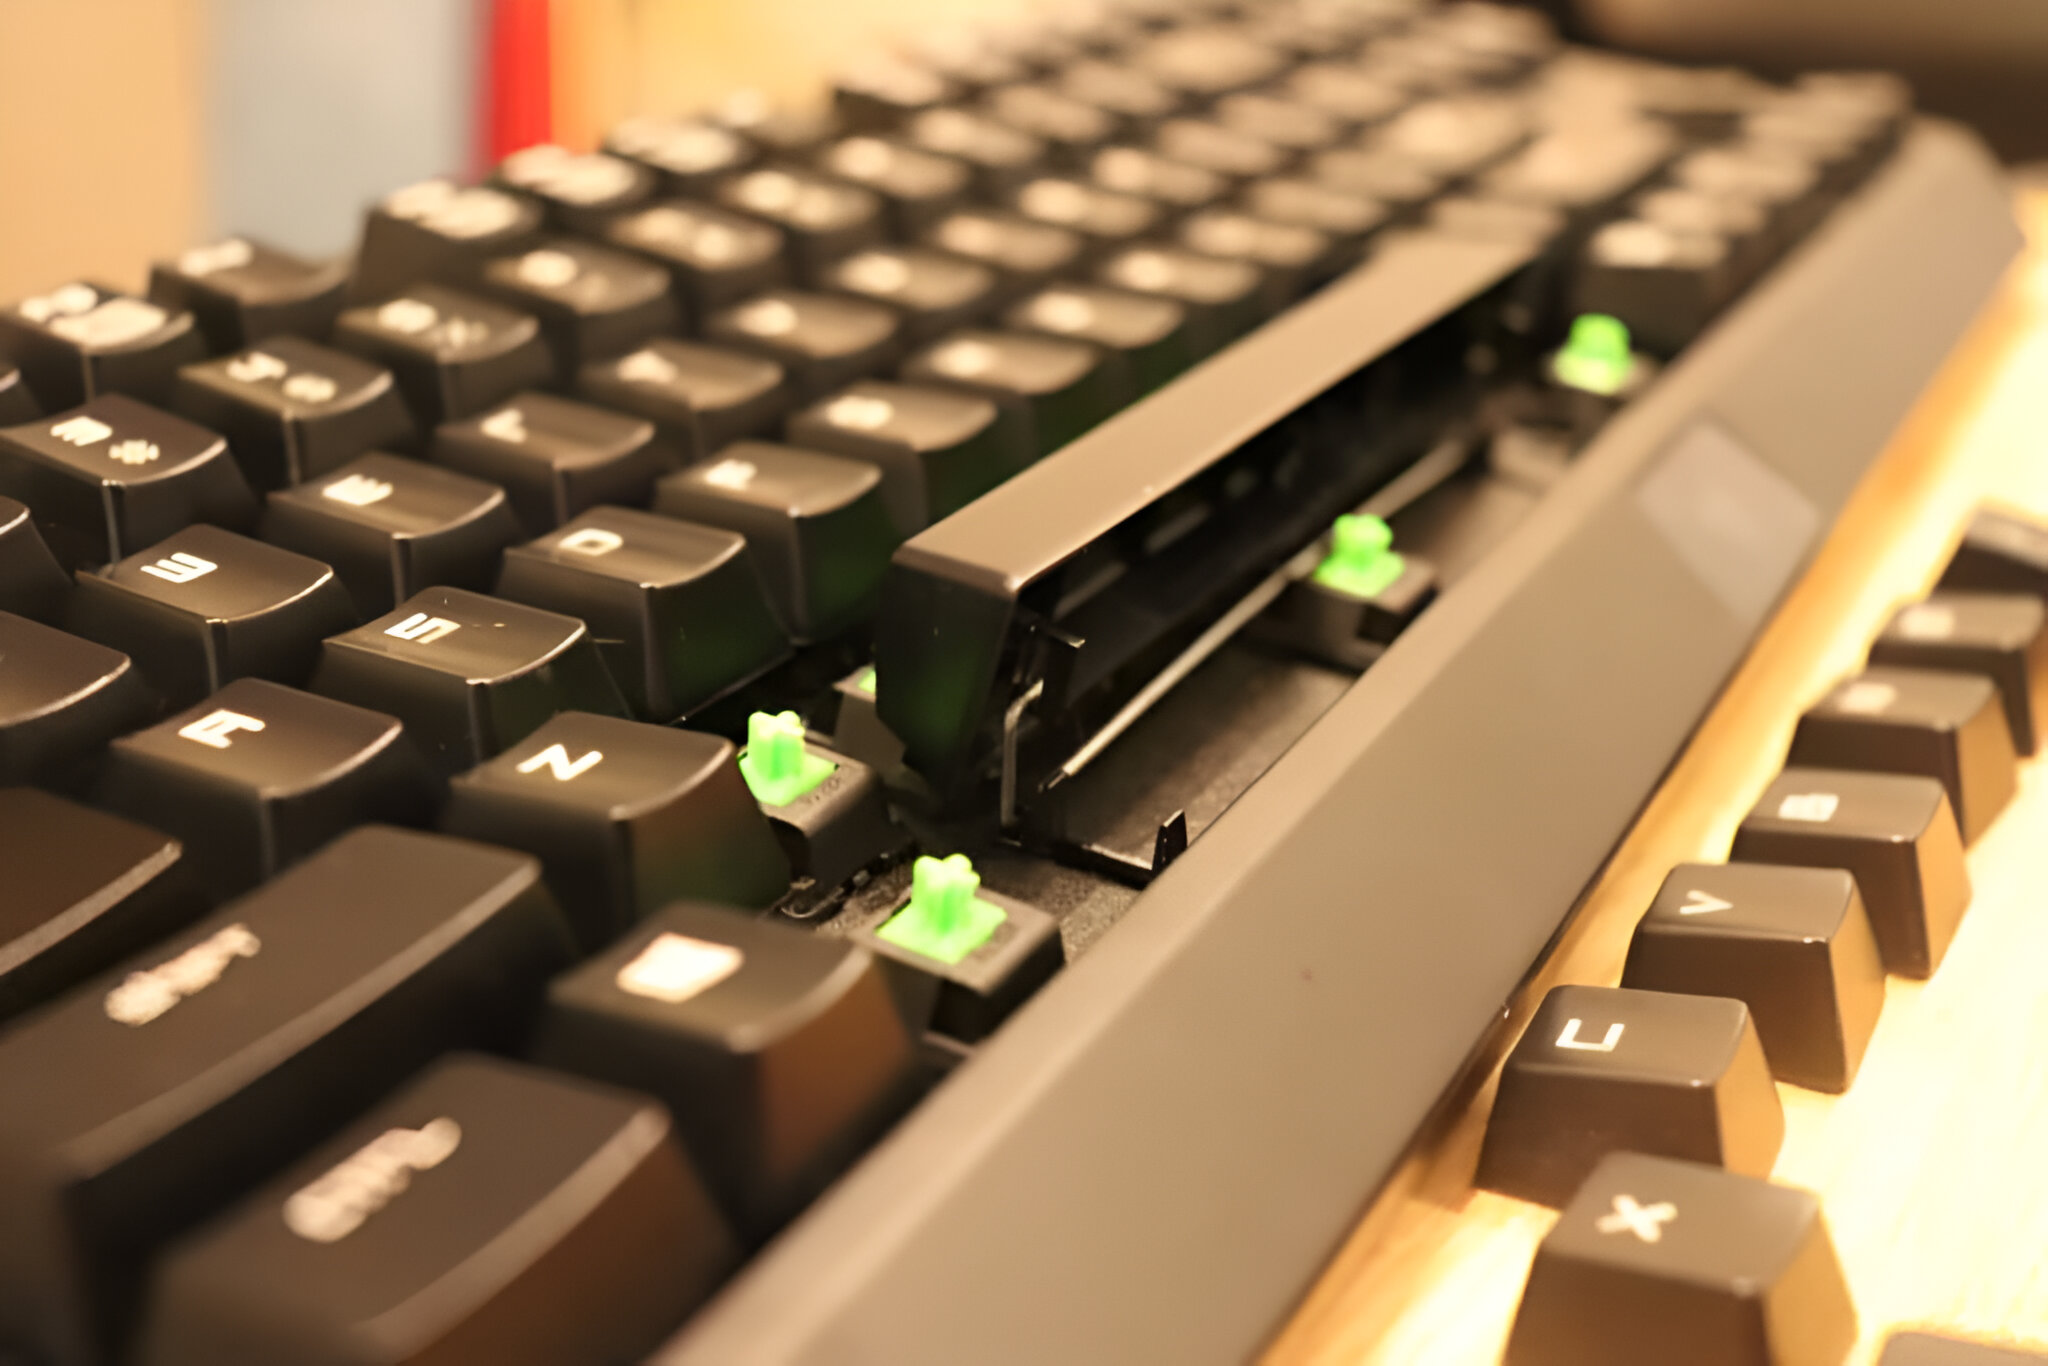
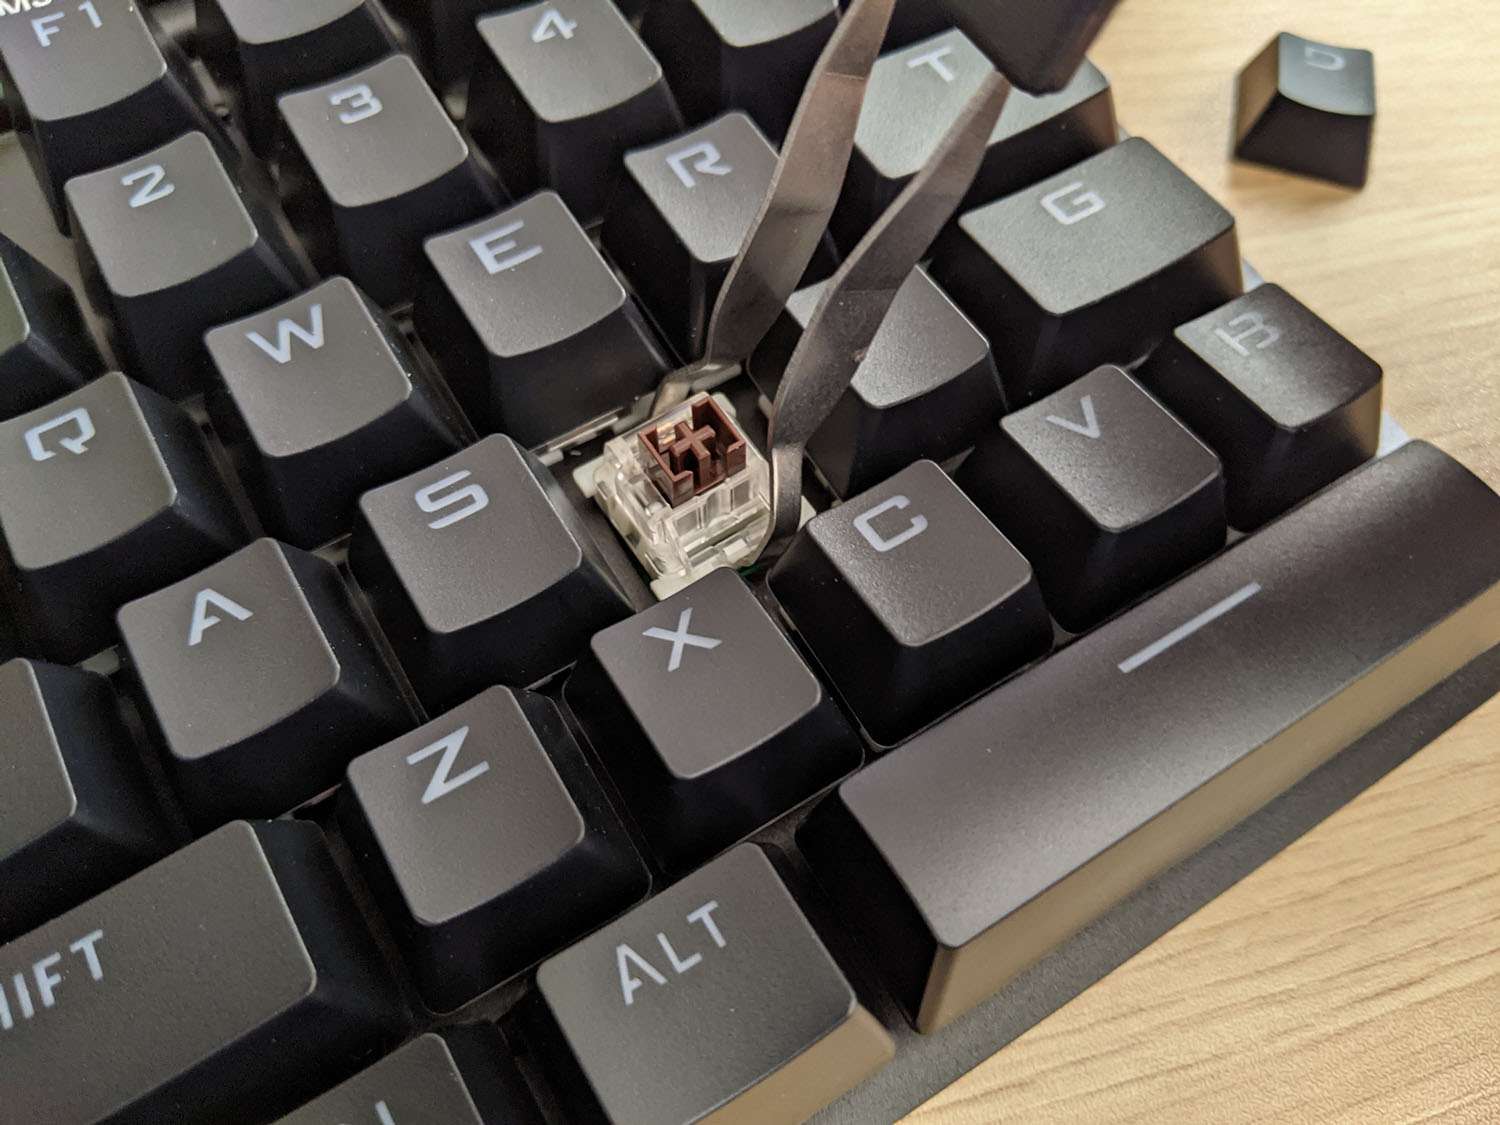
Step 3: Removing the Switch
With the keycaps and retaining clips out of the way, it’s now time to remove the keyboard switches. Here’s how you can do it:
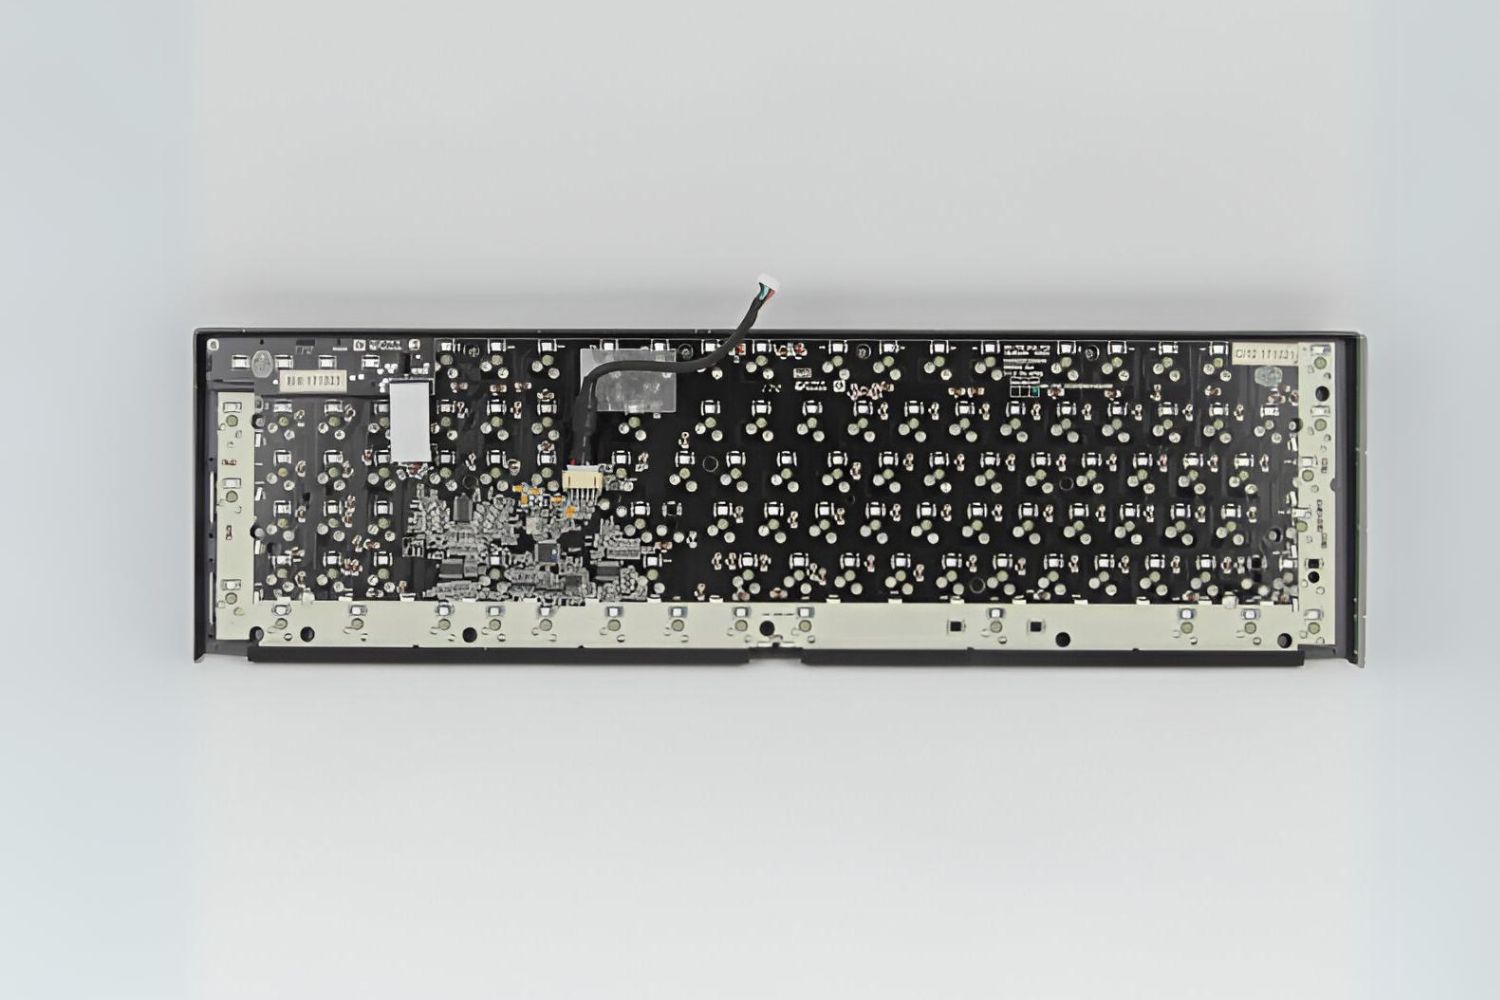
1. Locate the switch that you want to remove from the keyboard. It will be the component that is attached to the PCB (printed circuit board) beneath the keycap.
2. Using a switch puller tool, grip the sides of the switch firmly while avoiding excessive force that could damage the switch or the PCB.
3. Slowly and steadily pull the switch upwards in a rocking motion to detach it from the PCB. If you encounter resistance, wiggle the switch slightly from side to side while pulling to disengage it.
4. Once the switch is removed, set it aside in a safe place. If you plan to re-use the switch, ensure that it is clean and in good working condition.
5. Repeat this process for all the switches you want to remove from the keyboard.
Removing the switches requires a gentle touch to prevent any damage to the PCB or the switch itself. Take your time and be patient while removing the switches. If you plan to replace the switches, make a note of their positions for easy identification during reassembly.
Now that you have successfully removed the keyboard switches, you can move on to the next steps, which involve cleaning the keyboard and replacing the switches (if necessary).
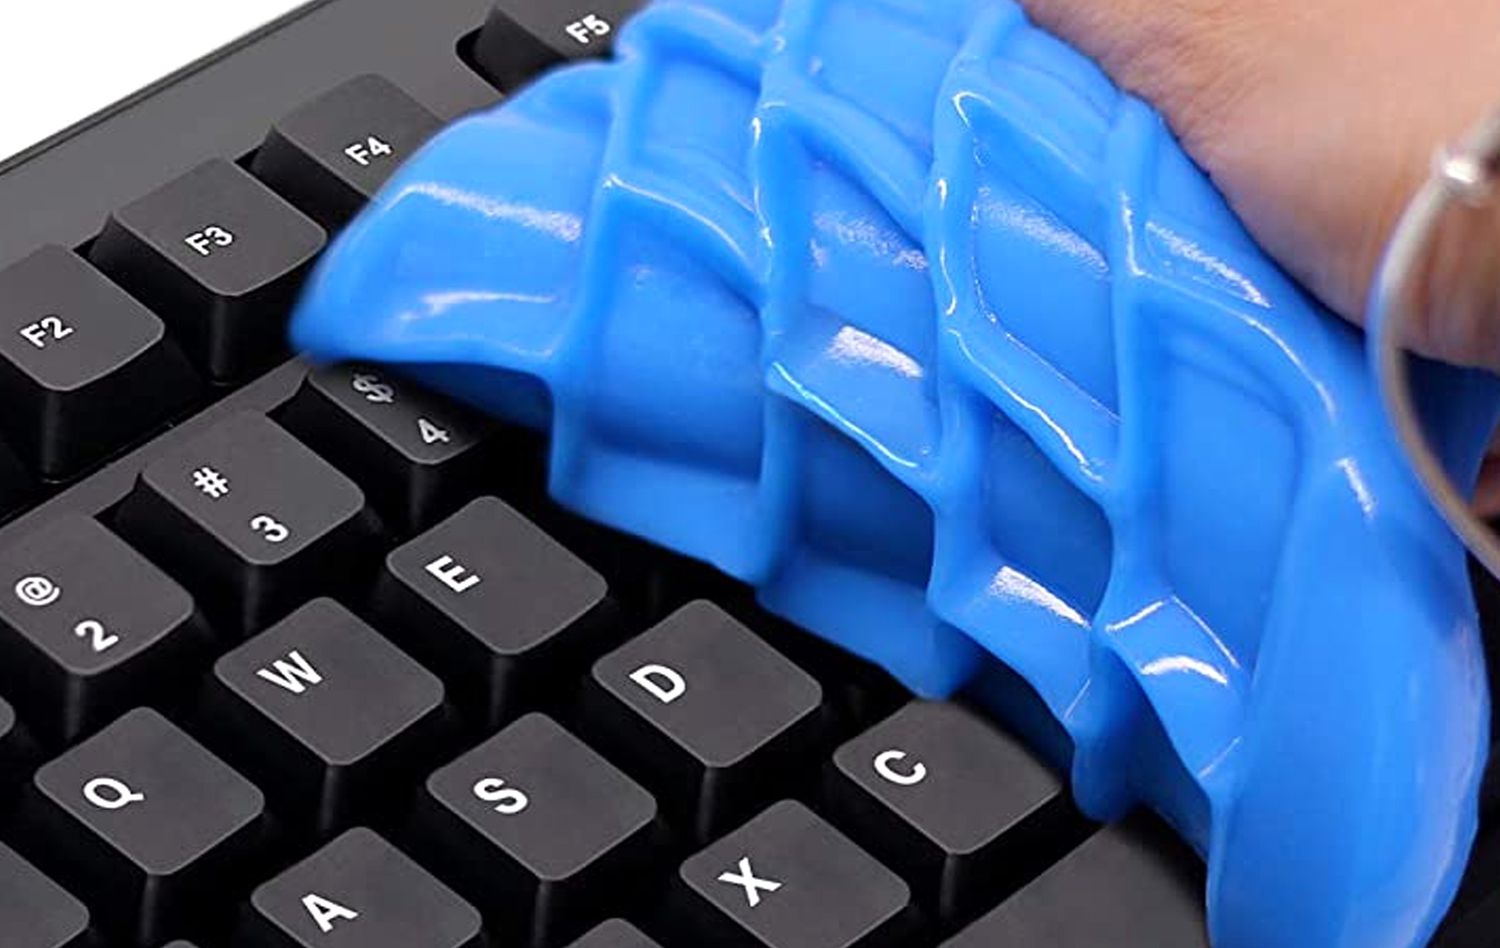
Step 4: Cleaning the Keyboard
Cleaning the keyboard is an essential step in maintaining its performance and longevity. Dirt, dust, and debris can accumulate over time, affecting the functionality of the switches and overall typing experience. Here’s how you can clean your keyboard effectively:
1. Start by powering off your computer or disconnecting the keyboard from the device to avoid any accidental inputs during the cleaning process.
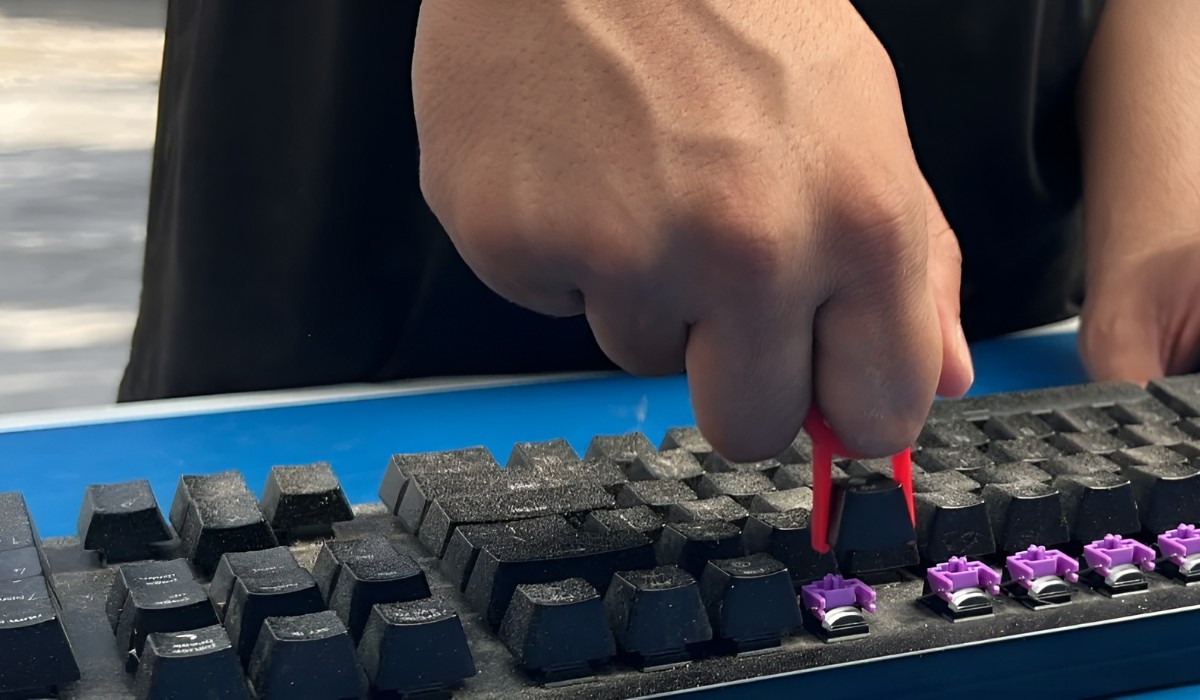
2. Use compressed air or a small brush to gently remove any loose debris or particles from the keyboard. Pay attention to the areas around the switches and keycaps, as these tend to collect the most dirt.
3. Prepare a cleaning solution by mixing isopropyl alcohol (rubbing alcohol) with a small amount of water. Dampen a microfiber cloth or cotton swab with the cleaning solution. Ensure that the cloth or swab is not soaked but only slightly damp.
4. Carefully clean each switch and keycap with the damp cloth or swab. Wipe the switch housing and stem, as well as the surface of the keycap, to remove any dirt or residue. Take care not to apply excessive pressure that may cause damage.
5. For hard-to-reach areas and stubborn stains, you can use a toothbrush or a Q-tip dipped in the cleaning solution. Gently scrub the areas to dislodge any grime or buildup.
6. Once you have cleaned all the switches and keycaps, use a dry microfiber cloth or cotton swab to remove any remaining moisture and ensure the components are completely dry.
Properly cleaning your keyboard will improve its performance and extend its lifespan. Regular maintenance and cleaning are recommended to keep your keyboard in optimal condition. Once you have completed the cleaning process, you can proceed to the next steps, which involve replacing the switches (if necessary) and reassembling the keyboard.
Step 5: Replacing the Switch
If you have chosen to replace a switch, this step will guide you through the process:
1. Start by identifying the specific switch that needs to be replaced. Make sure you have the appropriate replacement switch that is compatible with your keyboard model.
2. Take the new switch and align it with the empty switch socket on the PCB. Ensure that the pins of the switch match the corresponding holes on the PCB.
3. Gently press down on the switch, applying even pressure, until it clicks into place on the PCB. Make sure the switch is firmly seated and securely attached.
4. Repeat this process for any additional switches that need to be replaced, ensuring that each replacement switch is properly aligned and securely installed.
5. If necessary, refer to the documentation or manual of your keyboard to ensure that all the replacement switches are correctly positioned.
Replacing a switch can require precision and attention to detail. Take your time to ensure that each switch is correctly installed, avoiding any potential damage to the PCB or other components. With the replacement switches in place, you can proceed to the final step: reassembling the keyboard.
Step 6: Reassembling the Keyboard
Now that you have cleaned the keyboard and replaced any necessary switches, it’s time to reassemble the keyboard. Follow these steps to put everything back together:
1. Retrieve the keycaps that you removed earlier. Ensure that they are clean and free from any dirt or residue.
2. Start by aligning the keycap over the corresponding switch. Gently press down until you hear a satisfying click or feel the keycap fully seated on the switch.
3. Repeat this process for all the keycaps, ensuring that each keycap is correctly positioned and securely attached to the switches.
4. If your keyboard has retaining clips, carefully place them back onto the switches. Ensure that the clips are properly aligned and fully engaged on both sides of the switch.
5. Double-check and ensure that all the keycaps are securely attached and aligned. Pay attention to the keycaps at the edges of the keyboard to ensure they are properly aligned with the case.
6. Once you have confirmed that all the keycaps and retaining clips are in place, turn on your computer or reconnect the keyboard to your device.
7. Test the keyboard to ensure that all the keys are functioning correctly. Pay attention to any switches that you have replaced to ensure they are working as intended.
By following these steps, you can successfully reassemble your keyboard after removing and replacing the switches. Take your time and pay attention to detail to ensure everything is properly aligned and functioning optimally.
Remember, proper maintenance and care of your keyboard will help prolong its lifespan and ensure a smooth typing experience. Regular cleaning and occasional switch replacements can keep your keyboard in top-notch condition for years to come.
Conclusion
Removing and replacing keyboard switches can be a valuable skill to have when faced with keyboard issues or when seeking to upgrade your typing experience. By following the step-by-step process outlined in this guide, you can successfully remove and replace the switches in your keyboard.
Remember to gather all the necessary tools and materials before starting the process, and be mindful of the specific components and mechanisms of your keyboard model. Take your time, be gentle, and exercise caution to avoid damaging any of the keyboard components.
Cleaning the keyboard and replacing switches, if needed, can greatly improve the performance and functionality of your keyboard. Regular maintenance and care will ensure a longer lifespan for your keyboard and provide a better typing experience.
If you’re unsure about any step of the process or if you encounter any difficulties, it’s always a good idea to consult the user manual of your keyboard or seek professional assistance.
By implementing the techniques and tips outlined in this guide, you can keep your keyboard in excellent condition and enjoy a seamless and comfortable typing experience for years to come.