Introduction
Welcome to our guide on how to remove an Antec CPU cooler. If you’re experiencing issues with your CPU temperature or are planning to upgrade your cooling system, removing your current Antec CPU cooler is the first step. While the process may seem daunting, with the right tools and careful steps, it can be easily accomplished.
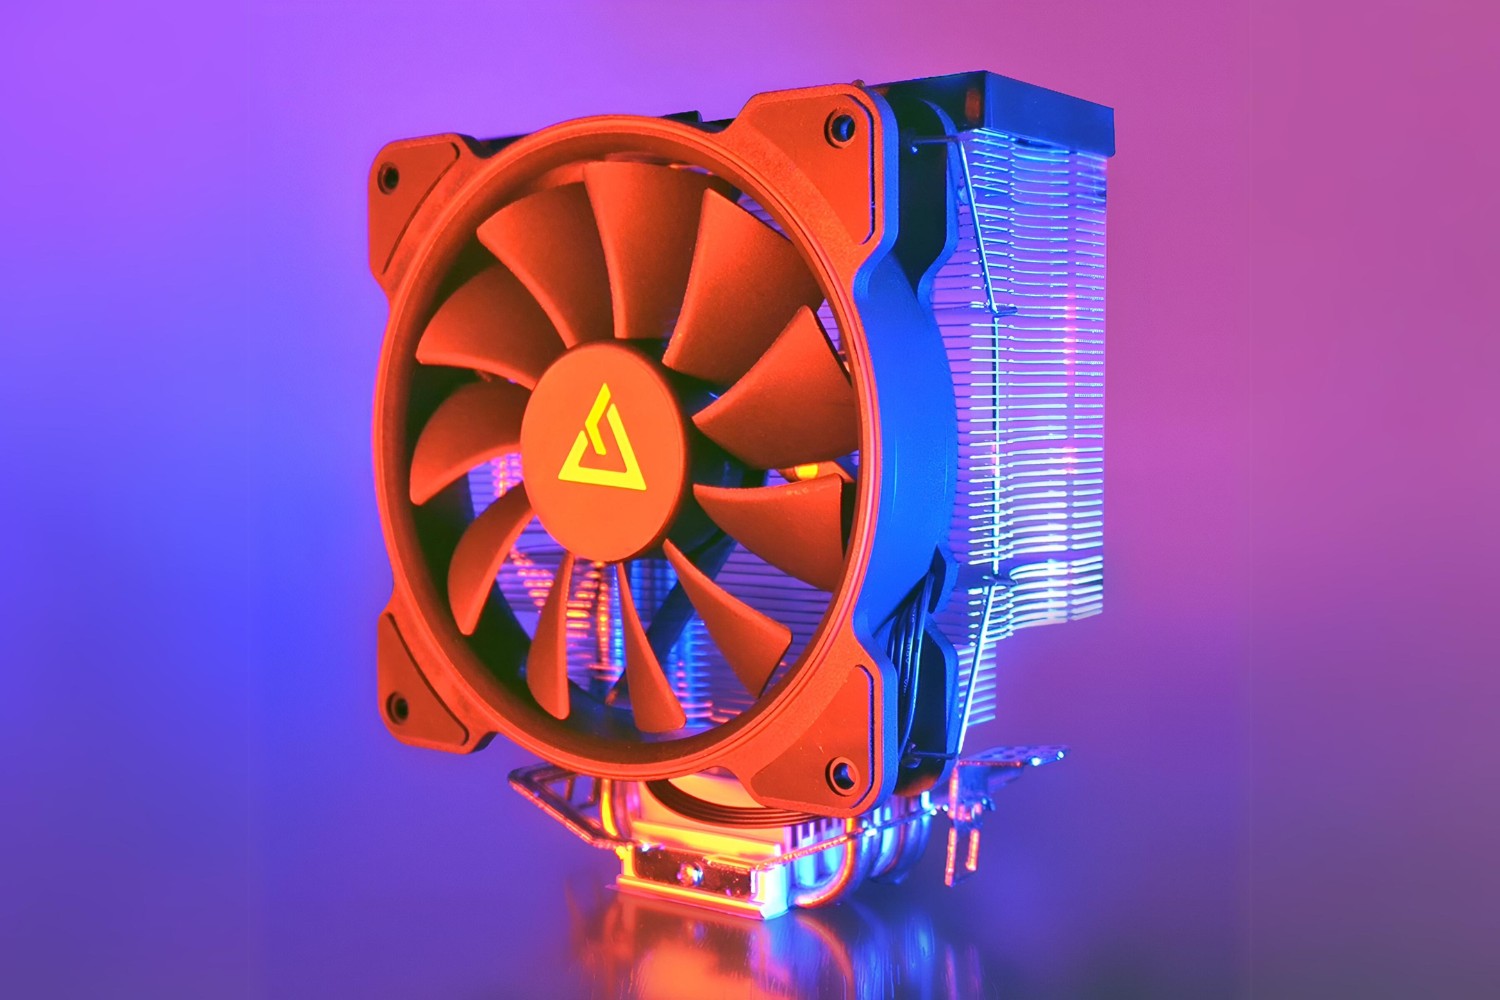
An Antec CPU cooler is designed to keep your processor cool during intensive tasks, preventing overheating and potential damage. However, there are times when you may need to remove the cooler, such as when cleaning the CPU or replacing it with a more advanced cooling solution.
In this guide, we will walk you through the step-by-step process of safely removing an Antec CPU cooler. From gathering the necessary tools and materials to disconnecting the power connector and removing the cooler’s components, we’ll provide detailed instructions to ensure you can complete the task with ease and confidence.
It is important to note that removing a CPU cooler and handling computer components requires caution and attention to detail. Always ensure that you are working in a static-free environment, and take necessary precautions to avoid damaging any internal components of your computer.
Now let’s get started and learn how to remove an Antec CPU cooler!
Step 1: Gather the necessary tools and materials
Before you begin removing the Antec CPU cooler, it’s important to gather all the tools and materials you’ll need. Having these items on hand will ensure a smooth and efficient process. Here are the tools and materials you’ll need:
- Screwdriver set: Ensure you have a variety of screwdrivers in different sizes to handle various screws on your CPU cooler and computer case.
- Rubbing alcohol: This will be used for cleaning the CPU surface and removing any thermal paste residue.
- Clean lint-free cloth or paper towels: These will be used to wipe away the thermal paste and clean the CPU surface.
- Antistatic wrist strap (optional): While not necessary, using an antistatic wrist strap can help prevent static discharge and protect sensitive computer components.
- Thermal paste (optional): If you plan on reusing the same CPU cooler or installing a new one, you may need thermal paste to ensure proper heat transfer.
Make sure you have all the tools and materials ready before proceeding to the next steps. This will save you time and prevent any delays during the removal process. It’s also a good idea to have a clean and well-organized workspace, free from clutter and static hazards.
With all the tools and materials gathered, you’re now ready to move on to the next step: shutting down and unplugging your computer.
Step 2: Shut down and unplug your computer
Before you begin removing the Antec CPU cooler, it’s important to shut down your computer properly and disconnect the power source. This will help prevent any damage to your computer components and ensure your safety during the removal process. Follow these steps:
- Save any open files and close all programs running on your computer.
- Click on the “Start” button in the bottom left corner of your screen and select “Shut Down” from the menu.
- Wait for your computer to fully shut down. You may see a message indicating that it’s safe to turn off your computer.
- Once your computer is shut down, unplug the power cord from the back of your computer or from the power outlet.
- It’s also recommended to ground yourself by touching a metal surface or using an antistatic wrist strap. This helps discharge any static electricity and prevents damage to sensitive computer components.
By shutting down and unplugging your computer, you ensure that there is no power running through the system, reducing the risk of electrical shock or damage to the CPU cooler or other computer parts. Once you’ve completed this step, you’re ready to move on to the next step: removing the side panel of your computer case.
Step 3: Remove the side panel of your computer case
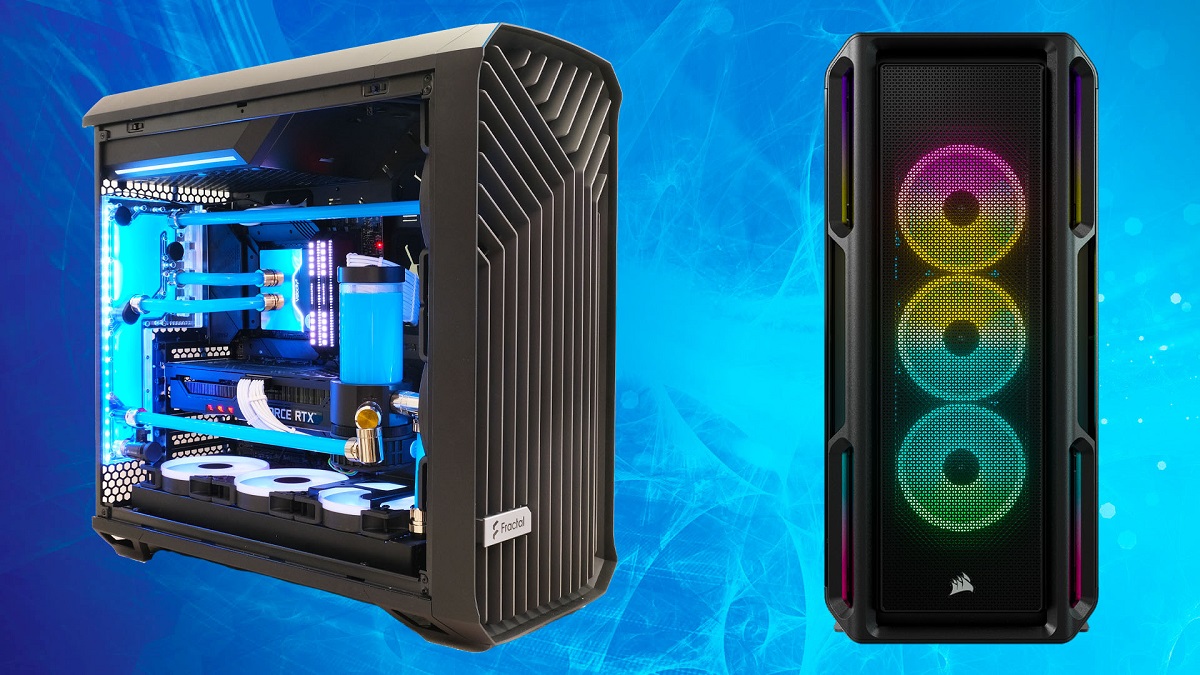
With your computer shut down and unplugged, it’s time to remove the side panel of your computer case. This will provide access to the internal components, including the CPU cooler. Follow these steps:
- Place your computer on a stable surface, ensuring that it is in a position where you can easily access the side panel.
- Identify the screws or fasteners that secure the side panel to the computer case. These are usually located on the rear or side of the case.
- Use a screwdriver to loosen and remove the screws or fasteners. It may be necessary to hold the side panel while removing the screws to prevent it from falling.
- Once all the screws or fasteners are removed, gently slide the side panel towards the back of the case to disengage it from the case’s frame.
- Set the side panel aside in a safe place where it won’t get damaged or misplaced.
Some computer cases may have different mechanisms for removing the side panel, such as latches or thumb screws. Refer to your computer case’s documentation or manufacturer’s website for specific instructions if needed.
Now that you have successfully removed the side panel, you will have a clear view of the internal components, including the Antec CPU cooler. The following steps will guide you through the process of safely disconnecting the CPU cooler’s power connector.
Step 4: Disconnect the CPU cooler power connector
Before removing the CPU cooler from your motherboard, you’ll need to disconnect the power connector that supplies it with electricity. Follow these steps to safely disconnect the CPU cooler’s power connector:
- Locate the power connector of the CPU cooler. It is typically connected to the motherboard near the CPU socket.
- If the power connector is held in place by a latch or clip, gently release it by pushing or sliding the latch.
- Once the latch is released, carefully disconnect the power connector by gently pulling it away from the motherboard.
- Ensure that you’re pulling the power connector straight and not at an angle to avoid bending the pins on the motherboard.
- If the power connector is not secured with a latch, it may be a standard plug. In this case, gently pull the power connector straight out from the socket to disconnect it.
Once the power connector is disconnected, you have successfully severed the electrical connection between the CPU cooler and the motherboard. This ensures that there is no power running through the cooler, making it safe to proceed with the removal process.
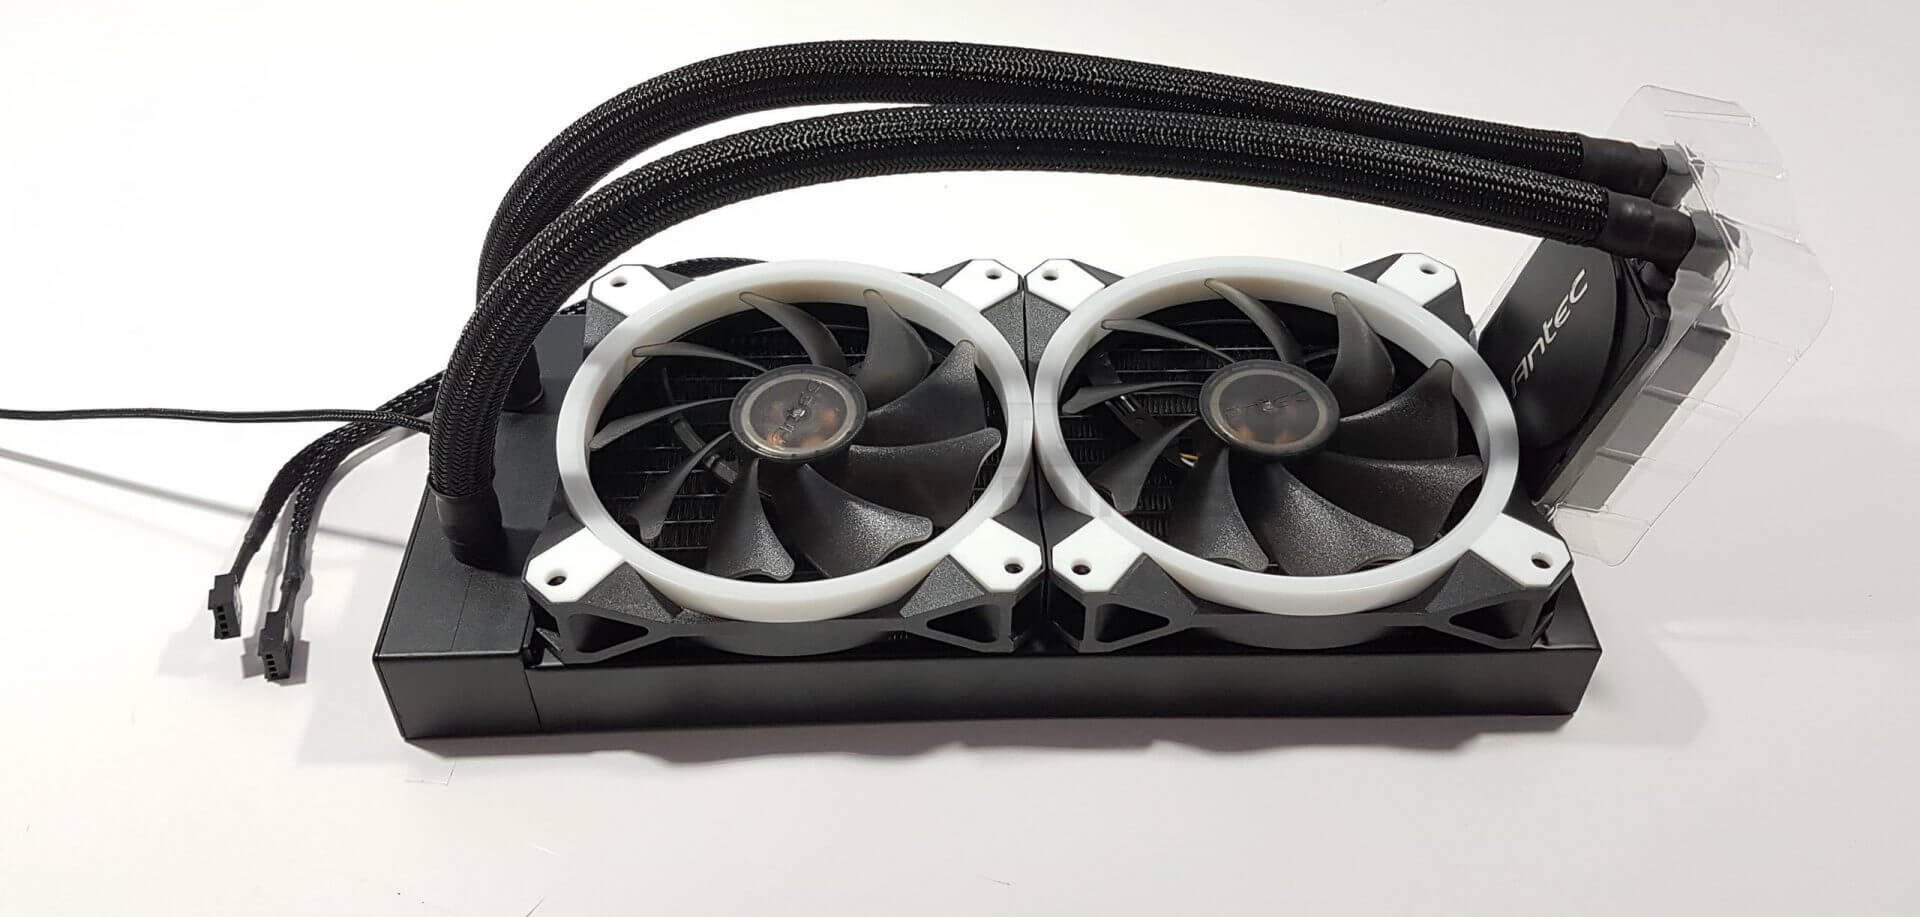
Keep in mind that some CPU coolers may have additional cables or connectors, such as fan controllers or RGB lighting. These should also be disconnected before proceeding to the next steps. Refer to your specific CPU cooler’s documentation for any additional instructions.
With the CPU cooler’s power connector disconnected, you’re now ready to remove the CPU cooler fan in the next step.
Step 5: Remove the CPU cooler fan
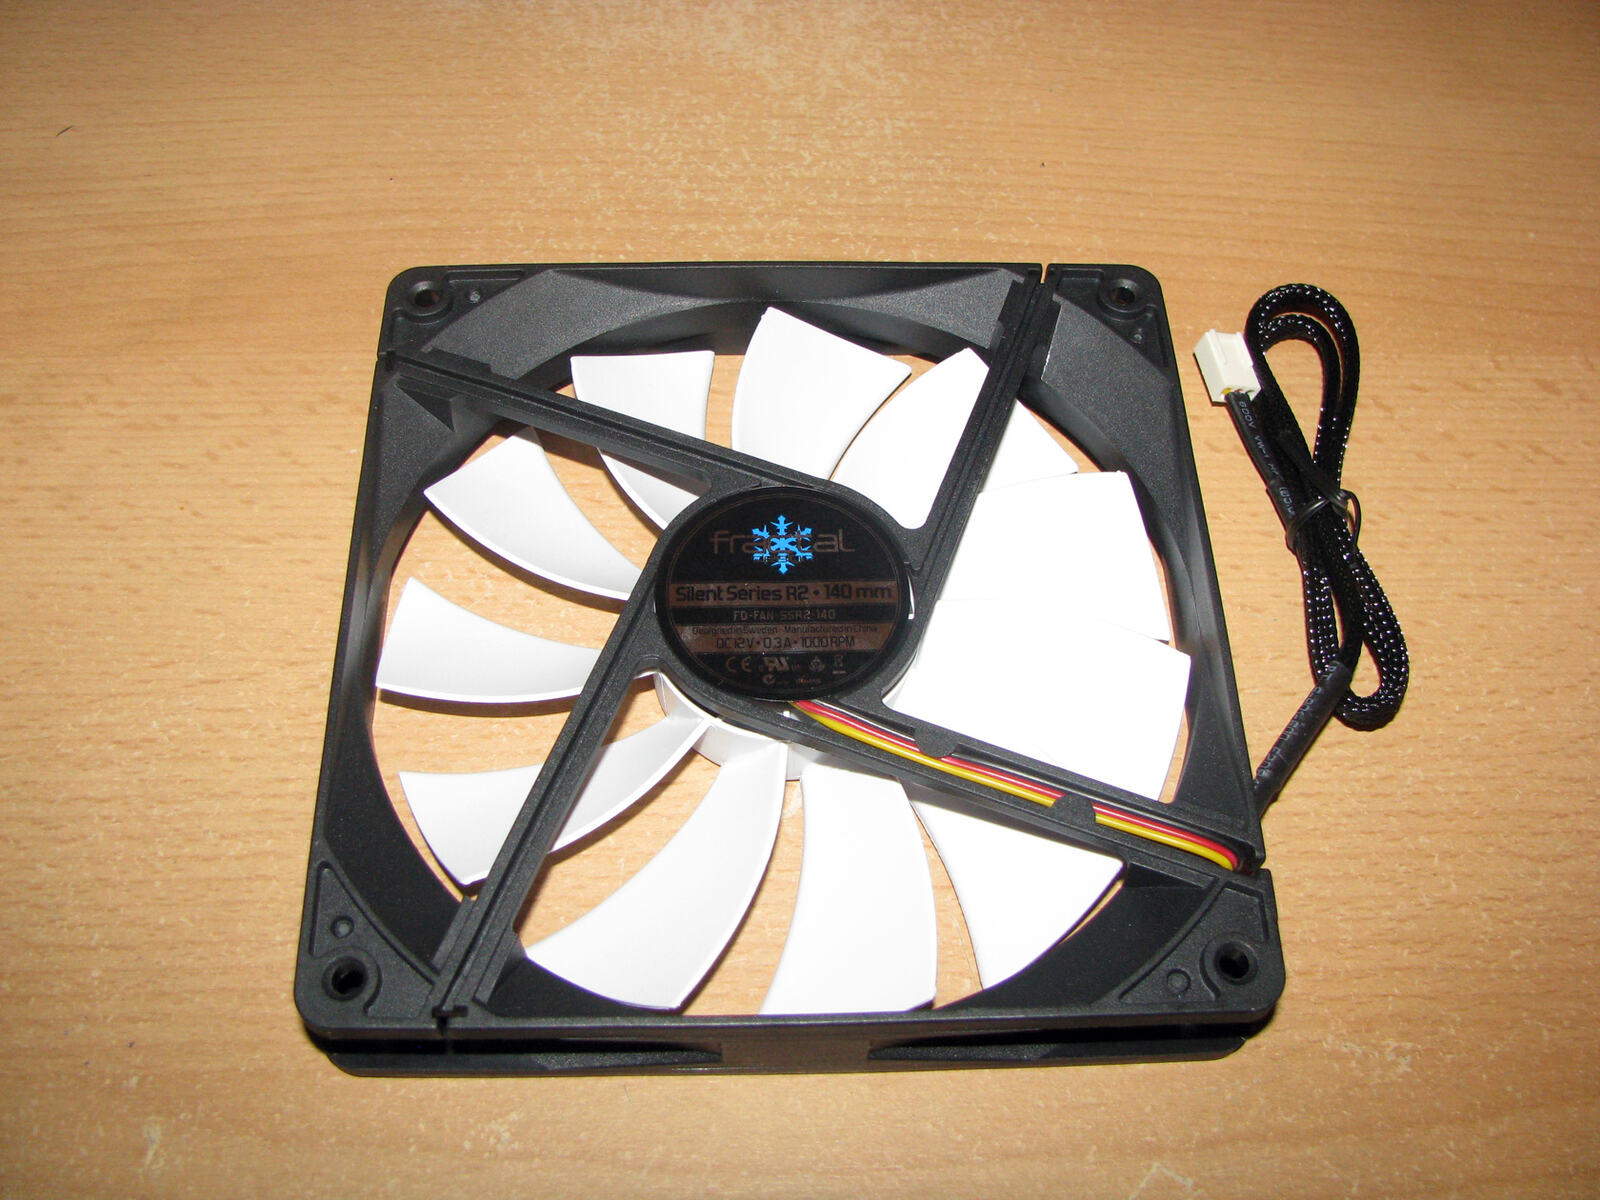
Now that the CPU cooler’s power connector is disconnected, it’s time to remove the CPU cooler fan. Follow these steps to safely remove the fan from the cooler:
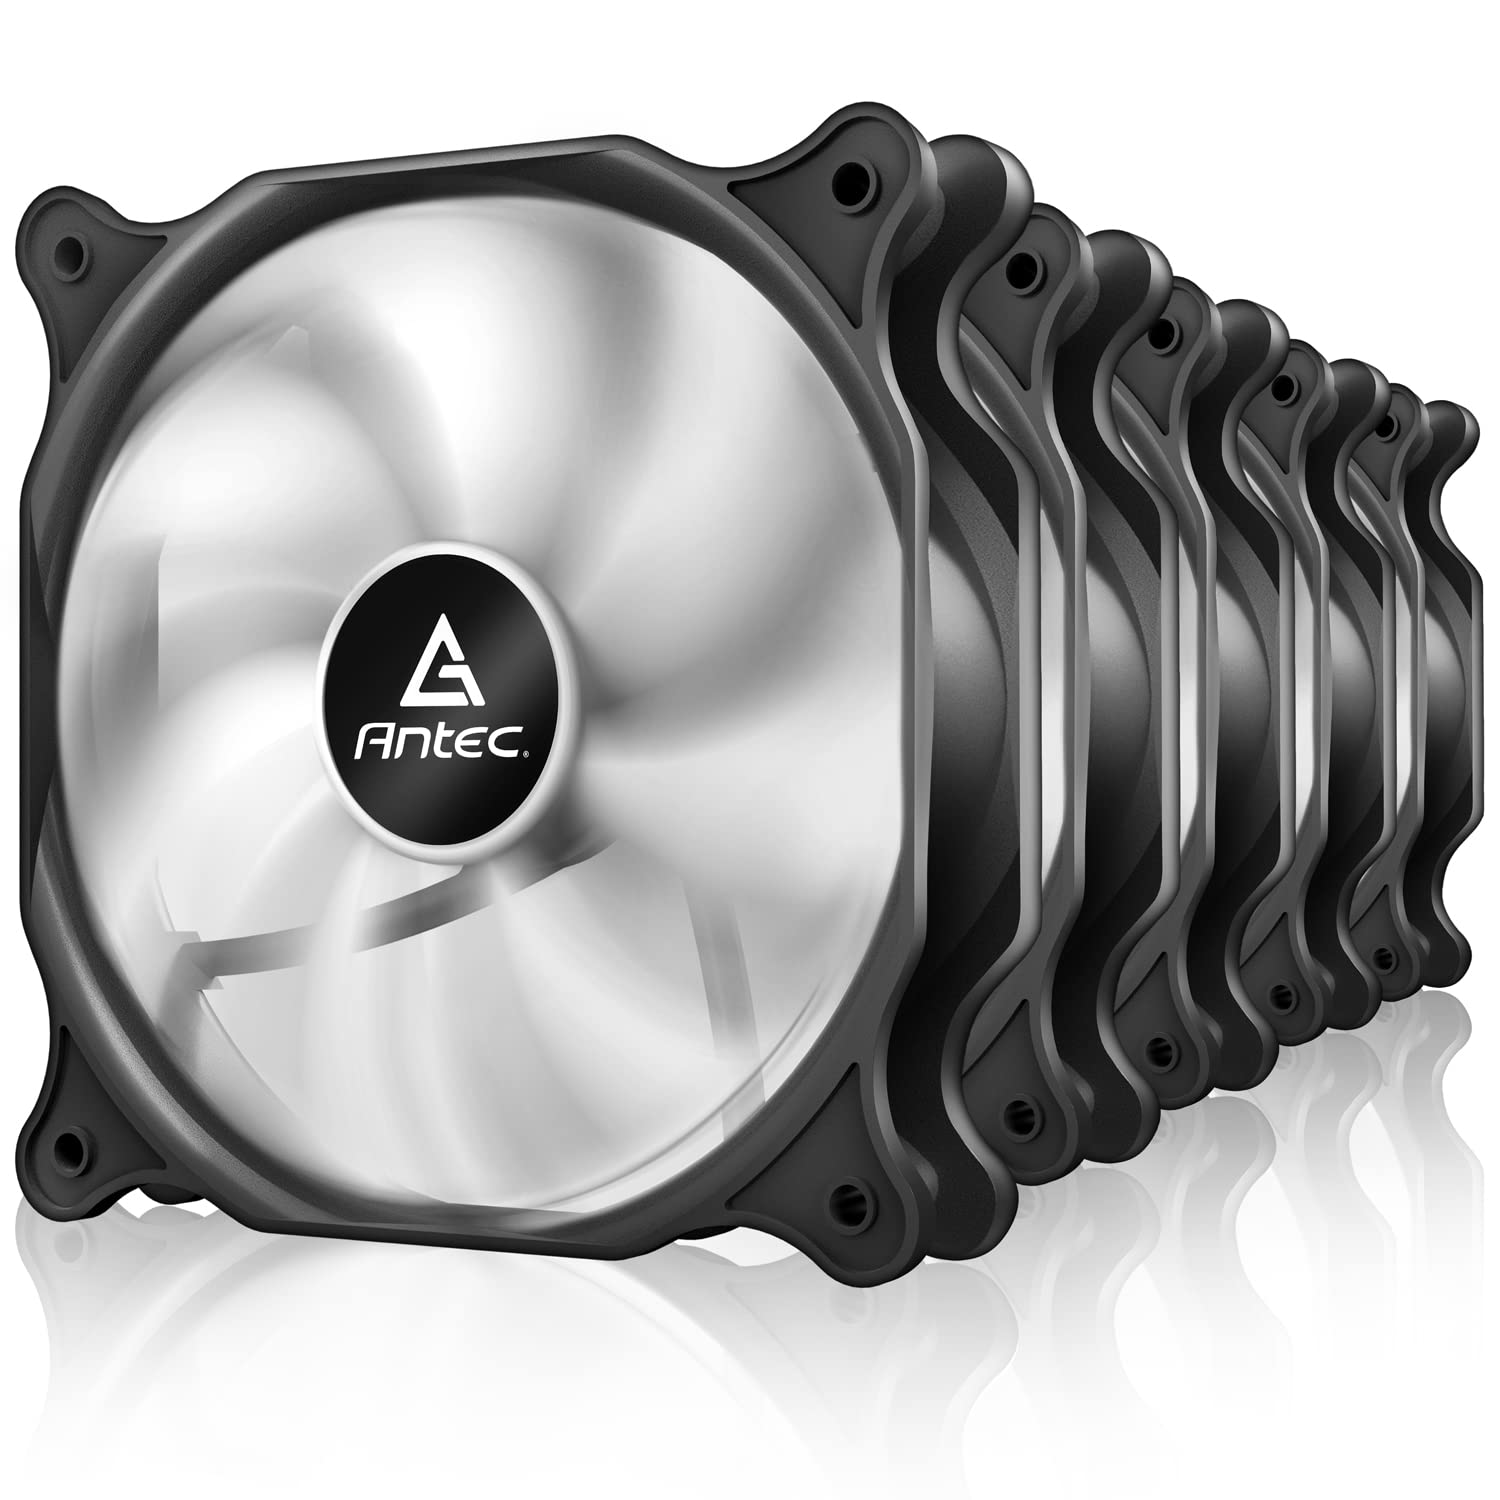
- Inspect the CPU cooler and locate the screws or clips that secure the fan in place.
- Use a screwdriver to carefully loosen and remove the screws, or release the clips that hold the fan in place.
- Once the screws are removed or the clips are released, gently lift the fan away from the CPU cooler.
- Be mindful of any cables attached to the fan, such as the fan’s power cable or RGB lighting cables. Ensure they are disconnected or gently maneuver them to avoid any damage.
- Set the fan aside in a safe location, taking care not to place it on any delicate surfaces that could potentially damage the fan blades or connectors.
During the process, be careful not to apply excessive force or pull on the fan abruptly, as this can damage the cooler or the fan itself. Take your time and handle the fan with care.
Removing the fan provides access to the CPU cooler’s heat sink, which we’ll cover in the next step. Keep the removed fan in a secure place and take note of its orientation if you plan on reusing it later.
Now that the fan is removed, we are ready to move on to the next step: removing the CPU cooler’s heat sink.
Step 6: Remove the CPU cooler heat sink
With the CPU cooler fan removed, it’s time to remove the CPU cooler’s heat sink. Follow these steps to safely remove the heat sink from the CPU:
- Carefully locate and identify the screws or clips that secure the heat sink to the CPU socket.
- If the heat sink is held in place by screws, use a screwdriver to loosen and remove them in a diagonal or crisscross pattern. This ensures even pressure is applied when releasing the heat sink.
- Alternatively, if the heat sink is secured by clips, carefully release the clips by pushing or lifting them away from the CPU socket.
- Once the screws or clips are released, gently rock the heat sink from side to side to loosen it from the CPU surface. Be cautious not to exert excessive force to avoid damaging the CPU or the motherboard.
- Eventually, the heat sink should come loose from the CPU. Hold the heat sink firmly and lift it away from the CPU socket.
As you remove the heat sink, there may be a slight resistance due to dried thermal paste. If you encounter resistance, avoid twisting or pulling forcefully, as this may damage the CPU or the motherboard. Instead, gently continue rocking the heatsink until it separates from the CPU.
Once the heat sink is removed, keep it in a safe place, ensuring that it is placed on a stable surface. Avoid placing it on any delicate or uneven surfaces that could cause damage to the heat sink or its components.
With the CPU cooler’s heat sink removed, it’s time to move on to the next step: cleaning the CPU surface.
Step 7: Clean the CPU surface
After removing the CPU cooler’s heat sink, it’s essential to clean the surface of the CPU before installing a new cooler or reapplying thermal paste. Follow these steps to ensure a clean and properly prepared CPU surface:
- Using a clean, lint-free cloth or paper towels, gently wipe away any excess thermal paste from the surface of the CPU.
- If the thermal paste is stubborn or difficult to remove, you can dampen the cloth or paper towel with a small amount of rubbing alcohol. Be careful not to overly saturate it.
- Gently rub the cloth or paper towel over the CPU surface, applying light pressure to remove any residue. Avoid using excessive force to prevent damaging the CPU.
- Ensure that the CPU surface is completely dry before proceeding. You can leave it to air dry for a few minutes or carefully use a hairdryer on a low setting to speed up the drying process.
- Once the CPU surface is clean and dry, visually inspect it to ensure there are no remnants of thermal paste or debris that could interfere with the installation of the new CPU cooler.
Cleaning the CPU surface is crucial to ensure proper heat transfer and to prevent any residual thermal paste from interfering with the performance of the new CPU cooler. Taking the time to clean the CPU surface ensures that the new cooler will make proper contact, allowing for optimal cooling efficiency.
With the CPU surface thoroughly cleaned, we can move on to the next steps, which involve installing a new CPU cooler (if desired) and applying thermal paste.
Step 8: Install a new CPU cooler (optional)
If you’re planning to replace your current Antec CPU cooler with a new one, this step will guide you through the installation process. Installing a new CPU cooler can help improve cooling performance and ensure the longevity of your processor. Follow these steps to install a new CPU cooler:
- Refer to the instructions provided with your new CPU cooler for specific guidance on the installation process. Different coolers may have different mounting mechanisms.
- Prepare the mounting brackets or backplate according to the instructions. These are often included with the new cooler and are used to secure the cooler to the motherboard.
- Align the mounting brackets or backplate with the designated holes on the motherboard, ensuring a proper fit.
- Secure the mounting brackets or backplate in place using the included screws or fasteners. Tighten them evenly to ensure the cooler is securely attached to the motherboard.
- Apply a small amount of thermal paste to the center of the CPU surface. Use a pea-sized dot or a thin line, depending on the instructions provided with your new cooler. Avoid applying too much thermal paste, as it can lead to poor heat transfer.
- Place the new CPU cooler on top of the thermal paste, aligning it with the mounting brackets or backplate.
- Ensure that the cooler’s heatsink makes proper contact with the CPU surface.
- Follow the instructions provided with the new cooler to secure it in place. This may involve tightening screws or fasteners on the cooler itself or the mounting brackets.
- Double-check that the cooler is securely installed and properly aligned.
It’s important to note that the installation process may vary depending on the specific CPU cooler model and manufacturer. Make sure to carefully read and follow the instructions provided by the cooler manufacturer to ensure a successful installation.
If you have chosen not to install a new CPU cooler, you can proceed to the next step, which involves applying thermal paste (if necessary) to the existing cooler. Otherwise, you can skip this step and move on to reassembling your computer.
Step 9: Apply thermal paste (optional)
Applying thermal paste is an important step in ensuring efficient heat transfer between the CPU and the CPU cooler. If you’re reusing your existing CPU cooler or have installed a new one without pre-applied thermal paste, follow these steps to apply thermal paste:
- Carefully clean the surface of the CPU cooler’s heat sink using a clean, lint-free cloth or paper towels. Ensure that it is free from any dust, debris, or old thermal paste remnants.
- Retrieve your thermal paste. It is recommended to use a high-quality thermal paste that is specifically formulated for CPU cooling.
- Squeeze a small amount of thermal paste onto the center of the CPU surface. The amount should be approximately the size of a small grain of rice or a pea, depending on the recommendations of the thermal paste manufacturer.
- Using a plastic card, spread the thermal paste evenly and thinly across the entire surface of the CPU. Ensure that the paste covers the entire CPU surface, but avoid applying too much pressure.
- Ensure that there are no air bubbles or gaps between the CPU and the heat sink. The thin layer of thermal paste will help facilitate optimal heat transfer.
- If necessary, refer to the instructions provided with your CPU cooler for any specific recommendations on applying thermal paste.
Properly applying thermal paste helps to fill in microscopic imperfections on the CPU and the heat sink, enabling better heat conduction between the two surfaces. This improves cooling efficiency and helps to prevent overheating.
If your CPU cooler already has pre-applied thermal paste or thermal pads, you may not need to apply additional thermal paste. Refer to the manufacturer’s instructions for your specific CPU cooler in such cases.
With the thermal paste applied (if necessary), you’re now ready to reassemble your computer in the final step.
Step 10: Reassemble your computer
Now that you have completed the necessary steps to remove and/or replace the Antec CPU cooler, it’s time to reassemble your computer. Follow these steps to put everything back together:
- Carefully place the CPU cooler back onto the CPU socket, ensuring that it aligns with the mounting brackets or backplate.
- If applicable, tighten the screws or fasteners on the CPU cooler to secure it in place. Follow the manufacturer’s instructions for tightening recommendations.
- Reconnect the CPU cooler’s power connector to the designated motherboard socket.
- If you had removed any additional cables or connectors, such as fan controllers or RGB lighting, make sure to reconnect them to the appropriate ports.
- Replace the side panel of your computer case by sliding it back into position and securing it with screws or fasteners.
- Make sure all the connectors, cables, and components inside your computer are properly seated and secured.
- Plug in the power cord and turn on your computer.
- Once your computer is powered on, check if the CPU cooler is functioning correctly by monitoring the temperatures and listening for any unusual noises.
- If everything appears to be working fine, you have successfully reassembled your computer after removing or replacing the Antec CPU cooler.
Remember to consult your computer’s manual, as well as the instructions provided with the Antec CPU cooler, for any specific guidelines or recommendations pertaining to the reassembling process.
Ensure that all connections are secure and that the CPU cooler is properly seated to avoid any performance issues or potential damage to your computer components.
Congratulations! You have accomplished the task of removing or replacing your Antec CPU cooler and reassembling your computer. Your processor can now enjoy improved cooling and efficient performance.
Conclusion
Removing or replacing an Antec CPU cooler may seem like a daunting task, but with the right tools, knowledge, and careful steps, it can be easily accomplished. By following the detailed instructions provided in this guide, you can ensure a smooth and successful process.
Throughout the steps outlined, we covered gathering the necessary tools and materials, shutting down and unplugging your computer, removing the side panel of your computer case, disconnecting the CPU cooler’s power connector, removing the CPU cooler fan, detaching the CPU cooler’s heat sink, cleaning the CPU surface, installing a new CPU cooler (if desired), applying thermal paste (if necessary), and reassembling your computer.
It’s important to note that when working with computer components, caution and attention to detail are crucial. Take necessary precautions, such as grounding yourself and working in a static-free environment, to avoid any damage to your computer or its components.
By removing an Antec CPU cooler, you can address issues with CPU temperature, replace the cooler with a more efficient solution, or perform maintenance tasks. Proper cooling is vital for the longevity and optimal performance of your processor.
We hope this guide has provided you with the information needed to successfully remove or replace the Antec CPU cooler in your computer. Remember to consult your computer’s manual and the manufacturer’s instructions for any specific guidance related to your system.
With your newly acquired knowledge and the confidence to perform this task, you can now keep your CPU running cool and efficiently for years to come. Happy cooling!


