Introduction
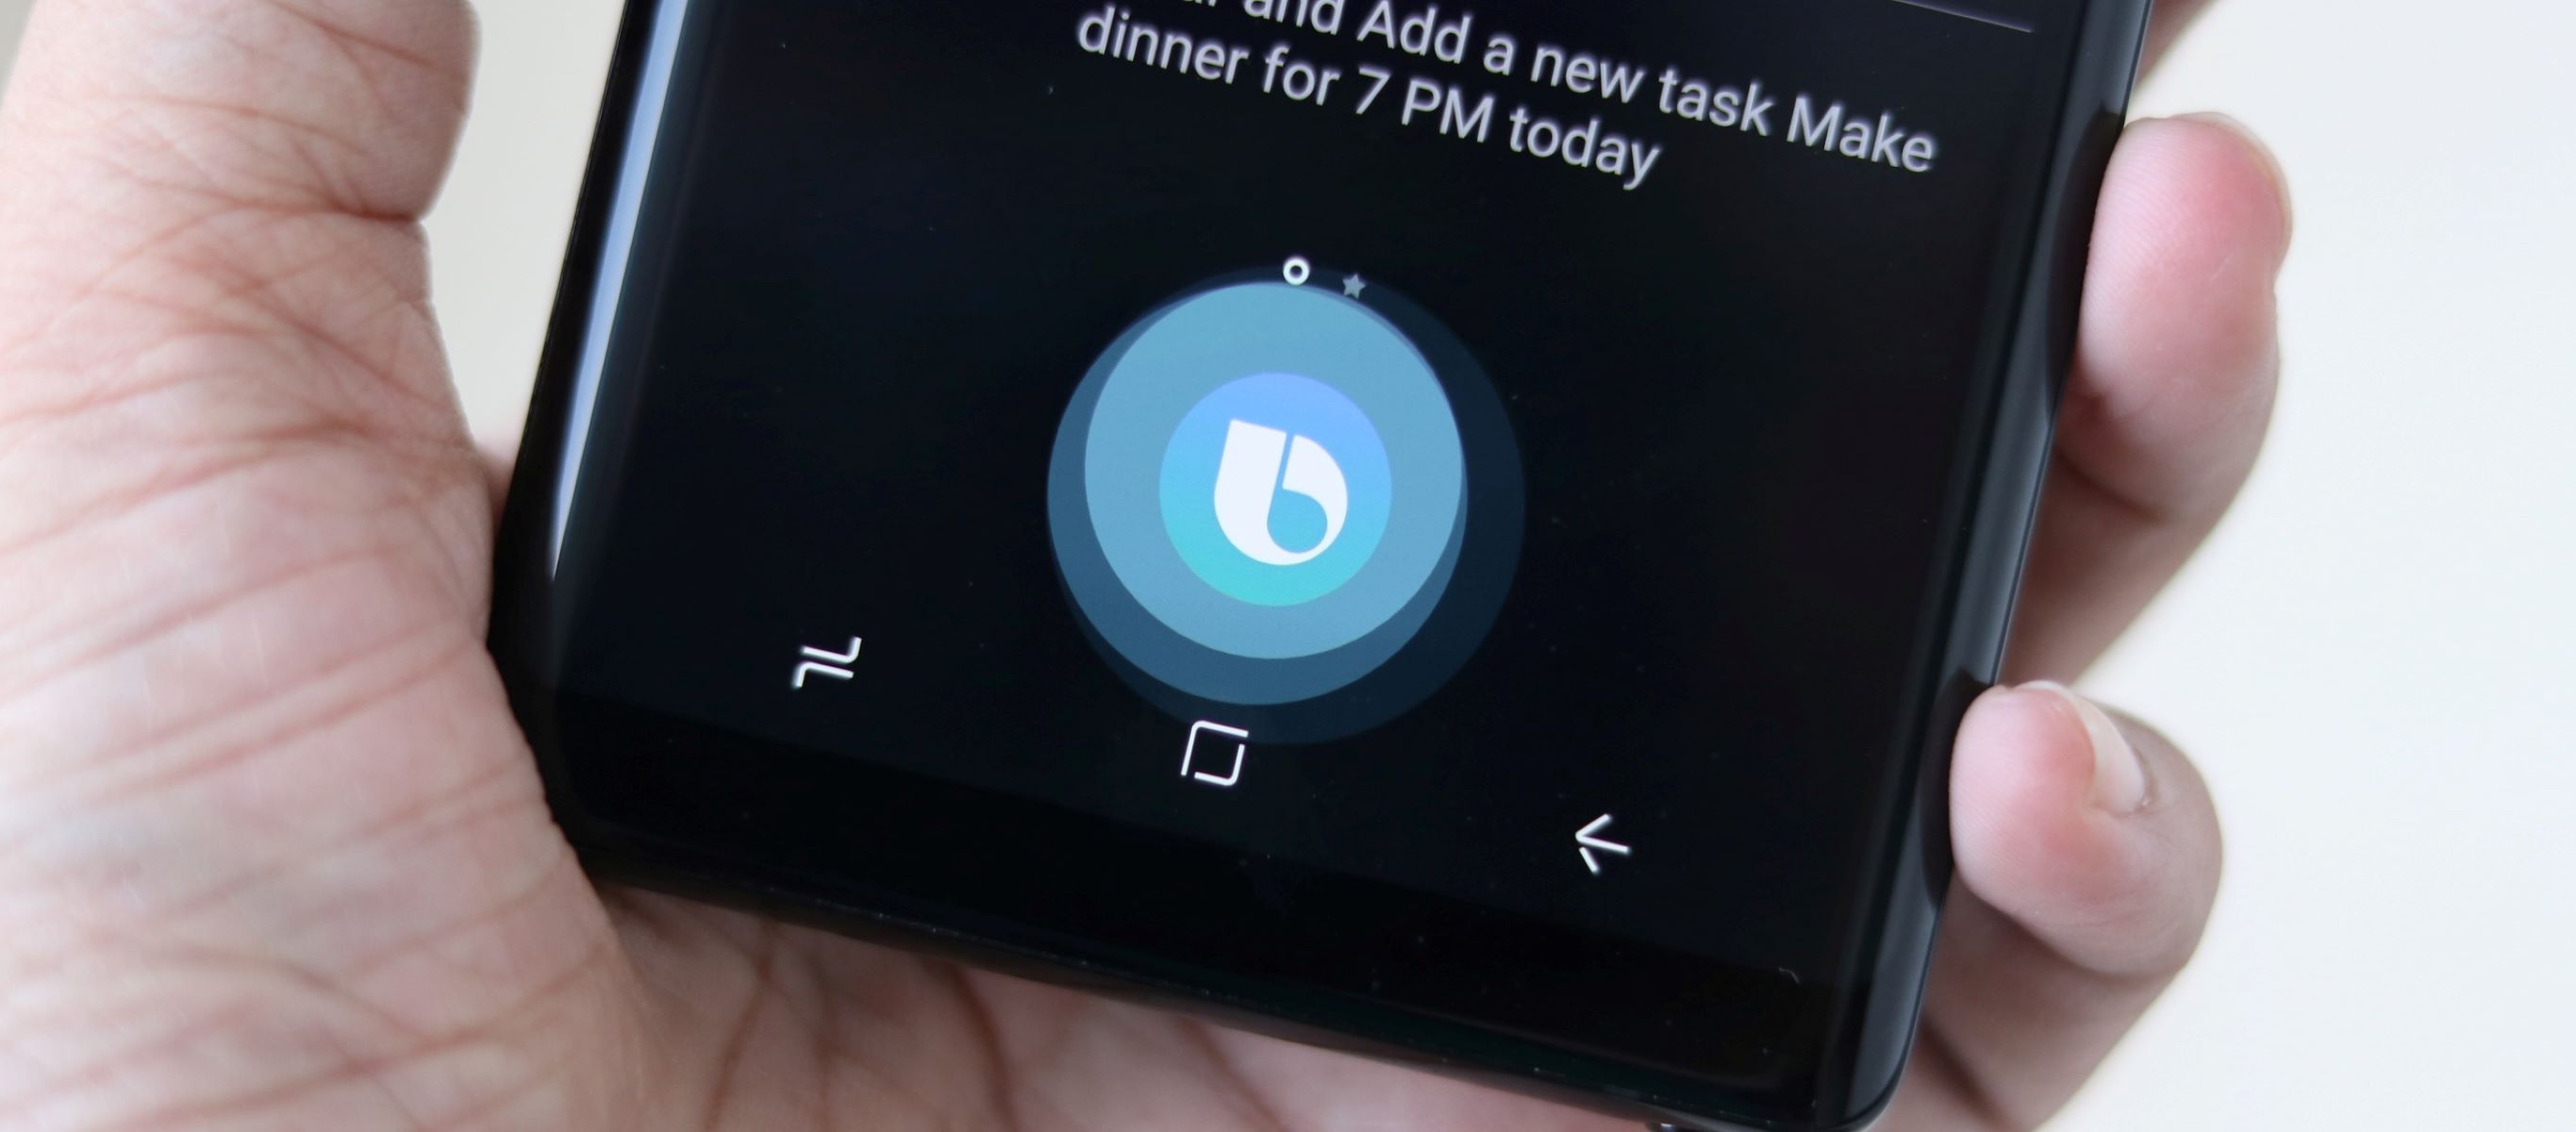
The Bixby button on Samsung devices has long been a subject of debate among users. While some find it useful for quick access to Samsung’s virtual assistant, others may prefer to remap it to perform a different function or launch a different app. If you fall into the latter category and want to customize your Bixby button, you’ve come to the right place.
In this article, we will guide you through the process of remapping the Bixby button on your Samsung device. Whether you want to use it to open your favorite messaging app, toggle settings, or perform any other action of your choice, we’ll show you how to do it step by step.
Remapping the Bixby button not only adds convenience to your device usage but also allows you to personalize it according to your needs. With just a few simple steps, you can make the Bixby button a valuable asset that enhances your smartphone experience.
Before getting started, it’s important to note that remapping the Bixby button involves using third-party apps. These apps can provide the necessary tools and functionalities to customize the button to your liking. Let’s dive into the steps to remap the Bixby button, and you’ll be on your way to unlocking its full potential.
Step 1: Download and Install a Button Remapping App
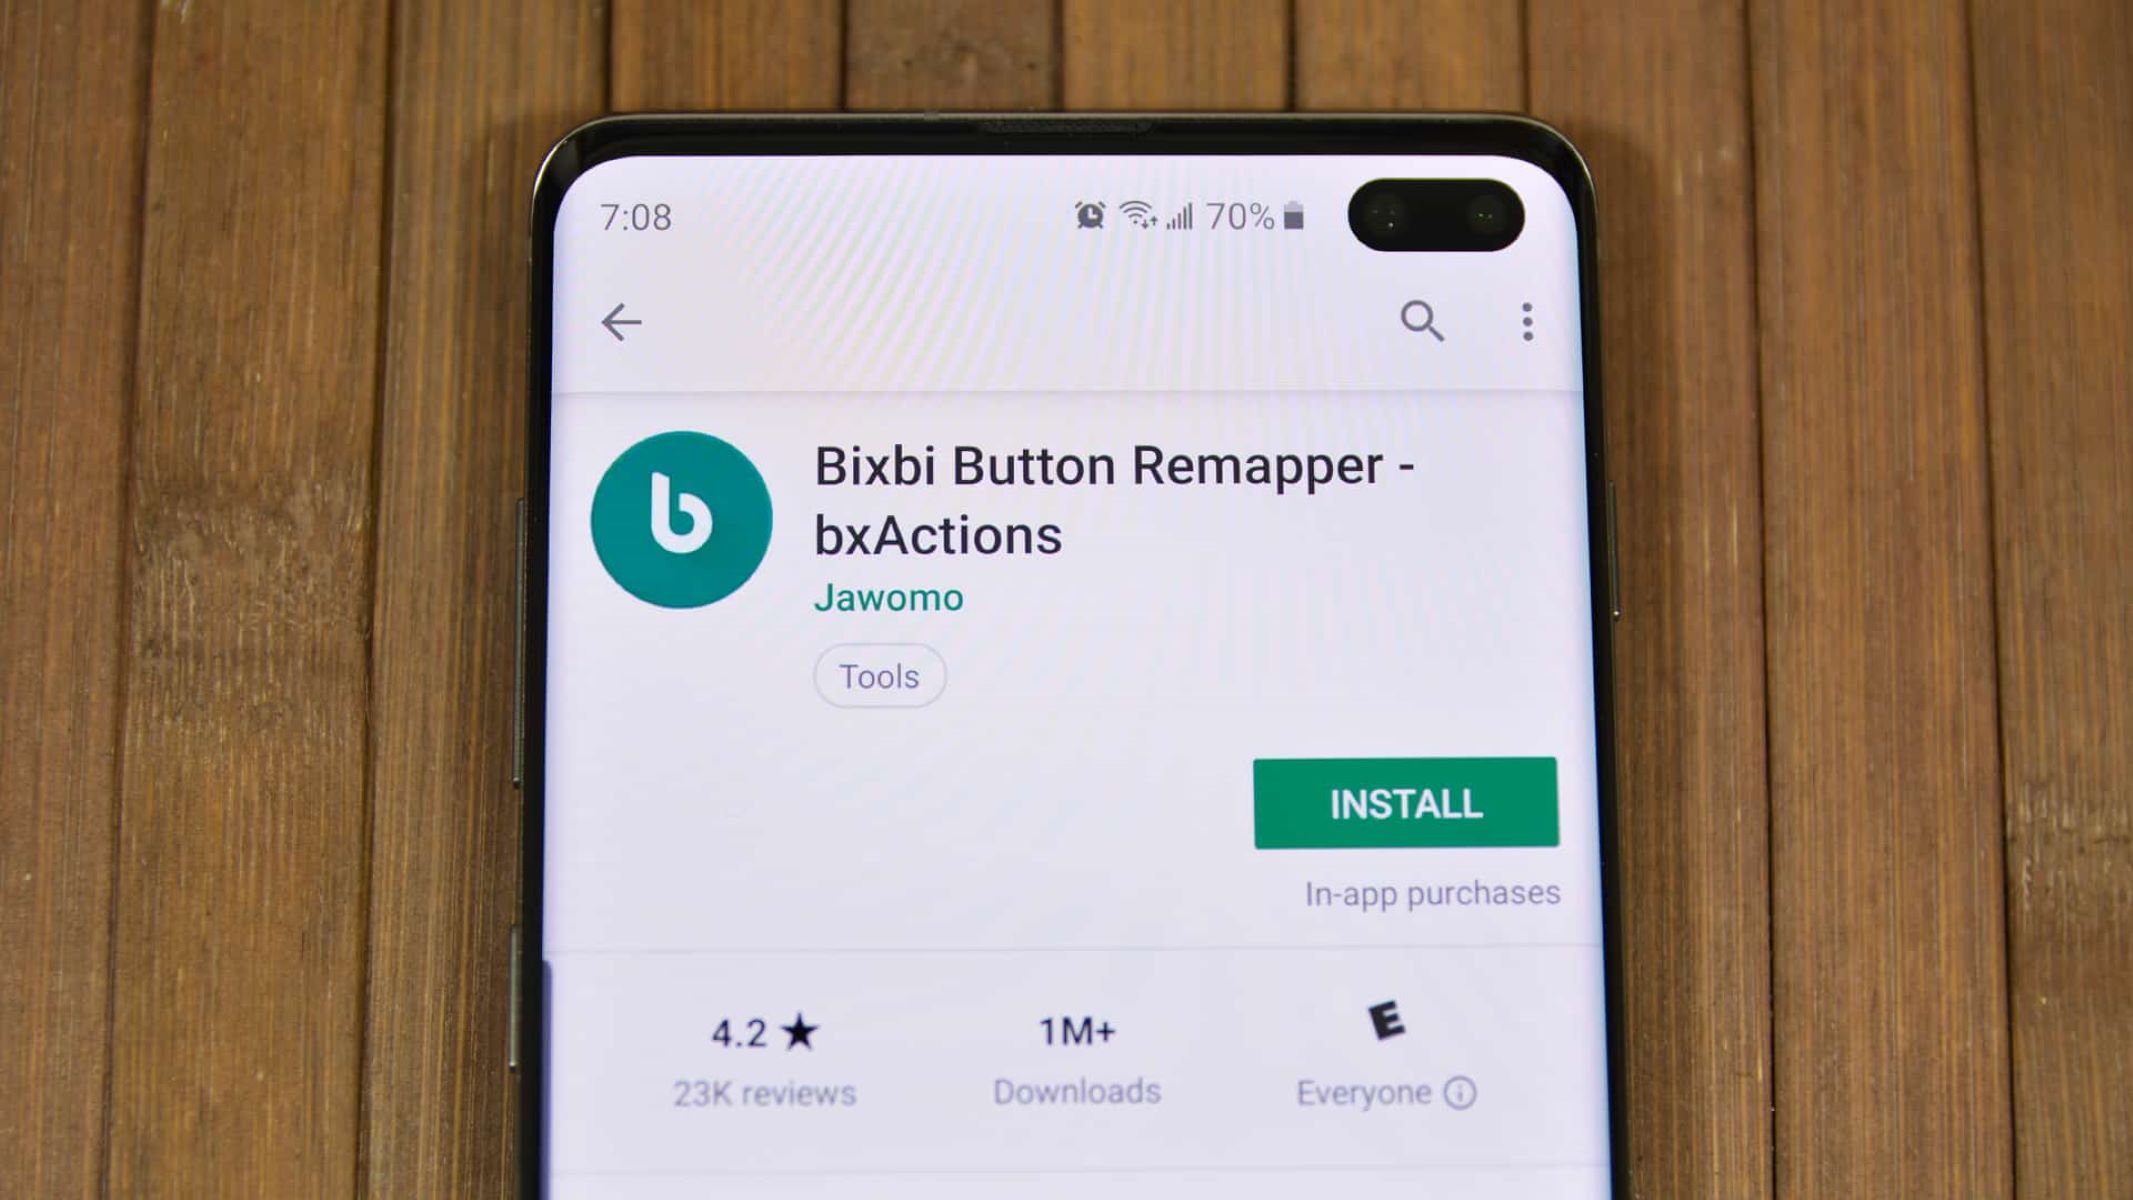
The first step in remapping the Bixby button is to download and install a button remapping app from the Google Play Store. There are several apps available that offer this functionality, such as “Button Mapper,” “Bixby Button Remapper,” or “bxActions.” You can choose any app that suits your preferences and device compatibility.
To download and install the app, follow these steps:
- Open the Google Play Store on your Samsung device.
- Search for the button remapping app of your choice. For example, search for “Button Mapper” and select the official app from the search results.
- Tap on the “Install” button to begin the installation process.
- Wait for the app to download and install on your device. The duration may vary depending on your internet connection speed.
Once the app is successfully installed, you’re ready to move on to the next step.
Step 2: Grant Permissions for the App
After installing the button remapping app on your Samsung device, you need to grant the necessary permissions to ensure it functions properly. These permissions allow the app to intercept and remap the Bixby button.
To grant permissions for the remapping app, follow these steps:
- Open the “Settings” app on your Samsung device.
- Scroll down and tap on “Apps” or “Applications” (the exact wording may vary depending on the device model and operating system version).
- Look for the installed button remapping app in the list of apps and tap on it.
- Tap on “Permissions” or “App permissions.”
- Enable or toggle on the necessary permissions for the app. Typically, you’ll need to grant permissions like “Accessibility” or “Notification access” for the remapping app to work correctly.
- Follow the on-screen prompts to confirm and save the changes.
Granting the required permissions ensures that the button remapping app has the necessary access to remap the Bixby button. Once you’ve granted the permissions, you can move on to the next step and start customizing the Bixby button’s functionality.
Step 3: Open the Button Remapping App
Now that you have installed the button remapping app and granted the necessary permissions, it’s time to open the app and start customizing the Bixby button. Follow these steps to open the app:
- Locate the button remapping app on your Samsung device’s home screen or app drawer. It might have an icon that represents button customization.
- Tap on the app’s icon to launch it.
Once you open the app, you’ll be presented with a user-friendly interface that allows you to remap different buttons and functions on your device.
Each button remapping app may have its own unique layout and options, but the general process remains similar across all apps. You’ll typically find a list of available buttons and an option to customize their actions.
Now that you have opened the button remapping app, you are ready to proceed to the next step and select the Bixby button for customization.
Step 4: Select the Bixby Button
With the button remapping app open on your Samsung device, it’s time to select the Bixby button for customization. Follow these steps to select the Bixby button:
- Look for the Bixby button option within the app’s interface. It might be labeled as “Bixby button” or something similar.
- Tap on the Bixby button option to highlight and select it.
By selecting the Bixby button, you’re indicating that you want to customize its functionality and assign a new action or app to it.
Once you have successfully selected the Bixby button, you can move on to the next step and choose the desired action or app that you want the button to trigger.
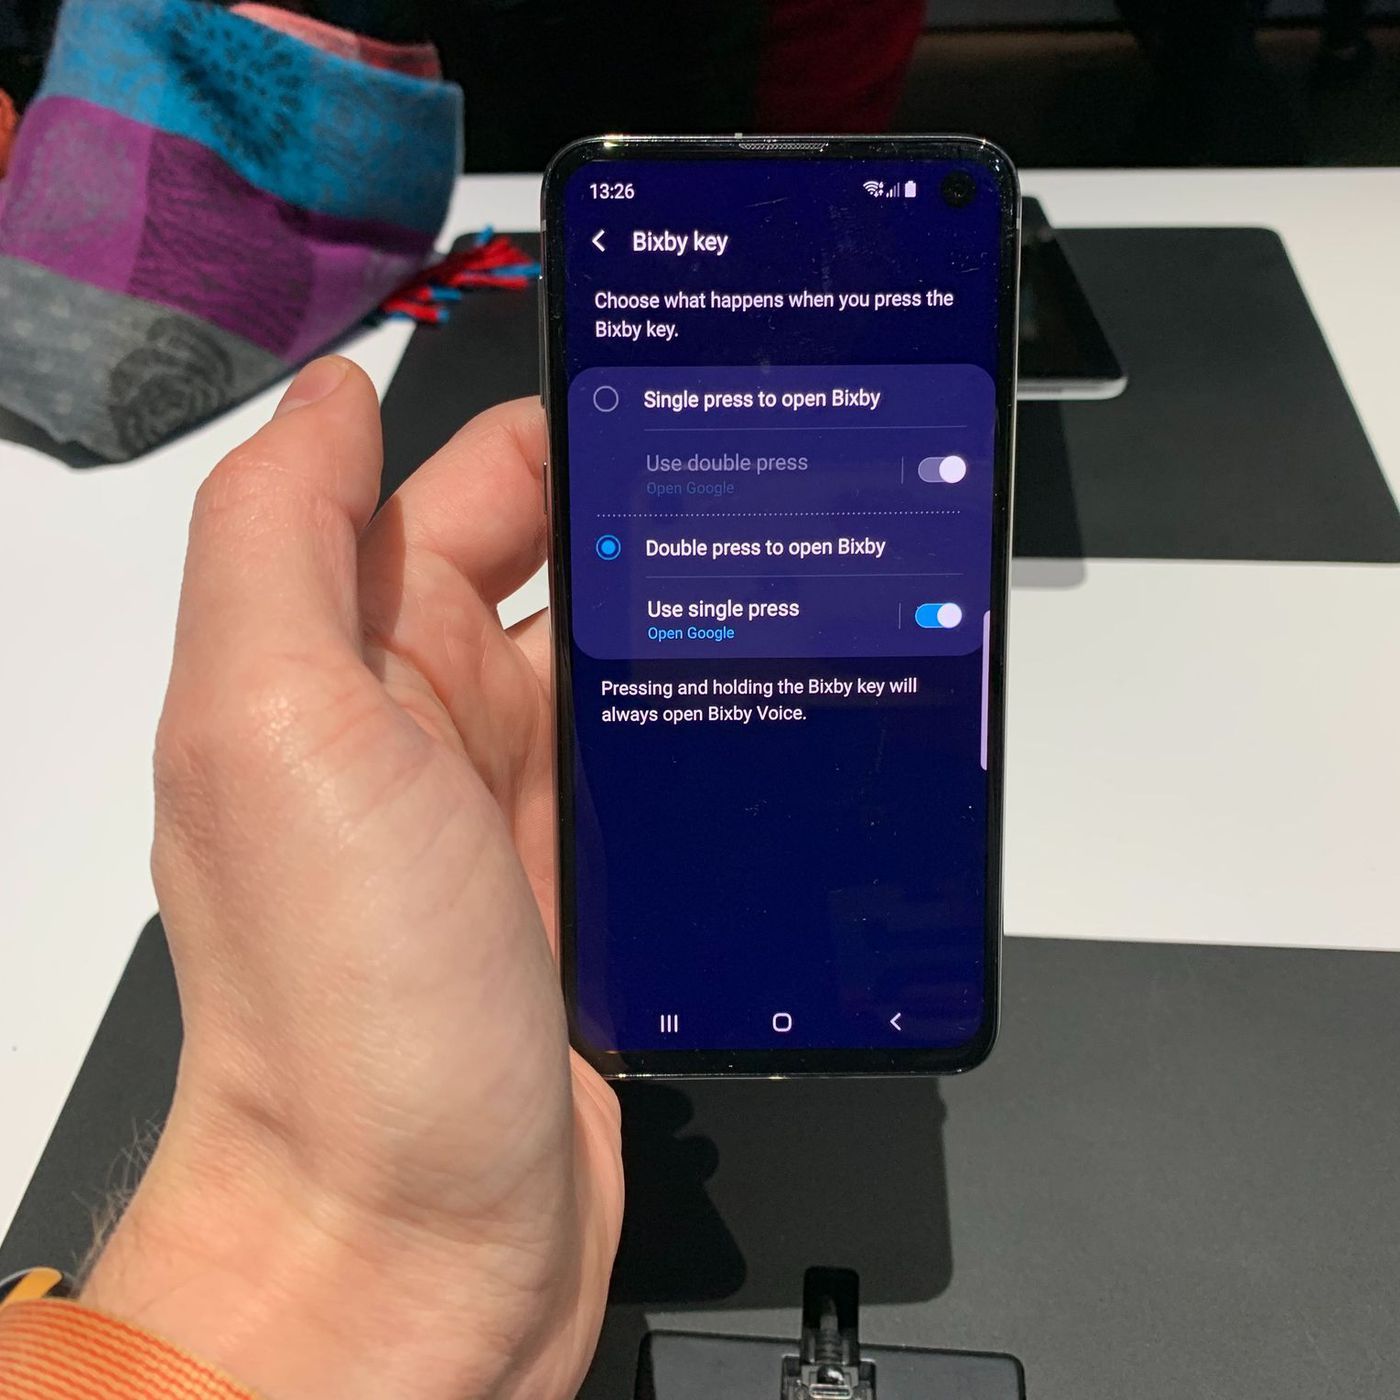
Note: If you cannot find the Bixby button option within the button remapping app, make sure that you have granted the necessary permissions and that the app is compatible with your Samsung device model.
Step 5: Choose the Desired Action or App
After selecting the Bixby button in the button remapping app, it’s time to choose the desired action or app that you want the button to trigger. This step allows you to customize the functionality of the Bixby button according to your preferences. Follow these steps to choose the desired action or app:
- Within the button remapping app, look for the option to assign an action or app to the Bixby button.
- Tap on this option to explore the available choices.
Depending on the button remapping app you are using, you may have several options for actions or apps that can be assigned to the Bixby button. Some common choices include launching a specific app, toggling settings such as Wi-Fi or Bluetooth, or even executing custom commands.
Browse through the options and select the desired action or app that best suits your needs. You may also have the option to create custom actions or choose from a list of pre-defined actions.
Once you have selected the desired action or app, you are one step closer to fully customizing the Bixby button on your Samsung device.
Note: The available actions or apps may vary depending on the button remapping app you are using, as well as the capability of your device.
Step 6: Save and Apply the Changes
Now that you have chosen the desired action or app for the Bixby button, it’s time to save and apply the changes so that the remapping takes effect. Follow these steps to save and apply the changes:
- Within the button remapping app, look for the option to save or apply the changes you have made.
- Tap on this option to confirm and save the customizations.
Once you have saved the changes, the button remapping app will update the settings on your device to remap the Bixby button according to your preferences. This ensures that the button now triggers the chosen action or app instead of launching Bixby.
It’s important to note that different button remapping apps may have slightly different processes for saving and applying changes. Some apps may require additional steps or confirmation prompts before the changes are finalized. Be sure to follow the instructions provided by the specific app you are using.
With the changes saved and applied, you can now move on to the final step and test the remapped Bixby button on your Samsung device.
Step 7: Test the Remapped Bixby Button
After saving and applying the changes to the Bixby button, it’s important to test the remapped functionality to ensure it works as expected. Follow these steps to test the remapped Bixby button:
- Exit the button remapping app and return to your device’s home screen or any application.
- Locate the Bixby button on your Samsung device. Depending on your device model, it may be located on the side or bottom edge.
- Press the remapped Bixby button to trigger the custom action or launch the assigned app.
When you press the remapped Bixby button, it should now perform the action or open the app you have chosen. This allows you to quickly access your preferred function with a simple press of the button.
It’s important to test the remapped Bixby button in different scenarios and applications to ensure its functionality remains consistent. This will help you verify that the remapping is working as intended across various contexts.
If the remapped Bixby button does not trigger the desired action or open the assigned app, you may need to revisit the button remapping app and make any necessary adjustments or reconfigurations.
By successfully testing the remapped Bixby button, you have completed the process of customizing the Bixby button on your Samsung device. Now, you can enjoy the convenience and personalized functionality it brings to your device usage.
Conclusion
Customizing the Bixby button on your Samsung device allows you to tailor its functionality to your personal preferences. By following the steps outlined in this guide, you can easily remap the Bixby button to perform different actions or launch specific apps.
Beginning with downloading and installing a button remapping app, granting necessary permissions, and opening the app, you can then select the Bixby button and choose the desired action or app to assign to it. After saving and applying the changes, it’s crucial to test the remapped Bixby button to ensure its proper functioning.
Through this process, you gain greater control over your Samsung device, enhancing your user experience and making it more personalized to your needs. Whether you want to quickly access your favorite messaging app, toggle settings, or perform any other action of your choice, the remapped Bixby button provides added convenience at your fingertips.
Remember, different button remapping apps may have variations in their interfaces and options. It’s important to explore and find the app that best suits your preferences and device compatibility.
With the ability to customize the Bixby button, you can make your Samsung device truly your own and streamline your daily tasks and activities. So go ahead, download a button remapping app, and unlock the full potential of your Bixby button!