Introduction
Recording a webcam and screen simultaneously is a valuable skill that can be beneficial for various purposes like creating educational tutorials, conducting online presentations, or recording gaming sessions. By capturing both your webcam feed and screen activity, you can provide a more engaging and comprehensive viewing experience for your audience.
Imagine being able to demonstrate a software application while simultaneously showing your facial expressions and gestures. This combination of visual elements not only improves the clarity of your instructions but also adds a personal touch, making your content more relatable and engaging.
In this article, we will explore the benefits of recording your webcam and screen together, discuss the necessary equipment and software, and provide a step-by-step guide to help you achieve seamless recordings. Whether you are a content creator, educator, or business professional, learning how to record webcam and screen simultaneously will empower you to deliver impactful and visually appealing presentations.
So, if you are ready to take your recordings to the next level and leave a lasting impression on your viewers, continue reading to discover the techniques and tips for successfully capturing your webcam and screen simultaneously.
Benefits of Recording Webcam and Screen at the Same Time
Recording your webcam and screen simultaneously offers a multitude of advantages that can greatly enhance your content and improve the effectiveness of your presentation. Let’s explore some of the key benefits:
1. Enhanced Communication: Combining your webcam feed and screen activity allows you to establish a stronger connection with your audience. By showcasing your facial expressions, body language, and gestures alongside your on-screen content, you can convey emotions, enthusiasm, and credibility, making your presentation more engaging and relatable.
2. Improved Clarity: Recording your screen while simultaneously explaining complex concepts or demonstrating software applications helps you provide clear instructions to your audience. By visually guiding them through each step and offering real-time explanations, you can ensure that your viewers understand the content thoroughly.
3. Increased Engagement: A combined webcam and screen recording captures the attention of your audience more effectively. People are naturally drawn to visuals, and the inclusion of your webcam feed adds a human element to your content, making it more captivating and relatable. This increased engagement can lead to higher viewer retention and better overall learning outcomes.
4. Effective Storytelling: When you record your webcam and screen at the same time, you have the opportunity to tell a story or share personal anecdotes. By incorporating your facial expressions, reactions, and voice-over narration, you can create a narrative that resonates with your audience and makes your content more memorable.
5. Building Trust: Seeing your face and expressions while presenting builds trust with your audience. When viewers can put a face to the voice, they are more likely to connect with you on a personal level and develop a sense of trust and authenticity. This can be especially valuable when creating educational tutorials, online courses, or business presentations.
Overall, recording your webcam and screen simultaneously enables you to create more engaging, informative, and impactful content. Whether you are teaching, presenting, or entertaining, the combination of visual elements enhances your communication, facilitates better understanding, and establishes a stronger connection with your audience. So why settle for just a screen recording when you can take it to the next level with a webcam inclusion?
Necessary Equipment and Software
To successfully record your webcam and screen simultaneously, you will need a few essential pieces of equipment and software. Let’s take a look at what you’ll need:
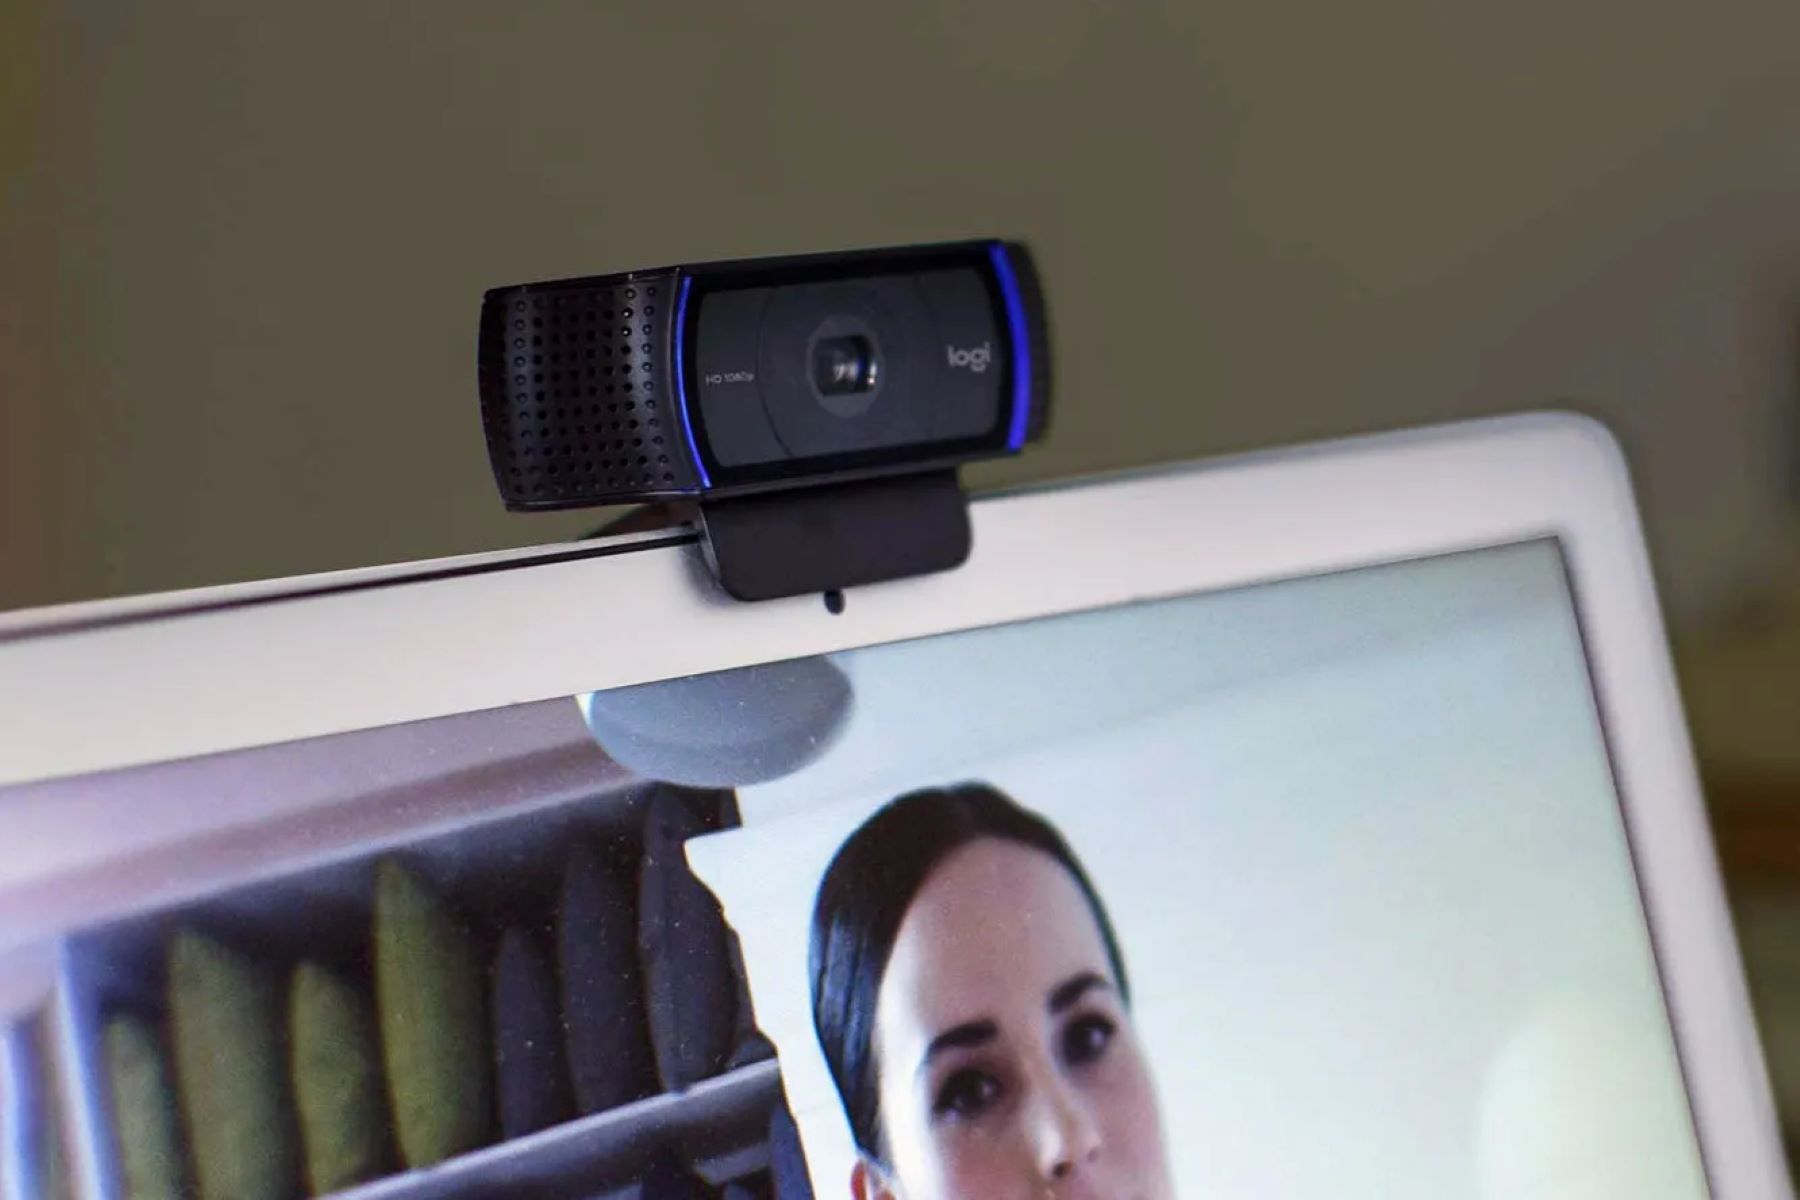
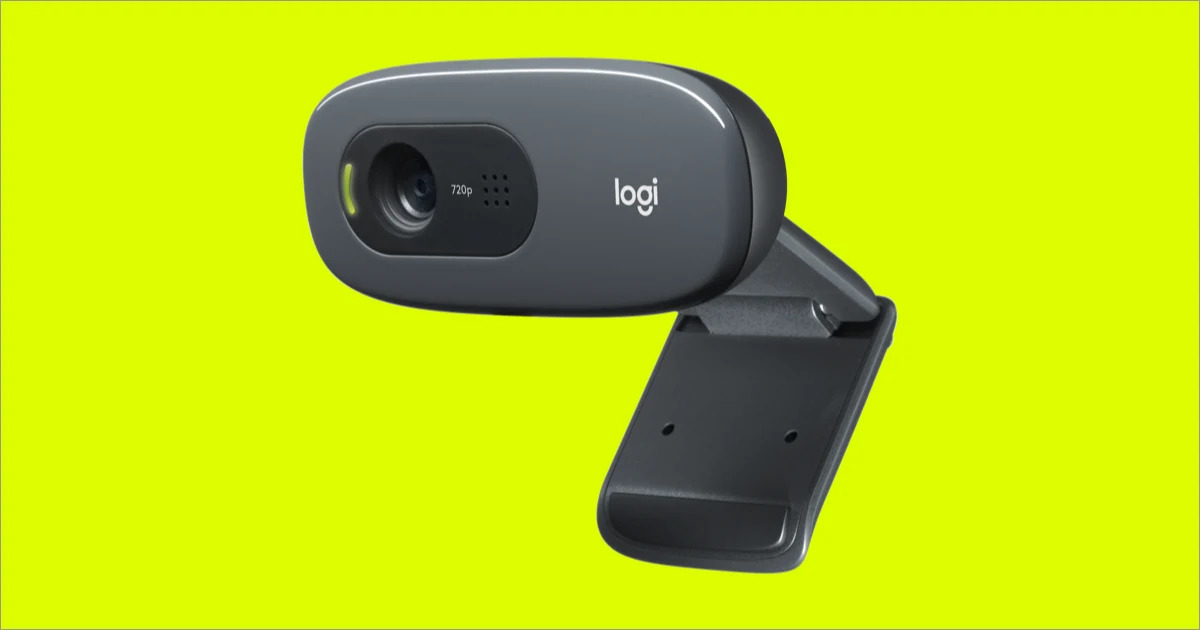
1. Webcam: The first requirement is a good quality webcam. Choose a webcam that offers high resolution and good low-light performance for clear and sharp video output. Make sure it is compatible with your computer system and has a reliable autofocus feature.
2. Computer or Laptop: You will need a computer or laptop with sufficient processing power and memory to handle the recording process smoothly. Ensure that your device meets the minimum system requirements specified by the software you plan to use.
3. Screen Recording Software: Select a reliable and feature-rich screen recording software that supports simultaneous webcam and screen capturing. There are several options available, such as Camtasia, OBS Studio, and Screencast-O-Matic. Choose the software that best suits your needs and budget.
4. Microphone: While most webcams come with built-in microphones, using a separate high-quality microphone can significantly enhance the audio quality of your recordings. Consider investing in a USB microphone or a headset with a microphone for crystal-clear voice recordings.
5. Proper Lighting: Good lighting is essential to ensure that your face is well-lit and clearly visible in the webcam recording. Use natural light whenever possible or invest in affordable lighting equipment, such as ring lights or softboxes, to create a well-lit and professional-looking setup.
6. Stable Internet Connection: If you plan to live stream or upload your recordings online, a stable and reliable internet connection is vital. Make sure you have a high-speed internet connection to avoid interruptions and buffering during the recording or streaming process.
Remember to keep all your equipment and software up to date to maximize performance and compatibility. Additionally, consider experimenting with different setups and configurations to find the perfect balance between video quality, audio clarity, and overall user experience.
Now that you have a clear understanding of the necessary equipment and software, let’s move on to the next section, where we will guide you through the step-by-step process of recording your webcam and screen simultaneously.
Step-by-Step Guide to Recording Webcam and Screen Simultaneously
Recording your webcam and screen at the same time may seem complex, but with the right software and following these simple steps, you’ll be able to achieve professional-quality recordings in no time:
1. Choose the Right Software: Select a screen recording software that allows for simultaneous webcam and screen capturing. Popular options include Camtasia, OBS Studio, and Screencast-O-Matic. Download and install the software on your computer.
2. Set Up Your Equipment: Connect your webcam to your computer via USB and ensure it is properly positioned. If using a separate microphone, connect it to your computer as well. Adjust the lighting to ensure your face is well-lit and visible.
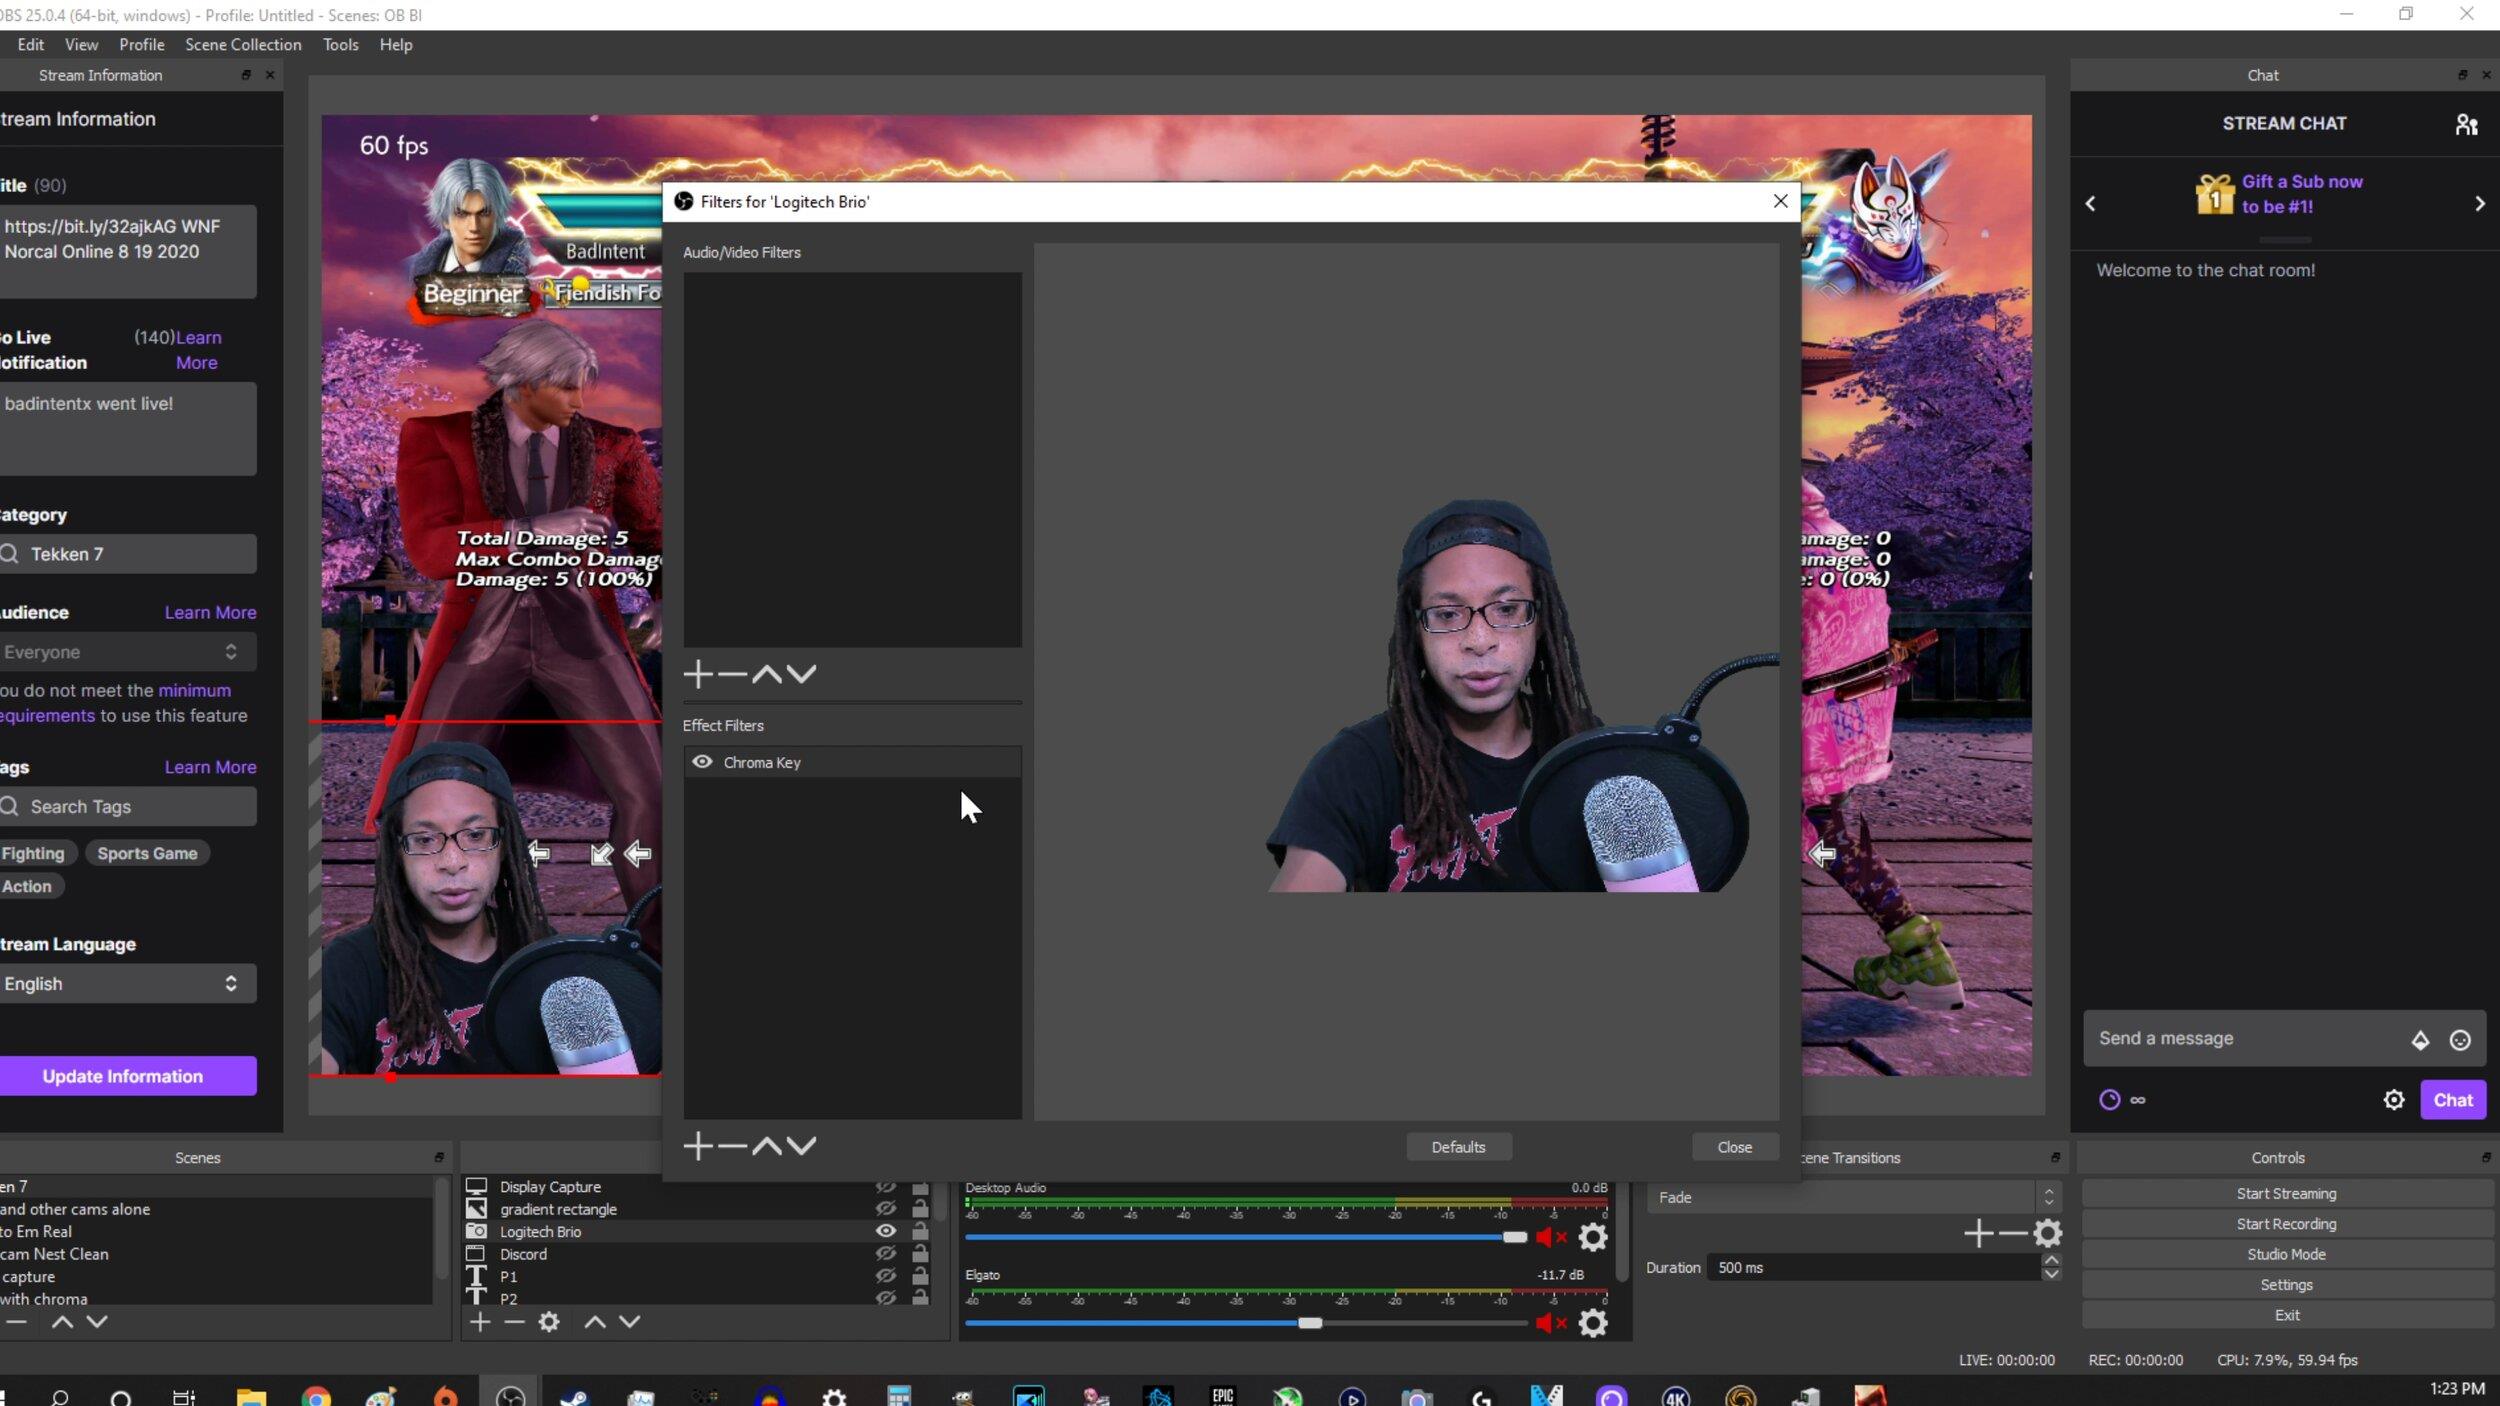
3. Launch the Screen Recording Software: Open the screen recording software and familiarize yourself with its interface. Look for options to enable webcam recording, adjust audio settings, and select the desired screen area to record.
4. Select Webcam and Screen Sources: Within the screen recording software, locate the settings or preferences section and choose your webcam as the video input source. Verify that your screen or specific application you want to record is selected as the screen source. Adjust any necessary settings, such as resolution or frame rate.
5. Configure Audio Settings: Set your preferred audio input source. If using a separate microphone, select it as the audio input device. Adjust audio levels to ensure optimum sound quality and balance.
6. Position and Resize Webcam Feed: Within the screen recording software, adjust and position the webcam feed to your desired location on the screen. You can typically resize and move the webcam overlay to achieve the desired placement.
7. Start Recording: Once you have set up your preferences, start the recording. Begin by introducing yourself or providing any necessary context before proceeding with your on-screen activities. Ensure your actions, voice, and facial expressions are aligned and synchronized.
8. Perform Screen Activities: Carry out your desired on-screen activities, whether it’s demonstrating software, navigating a website, or any other tasks you wish to capture. Be mindful of your facial expressions and body language, as they add a personal touch to the recording.
9. Conclude and Stop Recording: When you have finished recording, conclude your presentation or tutorial and stop the recording within the screen recording software. Review the recorded footage to ensure everything is captured correctly.
10. Save and Export: Once you are satisfied with the recording, save the file in your preferred format, such as MP4 or AVI. Consider optimizing the video for online platforms or specific devices, if necessary.
With this step-by-step guide, you can confidently record your webcam and screen simultaneously, creating engaging and professional content. Practice and experimentation will help you refine your recording techniques, leading to even better results in the future.
Adjusting Settings for the Perfect Recording
Recording your webcam and screen simultaneously requires careful consideration of various settings to ensure a flawless recording. Here are some key settings you should adjust to achieve the perfect recording:
1. Video Resolution and Frame Rate: Choose an appropriate video resolution and frame rate that strikes a balance between video quality and file size. Higher resolutions and frame rates result in clearer visuals but may require more processing power and storage space.
2. Audio Settings: Configure your audio settings to ensure clear and balanced sound. Adjust the input level to avoid distortion or background noise. If necessary, use noise-canceling techniques or filters to improve the audio quality.
3. Webcam Position and Size: Experiment with the position and size of your webcam feed overlay. Consider placing it in a non-obtrusive corner or bottom of the screen to avoid obstructing important on-screen content. Ensure that your face is clearly visible and well-framed within the webcam feed.
4. Screen Area Selection: Select the appropriate screen area or application window to record. If you’re demonstrating software, make sure to capture the relevant portions of the screen without unnecessary distractions. This helps keep the focus on the content you want to showcase.
5. Lighting and Background: Pay attention to lighting conditions and the background behind you. Adequate lighting ensures your face is well-lit and visible, while a clean and uncluttered background enhances your on-screen presence. Avoid busy or distracting backgrounds that can divert attention from the main content.
6. Notification and Alert Management: Disable any notifications, alerts, or pop-up messages that may interfere with your recording. These interruptions can disrupt your flow and affect the overall quality of the recording. Temporarily turn off email notifications and close unnecessary applications to maintain focus during the recording.
7. Performance Optimization: Adjust the software settings to optimize performance. If you experience any lag or dropped frames during recording, consider reducing the video quality settings or adjusting your computer’s power settings. Close any resource-intensive applications running in the background to allocate more system resources to the recording process.
8. Preview and Test: Before starting the actual recording, preview and test the settings to ensure everything is functioning as expected. Verify that your webcam feed, audio, and screen recording are synchronized properly. Make any necessary adjustments or troubleshooting before proceeding with the actual recording.
Remember that the ideal settings may vary depending on the specific requirements of your recording. Take the time to experiment and find the settings that work best for your particular use case. Regularly reviewing and adjusting these settings will help you consistently achieve high-quality recordings and deliver compelling content to your audience.
With these tips for adjusting settings, you can fine-tune your recording setup and ensure that every recording you make is of the highest quality. Now, let’s move on to the next section, where we will provide valuable tips for delivering an effective presentation during the recording process.
Tips for an Effective Presentation During the Recording
Delivering an effective presentation during the recording process is crucial to engage your audience and make your content more impactful. Here are some valuable tips to help you deliver a memorable and engaging presentation:
1. Prepare and Rehearse: Before you start recording, thoroughly prepare and rehearse your presentation. Familiarize yourself with the content, practice your delivery, and make sure you have a clear understanding of the key points you want to convey.
2. Speak Clearly and Enunciate: Articulate your words clearly and speak at a moderate pace. Avoid speaking too fast or mumbling, as this can make it difficult for viewers to understand your instructions or explanations.
3. Use Visual Cues: Utilize visual cues and gestures to emphasize key points or important information. This adds a dynamic element to your presentation and helps in capturing your audience’s attention.
4. Maintain Eye Contact: Look directly at the camera when speaking, as this creates the illusion of eye contact with your viewers. This helps establish a connection and fosters engagement throughout the recording.
5. Engage with Facial Expressions: Make use of facial expressions to convey emotions and maintain viewer interest. Smile when appropriate, raise your eyebrows to express surprise or excitement, or show concern when discussing problems or challenges.
6. Use Natural Body Language: Pay attention to your body language and posture. Maintain an open and confident stance, and use natural gestures to emphasize your points. Avoid excessive fidgeting or distracting movements.
7. Be Enthusiastic and Animated: Infuse enthusiasm and energy into your presentation. Let your passion and excitement shine through your voice and facial expressions, which will help captivate your audience and keep them engaged.
8. Break the Ice: At the beginning of your recording, introduce yourself and establish a connection with your viewers. Share a brief personal anecdote or ask a thought-provoking question to grab their attention and create a welcoming atmosphere.
9. Engage in Conversational Tone: Adopt a conversational tone during the recording to create a warm and friendly vibe. Imagine you are speaking directly to a person, and use inclusive language to make your viewers feel involved and valued.
10. Inject Stories and Examples: Incorporate relatable stories and real-life examples to illustrate your points. Stories help drive engagement and make your content more memorable by providing context and practical applications.
11. Have a Clear Structure: Organize your content in a logical and structured manner. Use headings, subheadings, and bullet points to help your audience follow along smoothly. This makes it easier for viewers to understand and retain the information you present.
12. Practice Active Listening: If you are recording a live session or interaction, actively listen to any questions or comments from participants. Respond thoughtfully and express appreciation for their input. This demonstrates your engagement and respect for your viewers.
By following these tips, you can deliver an effective and engaging presentation, making your recordings more impactful and memorable. Now, let’s move on to the next section, where we will discuss common issues that may arise during the recording process and provide troubleshooting solutions.
Troubleshooting Common Issues
While recording your webcam and screen simultaneously, you may encounter certain issues that can hinder the quality of your recording. Here are some common issues that may arise and troubleshooting solutions to help you overcome them:
1. Poor Video Quality: If the video quality appears blurry or pixelated, check the settings of your recording software. Ensure that you have selected the appropriate video resolution and frame rate. Additionally, make sure your webcam is of good quality and properly positioned to capture clear visuals.
2. Audio Distortion or Background Noise: If you experience audio distortion or background noise, first check your microphone settings. Adjust the input levels and make sure the microphone is placed correctly. Consider using a pop filter or noise-canceling features to minimize unwanted audio interference.
3. Out-of-Sync Audio and Video: If you notice that the audio and video are not properly synchronized, try adjusting the settings of your recording software. Make sure the audio and video sources are properly selected and aligned. If the issue persists, you may need to explore alternative recording software or consult technical support.
4. Lag or Dropped Frames: If you encounter lag or dropped frames during the recording, it could be due to insufficient processing power or system resources. Close any unnecessary applications running in the background to free up resources. Adjust the video quality settings in your recording software to reduce the processing load.
5. Notification Interruptions: If notifications or alerts pop up during your recording, they can be distracting and disrupt the flow of your presentation. Disable notifications and alerts temporarily, and put your computer in “Do Not Disturb” mode or airplane mode to prevent any interruptions.
6. Incompatible Software or Hardware: Ensure that your recording software is compatible with your operating system and hardware specifications. Check for any software updates or patches that may resolve compatibility issues. Additionally, verify that your webcam drivers are up to date.
7. Poor Lighting: If the lighting in your recording environment is inadequate, adjust the lights or add additional light sources to improve visibility. Consider investing in affordable lighting equipment, such as ring lights or softboxes, to achieve optimal lighting conditions.
8. Background Noise: Background noise can be distracting in your recording. Record in a quiet environment and consider using noise-canceling techniques such as closing windows, using a noise reduction filter in your recording software, or utilizing a separate soundproof booth.
9. Insufficient Storage Space: Recording high-quality videos can require a significant amount of storage space. Make sure you have enough available storage on your computer’s hard drive or an external storage device to avoid running out of space during the recording process. Consider regularly transferring and backing up your recordings to free up space.
Remember, troubleshooting issues may require some trial and error. If a solution does not work, try exploring alternative approaches or seek assistance from technical support forums or tutorials specific to your recording software and equipment.
By being prepared to tackle common issues, you can ensure that your recording sessions run smoothly, resulting in high-quality and professional-looking videos. Now, let’s move on to the next section, where we will discuss the post-recording process and how to edit and enhance your recordings.
Editing and Enhancing Your Recording
Once you have completed the recording of your webcam and screen, it’s time to edit and enhance the footage to create a polished and professional final product. Here are some steps and techniques to help you edit and enhance your recordings:
1. Review the Footage: Begin by watching the entire recording from start to finish. Take note of any sections that require editing, such as awkward pauses, mistakes, or areas where you want to enhance the visuals or audio.
2. Trim and Cut: Use video editing software to trim and cut out any unwanted or unnecessary parts of the recording. Remove any long pauses, errors, or moments where there is no relevant activity on the screen. Keep the content concise and engaging.
3. Add Transitions and Effects: Use transitions and effects to make your video visually appealing and smooth. Add fade-ins, fade-outs, or other transition effects between different segments of your recording. Experiment with different effects to enhance the overall presentation.
4. Enhance Audio: Adjust the audio levels to ensure clarity and consistency throughout the recording. Use audio editing tools to remove any background noise, minimize distortions, and normalize the sound levels. Consider adding background music or sound effects to enhance the overall experience.
5. Overlay Graphics and Text: Utilize graphics and text overlays to highlight key points or provide additional information. Incorporate titles, subtitles, captions, and watermark logos to enhance the presentation and reinforce your branding.
6. Add Visual Callouts: Include visual callouts, such as arrows or circles, to draw attention to specific areas on the screen. This helps guide the viewer’s focus and highlights important details.
7. Include B-Roll Footage: If applicable, incorporate supplemental footage, also known as B-roll, to enrich the viewing experience. This could include screen captures, relevant images, or footage to reinforce or visualize what you are explaining.
8. Color Correction: Adjust the colors and overall look of the recording to improve visual appeal. Correct any color imbalances and enhance the brightness, contrast, and saturation levels to make your content visually vibrant.
9. Smooth Transitions: Use software-based techniques to smooth out any abrupt cuts or transitions in the video. This helps create a seamless and professional viewing experience.
10. Finalize and Export: Once you are satisfied with the editing and enhancements, export the video in your desired format and resolution. Consider optimizing the video for online platforms, if applicable, to ensure a smooth playback experience for your viewers.
Editing and enhancing your recordings can significantly elevate the quality of your content. It allows you to fine-tune the presentation, fix any errors or distractions, and create a polished final product that captivates and engages your audience.
Now that you have an overview of the editing process, you can apply these techniques to enhance your webcam and screen recordings, resulting in professional-looking and impactful videos. In the next section, we will provide a recap of the key points discussed throughout the article.
Conclusion
Recording your webcam and screen simultaneously is a valuable skill that can greatly enhance your presentations, tutorials, and online content. By combining your facial expressions, gestures, and screen activity, you can create engaging and impactful recordings that captivate your audience.
In this article, we explored the benefits of recording webcam and screen together, discussed the necessary equipment and software, and provided a step-by-step guide for achieving seamless recordings. We also covered tips for delivering an effective presentation and troubleshooting common issues that may arise during the recording process.
Remember to adjust settings for optimal video and audio quality, experiment with different presentation techniques, and be mindful of your body language and delivery. Additionally, editing and enhancing your recordings can greatly improve the overall quality of your content, making it more professional and engaging.
By following the information and techniques shared in this article, you can confidently record your webcam and screen simultaneously, creating impactful and visually appealing content that resonates with your audience.
So, whether you are an educator, content creator, or business professional, harness the power of recording your webcam and screen at the same time to elevate your presentations to new heights. Involving your viewers in a more personal and interactive experience will leave a lasting impression and help you achieve your communication goals effectively.